
Quadruple Teleportation Gate, Optical Illusion, Tricking Your Eyes


Print Profile(1)
Description
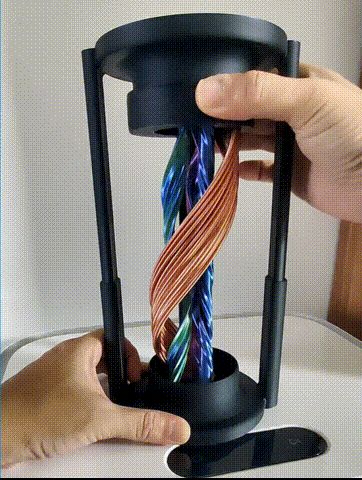
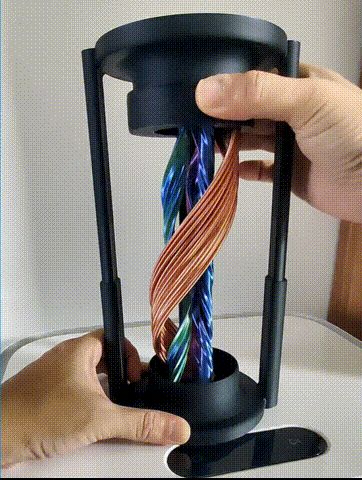
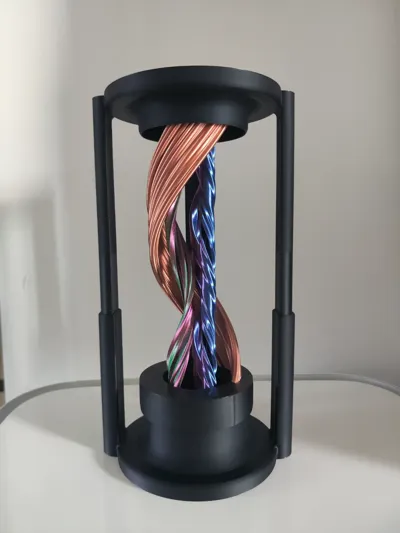
This model, designed by the Pixiv artist Ada Cohen, is his most challenging Quadruple Teleportation Gate design.
The difficulty of this model lies in the printing of the 4 spiral rods in the middle, especially for the A1, which is an i3 printer. It is very easy to fail because of shaking.
I really like this cool design, but I only have an A1, so I tried various attempts to re-do the printing of the rods to ensure a higher success rate. I printed no fewer than 10 rods that were thrown into the garbage.
If you have an A1 mini, you can try lowering the print height or cutting off half or 1/3 of the rods. Do not scale it. I don't have a mini, so I can't test it.
Finally... yes! Very successful.
Please make sure you understand the part printing settings in my arrangement. Otherwise, don't make changes easily.
Please read the following precautions here:
- Please print the 4 rods separately, do not try to print them together.
- Yes, I slowed down the printing significantly. 60mm/s for the outer wall, 70mm/s for the inner wall, unless you have tested it, please don't increase it.
- That's right! The infill rate for three rods is 0, the wall layer is 17. This is to reduce irregular swaying of the nozzle.
- Three thin long rods use a tapered protective shell. Although it's very large, it only has one wall layer and won't waste too much of your material.
- The largest spiral rod uses a hand-crafted tree-like support. Do not modify it, do not modify it! (Thanks to the “Let's go eat delicious food tonight” beauty for providing guidance. I was stuck here for a few days, using her provided ideas to solve this problem very elegantly. ), After printing, please use a water pliers to smoothly cut off the support. This position is completely invisible because it's blocked, so don't worry.
- I recommend using silk material for the three thin rods. But don't use the same three-color silk like I did, it will make the light and shadow contrast not strong enough.
- I have modified the docking position of the base. The original upper cover supports are thick, which will make it top-heavy. You can choose one to print according to your needs.
- You can completely use a 0.2mm layer height to print this plate. Please directly modify the configuration after all the above rods are printed successfully to save time.

Installation Guide:
- Install the gear and sleeve on the top and bottom of the printed rod, respectively.
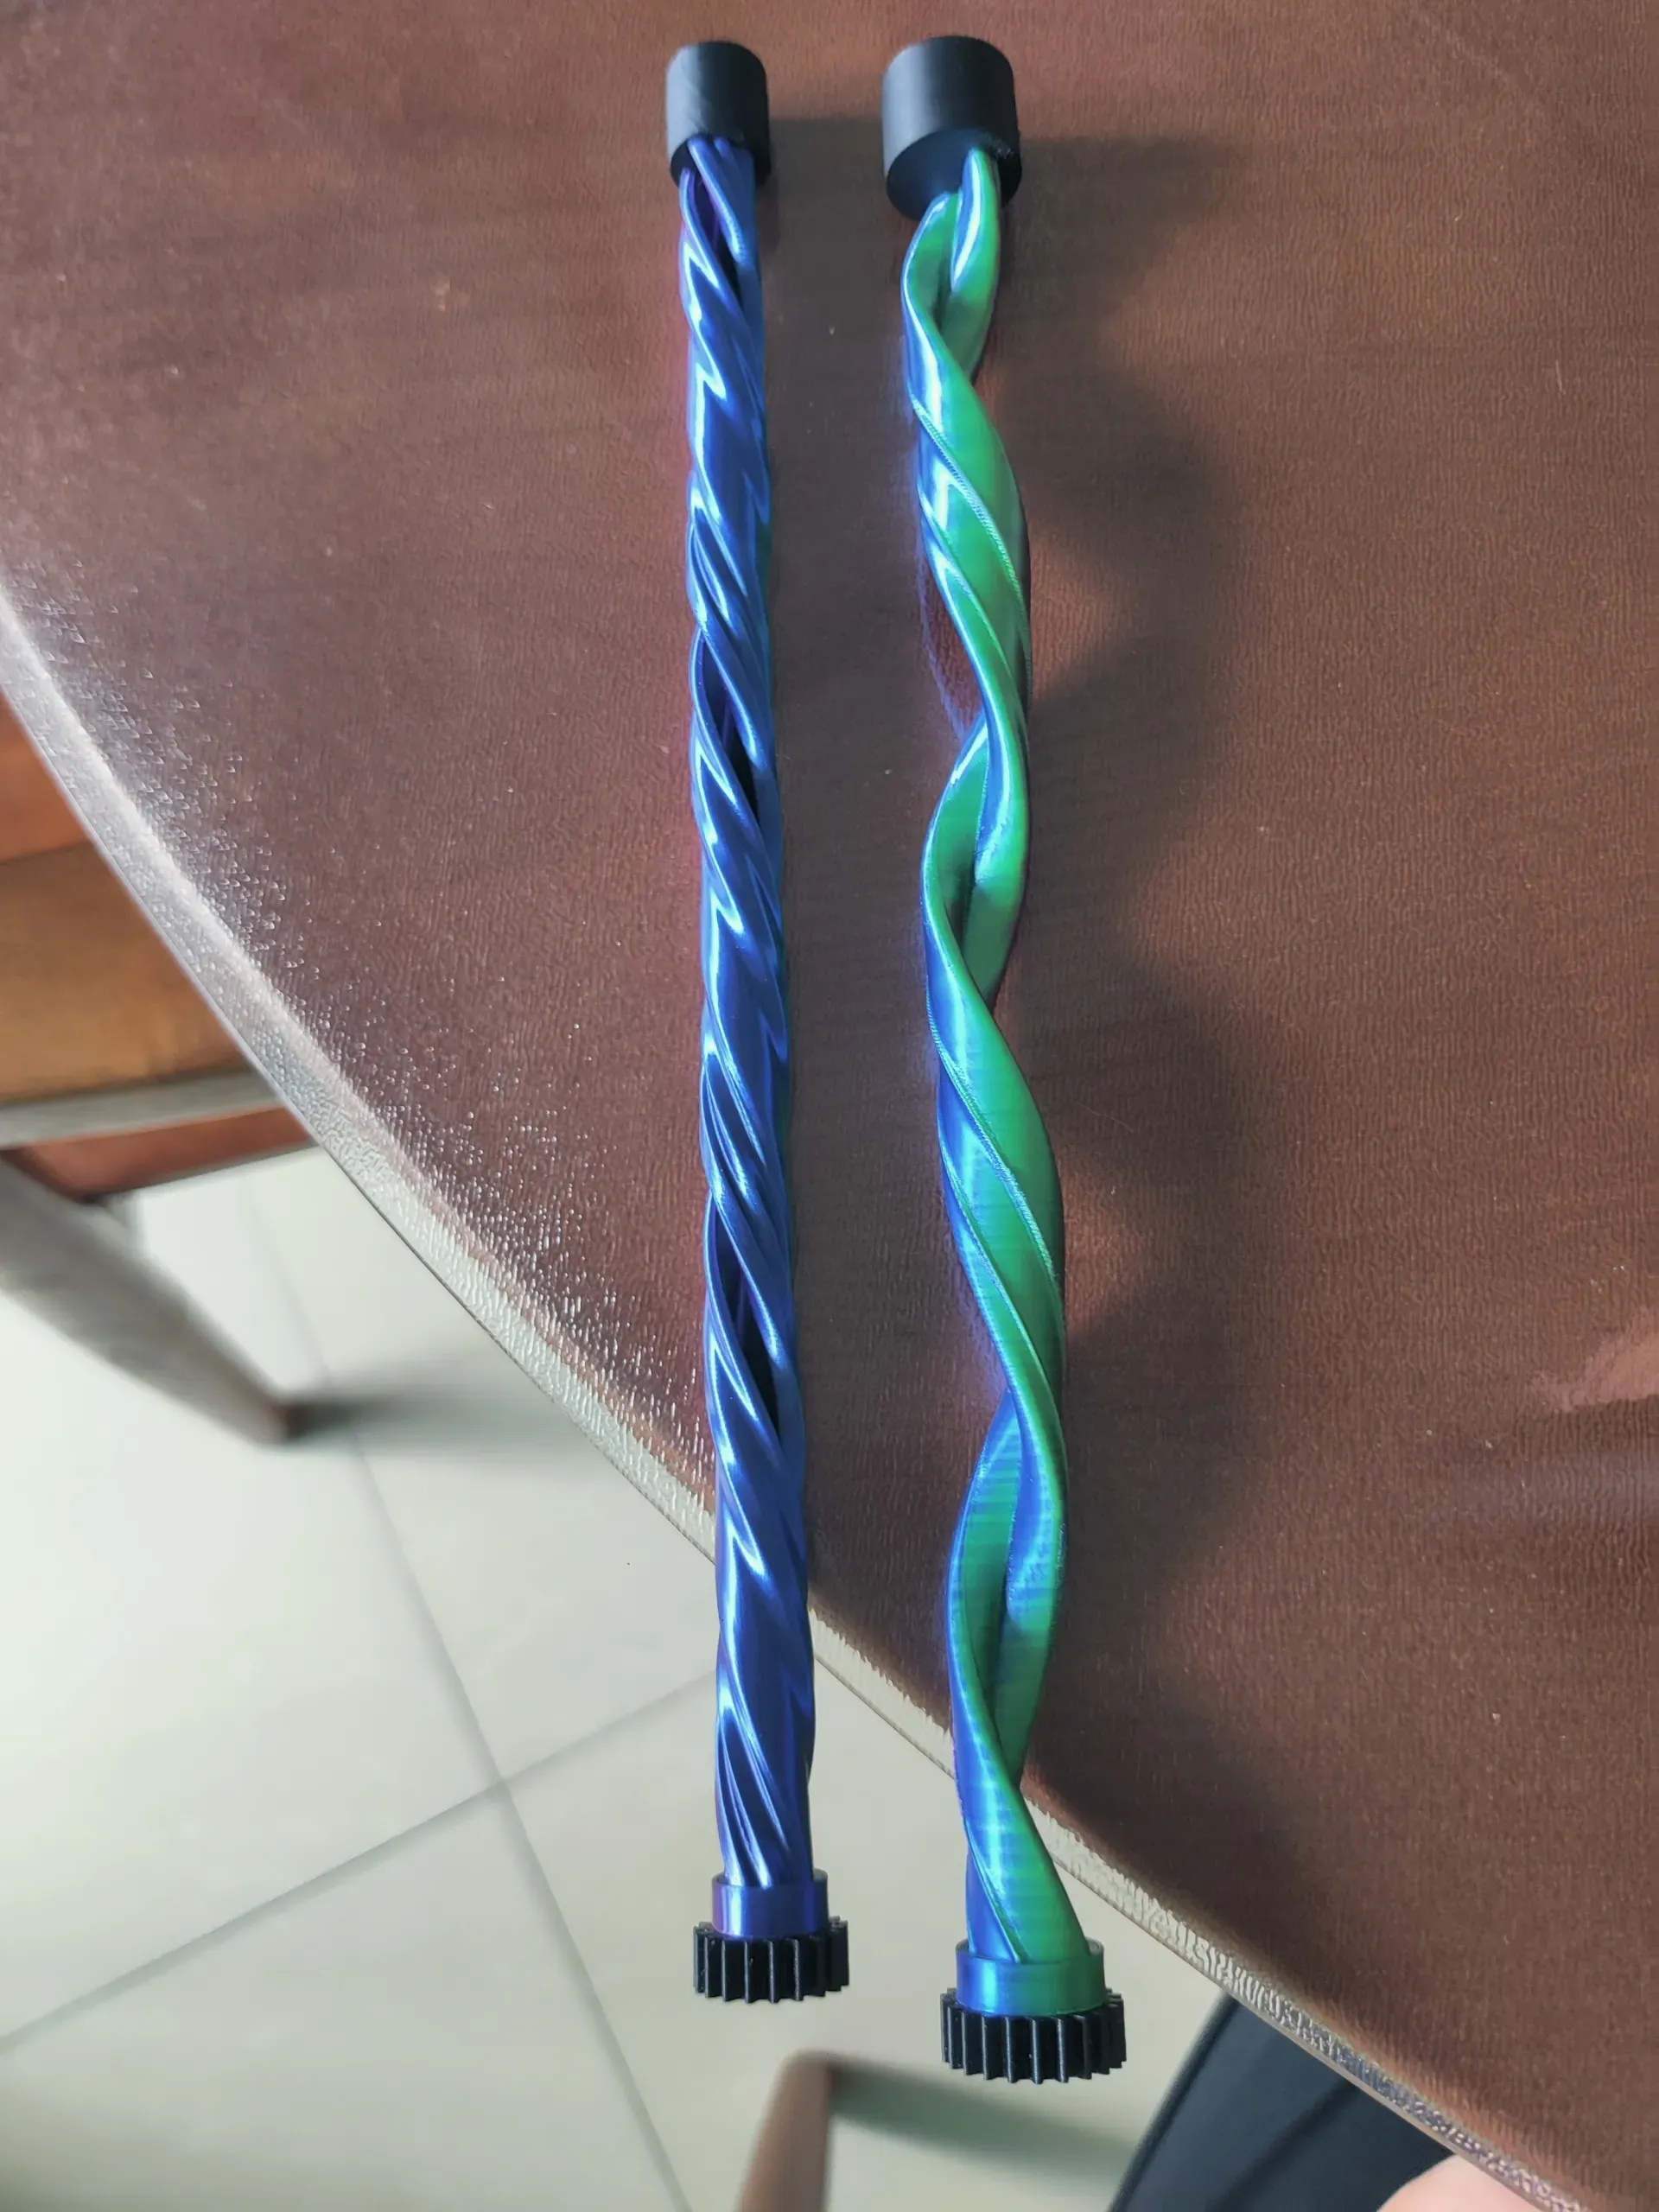
- The largest rod is also installed on the gear. The difference is that before installing the top sleeve, please put the handle in the middle.
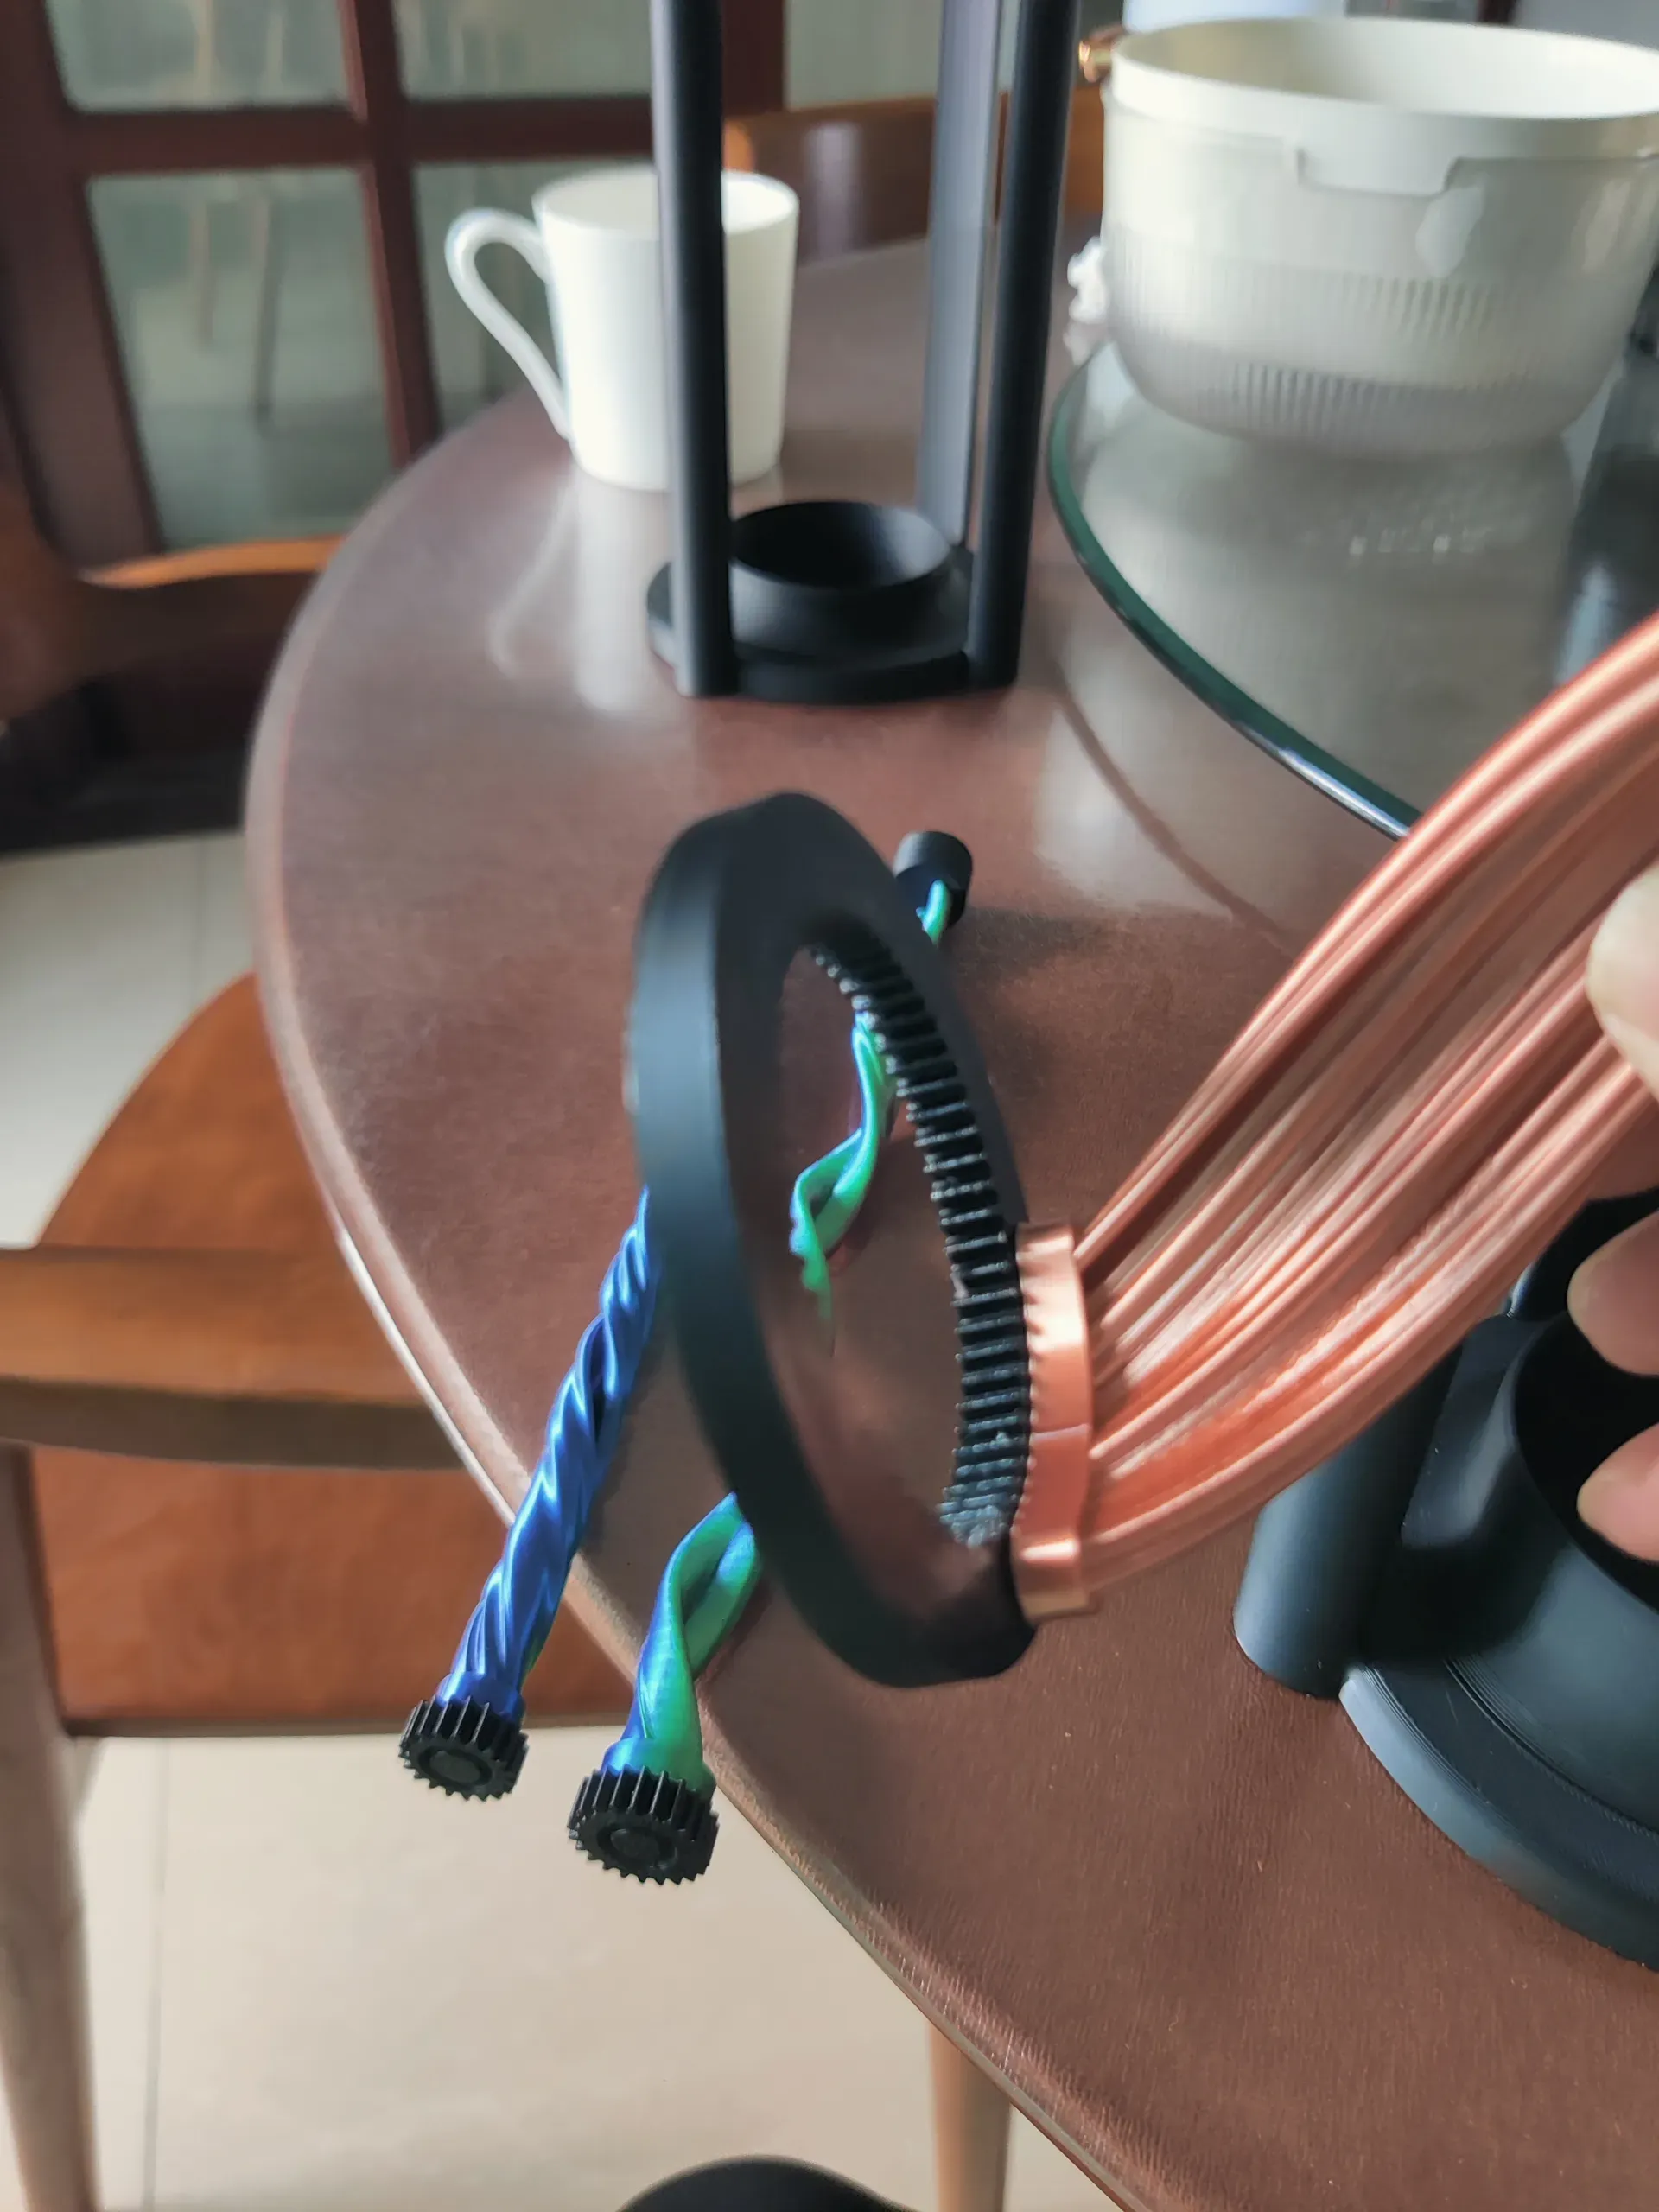
- Slide the handle part up and down. If it's not smooth enough, you can use a toothbrush to lightly apply a thin layer of grease. You can't see the grease with the naked eye, but you can feel it with your fingers.
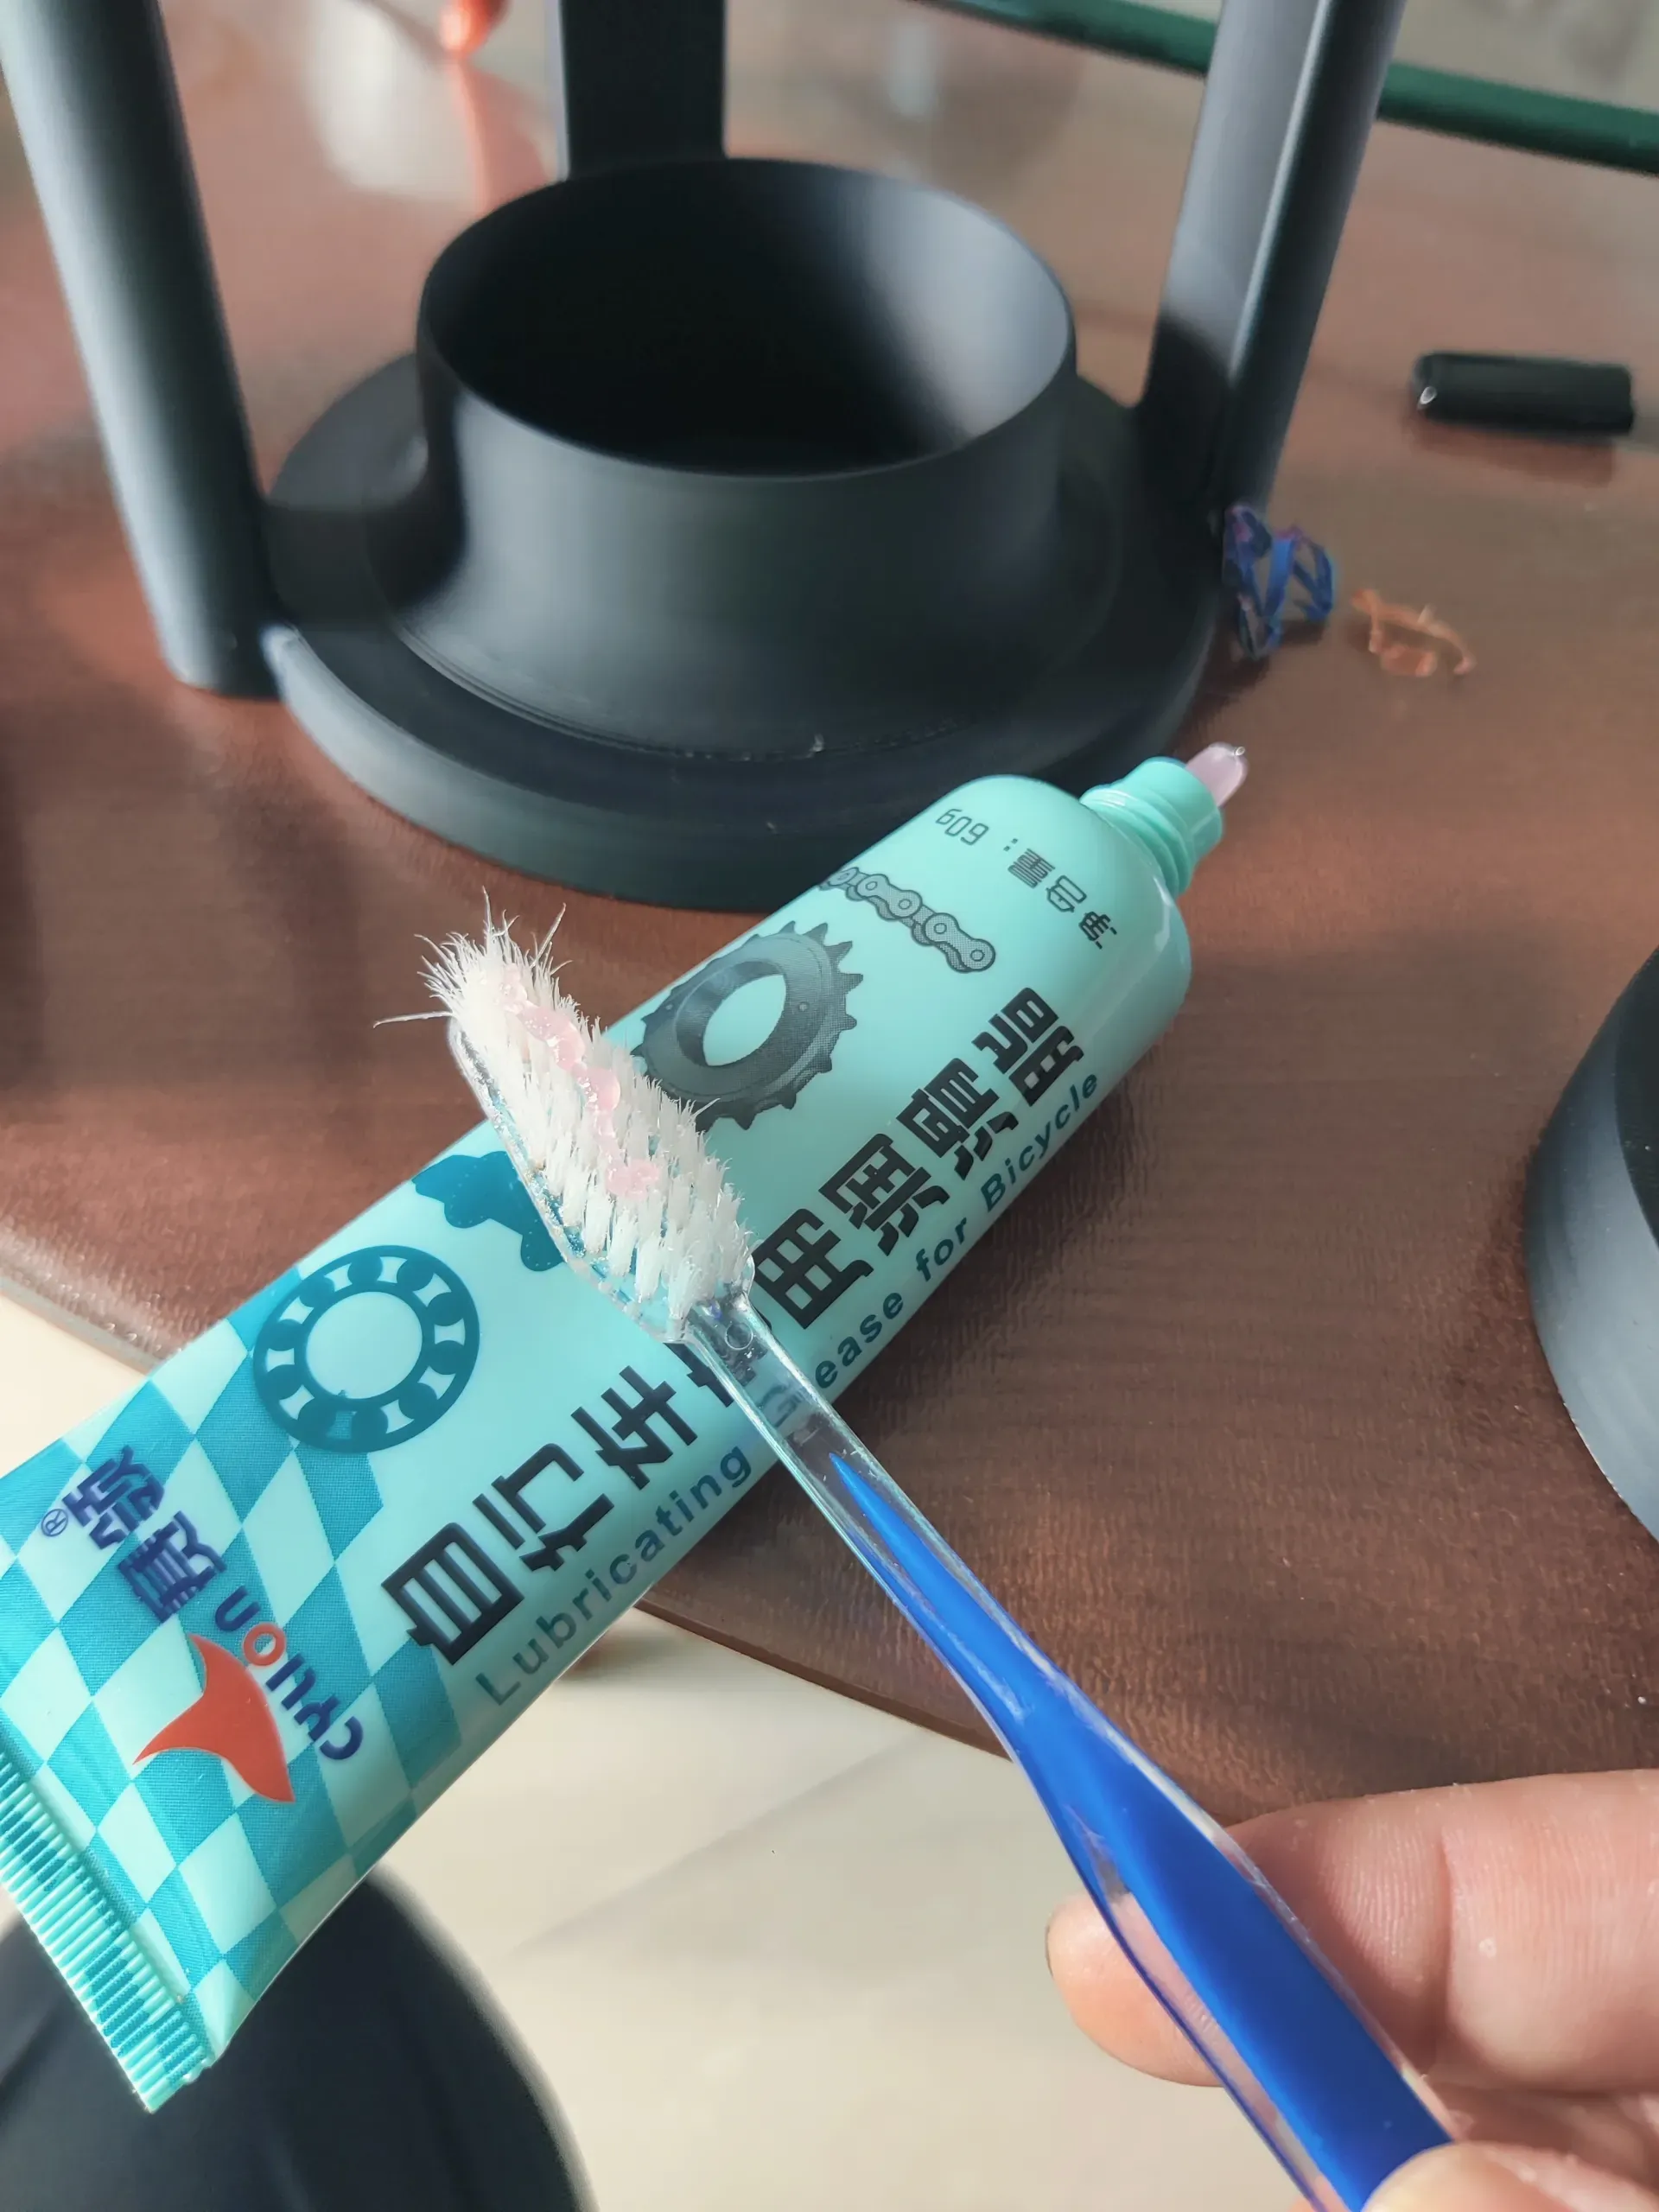
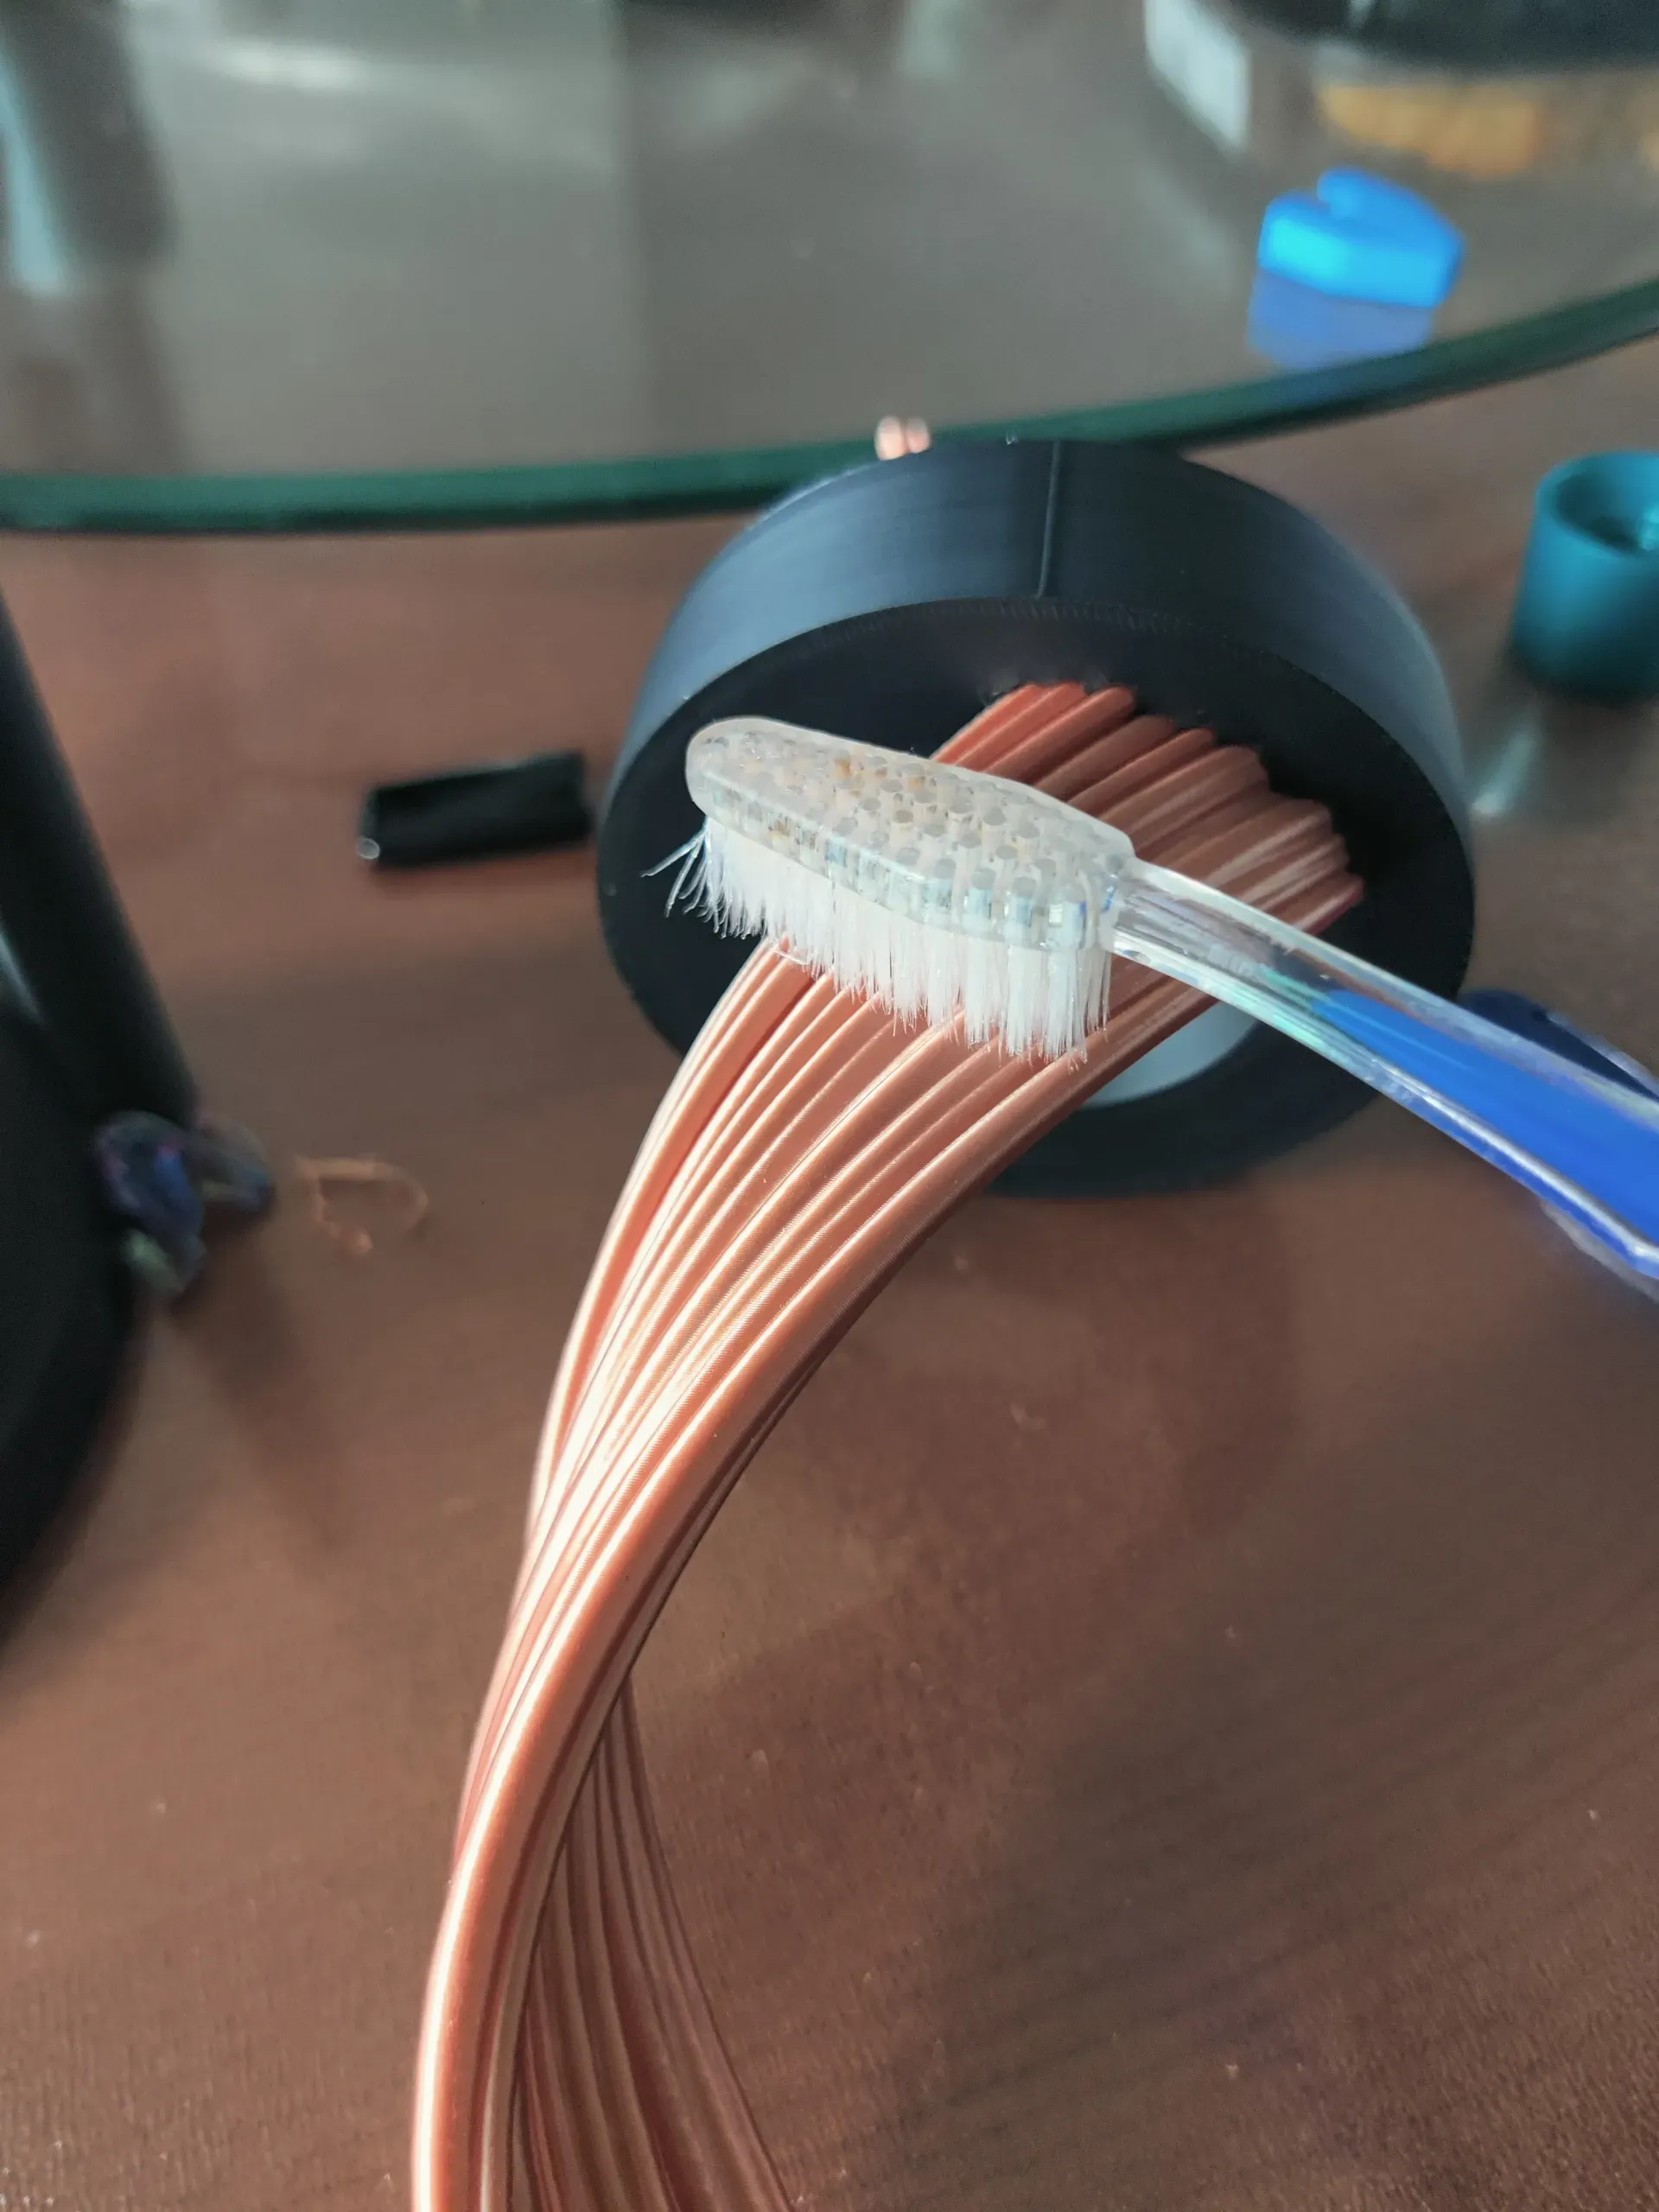
- Put it in the base, and you can use lubricating oil in the grooves of the gear and the bottom of the gear.
- Before installing the top bracket, please check if the four head sleeves are at the same height. If not, please check if the sleeves and gears are installed in place.
- Don't worry too much about whether the concave of the top sleeve aligns with the circular limit protrusion of the top. We'll adjust it slowly later.
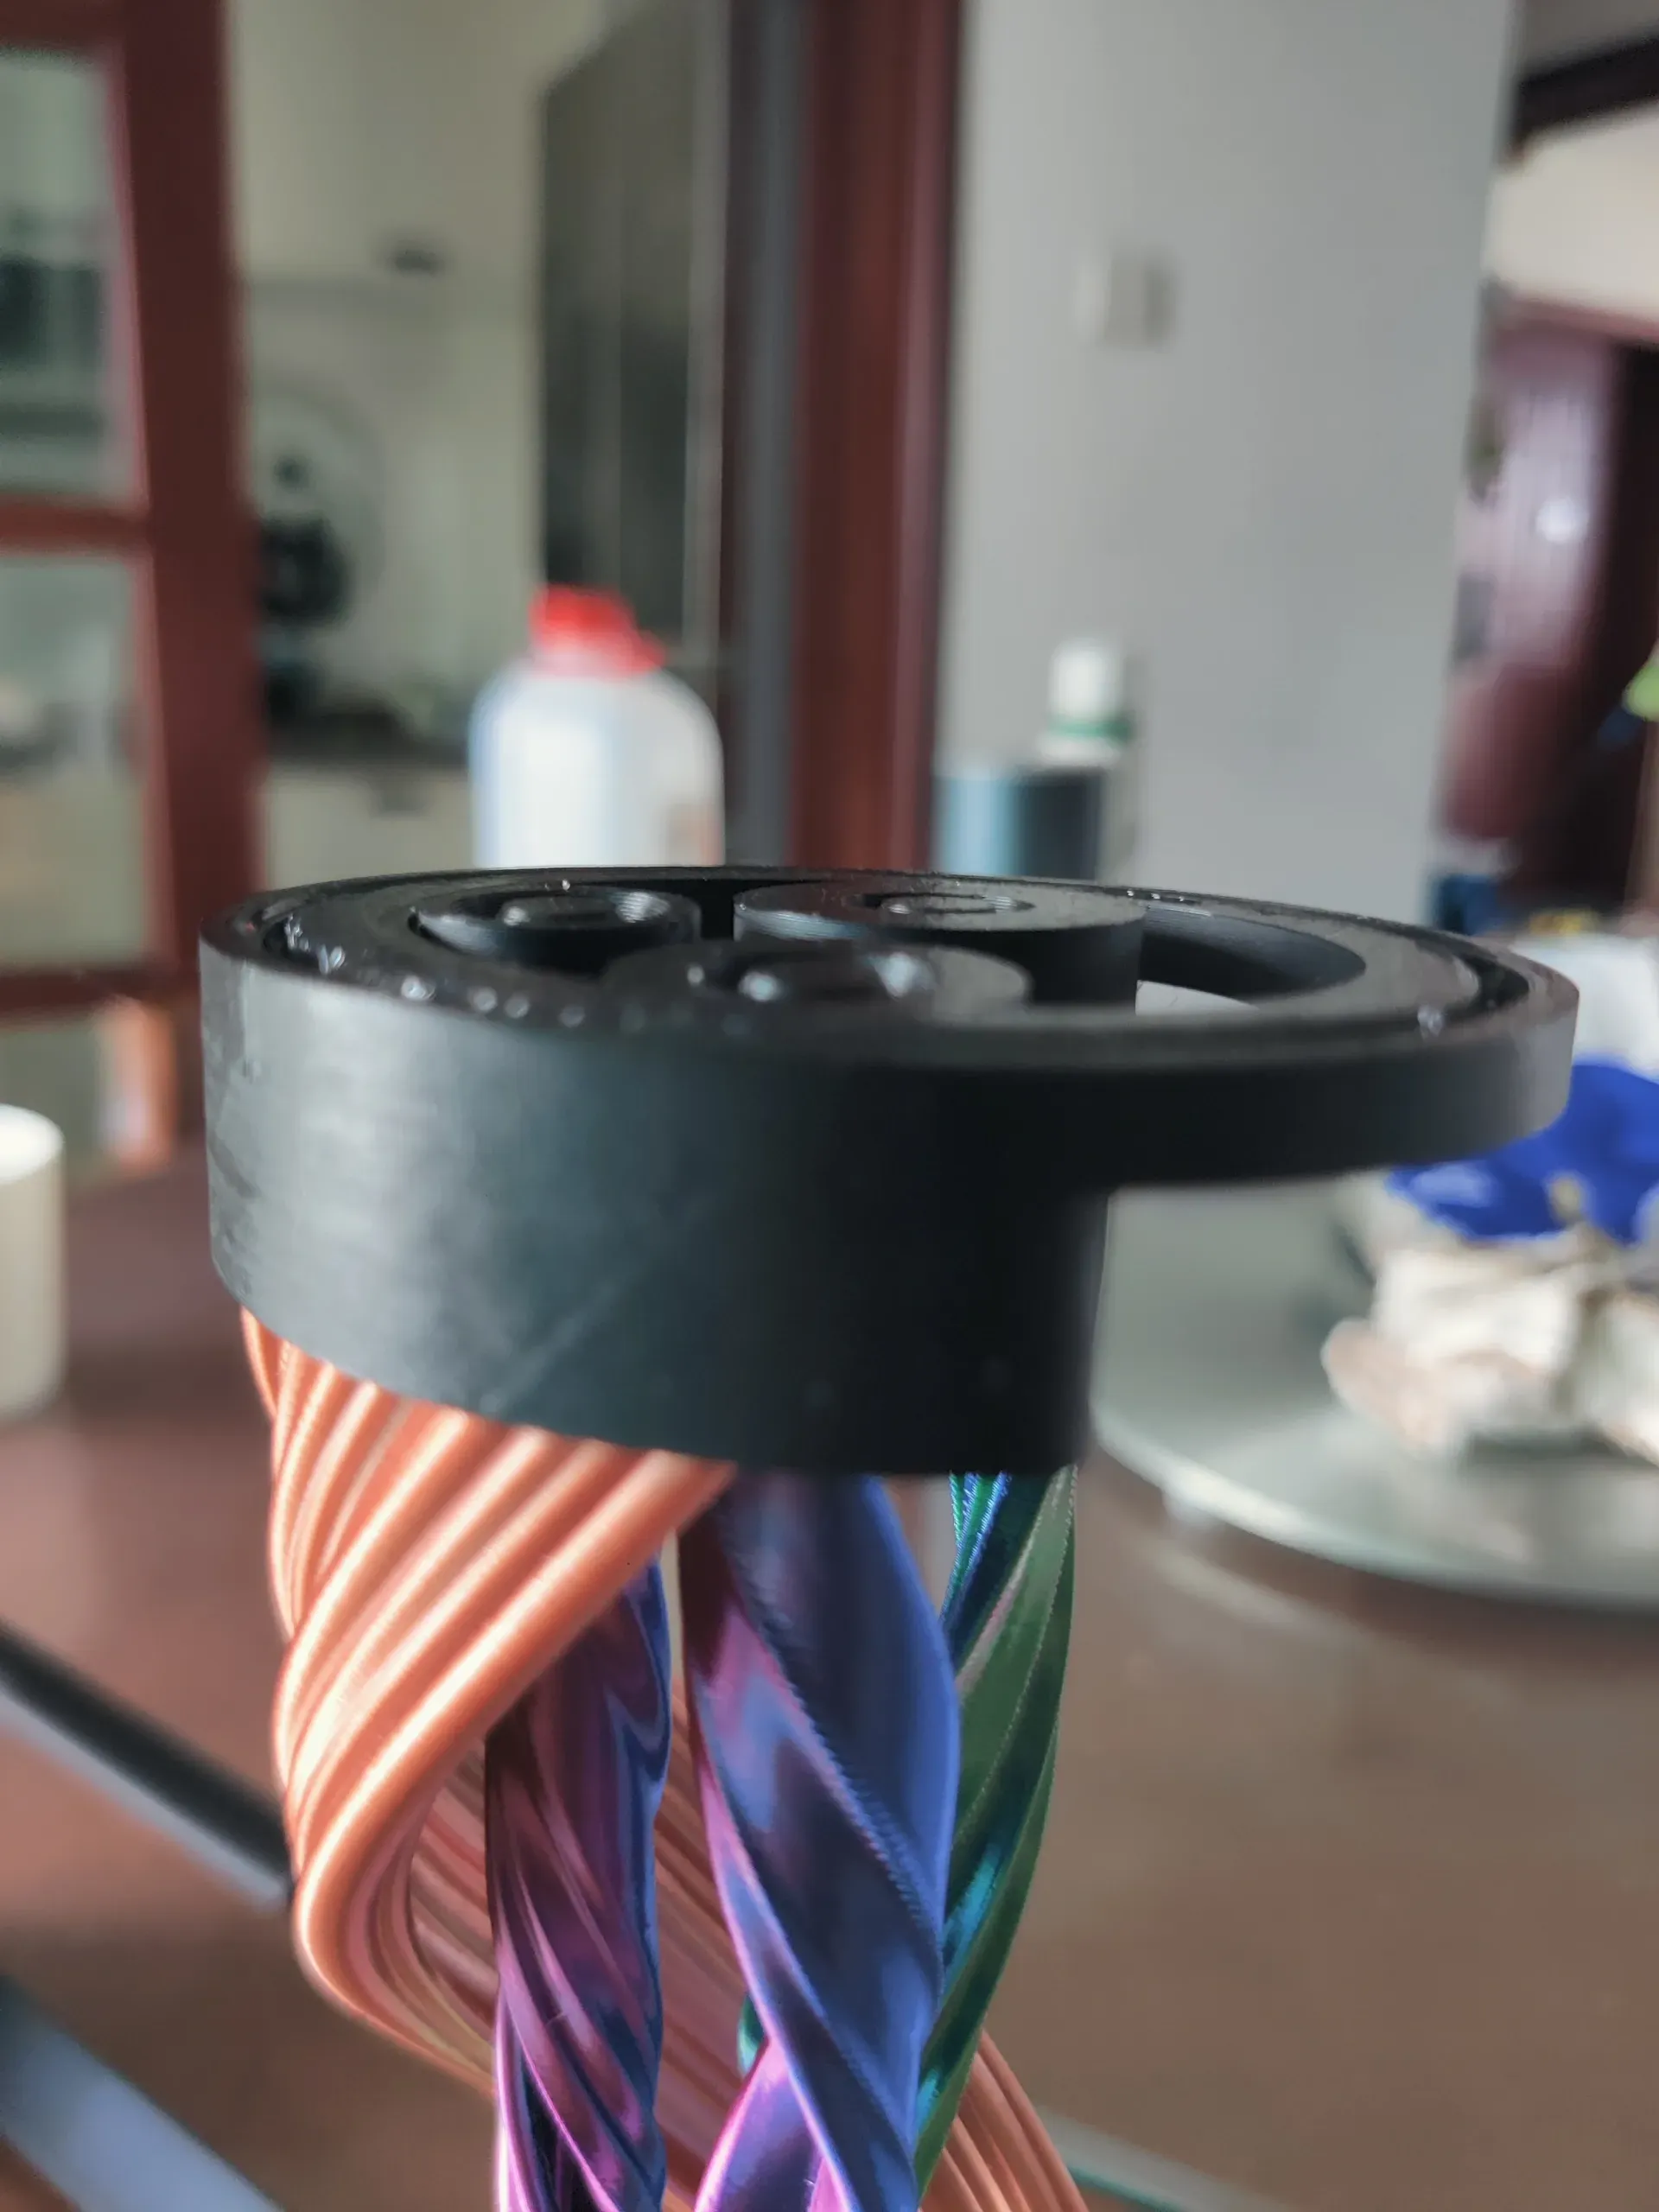
- Install the top bracket. Align the three pillars and insert them. Then, adjust the three middle rods while pressing down on the top bracket to ensure that the three rods are accurately snapped into the circular limits of the top and bottom bases. Since you can't move it left and right at this time, after all the pieces are in place, simply adjust the tightness of the top and bottom bases, and you can try to slide the handle in the middle.
- If everything is OK, you can use 502 glue to glue the three pillars of the top and bottom bases.
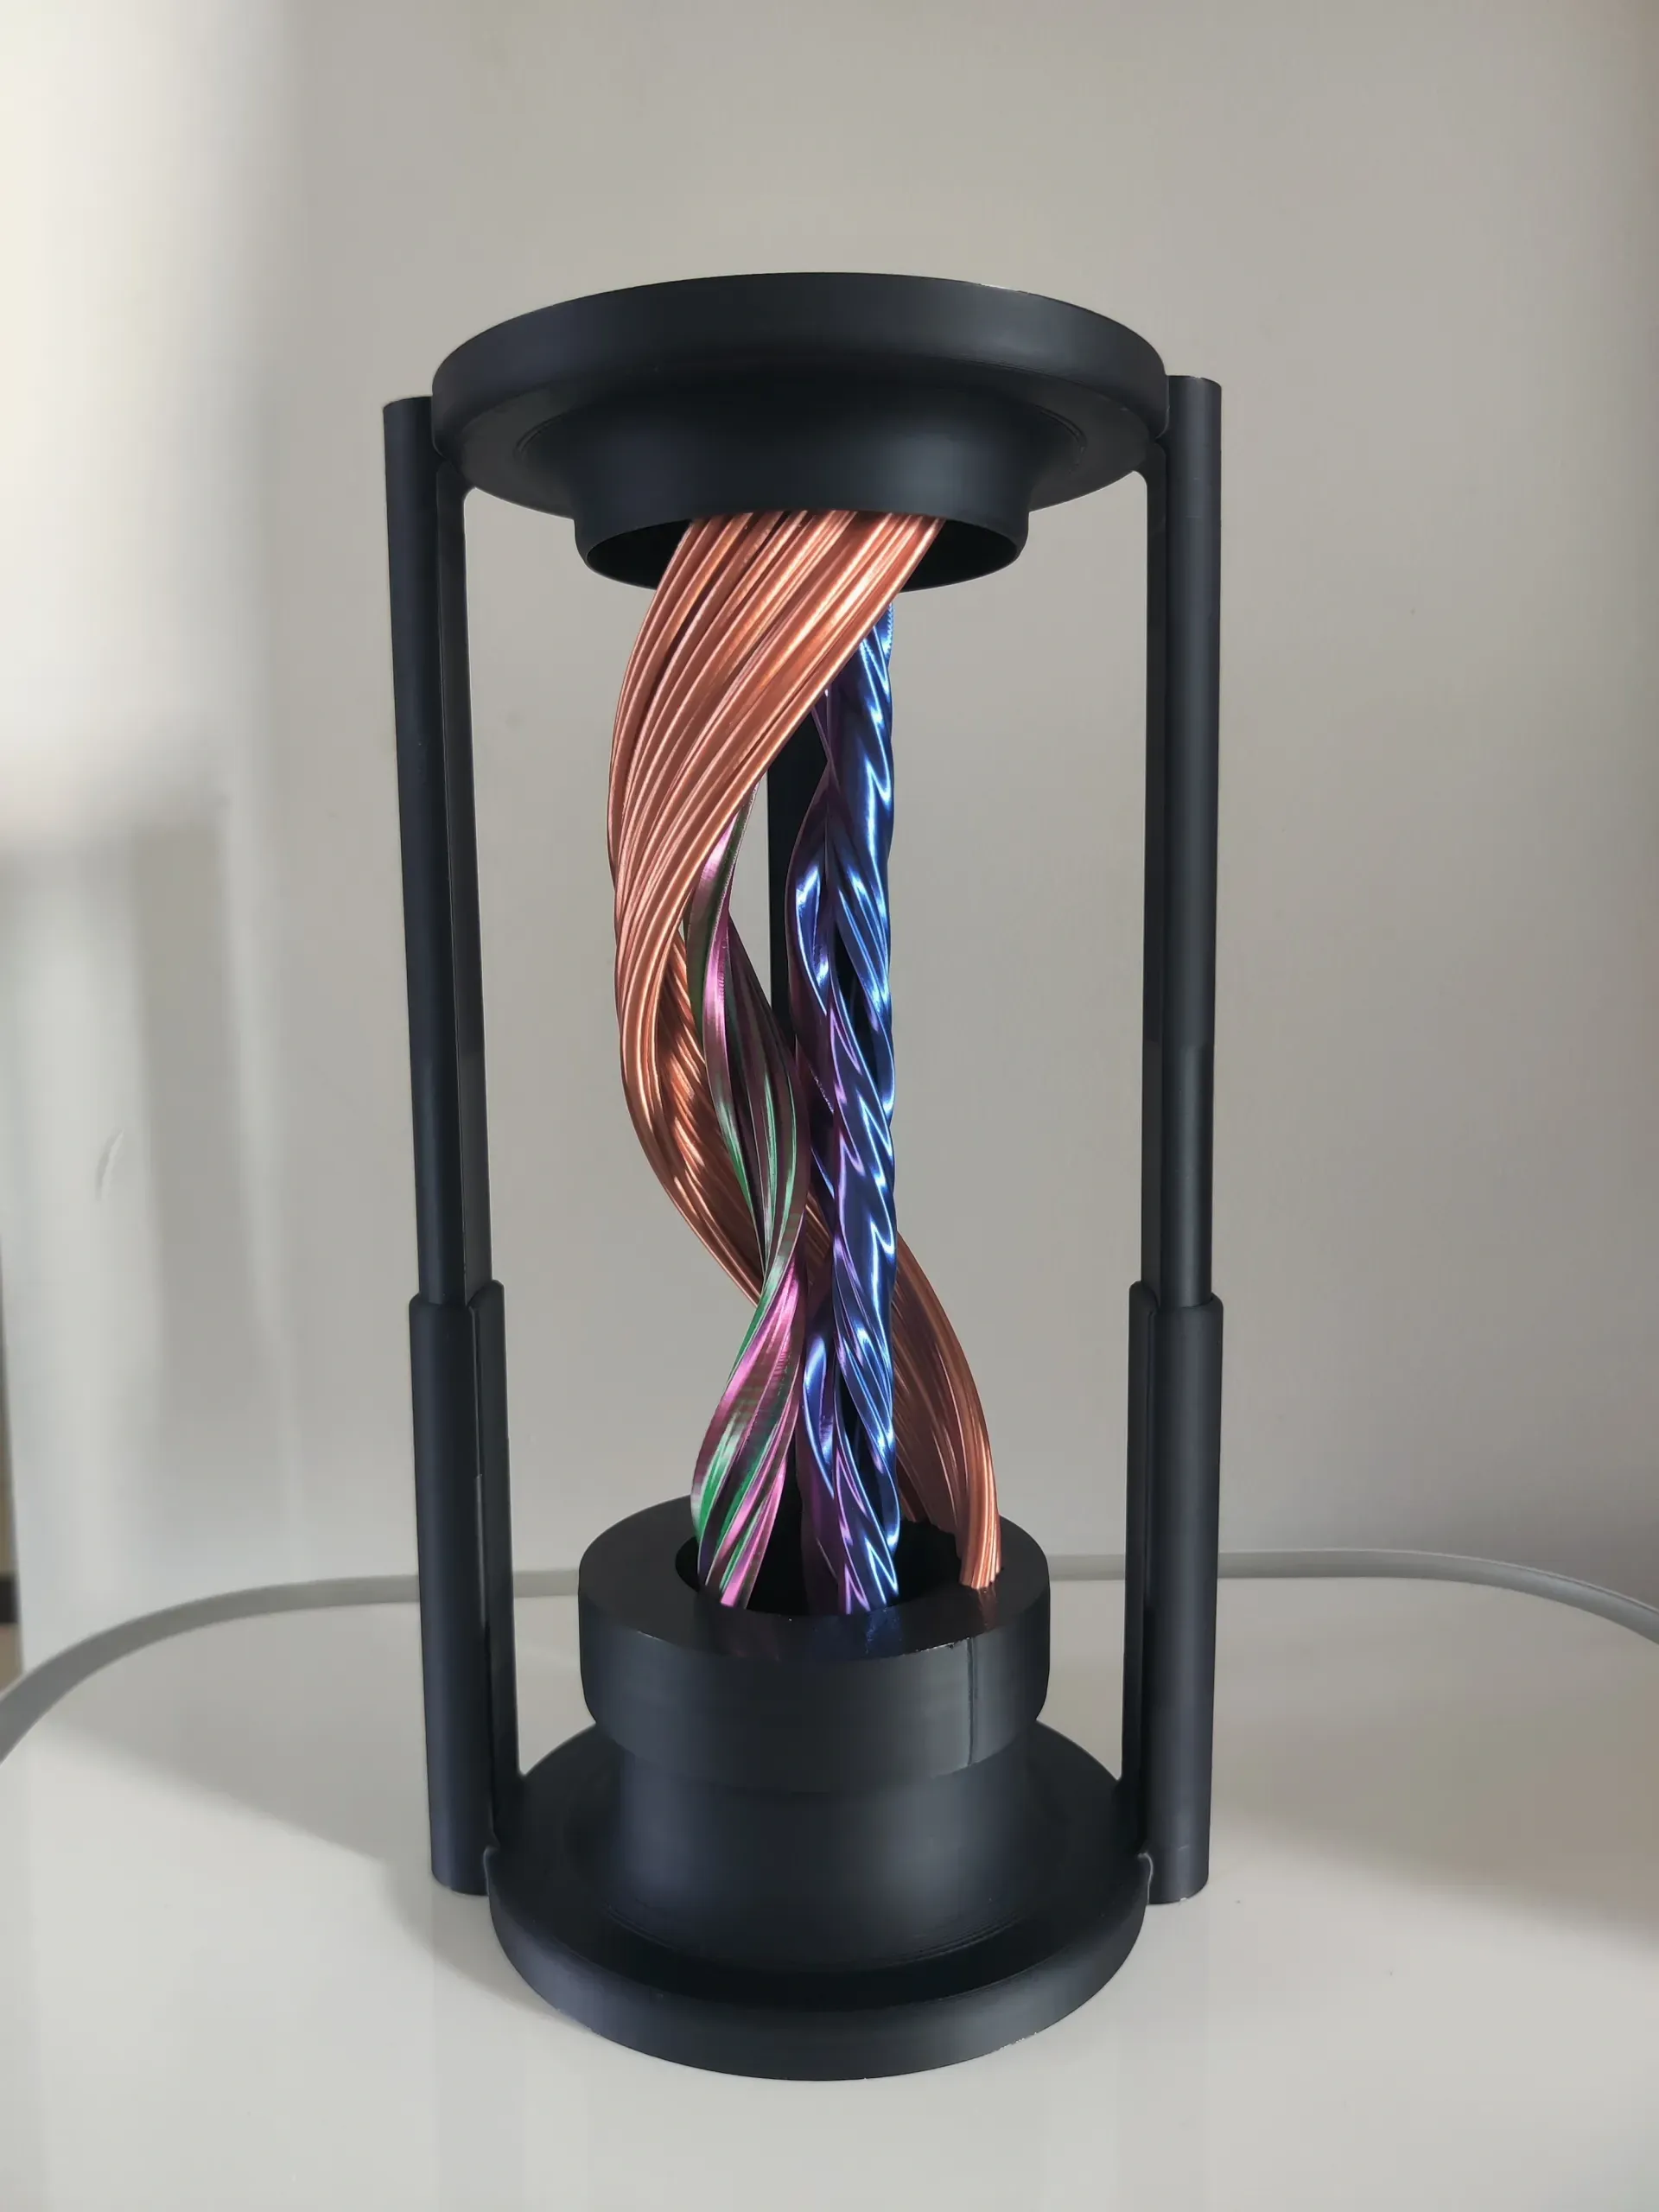
You're done! Start your magic show! ~!
Boost Me (for free)
If you like this model, please boost me and like it, thank you!
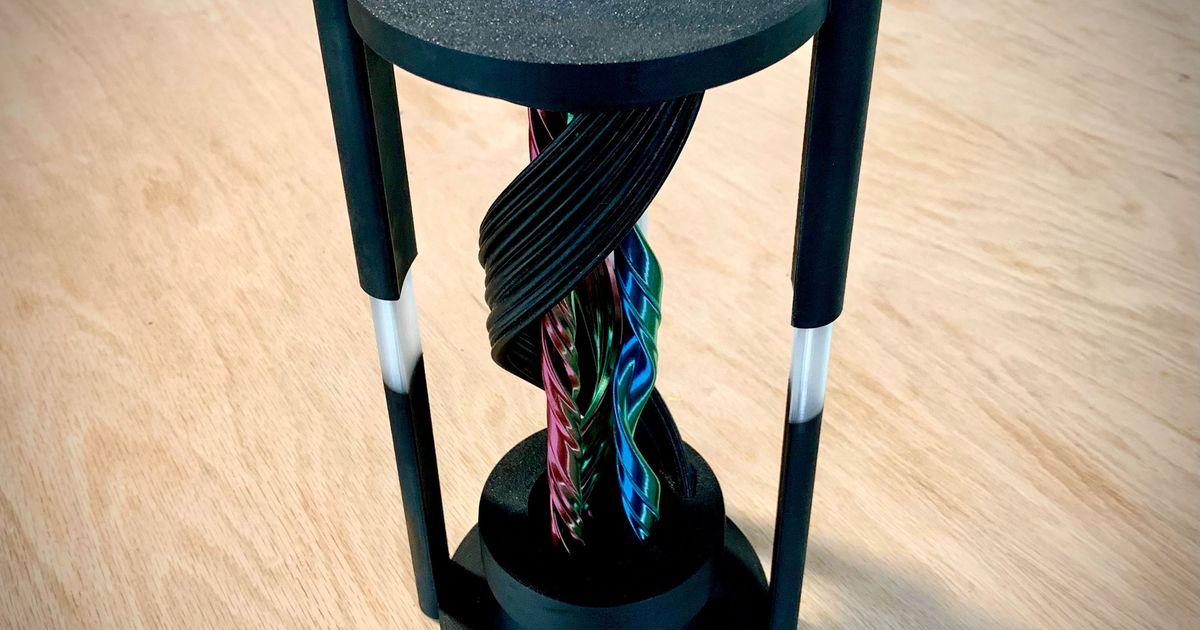
This remix is based on
License



Comment & Rating (15)