
DIN Rail Mount with Adapterplate for ESP8266

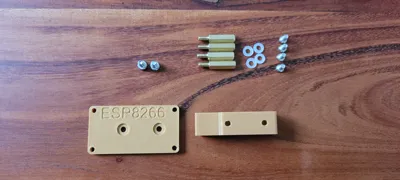
Print Profile(1)

Bill of Materials

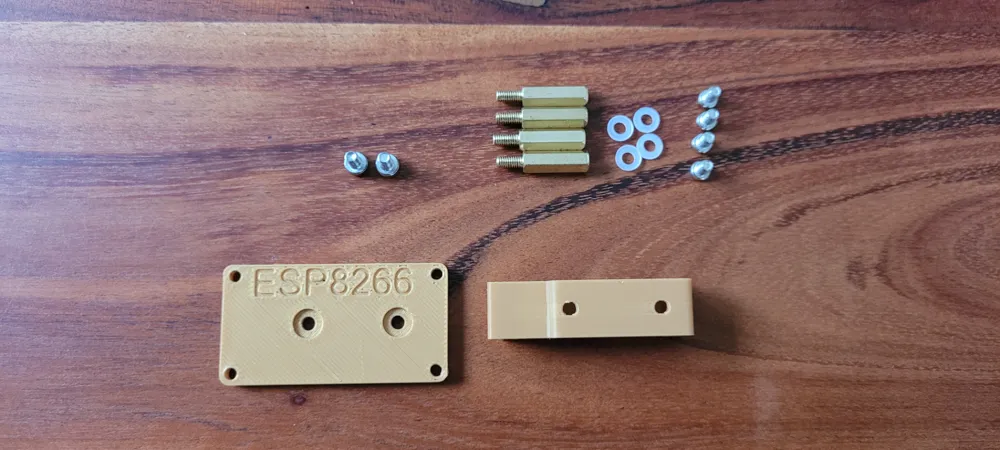
- StandoffM3 x 4: StandoffM3
- M3screwforStandoff x 4: M3screwforStandoff
- PlasticWasherM3 x 4: PlasticWasherM3
Description
Hello my Friend and Welcome to my Page :) Have Fun with the choosen Model and let me know what you think after Printing it in the Comments. I appreciate every Feedback and hope you find something usefull for yourself. Enjoy
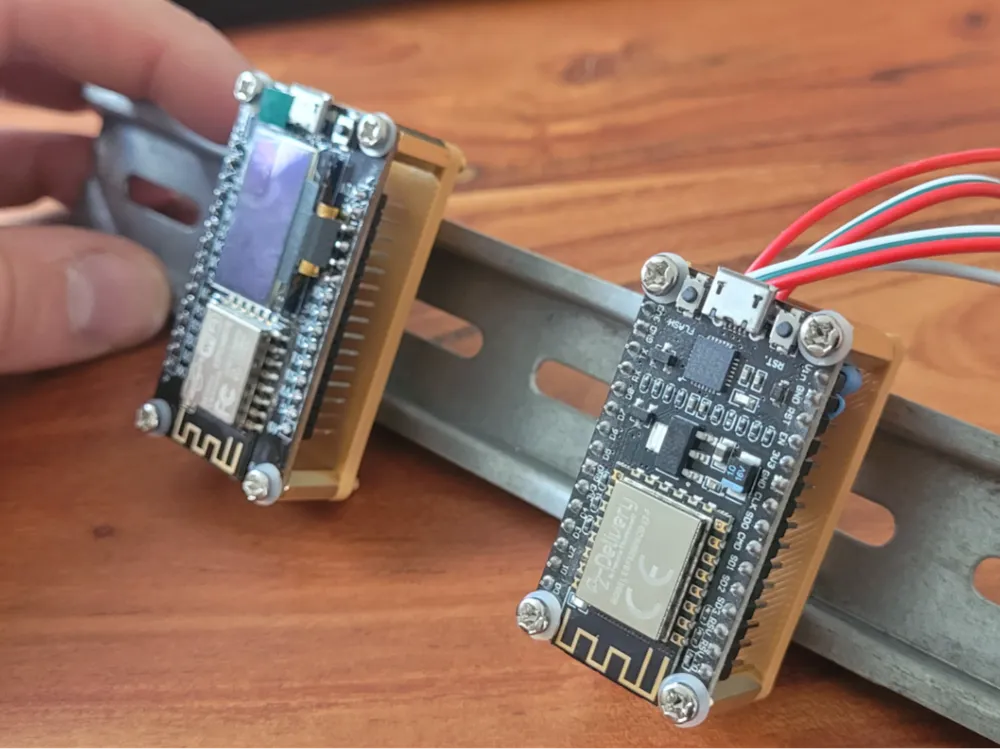
DIN Rail Mount for ESP8266 and ESP8266 from Ideasprak
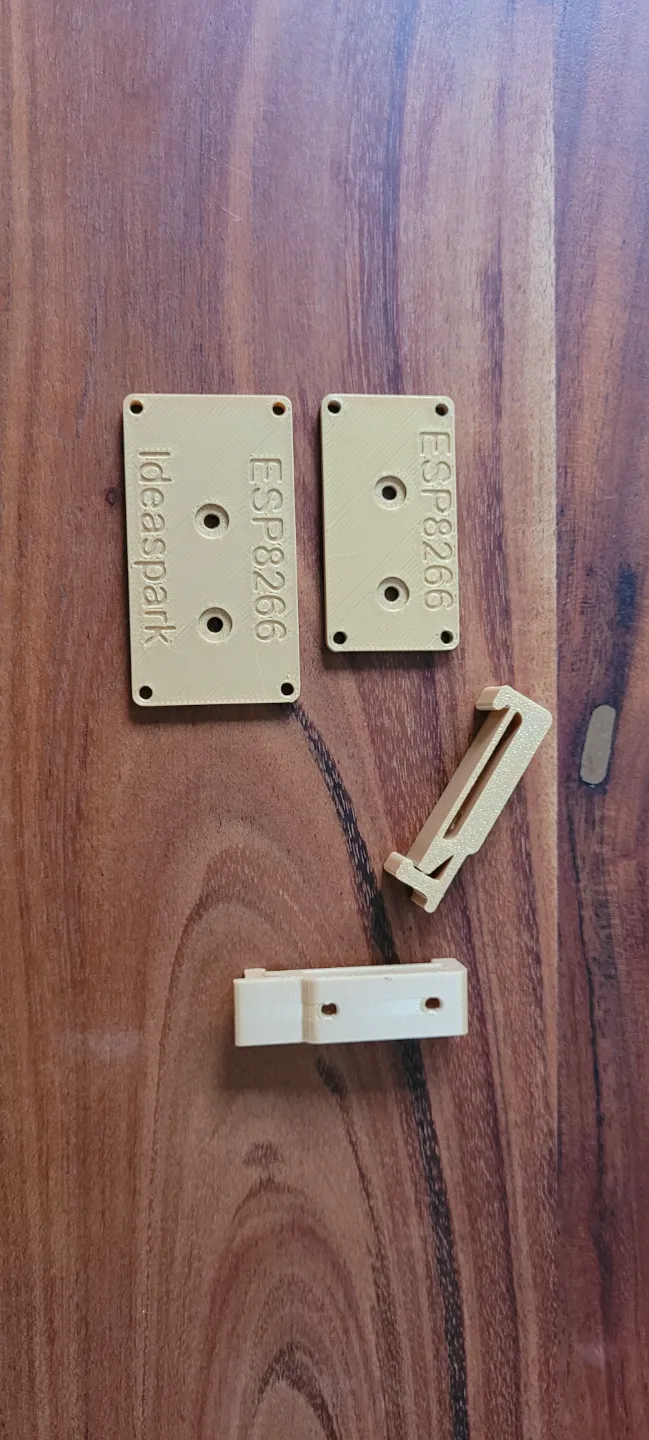
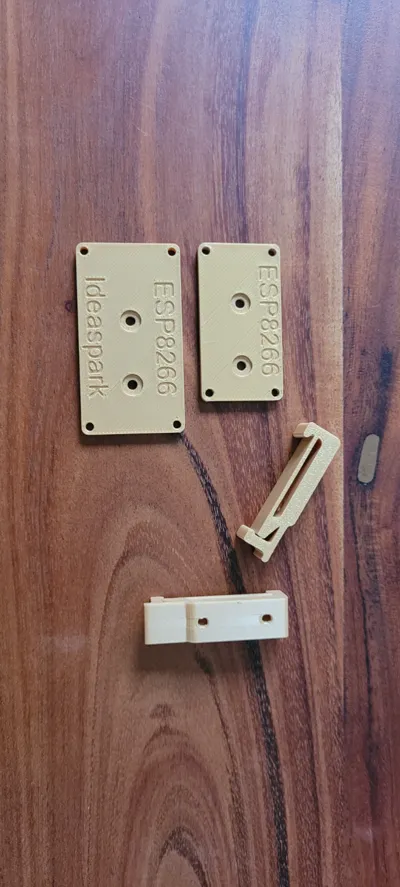
For an WLED Projekt i needed Something to Mount my ESP8266 and ESP8266 from Ideaspark onto a Din Rail. I didnt find anything related so i designed one by Myself. This Bracket is build out of 2 Parts. One Part is the Clip for the DIN Rail and the other Part is an Specific Adapterplate for a normal ESP8266 Devboard or an ESP8266 from Ideaspark with Display. Please choose the right one for your purpose.
Boost Me (for free)
If you Like my Work, please leave a Comment, show some Makes or reward me with a little Boost, I appreciate every single one :)
If needed, you can design your own Adapterplate and use my DIN Rail Mount to combine them.
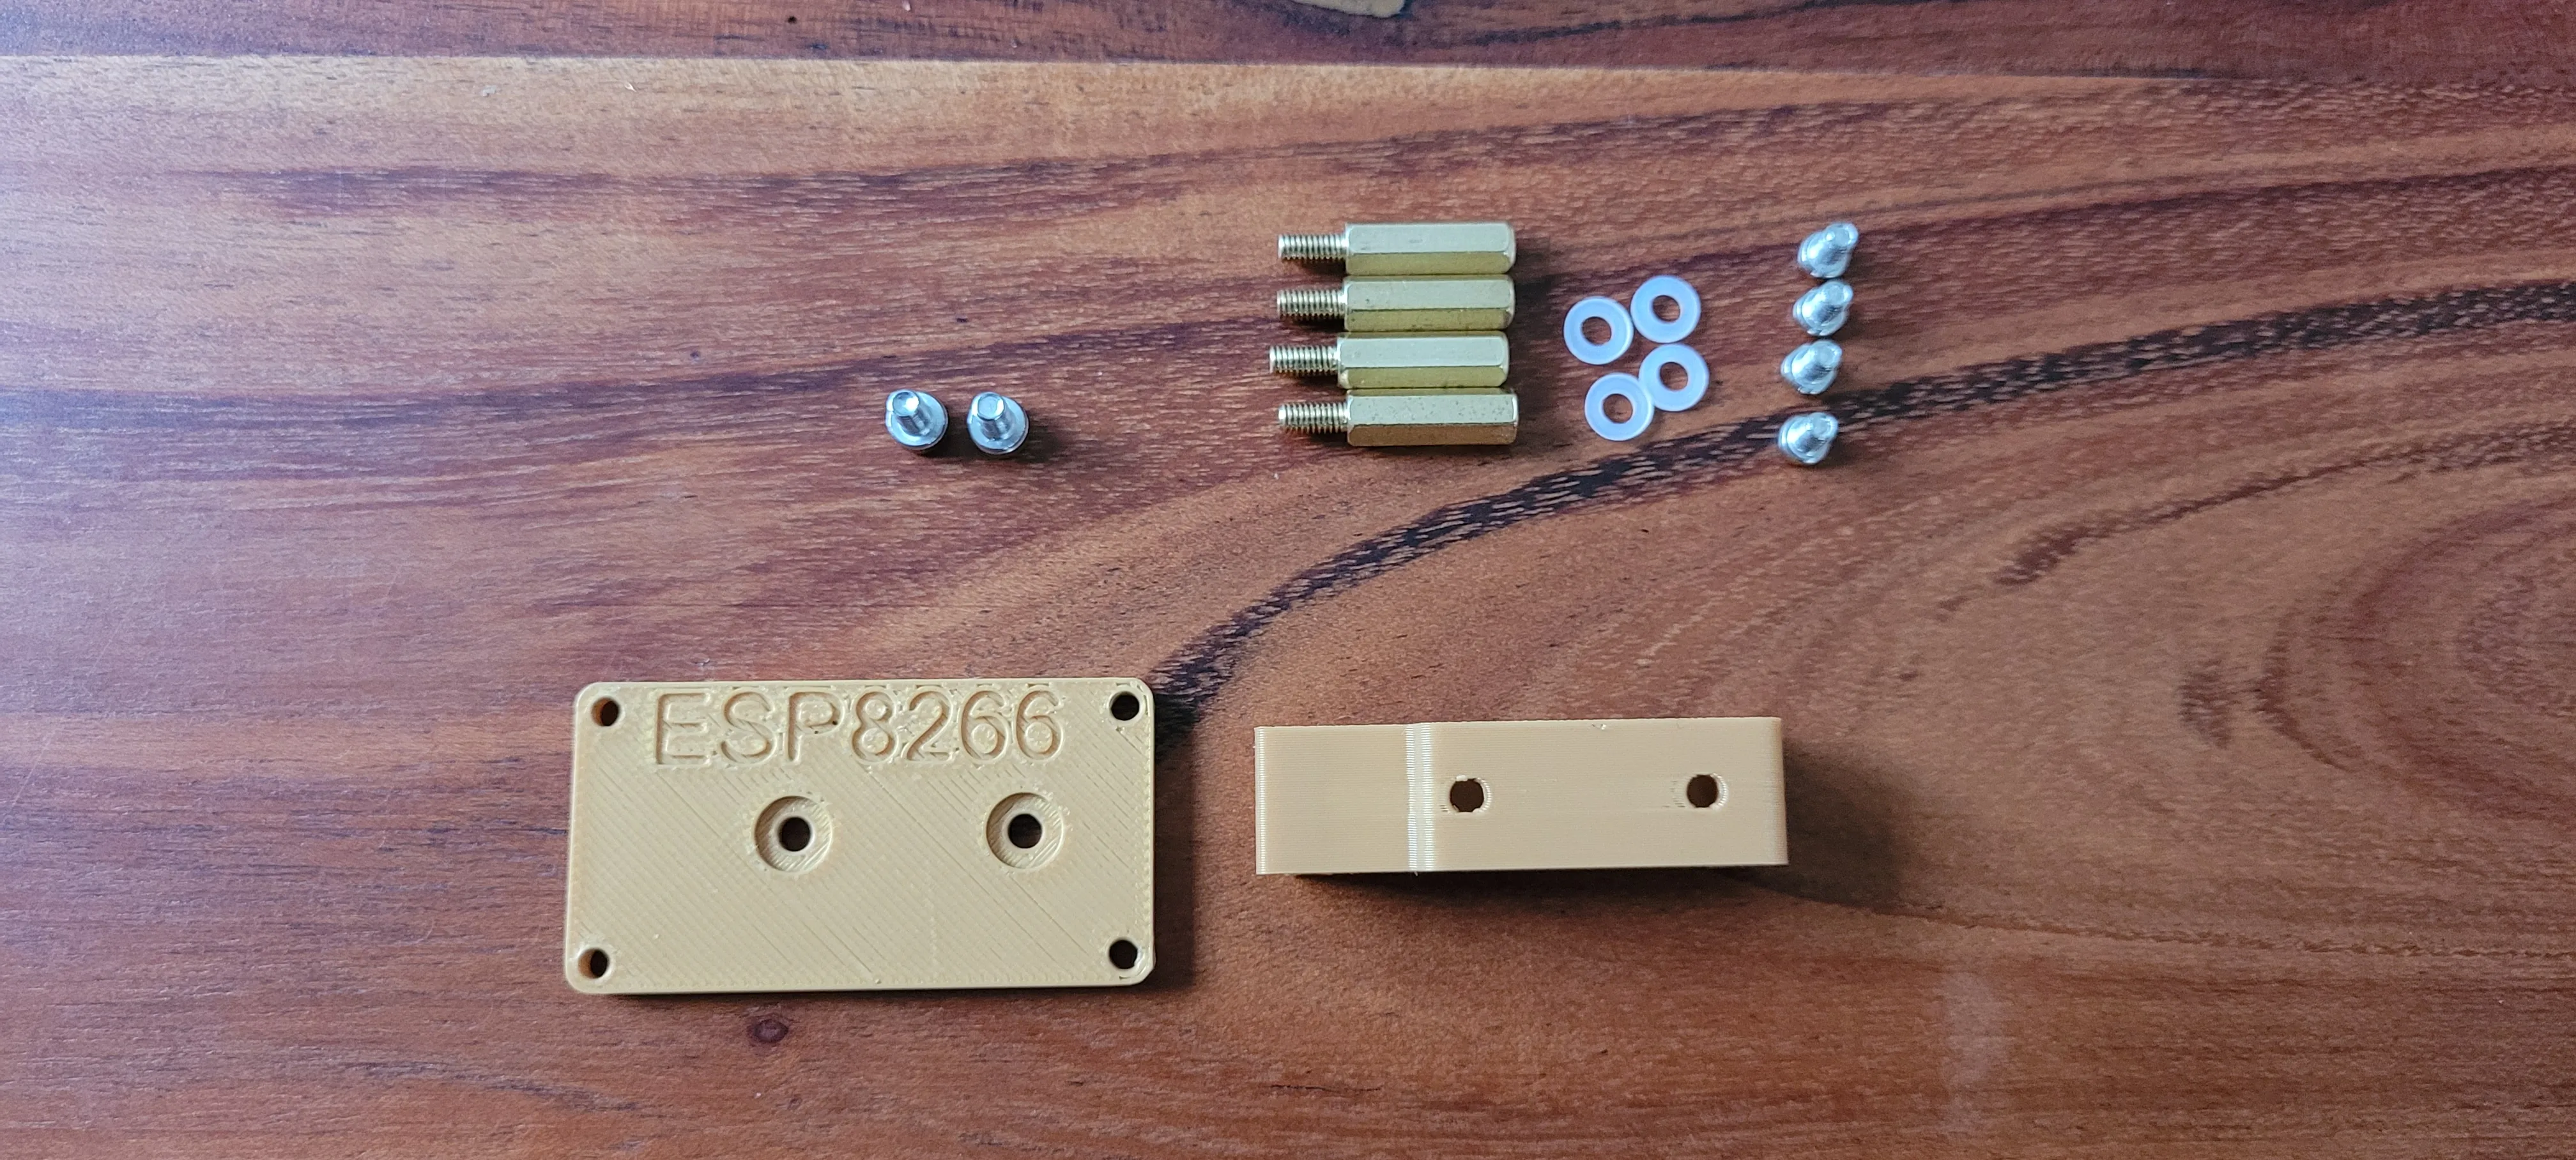
Assembly: To assemble this Mount you need some non 3D Printed Parts which i put in a list below:
- 2x M3x6 Screw
- 4x Standoff M3
- 4x Plastic Washer (Normally they are in the Package with the Standoffs)
- 4x M3 Standoff Screw (Normally they are in the Package with the Standoffs)
- z.B. ESP8266 von AZDelivery
- https://www.amazon.de/AZDelivery-NodeMCU-ESP8266-ESP-12E-Development/dp/B06Y1ZPNMS/ref=sr_1_5?crid=28VIRBXVY882W&dib=eyJ2IjoiMSJ9.Tyi-i9utCuAkMy9qmV7ieLkEZH0qGi7Xi3lR0L8OiJIgwTTuQKDTDuoxXFpK40lhVbPVA1vNJ4ZFQ6LxtIo-u-WKLbTfbw-7dyy_qTpNyF7_sRVUEPV-nyFXgLVxQlppWKev2J43x7t-VLbbs91gI0R-8nlIjh5sGeZK0qT7I8w_k4vV5Kdl0-t_i58LRNhQuY_0xxdXOa9Q3CBPikNLBJMks0UQURSkMHV7MMCK6gE.rVKIyjVZ1fBZdQbQSo3GSjAEryJ0mMrYkR8EyBDW4a8&dib_tag=se&keywords=esp8266+azdelivery&qid=1729695602&sprefix=ESP8266+AZ%2Caps%2C113&sr=8-5
or ESP8266 Ideaspark with Display
https://www.amazon.de/APKLVSR-NodeMCU-Entwicklungsboard-Wireless-Micropython/dp/B0DF7NN599/ref=sr_1_3?__mk_de_DE=%C3%85M%C3%85%C5%BD%C3%95%C3%91&crid=306AW5VS0Q4UW&dib=eyJ2IjoiMSJ9.z7_4GR96sjlW1ZHm4FL01O-5W2j_DKVJYDTZM0DBLmqlA8Favl2ObDilDGdH2WZgQJbrtcLBgOxgkGW1XBErx-u6ddzElyCLhqG5bNfQNKYUivmXGaIHbsP1Pr_7JHqgyqociCMflQLYWuOEA9ccOaJkrpQZVpzizAw5tluhQYoRN1kEozgCuFhdqHXWgJbJ0QZBItpFvtplLH_9hnV0qkce8fLmb-PvEjpAzEaZRb0.AA7HRJup1XTtI9tPg3CsE5RYuLMlmHXEu9pU6hRwLN0&dib_tag=se&keywords=esp8266+mit+Display&qid=1729695678&sprefix=esp8266+mit+display%2Caps%2C107&sr=8-3
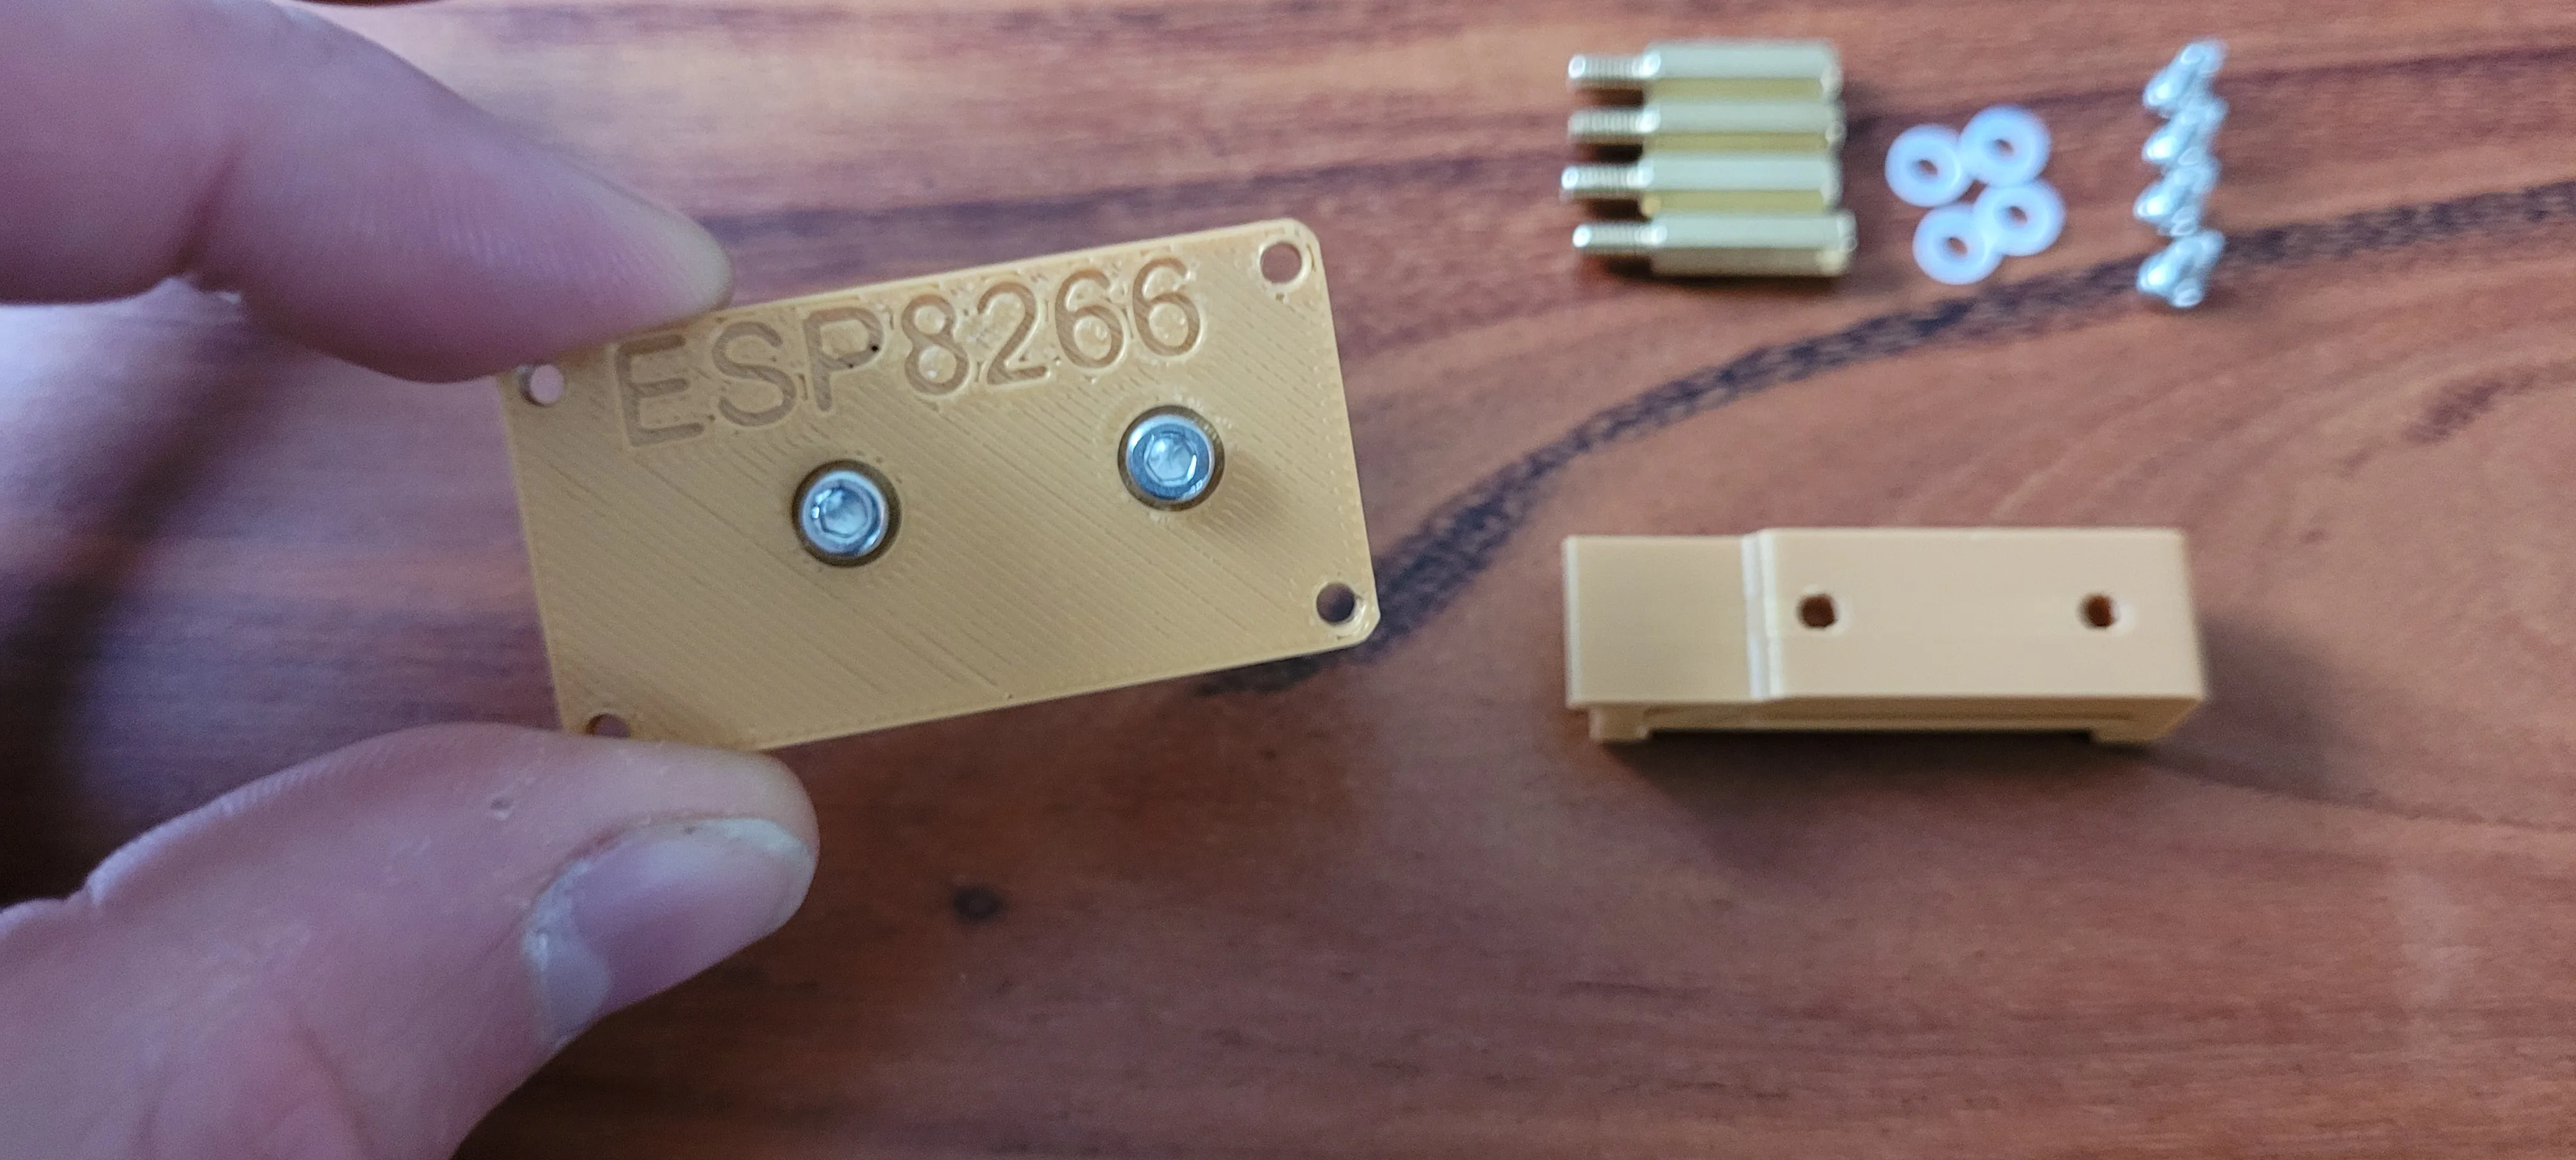
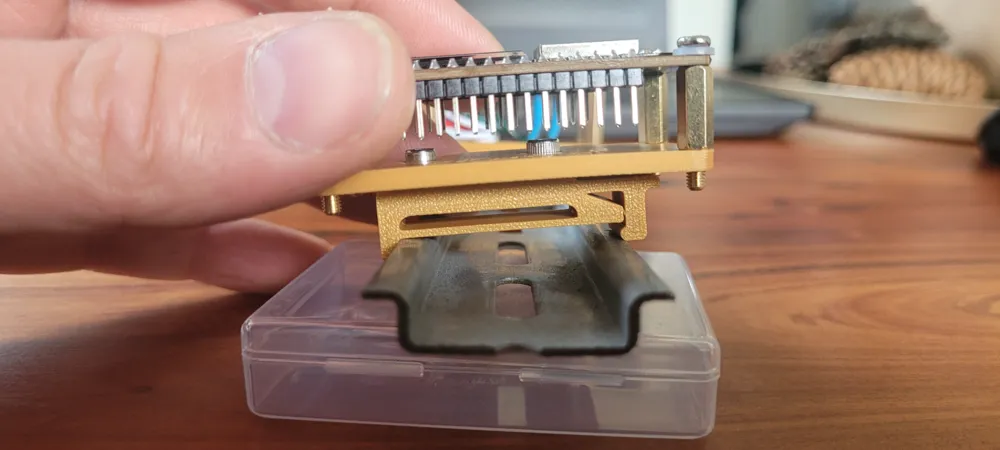
Take the 2 M3x6 Screws and screw the Adapterplate to the DIN Rail mount. Not to tight, the Threats in the Plastic are thin!
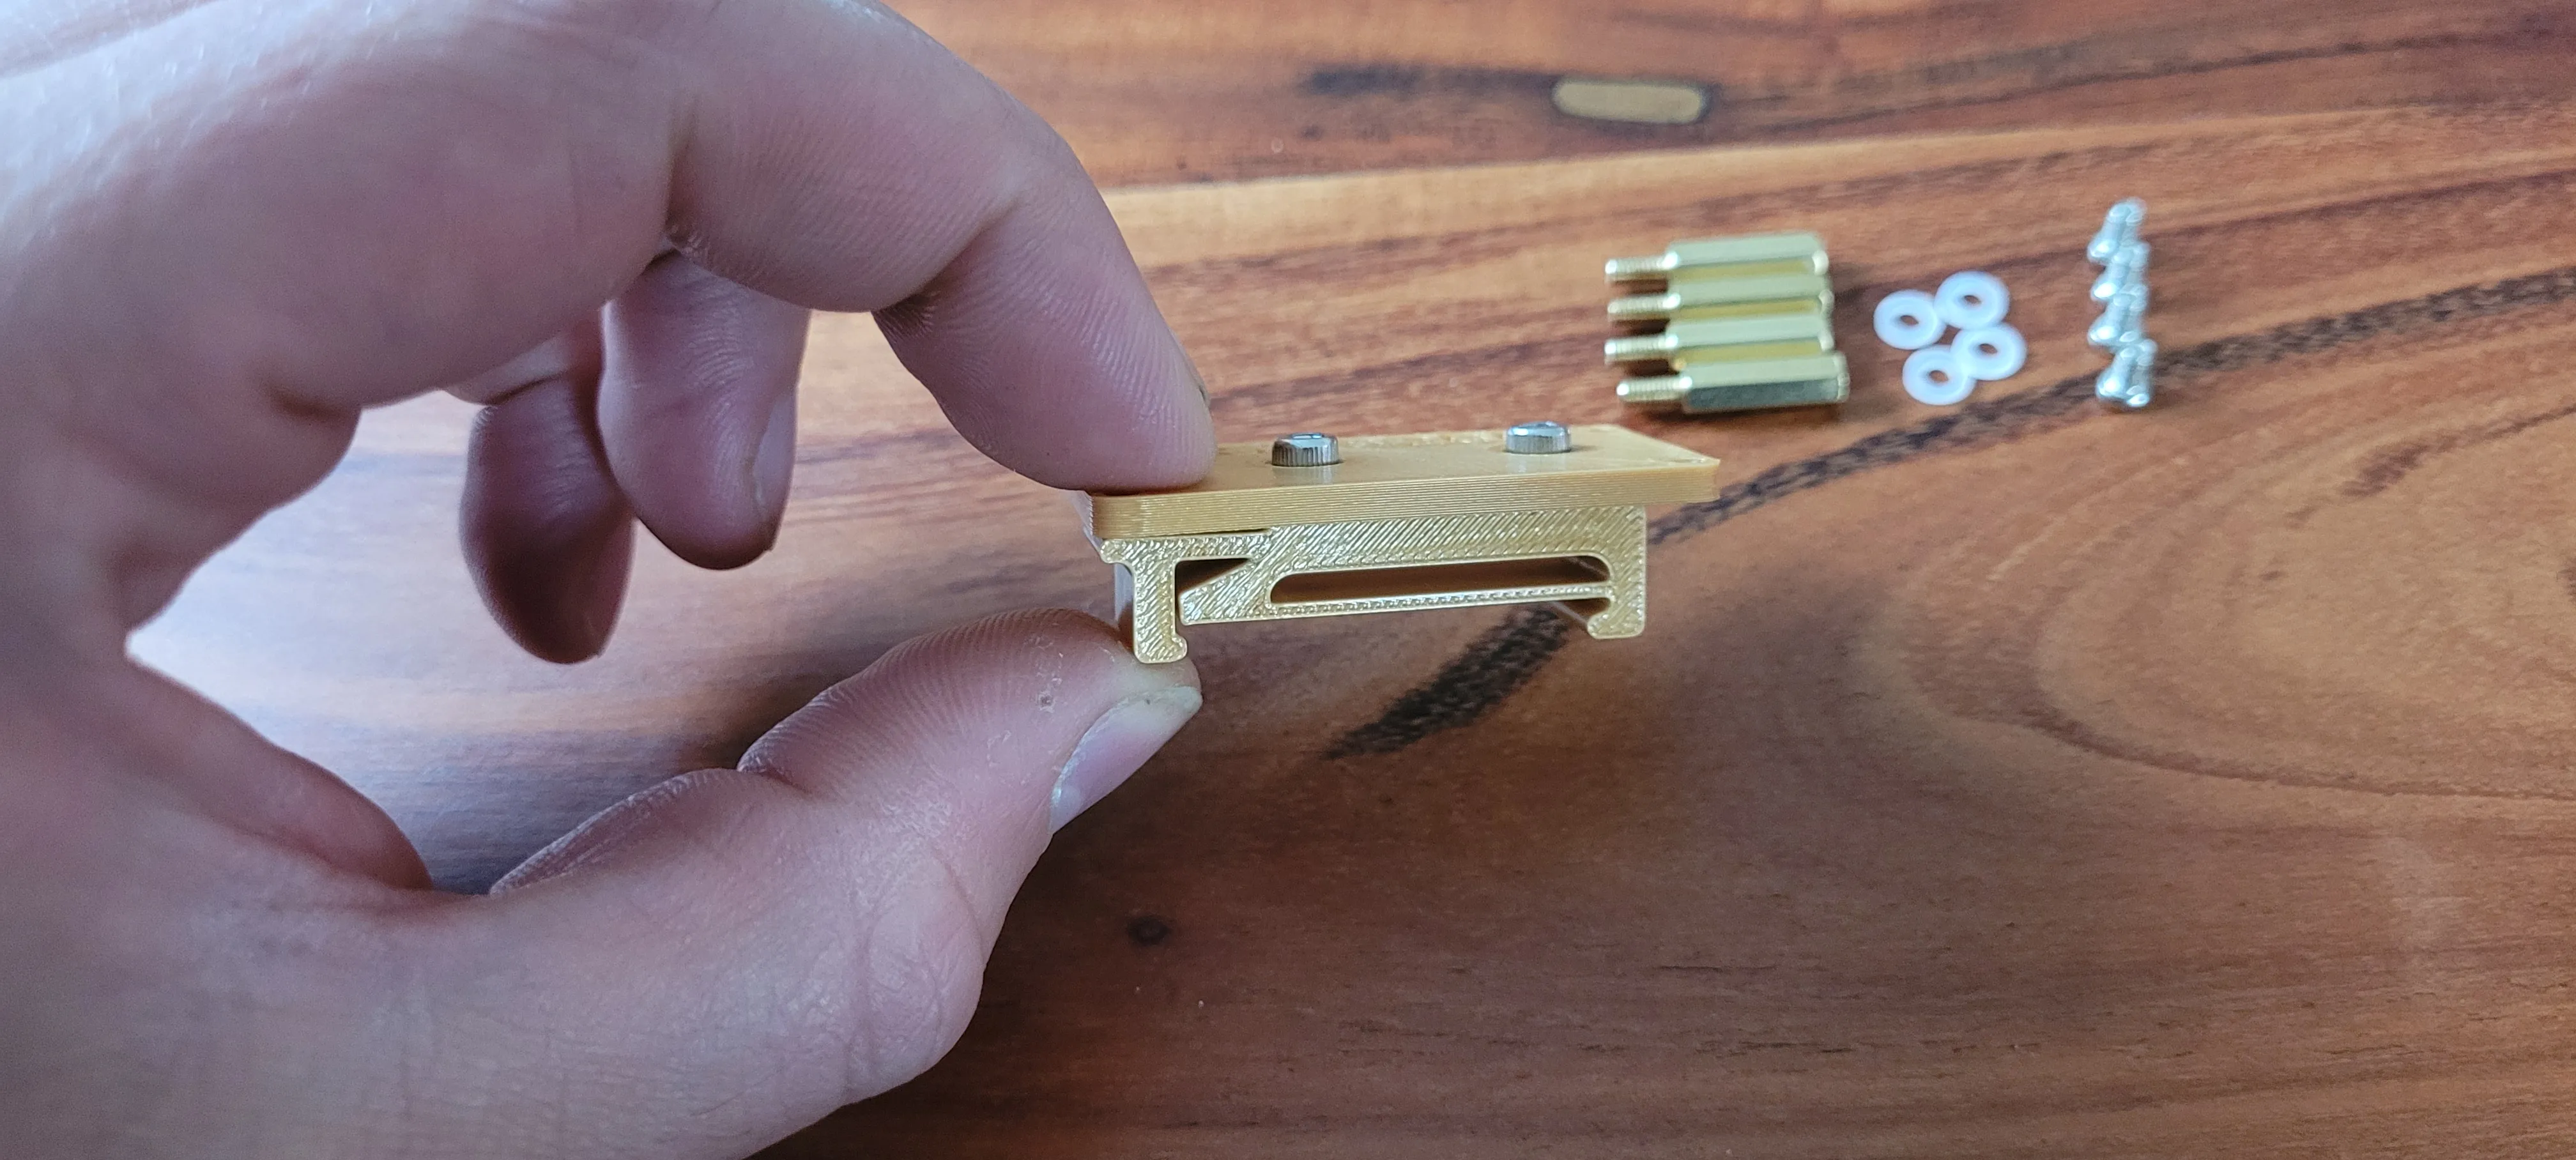
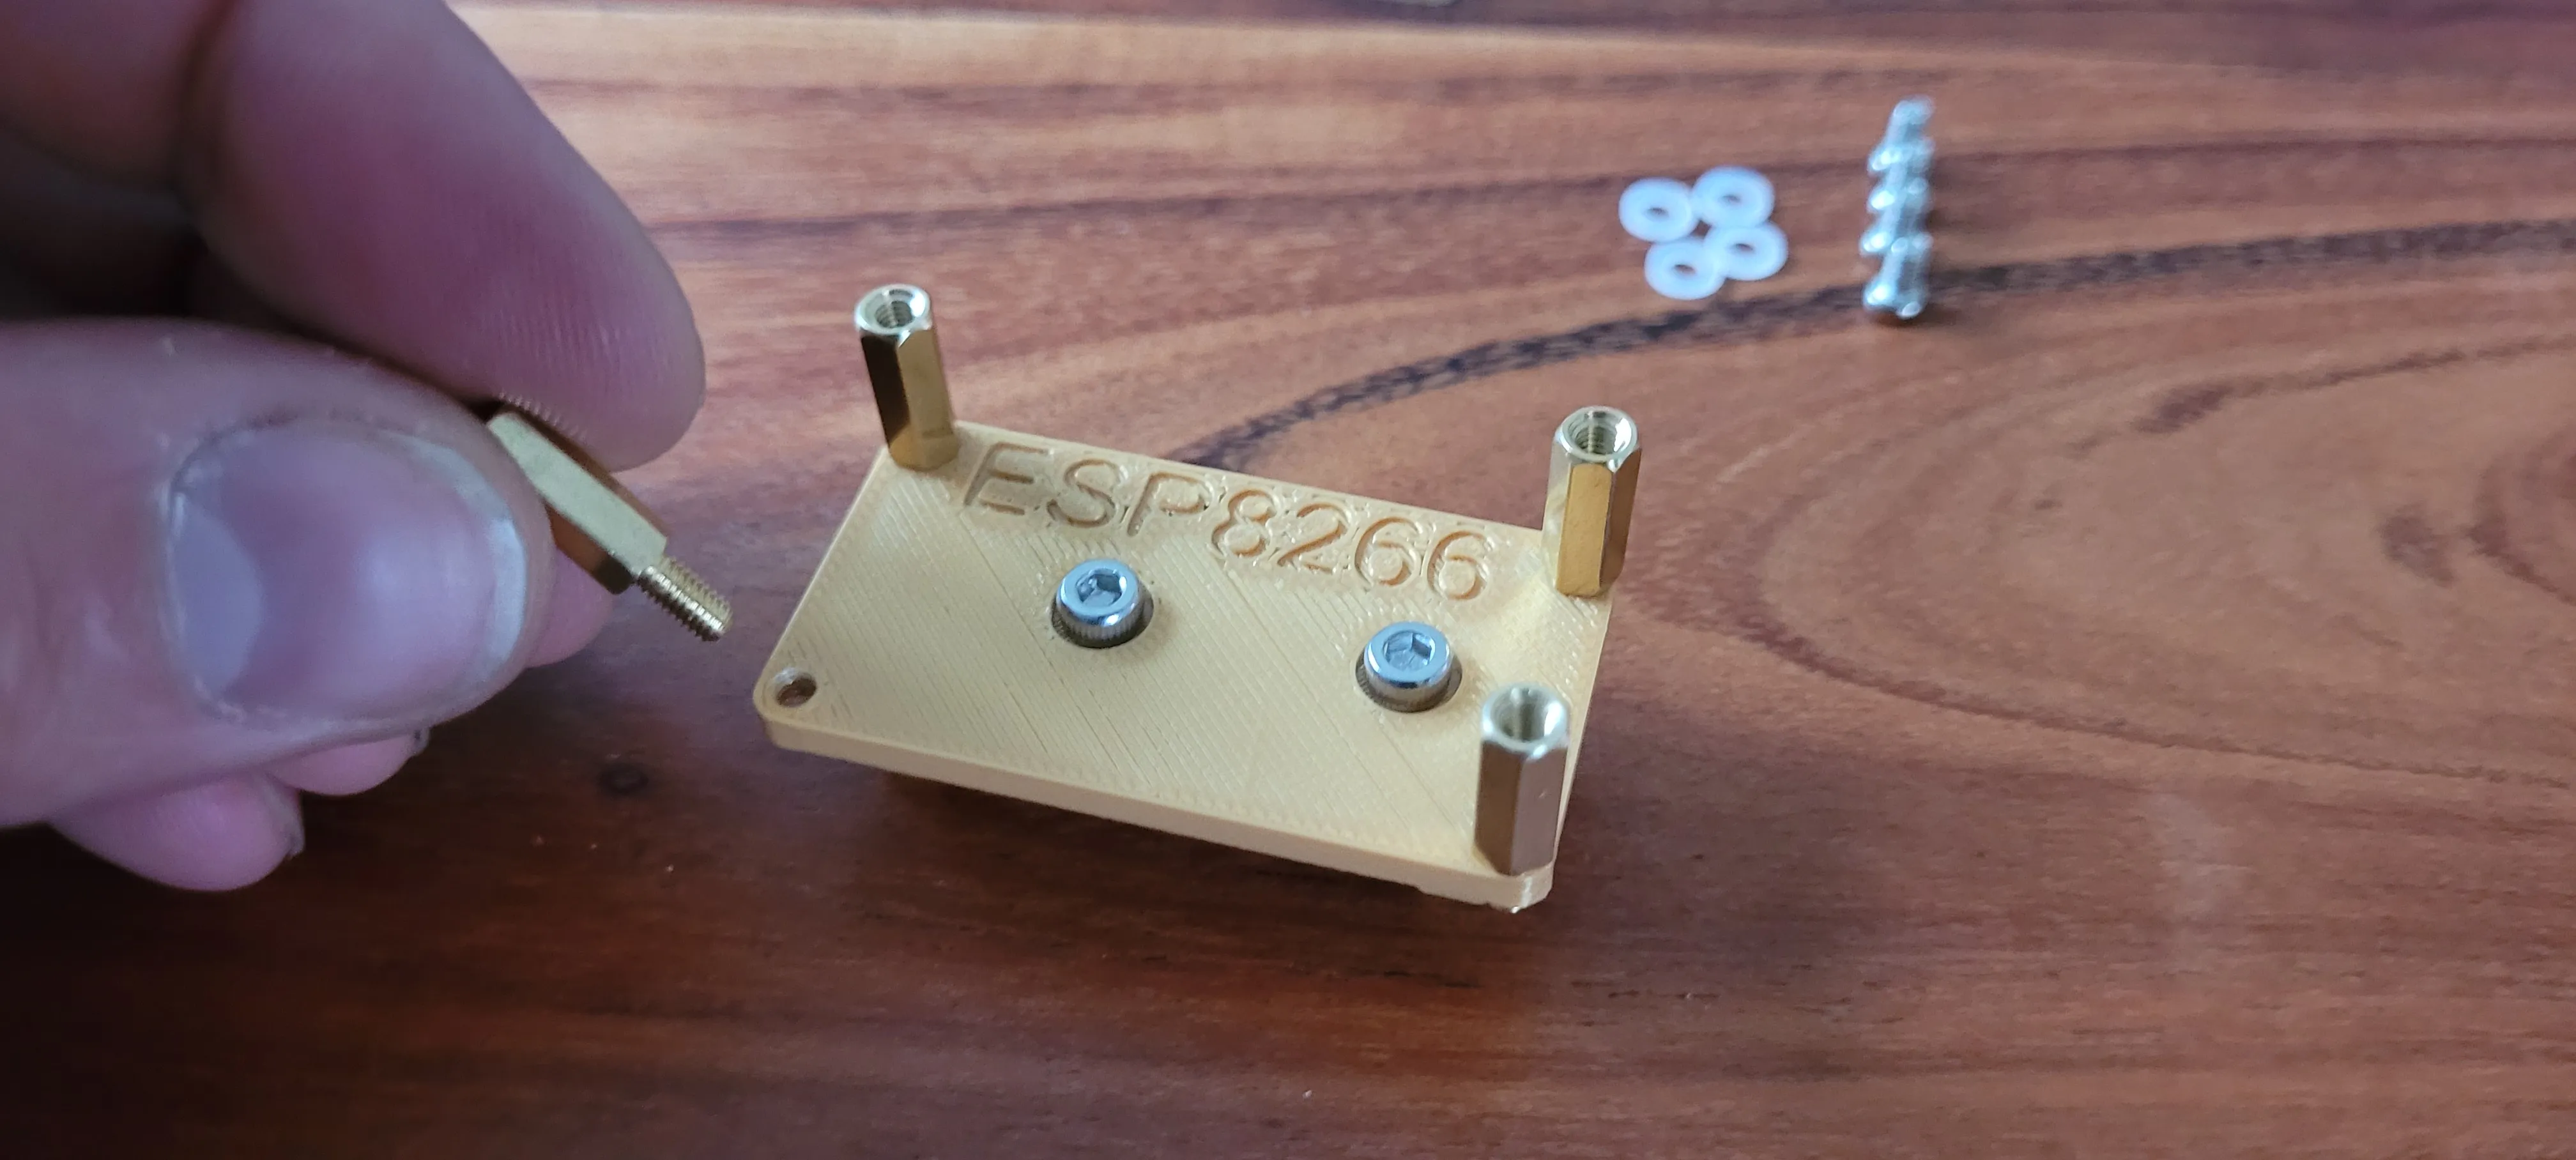
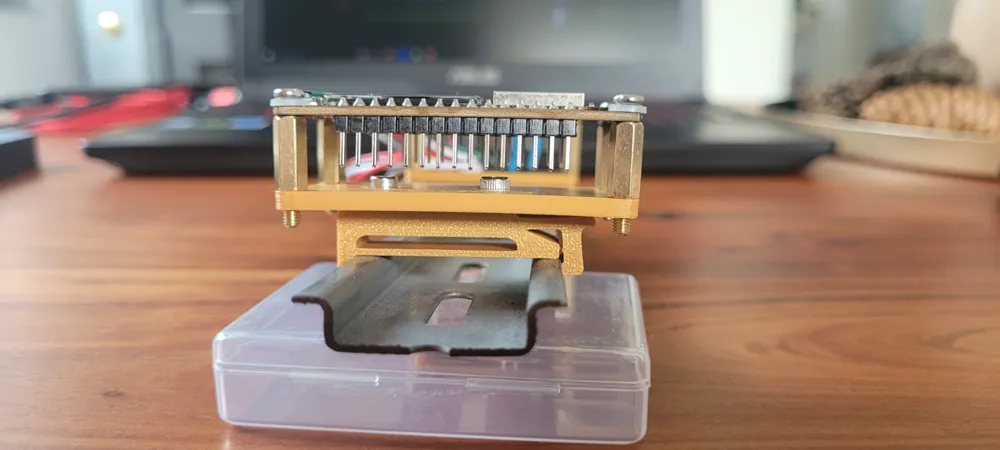
Now Take the 4 Standoffs and screw them into the Plastic Threats. Not to tight, the threads are thin!
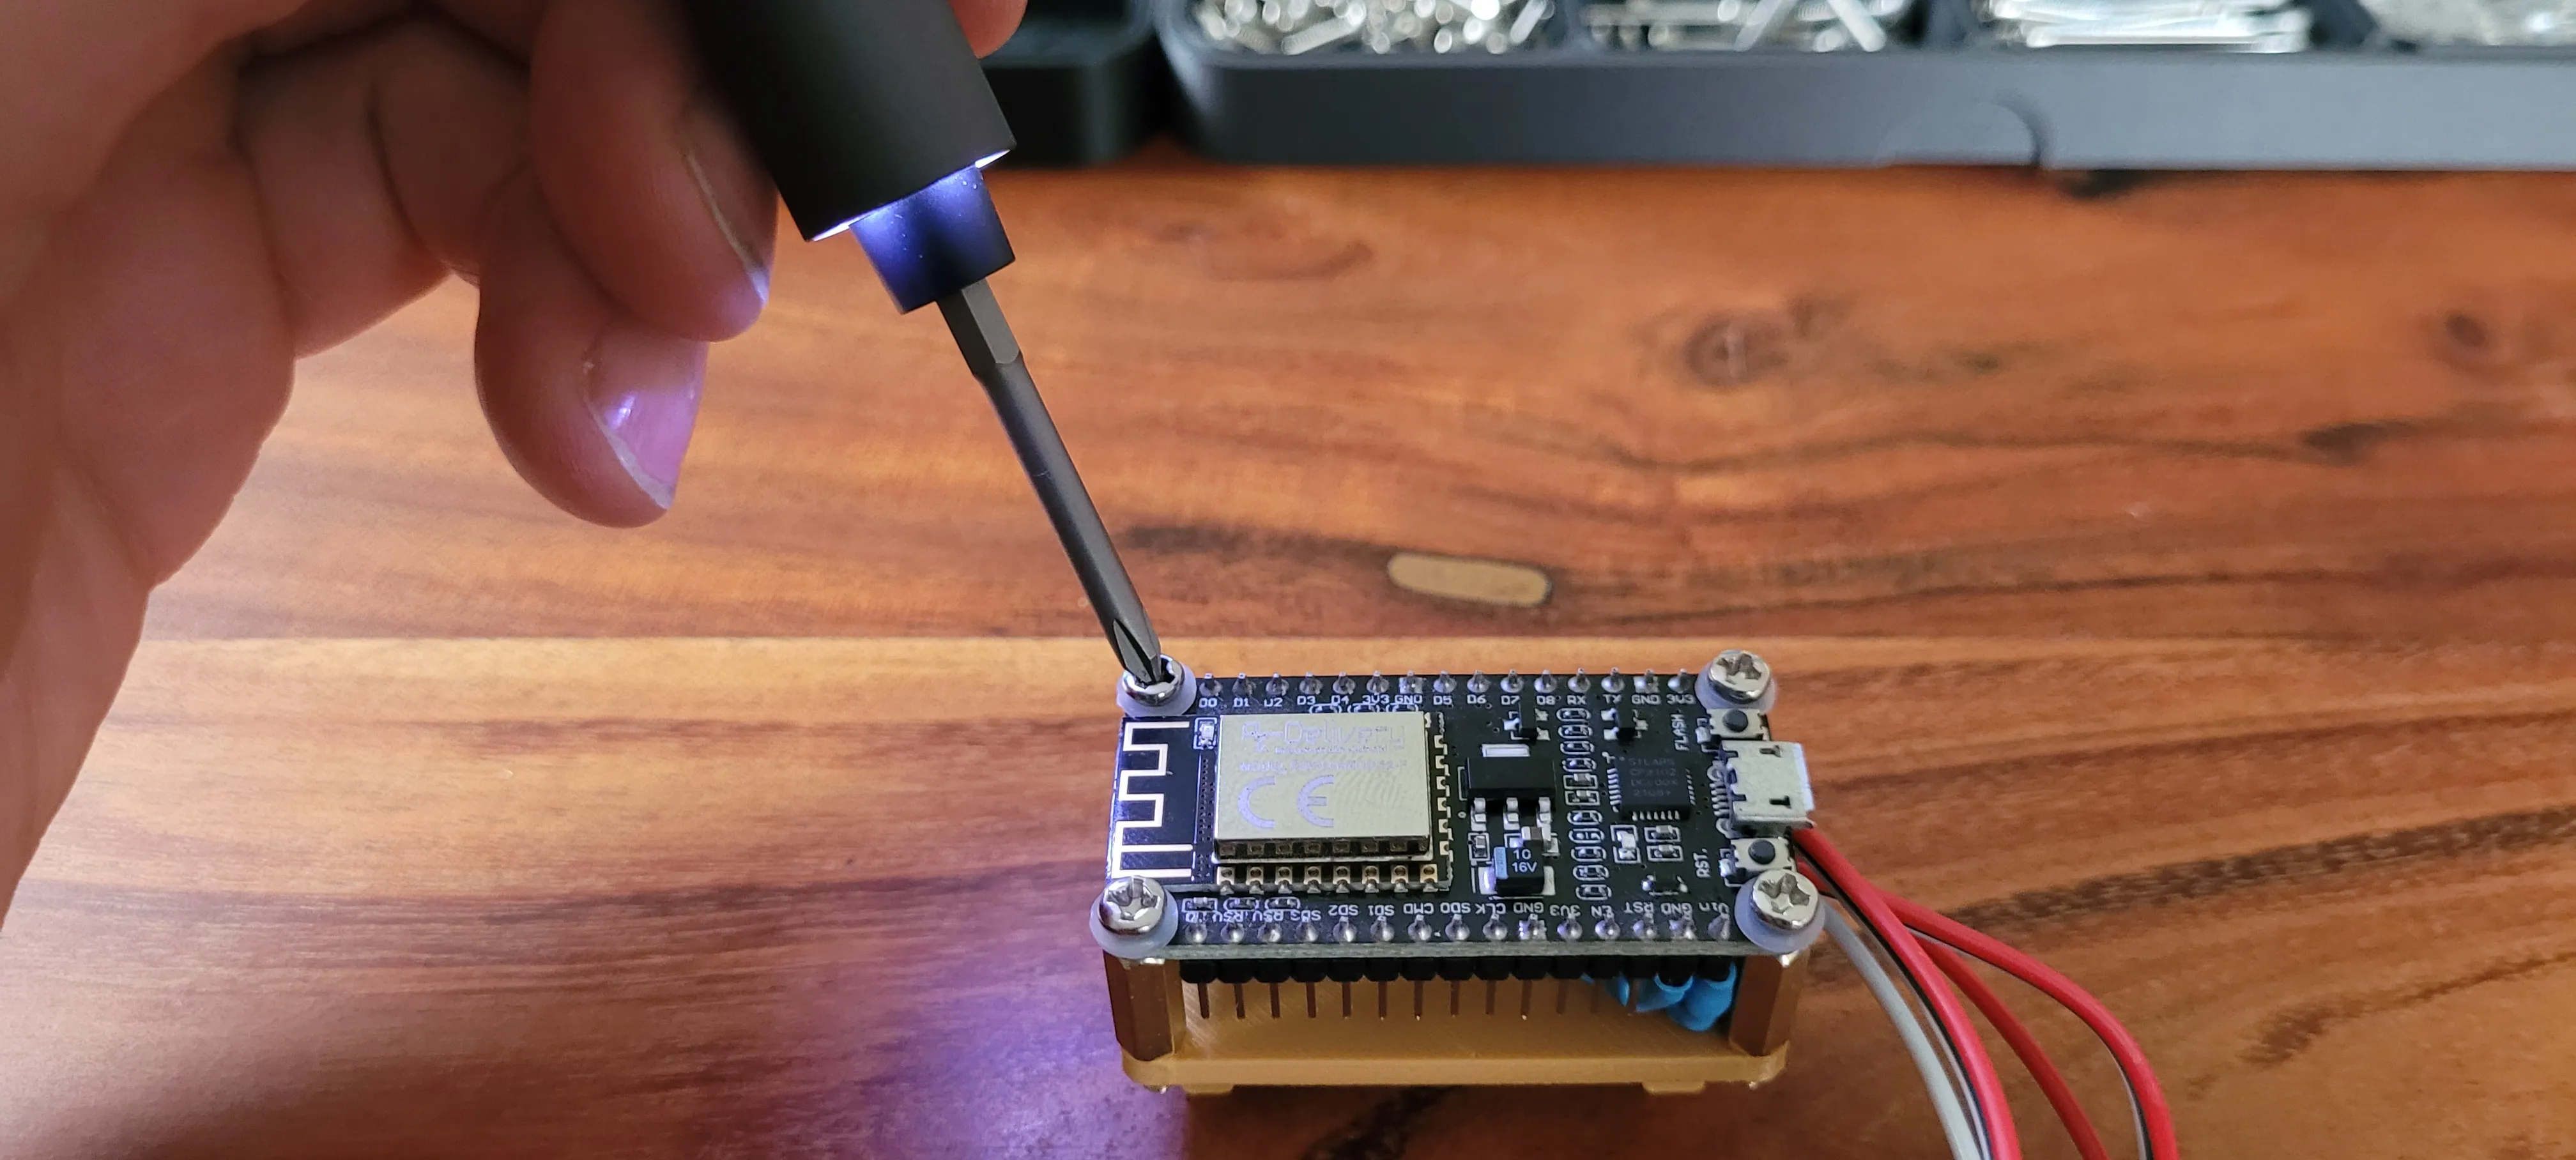
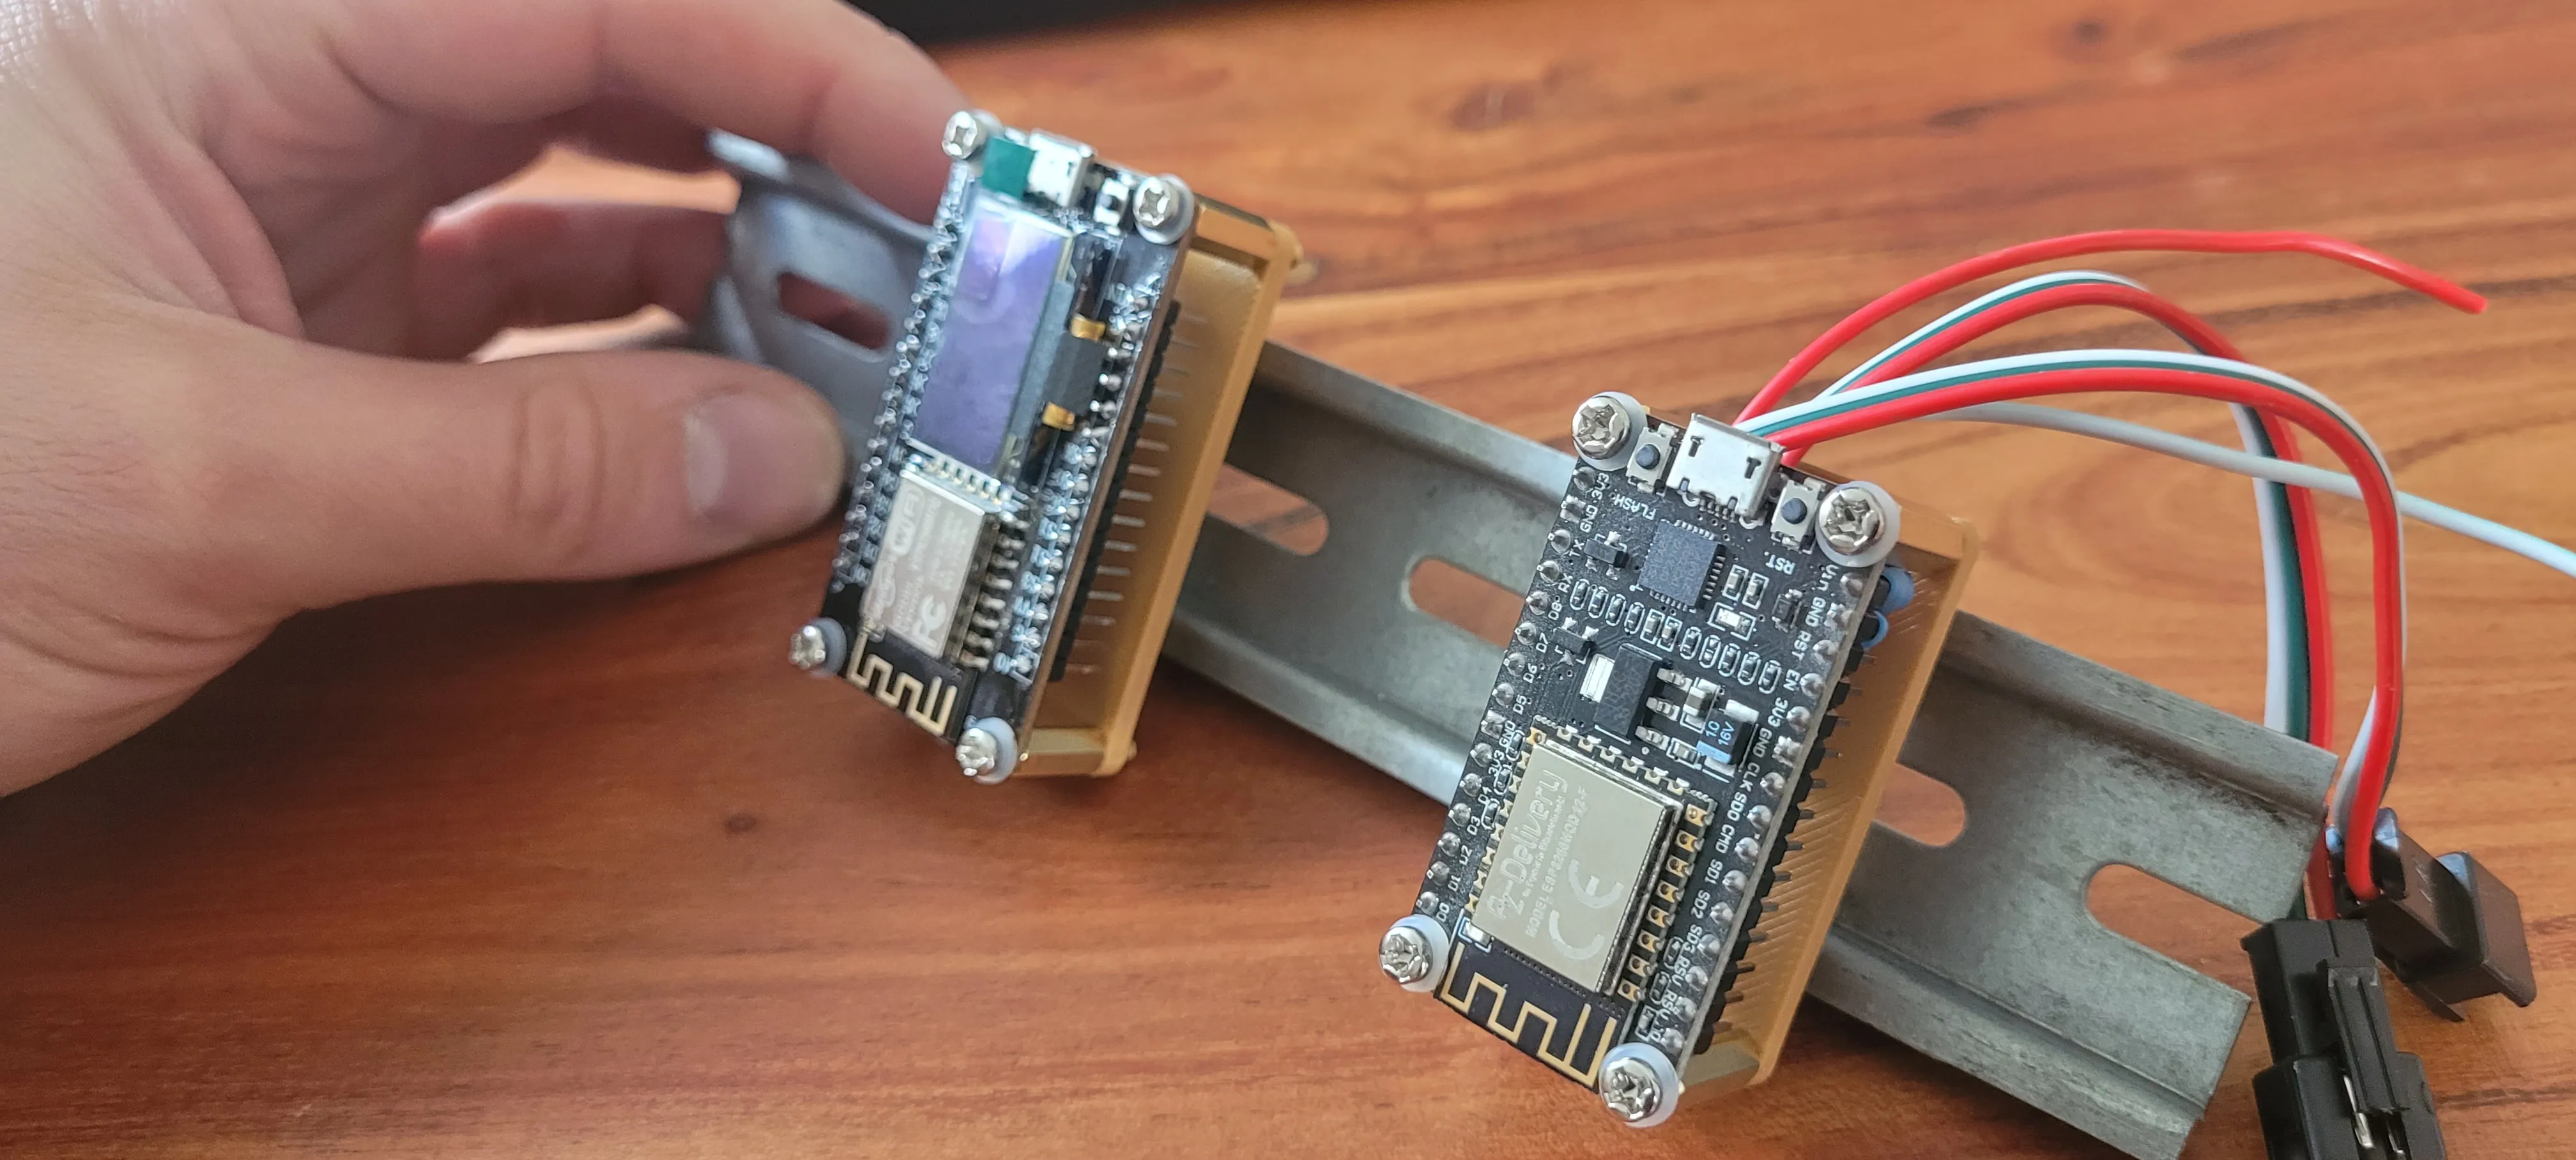
Now place your ESP8266 onto the Bracket and screw it Down with the 4 fitting Screws and teh Plastic Washers.
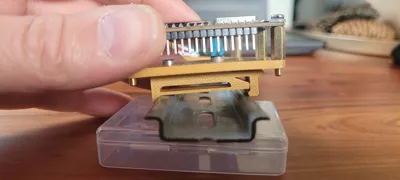
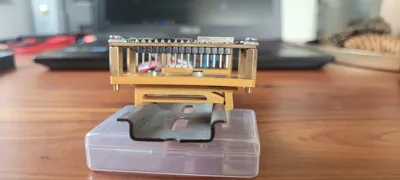
Now you can Mount your ESP8266 to any DIN Rail you want. Its a snap fit but you can slide it a little bit to the left and right. To get it off the Rail, just slightly pull the Lever and it comes loose. Enjoy it and show some Makes, Comment if you Like and give a little Boost :) I appreciate it
License

You shall not share, sub-license, sell, rent, host, transfer, or distribute in any way the digital or 3D printed versions of this object, nor any other derivative work of this object in its digital or physical format (including - but not limited to - remixes of this object, and hosting on other digital platforms). The objects may not be used without permission in any way whatsoever in which you charge money, or collect fees.


Comment & Rating (15)