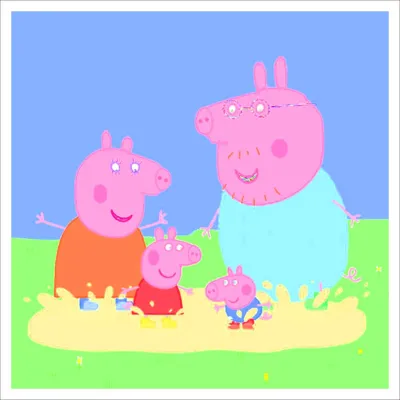
Lithophane Lamp for children


Print Profile(1)

Description
Print the lamp box
Start by printing the base and the top cover of the box. I used 0.2 layer height, 65% infill, no supports for the base, but the cover needs supports.
Print the faces
I printed the faces using white PLA, at 215/60. layer height 0.12 mm, 999 perimeters, 99% infill, and reduced the printing speed, acceleration and jerk by half. It's going to take an eternity but the result are really good.
After you're done with the faces, you can 2D(put this just in case it's not obvious) print the .jpg atached. Now here you need to pay attention. Many programs will try to fit your jpg on the entire A4 paper. You don’t want this! The jpg file has the exact dimensions of the lithophane you made. You can use Paint to print the pictures:
- 1. Open the JPGs images, in Paint;
- 2. When you open Paint, go to the File menu in the top left corner;
- 3. Go to Printing;
- 4. Then Page setup;
- 5. Set the Scaling setting to adjust to: 100% normal size;
- And Print!
Assemble
You can watch this short video in which I assemble the lamp.
Materials used
- E26 Hanging Lantern Cord with On/Off Switch
- 1W E26 Soft White 3000K LED bulb
Comment & Rating (0)