
AMS Hub Retainers

Print Profile(1)
Description
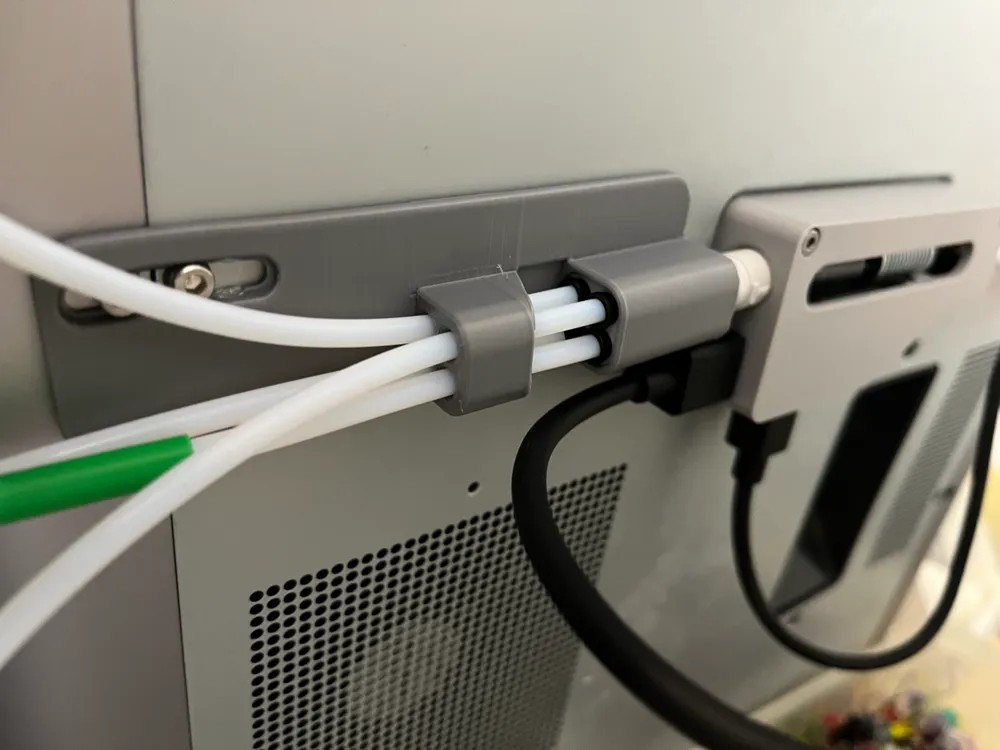
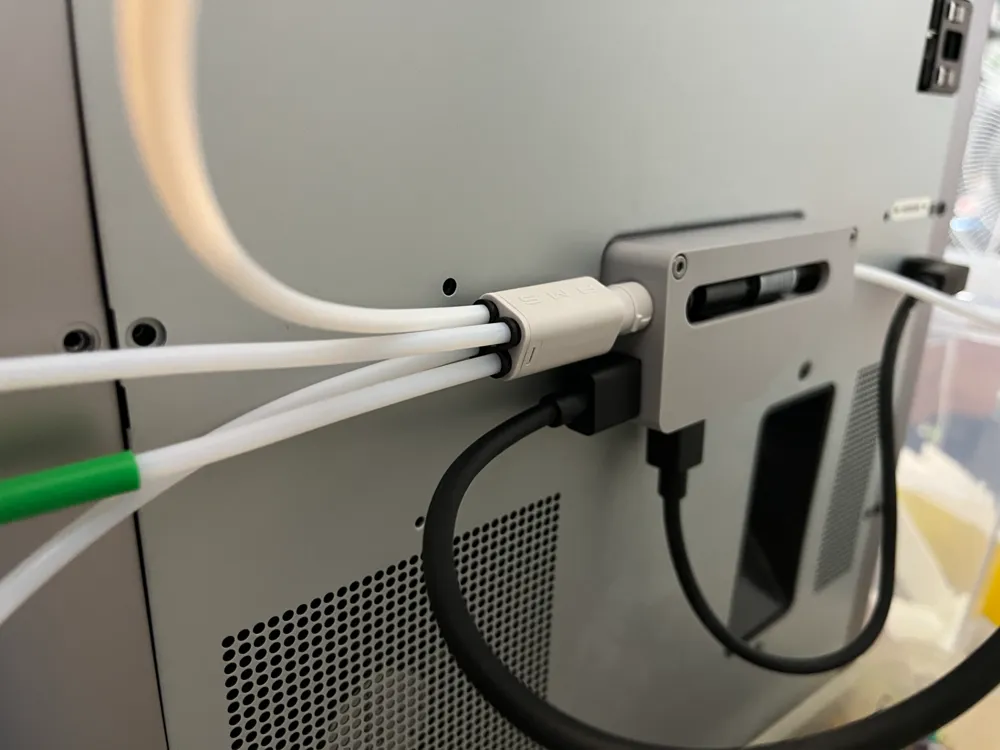
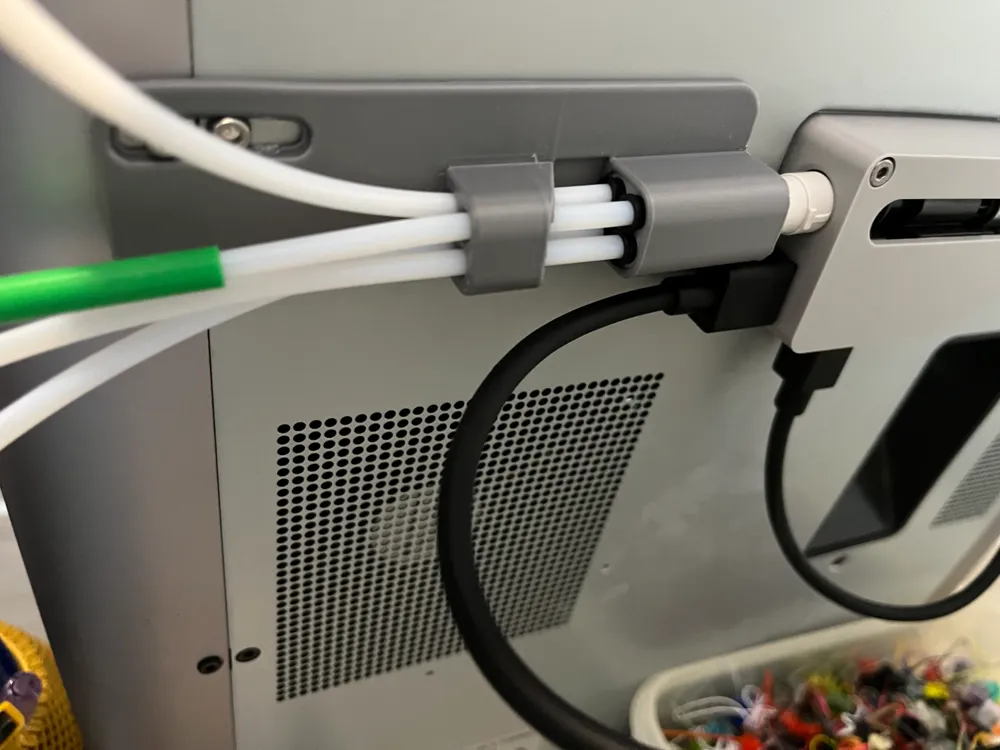
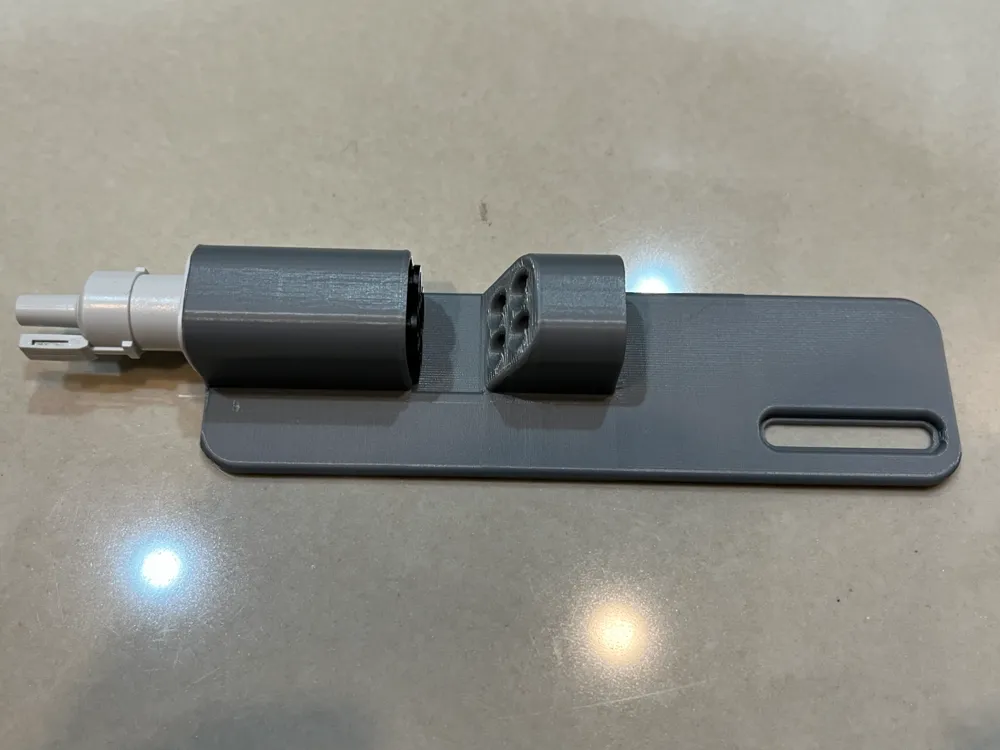
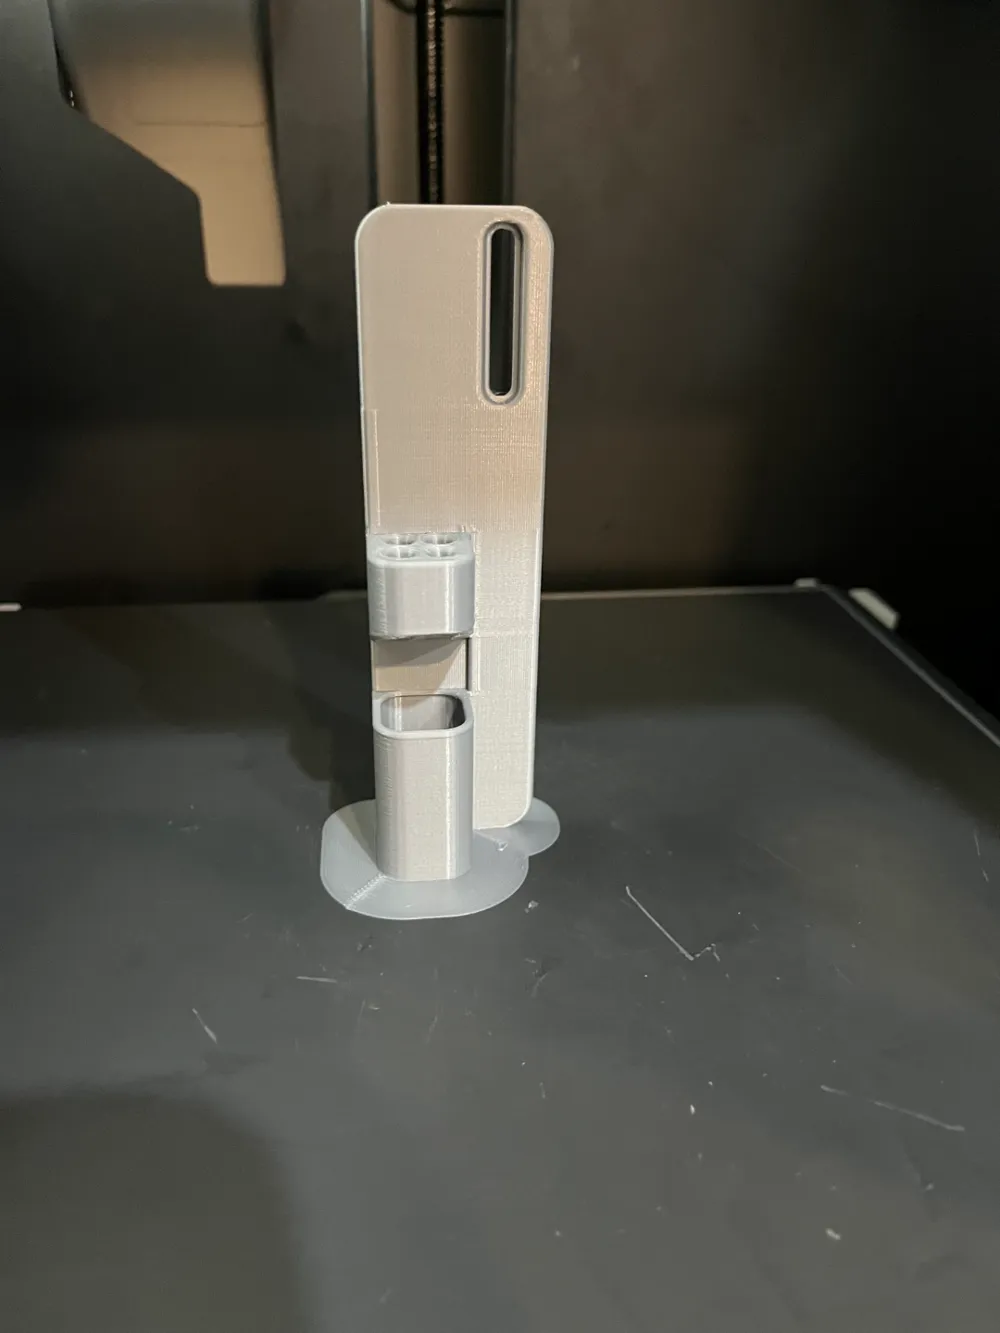
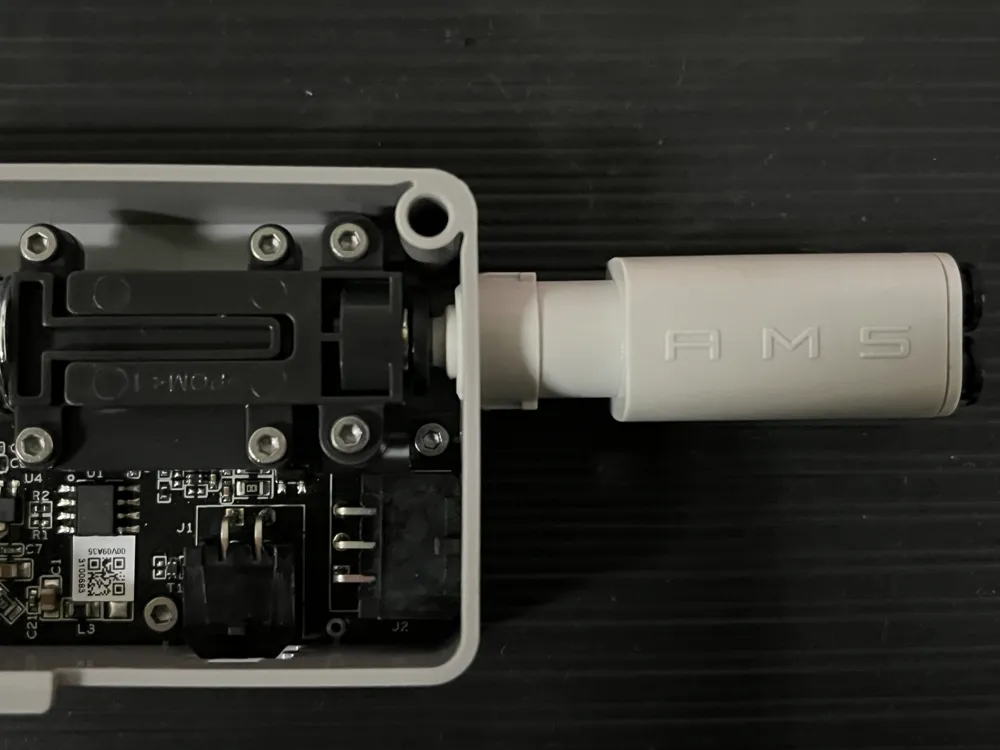
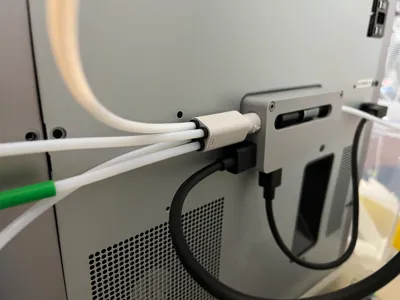
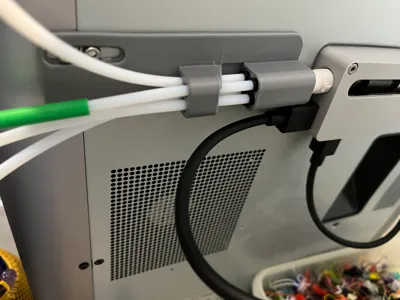
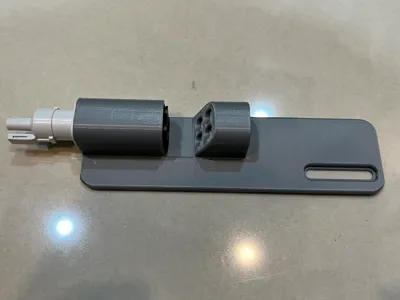
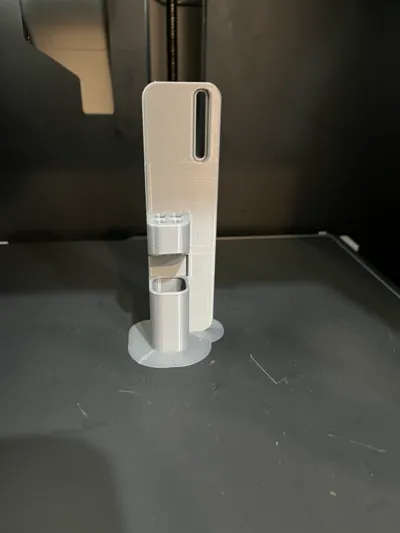
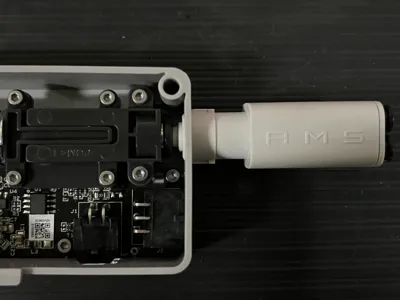
Because I didn't buy a suitable 4-channel HUB, I used a cheap way to connect, because my HUB needs to be fixed, locked, so I designed this model, it may not be suitable for everyone, people who need it can try it
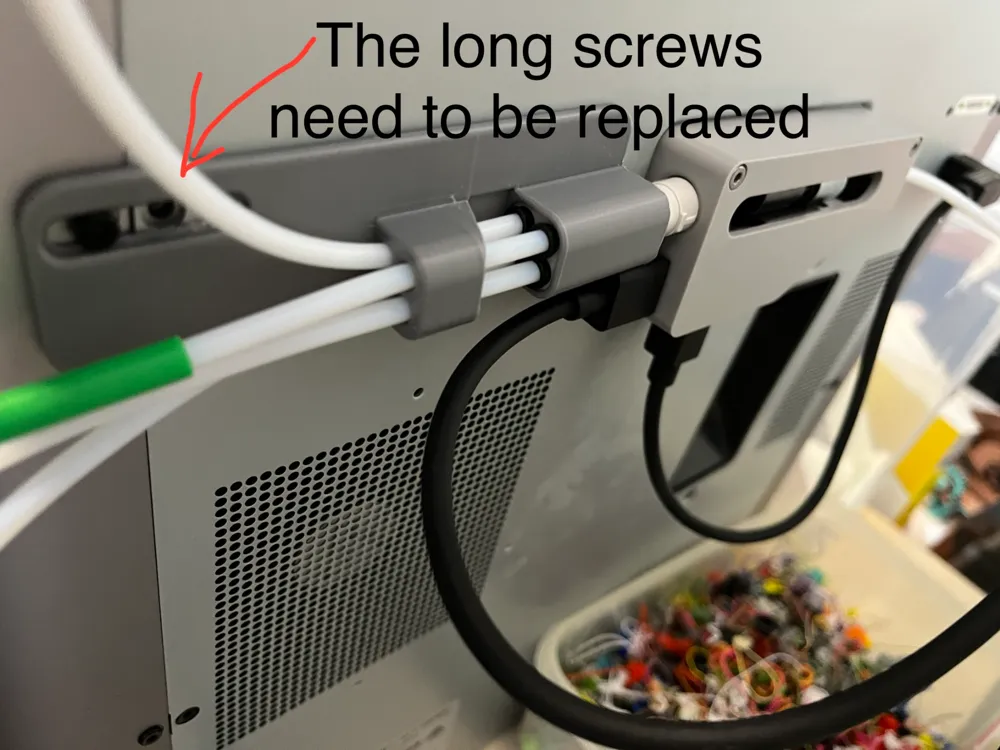
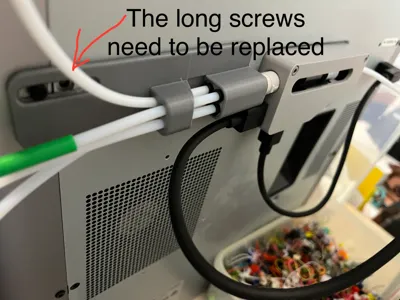
The original screw is a bit short, only 1 screw can be locked, if you need to buy a long screw, the other one needs to be locked
Screw specification: M3*6L
-----------------------------------------------------
2023/12/14
Another similar model is linked below, the method is the same
https://makerworld.com/zh/models/91987#profileId-98381
2023/11/30 Supplementary processing methods and pictures
Here's how I did it: FYI, this is not the correct way to do it. Any resulting losses will be borne by you.
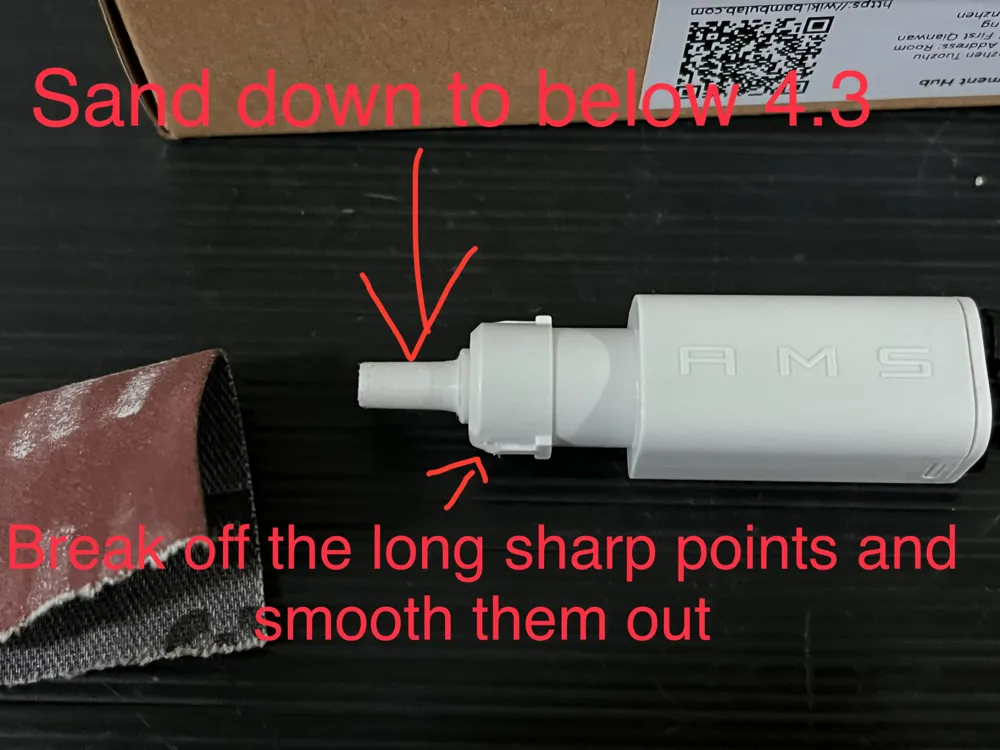
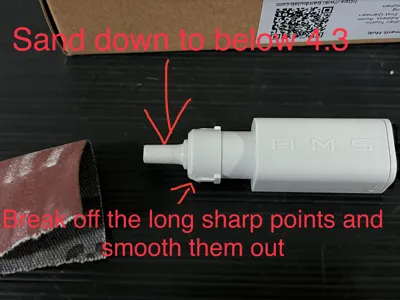
Below I will share how I modified it. The tail of the 4-in-1-out HUB must be pulled out, and use coarse sandpaper #120 to reduce the size of the tail to below 4.3, not less than 4.0, in order to effectively insert the HUB. Note that the original taper is between 4.35-4.6, so there will be a taper when grinding.
After sanding is complete, finally install the retainer
A1 HUB Purchase link
https://store.bambulab.com/collections/accessories-for-a1-mini/products/ams-lite-filament-hub
If you plug directly into the connector without rough grinding, you may get cuts on the PAL wire (because of the teeth inside). It is not recommended to insert directly without sanding, this is a mistake. The above are all personal opinions. for reference only.
License

You shall not share, sub-license, sell, rent, host, transfer, or distribute in any way the digital or 3D printed versions of this object, nor any other derivative work of this object in its digital or physical format (including - but not limited to - remixes of this object, and hosting on other digital platforms). The objects may not be used without permission in any way whatsoever in which you charge money, or collect fees.


Comment & Rating (19)