
Imperial Credit Stacker
Print Profile(1)

Bill of Materials

Description
UPDATES: There are two new models attached to this upload with the header designation “EM” which stands for “exposed magnets”… which I now realize could be misinterpreted for “embedded magnets”… so please don't make that mistake. If you want embedded magnets, there is no designation at the beginning of the file name.
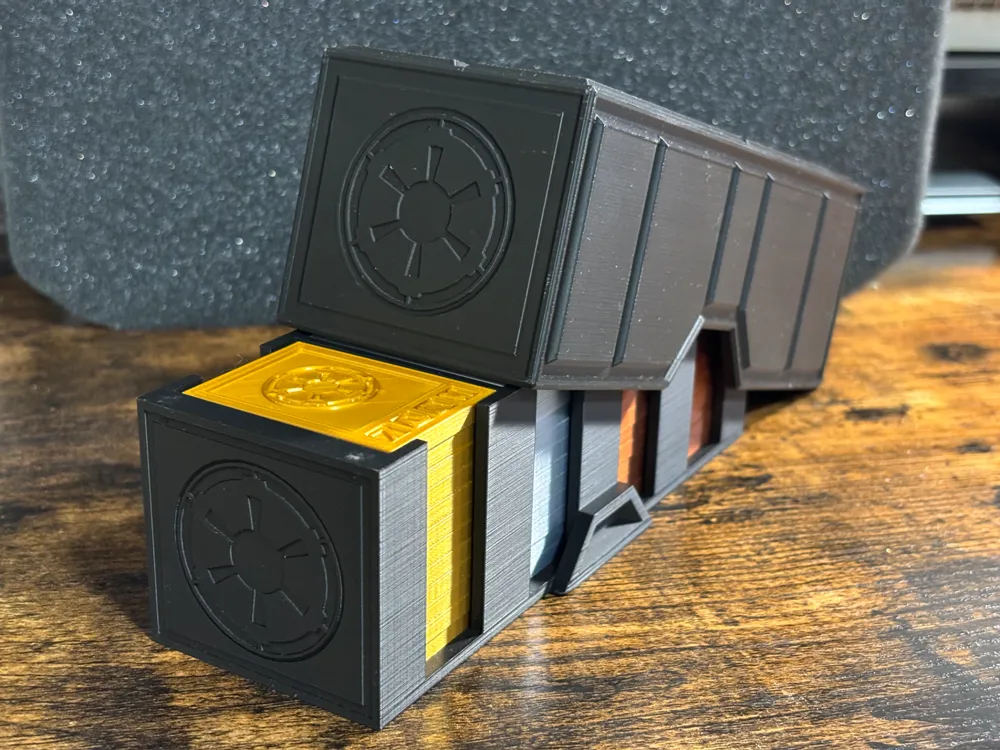
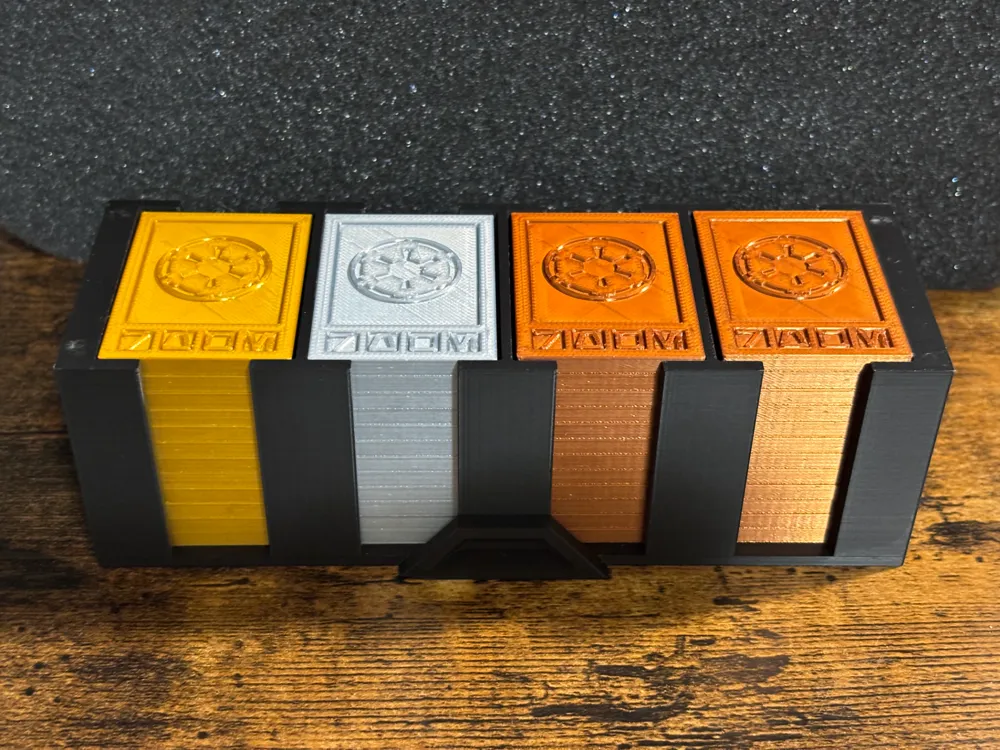
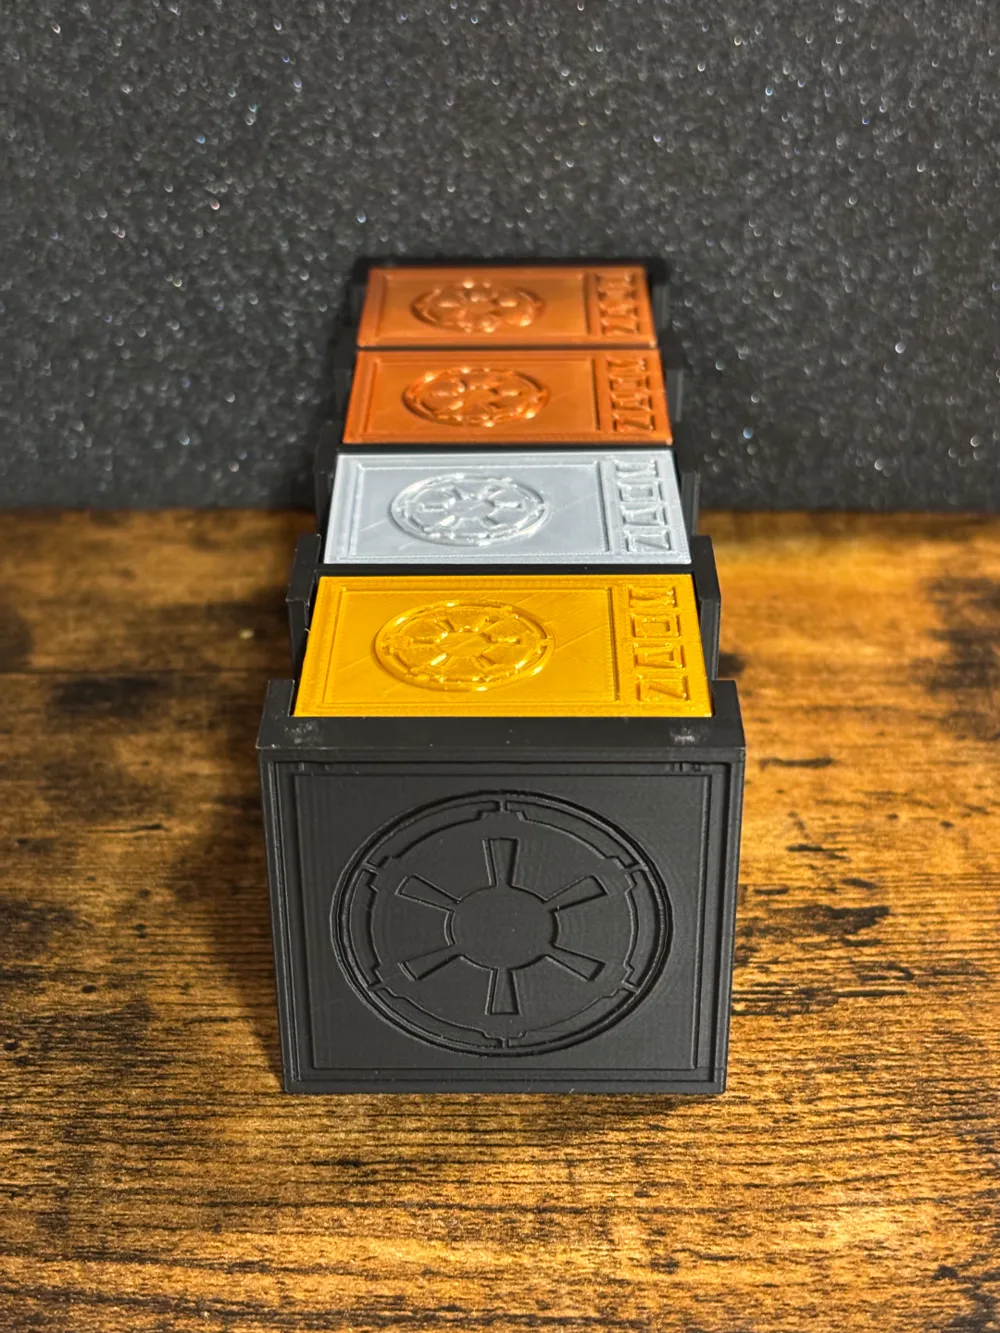
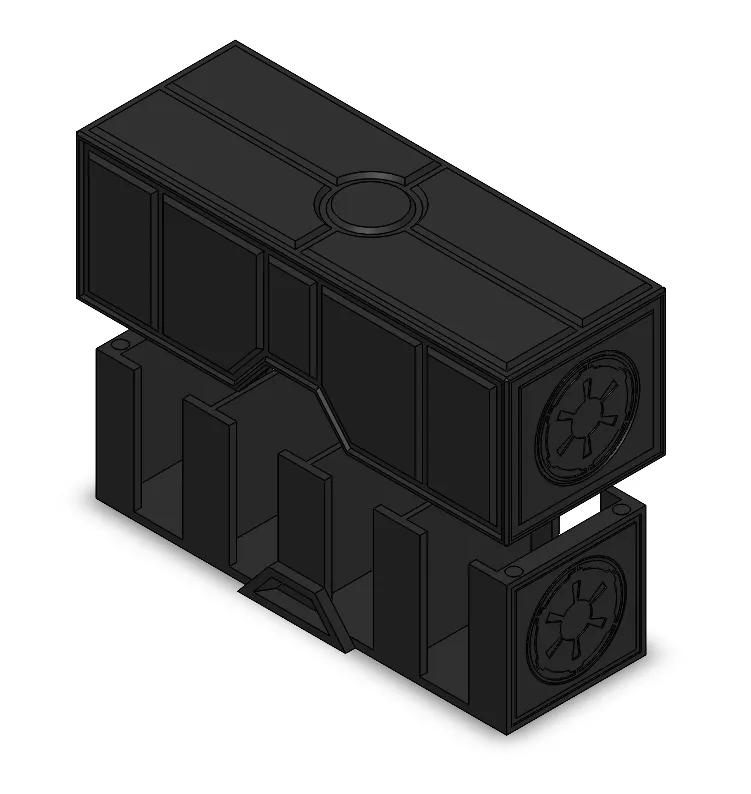
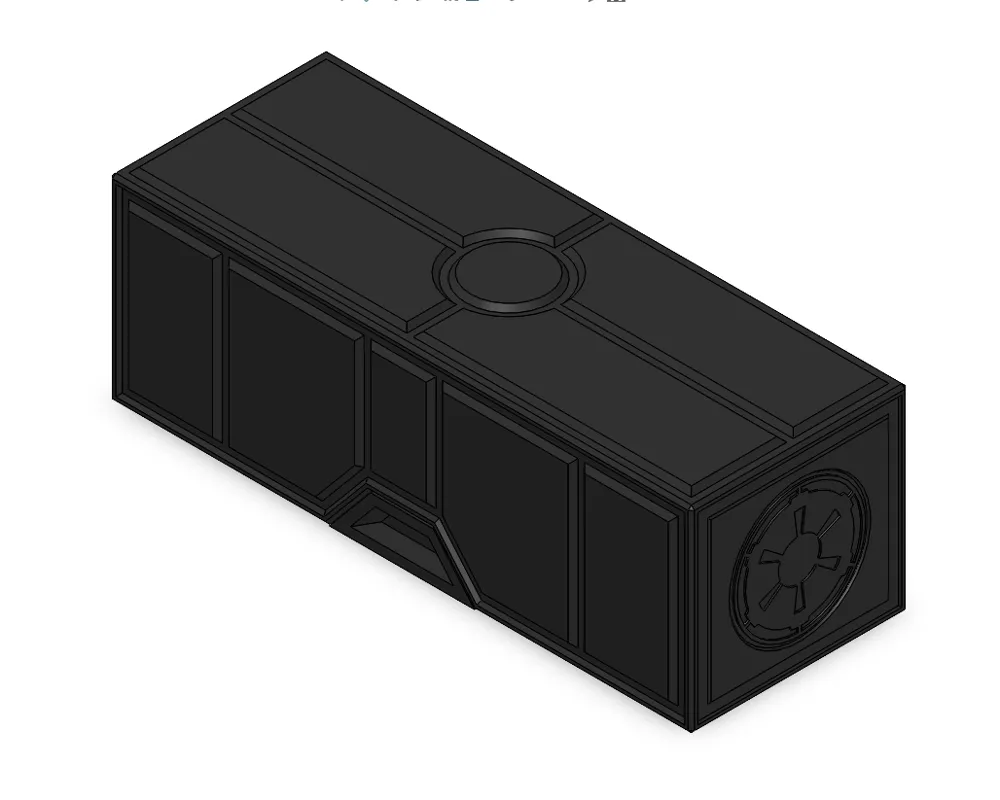
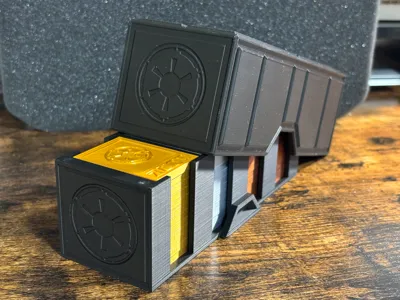
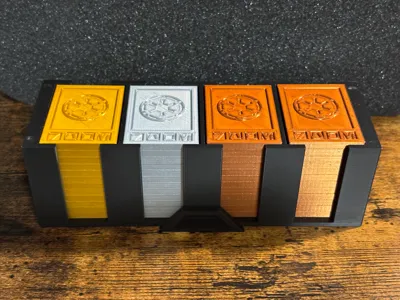
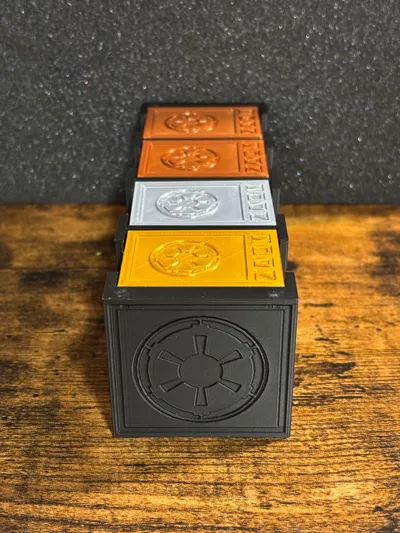
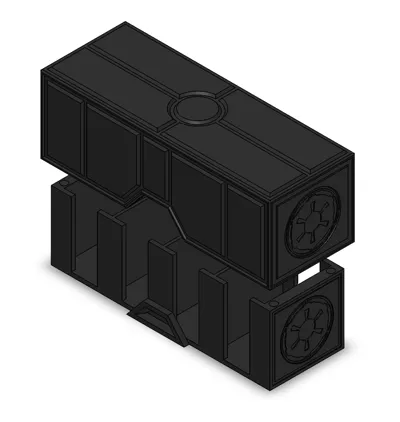
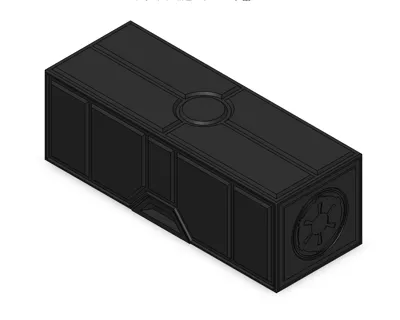
This credit stacker will hold 48 Imperial Credit chips that are 50mmx36mmx4mm each. The base and lid are meant to magentically adhere to one another using 5mmx3mm round magnets. See printing notes below for details on process. Typically, I stock these with 24 Copper credits, 12 Silver credits, and 12 Gold credits and take them with me when I play Sabacc, you can sort or stock as you prefer though.
A great model for imperial credits that fit in this storage box is here. (If you use this as your credit, be sure to scale the 3mf file to 100%, as it is set to 200% by default)
NOTES FOR PRINTING: Plan ahead for when you need to pause this print.
- You will need to stop it on Layer 513 to install magnets on the base piece, and again on Layer 537 to install them on the lid.
- Be sure to install each magnet in the SAME ORIENTATION for both pieces. I usually mark all my magnets with a sharpie to know which direction is which, before installing them.
- If you look in your slicer at each of these layers in the preview tab, you should be able to see approximately how long it will take for the print to progress to that point. I would recommend setting alarms 5 min in advance of each time to remind yourself to pause for installation.
- When installing, I would recommend dotting the bottom of each magnet with super glue, and then inserting into each hole. Wait about 2 minutes for it to cure slightly before continuing the print. This will ensure that the magnets do not get pulled out when the hardened steel extruder runs over them.
- Last note: buy the magnets from Bambu (yes they're more expensive per unit), because if you buy some off-brand versions that do not have consistent sizing, you may run the risk of your magnets exceeding the height of the hole, which may cause your extruder to crash into them instead of smoothly printing over them. Always measure your magnets for accuracy before installing to avoid such a circumstance.
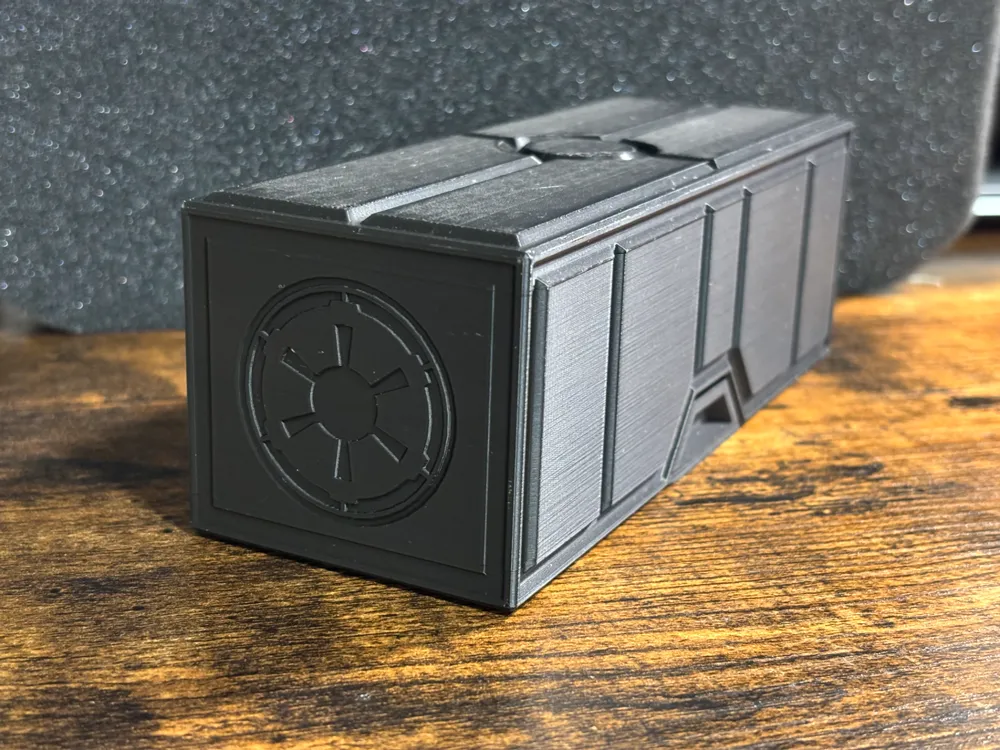
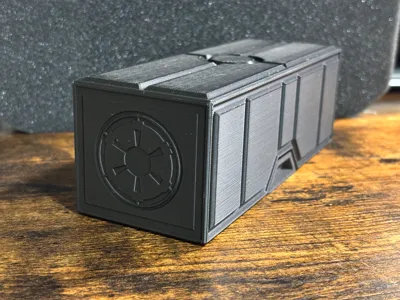
Photograph of printed product is my first prototype. Changes that are featured in the published model are hidden (integrated) magnets and a smaller pull tab to make access to the middle two columns of credits easier.
License



Comment & Rating (19)