
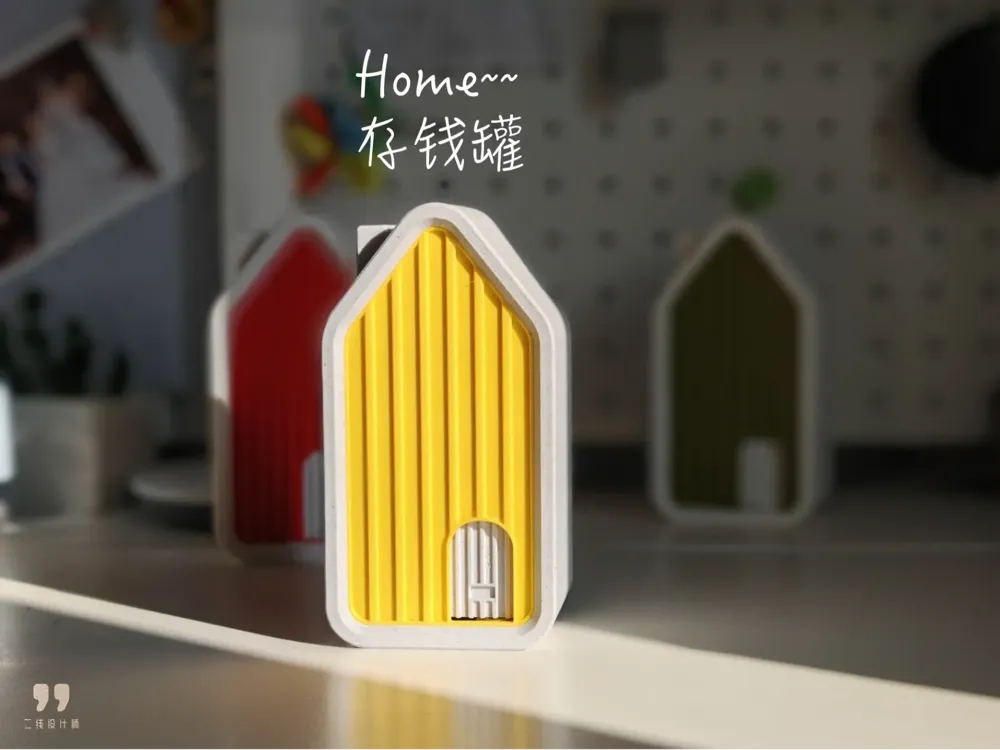
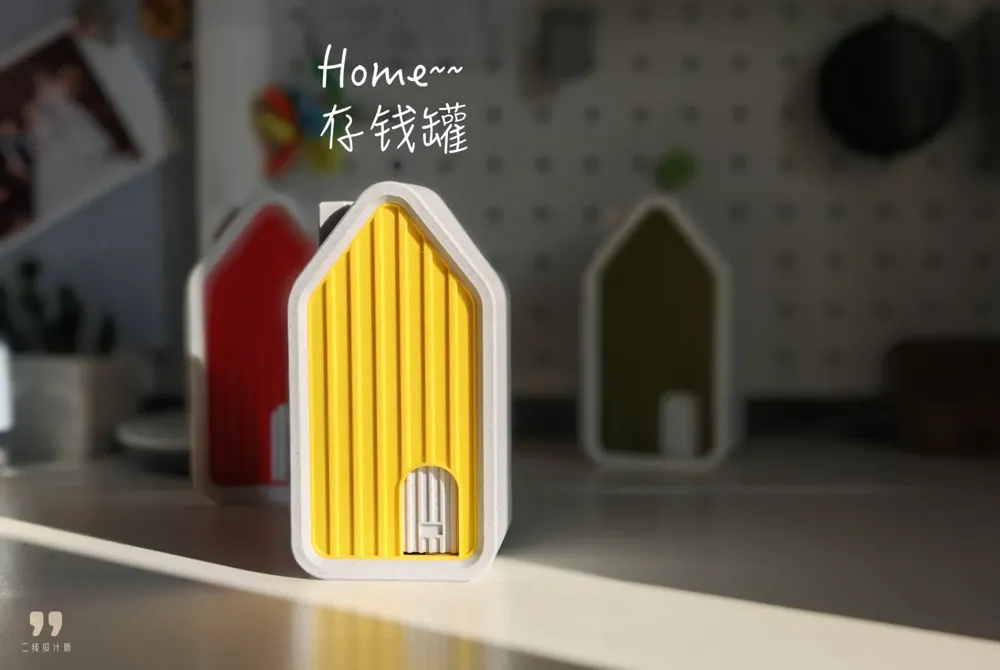
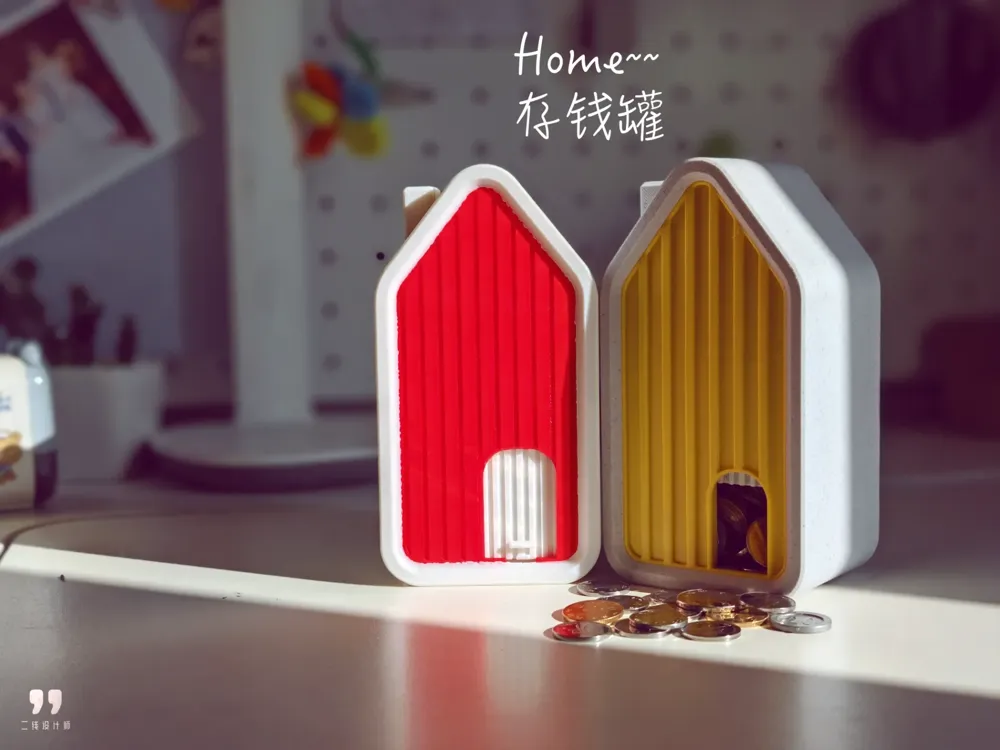
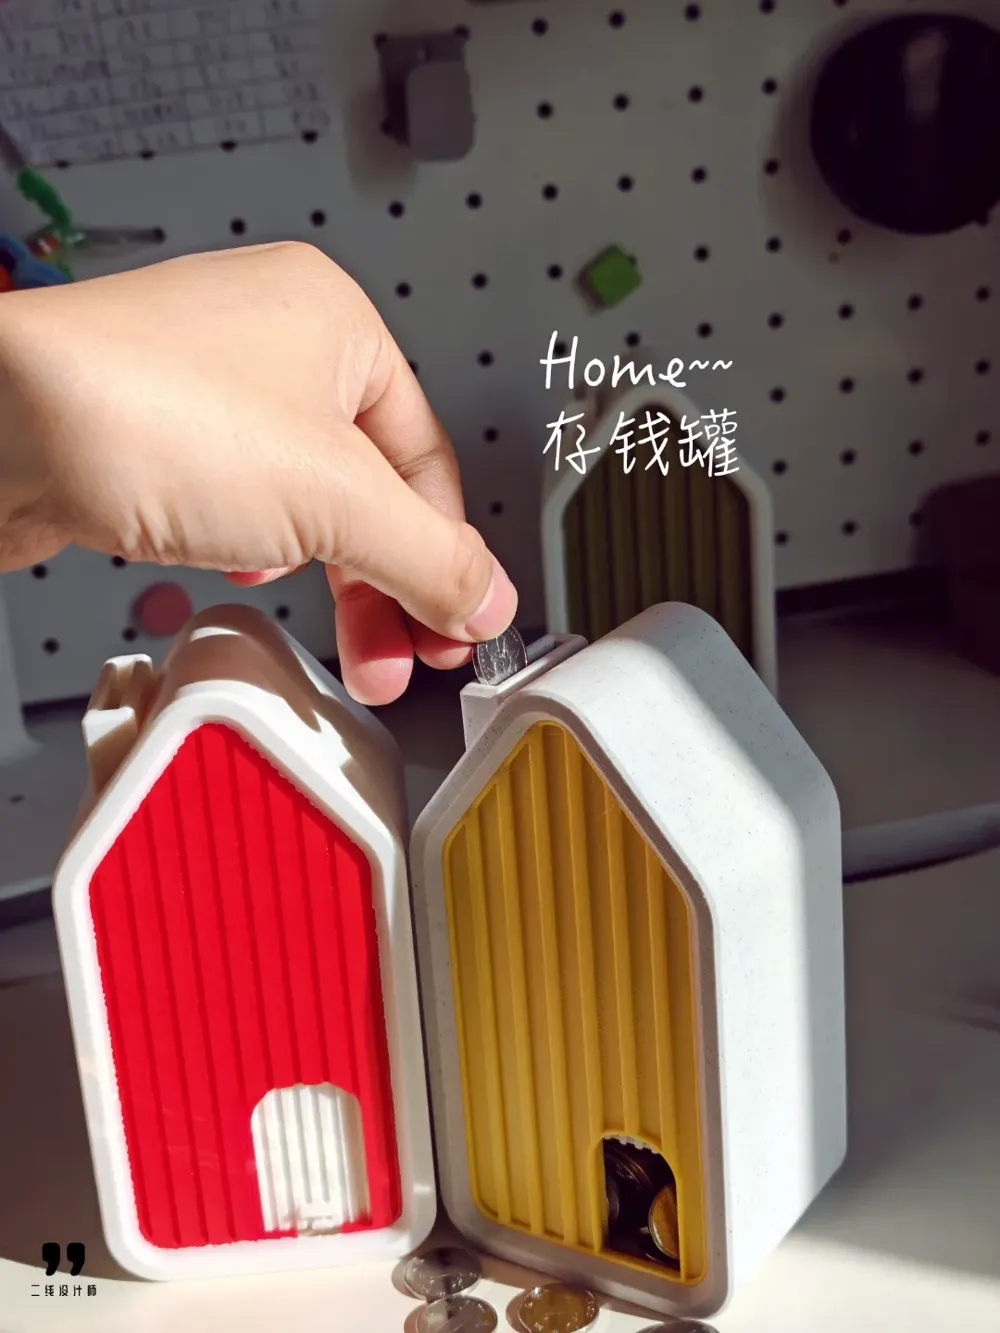
home piggy bank
Print Profile(2)


Description
Boost Me (for free)
Your support for this creation would be deeply meaningful and greatly motivating Thank you 🙏!
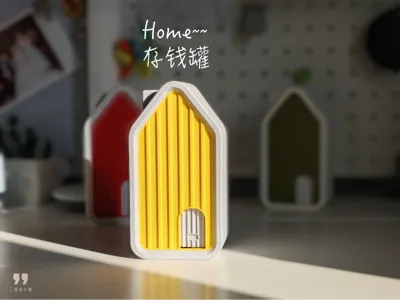
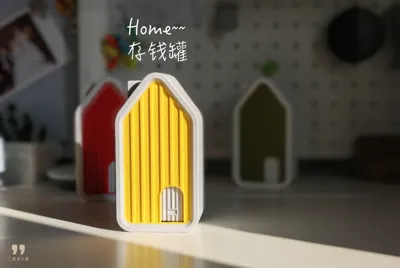
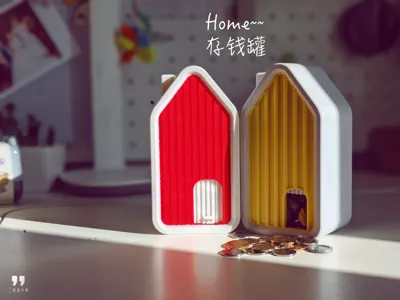
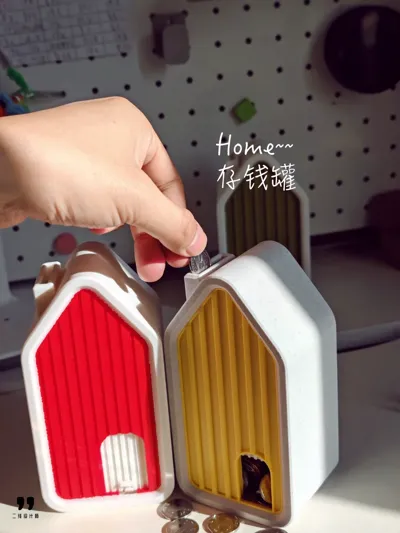
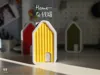
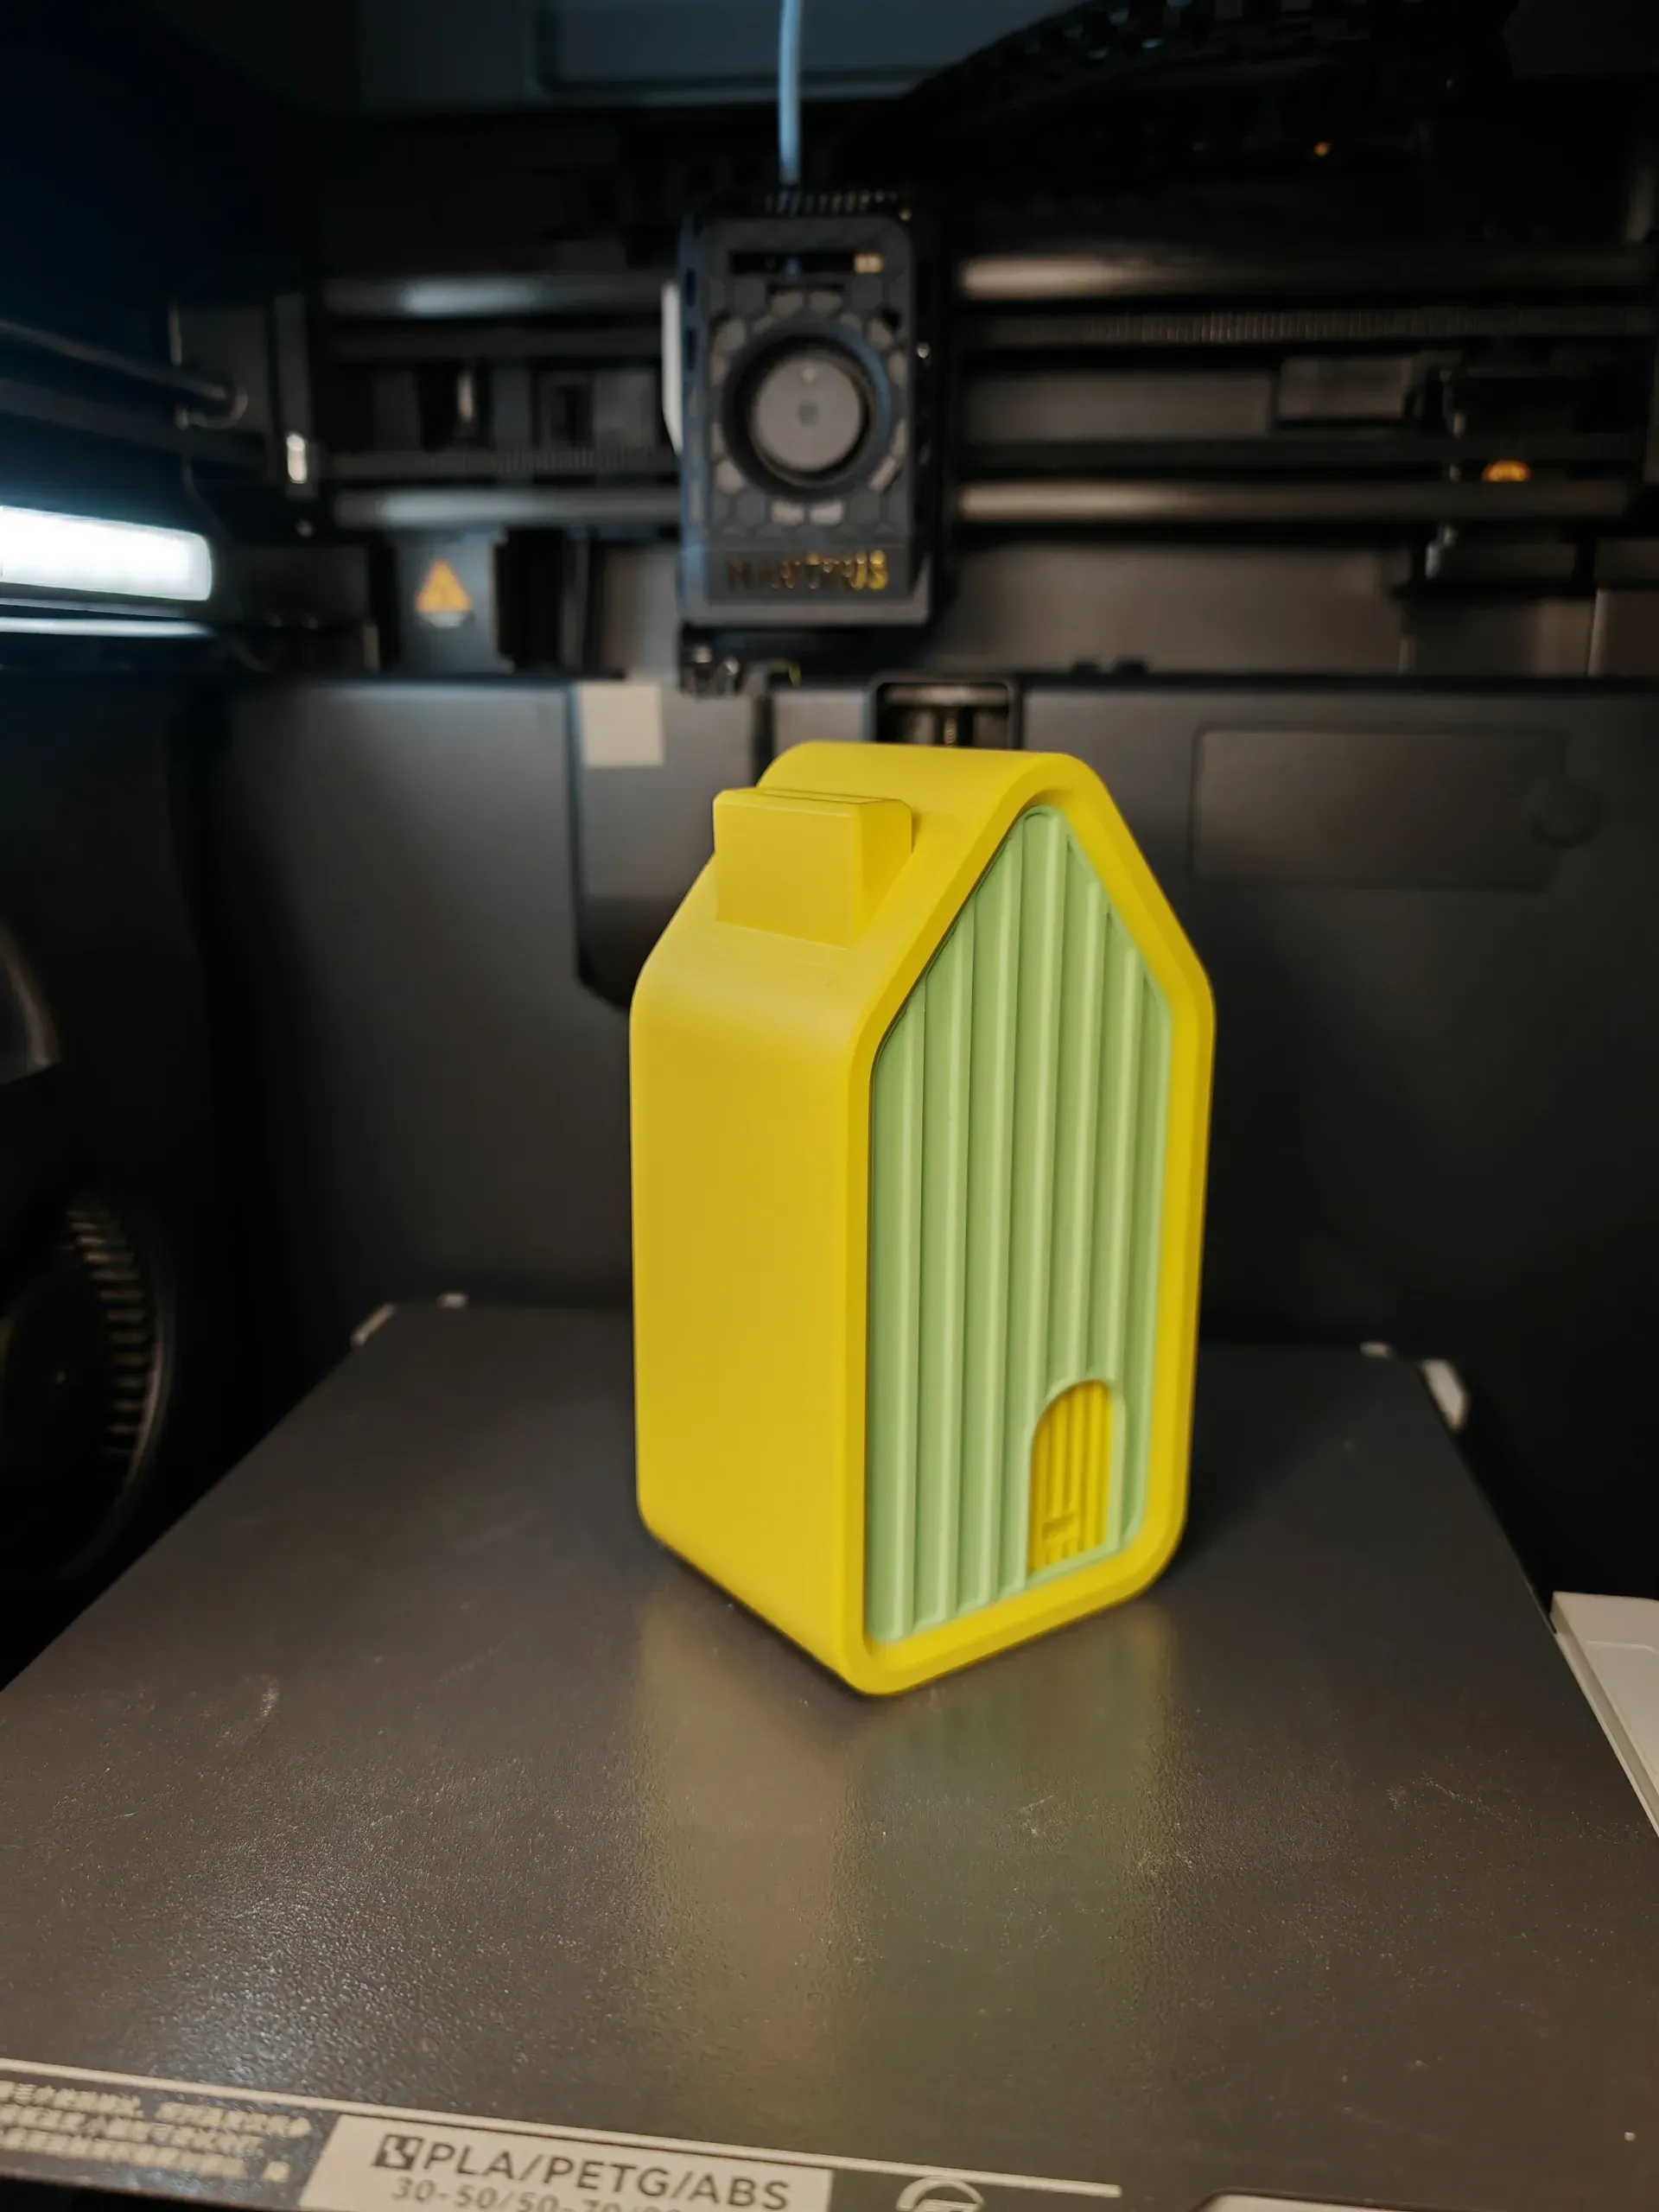
These vividly colored piggy banks are shaped like houses They symbolize the warmth and security of home, serving not only as savings receptacles but also as charming guardians of wealth, adding a decorative touch to any home I hope you enjoy them
-------------------------------------------------------
Recommended filament: PLA Matte Rationale: Superior texture, minimal layering, excellent adhesion
PETG is strongly discouraged due to the multi-part assembly; its poor layer adhesion increases the risk of incomplete bonding
This model employs a multi-part assembly process to ensure structural integrity and high-quality results
Please read the printing instructions before commencing to avoid unnecessary material waste
-------------------------------------------------------
Pre-Printing Instructions:
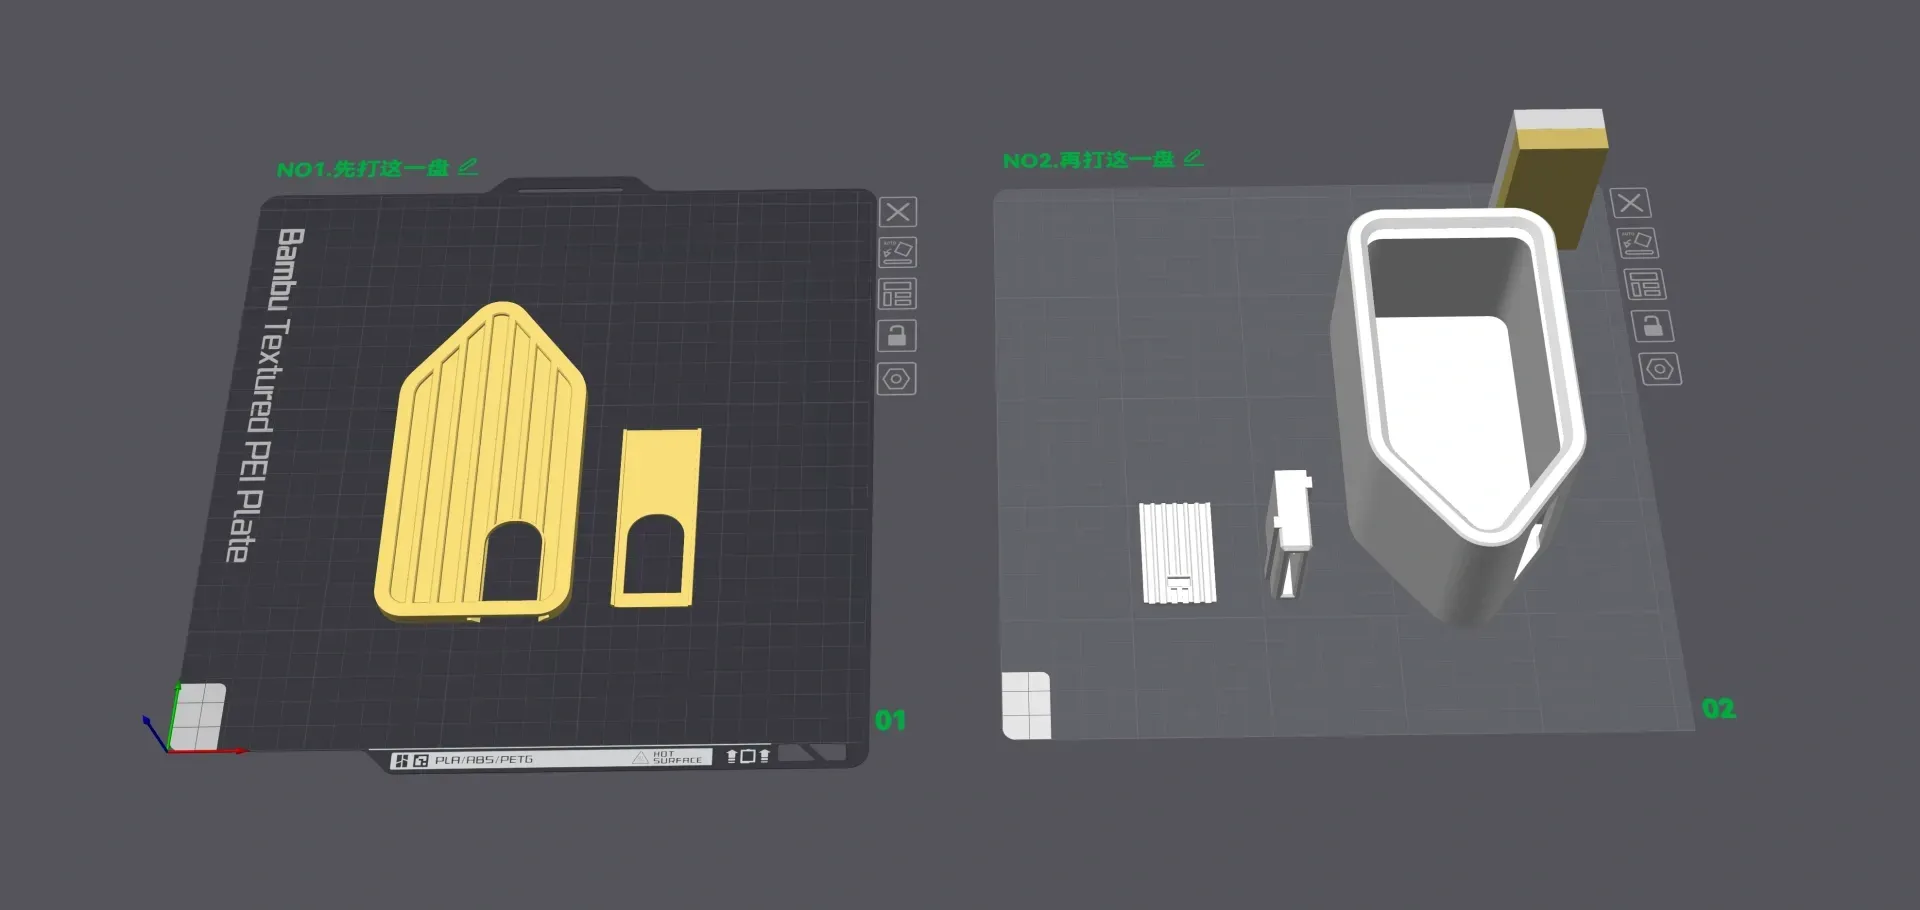
This piggy bank is printed in two parts, observe the numbered sequence strictly: print “NO.1” first, followed by “NO.2”.
-------------------------------------------------------
Commence Printing:
Step 1: Print NO.1
At approximately 32 minutes, the print will pause automatically At this point, remove the arched spacer on the right
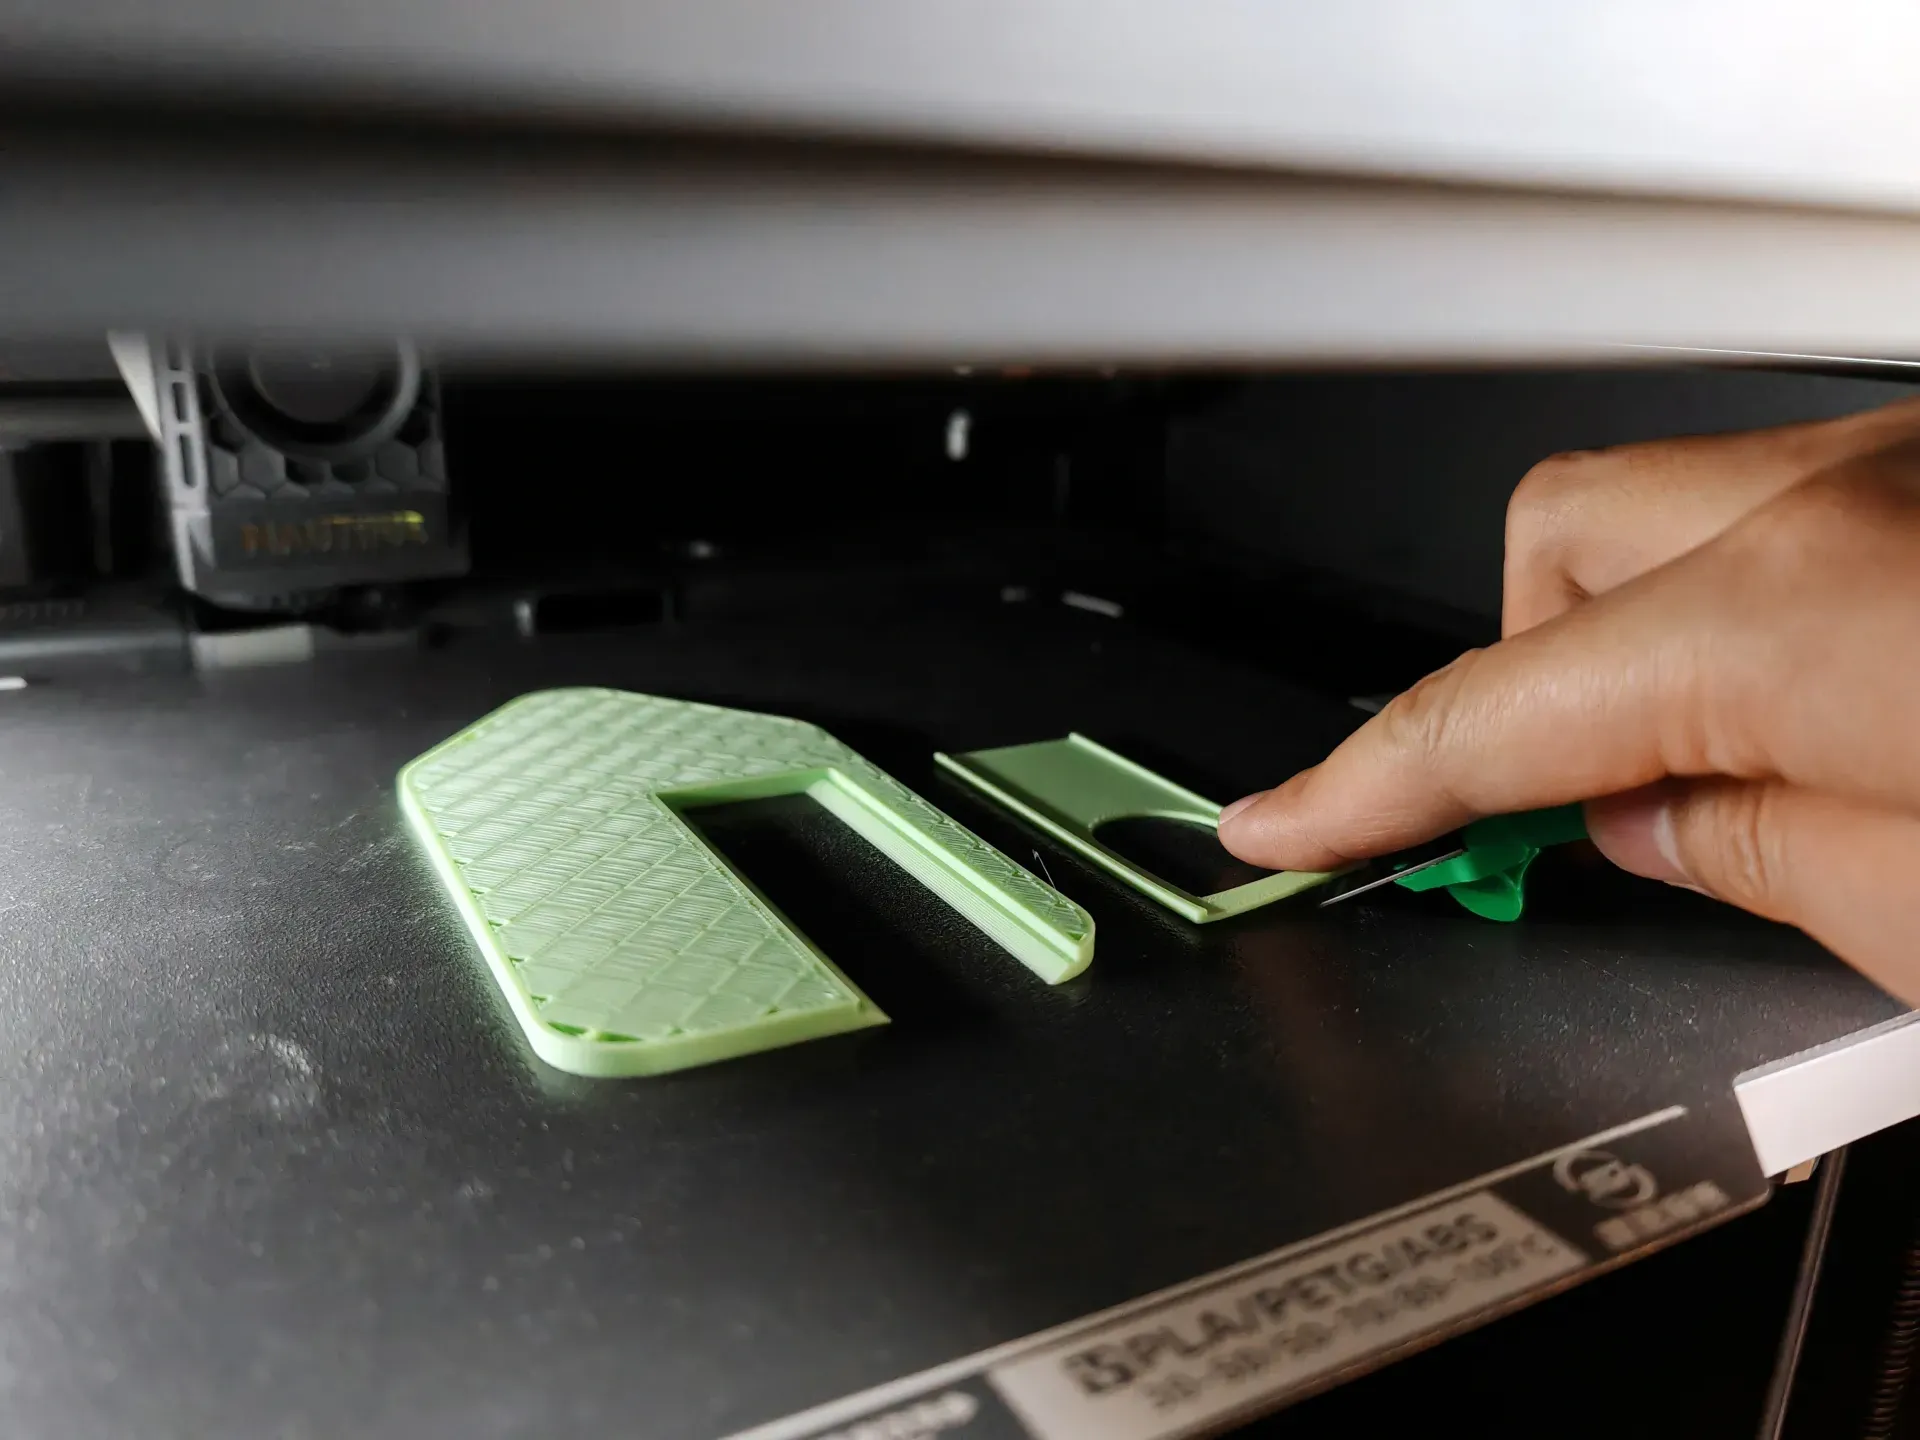
Flip it over, positioning the raised sides of the arched spacer facing down
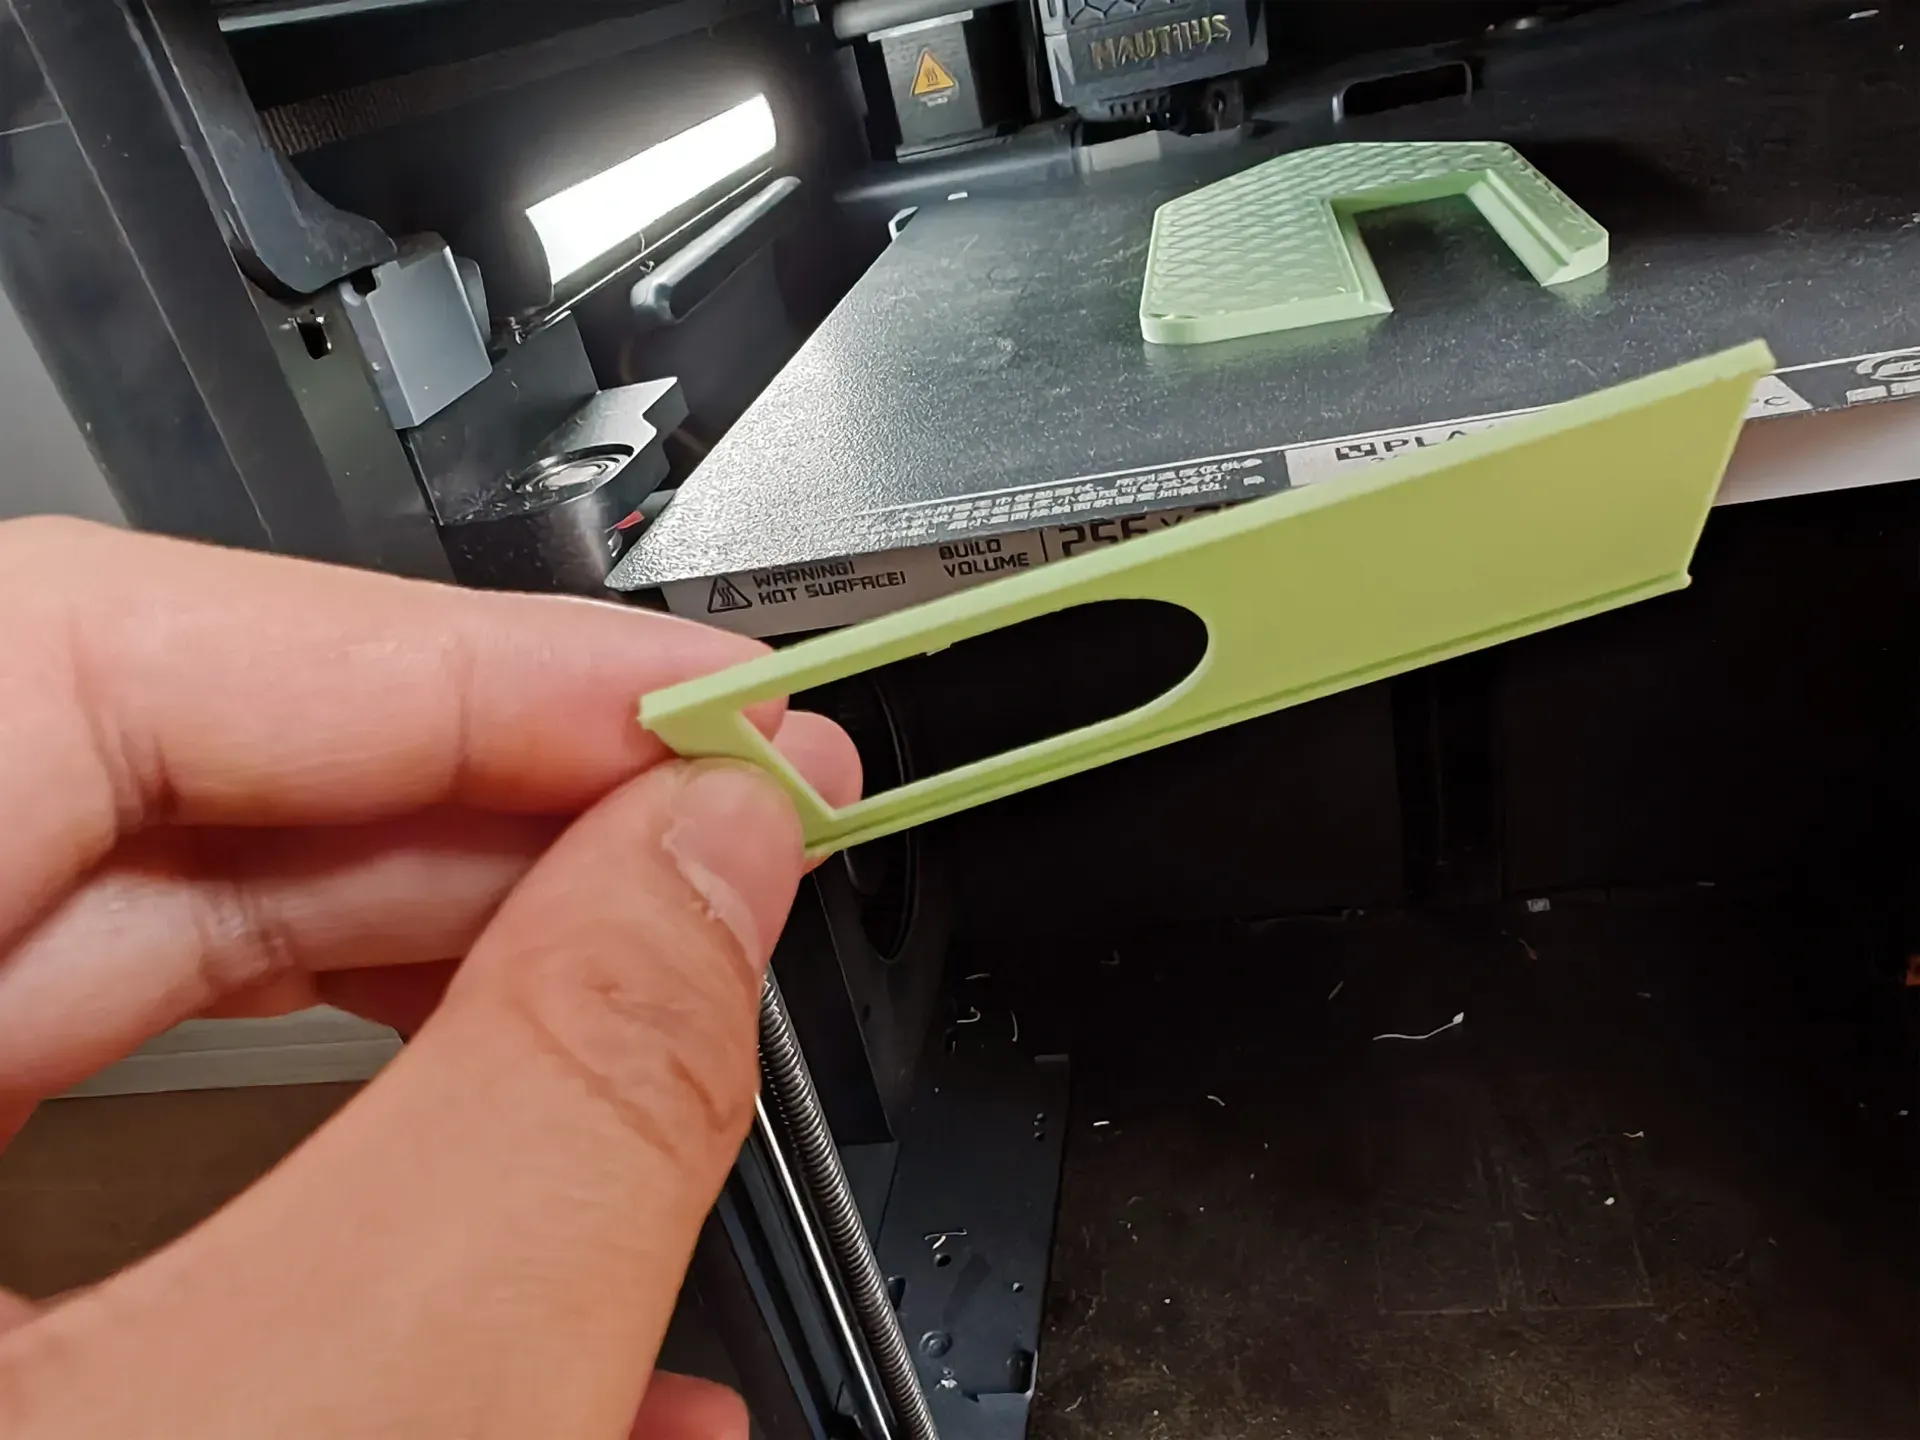
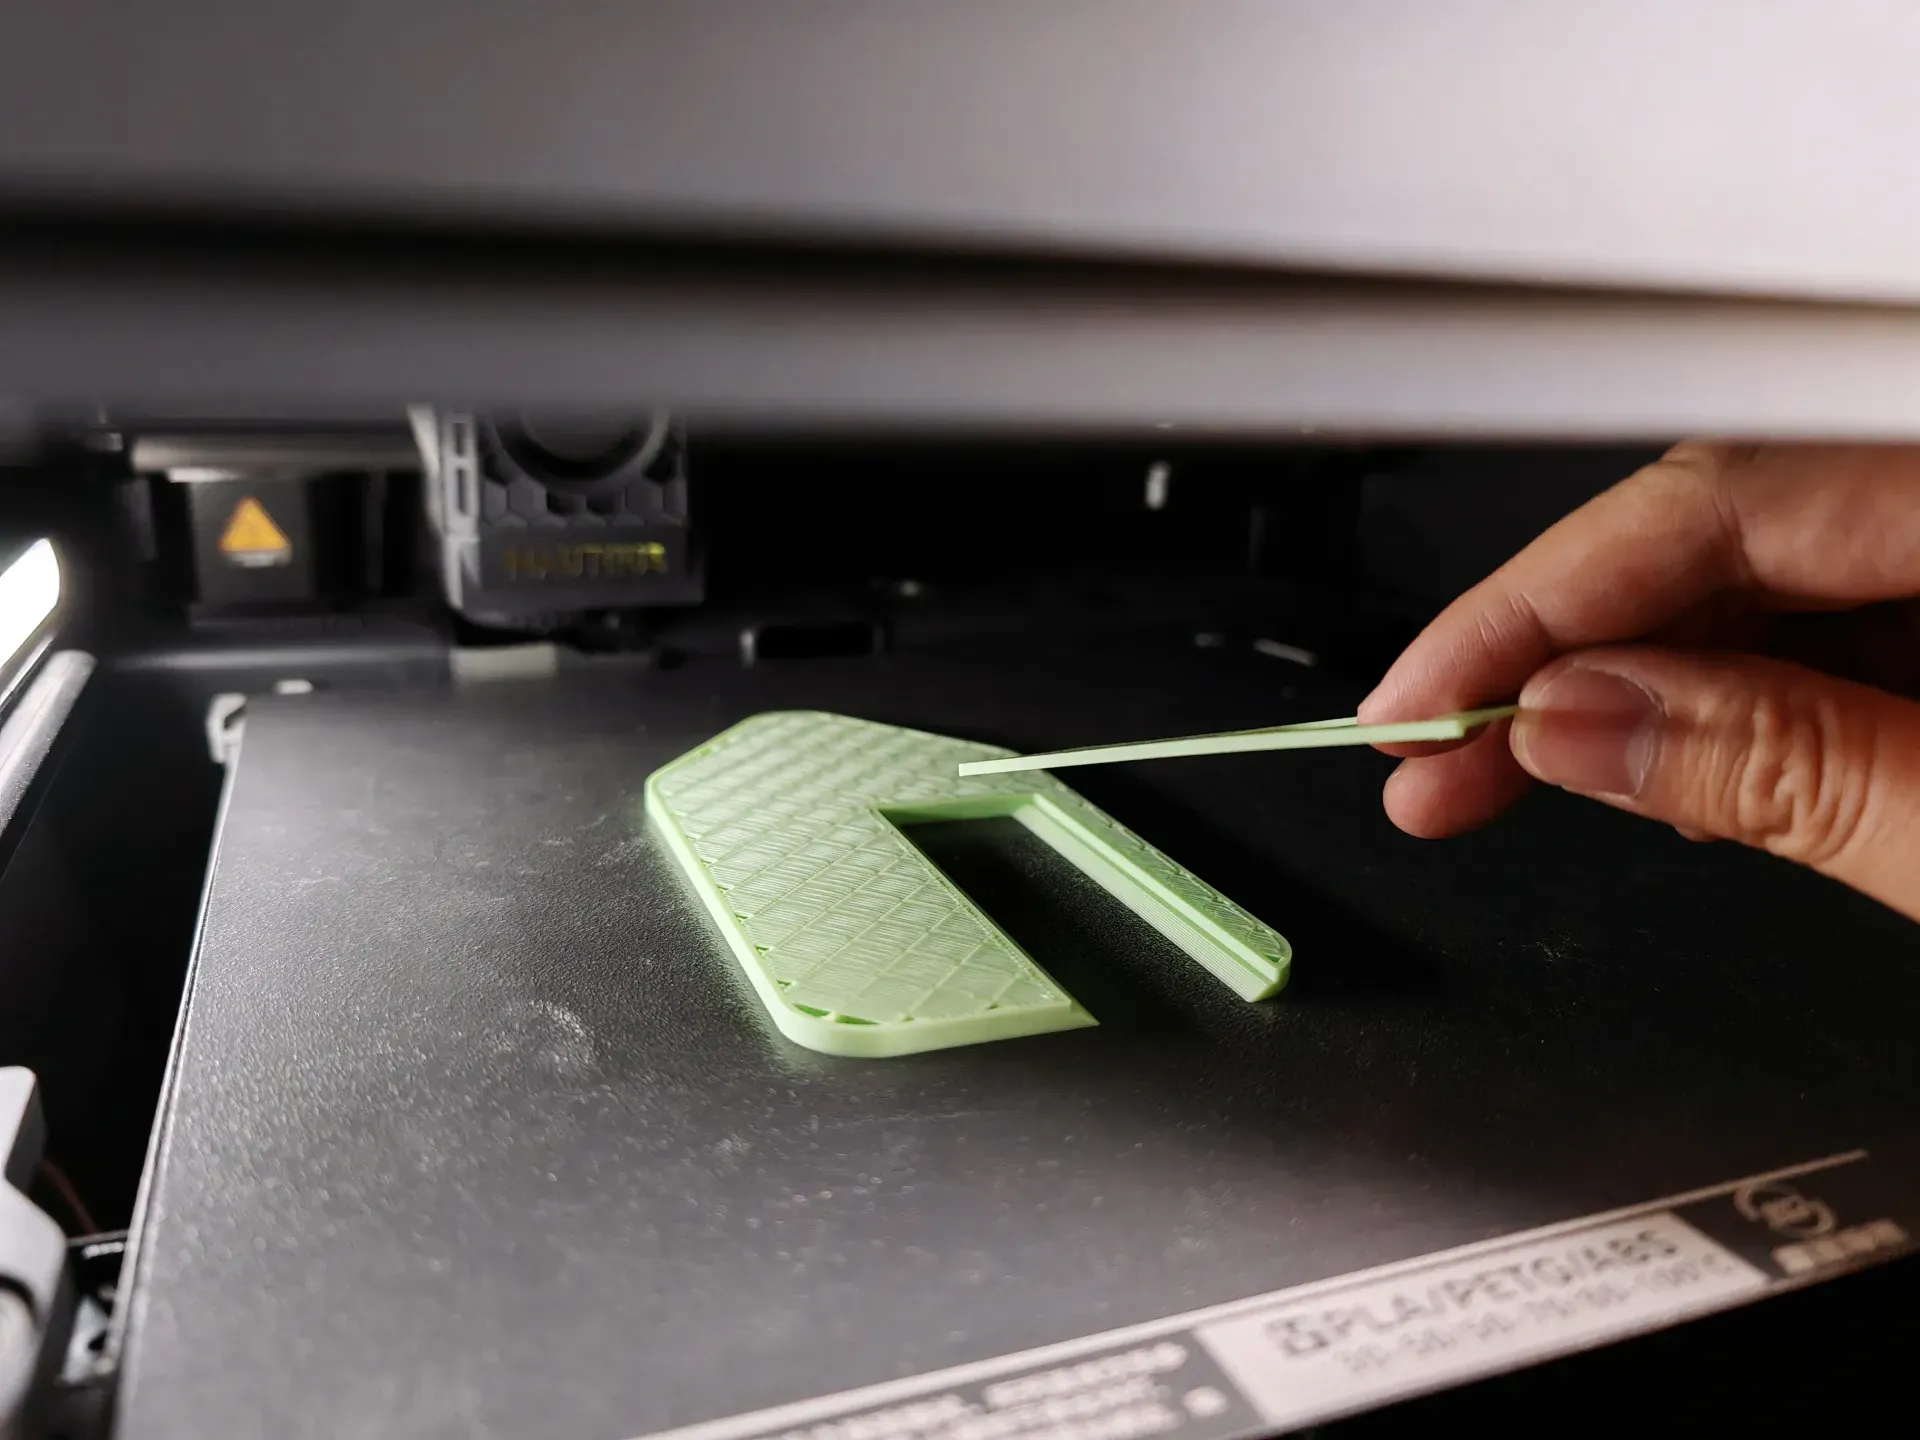
Once correctly placed, resume printing Minor misalignment (slight warping) is acceptable
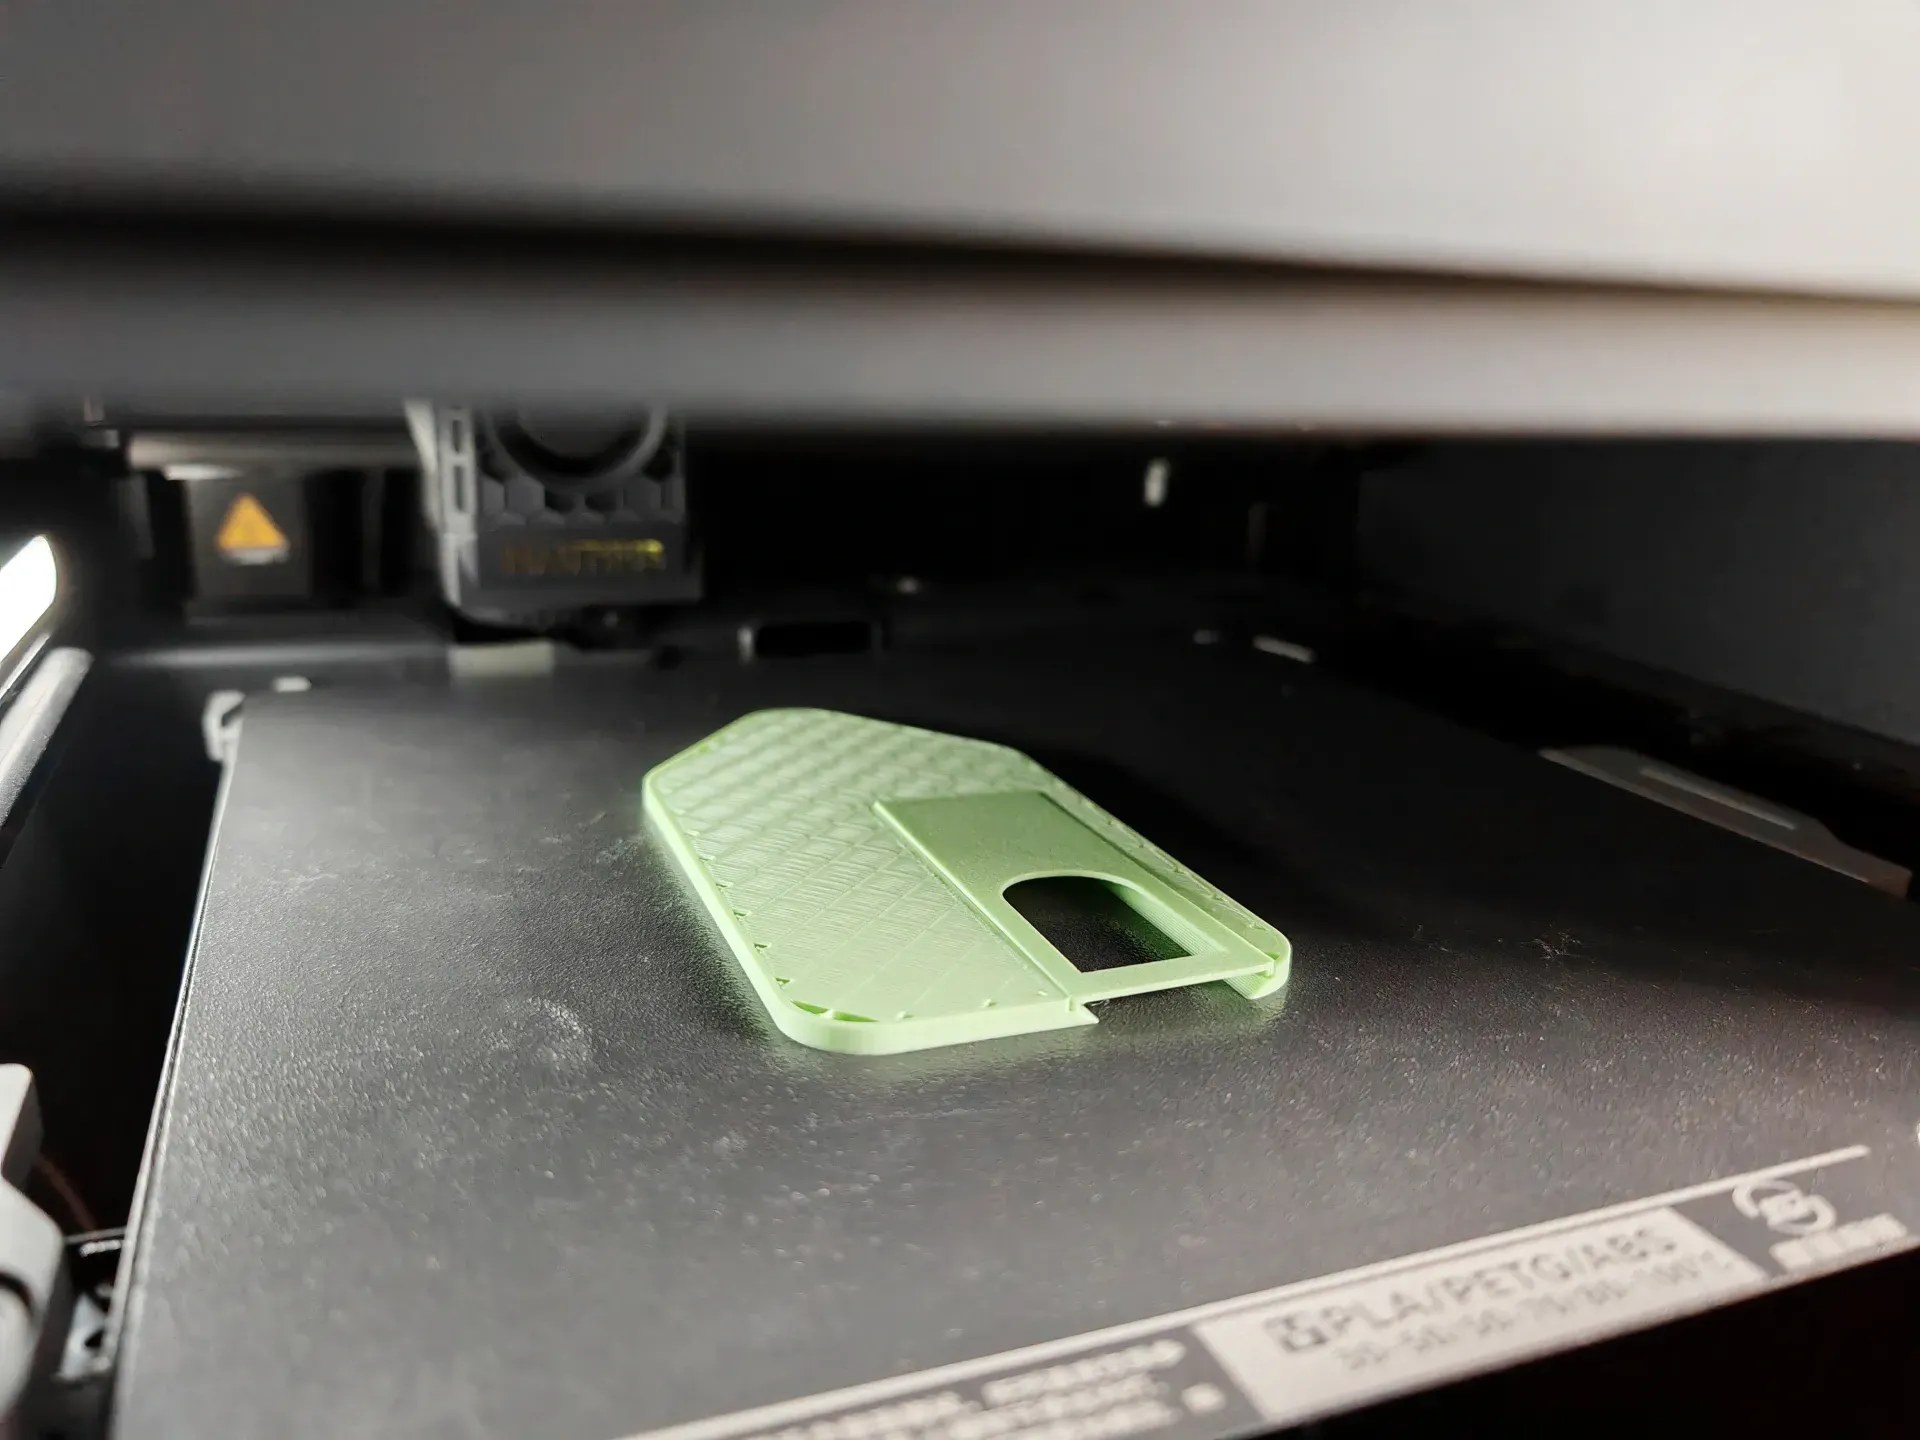
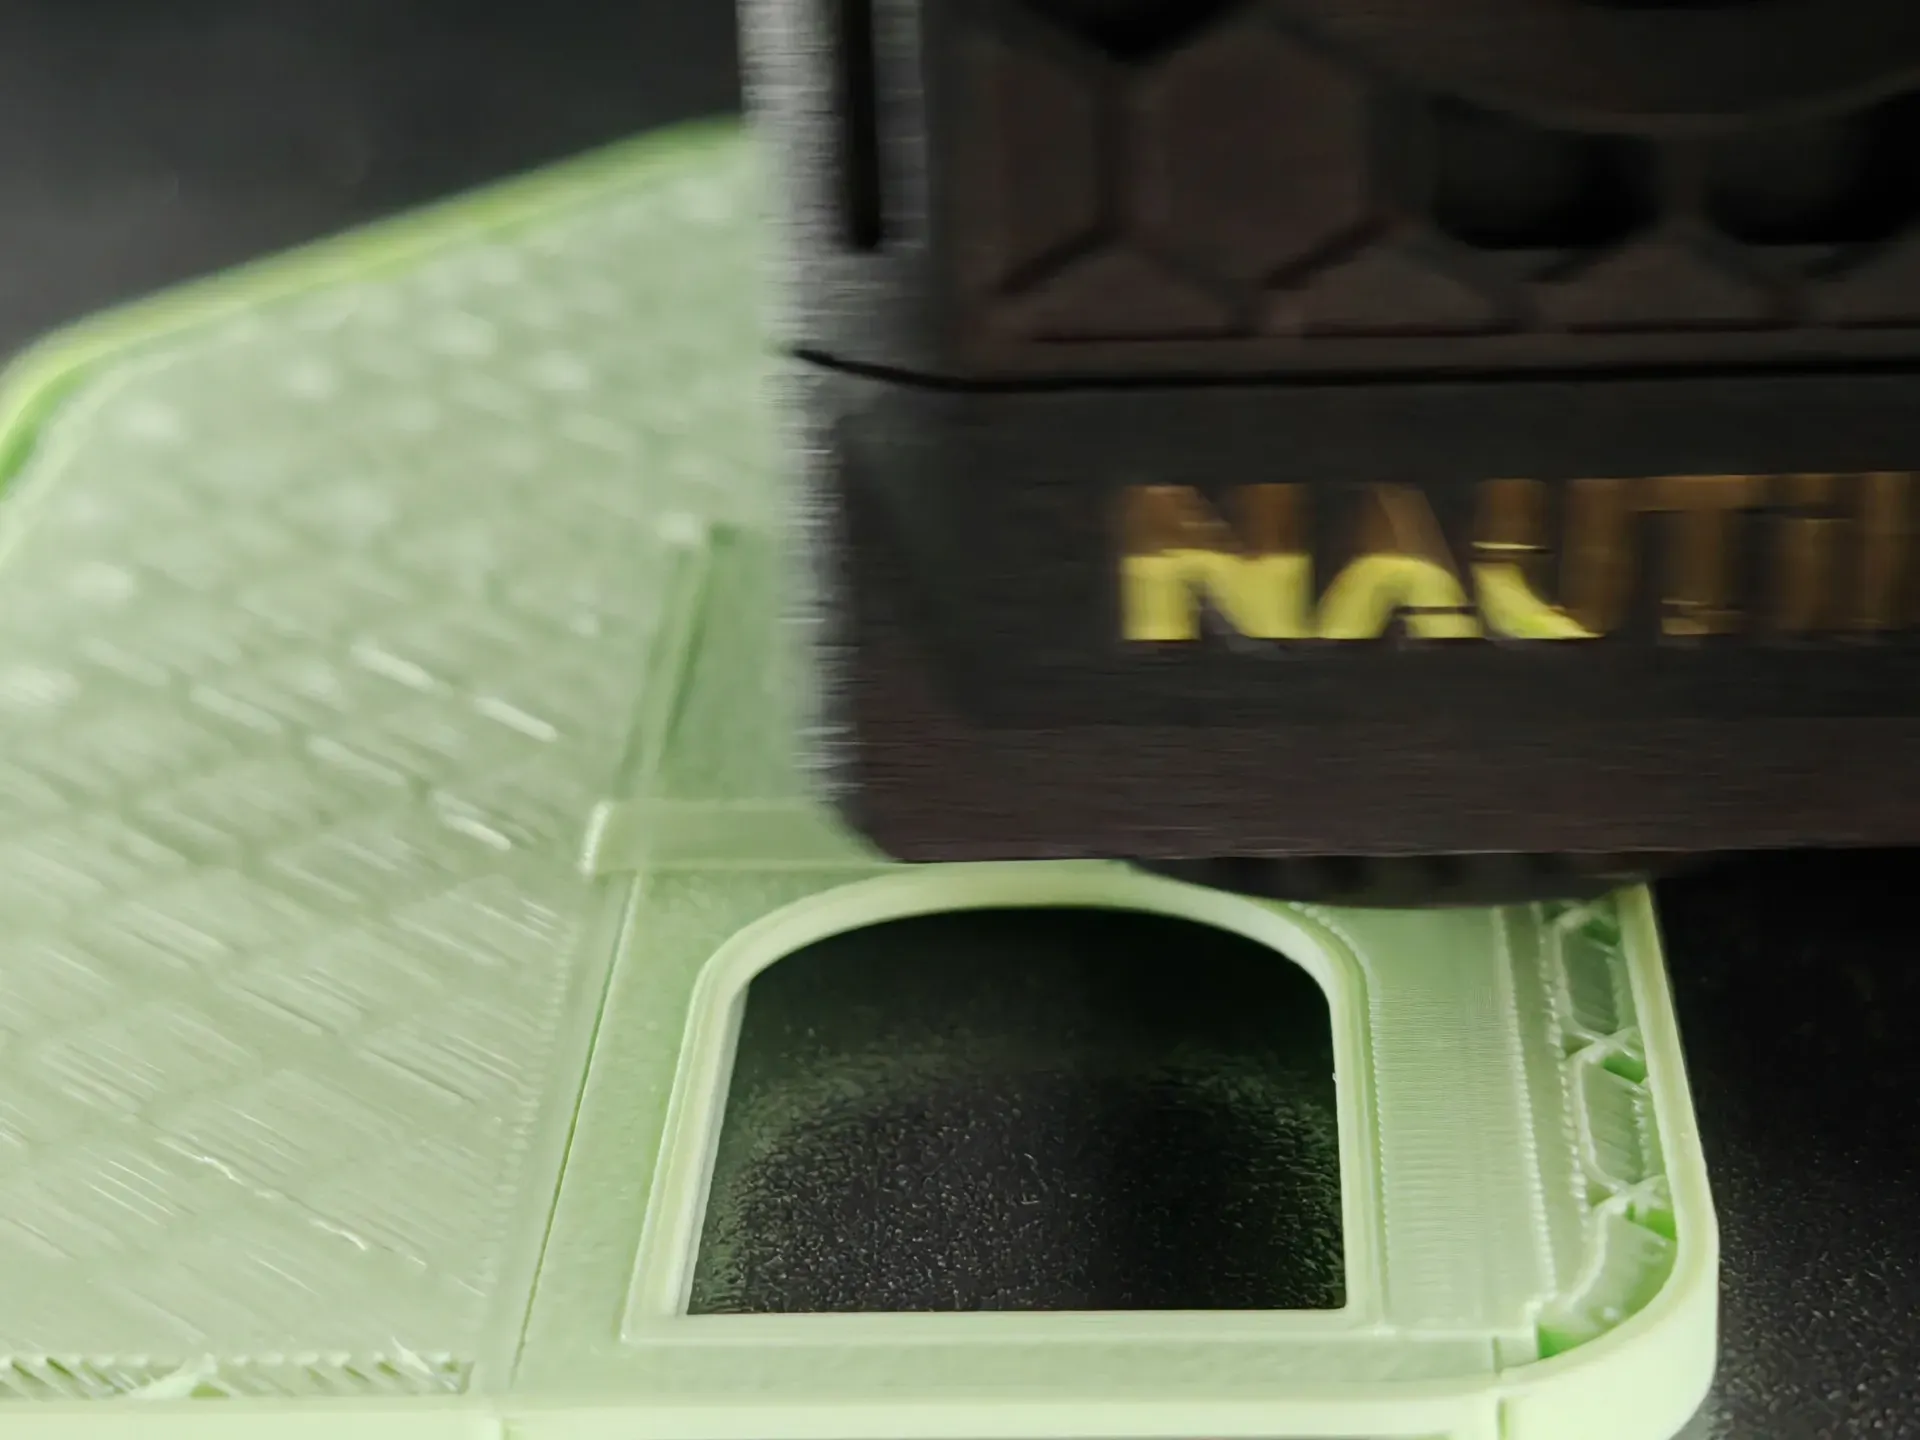
Resume printing
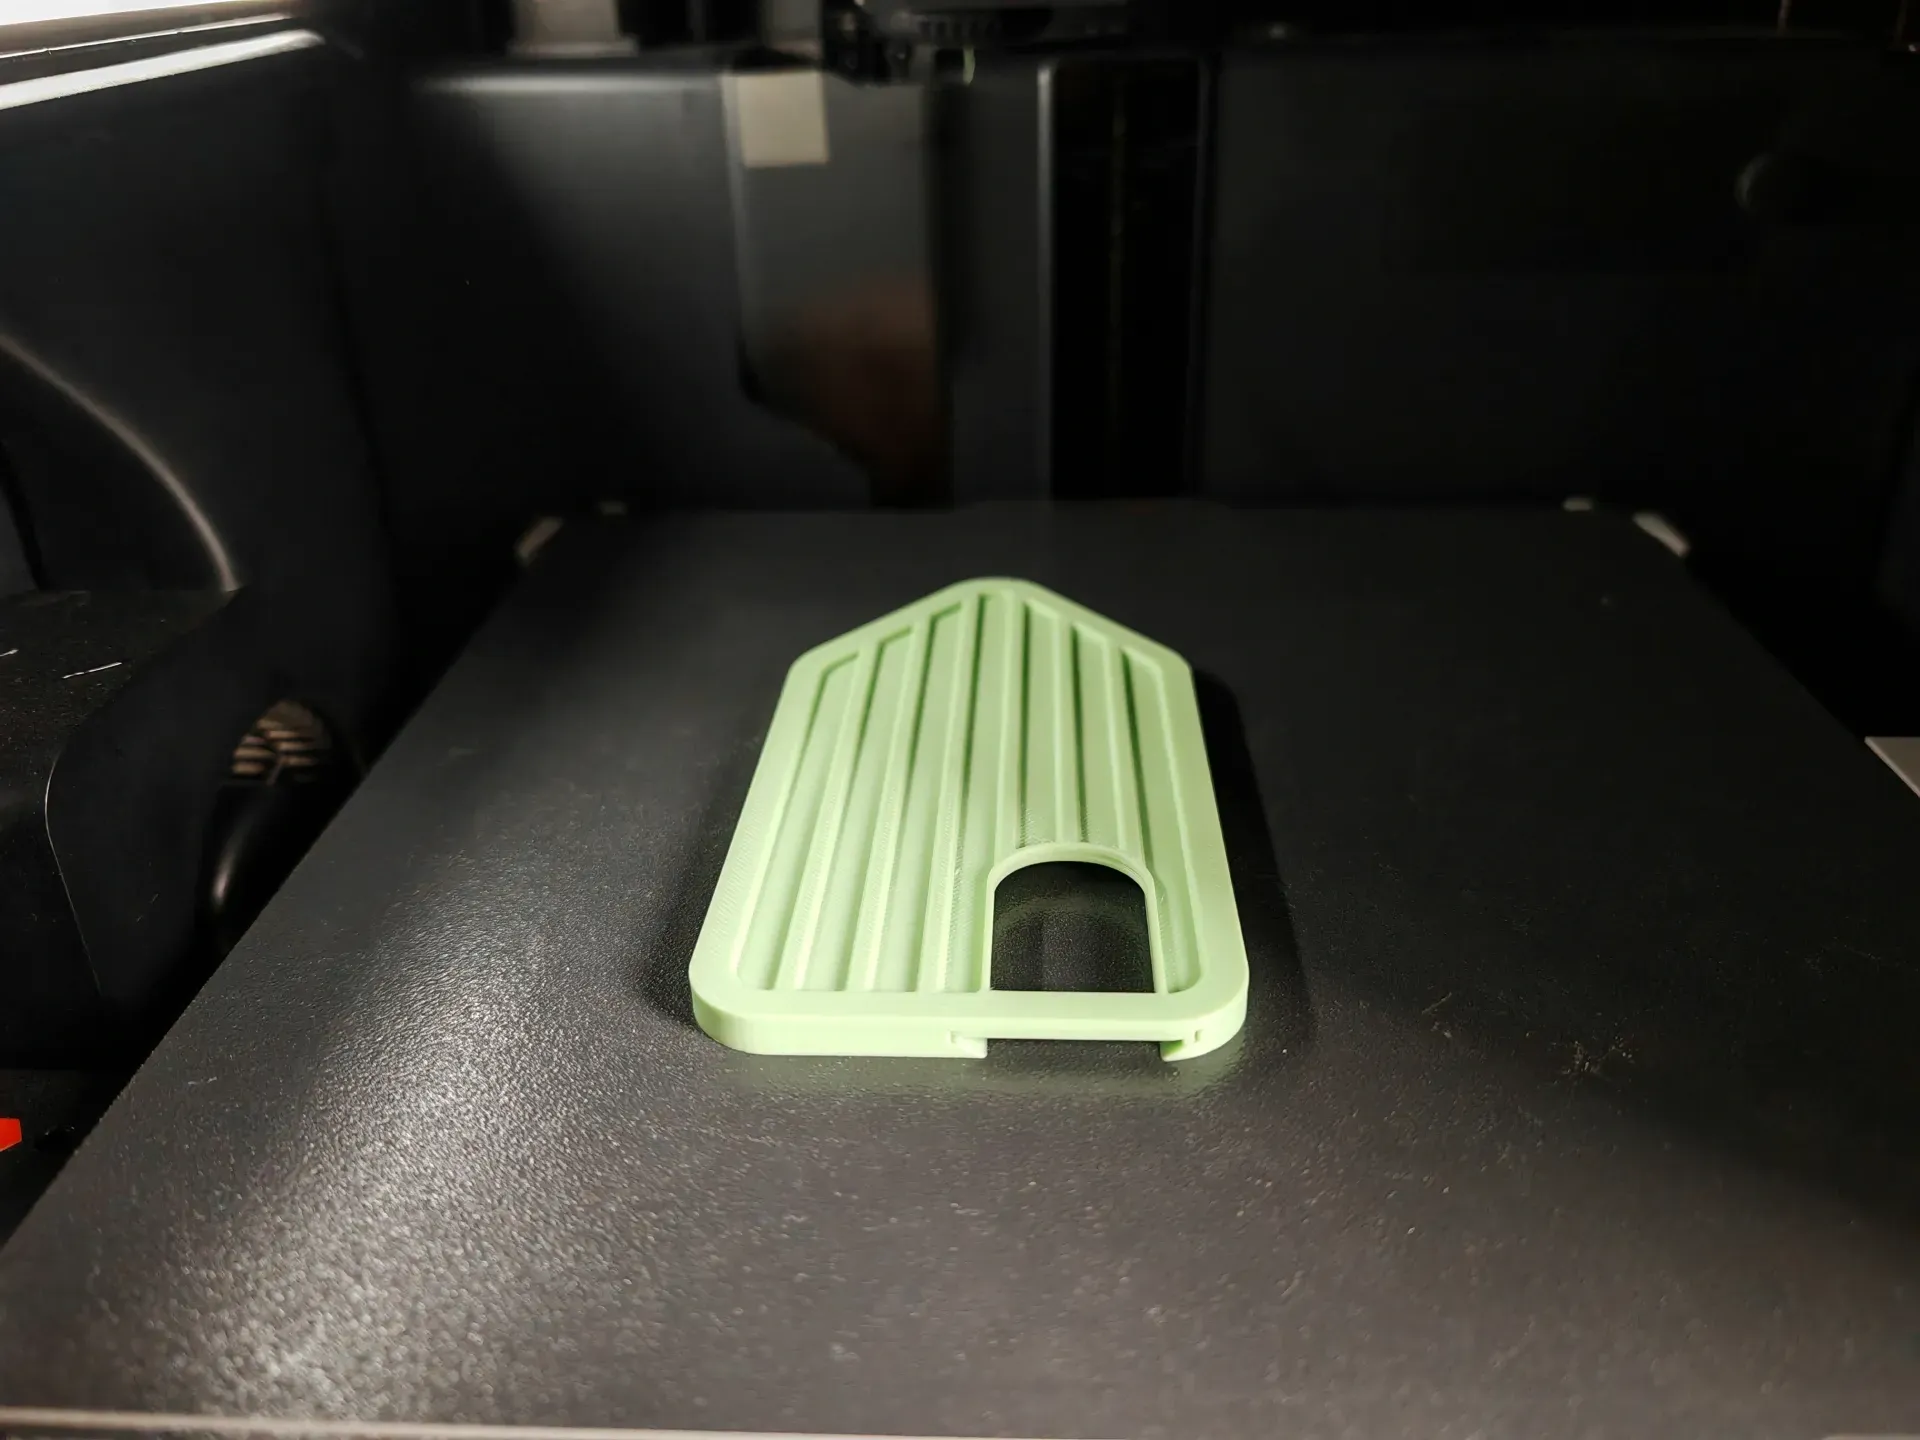
Post-print appearance
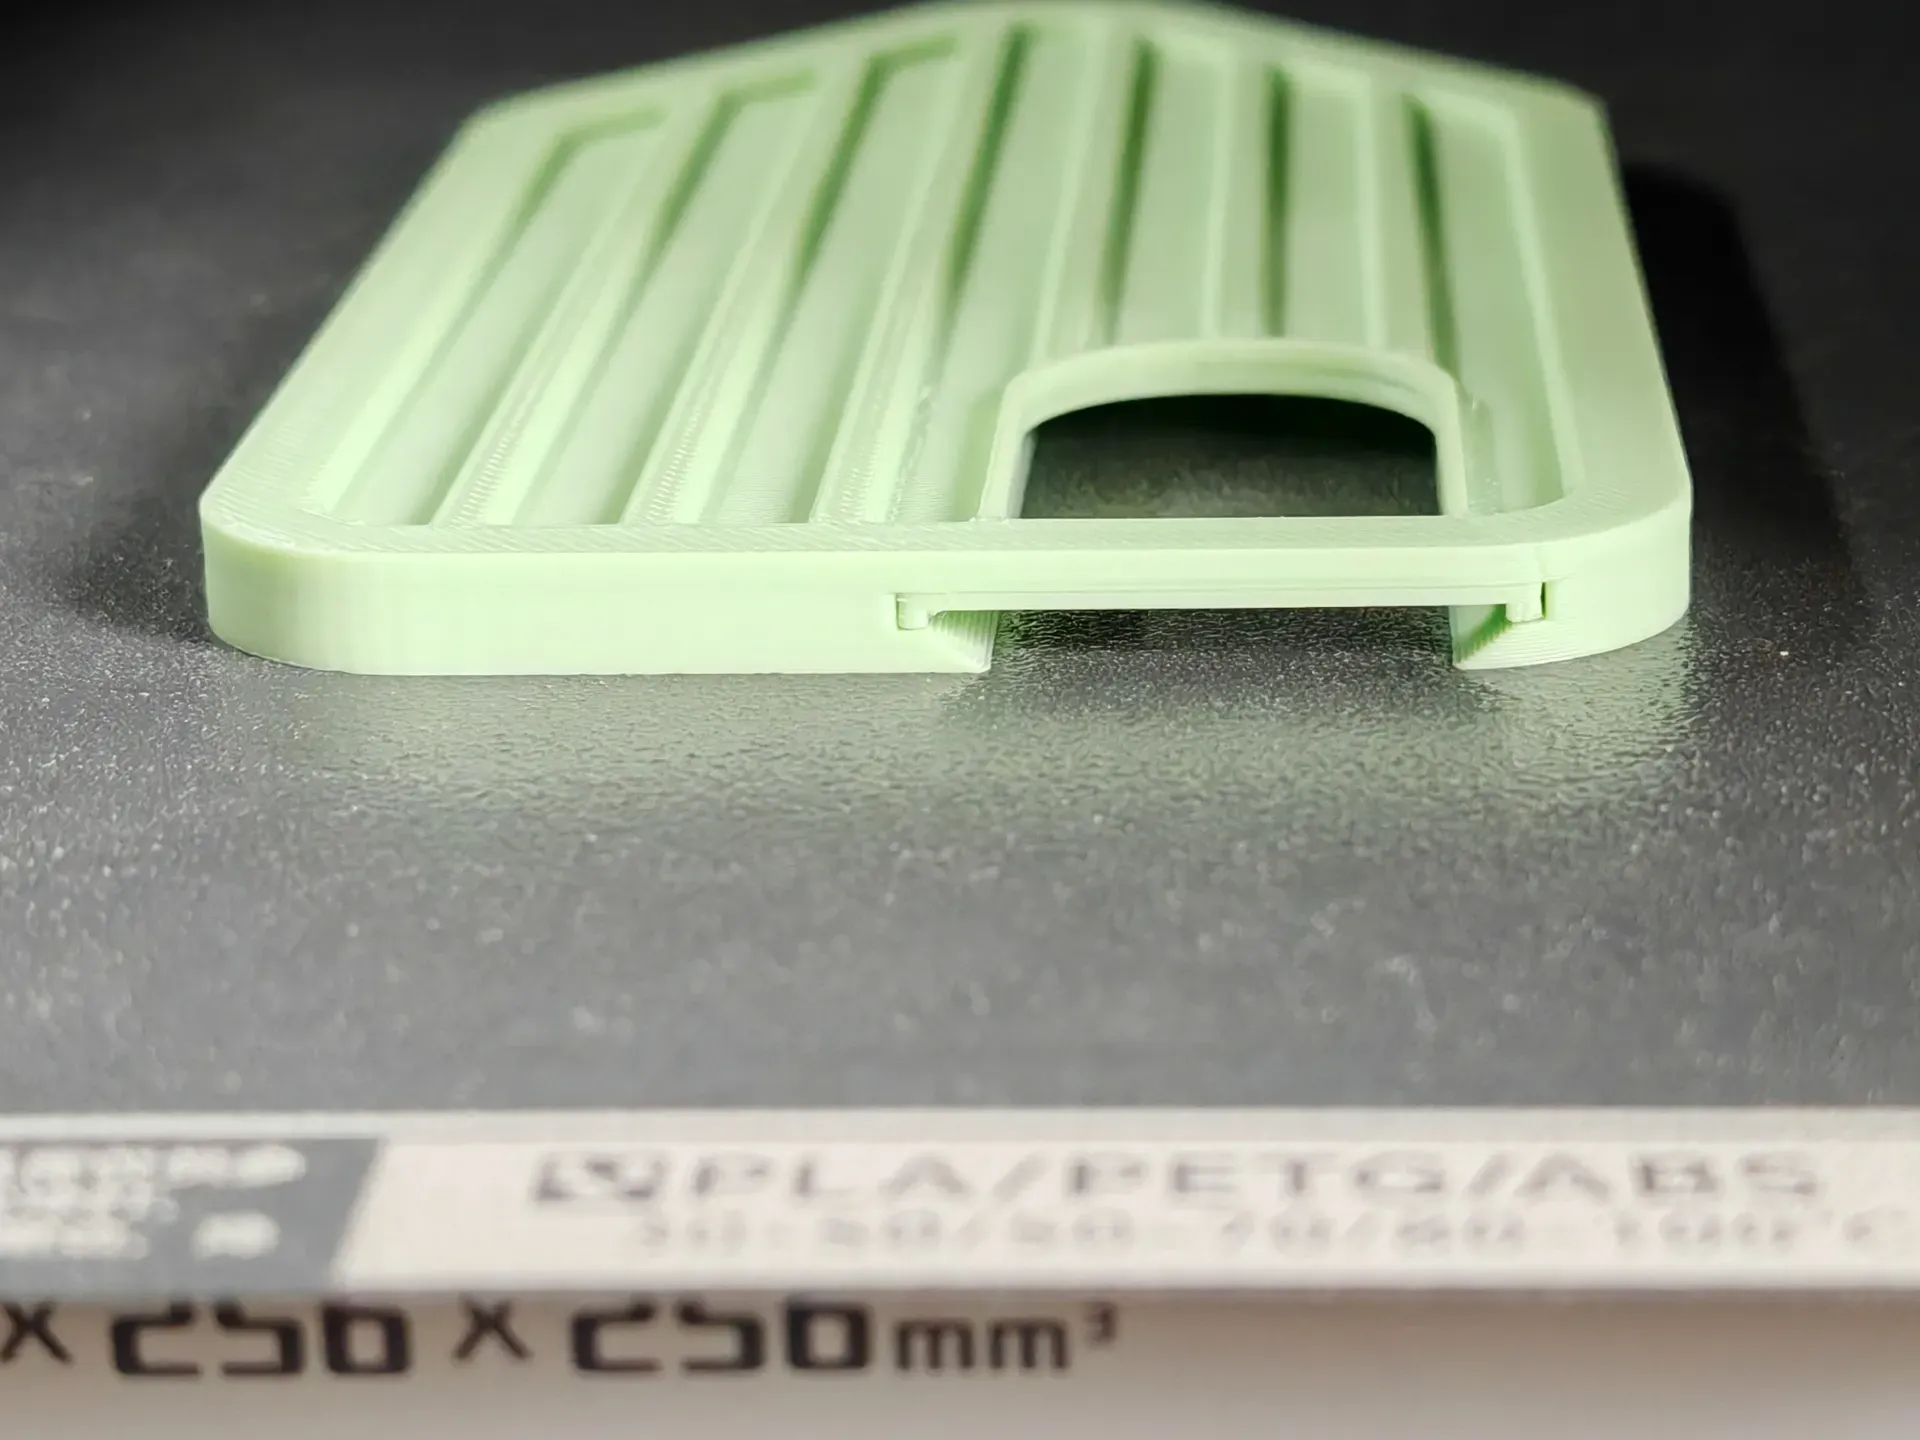
Begin Printing NO.2
The first pause occurs at approximately 2 hours and 52 minutes
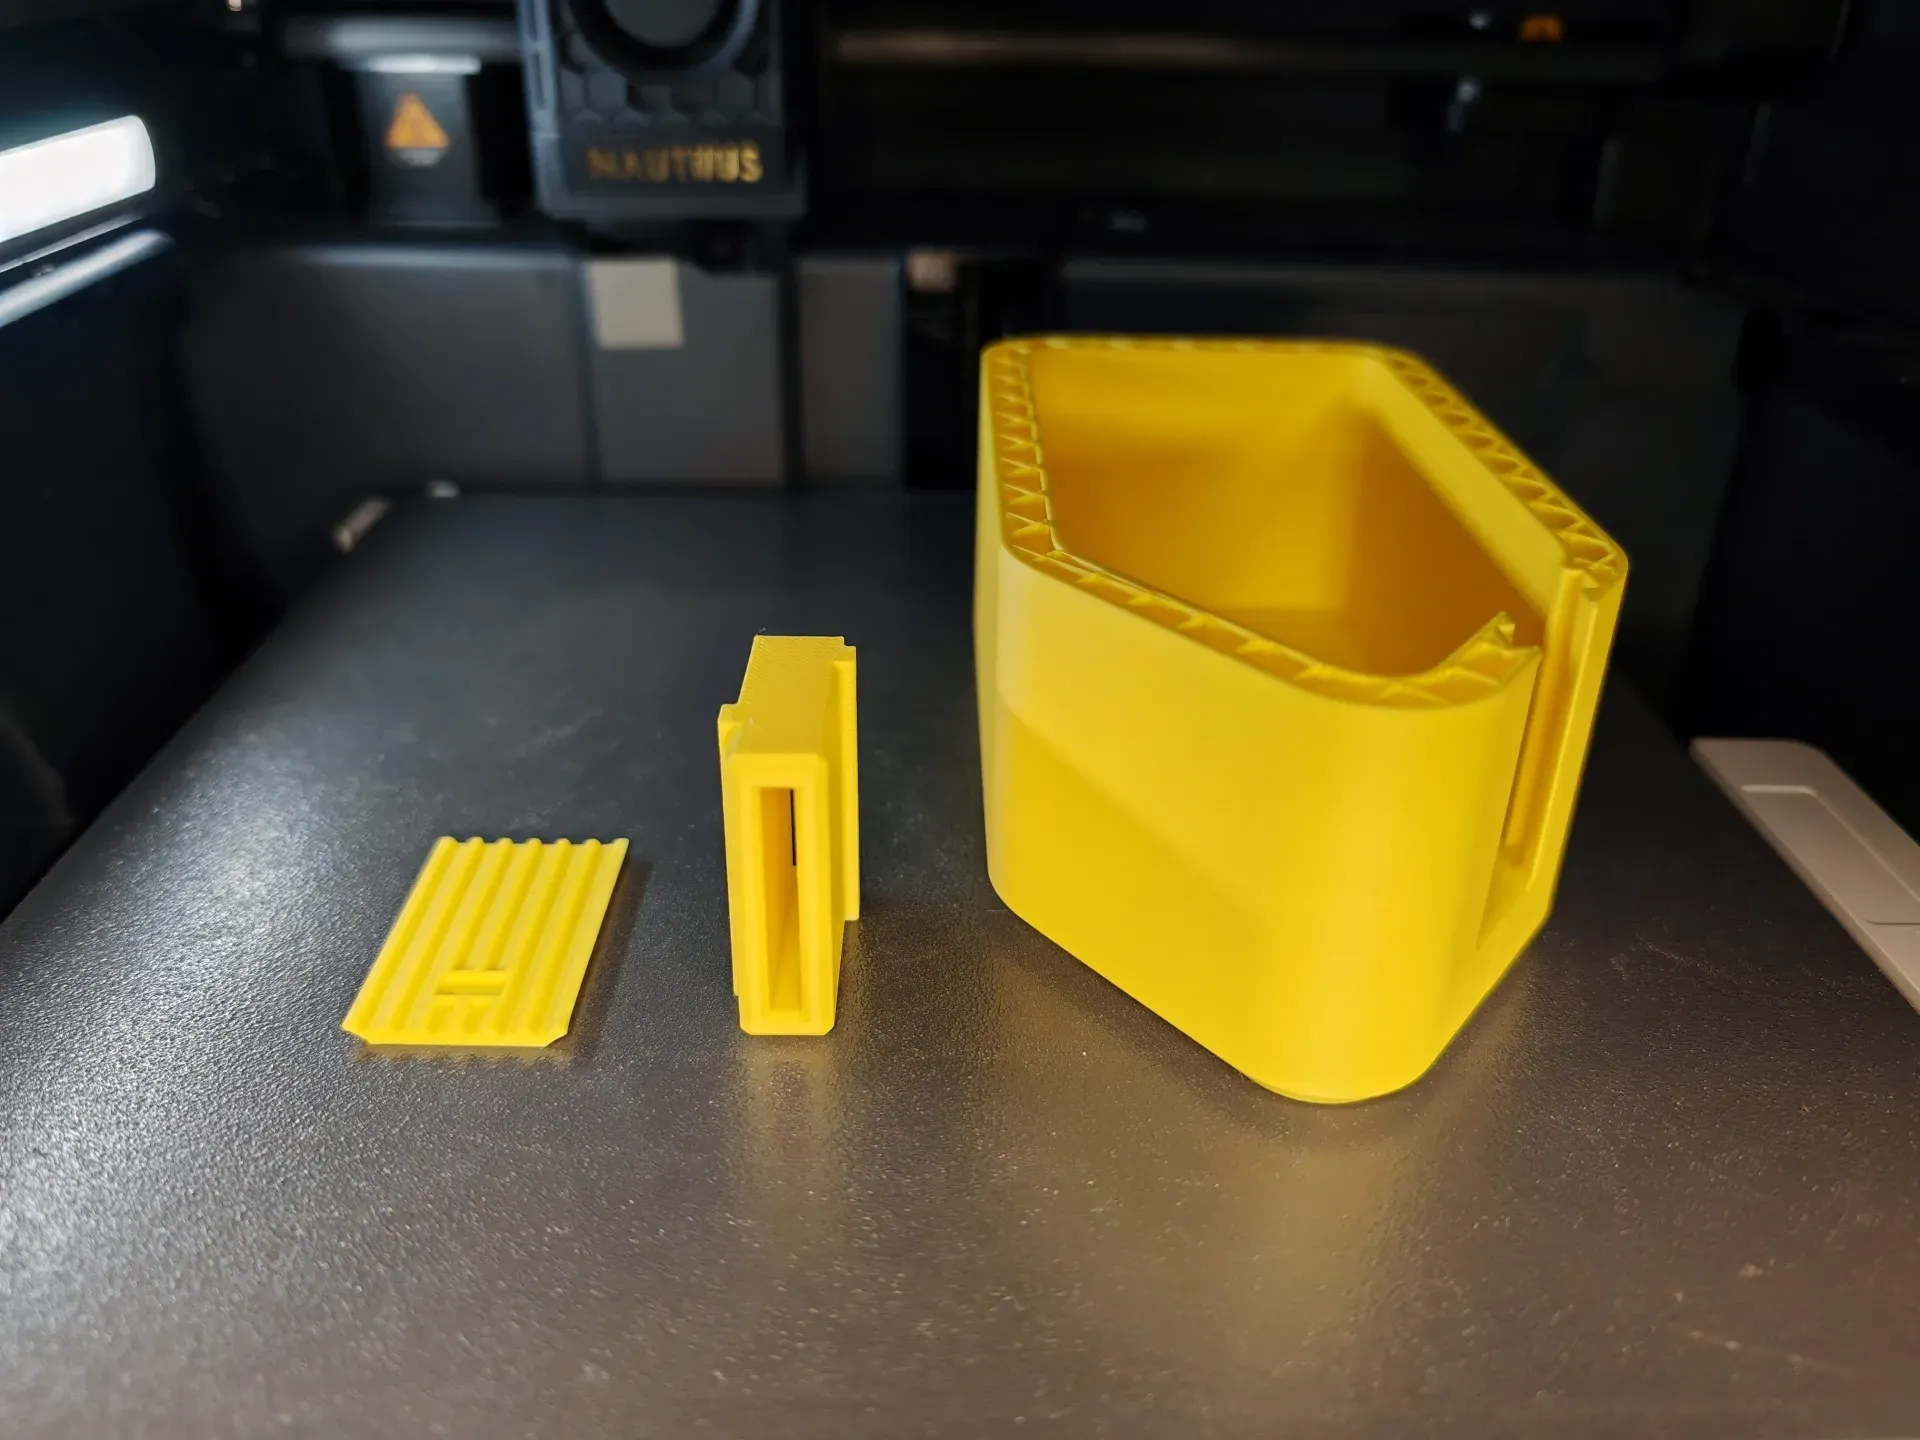
Attach the chimney to the main house body Ensure a secure fit
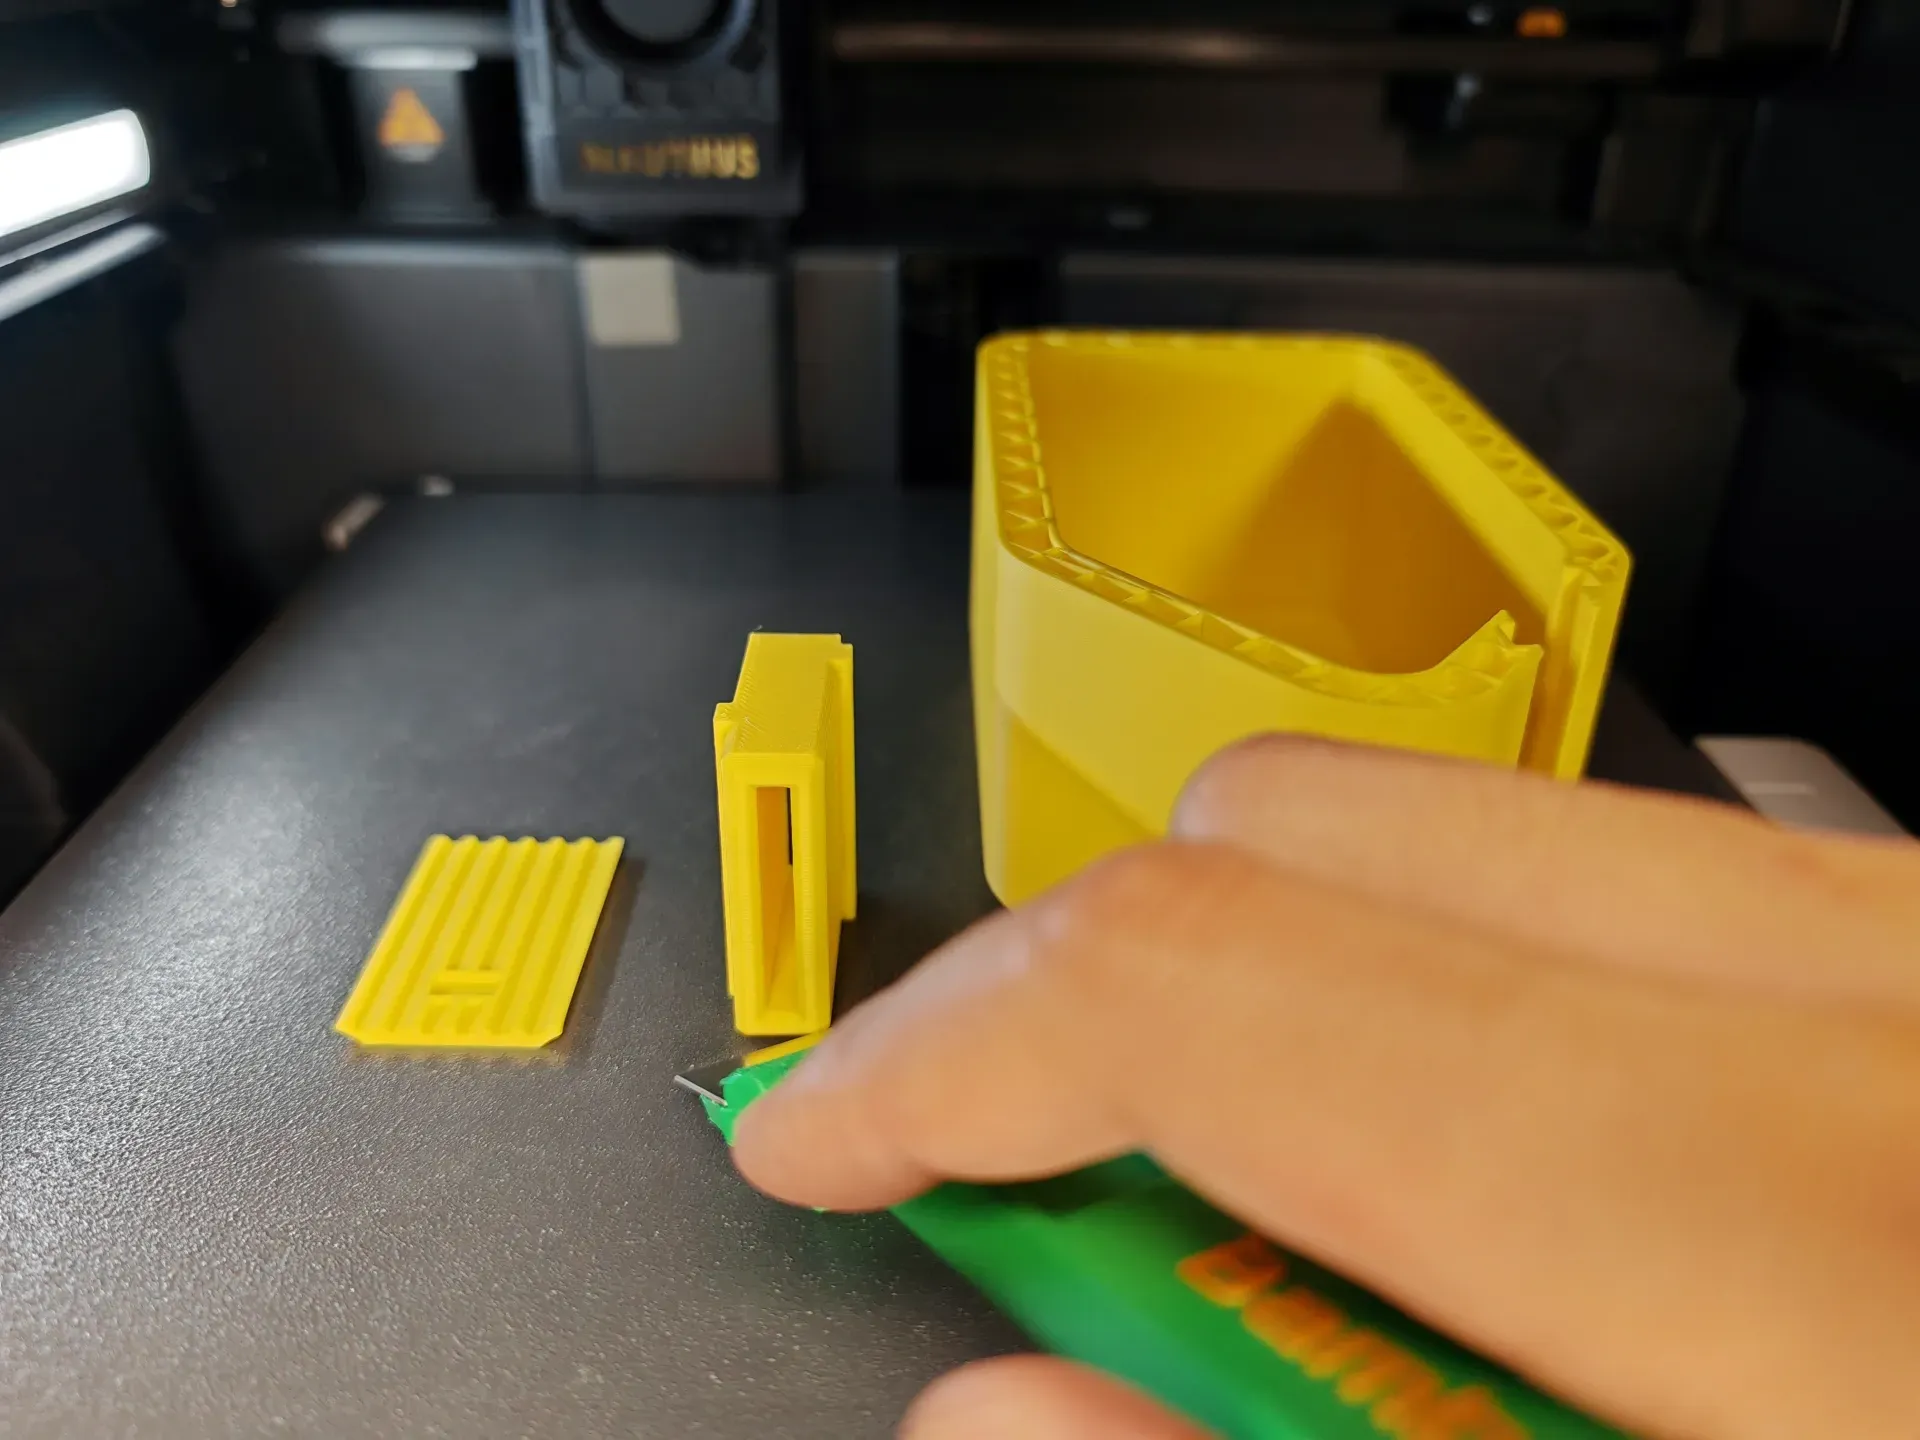
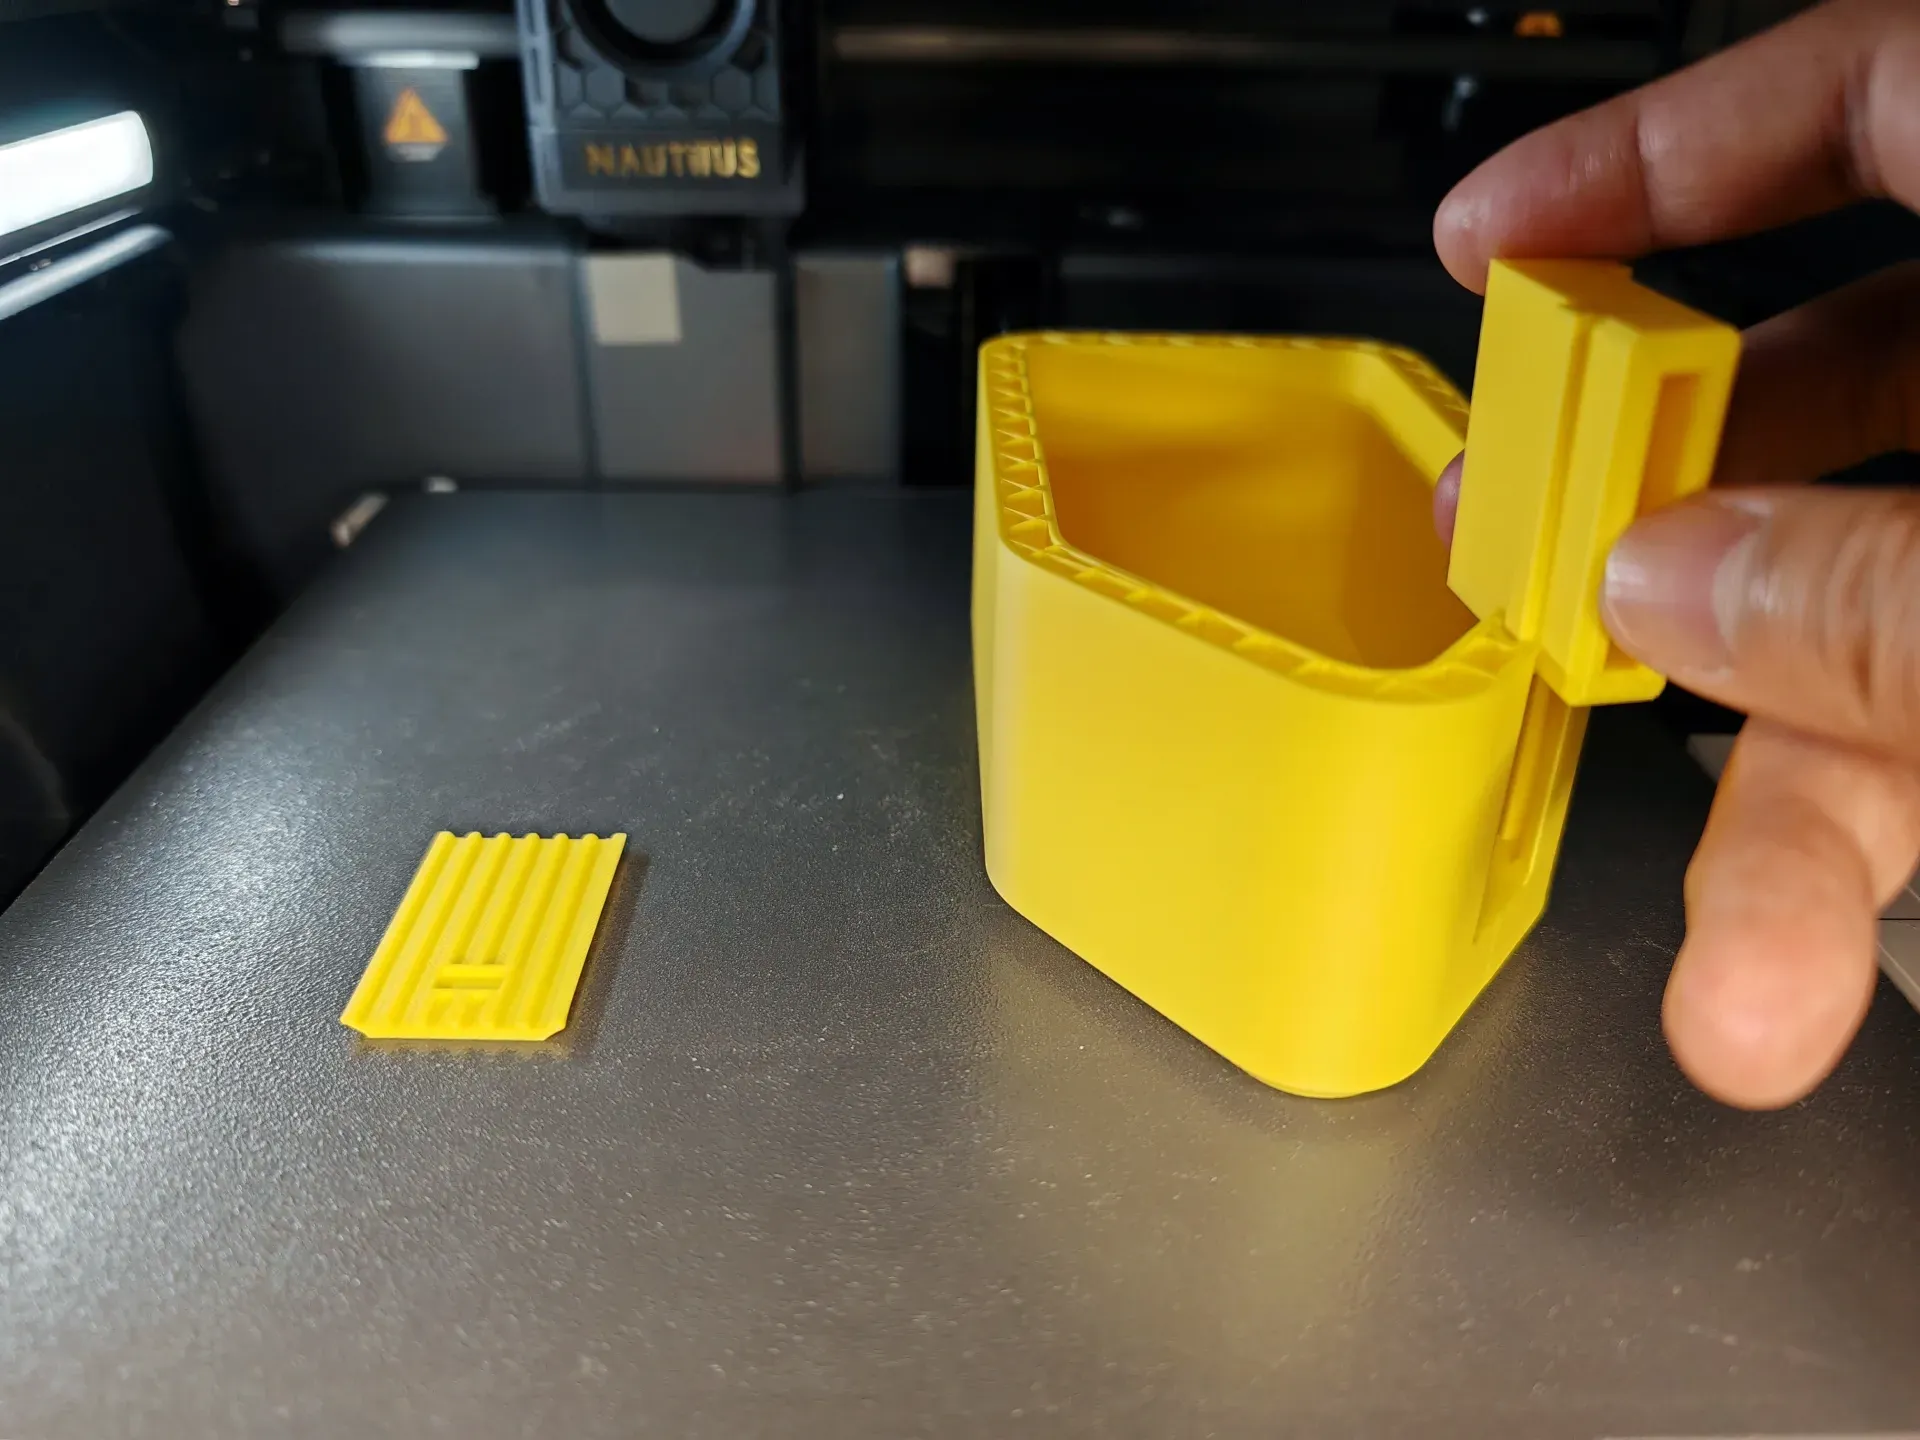
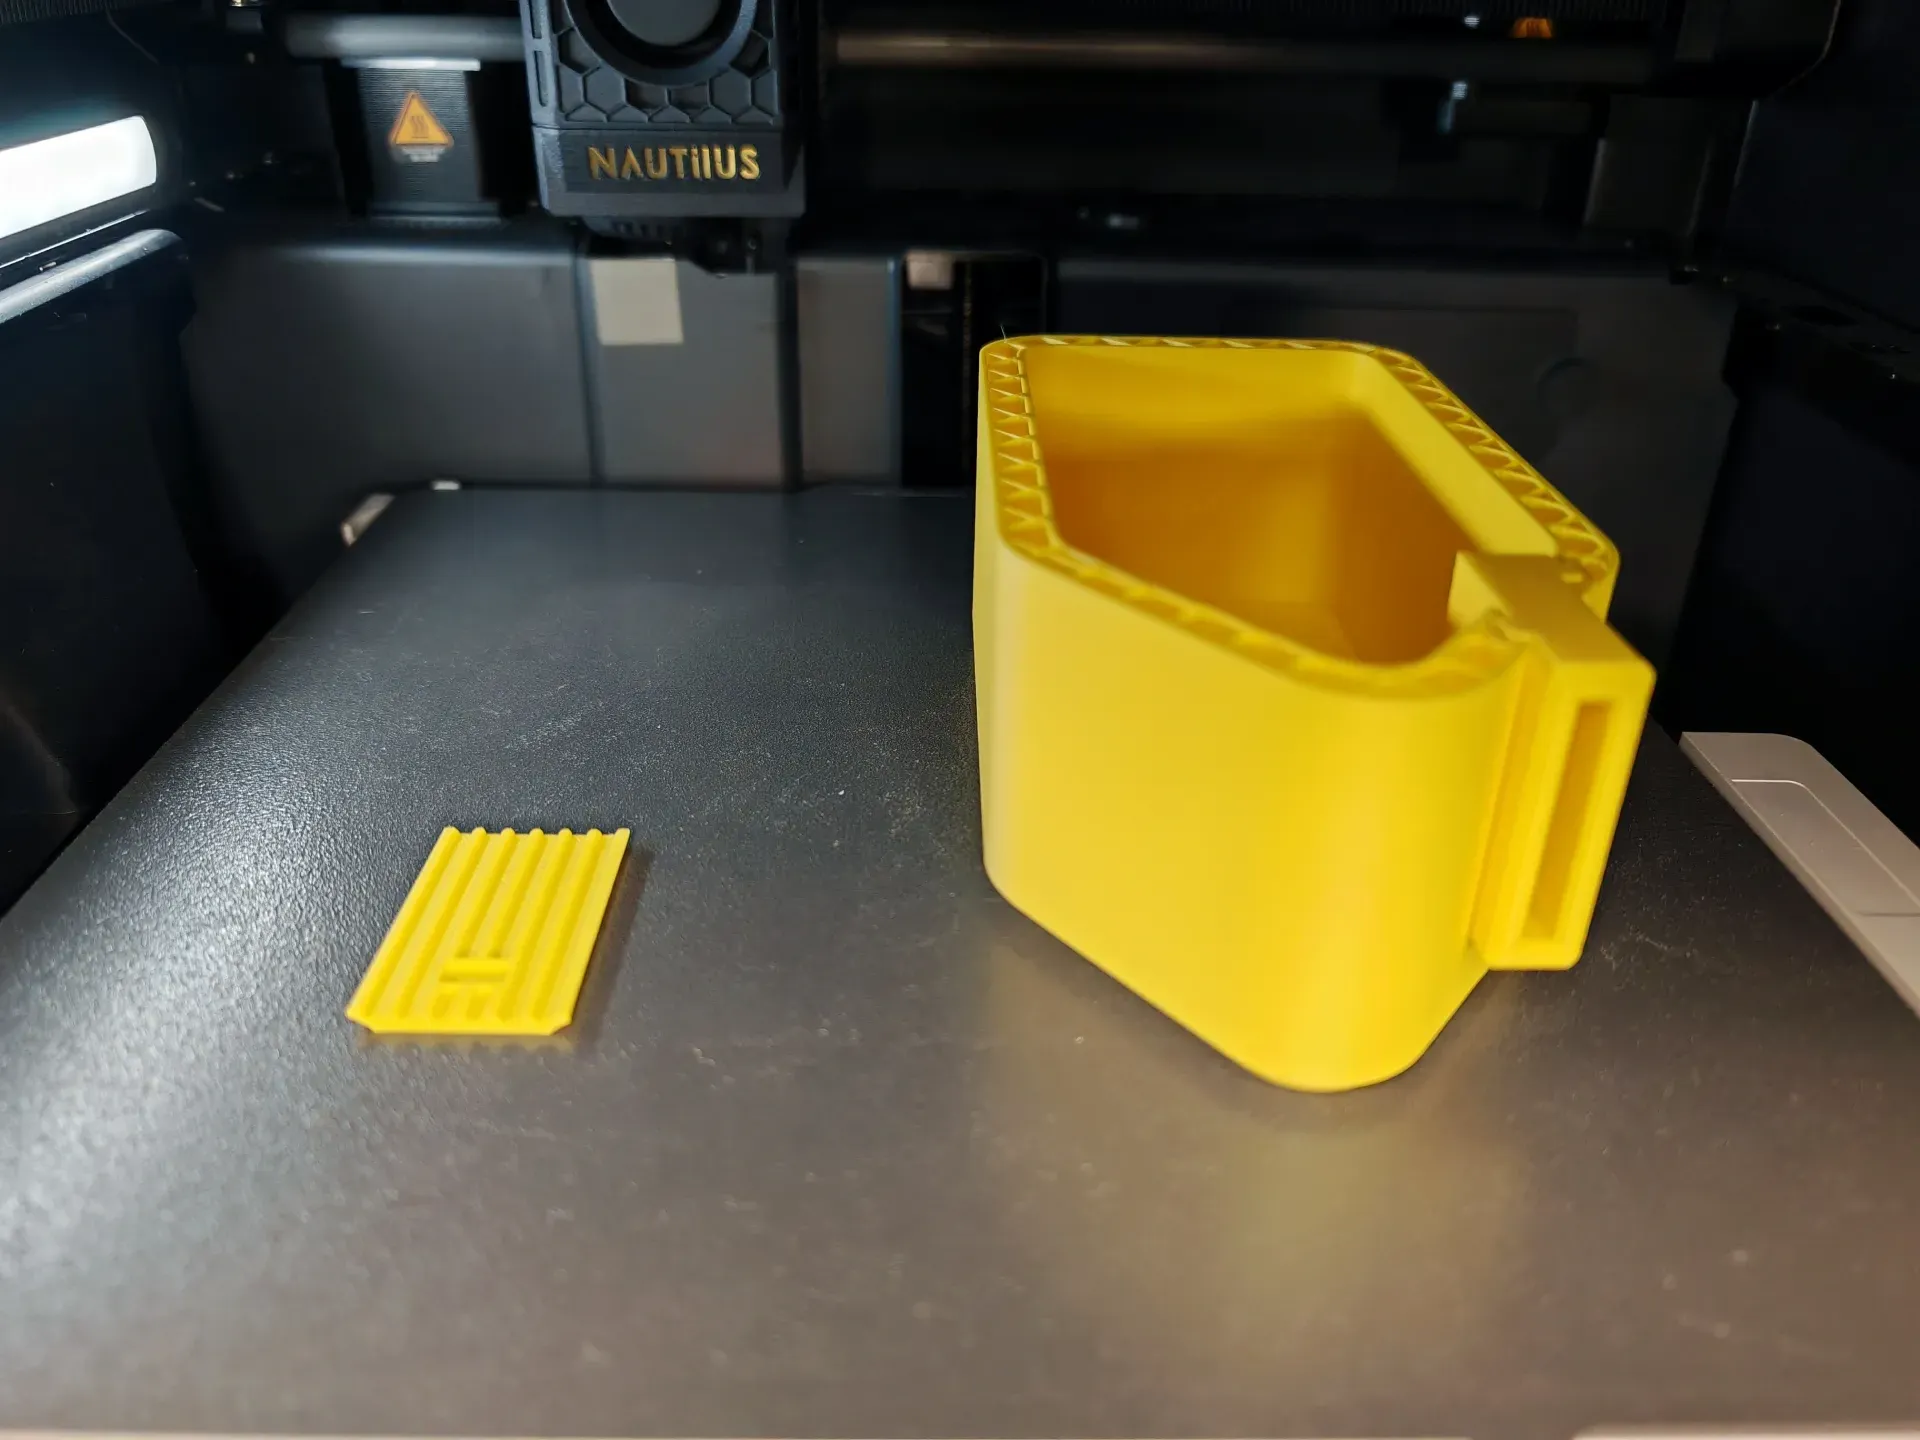
Remove the small door panel on the left and set it aside with the previously printed main door panel
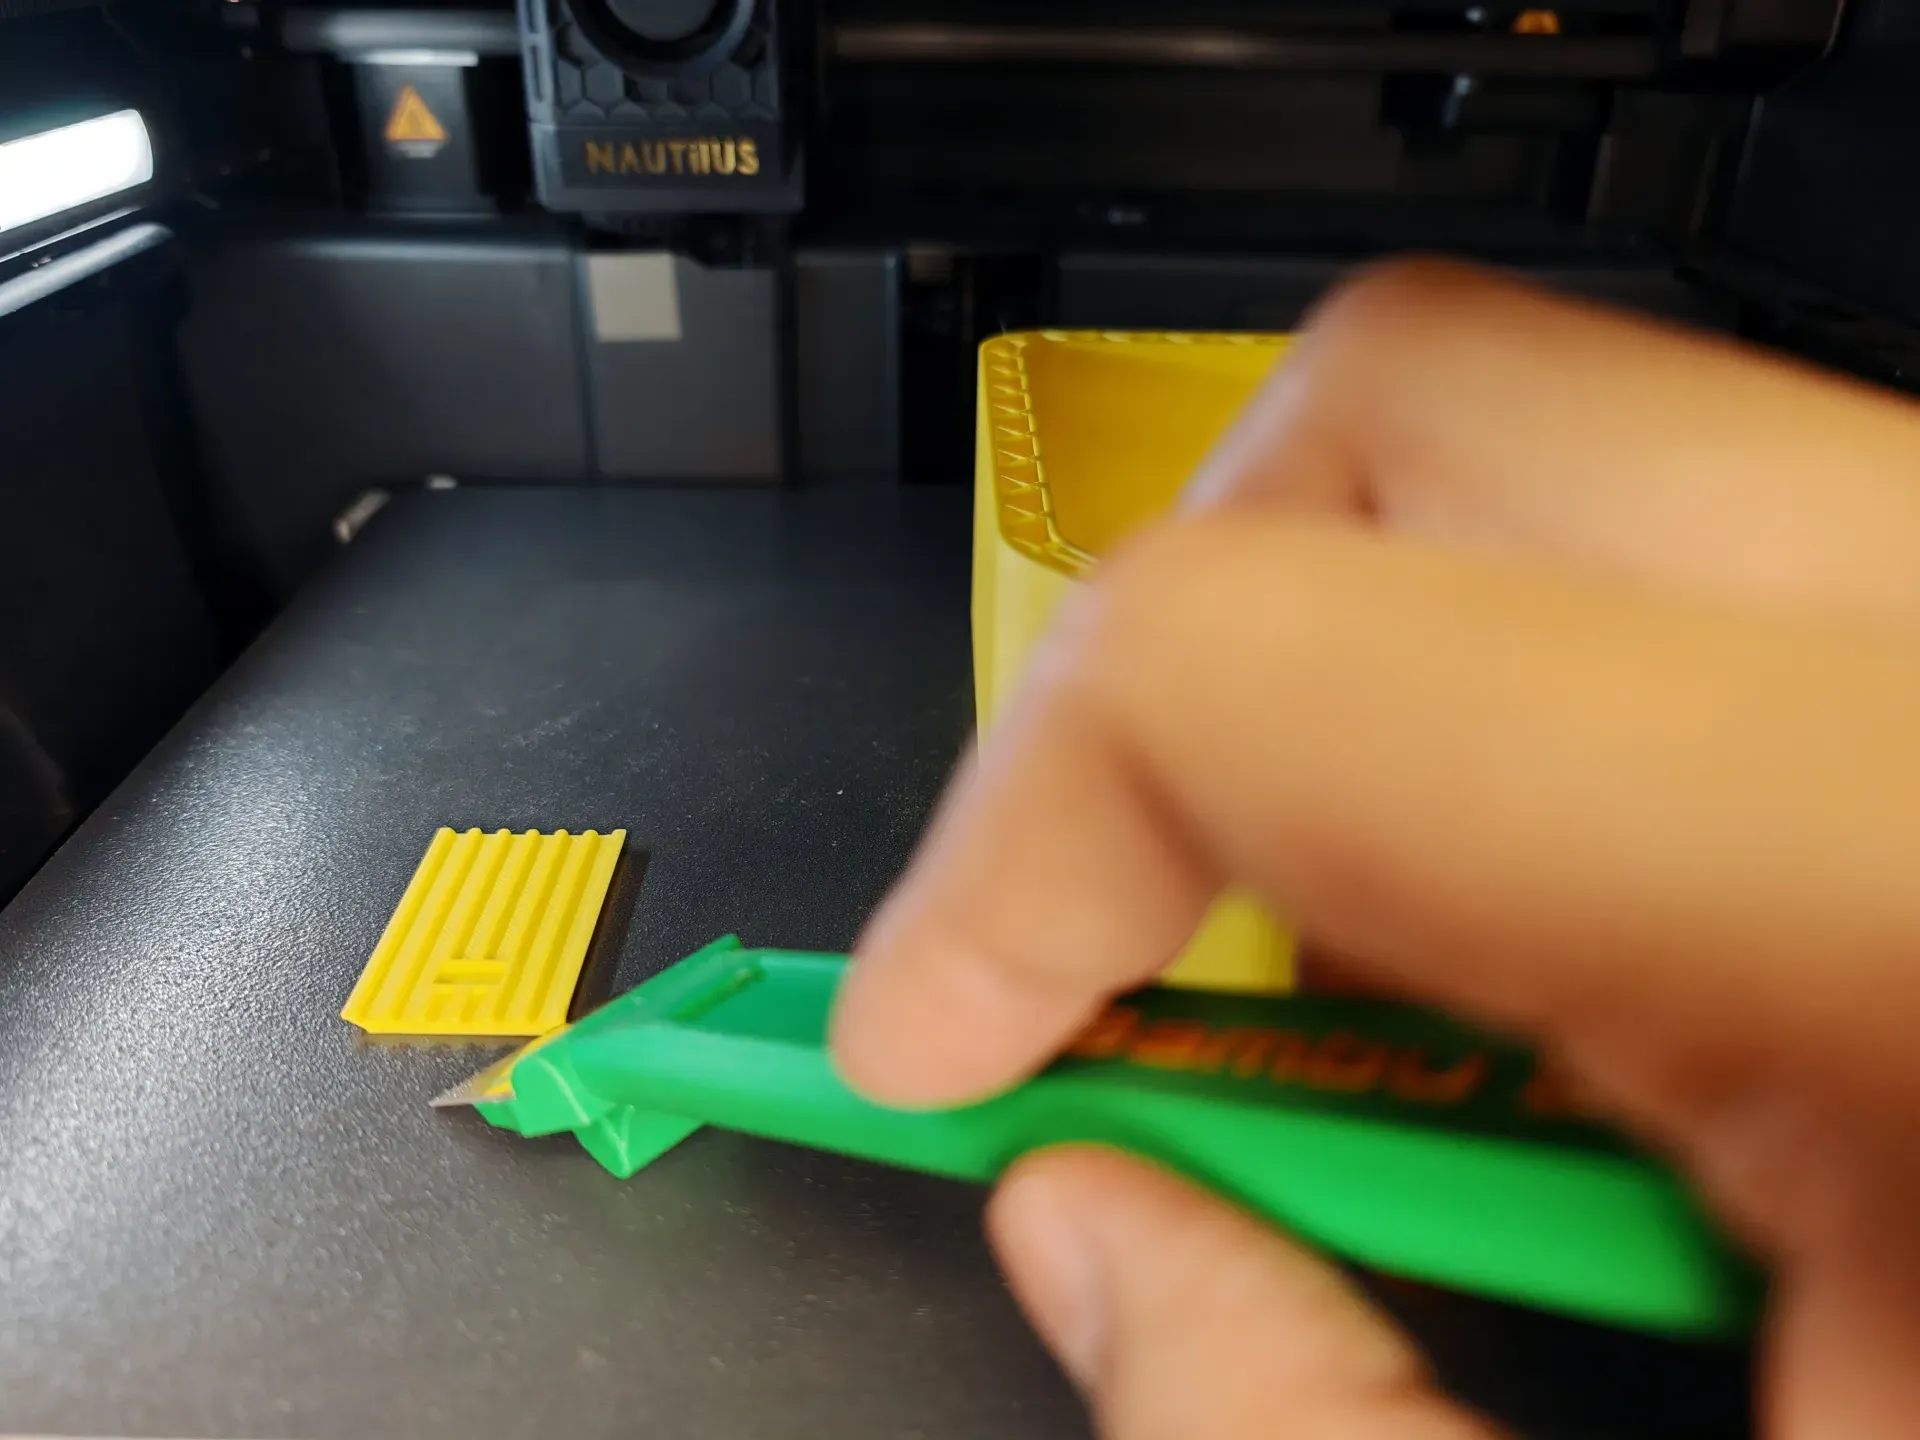
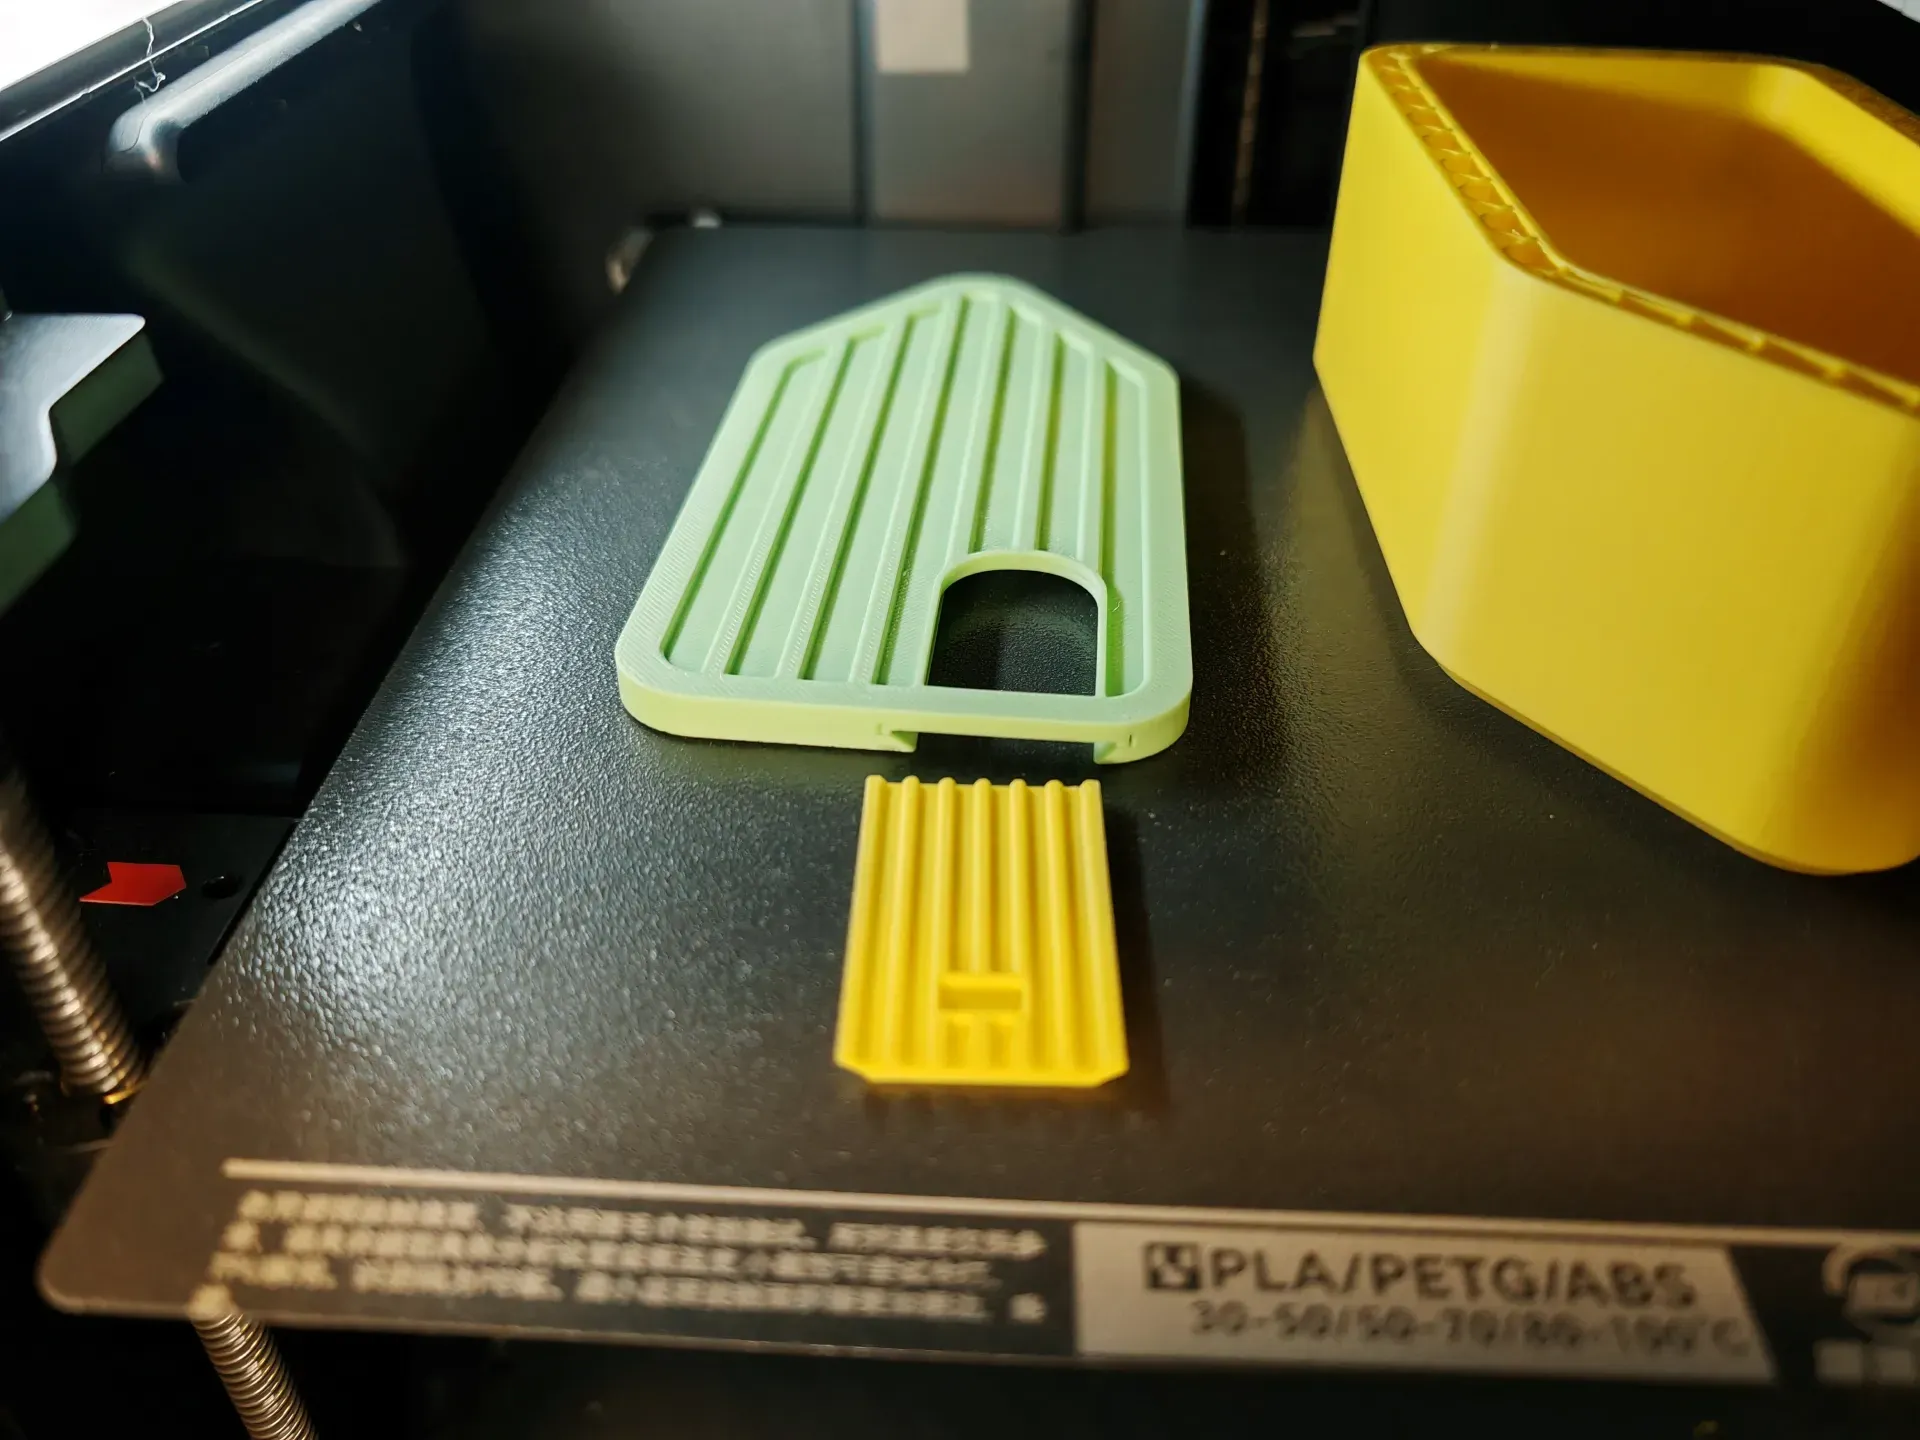
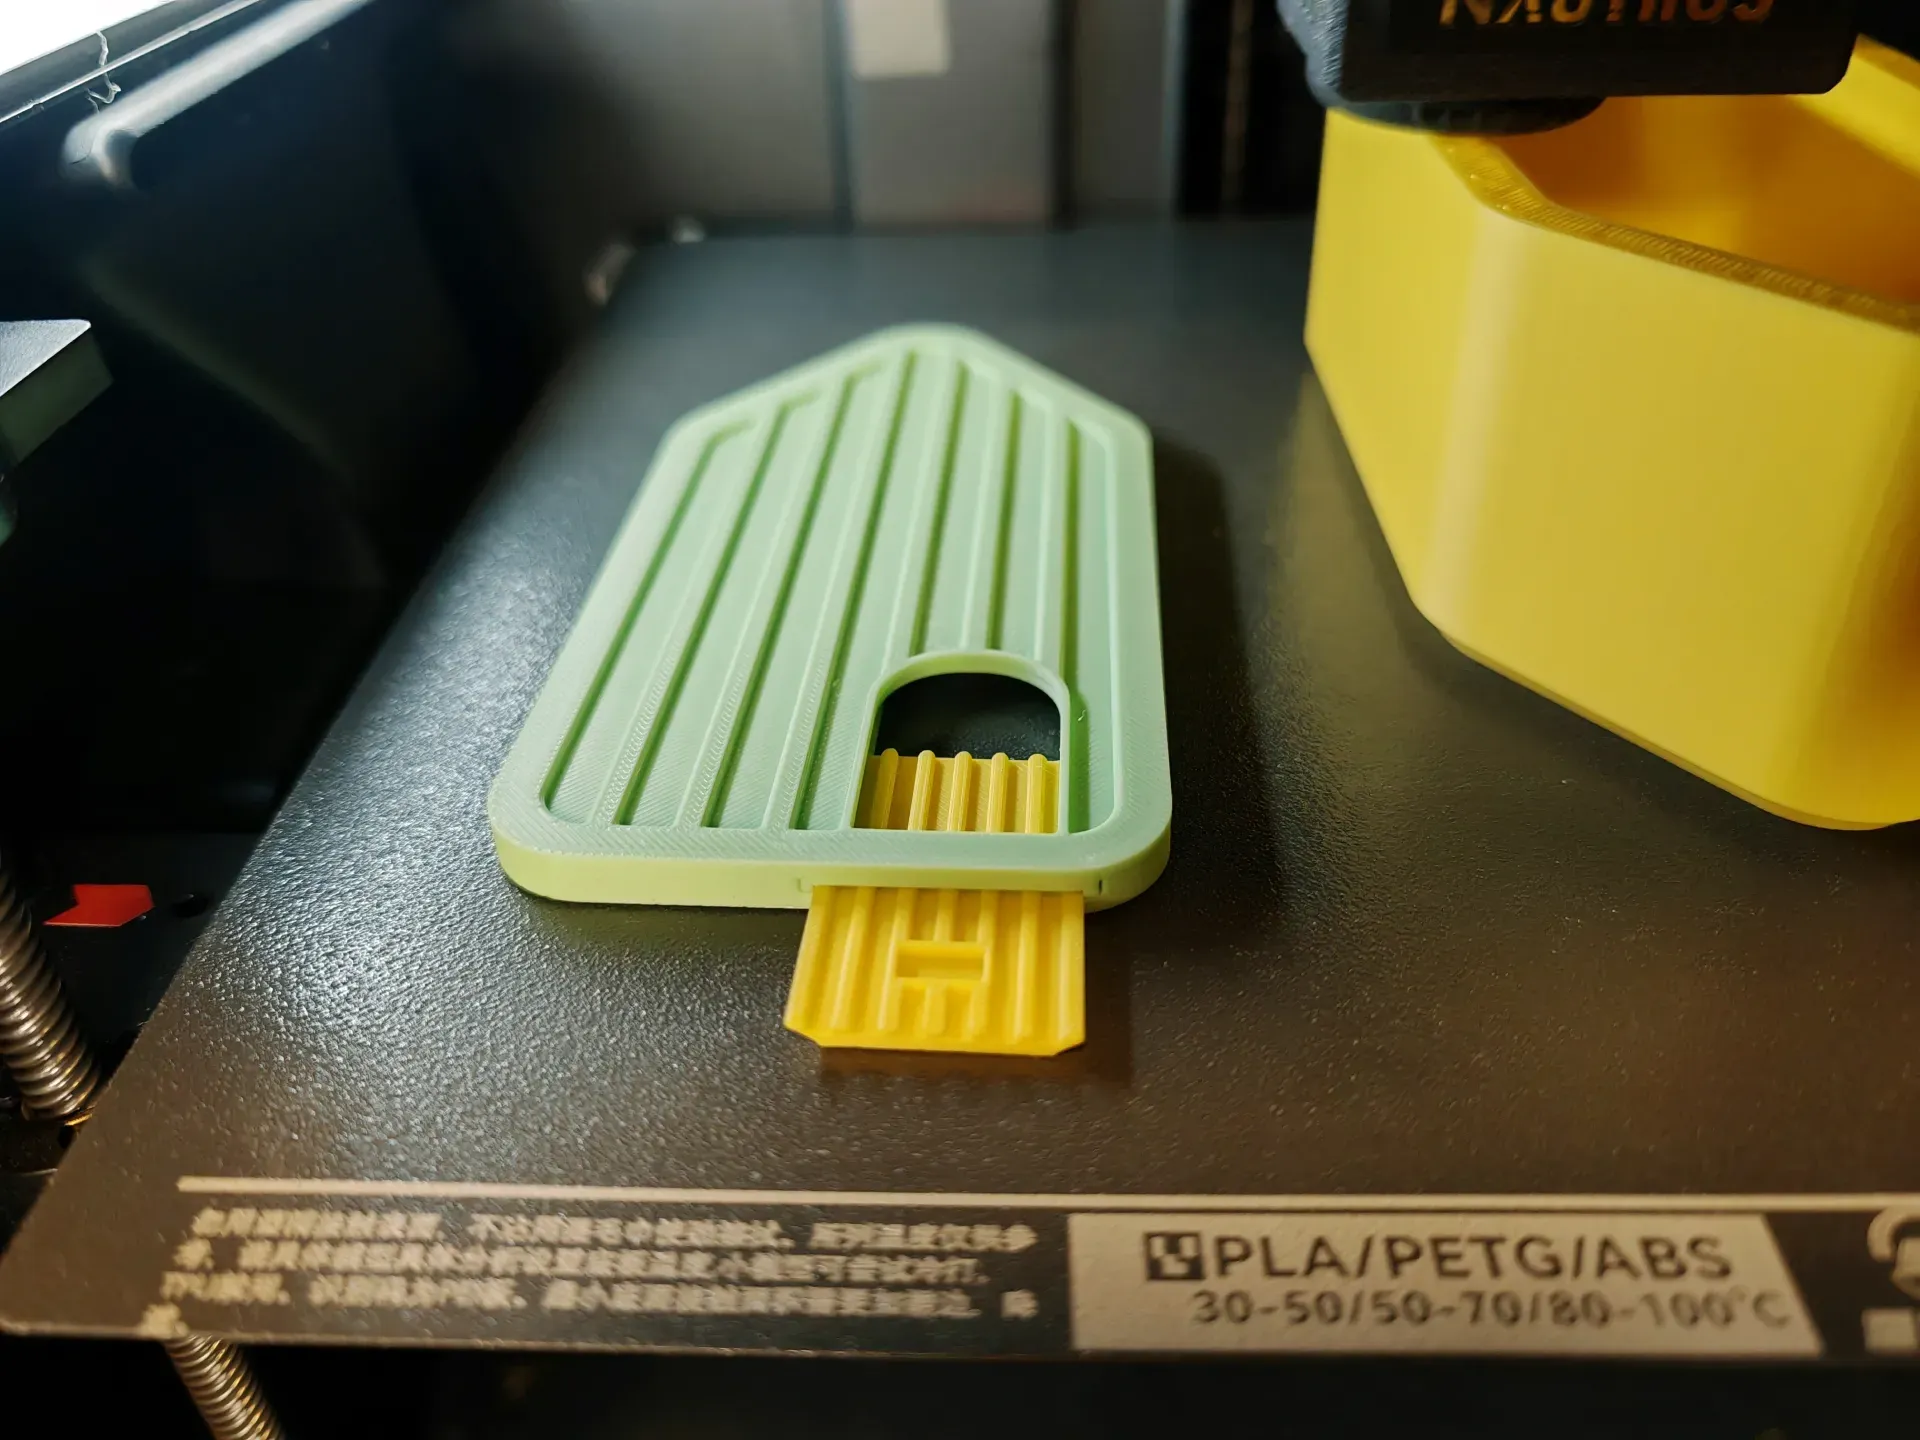
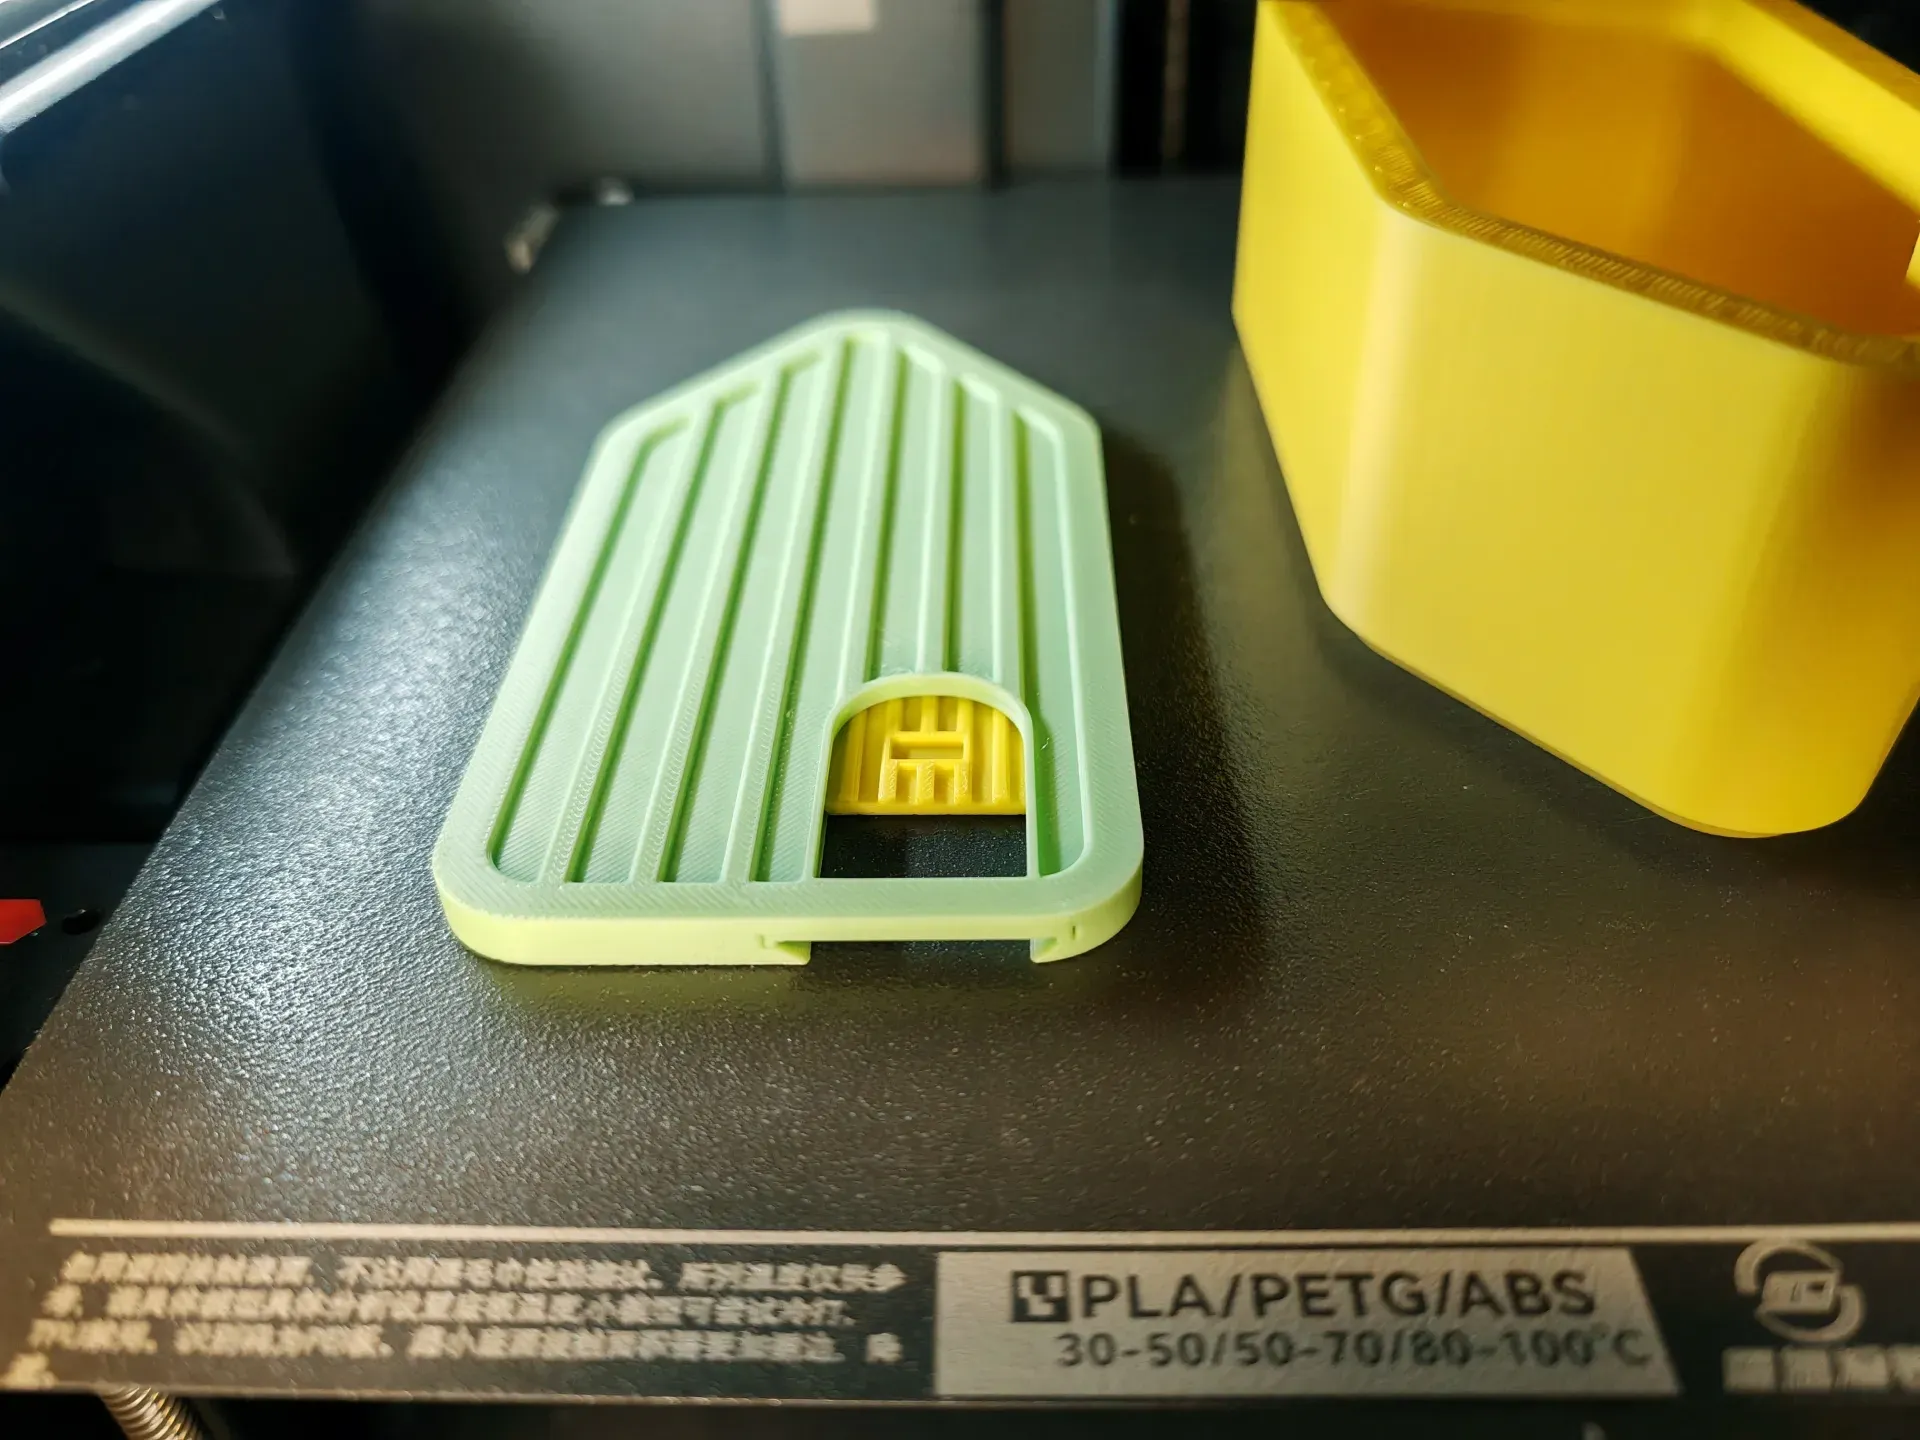
Resume printing
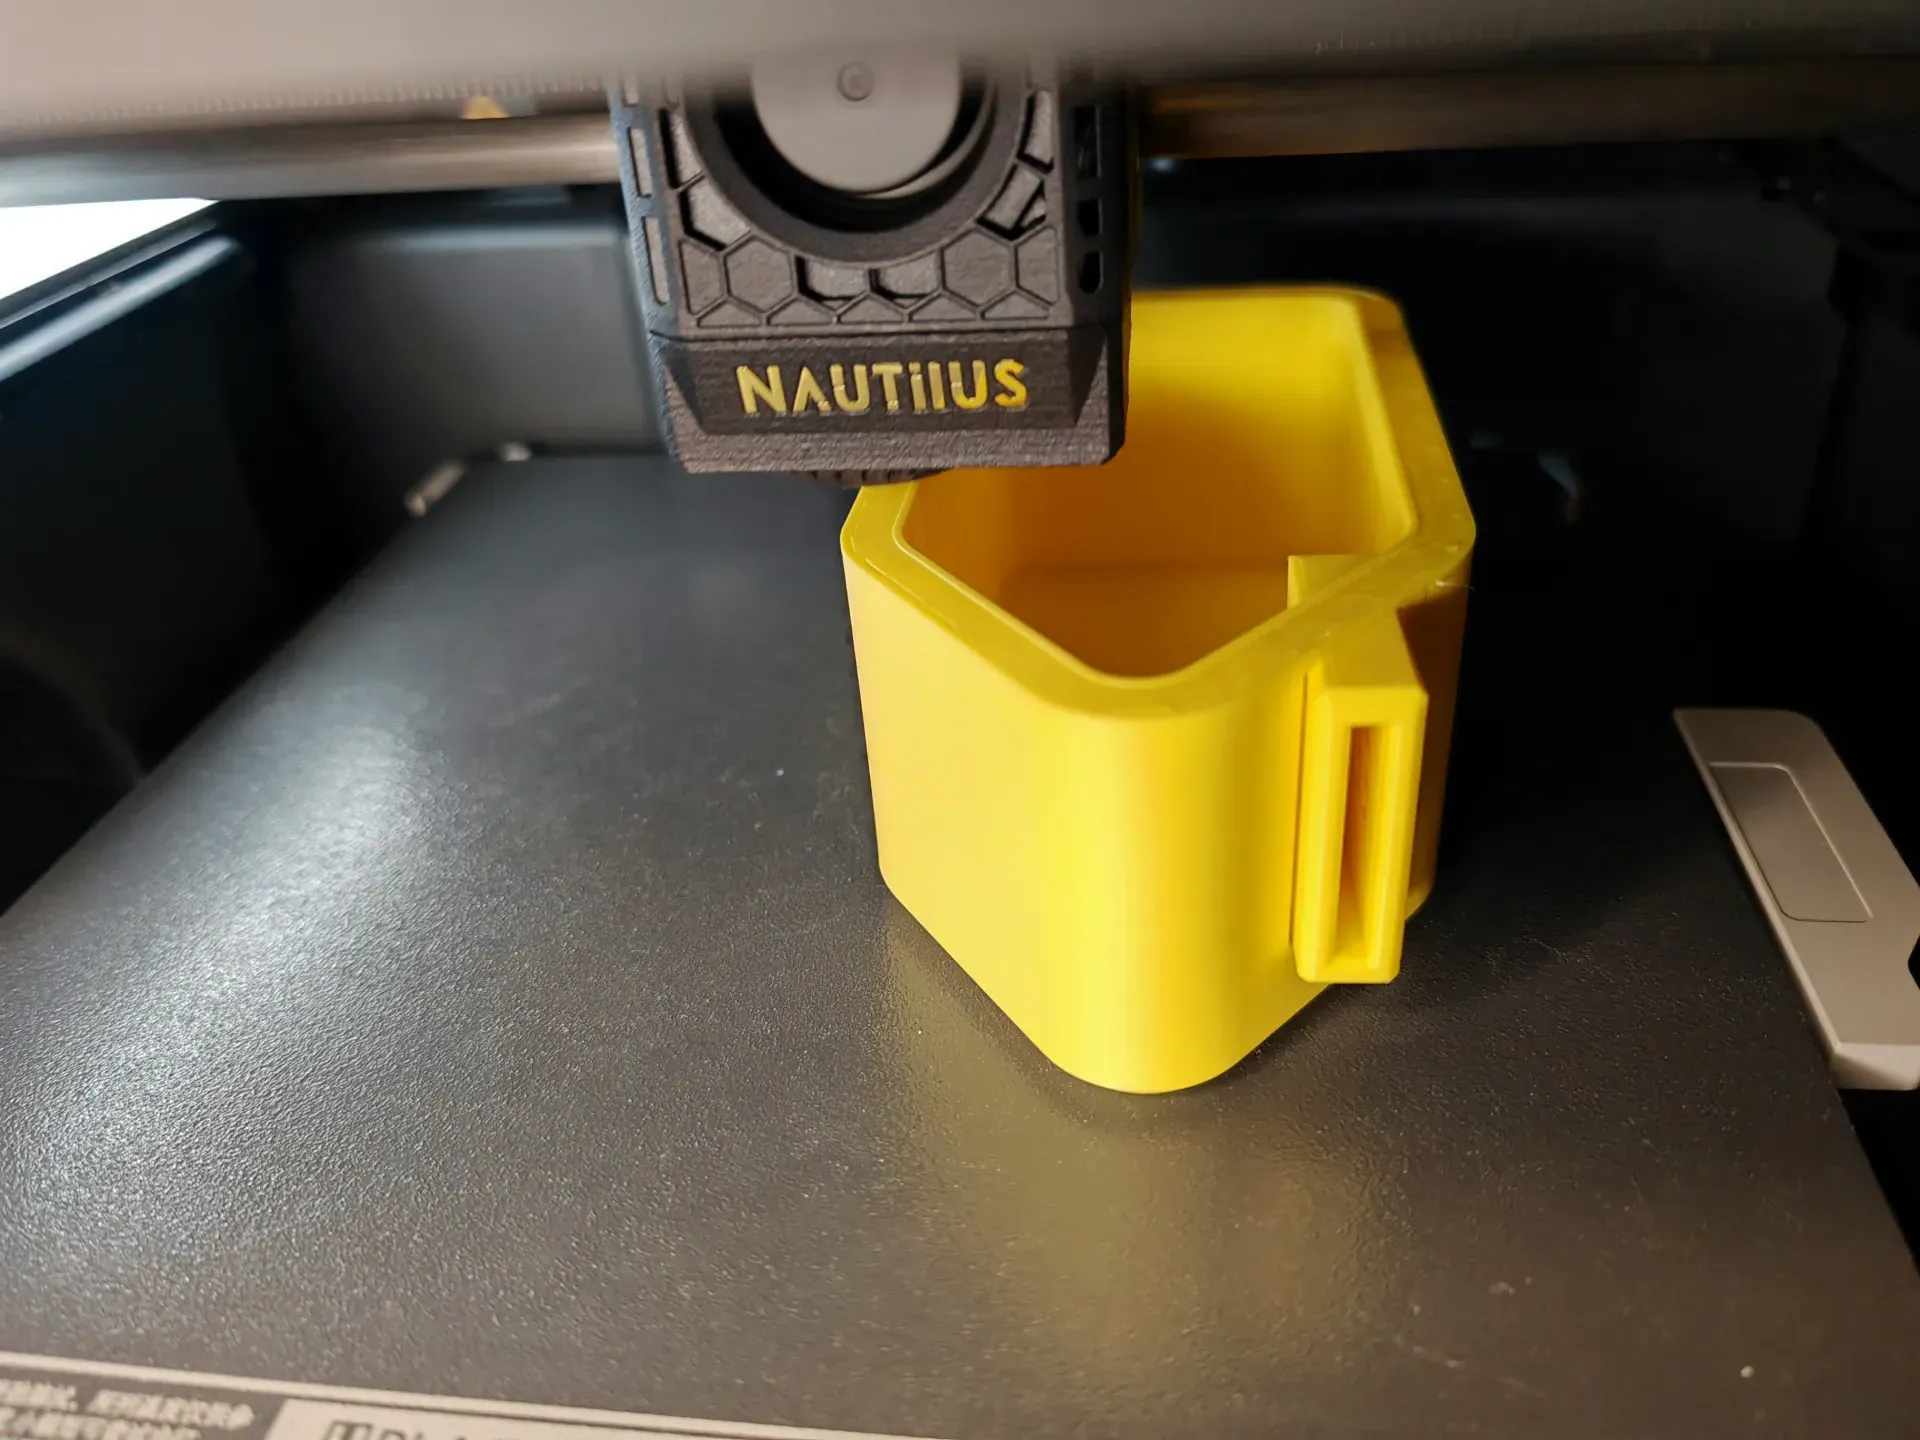
Upon the second pause, insert the assembled main door panel into the main house structure Continue printing until completion
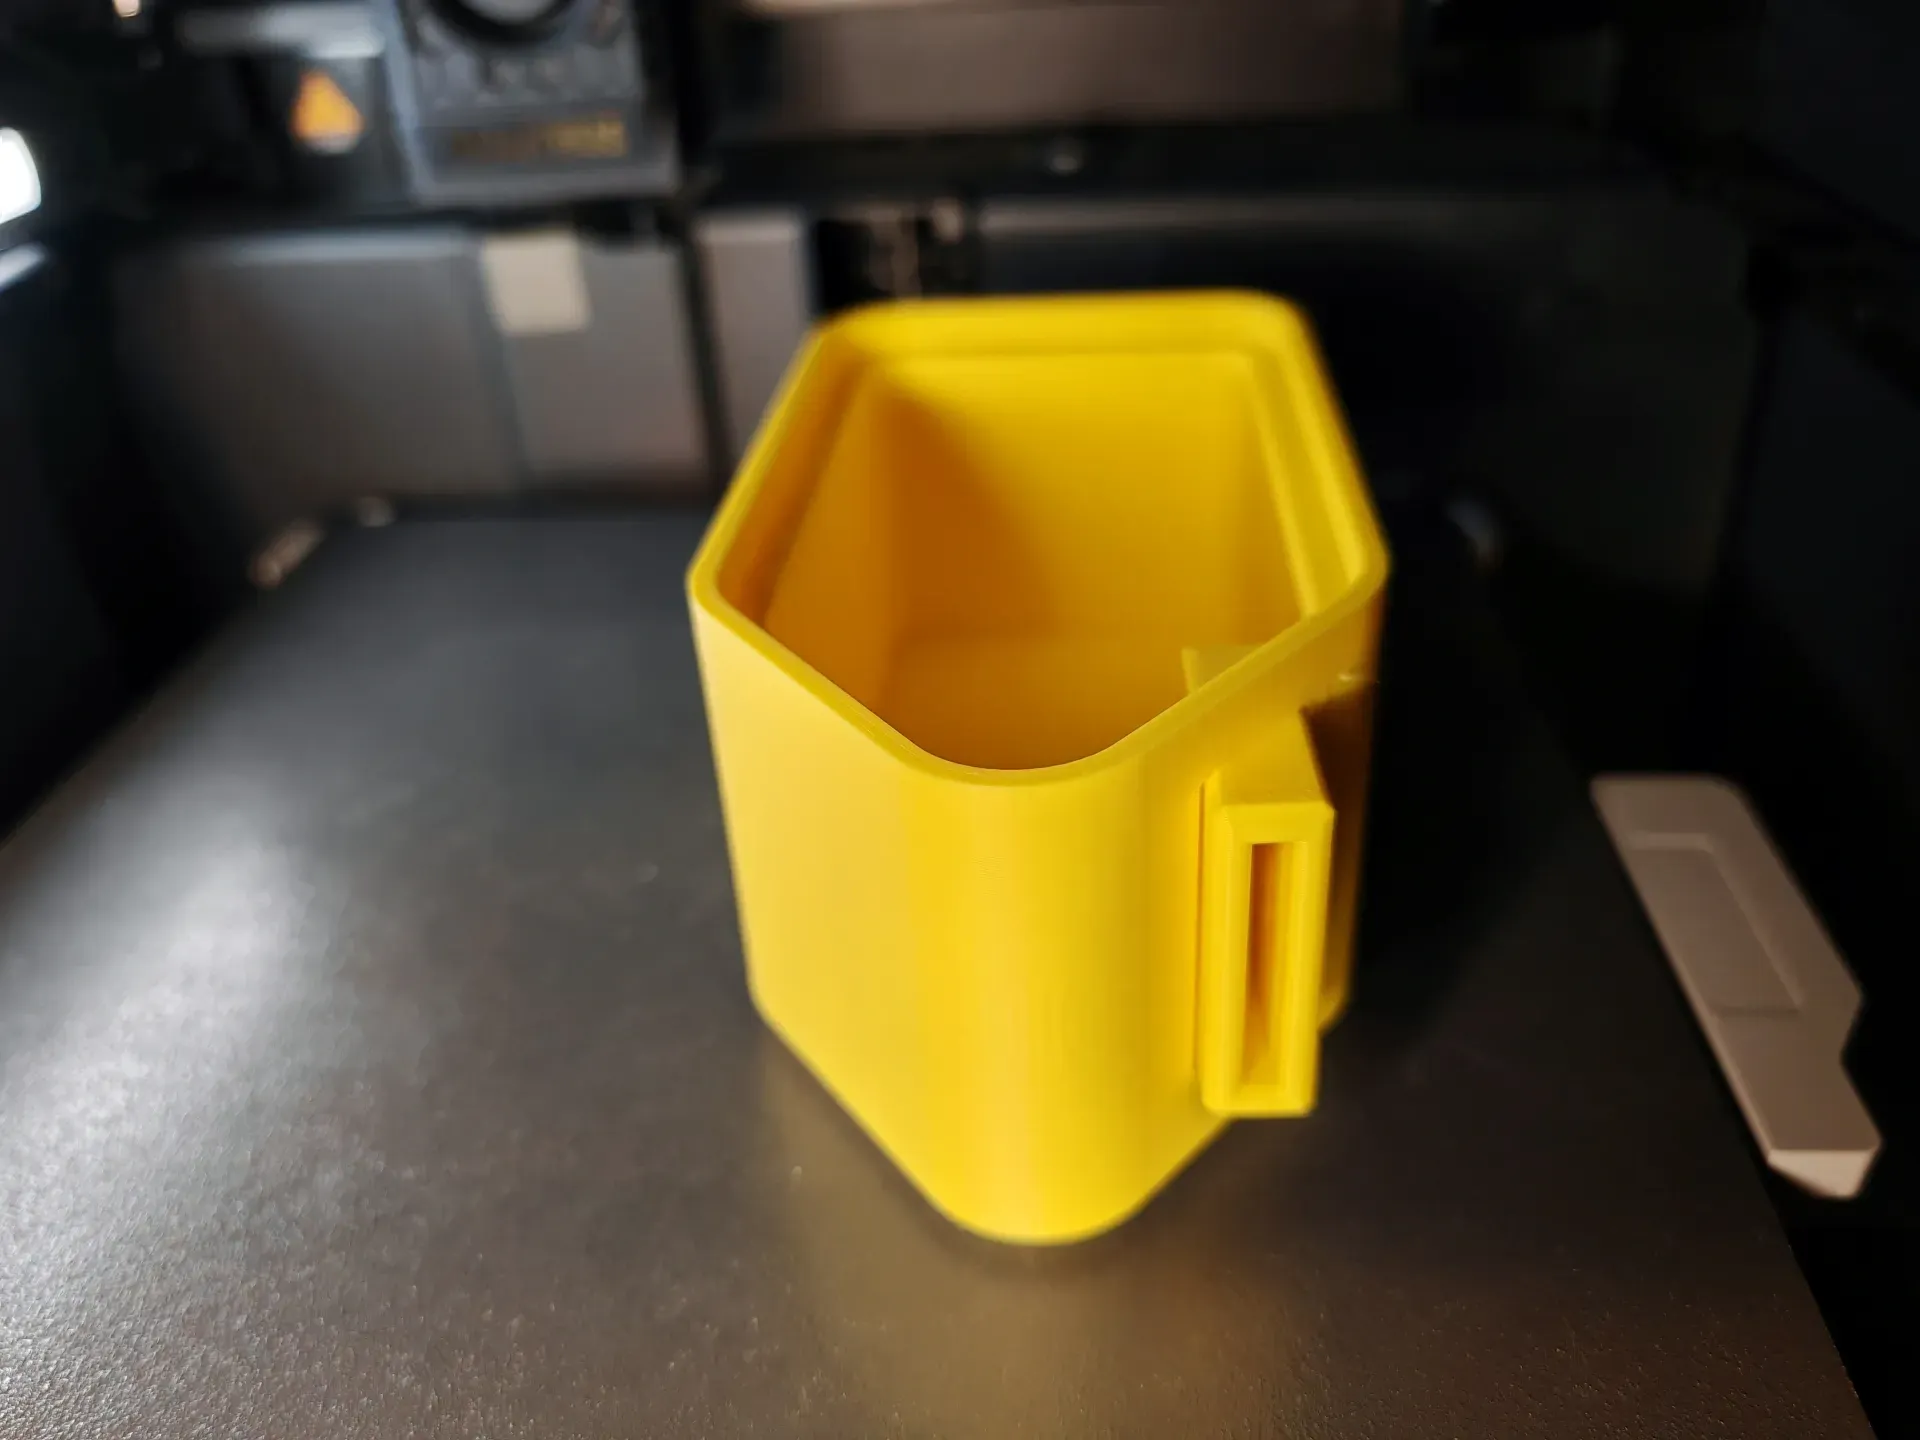
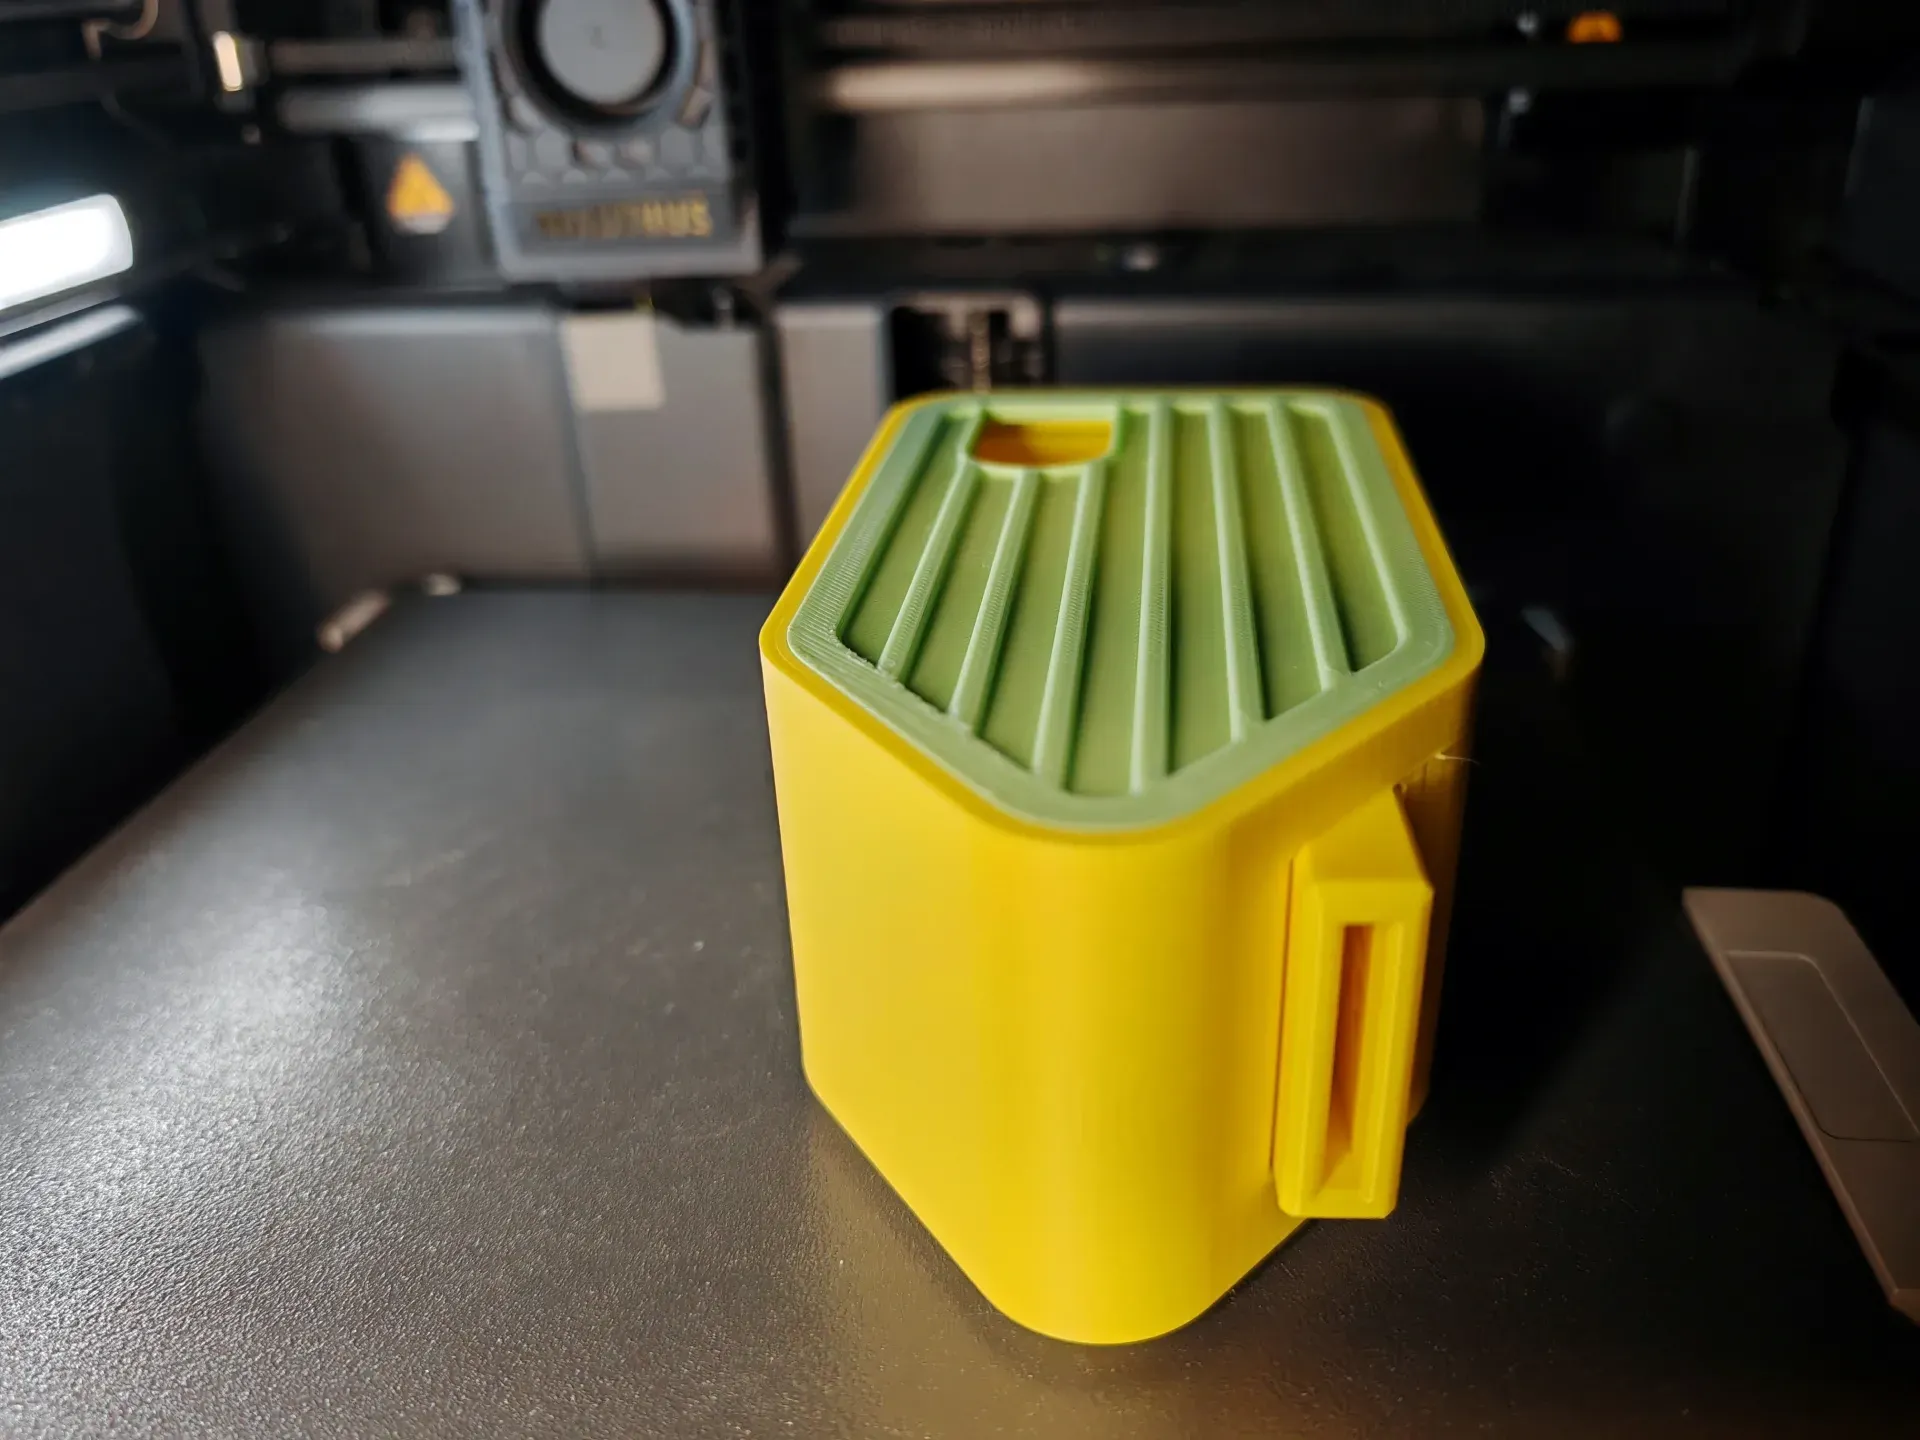
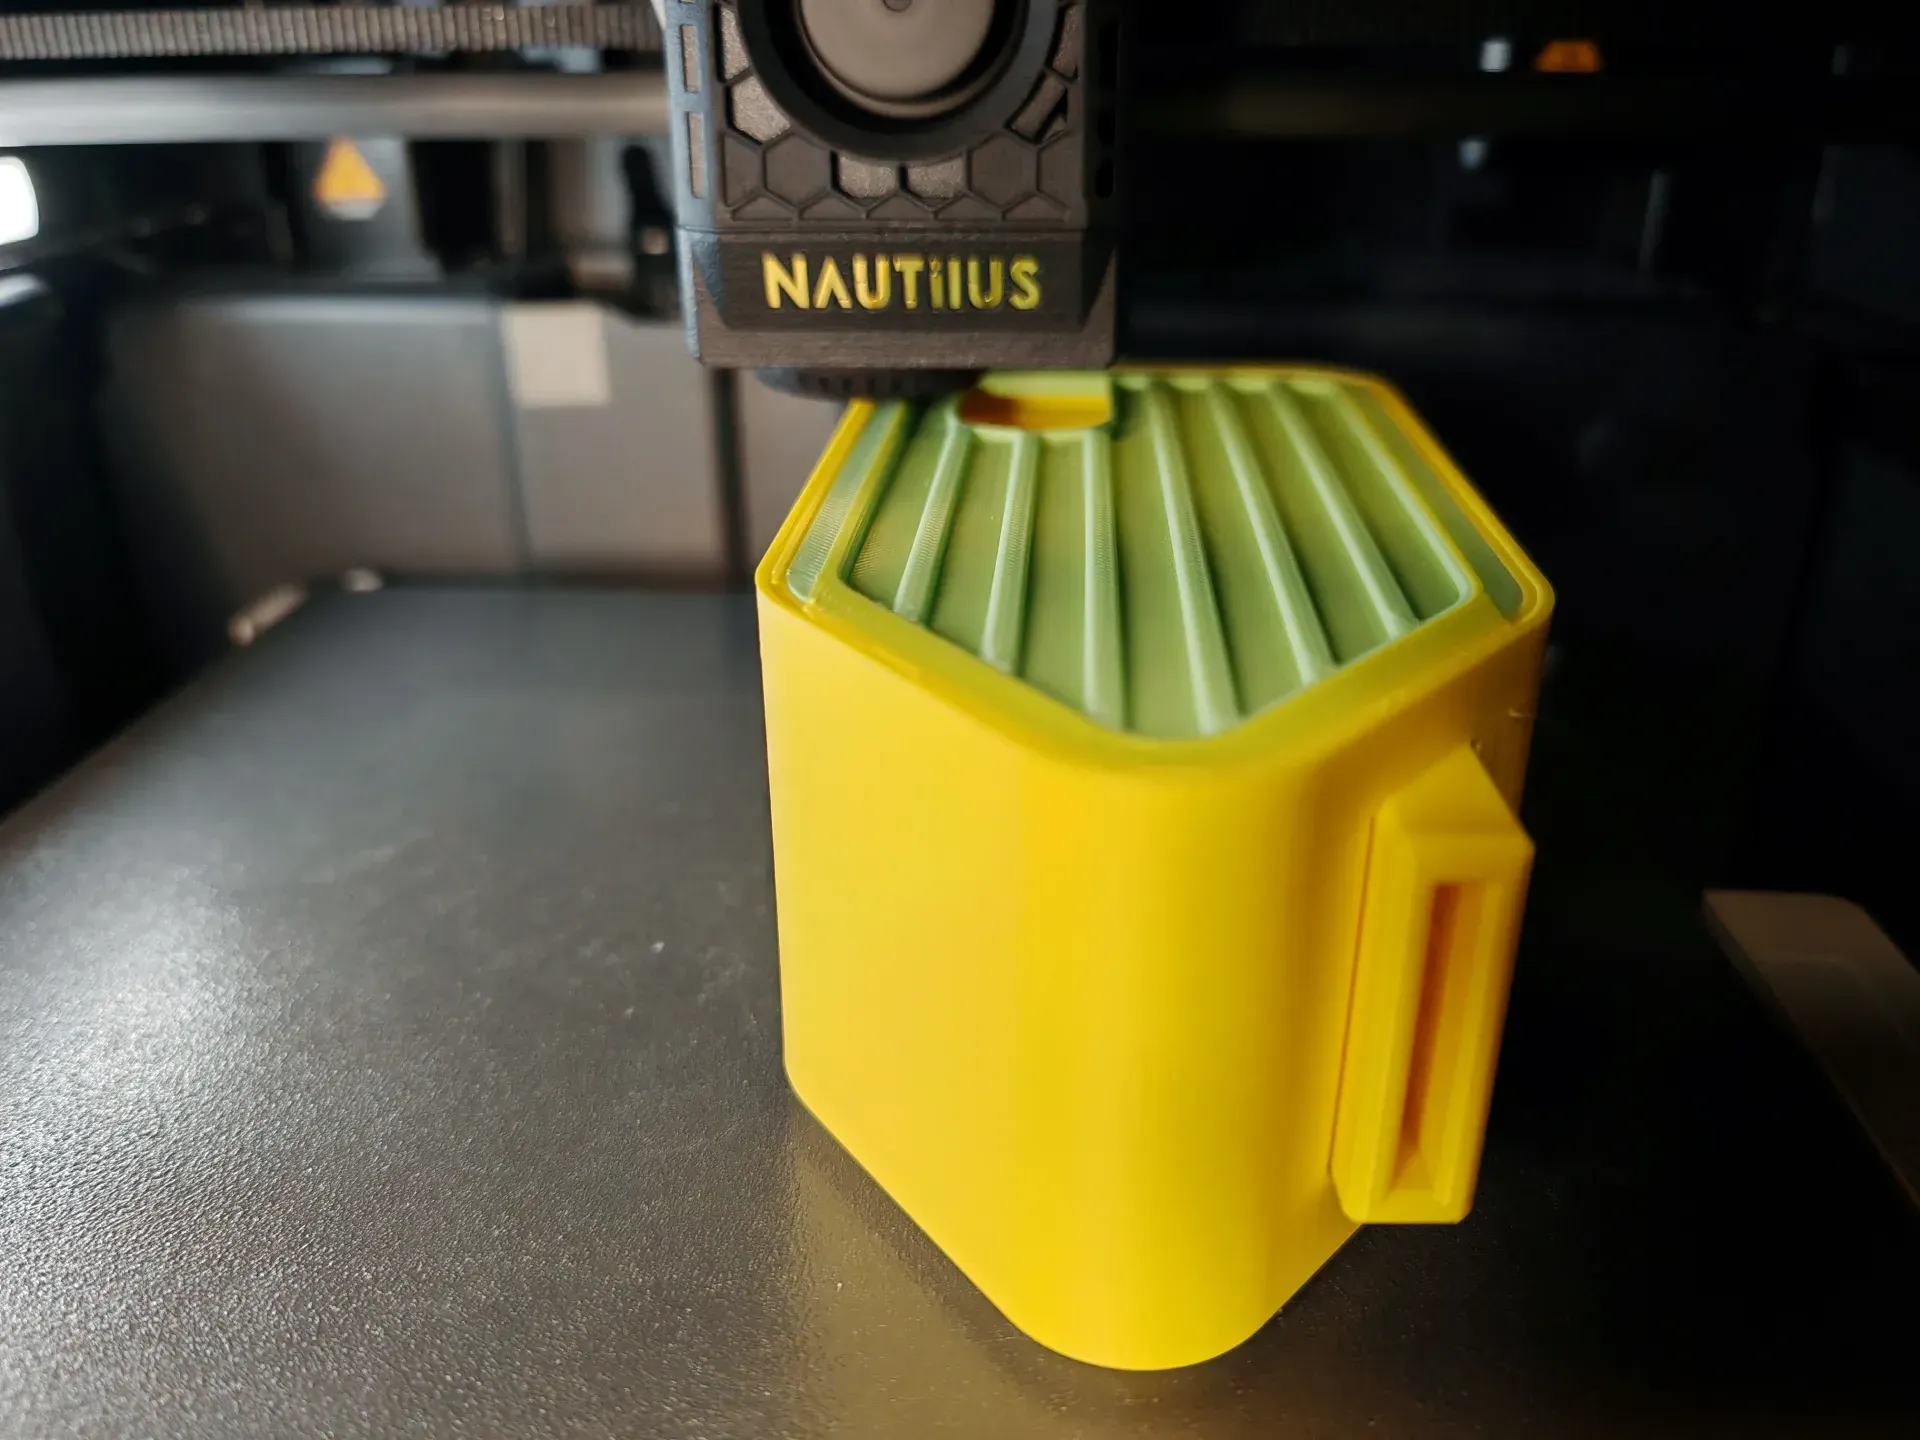
Final Print Result
---------------------------------------
For personal use only, not for commercial purposes
Boost Me (for free)
Your support for this creation would be deeply meaningful and greatly motivating Thank you 🙏!
License

You shall not share, sub-license, sell, rent, host, transfer, or distribute in any way the digital or 3D printed versions of this object, nor any other derivative work of this object in its digital or physical format (including - but not limited to - remixes of this object, and hosting on other digital platforms). The objects may not be used without permission in any way whatsoever in which you charge money, or collect fees.


Comment & Rating (9)