
Eureka Mignon Specialita Grind Adjustment Wheel 22mm
Print Profile(3)



Bill of Materials
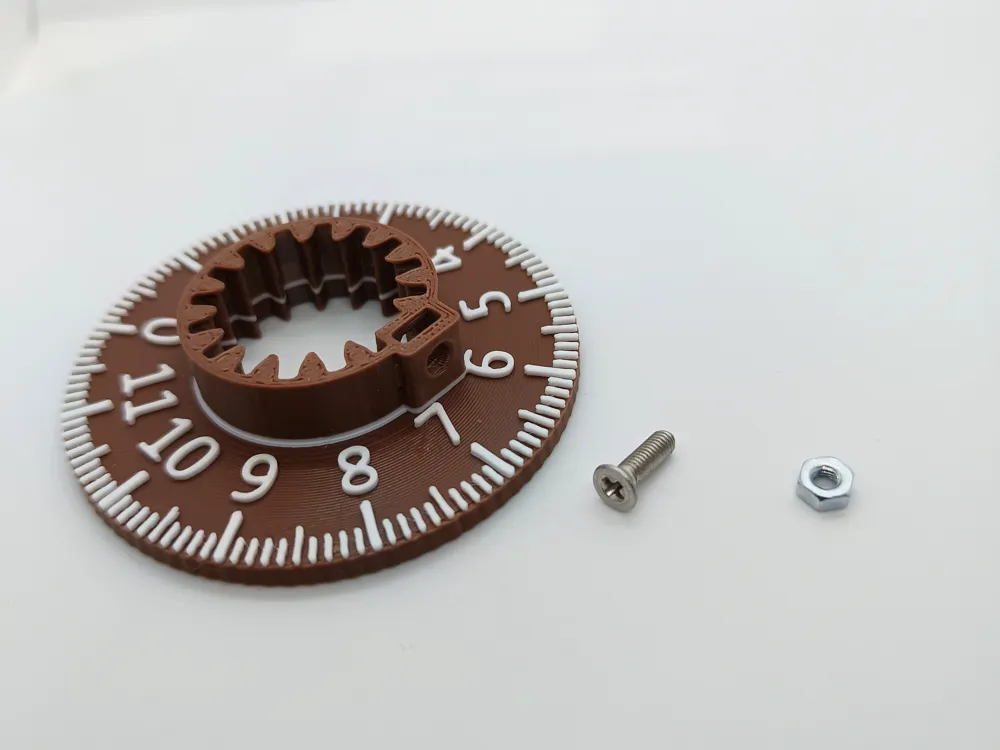
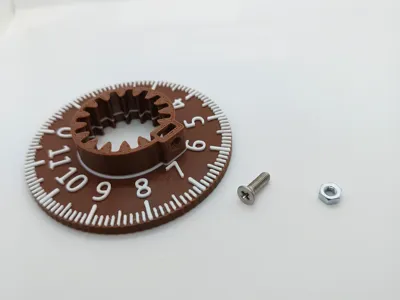
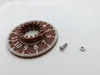
- srew +nut M3 x 1:
Description
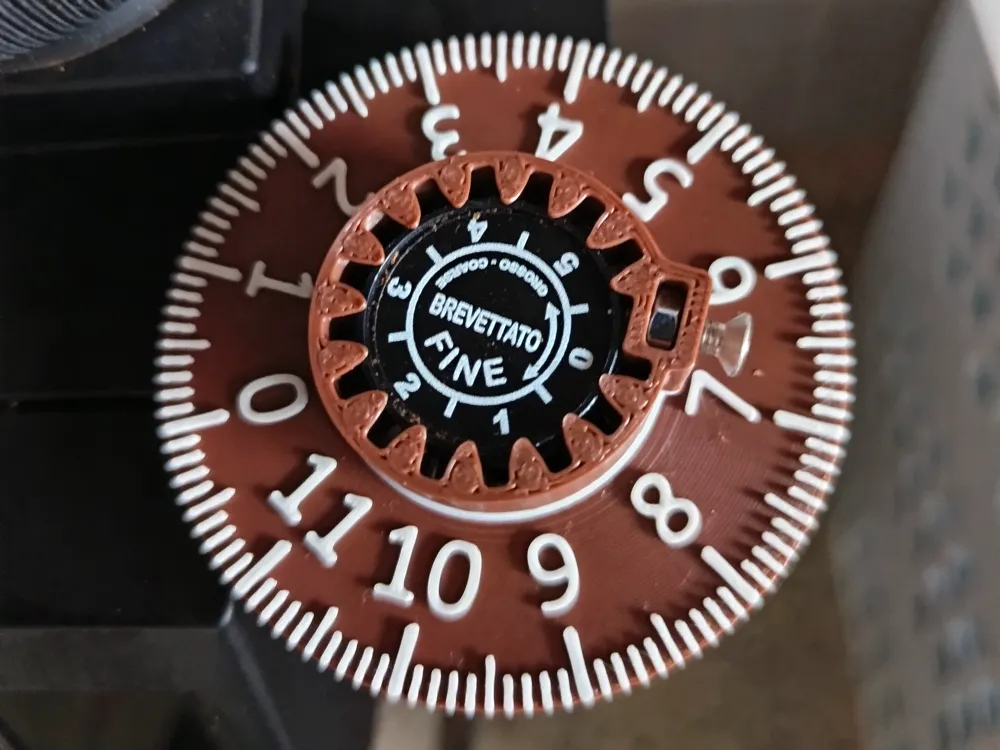
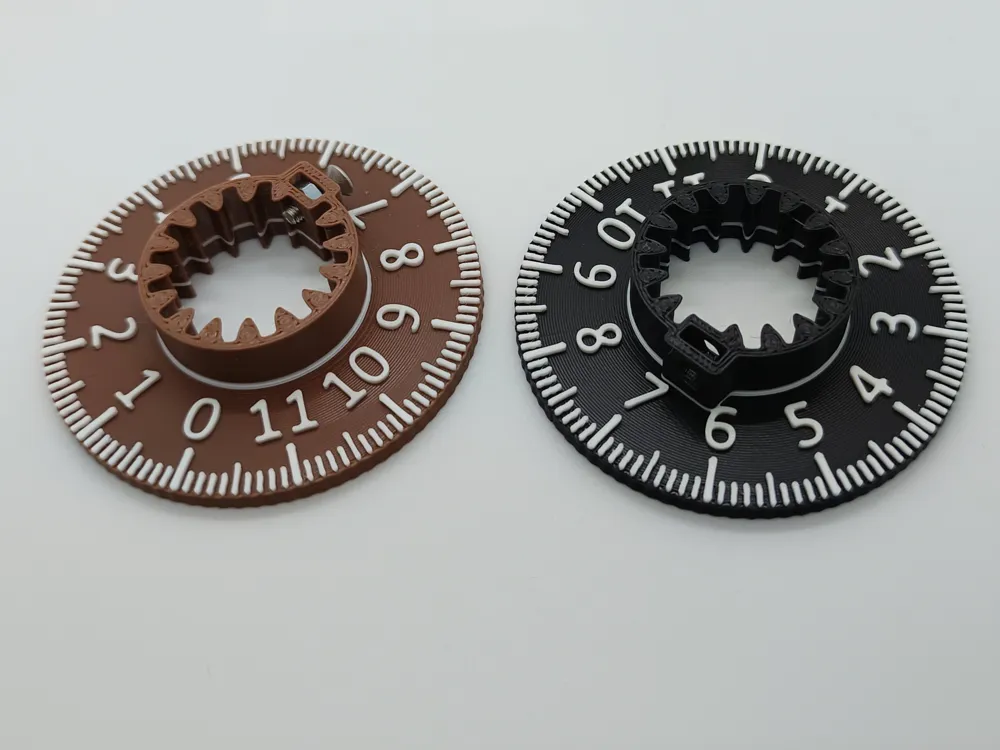
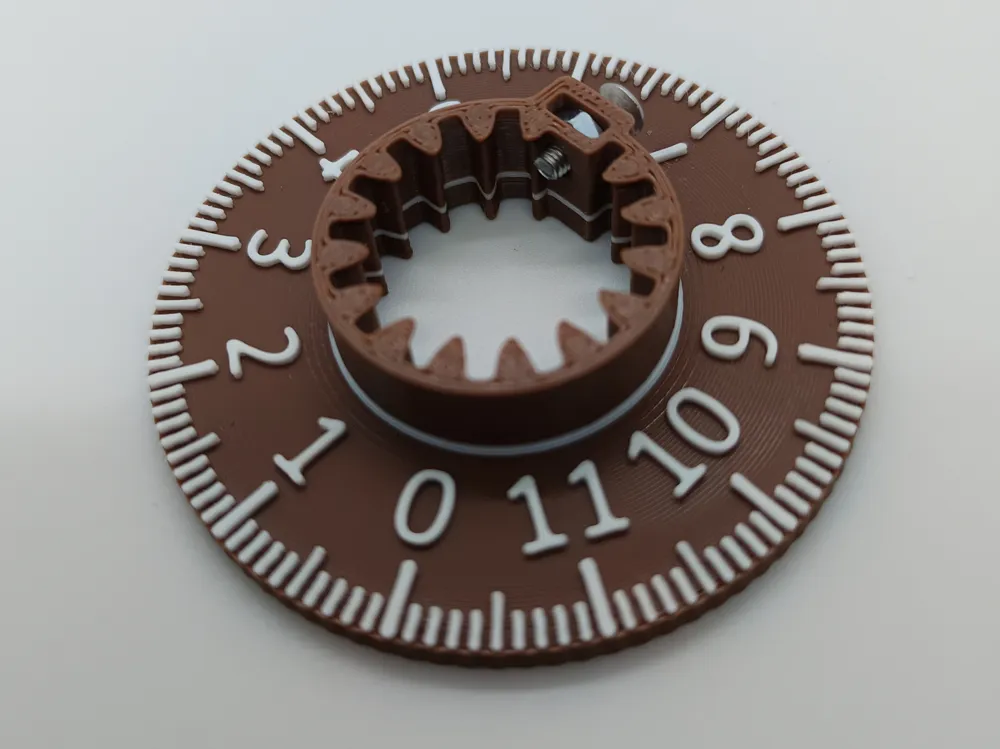
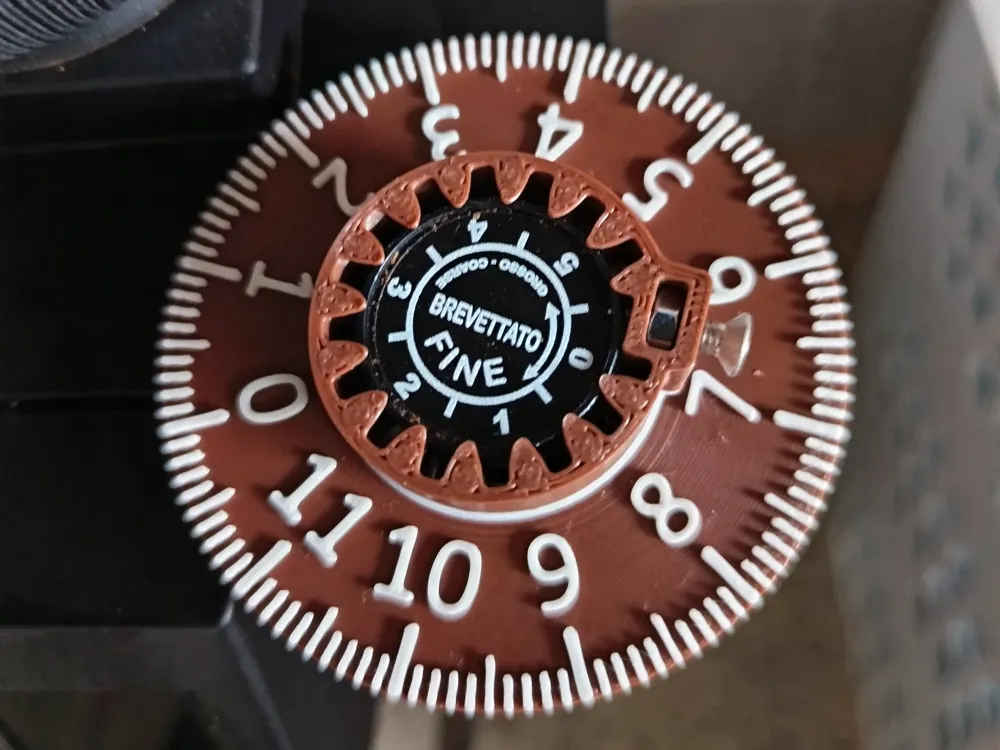
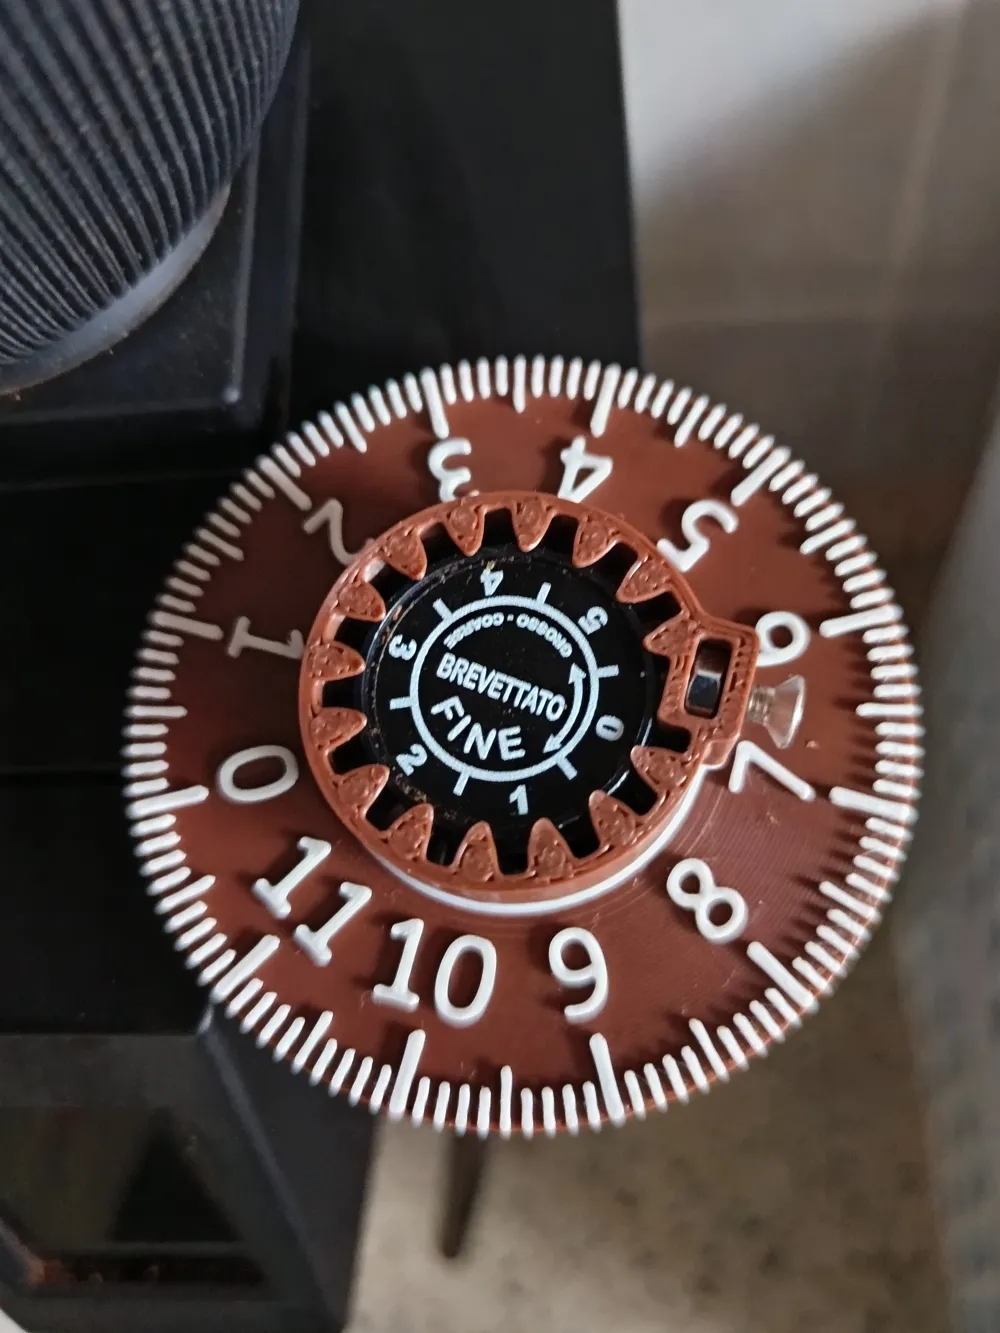
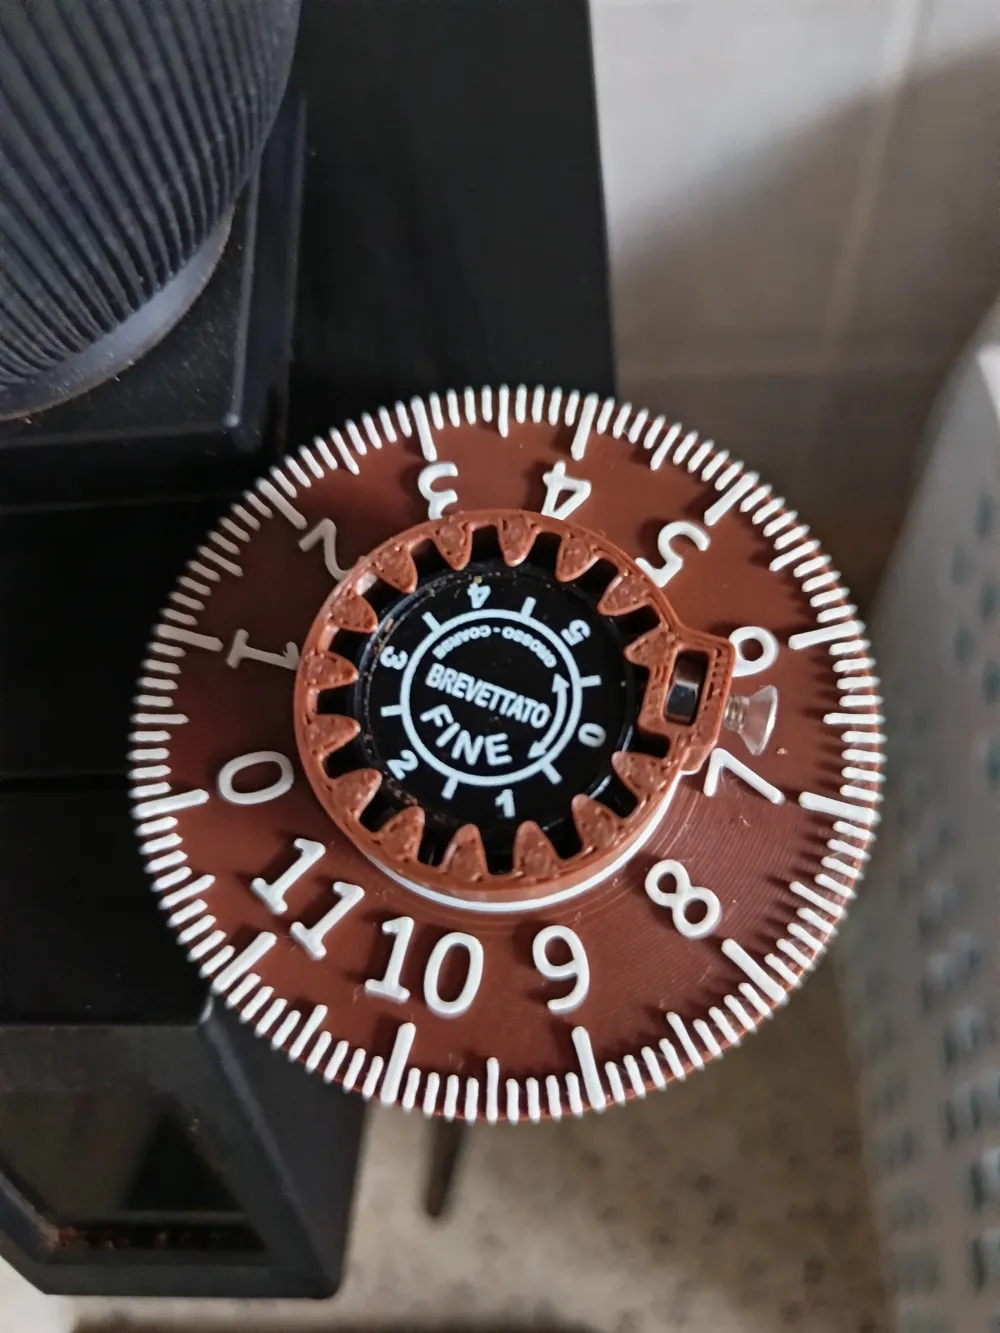
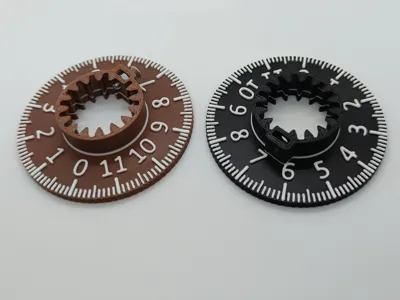
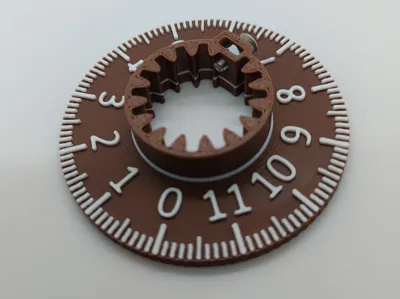
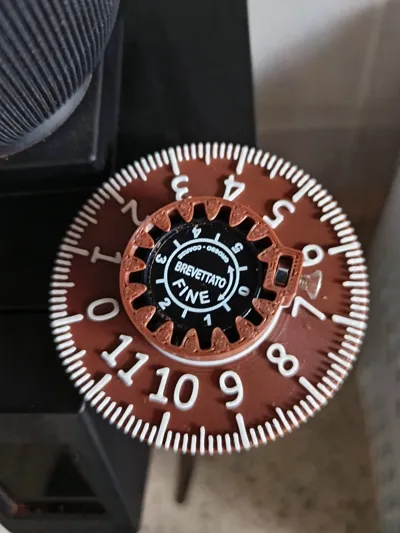
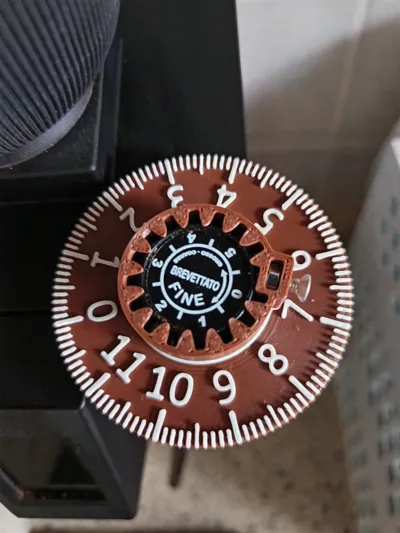
Adjustment wheel for Eureka Mignon coffee grinder with 22 mm knob diameter
The adjustment wheel is larger and has a finer scale than the original grind adjustment wheel.
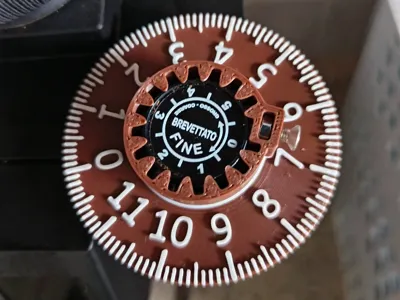
No disassembly of the original wheel is required. It does not replace the original wheel.
The marking of the original wheel is visible
I use the corner of the hopper holder as a setting mark
You can choose another marking as you wish, e.g. stick or draw a small arrow sticker on your grinder.
UPDATE: 2026/02/18
I have replaced my first version with this improved version.
With the first version, the wheel could slip through.
The screw might cause small scratches on the grinder's adjustment wheel,
but for me, the advantages of this new version outweigh them
Changes
- Print in PLA
- instead of PETG
- Fastening with M3 nut and screw
- instead of (too) tight fit
- larger inner diameter
- thus easier installation
Print:
- Printed in PLA
- Use my print profile with color change
- or insert pauses to perform a manual color change
- switch to the second color at layer 18 or 3.6mm
- After layer 20 or 4mm, switch back to the first color or finish printing in color 2
- The central elevation will also be printed in the second color
- or print everything in one color
- or insert pauses to perform a manual color change
Installation:
- Place an M3 nut into the recess
- Turn a screw slightly from the outside inwards
- Place the wheel centered on the original wheel and push it down until it stops
- Tighten the screw lightly so that the large wheel is fixed
- preferably DO NOT turn during assembly
Disassembly:
- Loosen the screw!
- Pull the wheel straight up
License

You may create derivative works based on this object, provided that all such derivative works are published exclusively on the MakerWorld platform and include proper attribution to the original creator. You may not share, upload, host, distribute, or publish this object—or any derivative work of this object—on any other digital platform, marketplace, or distribution channel. Commercial use of this object and any derivative works is strictly prohibited. This includes, but is not limited to, selling, renting, sublicensing, or using the object in any context in which you receive monetary compensation or other financial benefits.


Comment & Rating (8)