


Print Profile(9)


Description
Secondhand smoke in the office? Dust from new renovations? Can't stand it, I need to suck it up!
In order to live a little longer, I made my own...
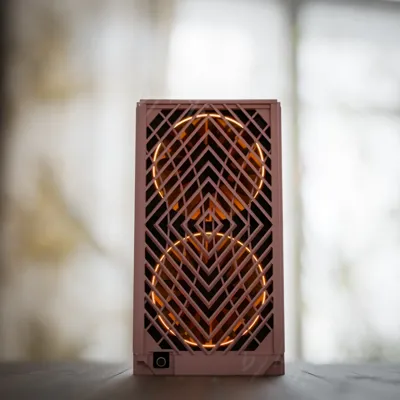
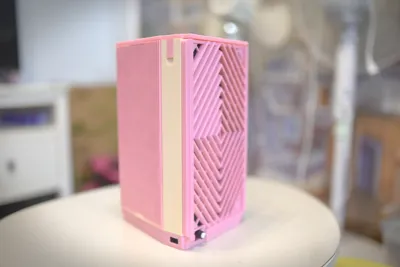
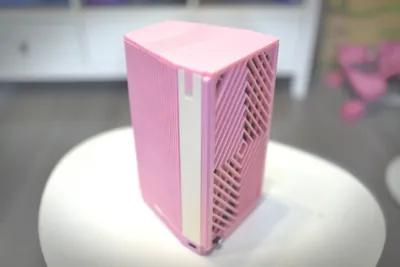
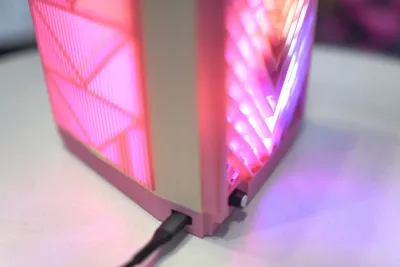
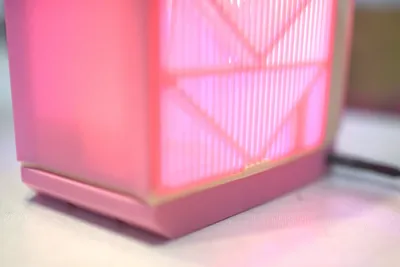
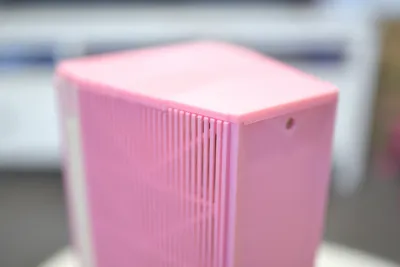
DIY Commercial-Grade Air Purifier, Total Cost Less Than RMB 60!!
Boost Me (for free)
Wishing you all fresh air at work and in life!!
Design Purpose:
This design is not for purifying all the polluted air around the user, as the usage environment is a public space, but for using fresh air to disperse the polluted air in front of the user.
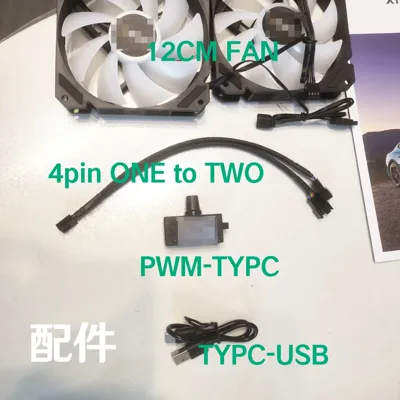
Materials Needed:
- PWM Fan Speed Controller/4PIN to USB Adapter
- 2 x 12CM Fans (Note: Not all 12cm fans are 12cm in outer diameter)
- 8 x M4 Universal Fan Mounting Screws
- HEPA filter paper, 23.6cm X 50cm (any length within 1 meter will do)
- 3 x M3 Flat Head Screws, 8mm in length (6-10mm can be used)
- 3 x M3*6*0.5 Screw Washers, 3 x M3 Nut Inserts (optional) (The inserts should be preheated with a soldering iron and cooled after being inserted into the designated position).
- Print all 1-6 parts, among which "Part 6 Filter B" and "Part 6 Filter F" need to be printed in 2 copies.
Assembly Instructions:
Overall Assembly Diagram

Assemble the Fans

Install PWN Speed Controller/Adapter

Fold the filter paper to make a filter box

Remove and discard the manual support of the front panel NO5 and the back panel NO3 (red parts)


Install the back panel, a=screw, b=washer (optional), c=nut insert (optional)

Install the top panel, a=screw, b=washer (optional), c=nut insert (optional)

License
You shall not share, sub-license, sell, rent, host, transfer, or distribute in any way the digital or 3D printed versions of this object, nor any other derivative work of this object in its digital or physical format (including - but not limited to - remixes of this object, and hosting on other digital platforms). The objects may not be used without permission in any way whatsoever in which you charge money, or collect fees.
Comment & Rating (0)