
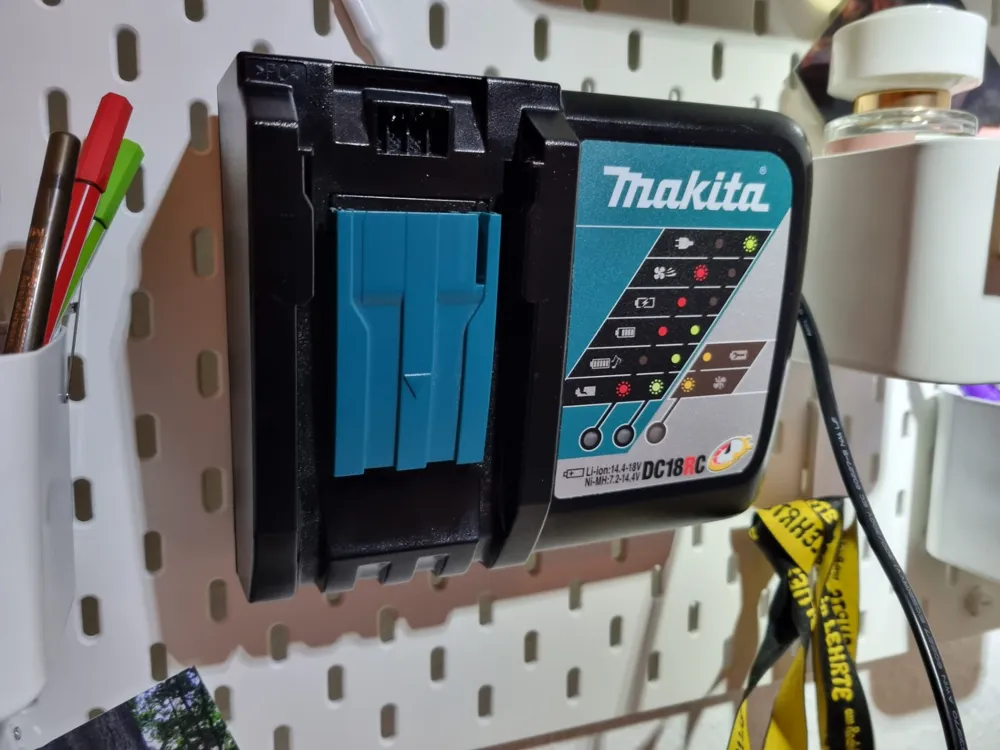
Makita Charger adapter for IKEA Skadis
Print Profile(1)

Description
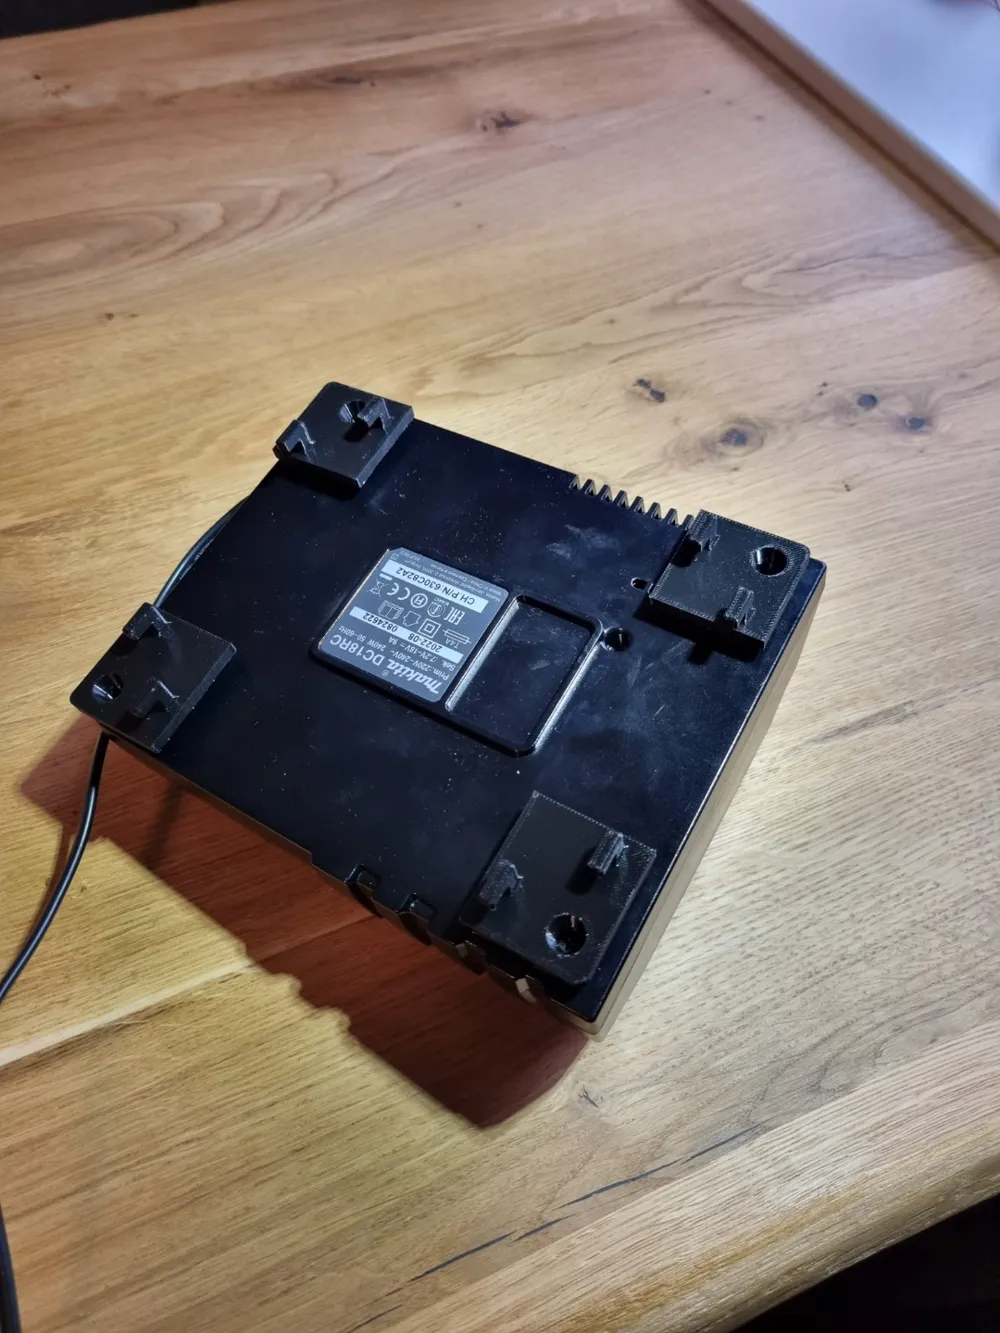
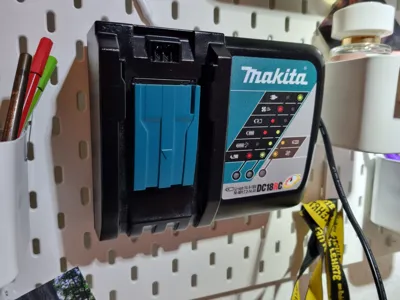
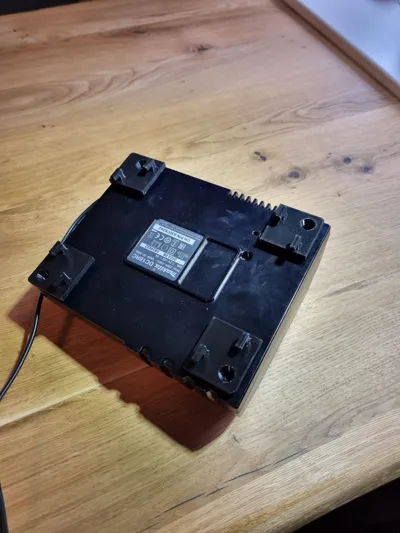
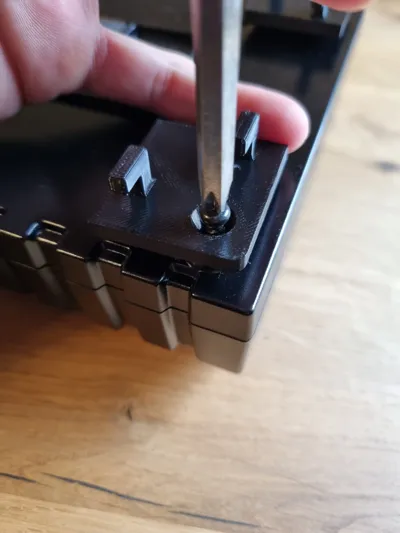
The feet are attached to the back of the Makita charger, allowing for stable mounting on the IKEA Skadis wall. The print takes less than 1.5 hours.
Assembly Instructions:
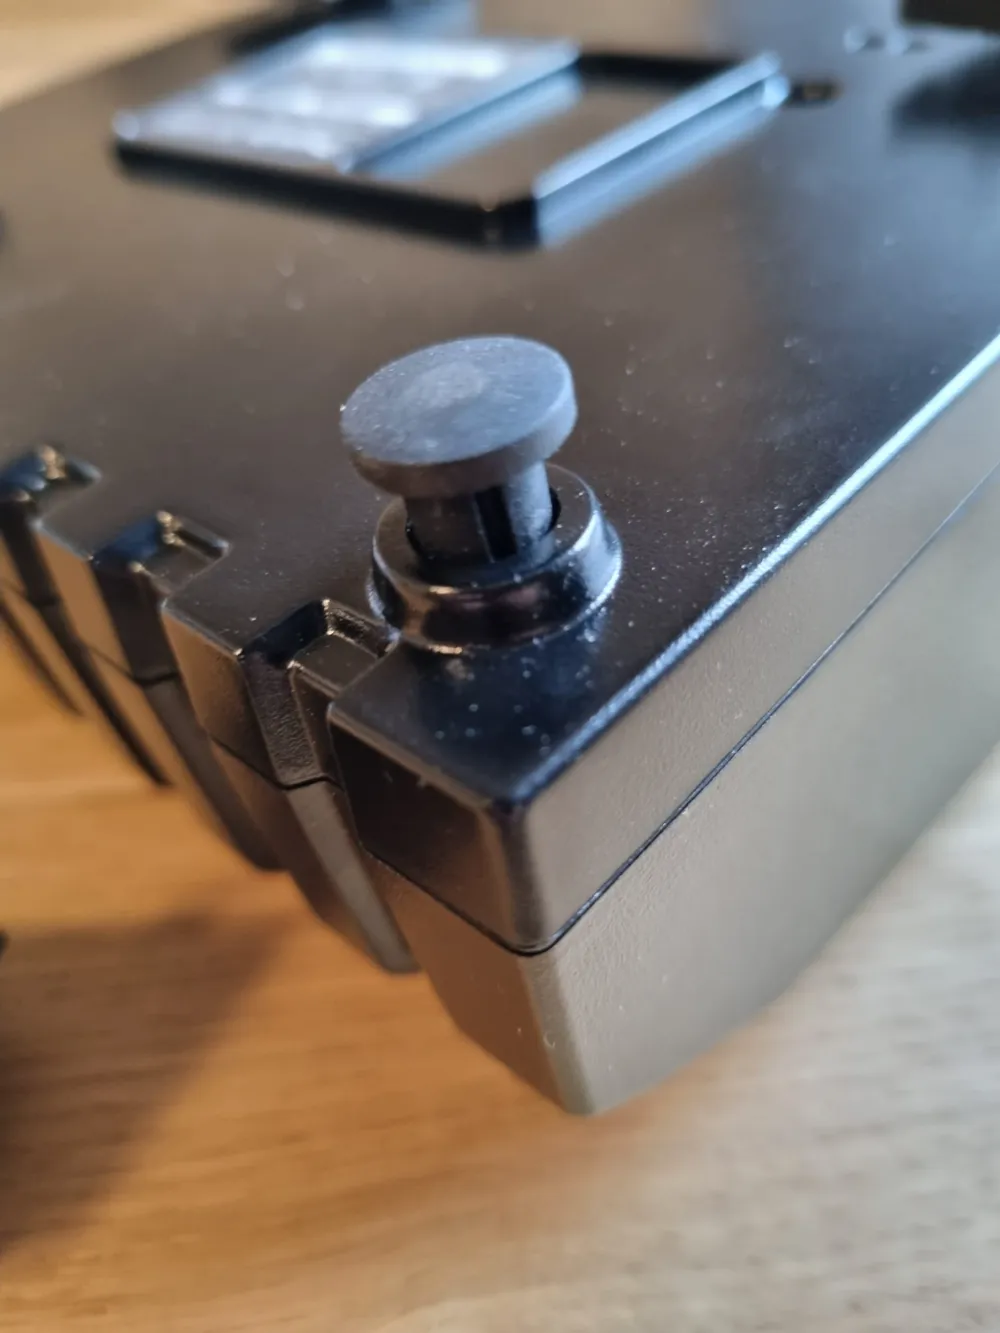
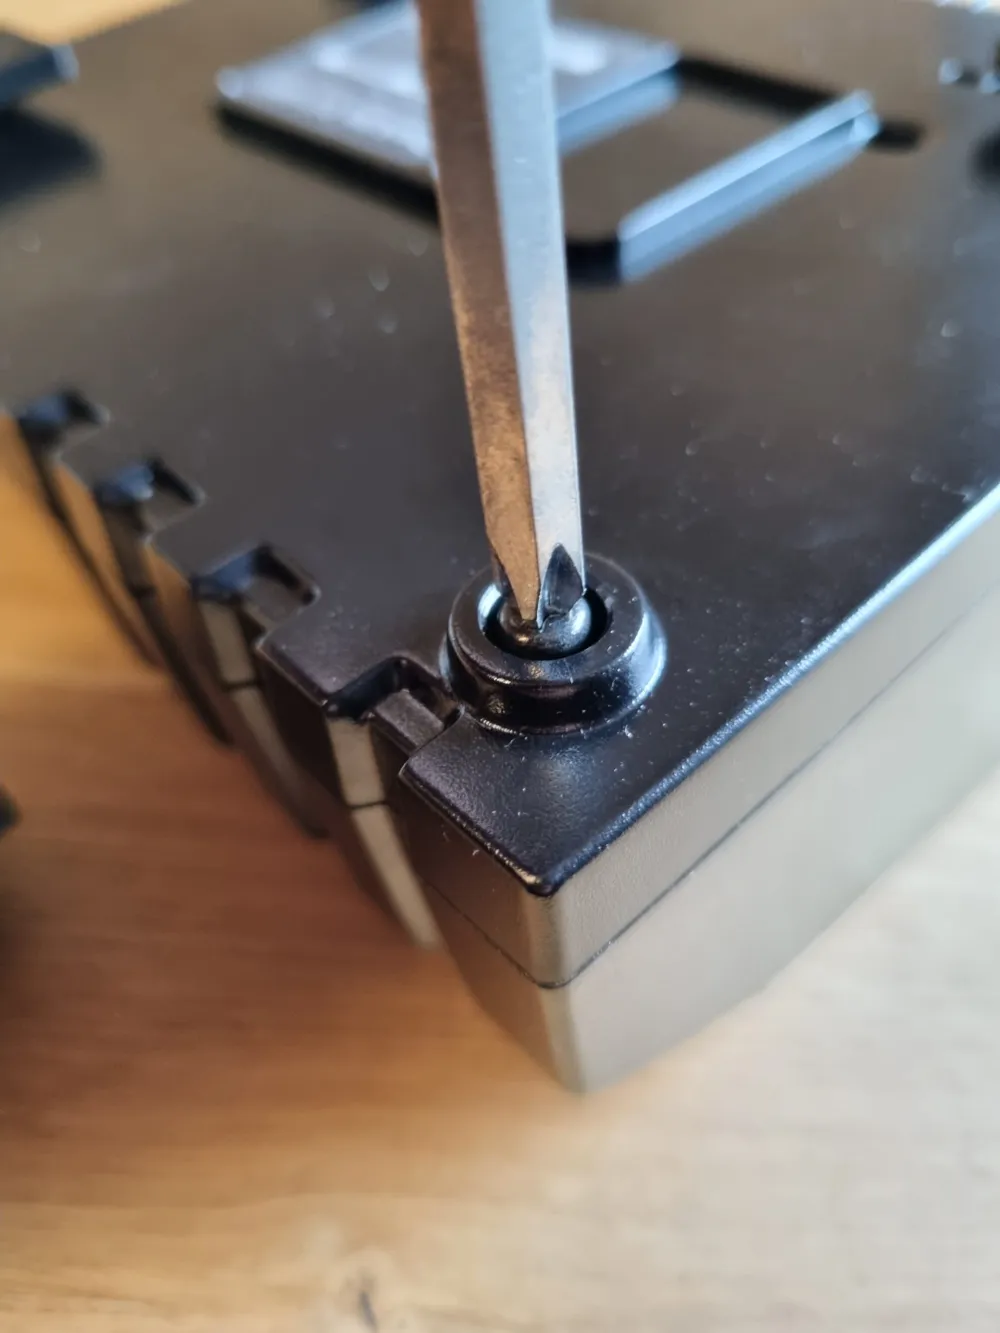
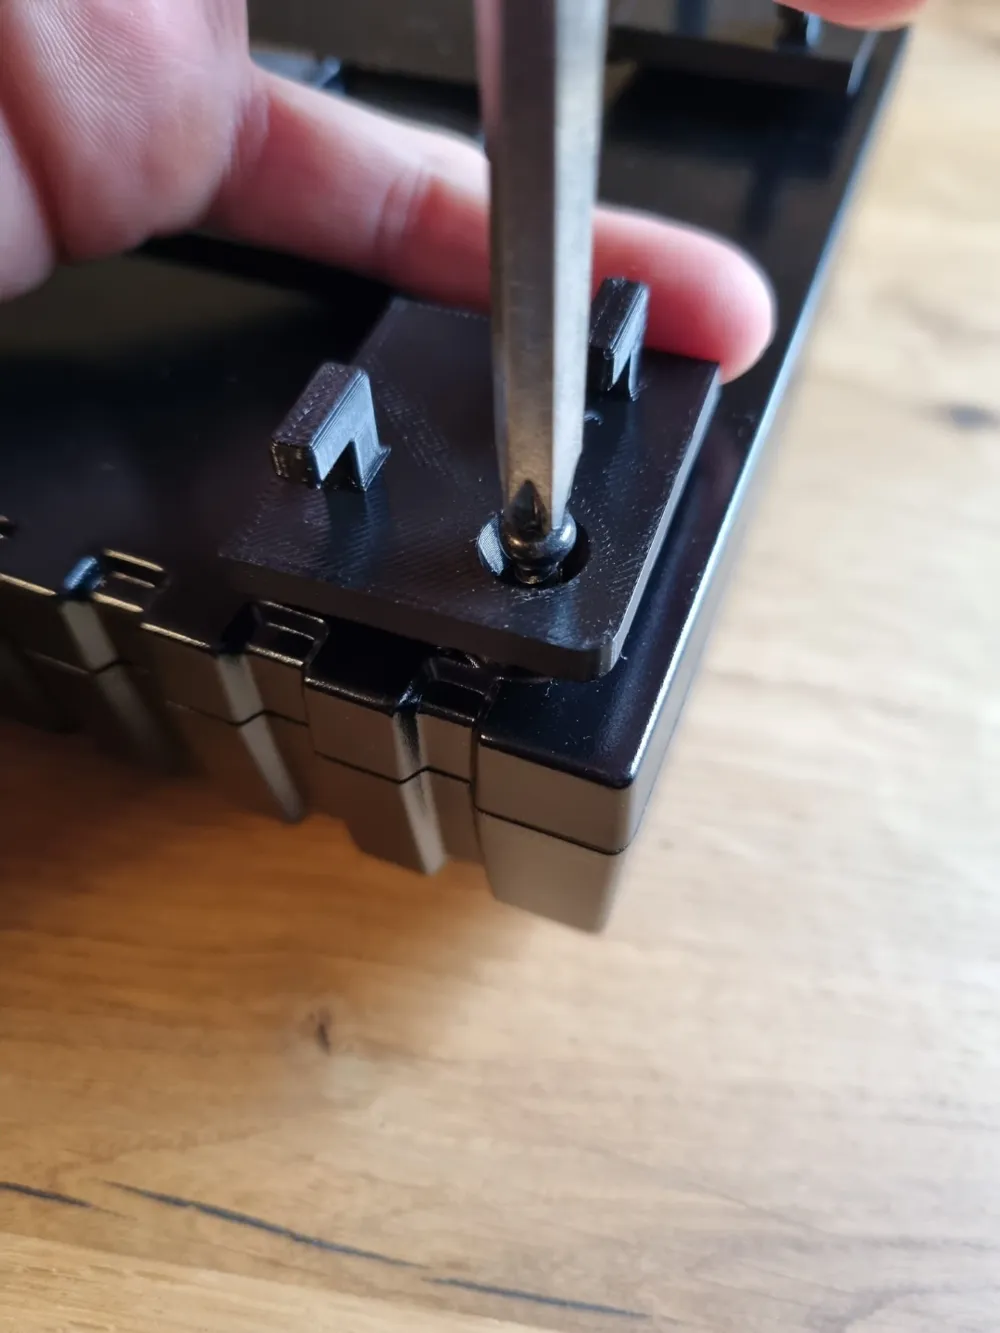
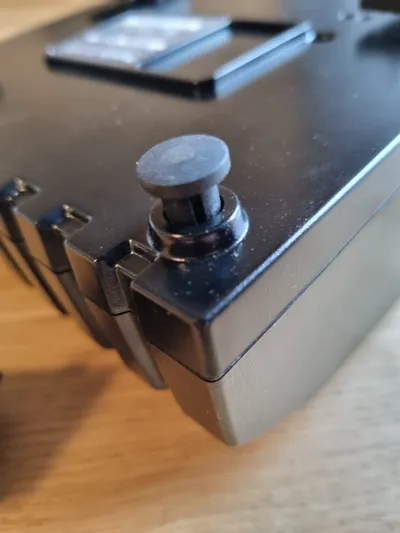
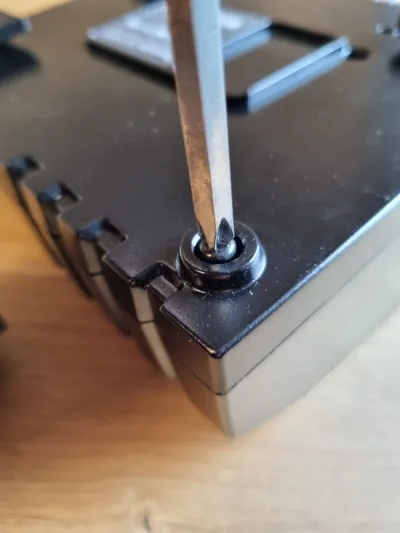
First, remove the rubber feet, then unscrew the screws from the back. Match each printed foot to its position by checking the markings: 1 dot for the top left, 2 dots for the top right, 3 dots for the bottom left, and 4 dots for the bottom right. Reinsert the screws to secure the feet in place. The Makita charger is now ready to be mounted on the Skadis wall.
License

You shall not share, sub-license, sell, rent, host, transfer, or distribute in any way the digital or 3D printed versions of this object, nor any other derivative work of this object in its digital or physical format (including - but not limited to - remixes of this object, and hosting on other digital platforms). The objects may not be used without permission in any way whatsoever in which you charge money, or collect fees.


Comment & Rating (39)