
The Proper Poop Chute- Purge Solution for A1 Mini

Print Profile(2)


Bill of Materials


Description
Boost Me (for free)
If you download, print, or collect this free model, I would really appreciate it if you take the time to click the like <3 button (or boost if you see fit) as I put a ton of time, experimentation, and filament into developing, testing, and posting these- and your support helps me continue to do so!
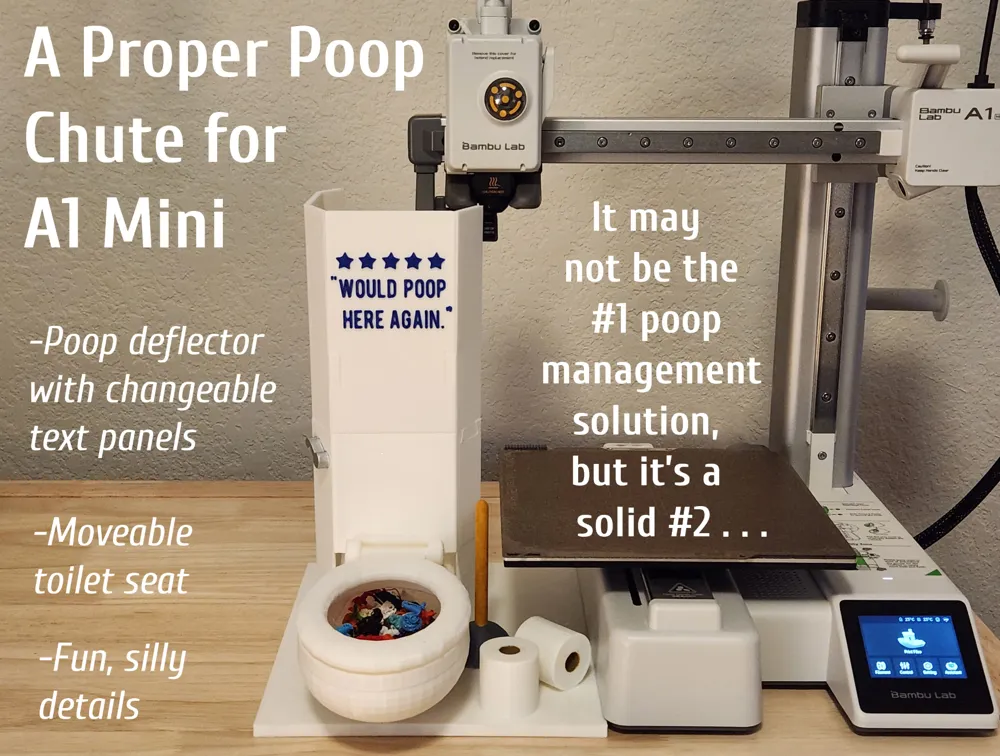
So this proper poop chute design for the A1 Mini may never be the #1 purge solution, but it’s a solid #2…


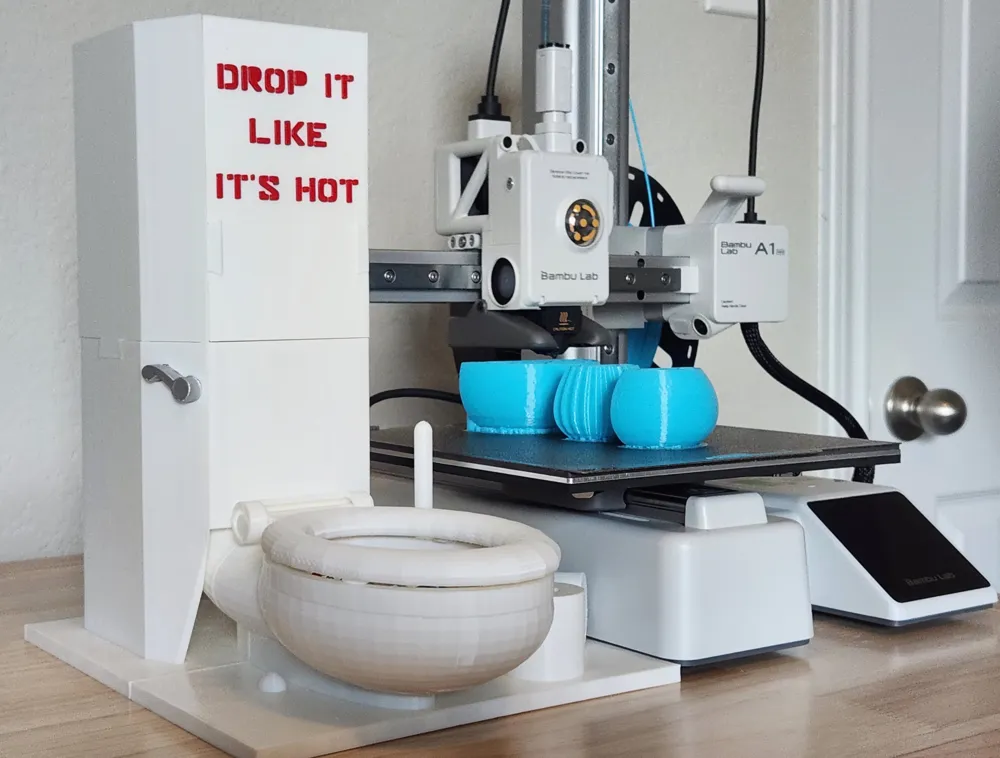
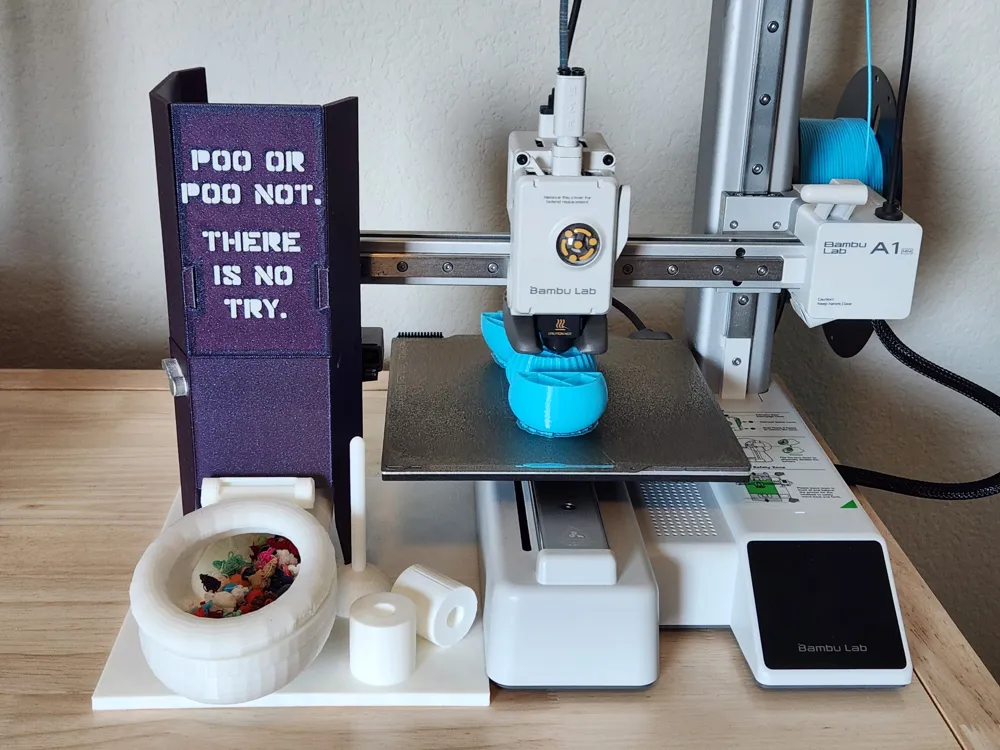
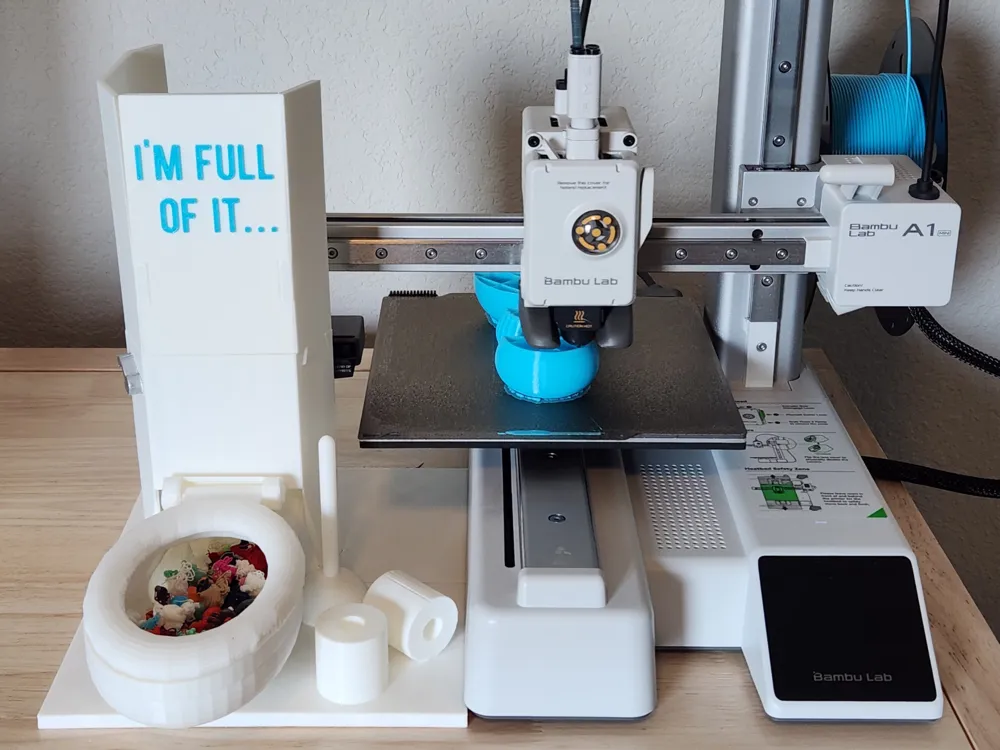
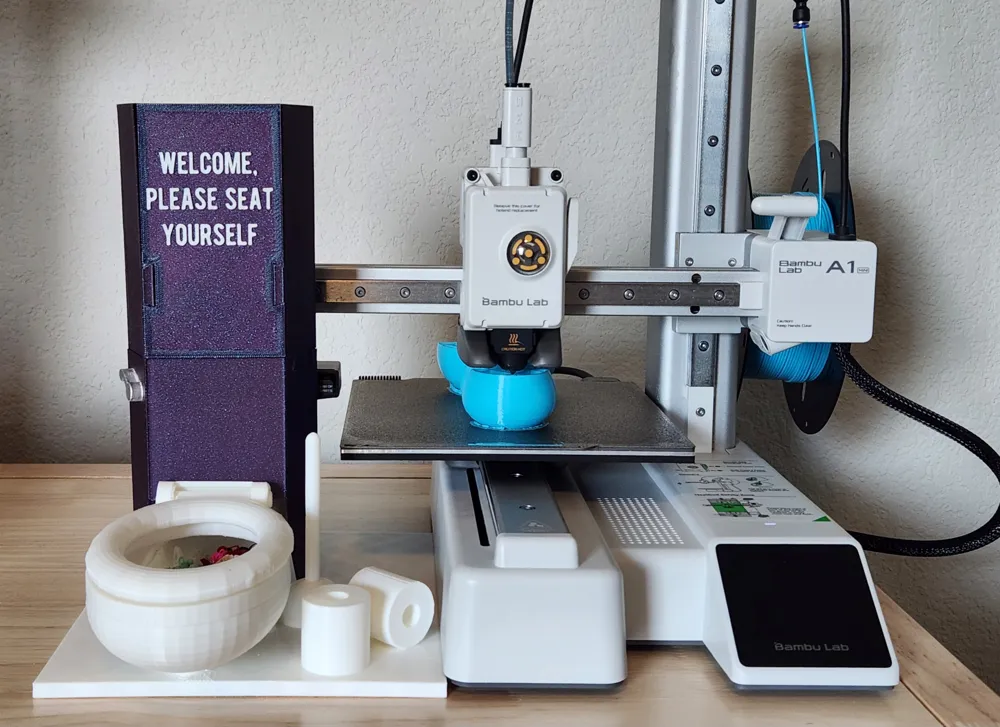
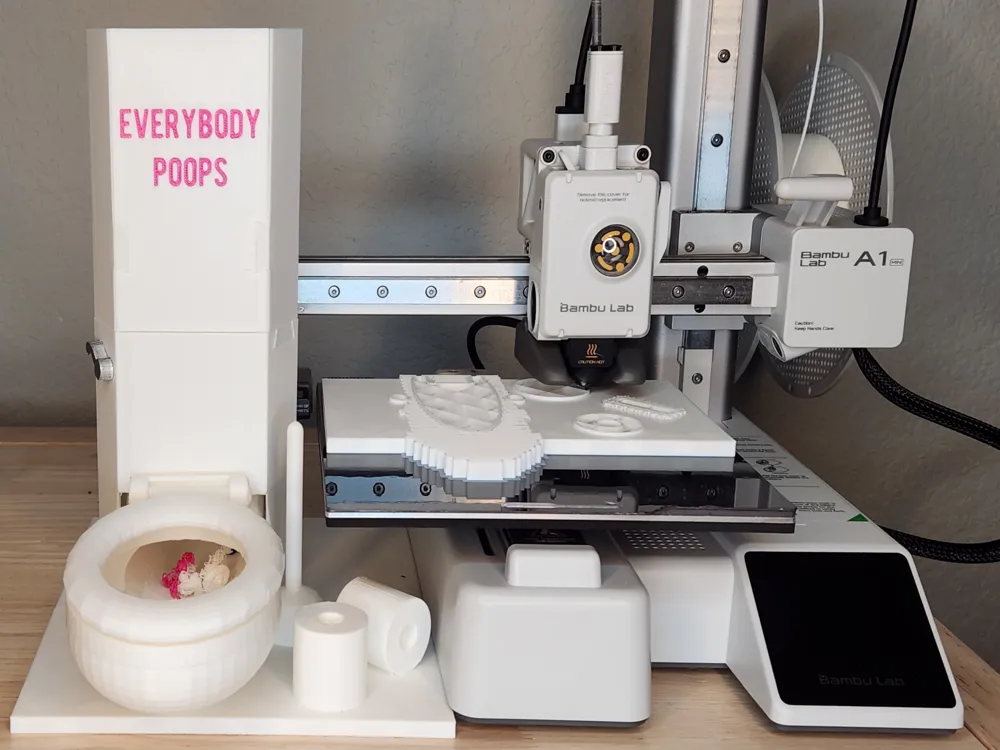
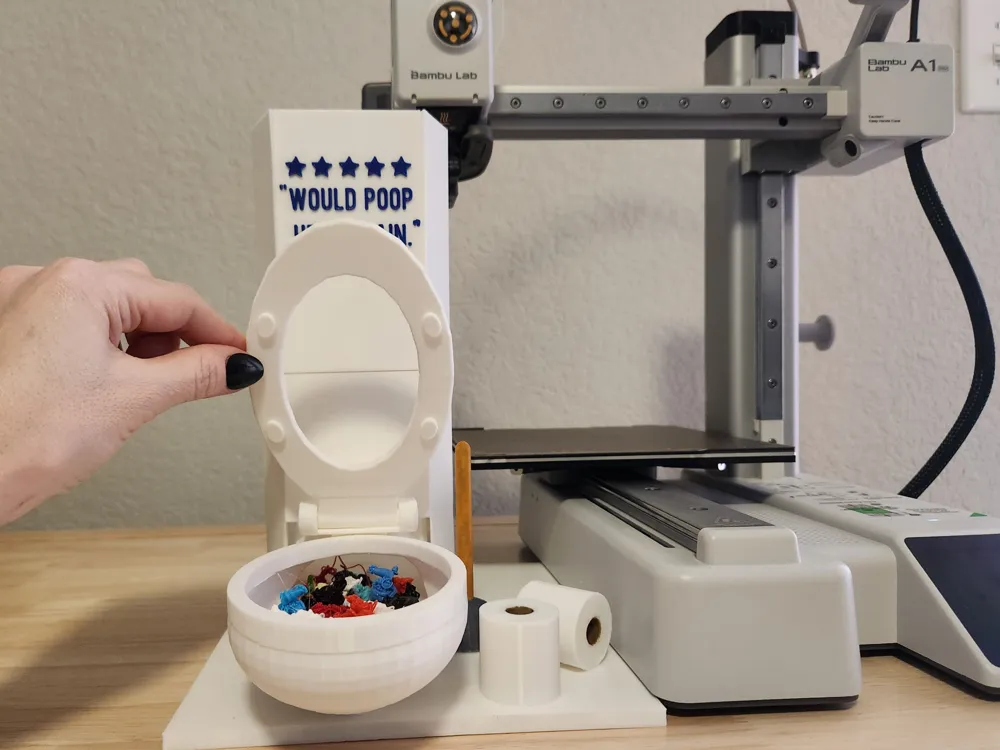
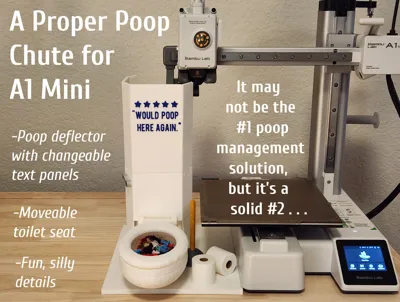
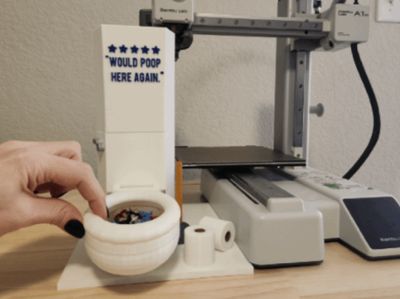
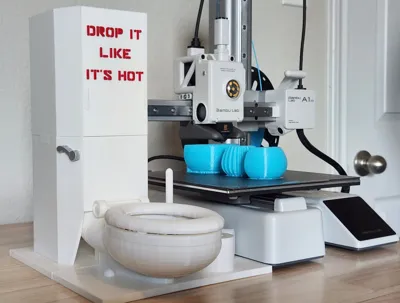
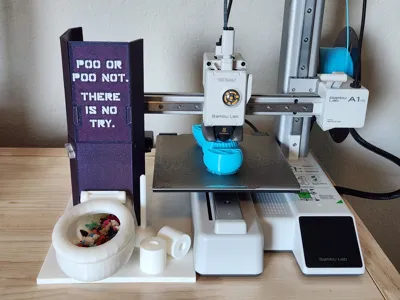
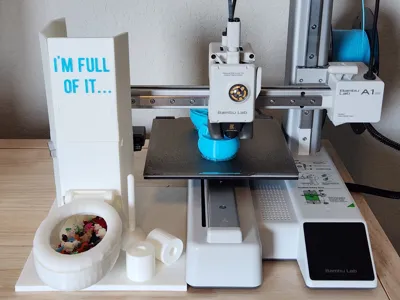
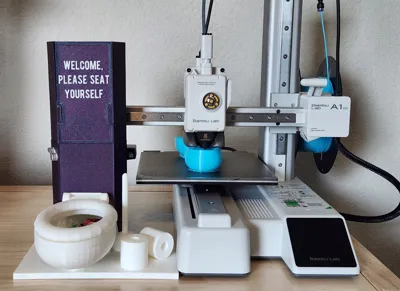
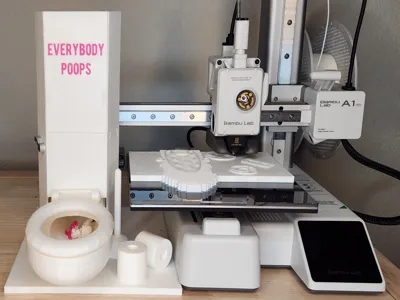
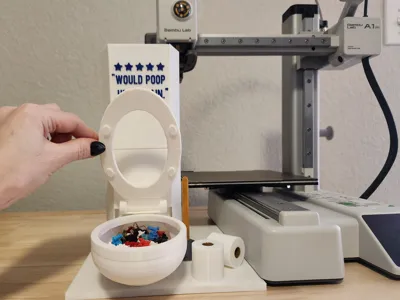
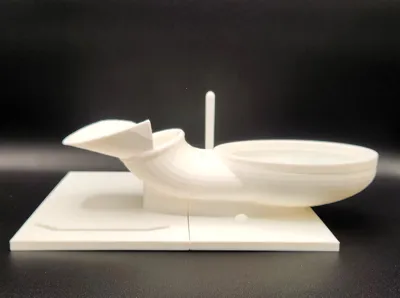
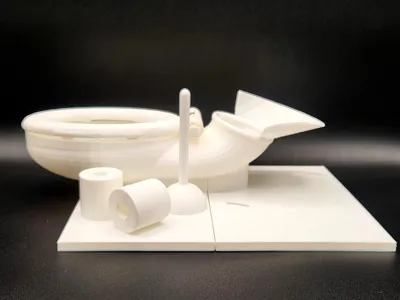
Ok, puns aside- after I got my lil R2Print2 (A1 Mini) I knew I had to find a way to deal with its… er…poop. While looking at some more traditional solutions, it occurred to me that perhaps the best place for 3D printer poop would be, well, a 3D printed toilet! So it began, and with the help of Tinkercad, a lot of trial and error, and a ton of filament, I finally created this silly but functional proper poop chute! Yes, it is a bit low poly for now (until I learn more advanced software), but it catches 99% of the poops and makes me snicker on the inside (like Beavis and Butthead) every time I print something. To empty it, just pick it up and tilt it to dump the collected poops out of the back funnel.
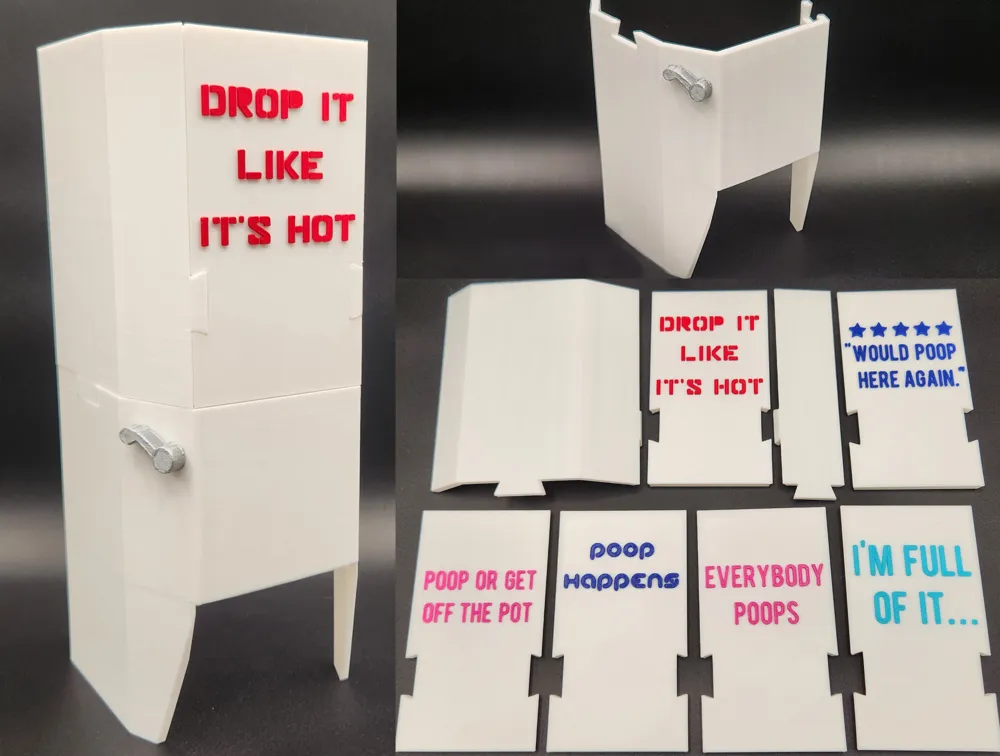
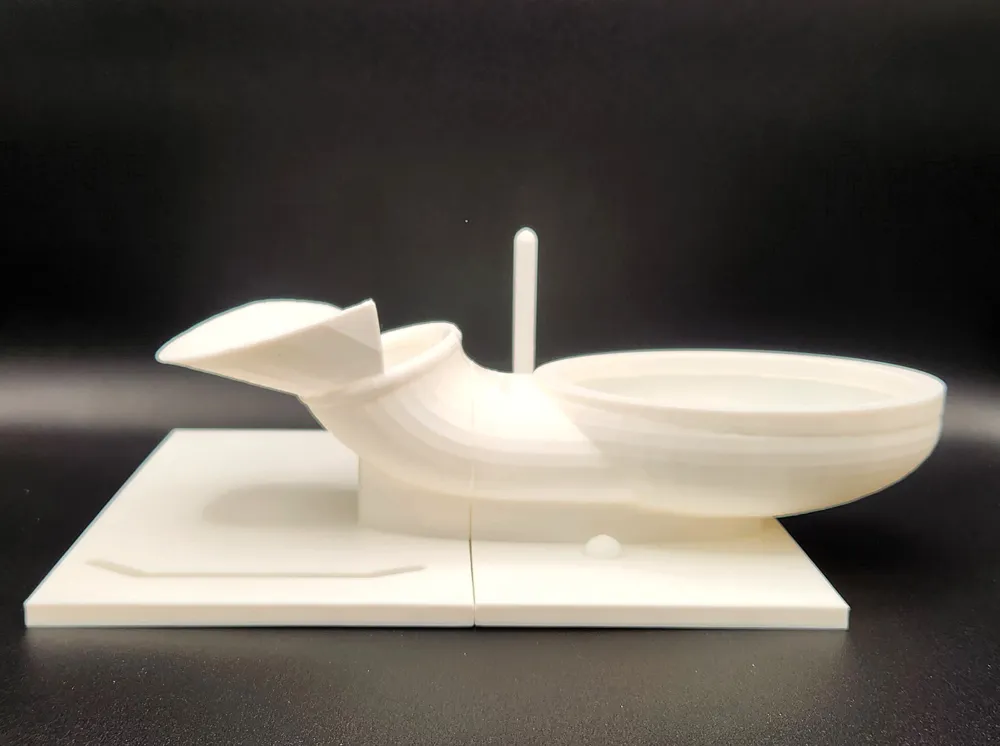
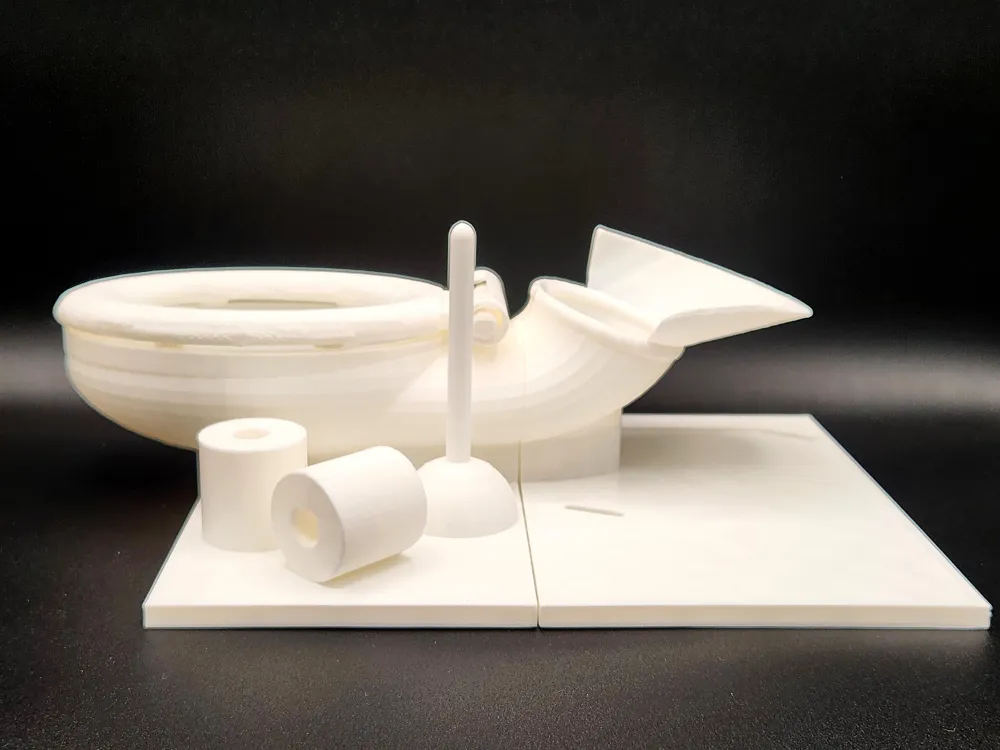
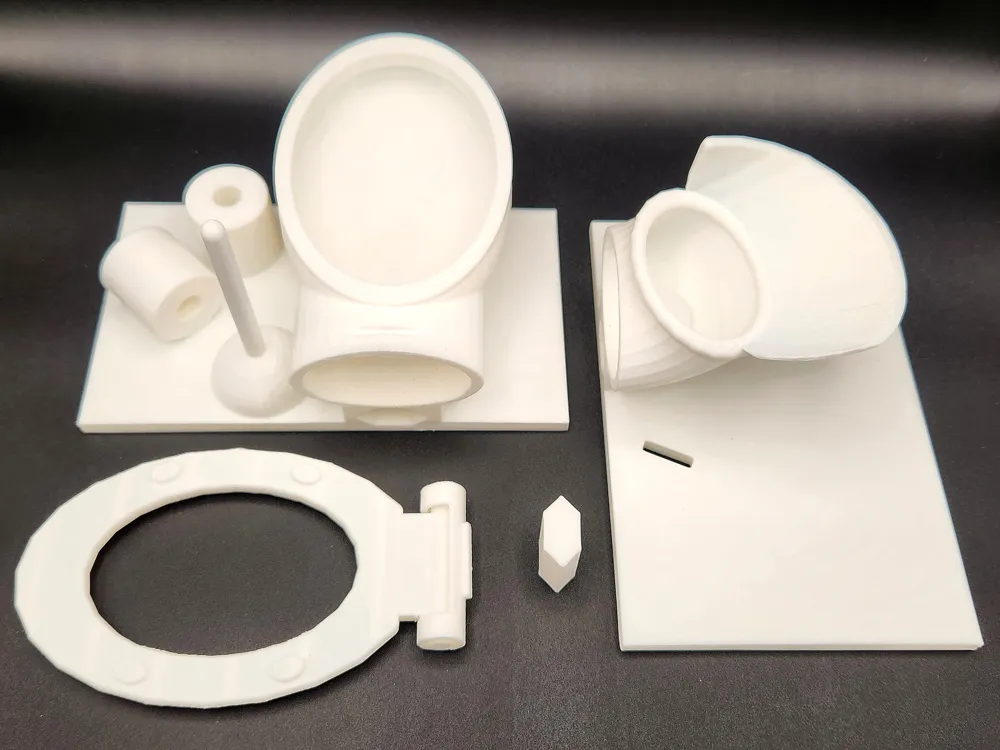
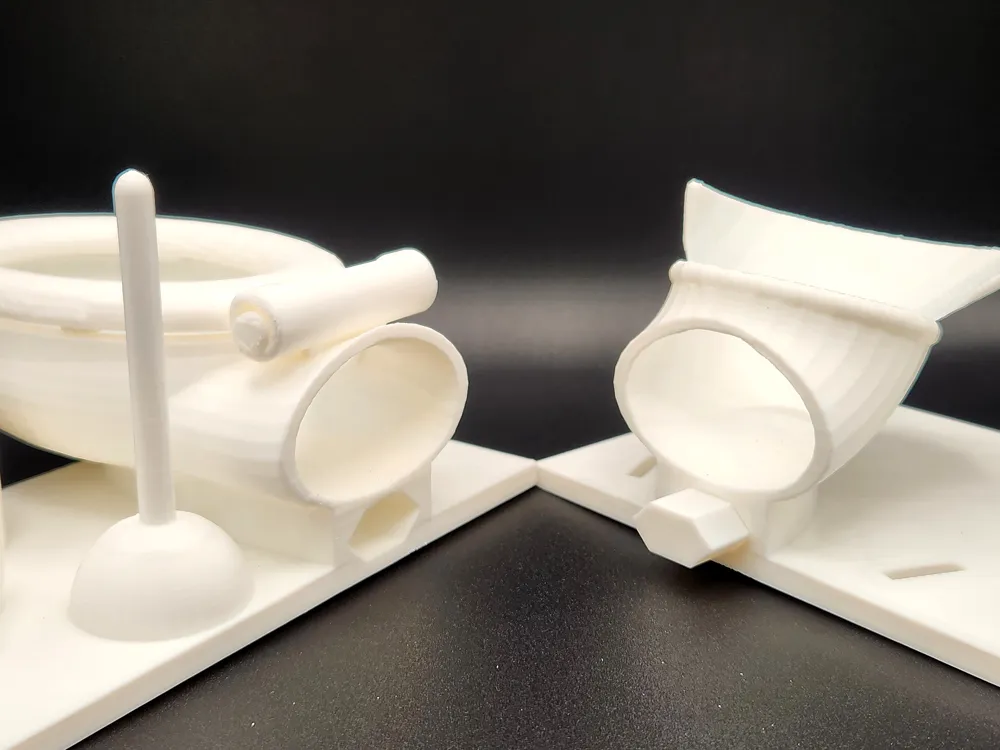
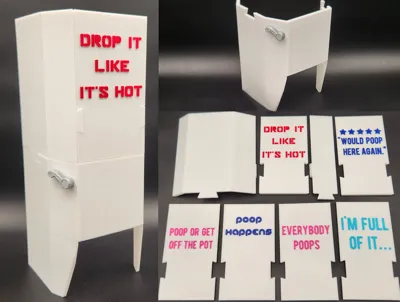
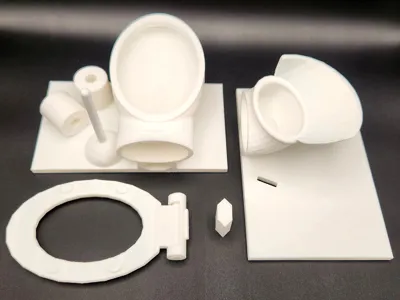
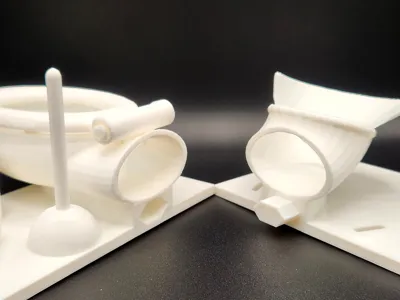
To ensure it can be printed on the A1 mini, the toilet itself prints flat in two halves (with a connecting dowel- though I used superglue as well) and the toilet lid prints separately on its side to help ensure the hinge prints and works properly. I recommend printing the bowl half of the toiled (plate 1) with the seams set to “Back” while using “Aligned” for the second funnel half with the lid. The poop deflector stall sits in slots on the toilet's base and bounces/deflects poop into the toilet’s funnel below. It has interchangeable text panels with various silly sayings on them and prints in 4 parts- one bottom half and three top panel pieces that all dovetail together.* I have also provided an stl with the plain no-text version of the stall that can be printed on the A1 mini in two halves.
*Dovetails will be snug- this is on purpose to help keep them more stable once the stall is put together- you might need to sand some of the connectors a smidge to remove any minor spread at the edges of the dovetail angled corners, etc. The dovetails on the top panels of the text version are cut at steeper angles to allow the center text panel itself to be flat for two-color printing. I recommend using firm but gentle and consistent pressure to slide the connectors together- and I found that the side panels assemble more easily if you slide them into the center panel at an angle from the front versus from the back.
License

You shall not share, sub-license, sell, rent, host, transfer, or distribute in any way the digital or 3D printed versions of this object, nor any other derivative work of this object in its digital or physical format (including - but not limited to - remixes of this object, and hosting on other digital platforms). The objects may not be used without permission in any way whatsoever in which you charge money, or collect fees.


Comment & Rating (5)