
PhotoBooth
Print Profile(1)

Bill of Materials


- RaspberryPI4 x 1: https://www.brack.ch/fr/raspberry-pi-carte-de-developpement-raspberry-pi-5-4-gb-1629355
- ModulePhotoHiQualityM12 x 1: https://www.brack.ch/fr/raspberry-pi-module-camera-raspberry-pi-high-quality-camera-m12-12-3-mpx-1626241
- ObjectifM12 x 1: https://www.bastelgarage.ch/objectif-portrait-m12-8mm-f1-8
- RB-LCD7-3 x 1: https://www.brack.ch/fr/joy-it-ecran-ecran-tactile-de-7-pouces-1024-x-600-1614085
- AUKEY PA-T11 x 1: https://www.mediamarkt.ch/de/product/_aukey-pa-t11-1970579.html?utm_source=google&utm_medium=cpc&gad_source=1&gclid=Cj0KCQiA0MG5BhD1ARIsAEcZtwR_-S4LUC8lj7n4vHYgVxtvgzmxFFb0Kla88ZRmgiLpGFPO1ZCa6oEaAh5HEALw_wcB&gclsrc=aw.ds
Description
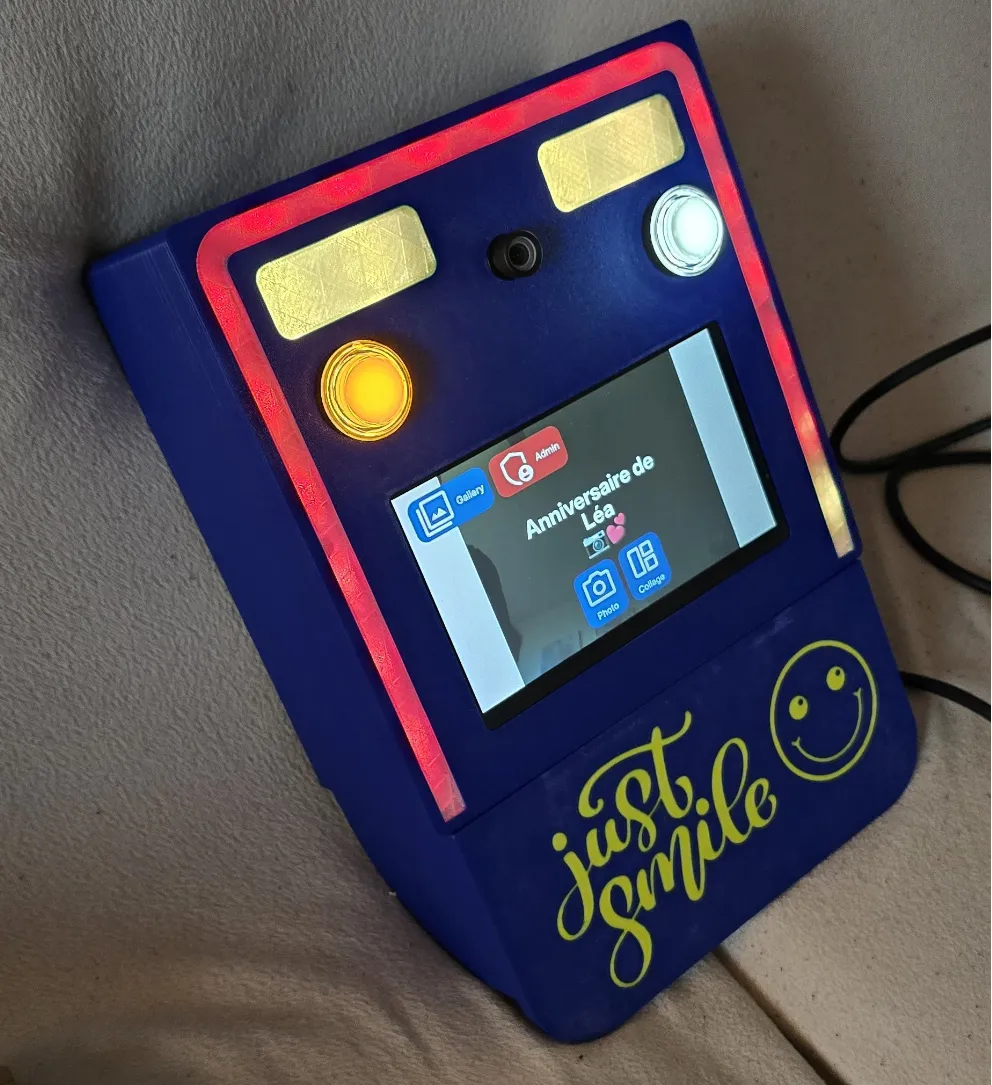
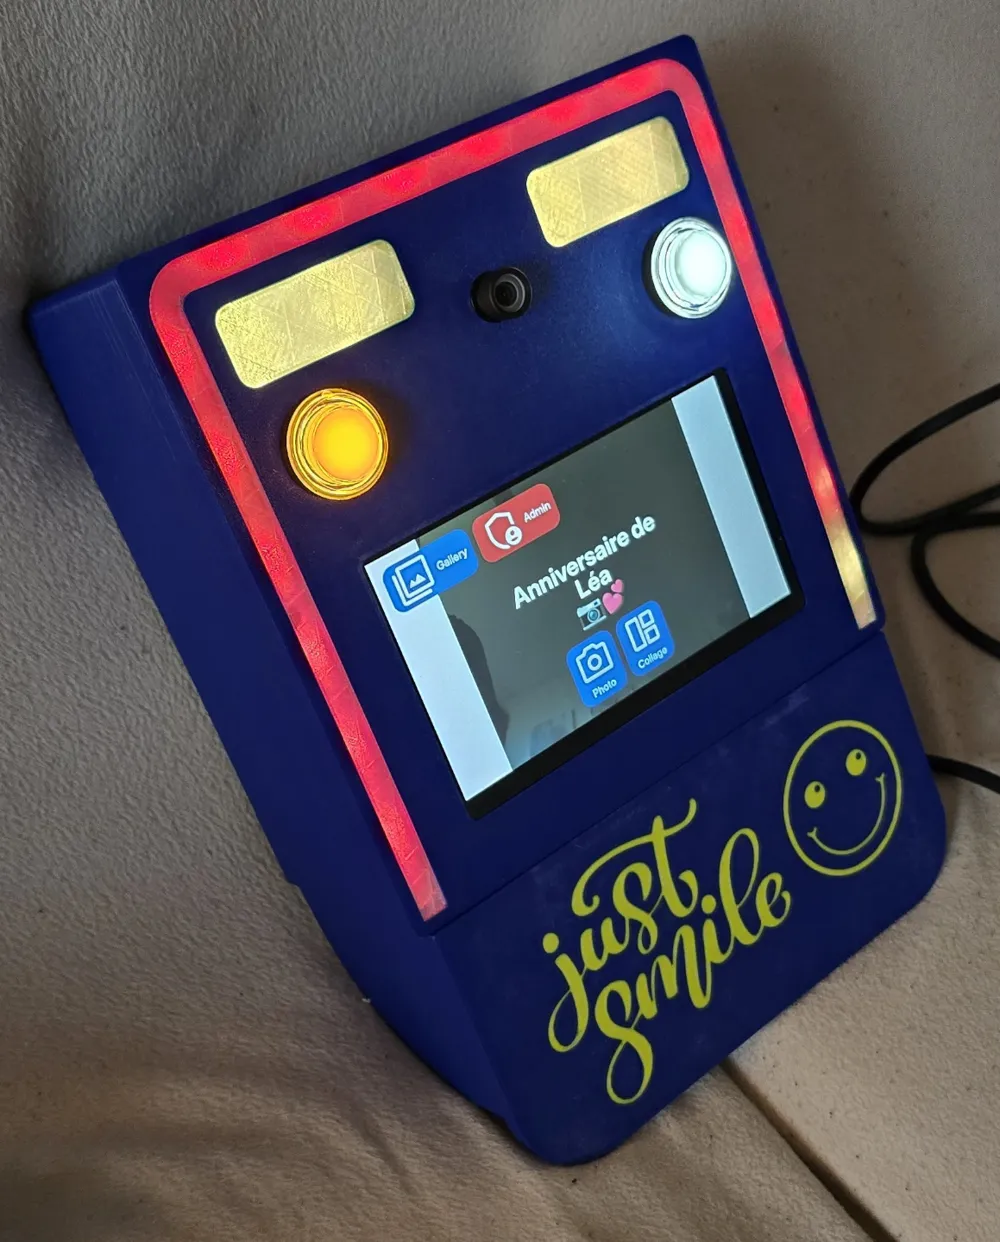
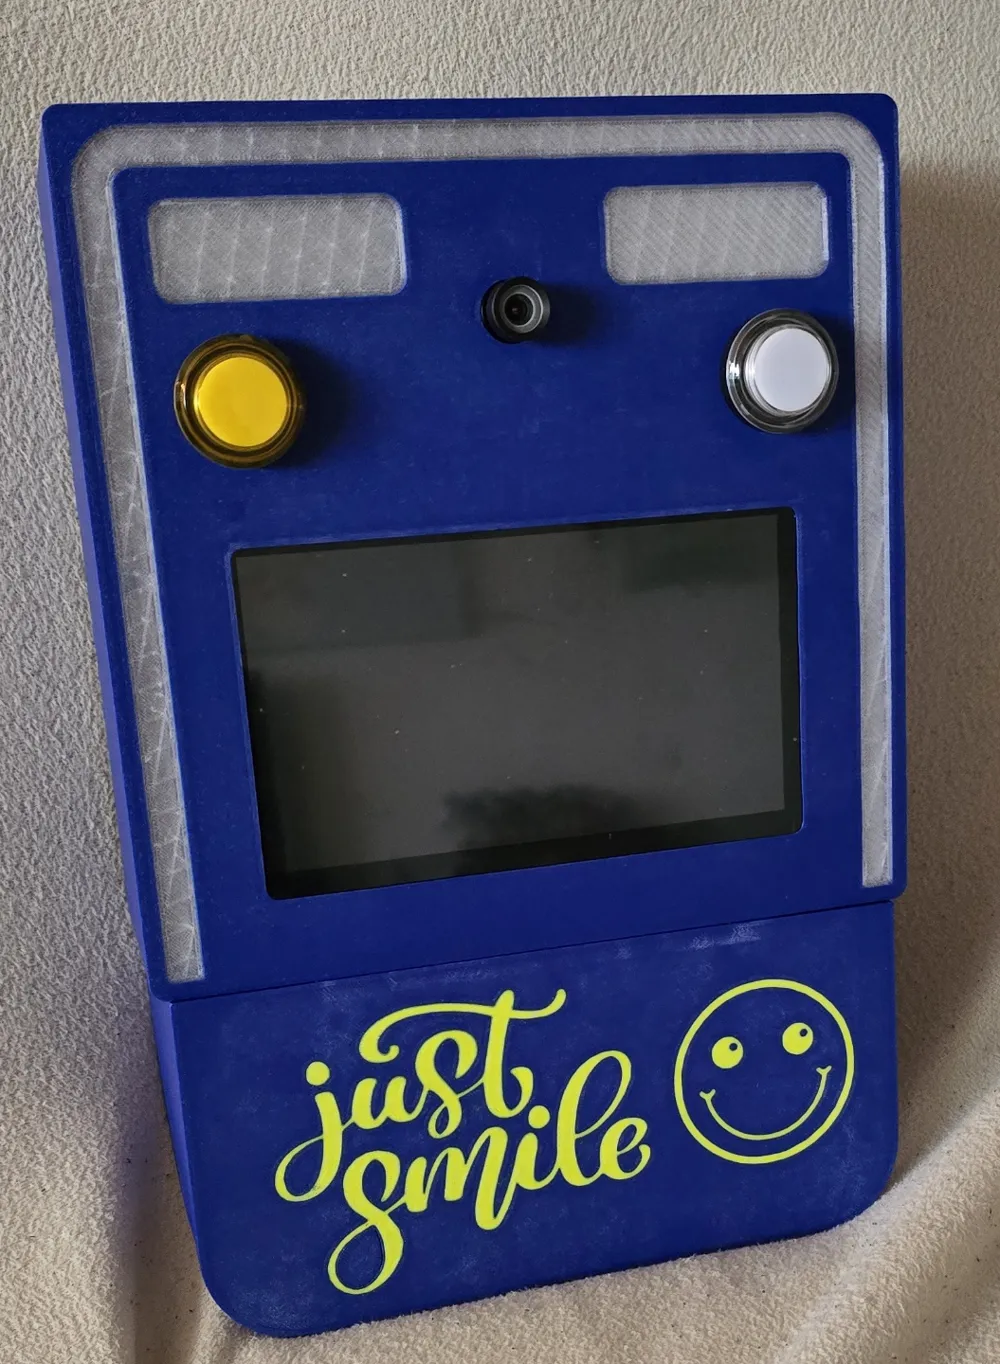
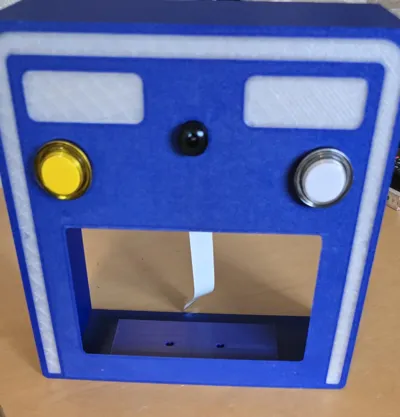
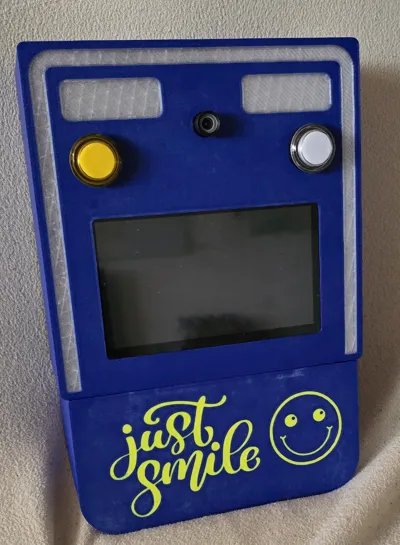
This photo booth project transforms a Raspberry Pi 4 or 5 into an interactive, self-contained photo booth.
The 3D-printed files include components for a robust and elegant enclosure, camera mount, and optional accessories for cable management and lighting.
File Contents:
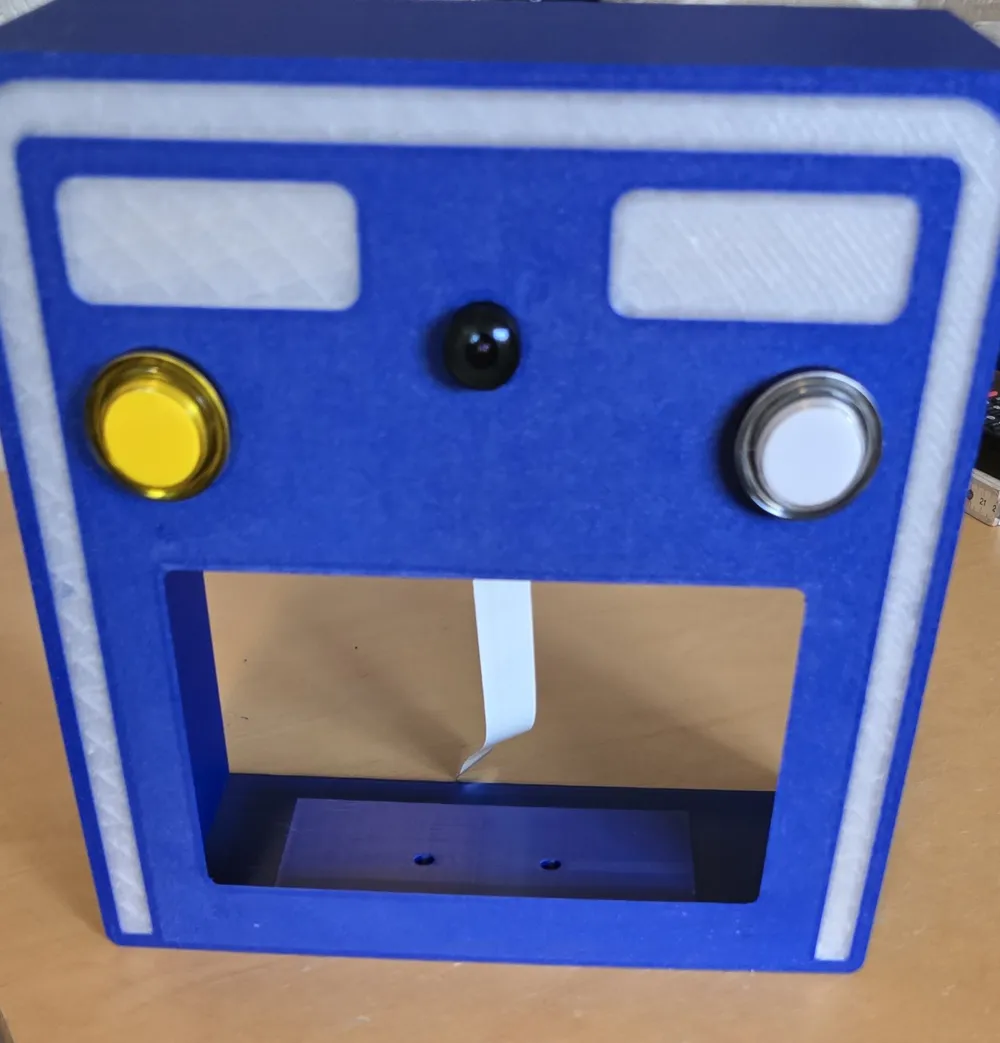
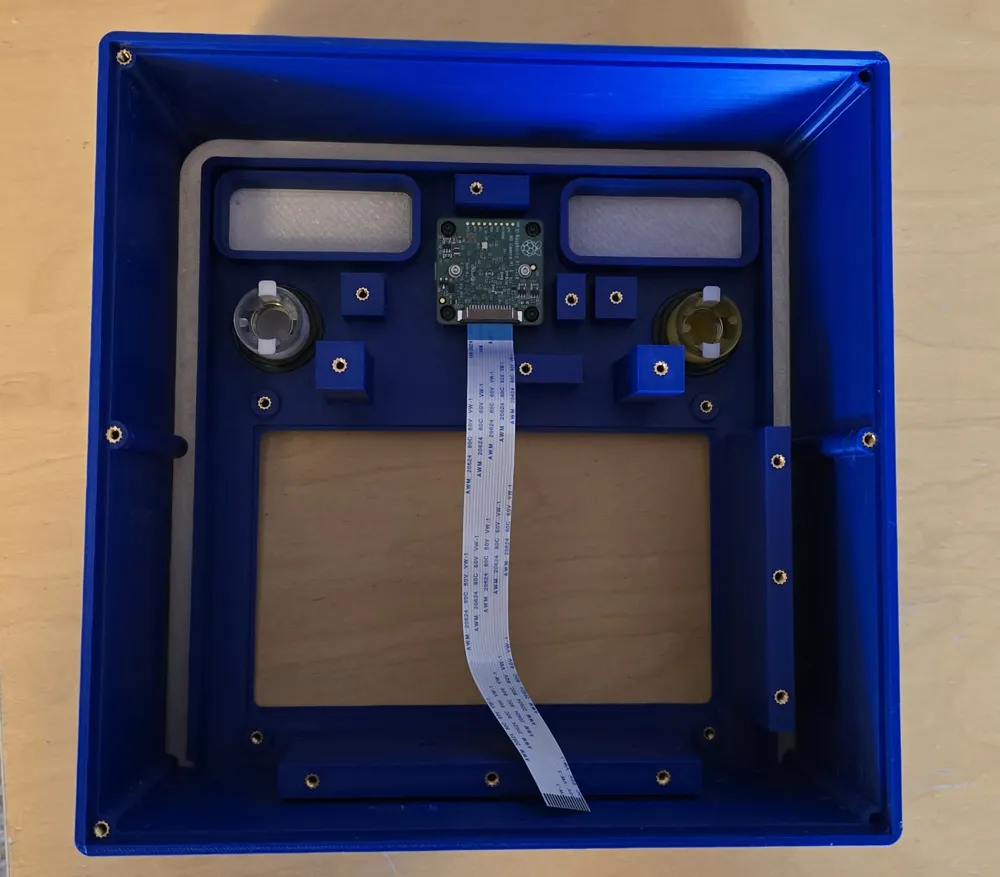
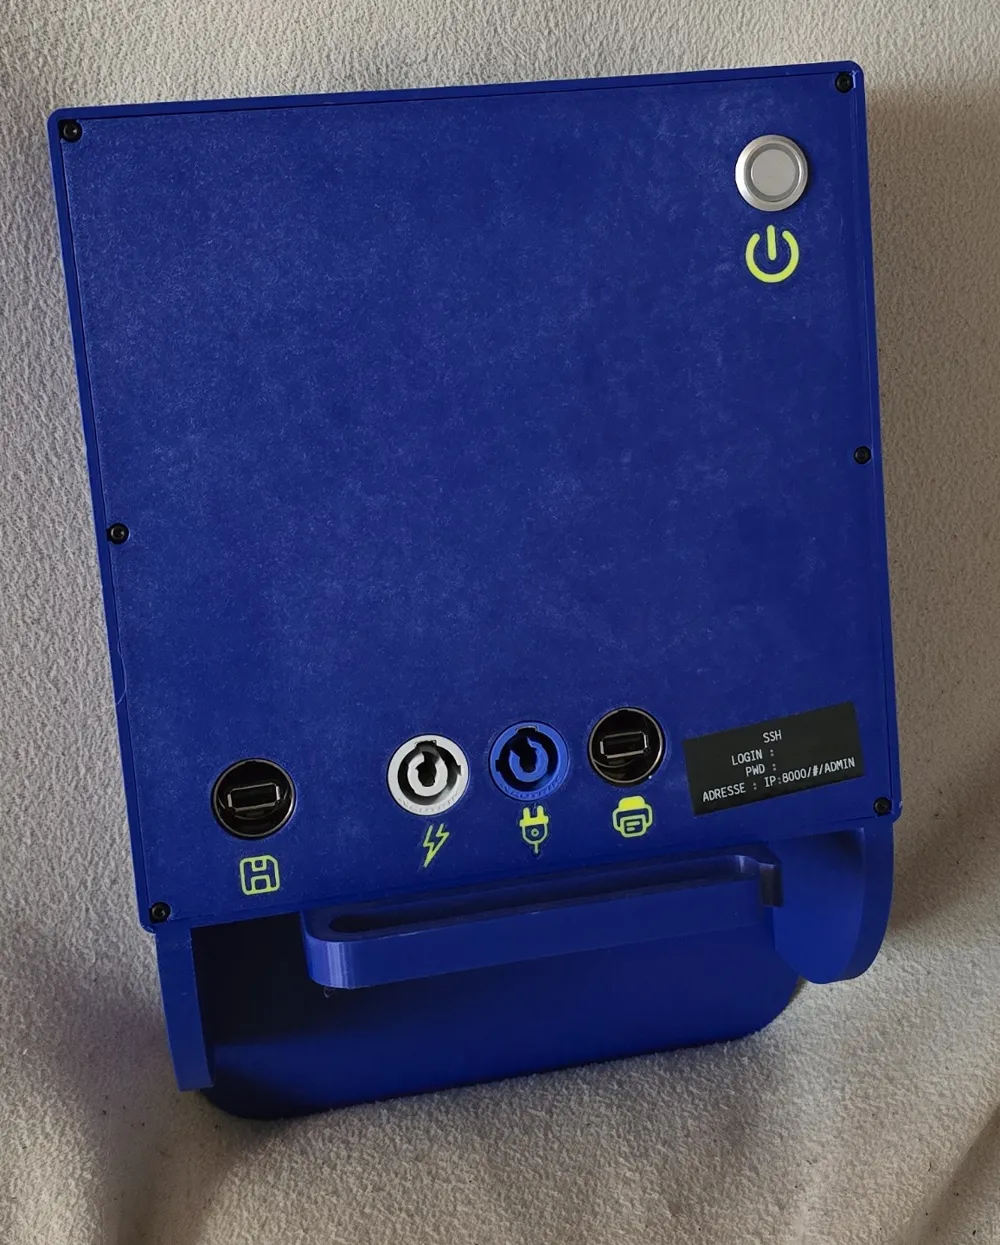
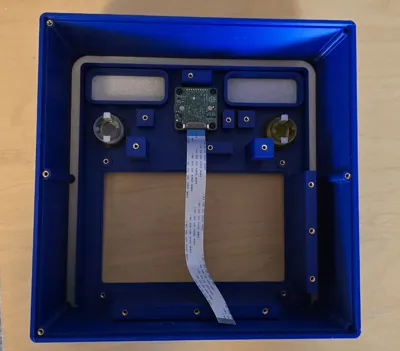
- Main Housing: An easily printable structure accommodating the Raspberry Pi, screen, LEDs, buttons, and other components.
- Camera Mount: Designed for the Raspberry Pi High Quality Camera Module M12.
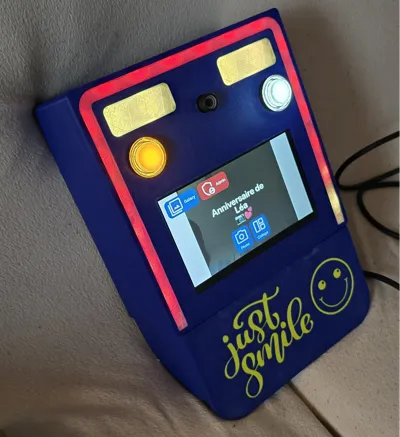
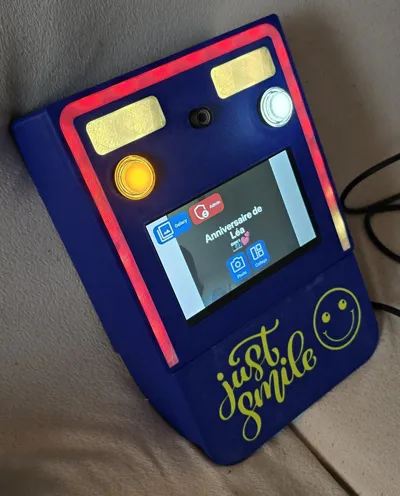
- Lighting Modules: Diffusers and fixtures for integrating LED lighting, such as WS2812 strips, crucial for an attractive design.
- Cable Management: Clips for organizing and securing cables inside the enclosure (A basic approach, as it often ends up a bit chaotic).
- Trigger Button: A physical button for capturing photos and/or collages, with a mount for ergonomic use.
- Thin Screen Protector Frame: Protects the touchscreen and enhances the overall aesthetics.
These files are optimized for easy printing in PLA or PETG, ensuring quick and secure assembly.
Download these files to begin your photo booth project and impress friends and family with professional-quality photos at your events!
Parts List (Certainly not exhaustive…):
- 1 Raspberry PI 4 or 5 [https://www.brack.ch/fr/raspberry-pi-carte-de-developpement-raspberry-pi-5-4-gb-1629355]
- 1 Raspberry PI HiQuality Camera Module M12 [https://www.brack.ch/fr/raspberry-pi-module-camera-raspberry-pi-high-quality-camera-m12-12-3-mpx-1626241]
- 1 M12 lens for the camera module
- 1 RB-LCD7-3 Touchscreen [https://www.brack.ch/fr/joy-it-ecran-ecran-tactile-de-7-pouces-1024-x-600-1614085]
- 1 WS2812 LED strip (Approximately 30 LEDs available, depending on LEDs per meter)
- 2 Flat right-angled Micro USB cables
- 1 Flat right-angled HDMI to Micro HDMI cable
- 2 Bartop-style switches with illumination
- 1 Metallic switch with 5V LED ring
- 1 240V to USB power supply, at least 60W with 4 USB ports, for example: AUKEY PA-T11 [https://www.mediamarkt.ch/de/product/_aukey-pa-t11-1970579.html?utm_source=google&utm_medium=cpc&gad_source=1&gclid=Cj0KCQiA0MG5BhD1ARIsAEcZtwR_-S4LUC8lj7n4vHYgVxtvgzmxFFb0Kla88ZRmgiLpGFPO1ZCa6oEaAh5HEALw_wcB&gclsrc=aw.ds]
- 1 USB-C to 5V power supply
- 1 USB-C to 12V power supply
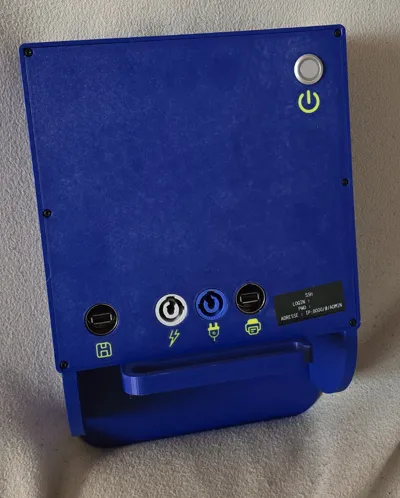
- 1 Blue Neutrik Powercon
- 1 Gray Neutrik Powercon
- 2 Neutrik USB (If needed, one can be replaced with an Ethernet connector)
- 2 M4 inserts
- 36 M3 inserts
- 8 M2.5 inserts (M3 inserts work, but the Raspberry Pi boards have 2.9mm holes, requiring slight force)
- 36 M3 screws
- 2 M4 screws
- 8 M2.5 screws
- Various short USB cables to connect power supplies
- 4 M6 screws and bolts
For the USB and HDMI cables, find cables of this type:
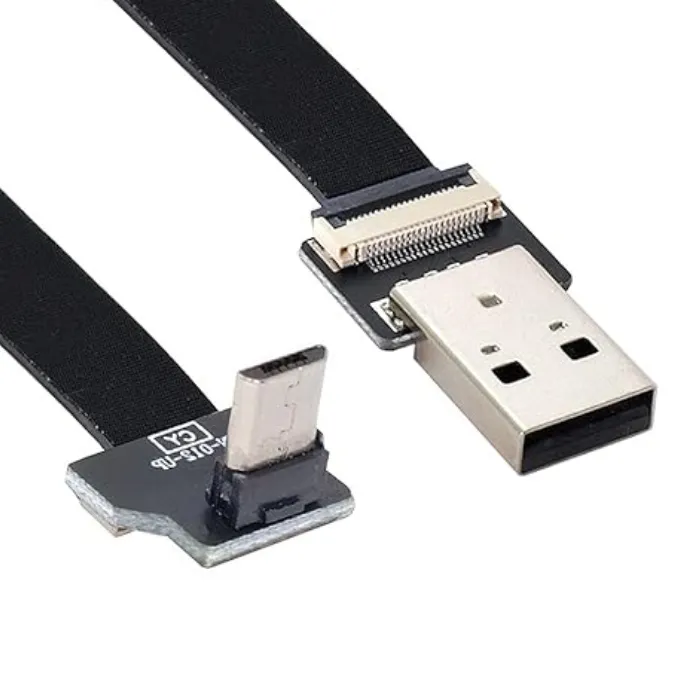
Construction is straightforward:
For those less inclined, LEDs and buttons are not essential for functionality. These optional steps can be skipped; the photo booth will still operate (with less style, but it will work!).
- Print all parts
- Install all inserts (M2.5 for the camera module and on the Raspberry Pi support plate, M4 in the photo booth support)
- [OPTIONAL] Install the LED strip around the photo booth enclosure. Extend the three input pads with wire to the flash location.
- Attach the inner LED strip cover
- Attach the Raspberry Pi camera module with four M2.5 screws, remembering the flat cable connecting it to the Raspberry Pi
- [OPTIONAL] Cut and attach two lengths of LED strip to each of the two flash covers, ensuring the inputs and outputs protrude through the slots (You must solder the two strips in each flash cover). Then, solder the input of the LED strip encircling the enclosure to the output of the left flash (as viewed from the rear). Then, solder the input of the left flash to the output of the right flash. Finally, solder two wires from the data pad and GND pad to the Raspberry Pi, and two more wires from the 5V and GND pads to the USB-C to 5V power supply.
- Connect the three (two Micro USB, one HDMI) right-angled flat cables to the screen and attach the screen to the chassis using four M3 screws
- Install the cable supports to the left of the enclosure to secure the cables
- [OPTIONAL] Attach the two bartop switches to the front. Solder the + and - power to the button LEDs and connect them to the USB-C to 12V power supply. Solder the switch inputs to a GND pin, and each open output to a Raspberry Pi pin.
- Attach the Raspberry Pi support to its designated location
- Secure the Raspberry Pi in its support
- Connect the camera's flat cable to the Raspberry Pi
- Connect the switch and LED cables to the Raspberry Pi pins (Photo button: 27, Collage button: 22, LEDs: 21)
- Connect the flat Micro USB cable to the first output
- Connect the USB-C cable to the Raspberry Pi (for power)
- Connect the USB cable from the screen (for touch functionality)
- Insert the four M6 bolts and attach the photo stand support.
- Connect one or two USB cables to the Raspberry Pi outputs (depending on your configuration) to connect to the Neutrik connectors
- Install the inner support and attach the 220V power supply
- Connect it to the two Neutrik POWERCON connectors
- Connect the USB connectors to the power supply
- Attach and connect the power button for the Raspberry Pi (GPIO17) to GND
- Close the enclosure
For initial testing, I used the application: https://photobooth-app.org/
License

You shall not share, sub-license, sell, rent, host, transfer, or distribute in any way the digital or 3D printed versions of this object, nor any other derivative work of this object in its digital or physical format (including - but not limited to - remixes of this object, and hosting on other digital platforms). The objects may not be used without permission in any way whatsoever in which you charge money, or collect fees.


Comment & Rating (19)