
Woodworking - Cabinet assembly Jig for 16mm DTD

Print Profile(1)

Description
NEW CUSTOMIZABLE JIG VERSION >> CLICK HERE <<
You can customize the jig dimensions like material width, jig height, guiding slots width and depth in this new version 3 I've created. Head over to Customizable cabinet assembly jig by graffoo MakerWorld: Download Free 3D Models
==================================================================
Save time
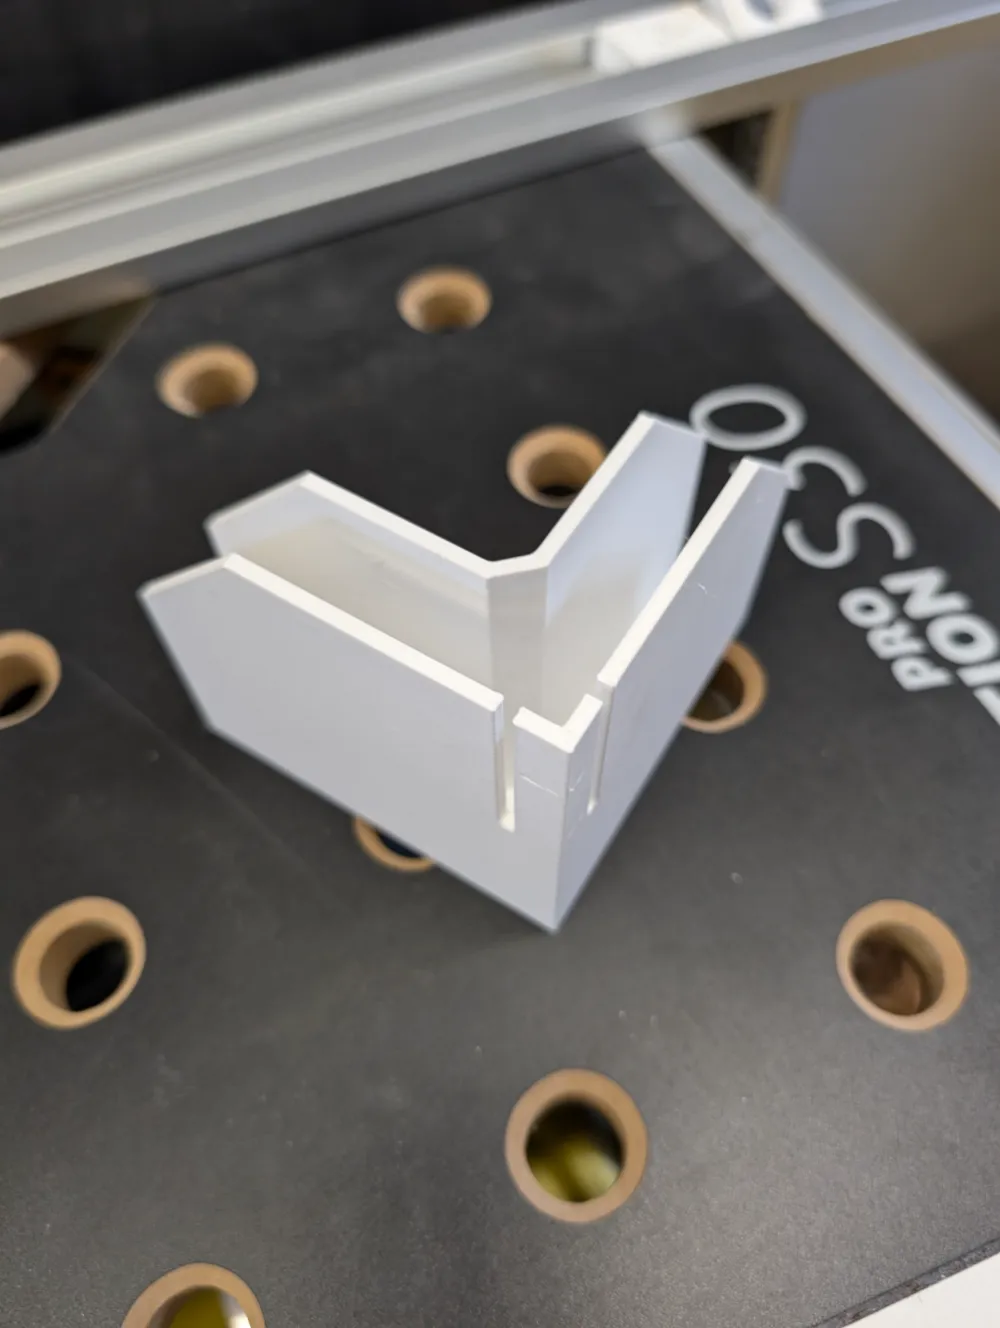
When assembling cabinets (in kitchen, bedroom, bathroom, etc) the most important thing is to have straight corners of the cabinets. I know there are many universal jigs that need to check for squareness before clamping. I wanted to save time assembling basic carcasses and I almost always make them from 16mm thick laminated DTD (particle board). So I created these two simple jigs.
NOTE: 16mm DTD is the most used particleboard for cheap cabinetry in Europe. I will also make a version for 18, 20 and 22mm thick boards if you need those. Or US version for ¾" plywood.
I use screws for the cabinet carcasses, because 99% of the time I also mount side panels on the cabinets from the outside. So the screws are covered by that panel.
How to use
Corner assembly
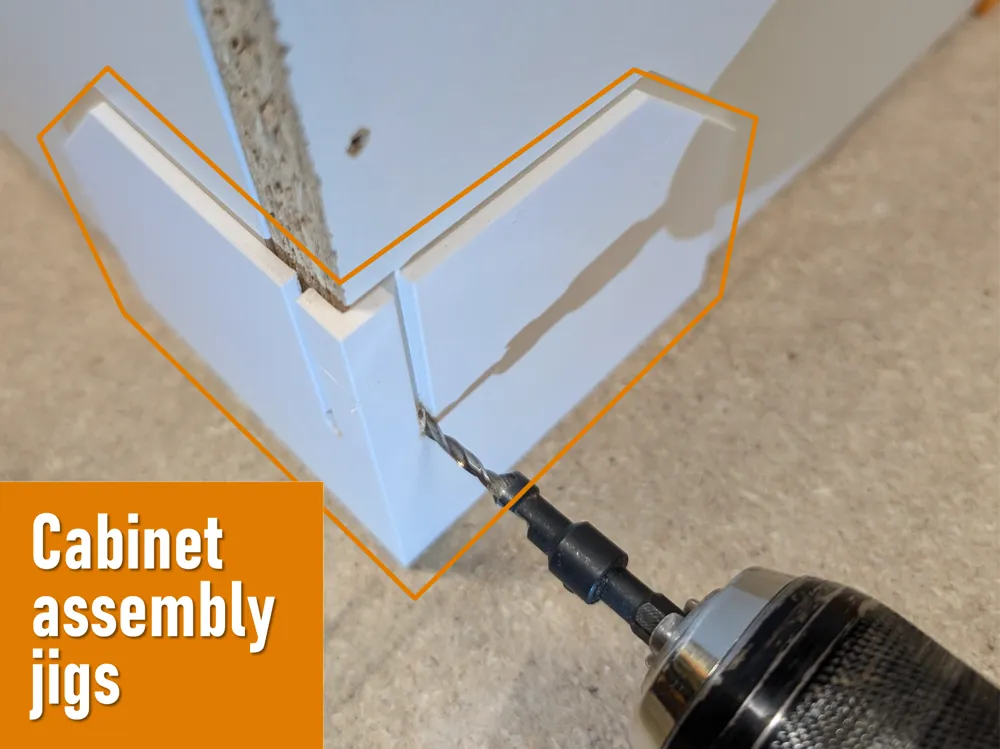
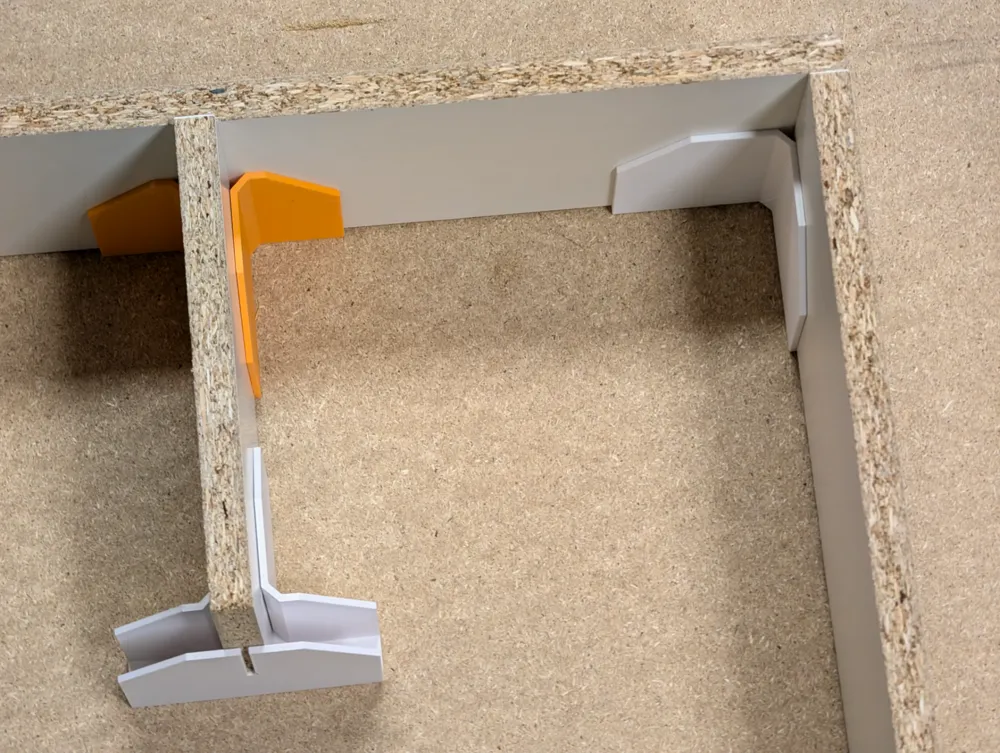
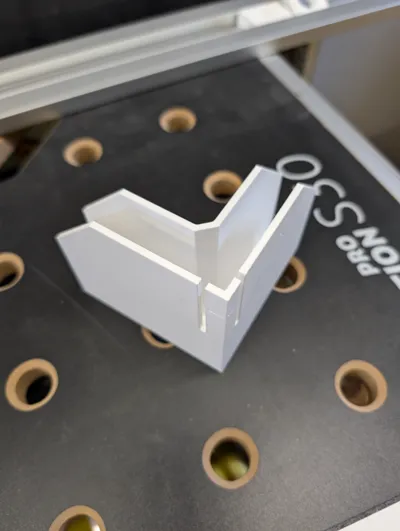
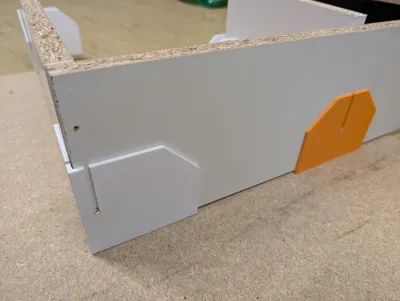
Put the jig on the assembly table
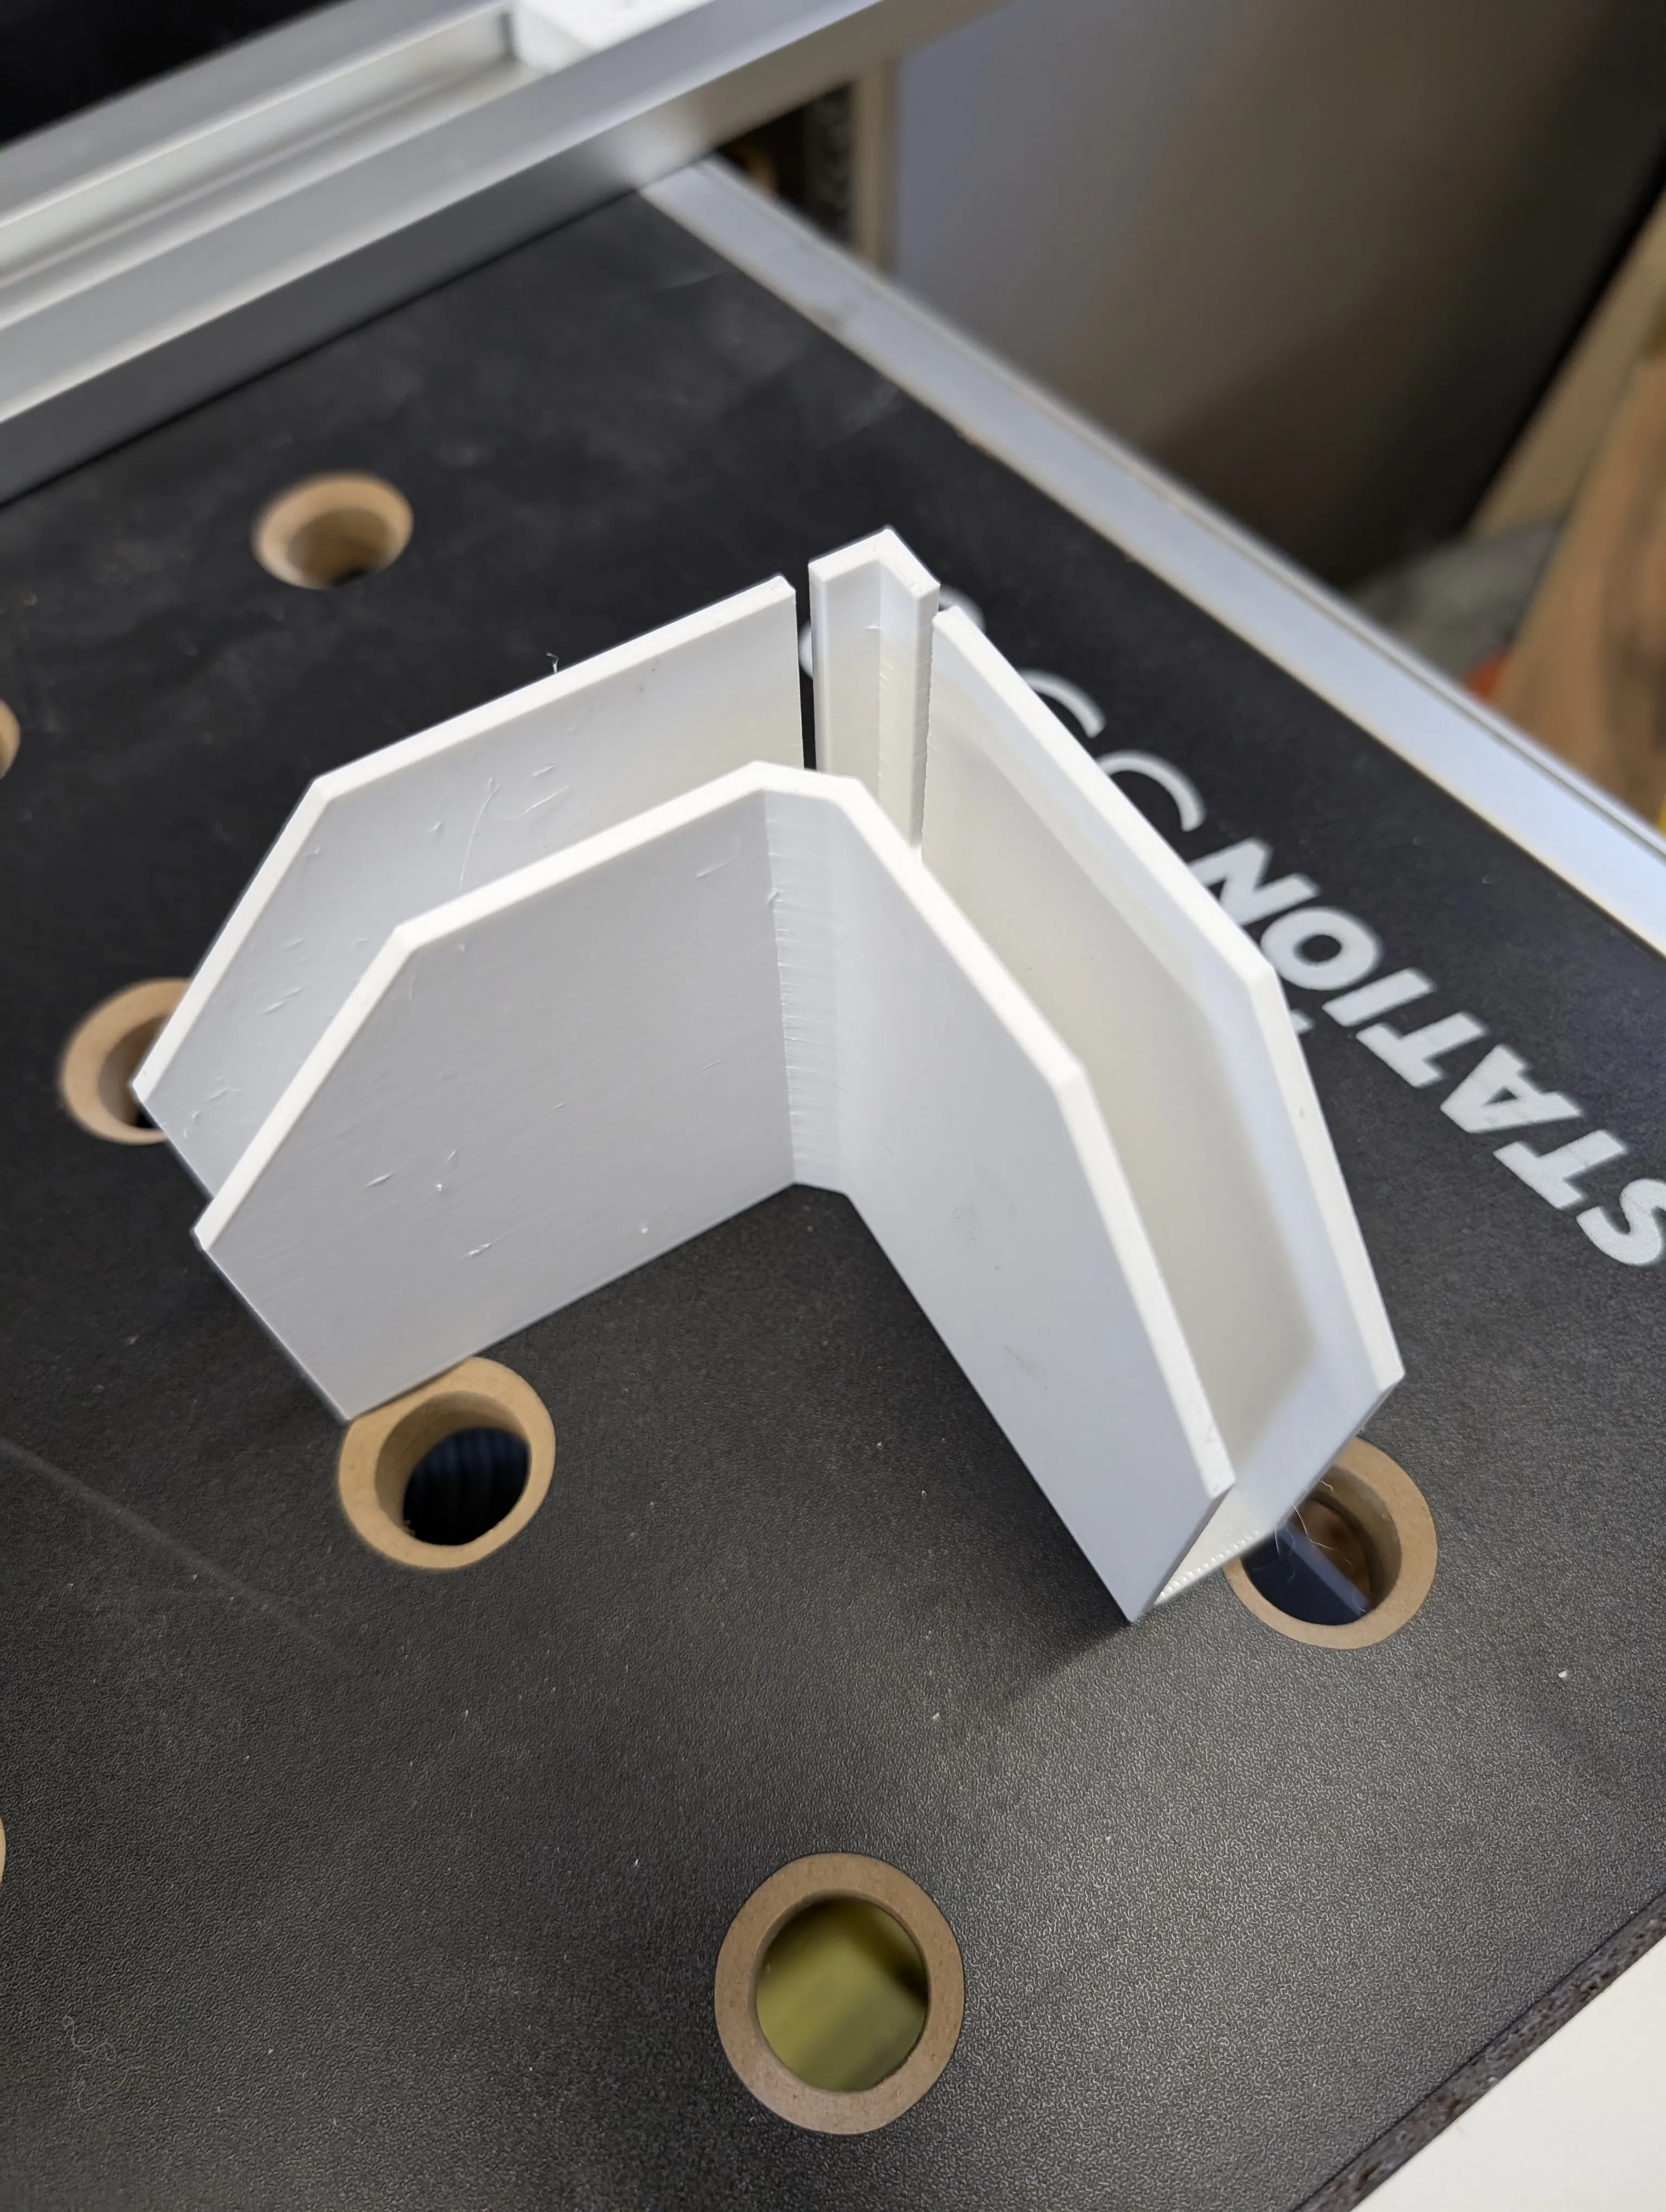
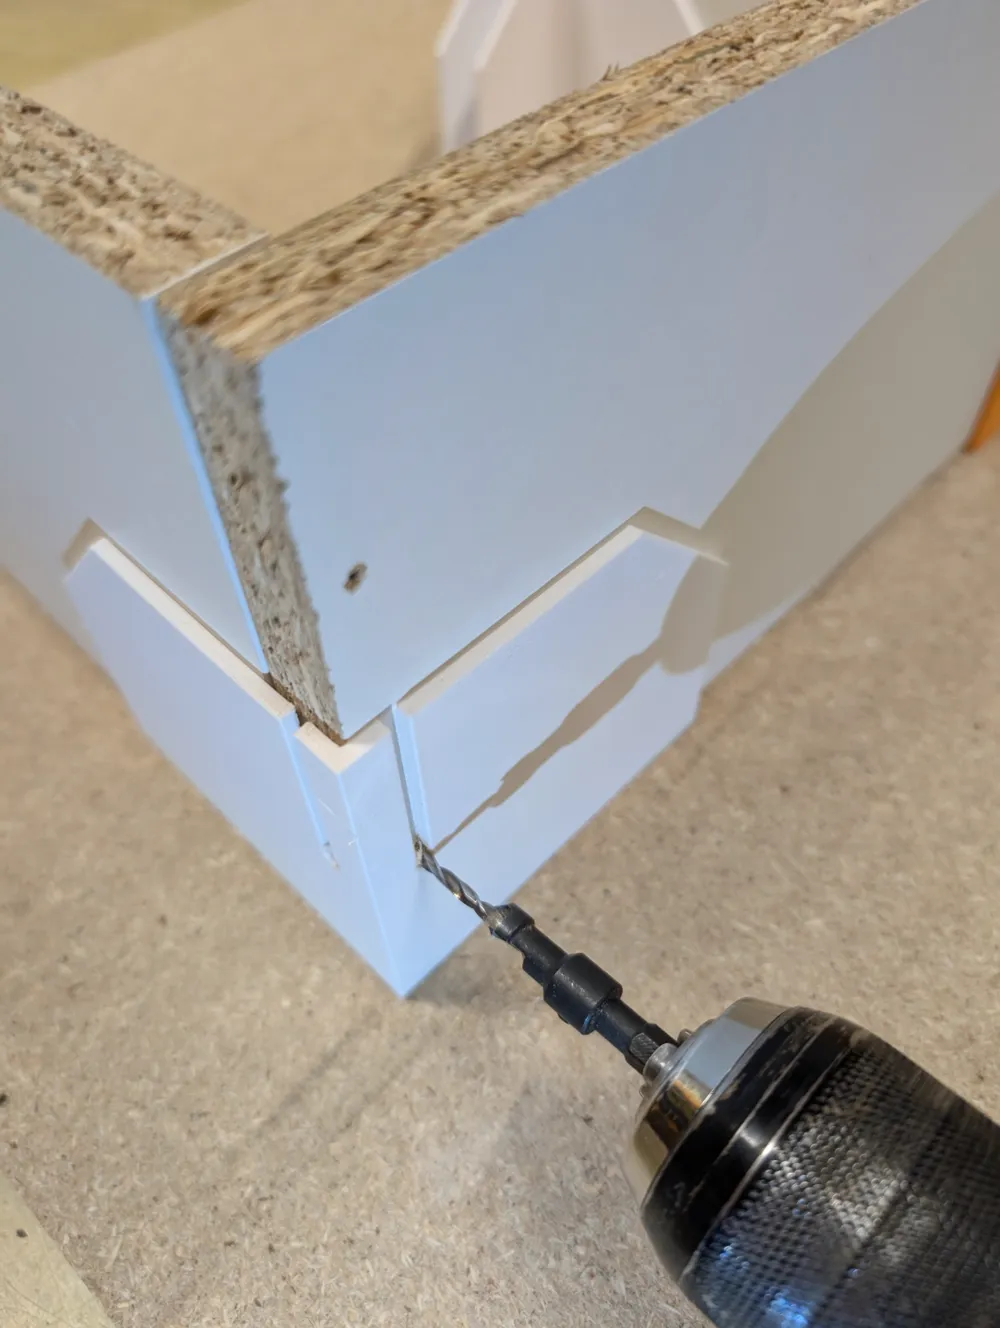
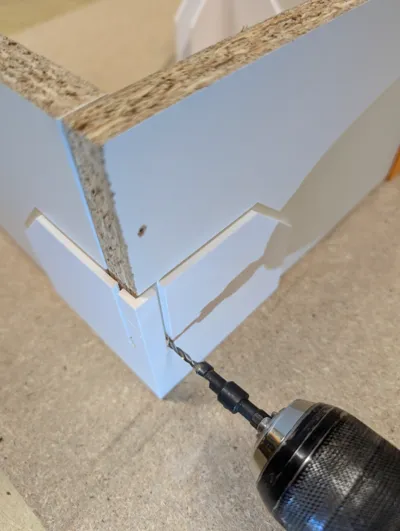
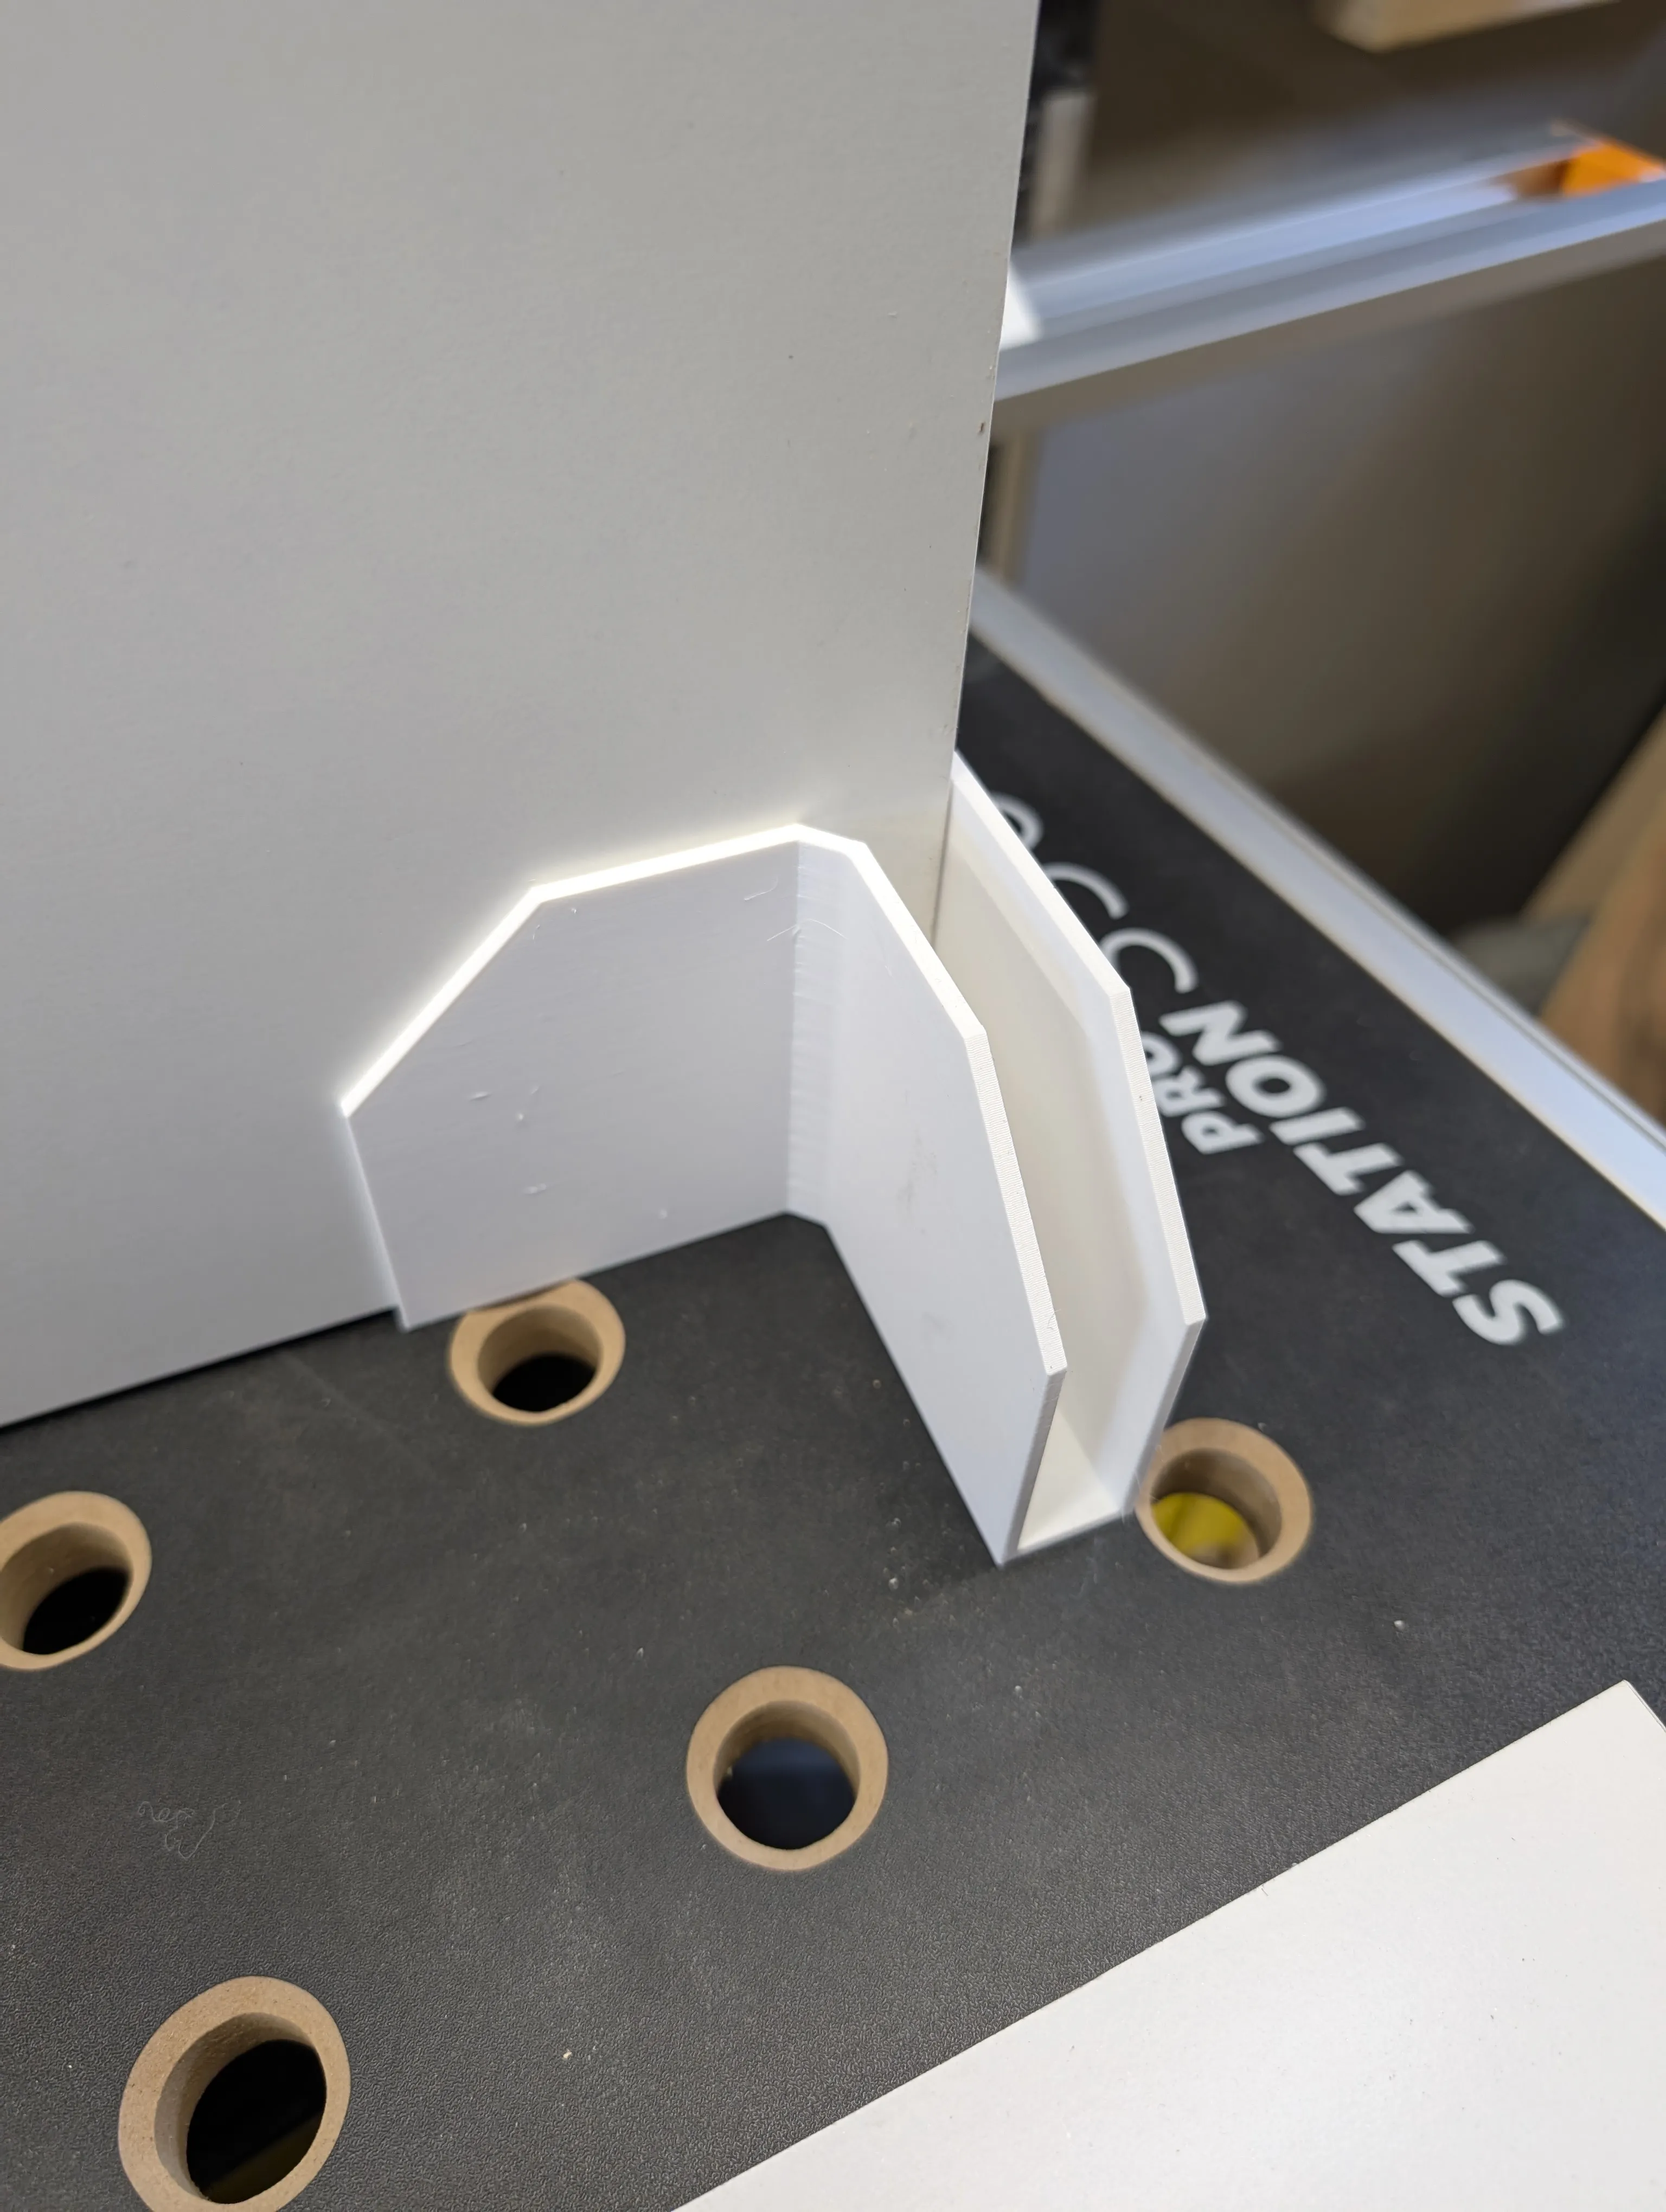
Insert the DTD panels in the jig. The jig also serves as a holder - if you are assembling average cabinets, it will hold your panels upright
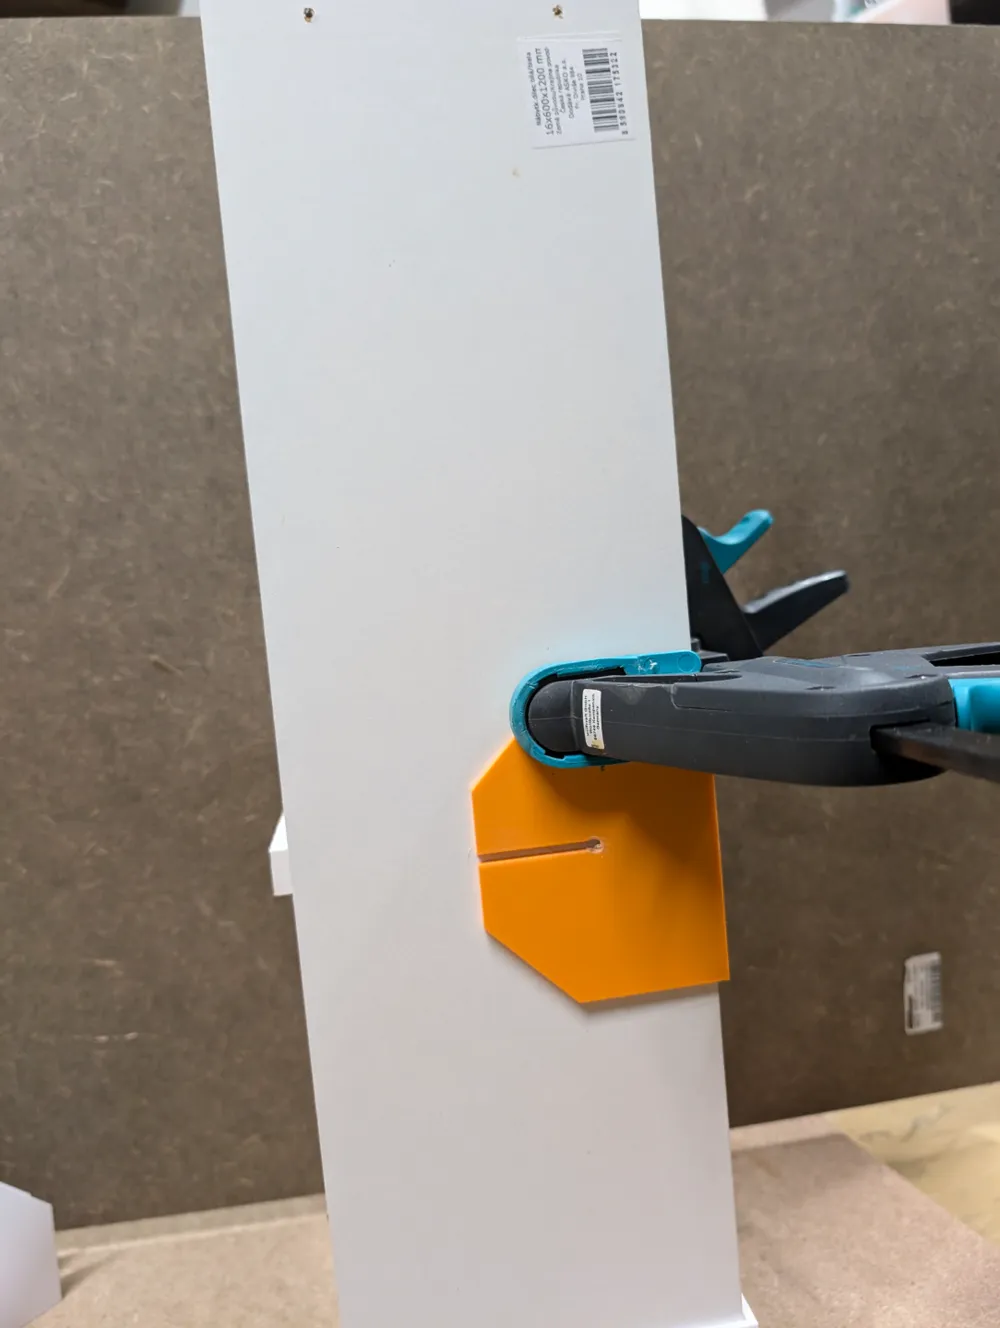
Put another corner jig on top and drill first holes using the holes in the jig
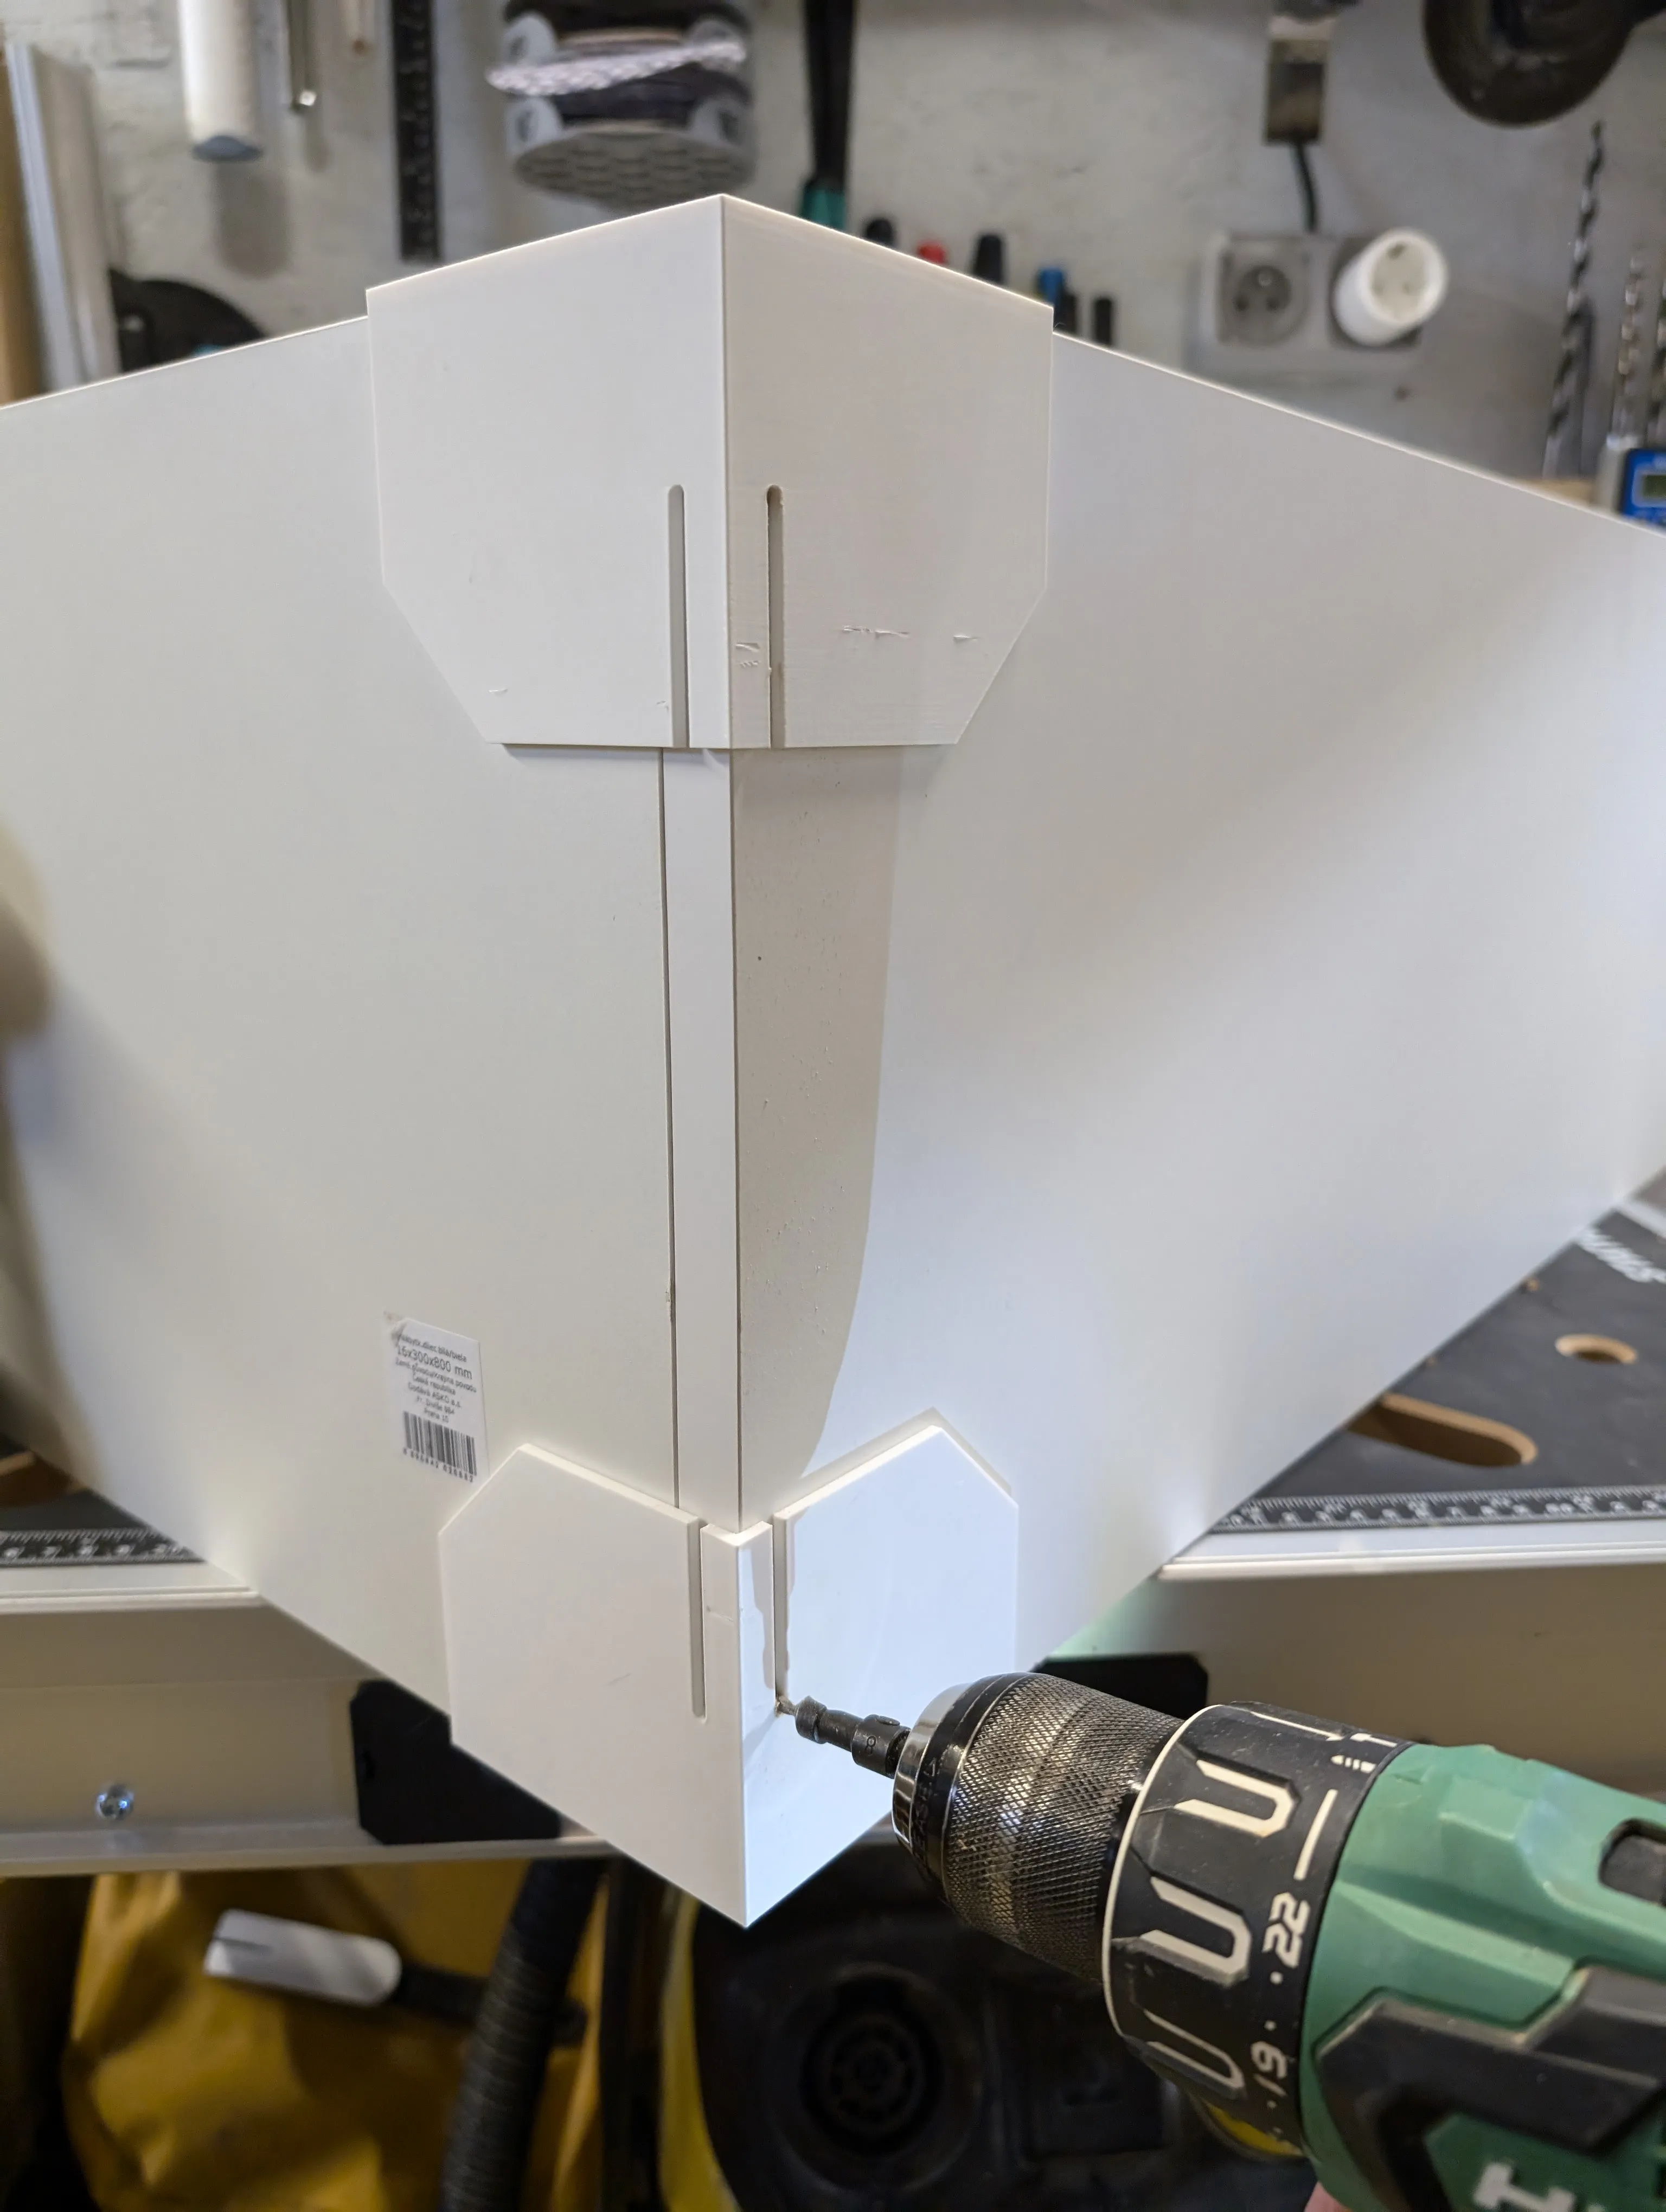
- At this point you are ready to bind the panels together using screws. Don't screw them tight! Just enough to connect the panels.
- Slide the jigs out of the panels and tighten the screws.
- Congrats, you have assembled the first two panels in just a minute :)
Shelf assembly (or stretcher)
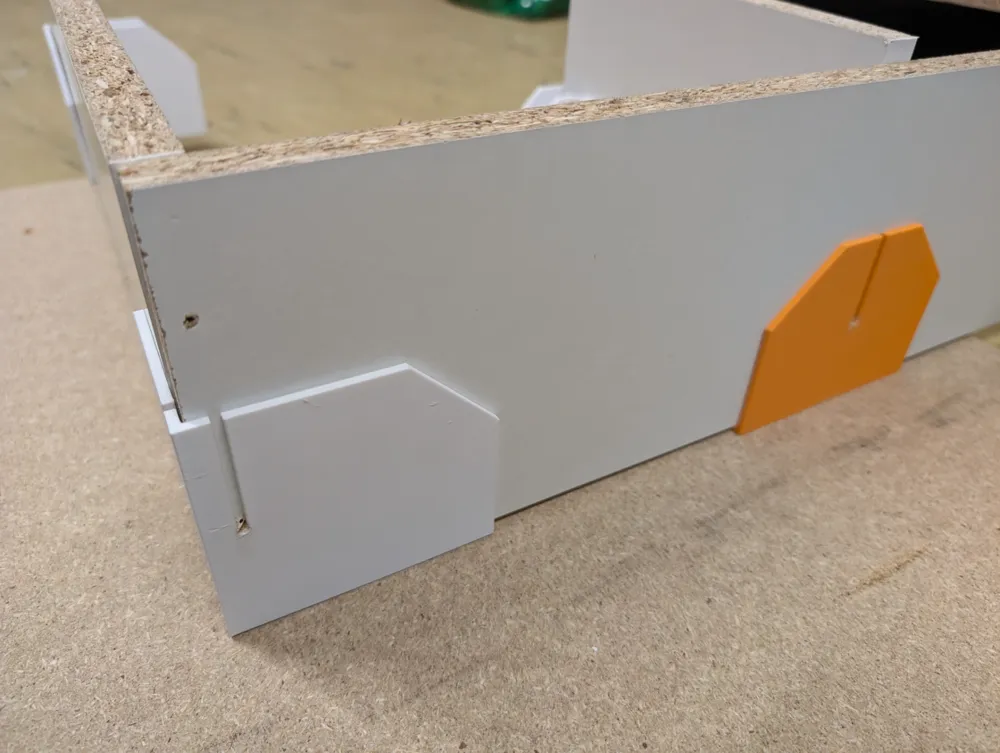
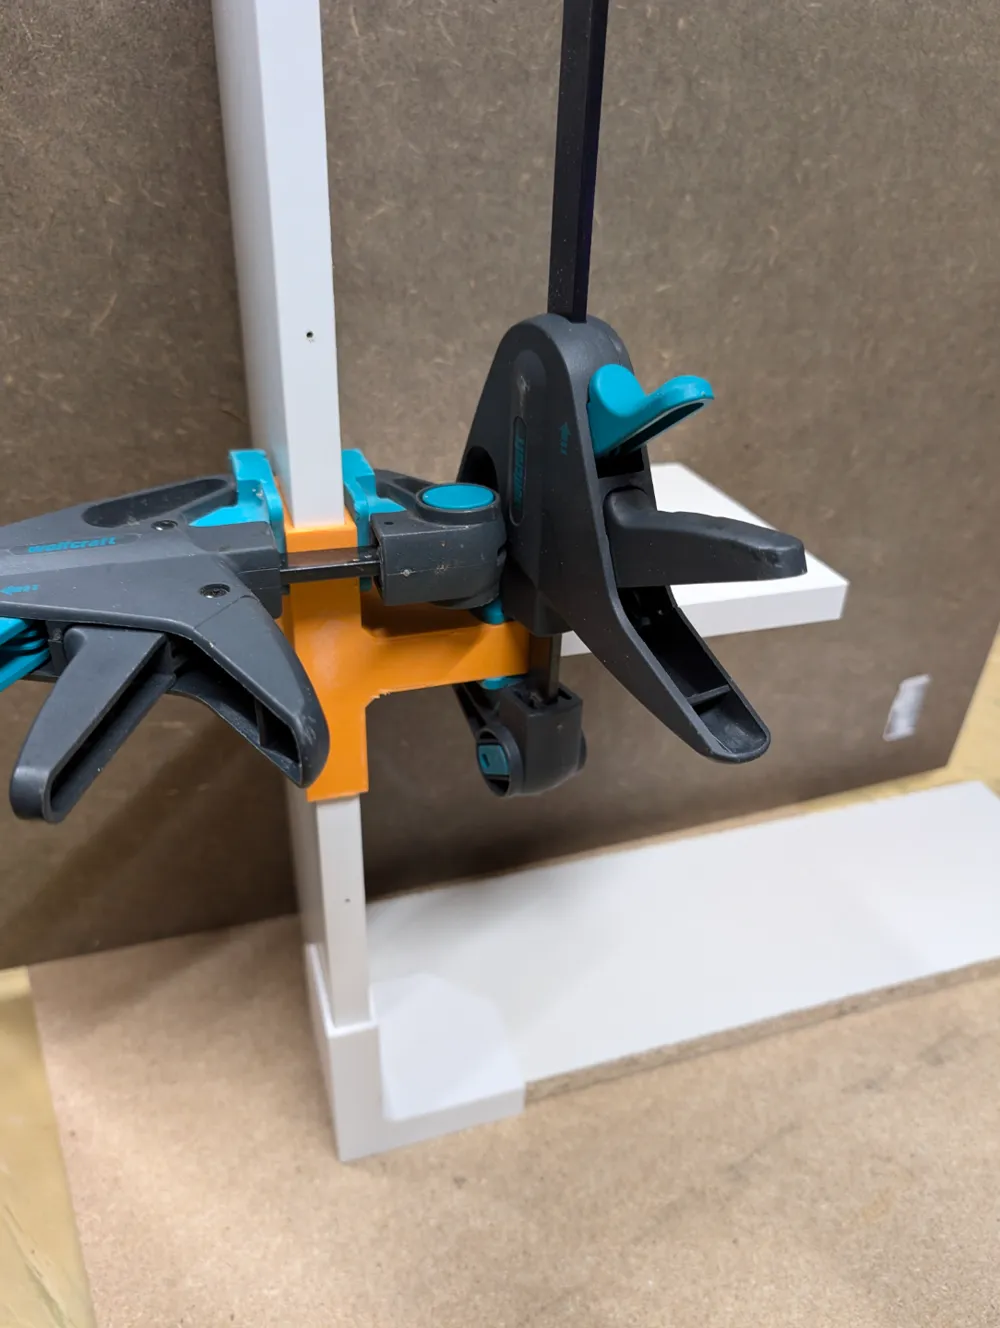
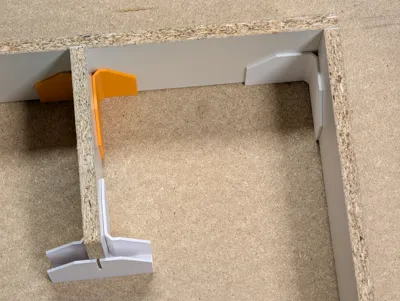
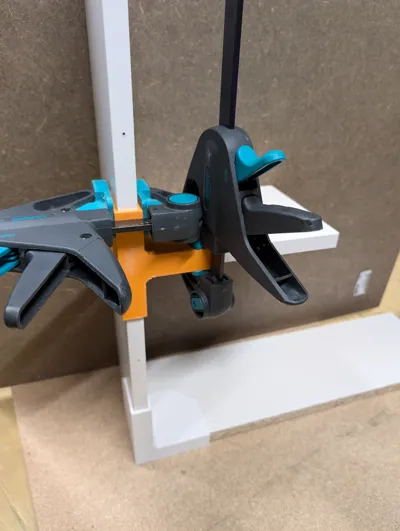
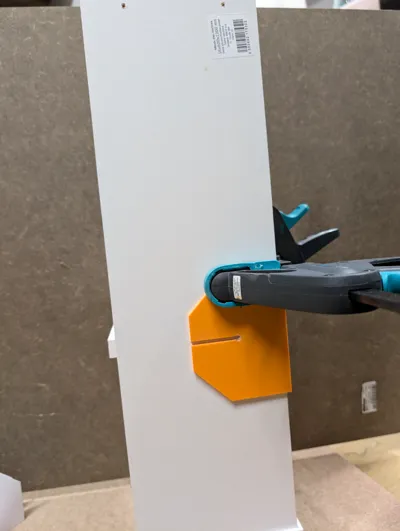
- Just like with the corner, but use the T-shaped version
Use clamps to hold the jig in place
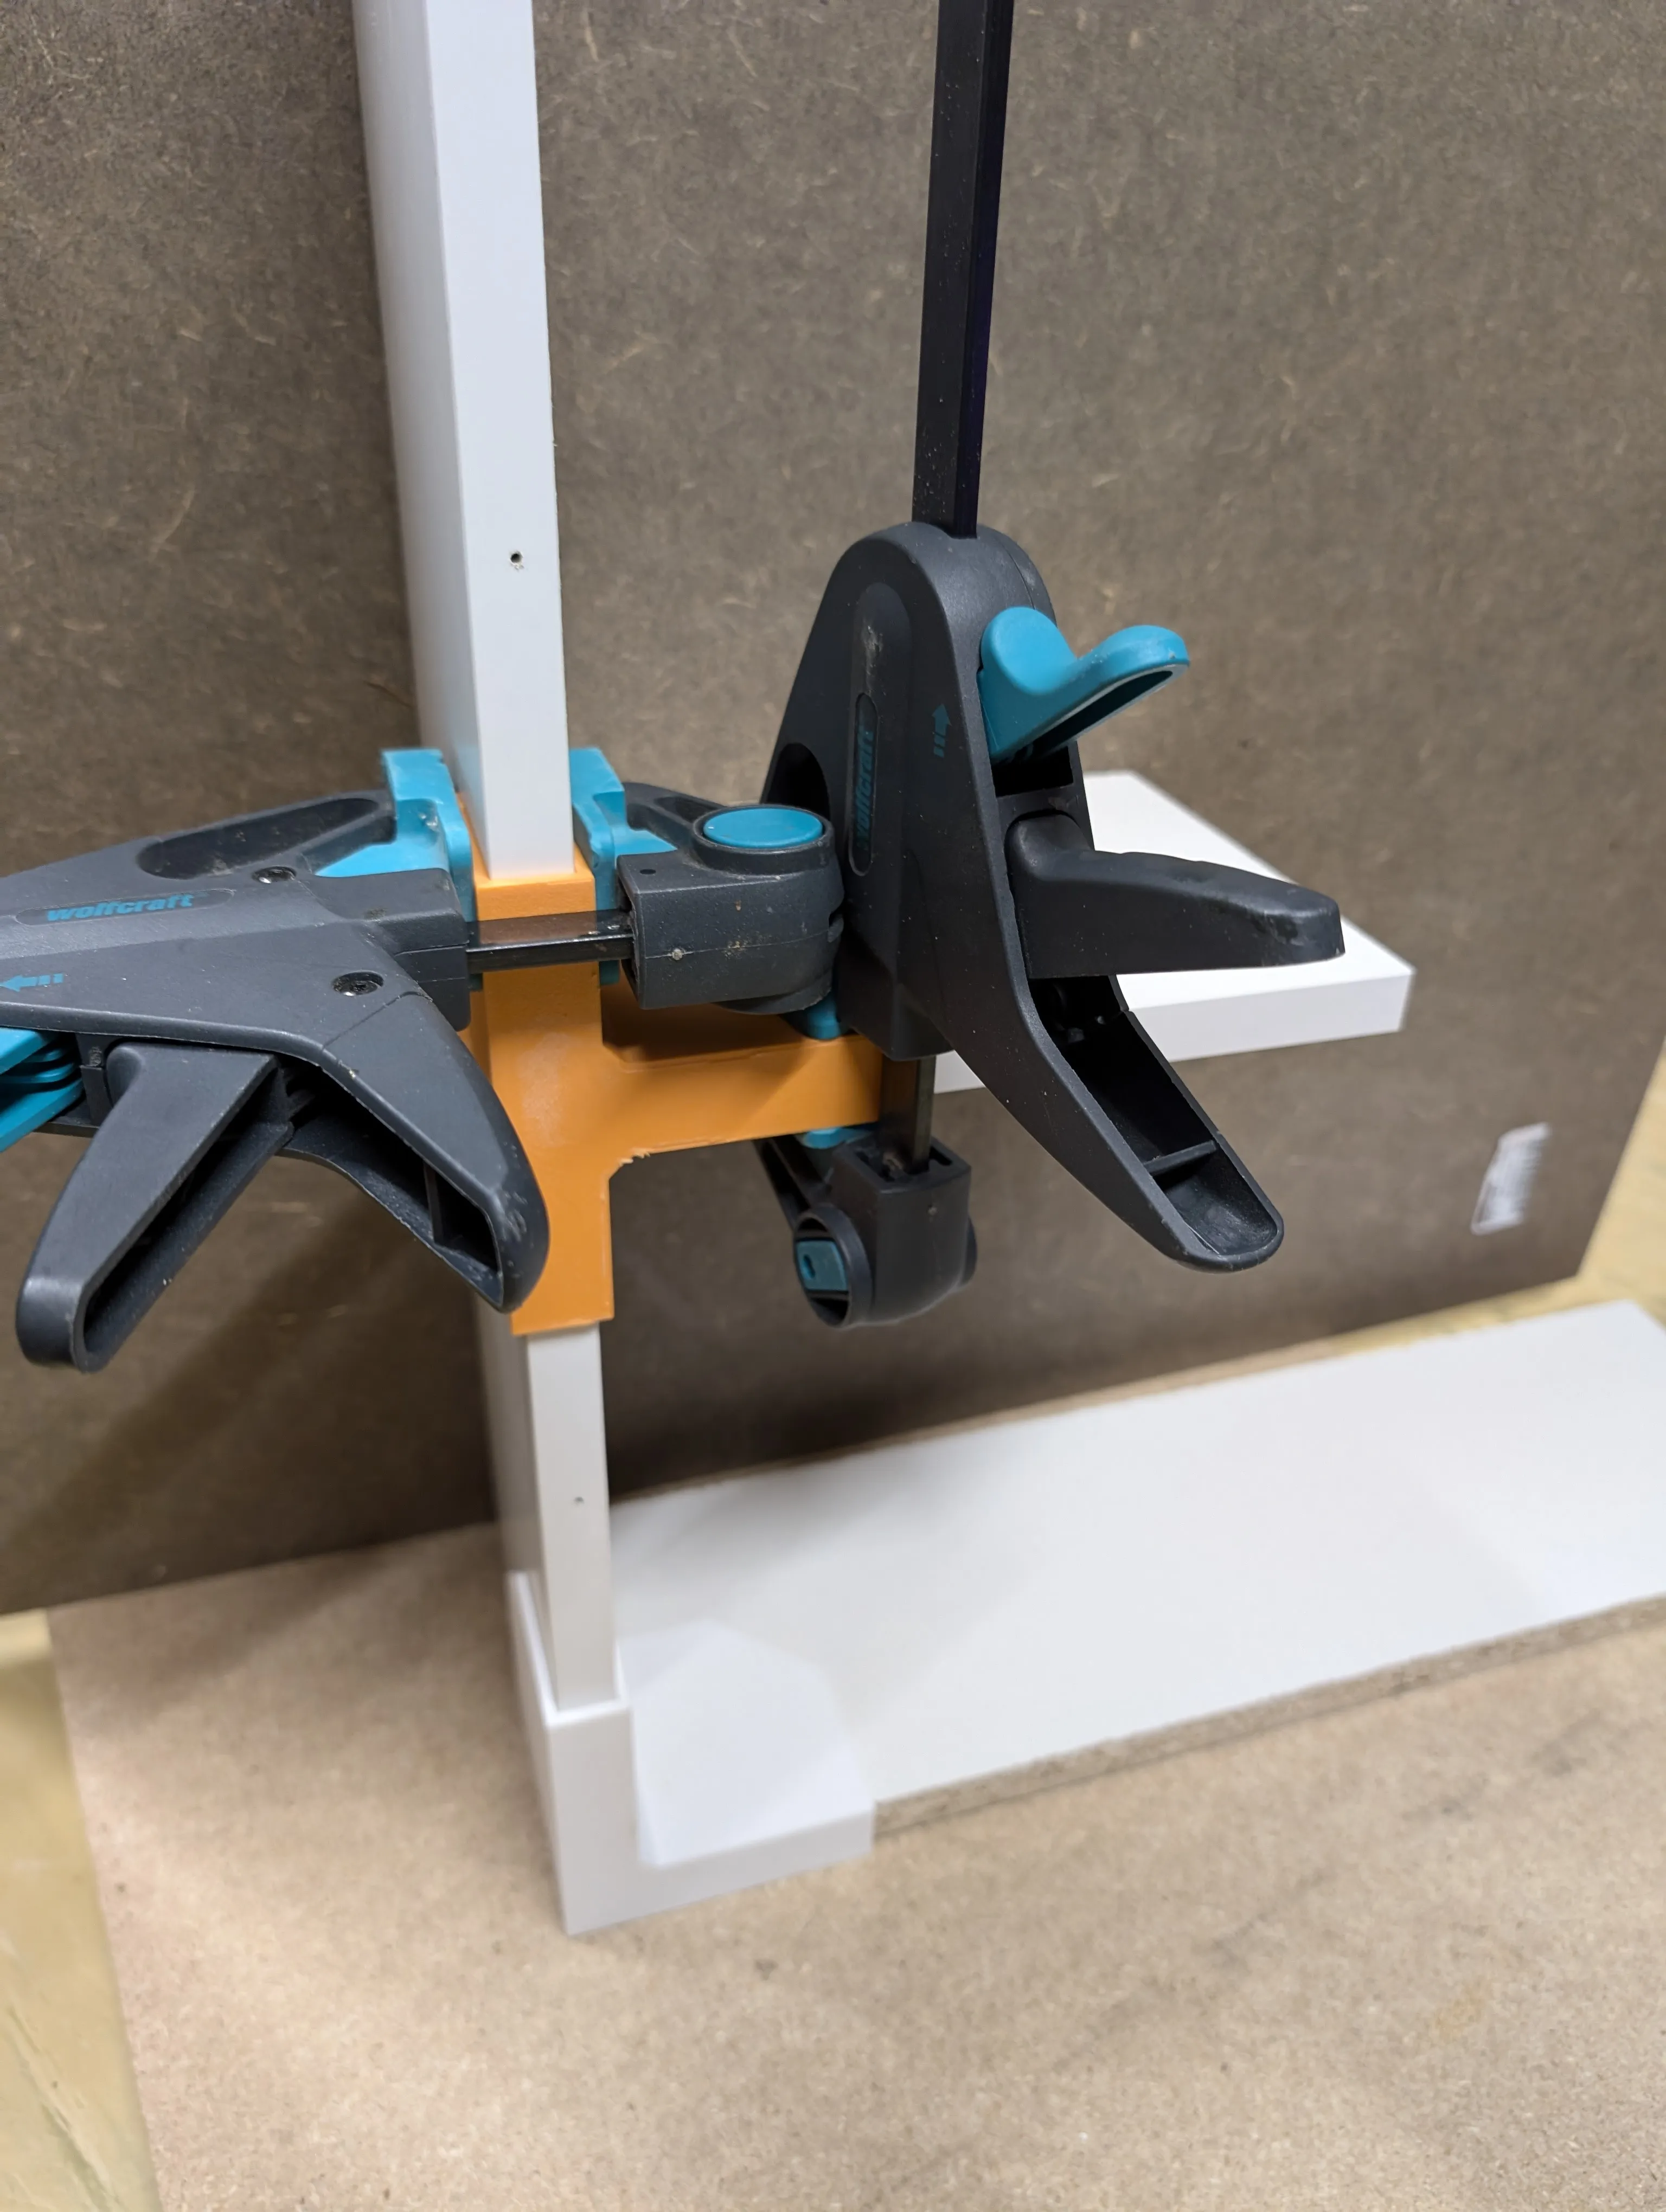
- Drill the holes
- Screw in the screws
- Slide the jig out
- Tighten the screws
Hope you find useful as much as I do. I use it every day to assemble various cabinets. I've printed 8 pieces of the corner jig. This way I dry-assemble the whole cabinet using the jigs, then drill the holes in one pass and then put in the screws. The basic cabinet carcass is assembled in a matter of 1-2 minutes.
TIP: If you don't want to use screws, you can also use pin nails for quick assembly.
License

You shall not share, sub-license, sell, rent, host, transfer, or distribute in any way the digital or 3D printed versions of this object, nor any other derivative work of this object in its digital or physical format (including - but not limited to - remixes of this object, and hosting on other digital platforms). The objects may not be used without permission in any way whatsoever in which you charge money, or collect fees.


Comment & Rating (37)