Search models, users, collections, and posts

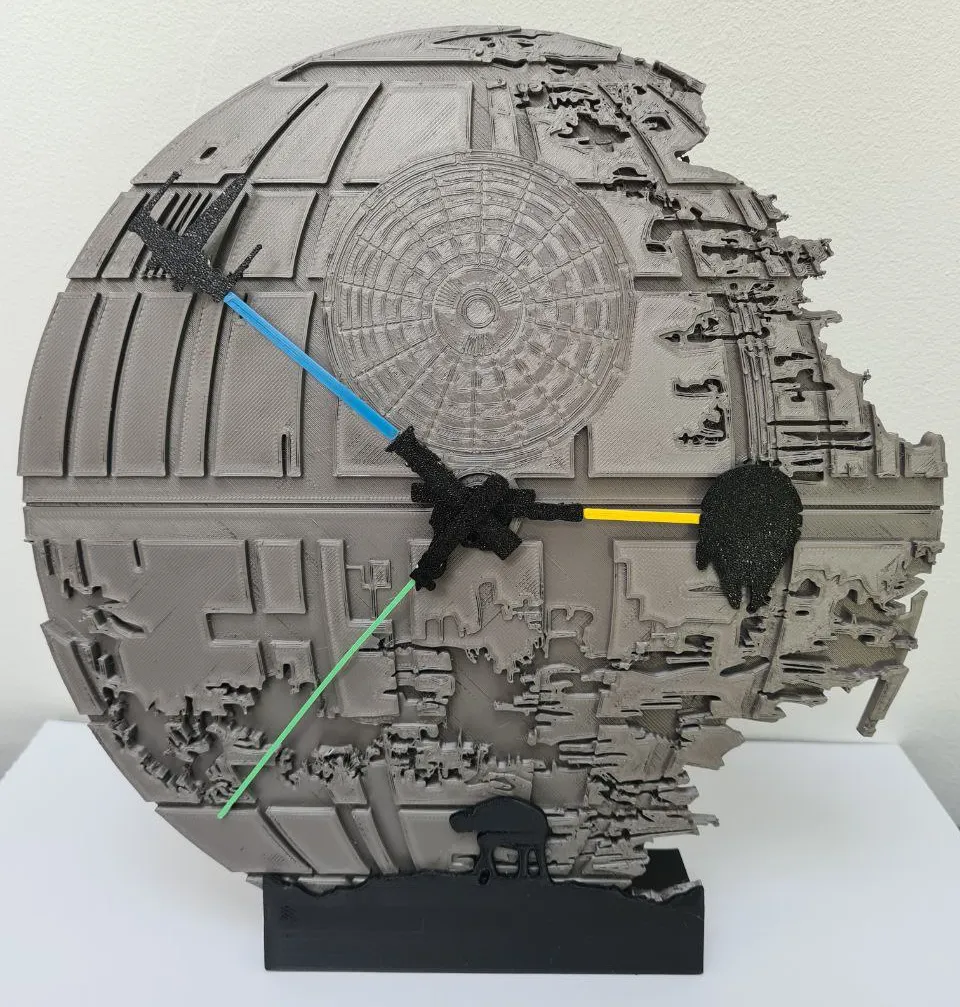
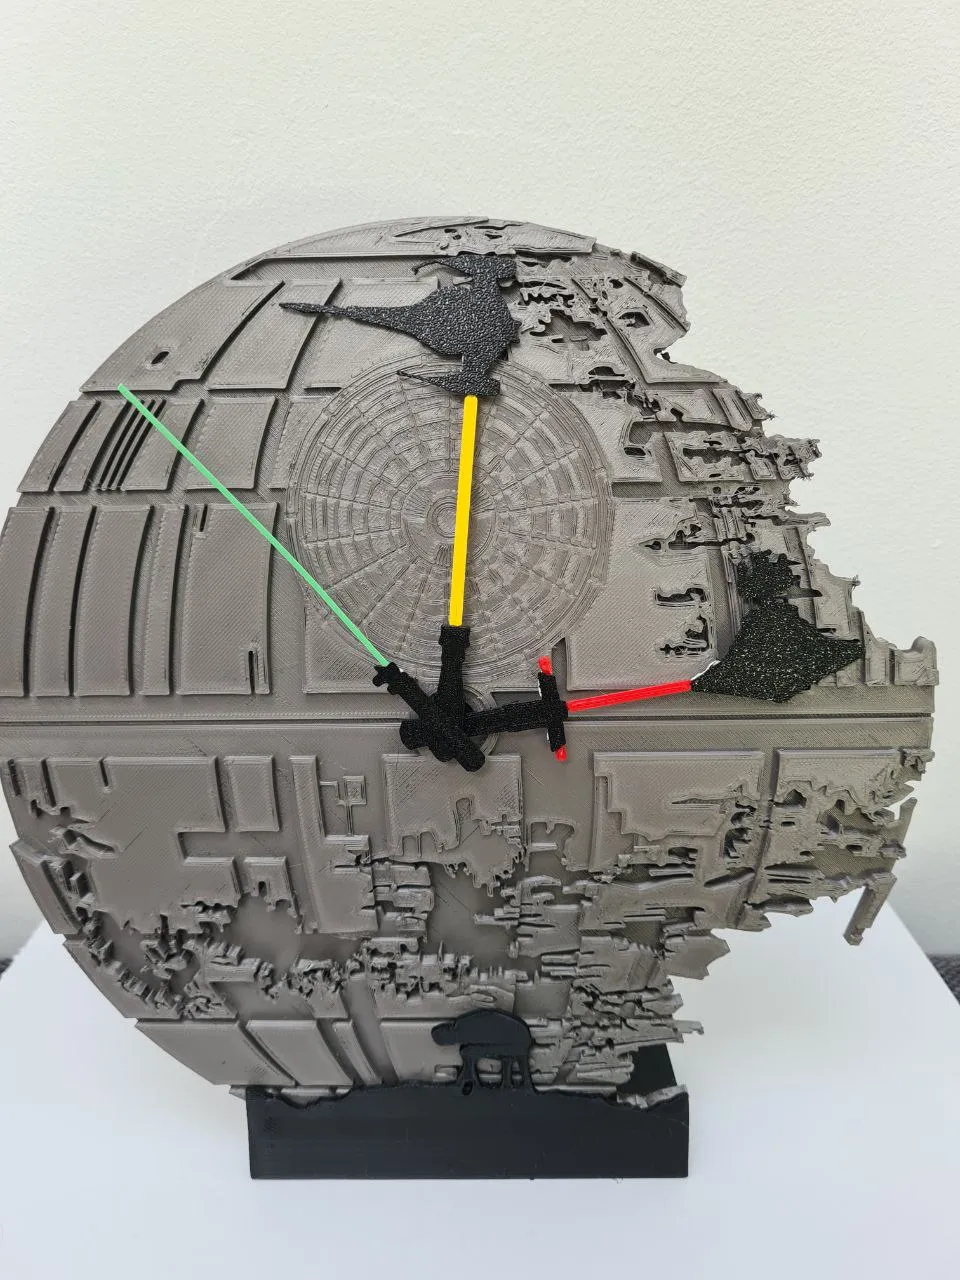
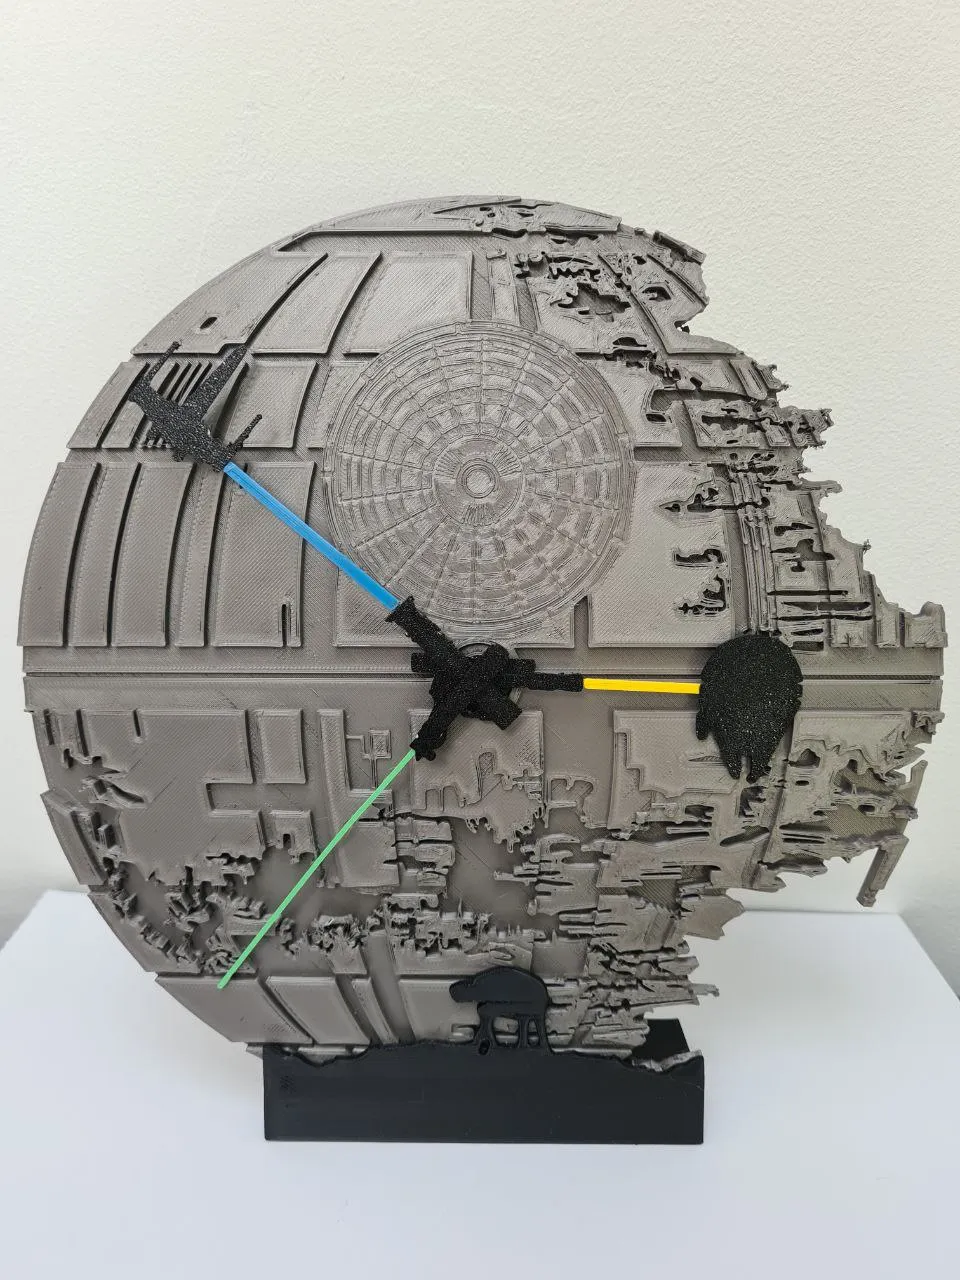
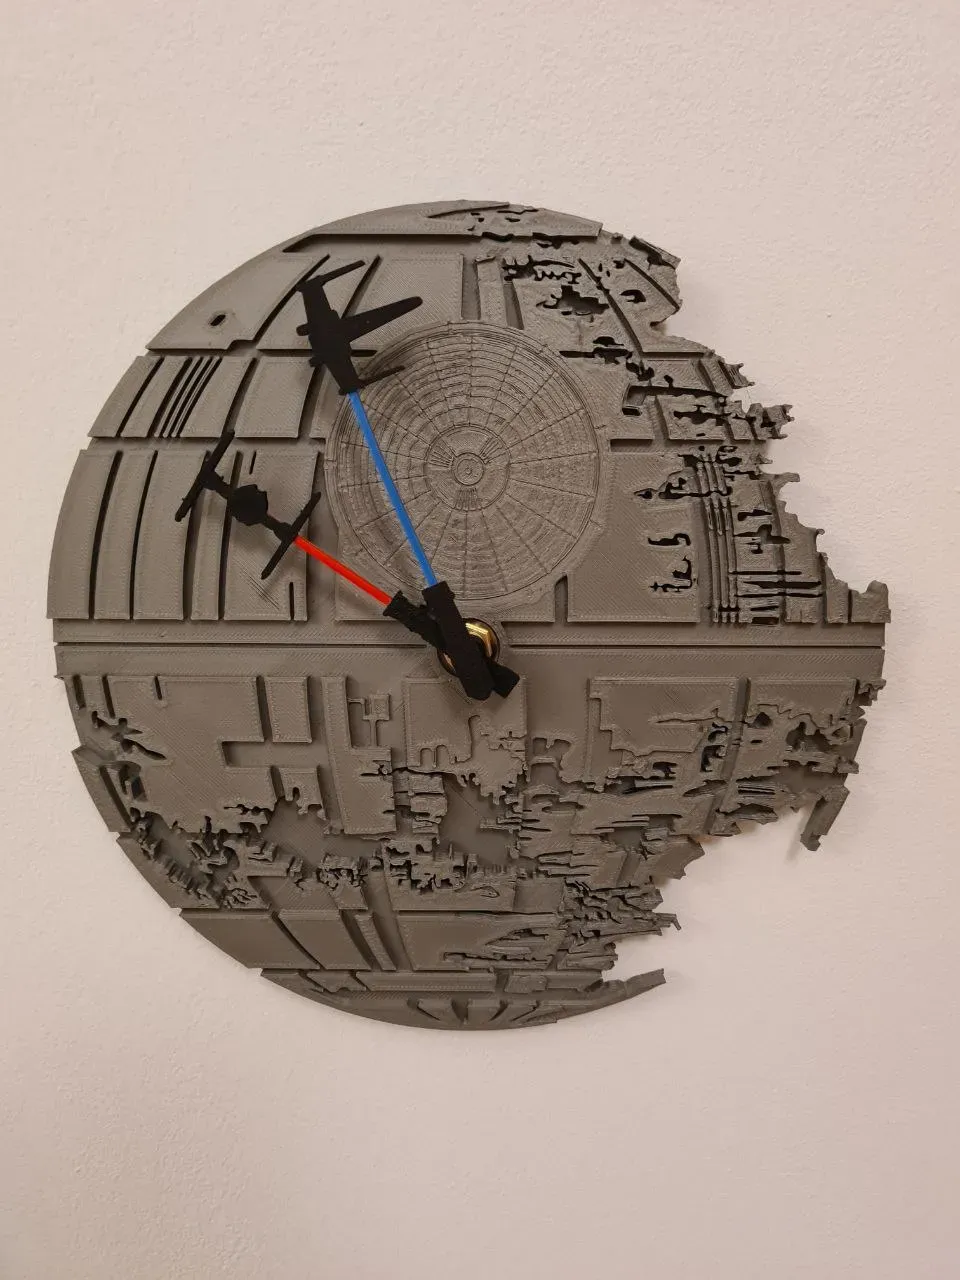
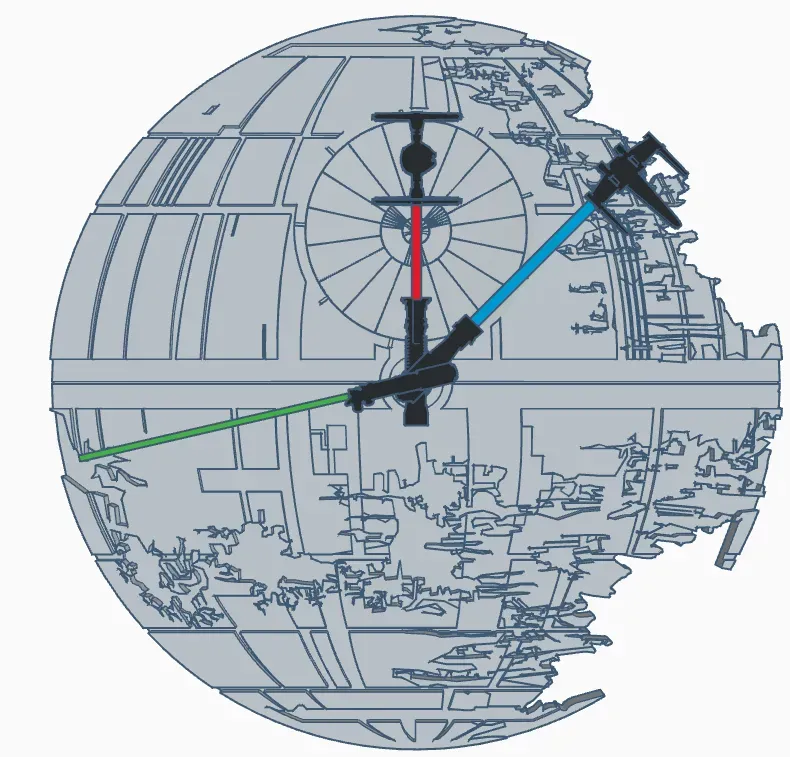
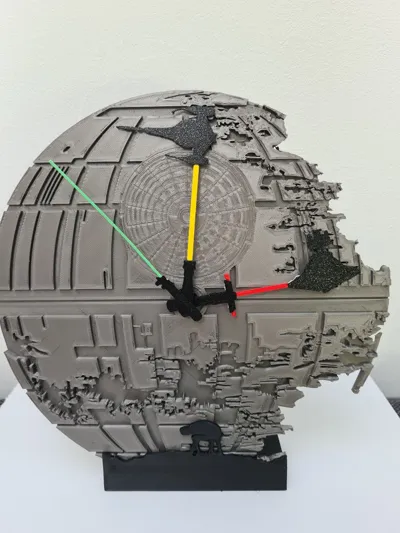
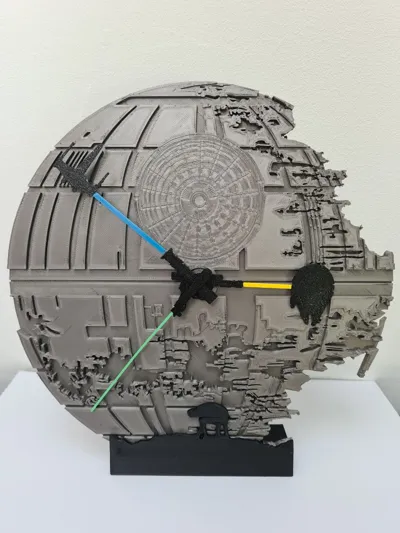
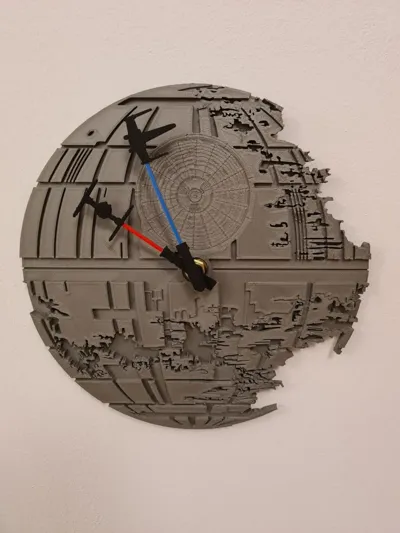
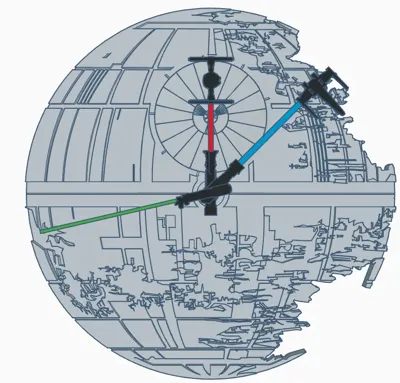
Star Wars Deathstar Clock
Remixed by
IP Report



Print Profile(3)

0.2mm layer, 2 walls, 15% infill
Designer
7.6 h
4 plates

A1 Mini clock body

4.9 h
1 plate
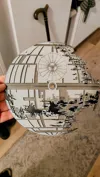
3 Colors; Black, dark Grey, Grey

10.4 h
4 plates
Open in Bambu Studio
Boost
1404
3628
304
248
3.2 k
1.6 k
Released
Bill of Materials


Description
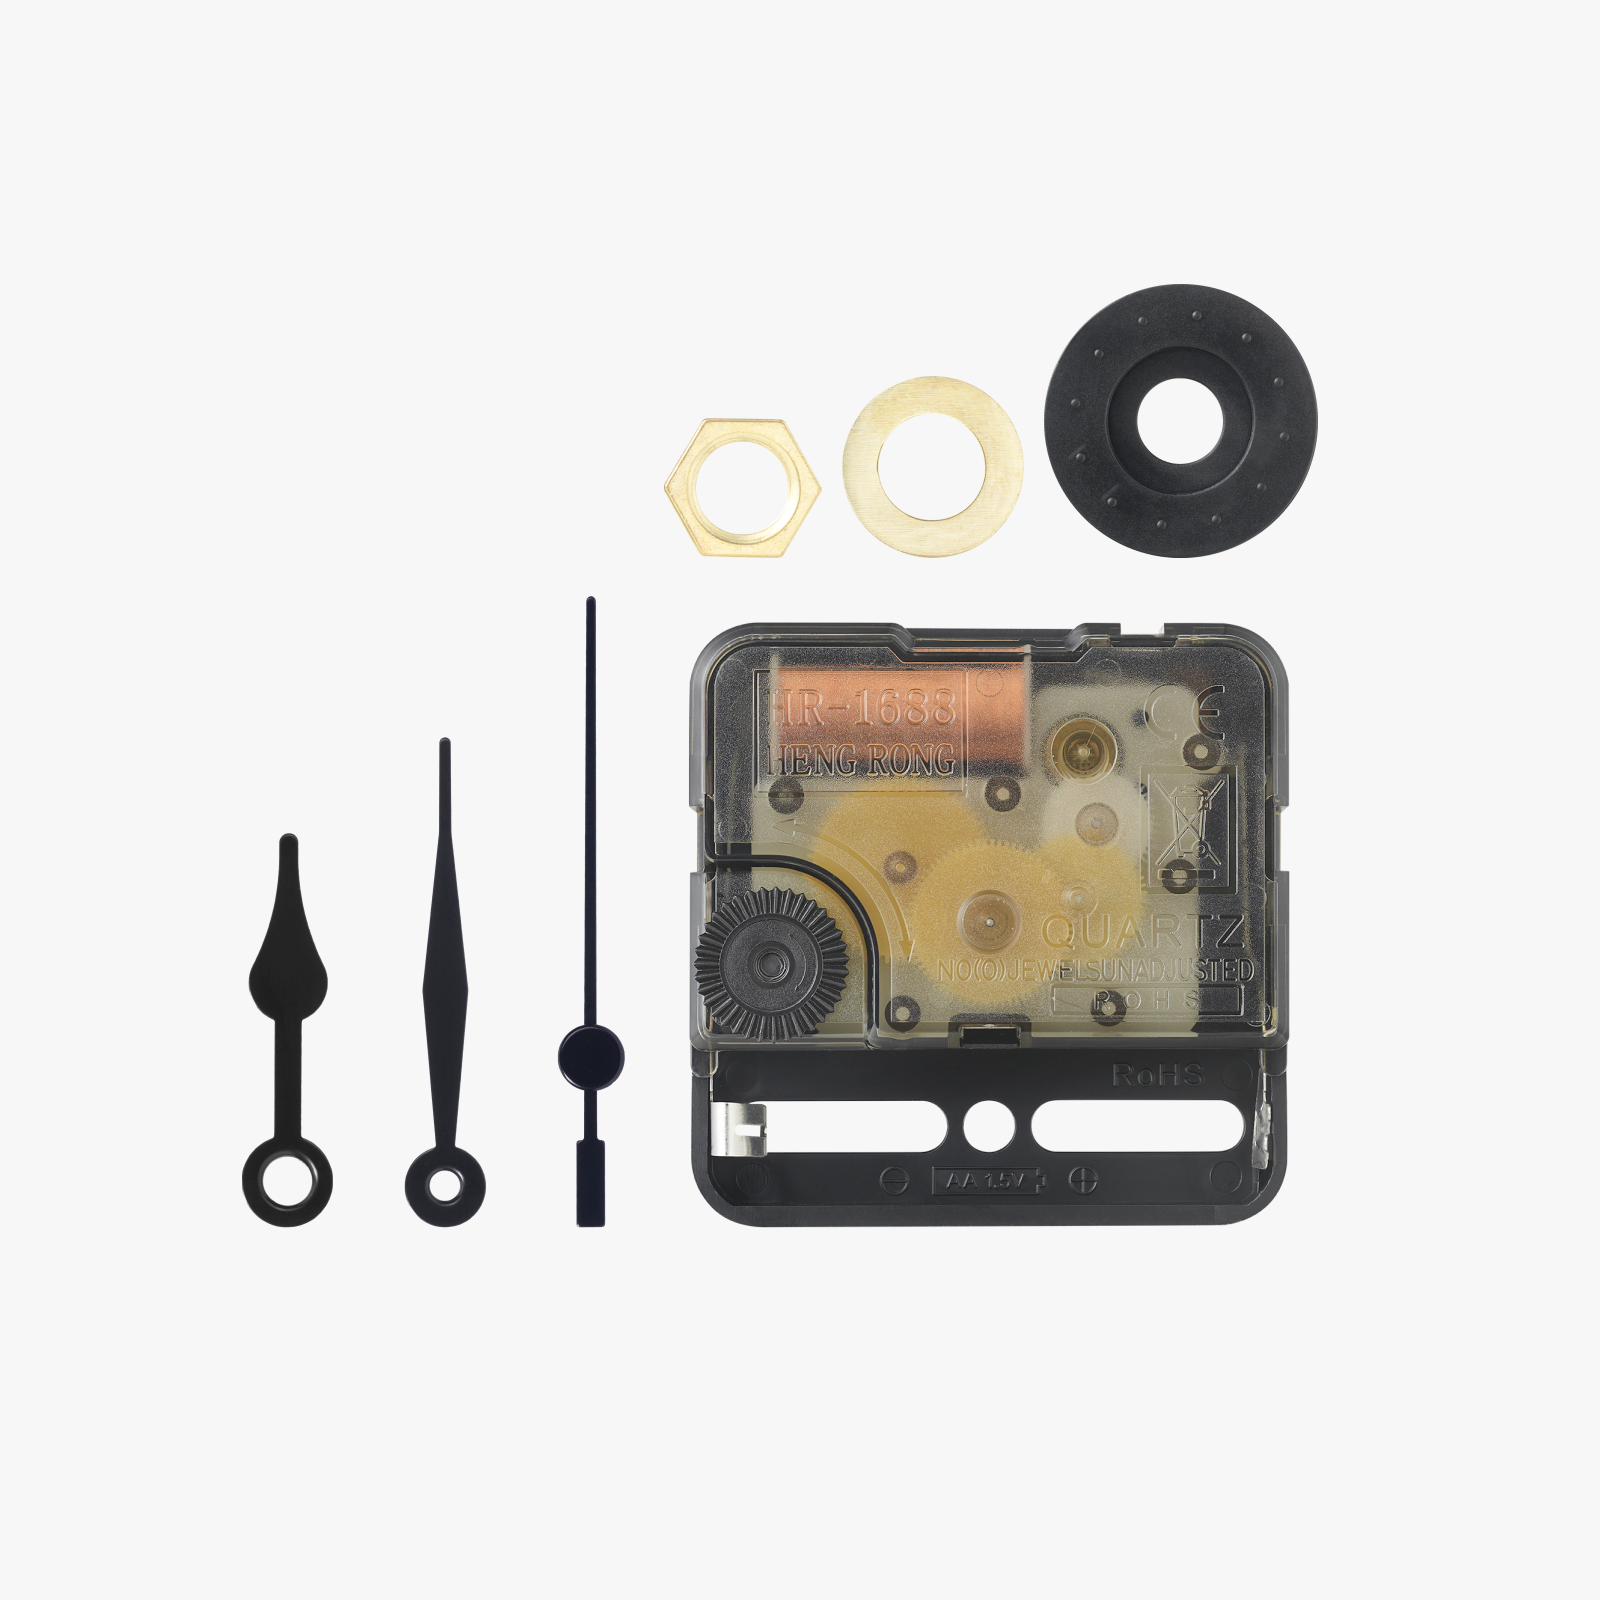
A remix of my Star wars clock to fit the Bambulab Clock Kit-MH011.
Added a second hand.
Added new clock hand tips, and clock hand bases.
Also added a AT-AT Stand if you don't want to put it on the wall
Please also see my Hueforge Clockface version or the XL Version
If you don't have a mount for the Clock Kit MH011 yet, you can also take a look at mine: SnapOn Clockwork Wallmount
Boost Me (for free)
Please let a Boost here, so i can spend more time into creating new models or improve my existing models
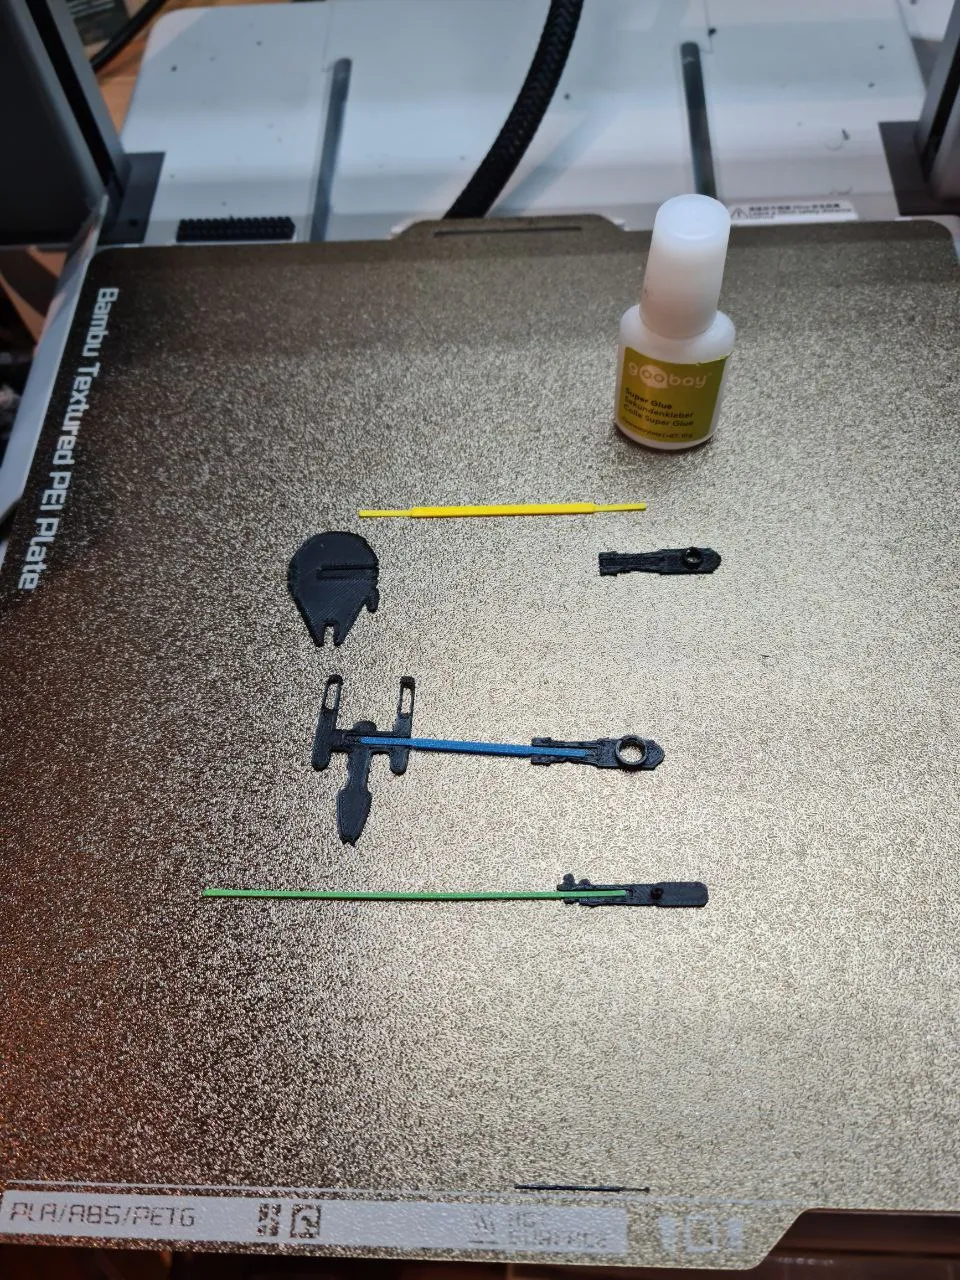
The following steps are required for assembly:
- First, select a clock hand with the "hour" and "minute" postfixes and print them.
- Also, select a lightsaber light for "hour" and one for "minute."
- Select one ship for each "hour" hand and one for the "minute" hand.
- Once all the parts are printed, it's best to use superglue to join the individual parts (see photo below).
- For the second hand, there is only one lightsaber and one lightsaber light; this is optional and does not need to be printed.
- After the hands are glued, attach the clockwork to the clock face with the nut.
- Then, add the hour hand, then the minute hand, and if desired, the second hand.
This remix is based on

License

This user content is licensed under a
Creative Commons Attribution-Noncommercial


Comment & Rating (304)