
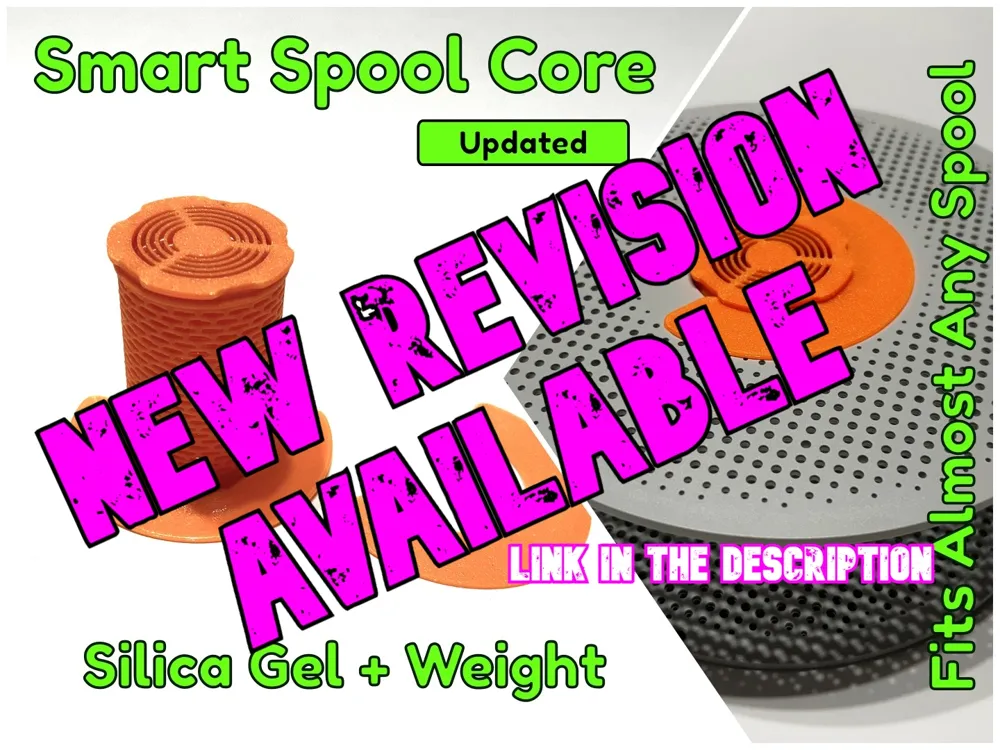
AMS Smart Spool Core (Rev. B)
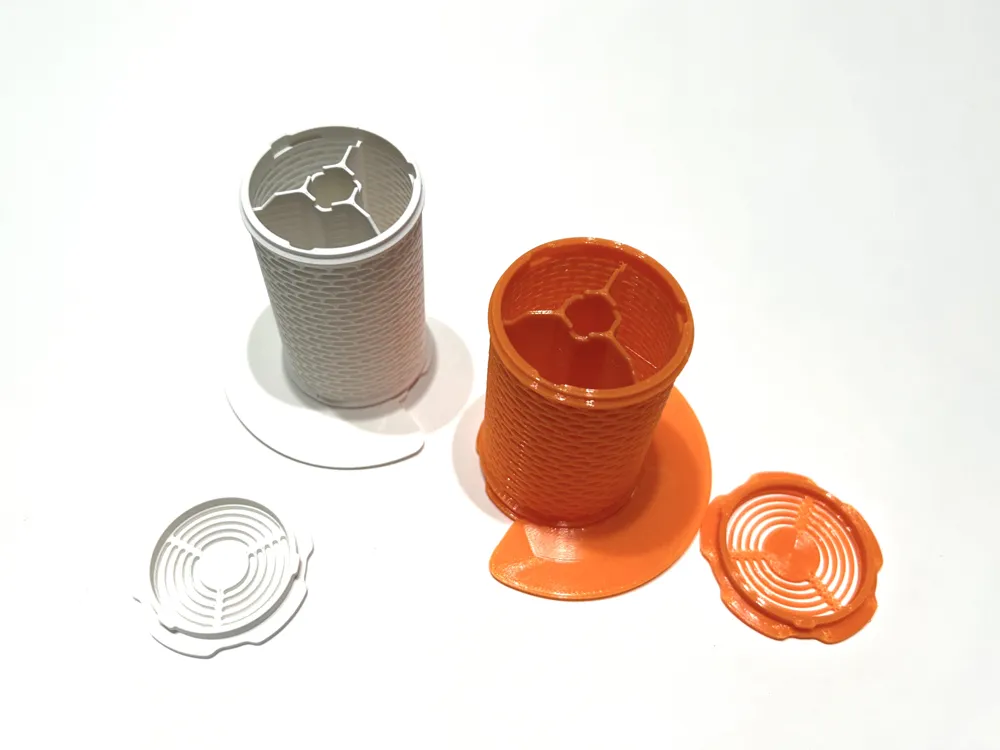
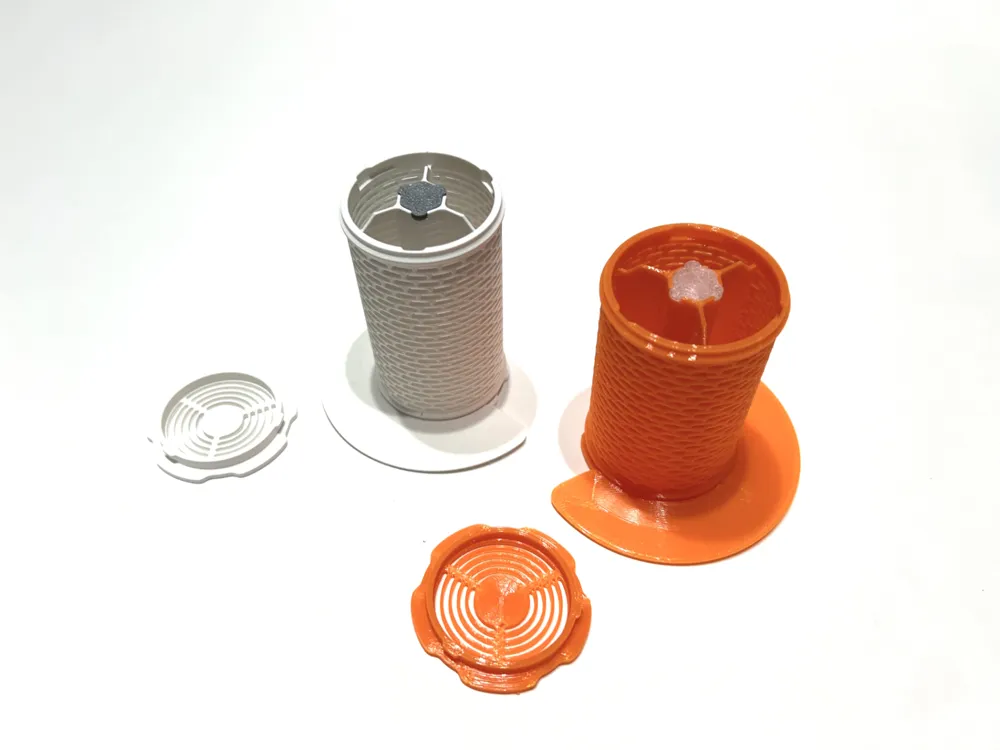
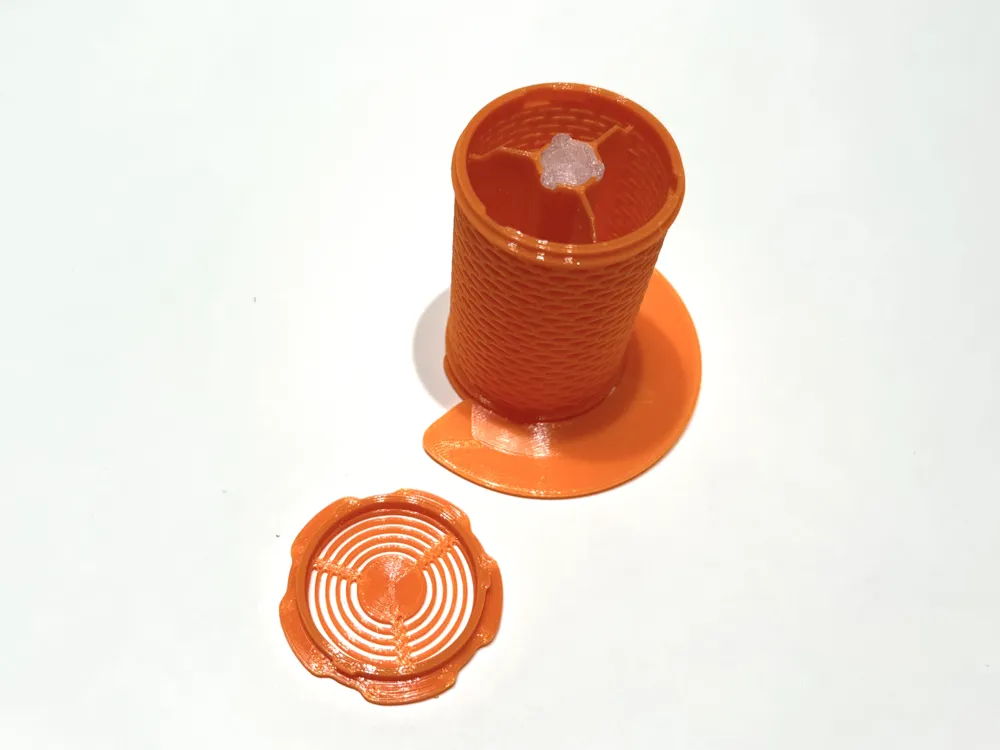
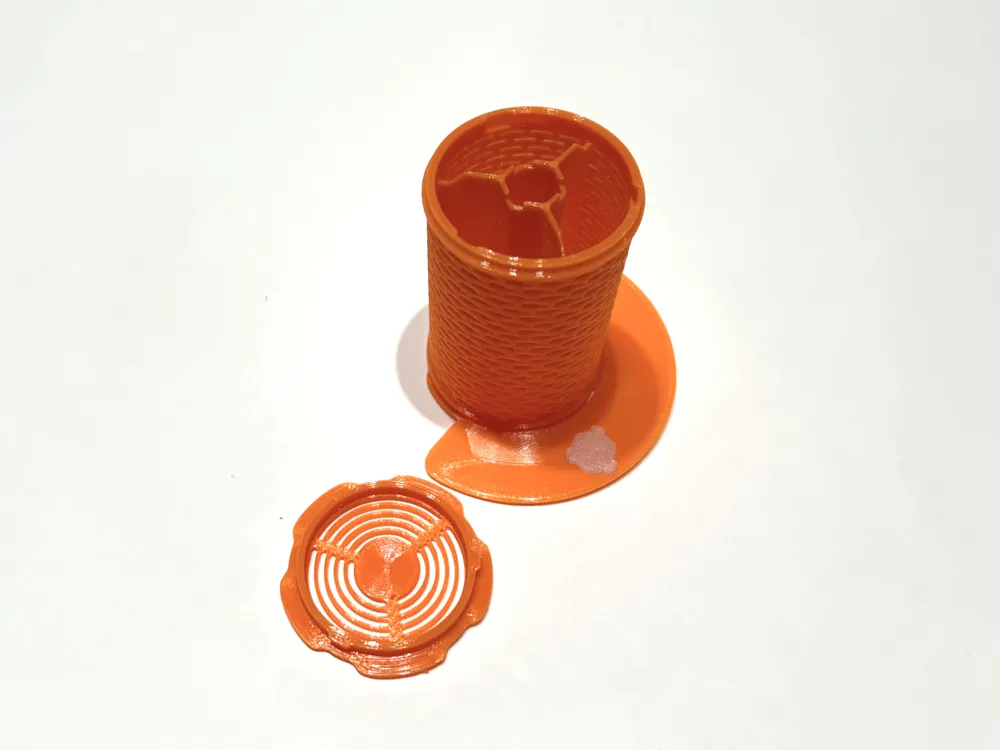
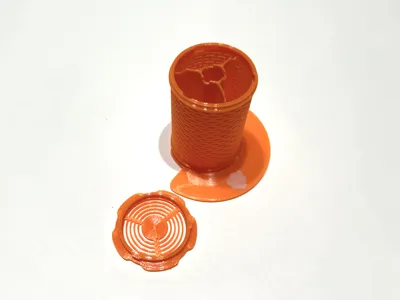
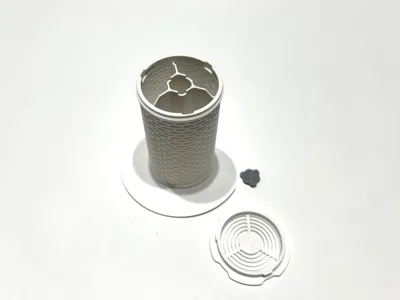
Print Profile(4)
![Double [0.2mm layer, 2 walls, 15% infill]](https://makerworld.bblmw.com/makerworld/model/USd7f17eb317fc0a/166824499/instance/2024-11-16_3e5127eddbaf8.jpg?x-oss-process=image%2Fresize%2Cw_100%2Fformat%2Cwebp)
![Single [0.2mm layer, 2 walls, 15% infill]](https://makerworld.bblmw.com/makerworld/model/USd7f17eb317fc0a/157014015/instance/2024-11-16_23bd2d1b46698.jpg?x-oss-process=image%2Fresize%2Cw_100%2Fformat%2Cwebp)
![Single XL [0.2mm layer, 2 walls, 15% infill]](https://makerworld.bblmw.com/makerworld/model/USd7f17eb317fc0a/157026411/instance/2024-11-16_cb4608aa8c48e.jpg?x-oss-process=image%2Fresize%2Cw_100%2Fformat%2Cwebp)
![Double XL [0.2mm layer, 2 walls, 15% infill]](https://makerworld.bblmw.com/makerworld/model/USd7f17eb317fc0a/166824759/instance/2024-11-16_75efd9b8f7a86.jpg?x-oss-process=image%2Fresize%2Cw_100%2Fformat%2Cwebp)
Description
Boost Me (for free)
You know, it's free for you, but it helps me and it's also good for morale. Please consider boosting this model if it's something you use.
This model has been superseeded, please check the latest revision here.
New version
This is an update to the original AMS Smart Spool Core (Rev. A), with some improvements:
- the top & bottom side vents are now more robust and the containers are more forgiving if you print in PETG or ABS
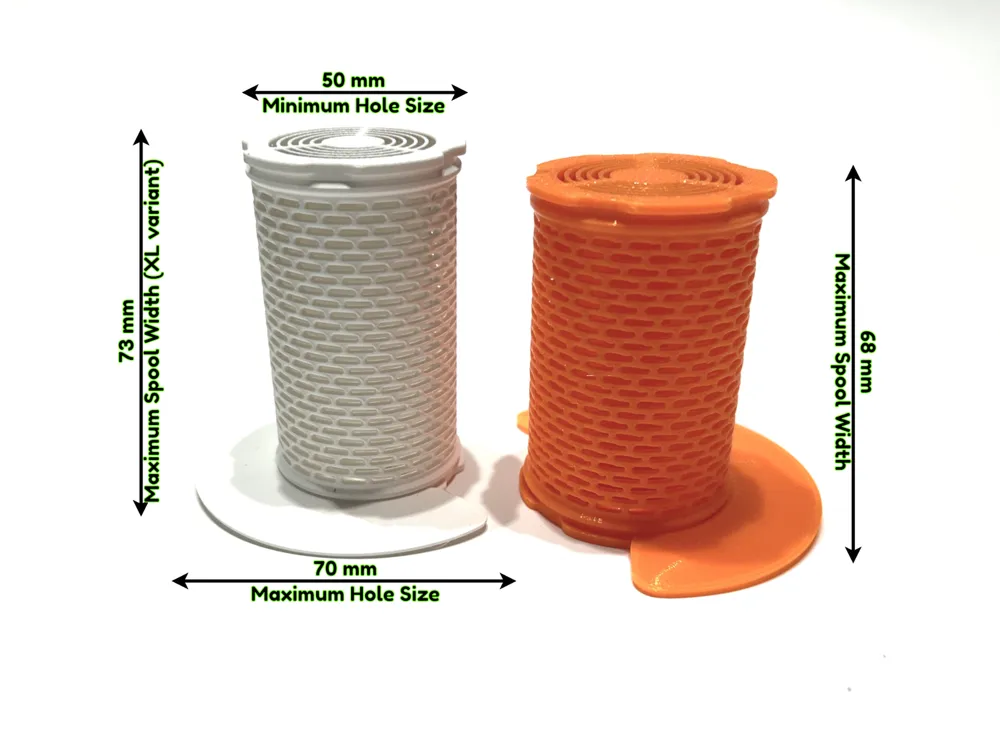
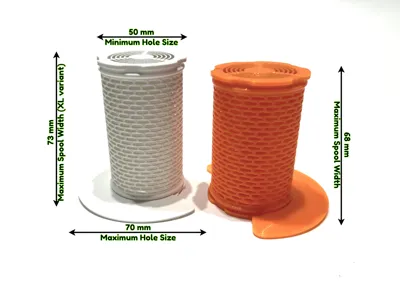
- added an XL version, needed only for very wide spools (above 68 mm and up to 73 mm)
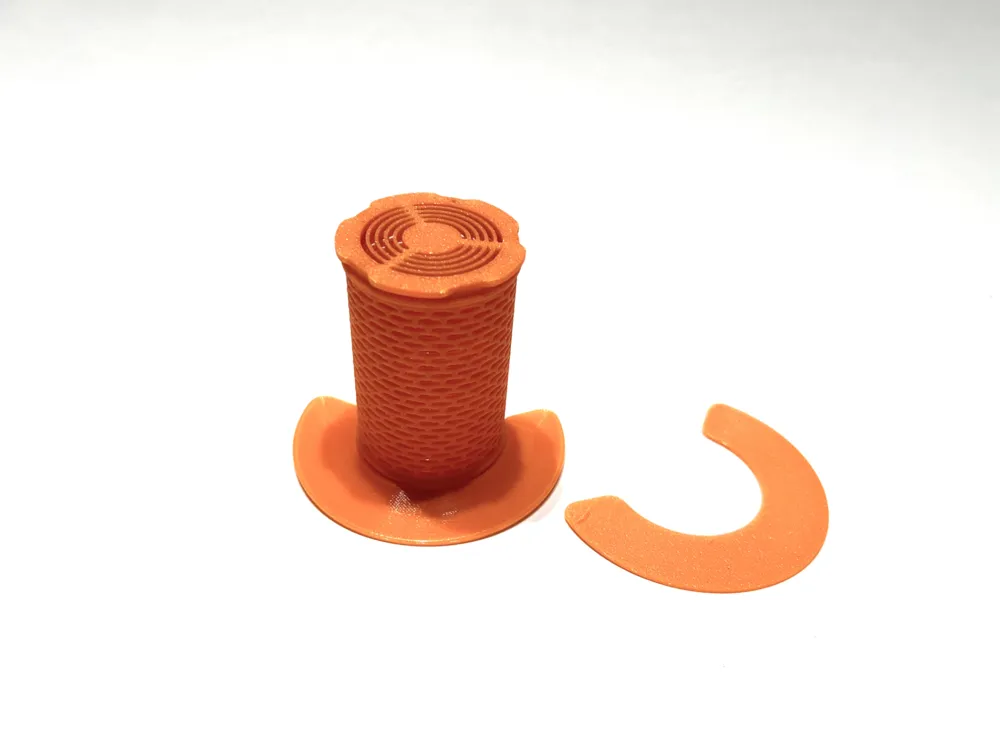
- added optional XL side flanges, to use with spools with larger centre holes
- slightly increased diameter (to 50 mm) and silica gel capacity
Material
They work nicely printed in PLA, but if you plan to leave them inside the spools when in a filament dryer, PETG or ABS is recommended, as PLA will soften at a very low temperature: the print profiles have been set with PETG, but you can confidently print in PLA.
Compatibility
When researching for spool compatibility I stumbled onto this website which provides an extensive list of filament spools, something we all want to contribute to. Apparently, the new version is incompatible with only three brands having centre holes of 50 mm or less: Wanhao, Filament PM and BQ.
If those are among your favourite brands, I recommend sticking to the previous version.
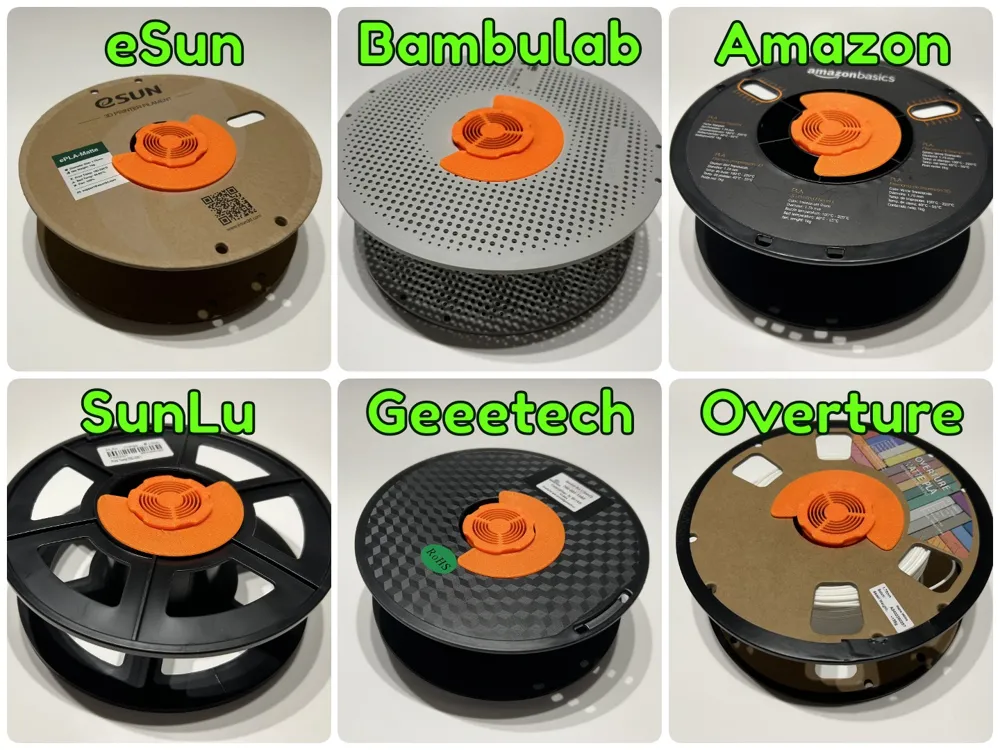
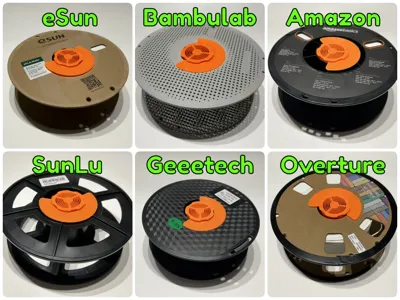
Spools I've tried myself:
- Bambulab
- eSun (cardboard & plastic)
- Jayo (cardboard)
- Sunlu (plastic)
- Amazon Basic (plastic)
- Overture (cardboard)
- Geeetech (plastic)
- Creality (cardboard & plastic)
- Anycubic (plastic)
- GratKit (cardboard)
- PLA MAX (plastic)
There's only one brand I wasn't able to fit and it's BasicFil, but the spool is so wide it doesn't fit the AMS.
Why another one?
There are many holders for silica gel beads and other desiccants, many others can be used to add weight and avoid the spools jumping around in the AMS. Do we really need another one?
I believe the two concepts can be merged, and the user experience can be improved. This is my attempt.
What's different?
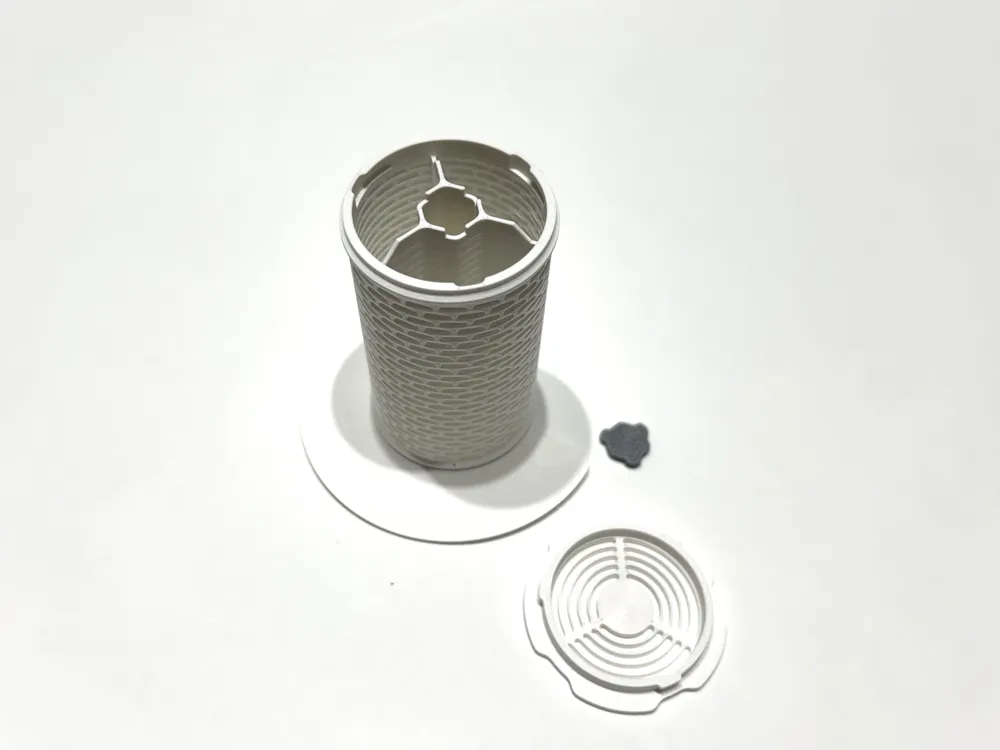
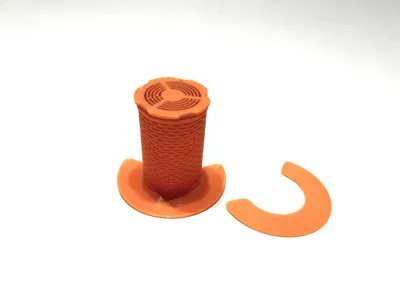
First, this container is not aimed solely at Bambulab spools: it's compatible with any spool having a centre hole of at least 50 mm and a width not greater than 68 mm (73 mm for the XL version), practically any spool that can fit inside the AMS. Some spools cannot accommodate common desiccant containers due to the tabs those containers have on the sides. Those aren't a problem anymore: yeah, I'm talking about those Overture cardboard spools and the infamous Amazon Basic plastic ones….
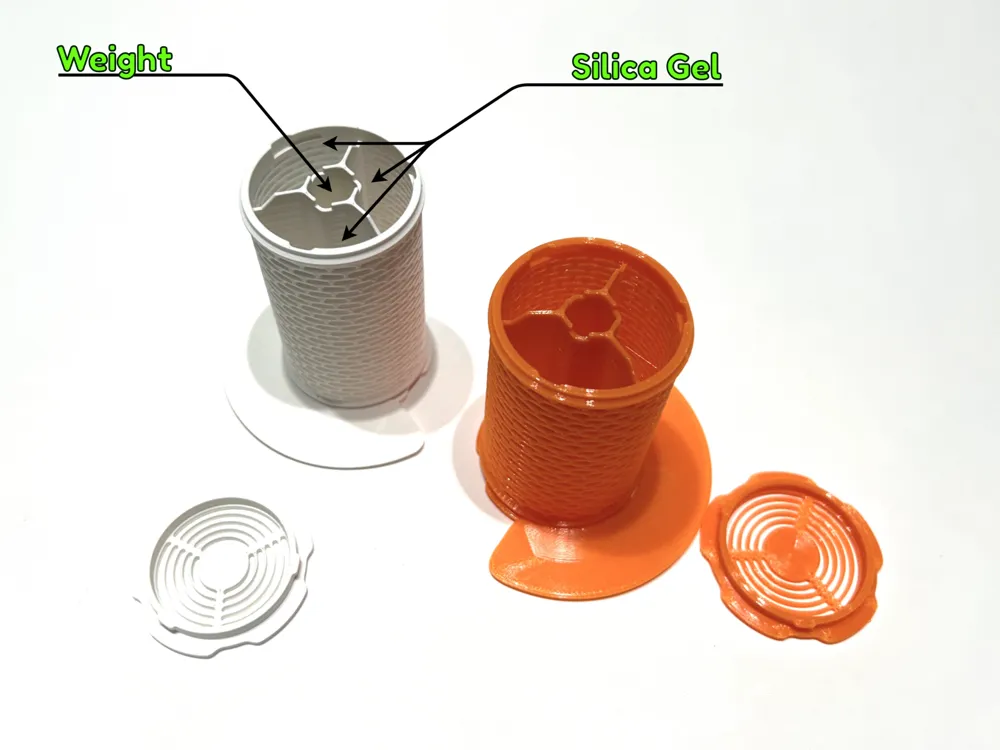
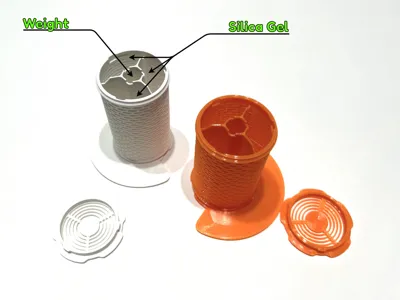
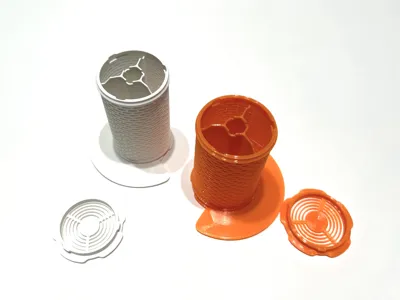
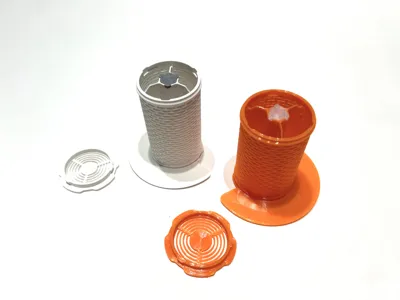
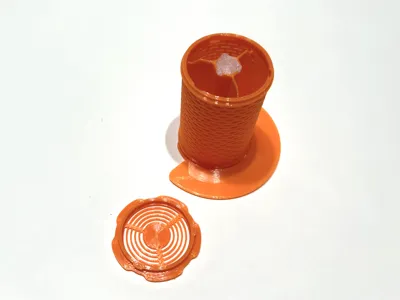
Second, I'm trading off a little silica gel from a place where they are not contributing much (the very core of the container) to increase the spool weight: I suggest using M6 bolts and nuts, but you can use whatever means you find appropriate. I measured 41 grams with common steel bolts: it might not be a massive weight increase (unless you invest in some tungsten rods), but it's something. The little hexagonal core cap can be used to seal whatever you use as a weight, which is especially useful if you go for steel balls or other annoying things. It's meant to be a tight fit and the tabs can help in case you need to remove it. A drop of glue will permanently secure it in place, but be sure to have it completely flat and flush, otherwise, you'll not be able to close the container.
Third, I wanted to reduce print time. There are some beautiful designs out there, but many don't consider that a huge number of tiny walls can render printing these parts a long wait. This container is designed to have great airflow without forcing your printer into a three-hour tedious web construction.
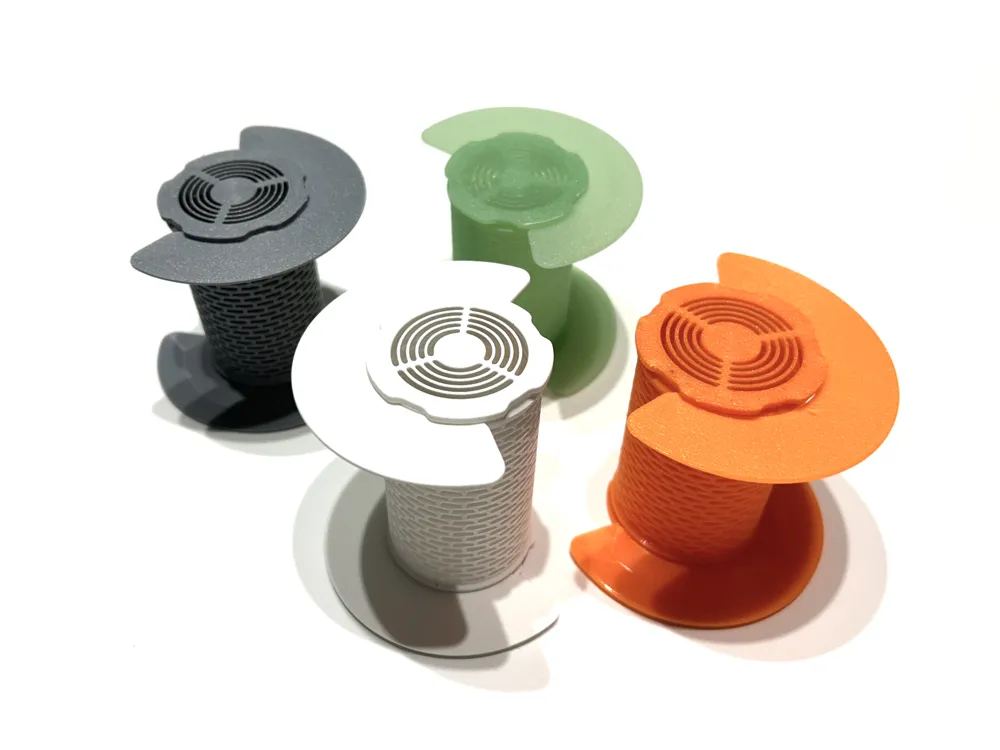
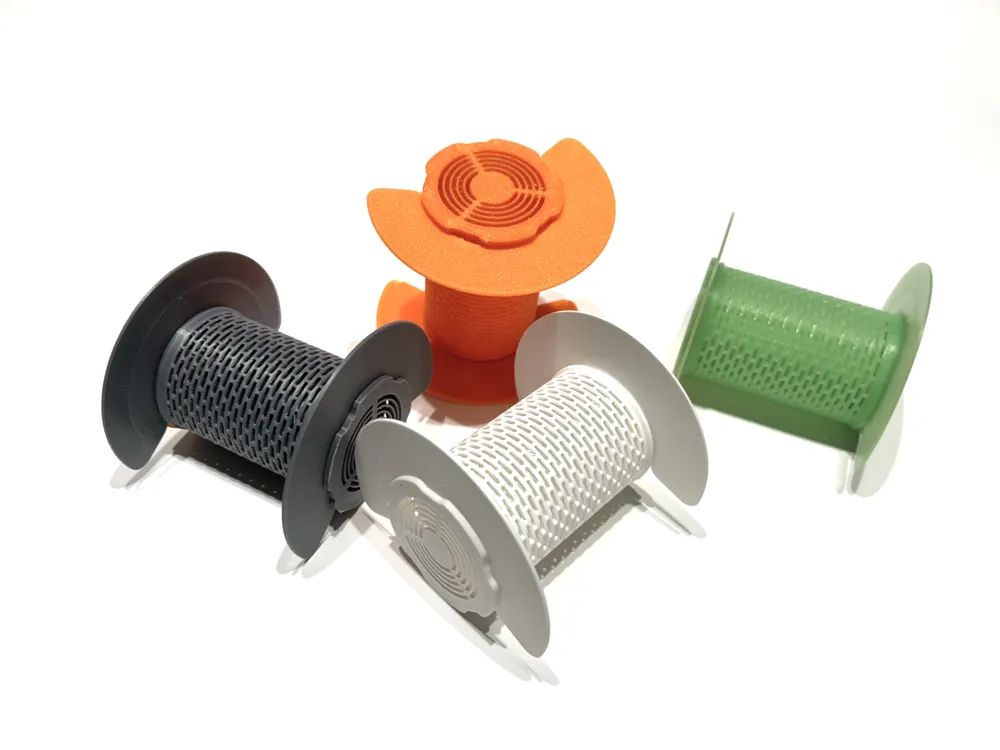
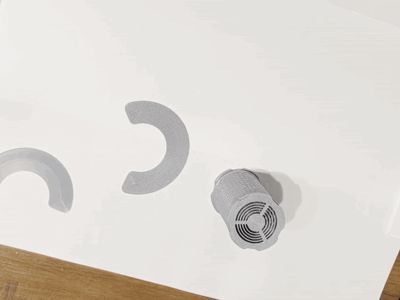
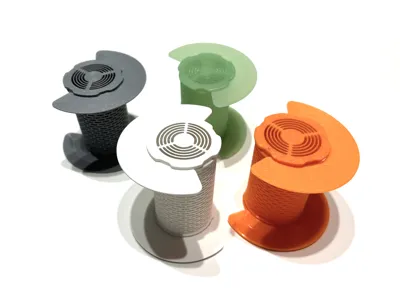
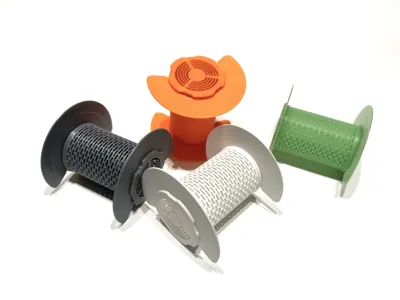
Fourth, and probably the real reason that pushed me into starting this design, prevent the container from sliding off the spool. I keep forgetting I have the desiccant container at the spool core when I go for filament change: when I pull out the spool from the AMS gravity does its job and the containers keep falling off and breaking, especially at the tabs. This design uses two side flanges you can quickly and easily use to lock the container to the spool sides: now the container cannot slide off the side of the spool and it's also a lot more reliable when inside the AMS! When swapping filaments it's up to you to decide if you want to keep the container along with your half-used spool or if you want to remove one flange and move it to the next spool going in.
Fifth, these containers have a slightly greater diameter than many of the most popular ones, partially compensating for the desiccant capacity loss due to the weighted core: more desiccant means more humidity absorption capacity and more weight as well.
The standard version can accommodate 89 cm3 of silica gel (about 62 gr) and the XL version up to 105 cm3 (about 67 gr): with the added weight in the core, you can easily reach and surpass 100 gr of weight well-connected to your filament spool!
Sixth, the apertures on the container sides aim at maximizing the airflow and visibility of the silica beads: you can easily monitor the colour-indicating beads if you use those.
Addons
Funnel

The funnel on the second plate might not be necessary to start with, but in case you find these containers useful, it might further improve your experience, making the desiccant load process a lot faster with no silica gel beads jumping around on your floor: it's specifically designed for these containers as it locks in place the very same way the container cap does.
Measuring cup
On the third plate, you can find a measuring cup with an indicating line: when your silica gel beads reach the line level you have the right amount going into the container—less fiddling and faster refills, hopefully with no spilling. WARNING: the measuring cup for the XL version has a greater capacity.
Sieve
I've also published a sieve to separate silica gel beads that might be too small to get into the container: vents have been designed to accommodate beads of a minimum 1.5mm diameter, and the sieve has 2.5mm holes.
Credits
I wouldn't be fair to other makers without listing all the models I took inspiration from:
- Air Max 1, was my favourite, before this obviously
- High visibility desiccant holder for spools
- Universal spool weight for AMS
License



Comment & Rating (284)