
Feldakku, Battery 6s4p - perfect for FPV on the go

Print Profile(1)

Description
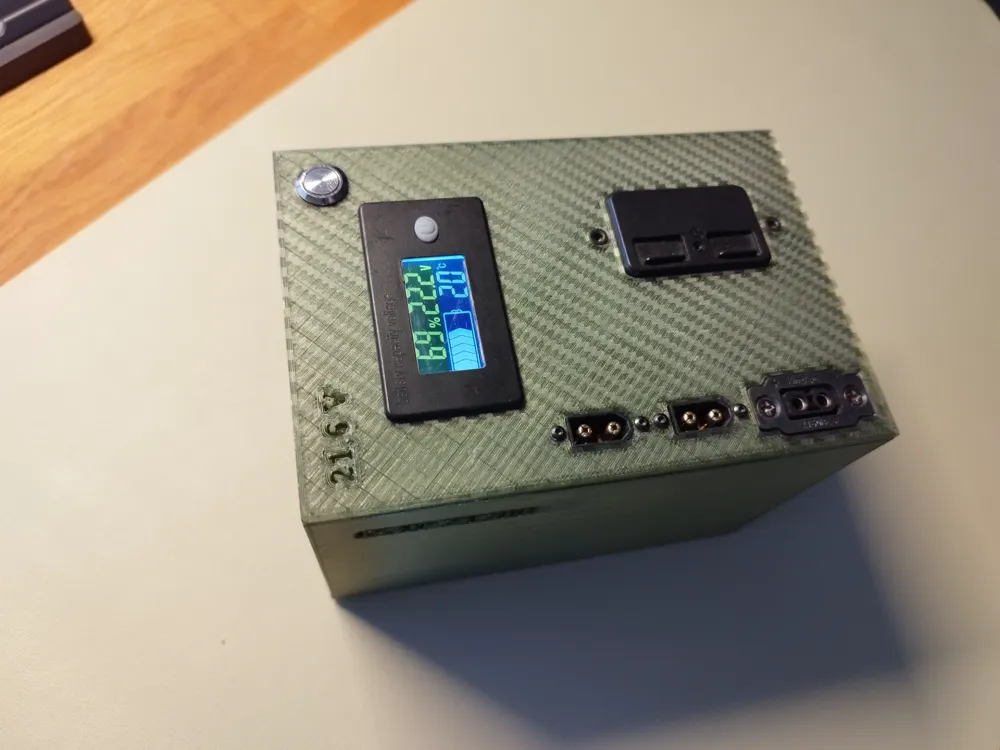
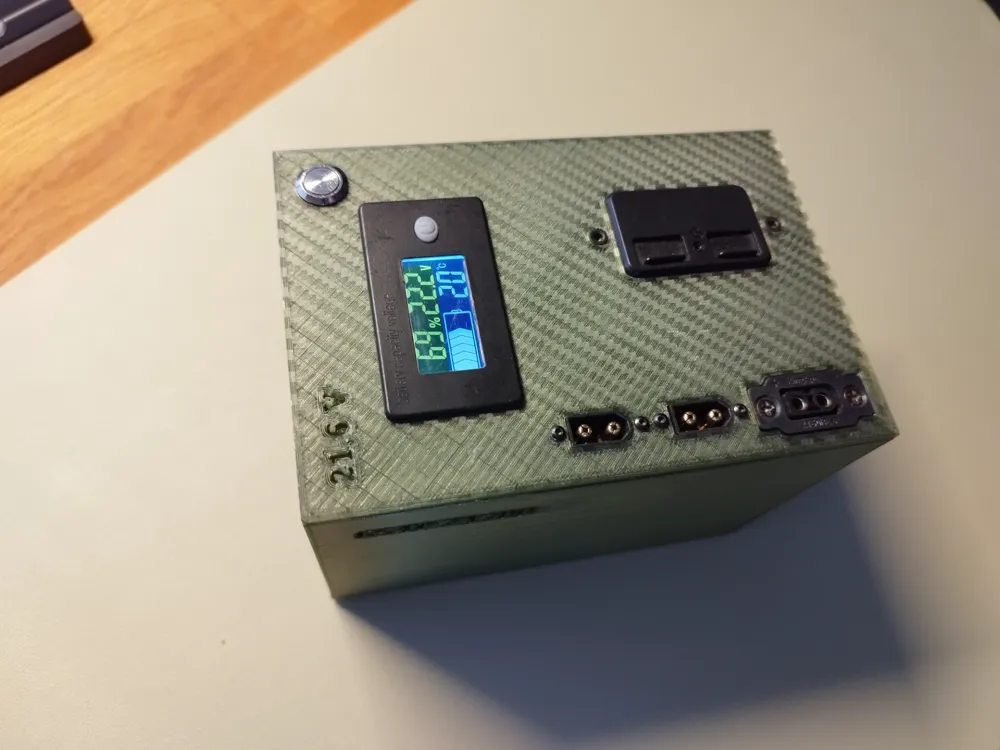
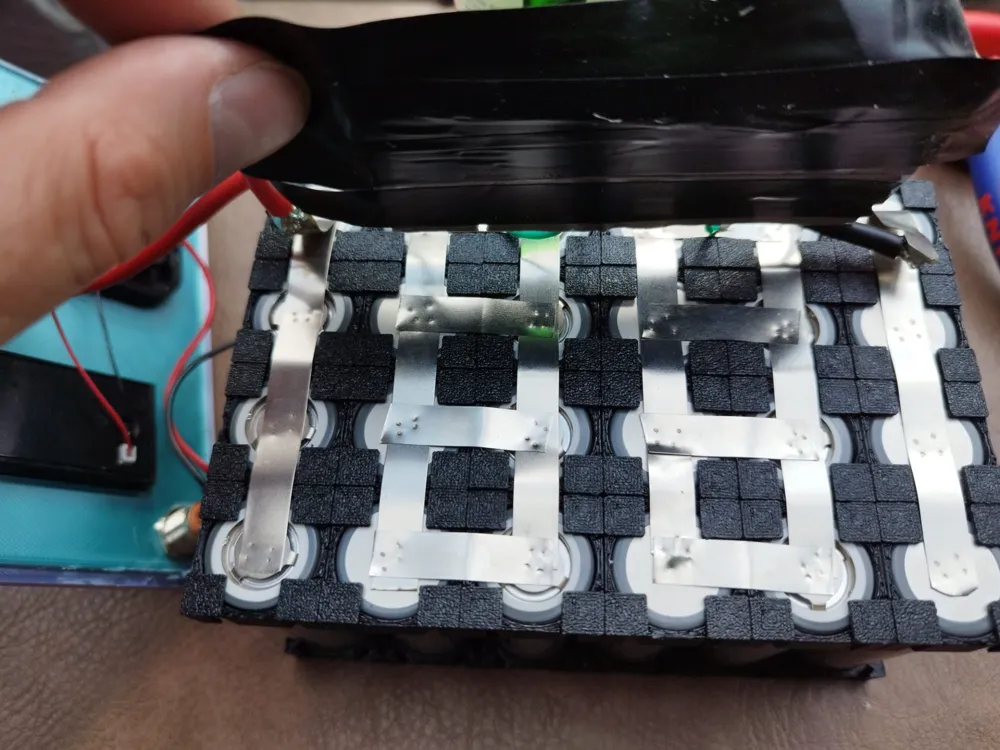
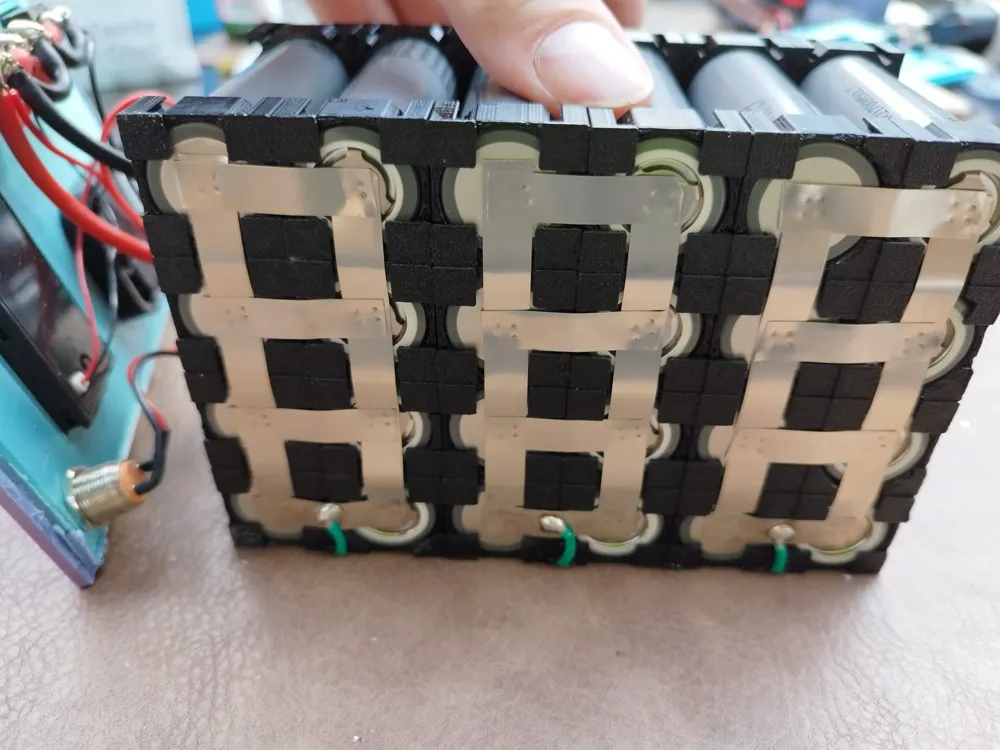
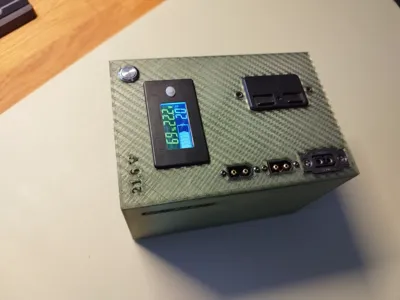
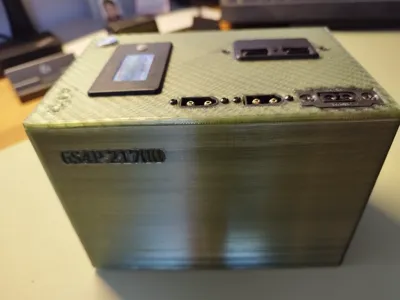
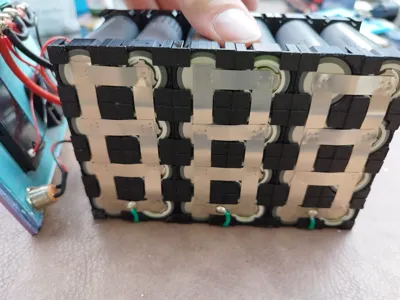
My own creation of a 6s4p field battery with 21700 cells.
What is needed?
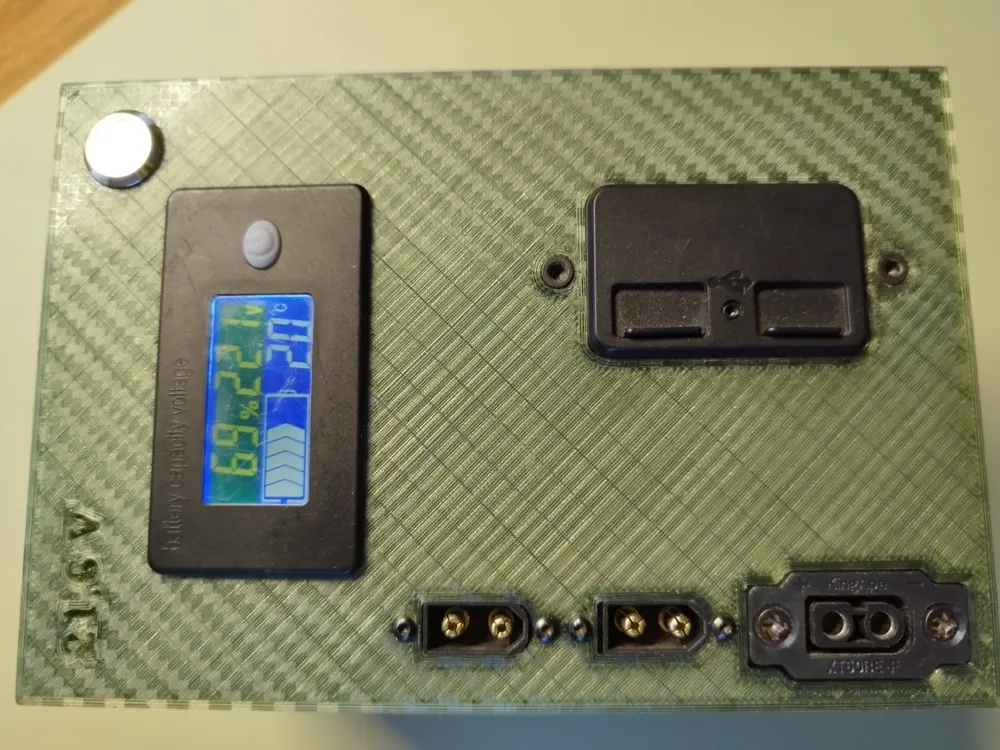
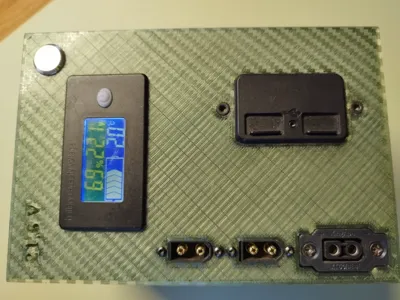
- 1x XT60E-F female - Original amass XT60E-F female connector xt60 xt60h male black bullet connector wire cable connector for rc fpv lipo battery rc quadcopter - AliExpress 502
- 2x XT60EW-Male - 6pcs black XT60EW-M xt60 plug connector screw fixed plate panel mount xt60ew connector for RC Lipo battery fpv RC drone DIY - AliExpress 13
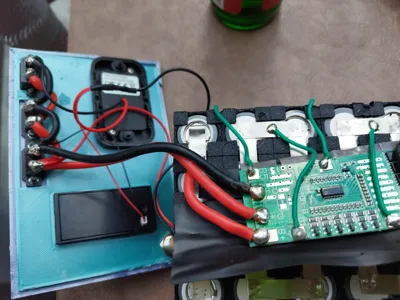
- 1x Display Battery capacity display Li-Io - Battery capacity display Li-Ion Lifepo4 Lead Acid 12V 24V 36V 48V 60V 72 display LCD voltmeter temperature meter tester JS-C35 - AliExpress 44
- Note: Voltage will be displayed correctly. If the percentage is important, please refer to the manual. The manufacturer specifies exactly what needs to be set for this.
- 1x USB Socket - Car 12V USB Type-c 3.1A charger socket light built-in socket for car motorcycle | eBay
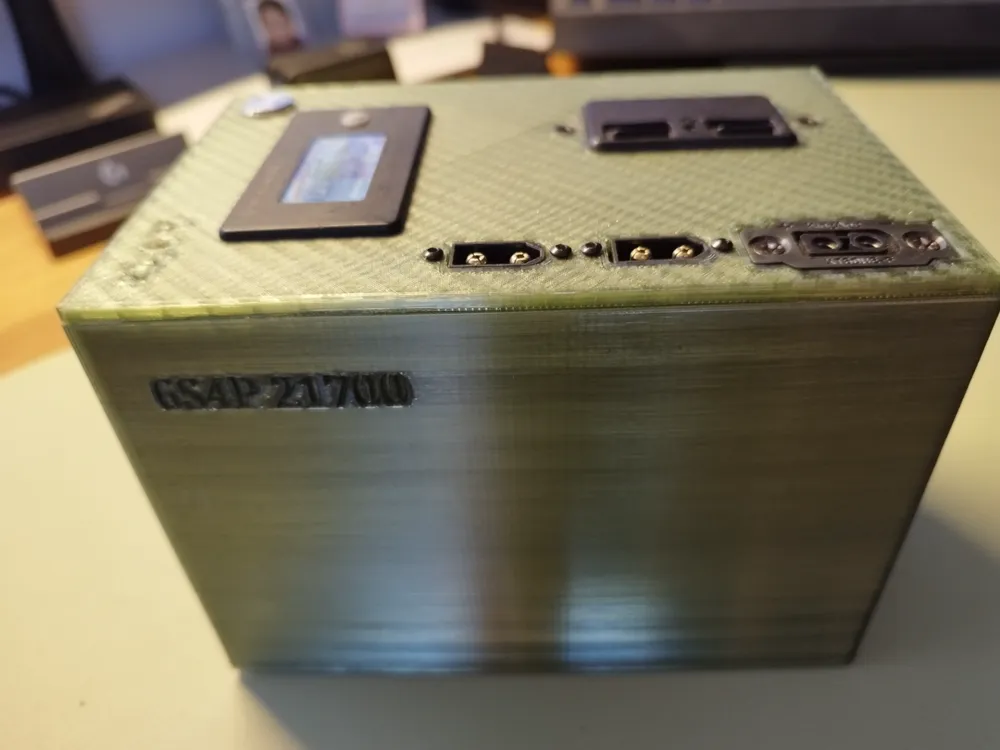
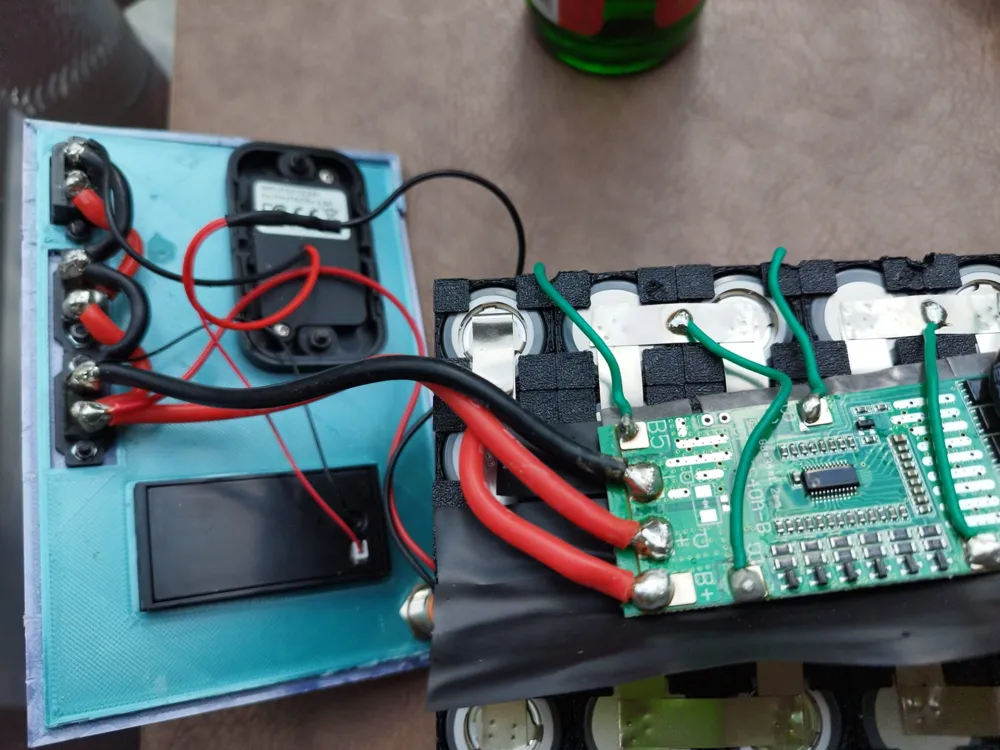
- Note: It was important to me that nothing protruded too far (see photos). That's why I inserted the socket from below and screwed the screws through the plastic of the USB charger. Of course, you can also simply screw the USB socket on top, but then the USB body protrudes significantly further.
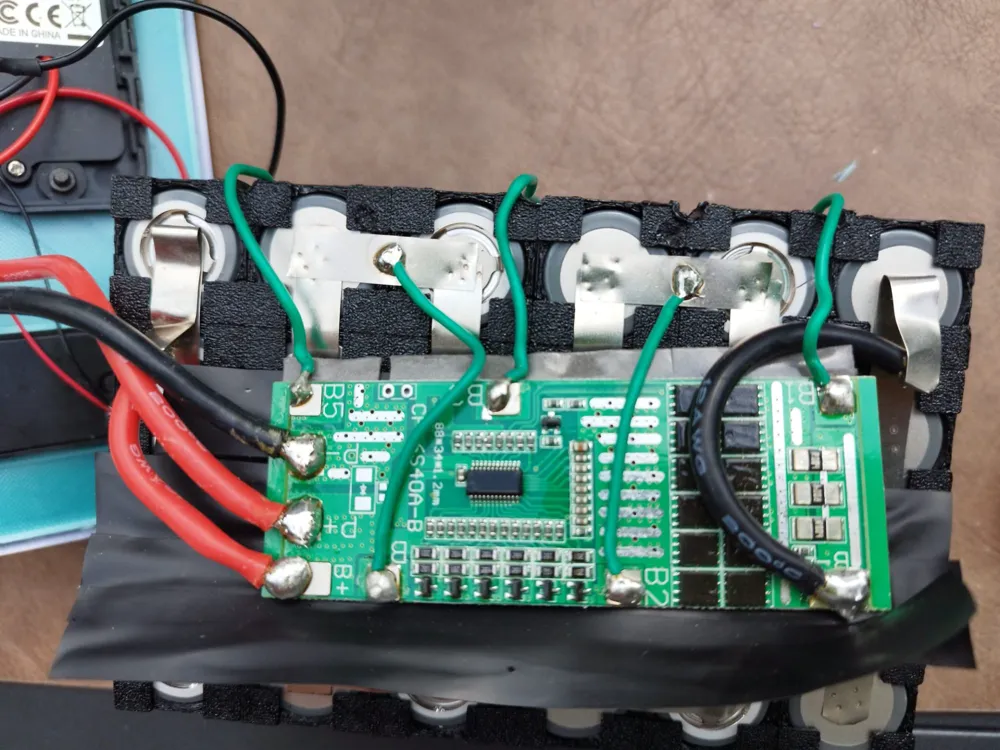
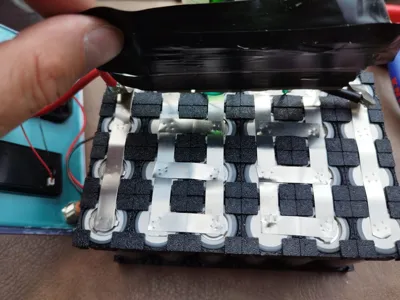
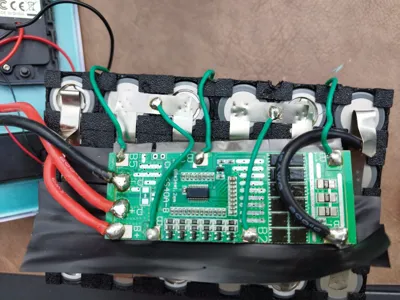
- 1x BMS 6s: Oumefar 6S 22V/24V Li-ion cell BMS circuit board battery protection board 15A lithium battery protection board for 6 series 3,7V Li-ion cell : Amazon.de: Electronics & Photo
- This automatically balances the cells and you cannot overcharge or discharge the battery too much (it shuts off).
- 1x stainless steel button - https://amzn.eu/d/hqmzy65
- This allows the electronics (USB ports and display) to be switched off.
- Charging via XT60 continues.
- 24x 21700 cells. The more mAh the better, as you will have more power in the same space. I use 5000mAh cells.
- Nickel strip and spot welder. Alternatively, you can also solder the cells with cables.
- Sufficient cable and screws as well as insulating tape.
- 24 holders for your batteries - 21700 Modular Battery Spacer Holder by Keepydroj - Thingiverse
- Note: When everything is plugged together, then cut off the protruding holders. Then the cells fit perfectly into the box. I had also made slight recesses with the soldering iron for the balancer cables (see photos).
Further notes: Please do not cause a short circuit during assembly :D You should also seal the BMS well with insulating tape so that it does not simply lie on the cells.
You can simply glue the lid at the end with a little superglue or, better yet, hard plastic glue.
Of course, you can weld the cells with a spot welder or solder with cables. Take your time, because the whole thing takes longer than you think and also requires some technical understanding.
Please also keep your cells in storage or lower. Not fully charged and it is best to build the battery safely outside.
License

You shall not share, sub-license, sell, rent, host, transfer, or distribute in any way the digital or 3D printed versions of this object, nor any other derivative work of this object in its digital or physical format (including - but not limited to - remixes of this object, and hosting on other digital platforms). The objects may not be used without permission in any way whatsoever in which you charge money, or collect fees.


Comment & Rating (8)