
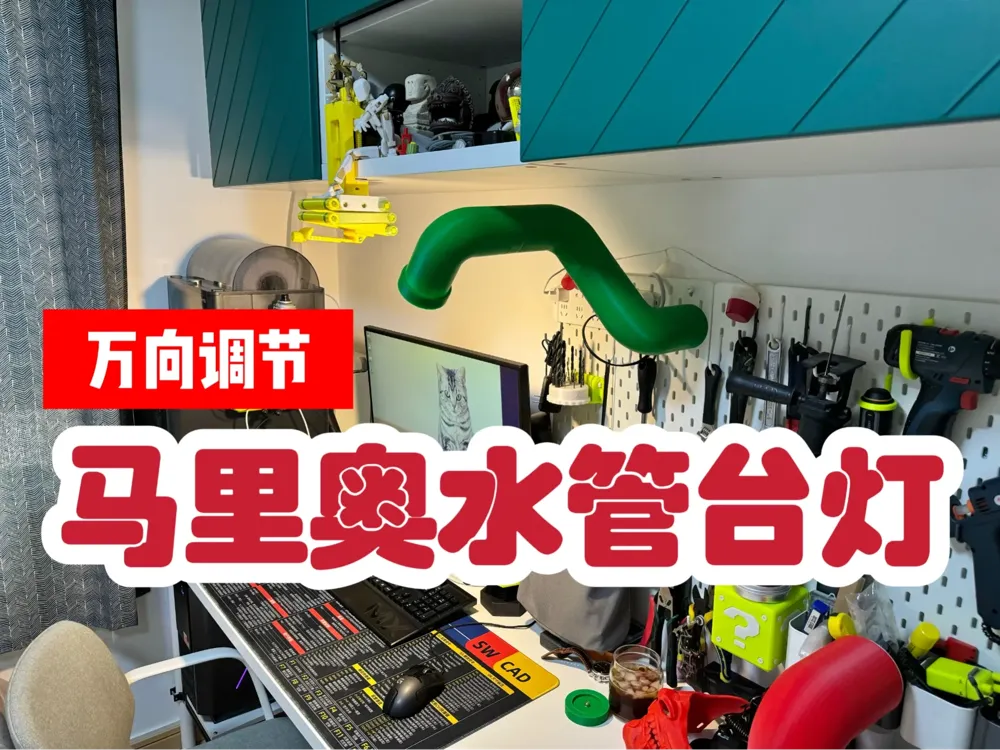
Mario Pipe Desk Lamp Creative Lamp Omnidirectional Adjustable Lamp
Print Profile(1)
Description
Boost Me (for free)
Original creation is not easy!
The design of the limited rotation structure went through countless iterations before settling on a relatively stable and durable solution. Each creation involves numerous setbacks, adjustments, more setbacks, and further adjustments…
Your support is greatly appreciated~
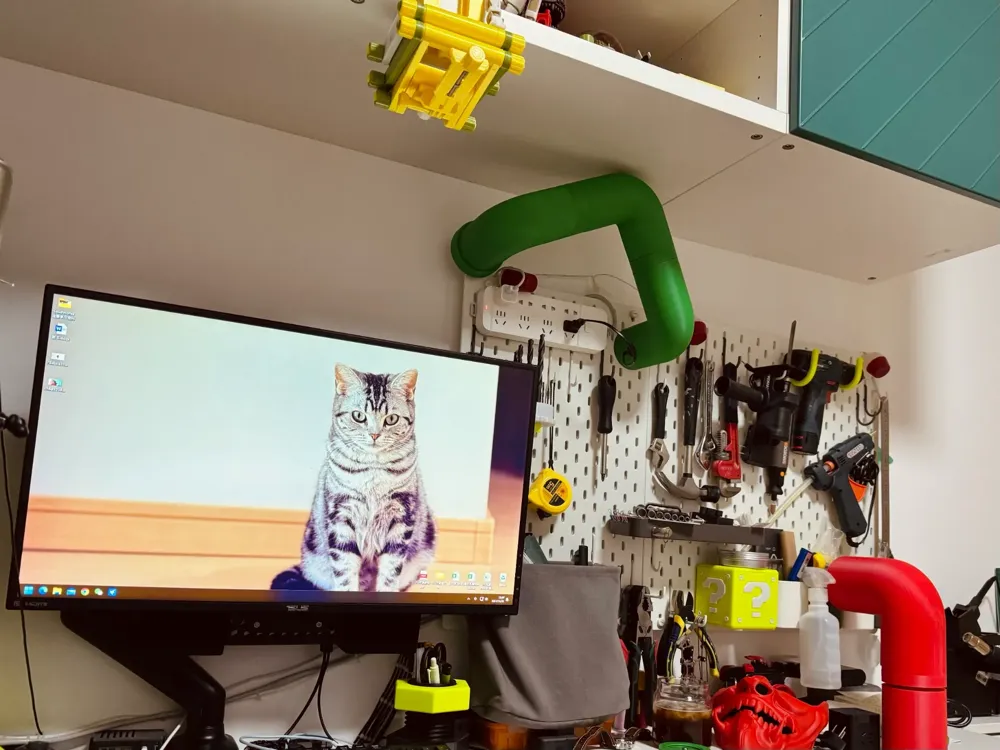
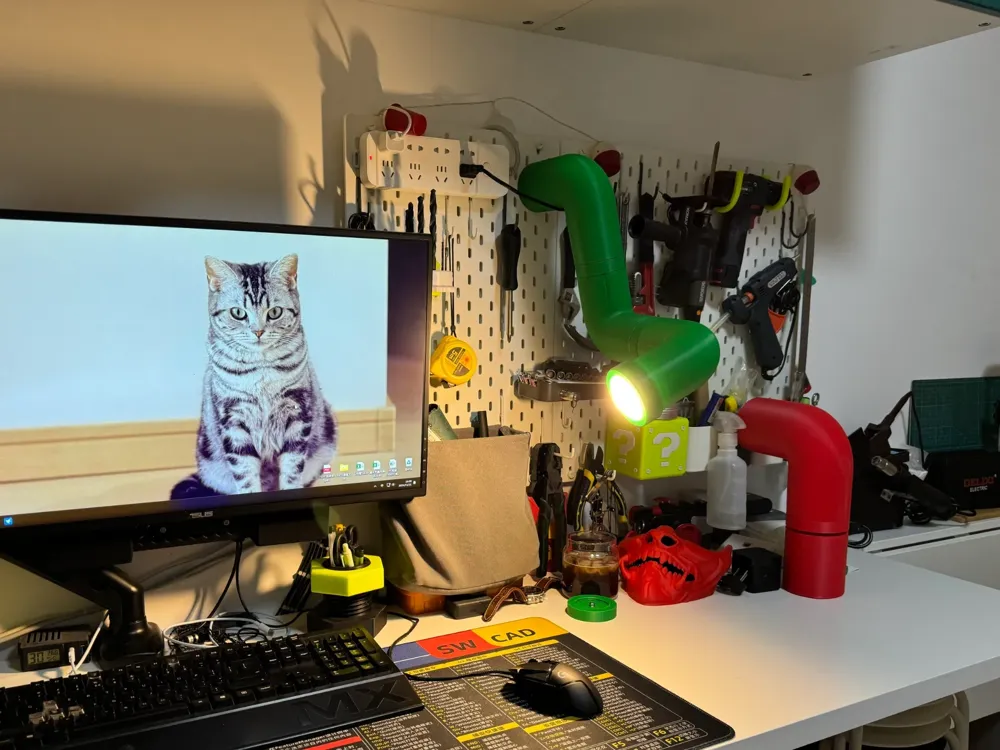
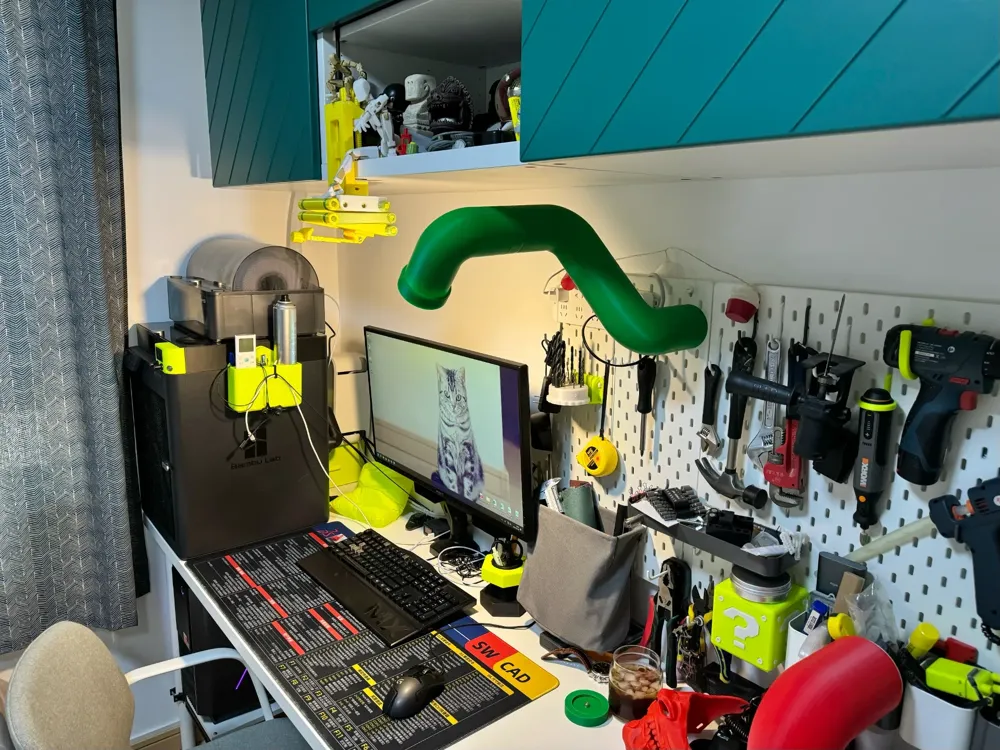
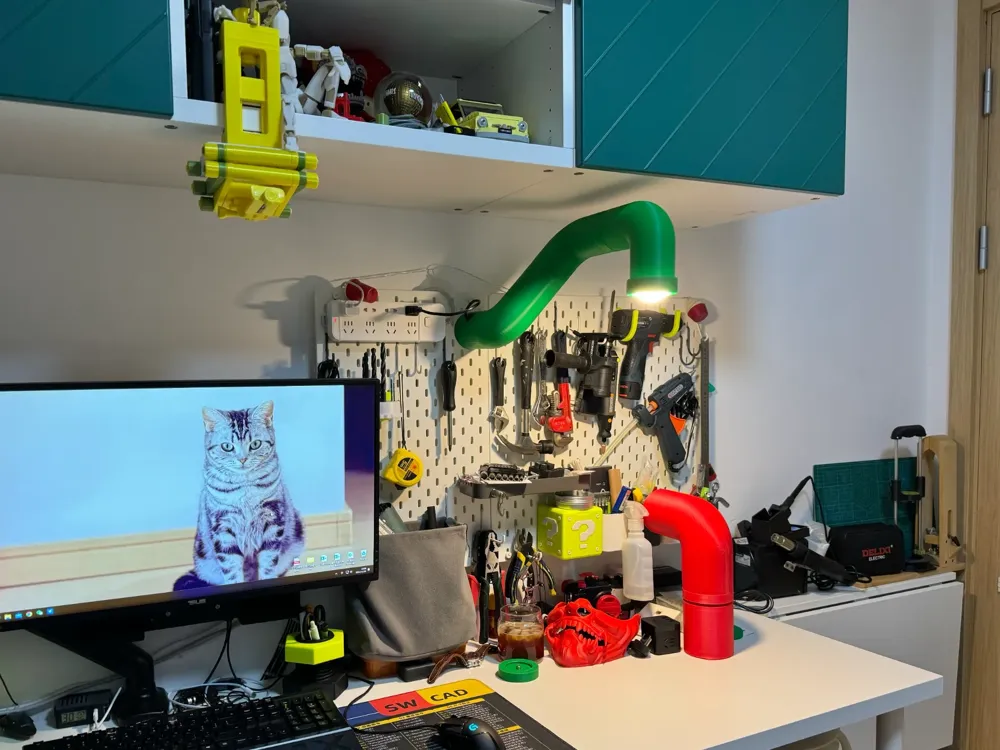
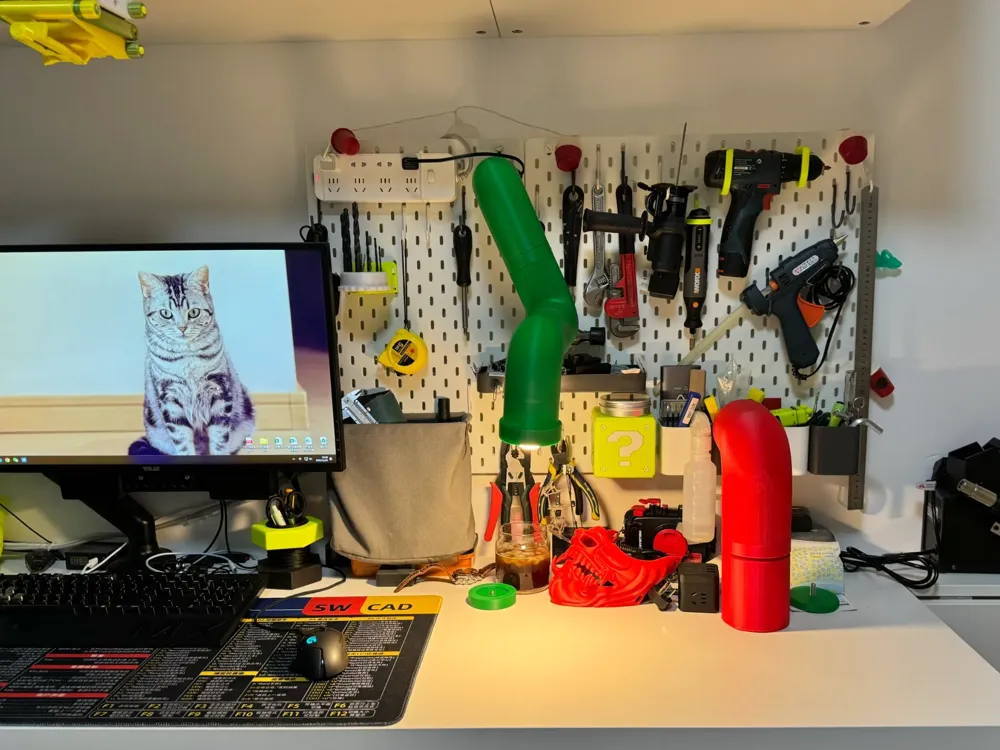
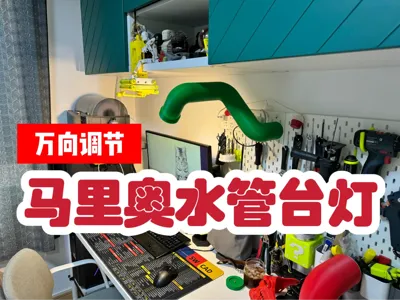
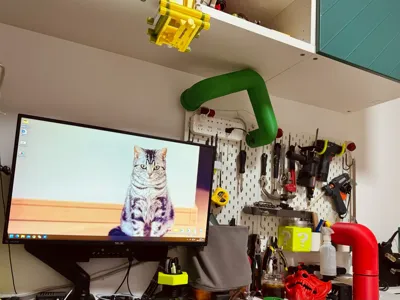
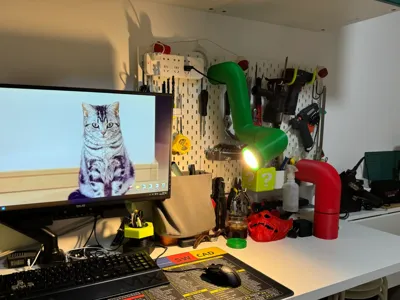
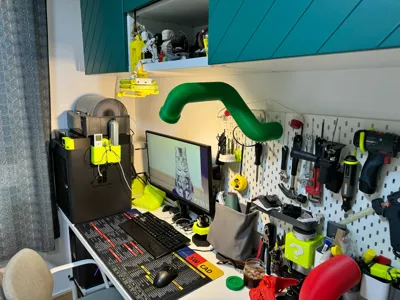
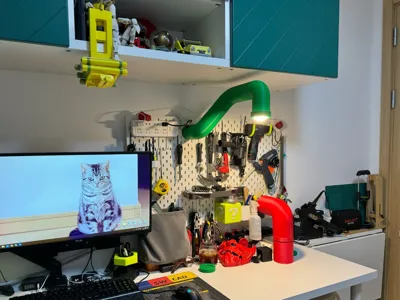
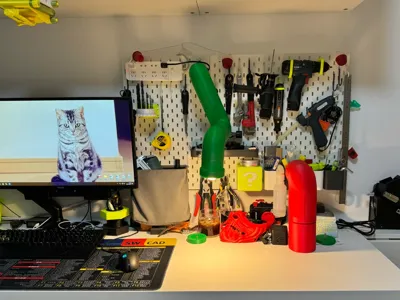
This is a Mario-themed pipe lamp, composed of three 90-degree pipe segments. Each connection allows for unrestricted rotation, enabling illumination at any angle.
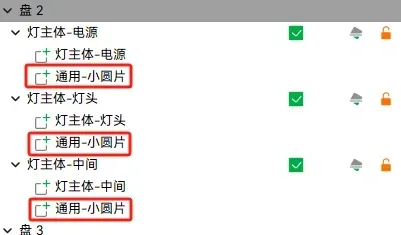
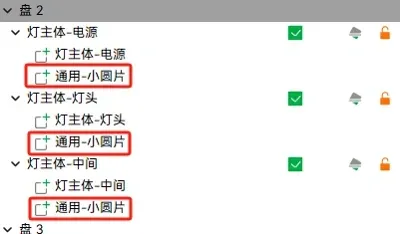
As shown in Figure 12, three small discs were added to the second print plate to prevent warping during ABS printing. While this makes removing supports slightly more challenging, you may choose to omit them depending on your filament.
Please note: This lamp requires basic soldering skills. For assistance, please leave a comment or send a private message. Support removal ease and optimal print temperature will depend on your filament; please adjust accordingly. Unsolicited negative reviews without prior inquiry will not be tolerated.
Bill of Materials:
To access the purchase links, you must have the PDD app installed on your mobile device. Copy the link and send it to your WeChat file transfer assistant before opening; otherwise, only the PDD homepage will be displayed.
Essential Components:
- E27 lamp holder: 1 pc https://mobile.yangkeduo.com/goods.html?ps=pfBou35uE4
- Injection-molded nuts (M4x4mm thick x 6mm outer diameter): 2 pcs https://mobile.yangkeduo.com/goods.html?ps=t1hSZfPiTT
- 2-wire power cord: 1 pc (length as needed) https://mobile.yangkeduo.com/goods1.html?ps=zvQALR1C8n
- Round 2-pin switch: 1 pc https://mobile.yangkeduo.com/goods1.html?ps=qQsWYmVUSQ
- Pozidriv screws (M6x8mm): 9-12 pcs https://mobile.yangkeduo.com/goods1.html?ps=MXjjQFrhLZ
- M4x20mm screws 5 pcs + nuts 3 pcs + washers 6 pcs
- Heat shrink tubing or insulating tape
- Hot glue or super glue
Optional Components:
- M5 screw suction cup: 1 pc https://mobile.yangkeduo.com/goods.html?ps=z9nlIn9lPv
- M5 nuts + washers: 1 set
Assembly Instructions:
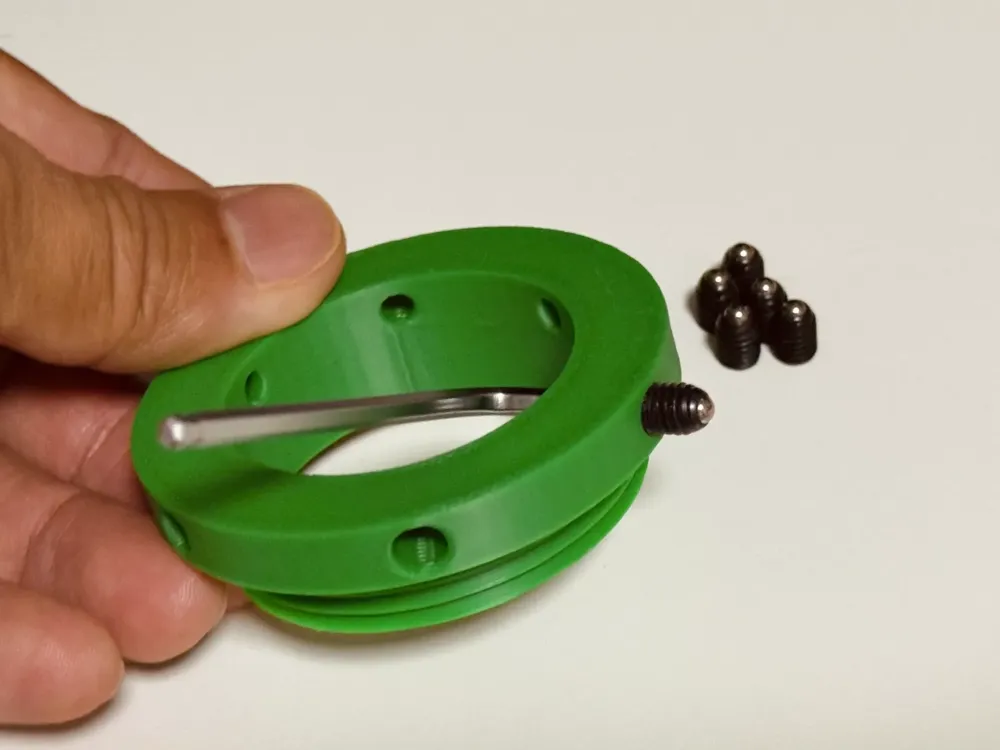
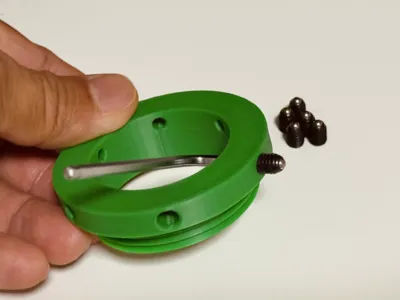
- Using a 4mm hex key, install Pozidriv screws into the three printed limit bolts (Figure 6). The protrusion of the Pozidriv screw ball bearing determines the tightness of the limit joint. Note: If mounting on a wall or pegboard as shown, limit bolt 1 on the power supply end experiences higher stress and requires 6 Pozidriv screws; the remaining two limit bolts 2 and 3 require approximately three each.
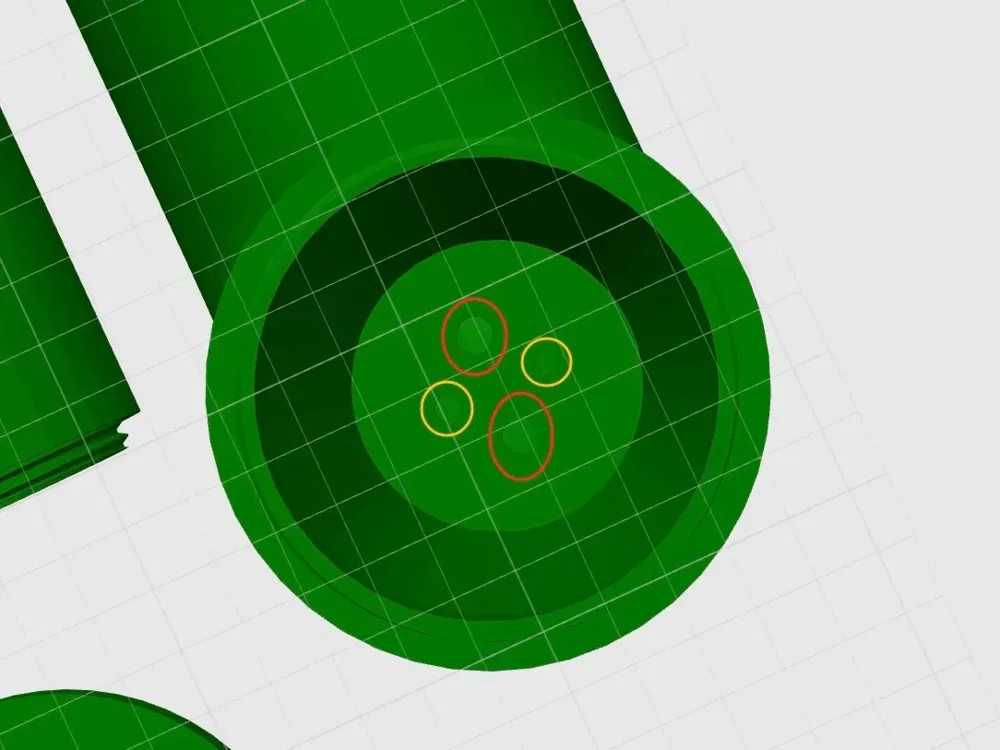
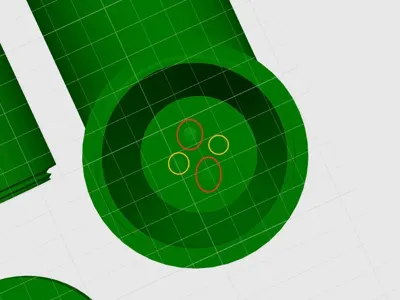
- Using a soldering iron, embed two injection-molded nuts inside the lamp body (head) (Figure 7, red circle).
- Route the power cord in the following order: lamp body (power supply) → limit bolt 2 + limit cap 2 → lamp body (middle section) → limit bolt 3 + limit cap 3 → lamp body (head) (Figure 7, yellow circle) → lampshade (through any two holes).
- Connect the two wires to the E27 lamp holder. Attach the lamp holder to the lampshade using two M4x20 screws and screw them into the injection-molded nuts embedded in the lamp body (head). During assembly, gradually pull the wire back into the lamp body to prevent it from being trapped between layers and obstructing lampshade installation.
- After connecting the lamp holder wires, tighten all components (each section uses a limit bolt + limit cap, tighten the bolt before the cap), return to the power cord entry point, cut one power cord, solder both ends to the switch contacts, and wrap with insulation tape or heat shrink tubing. Secure the switch with hot glue or super glue.
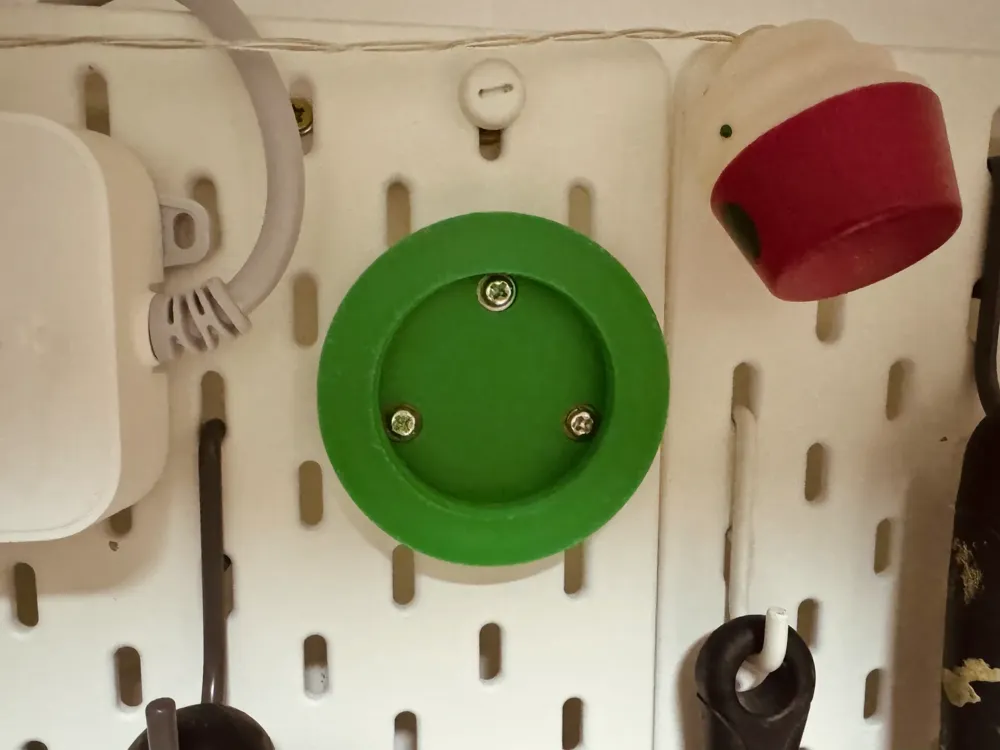
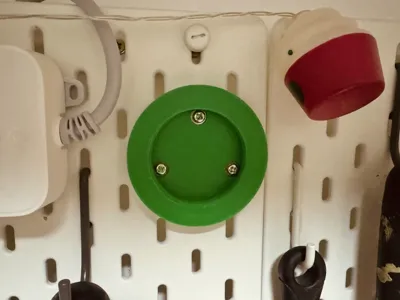
- If using the screw-on base (Figure 8), secure the base to the pegboard or wall using 3 M4 screws and washers to prevent damage.
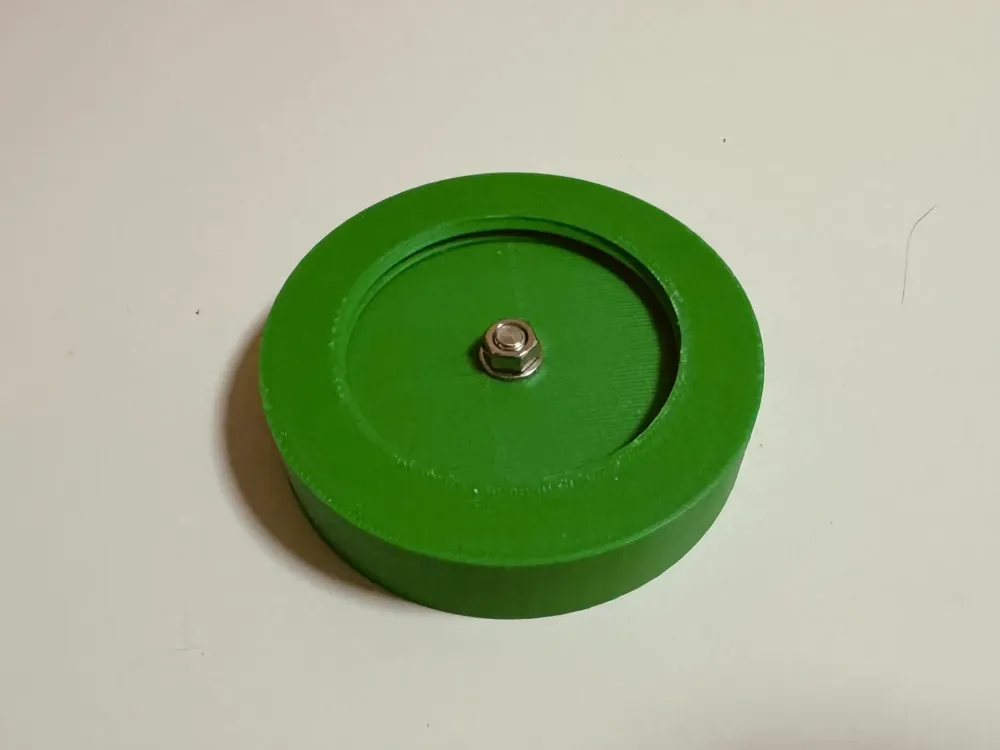
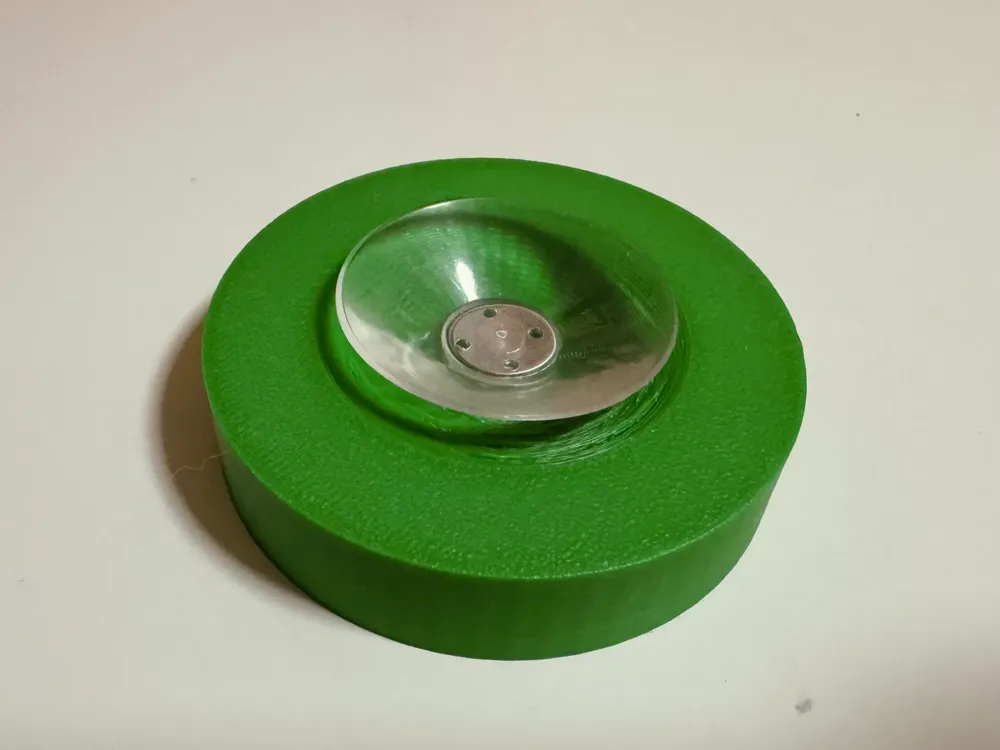
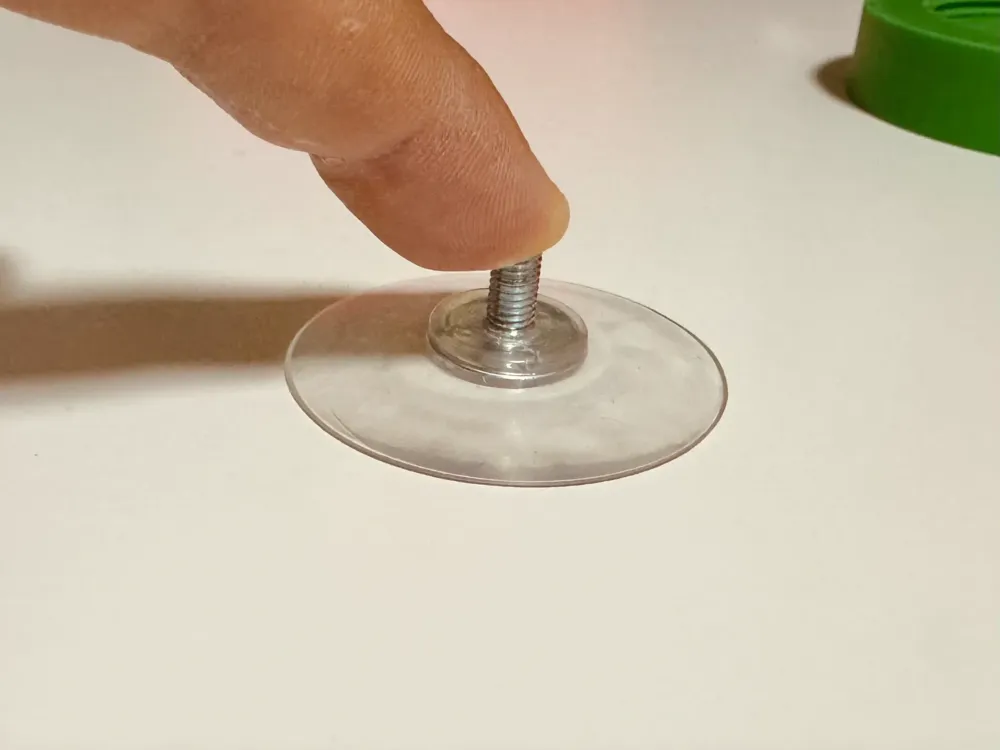
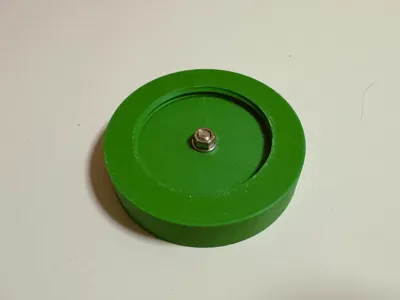
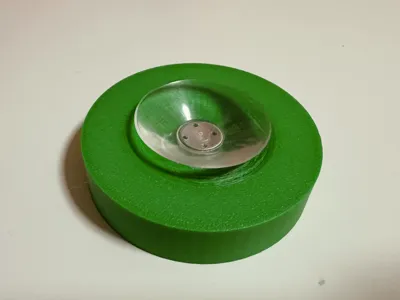
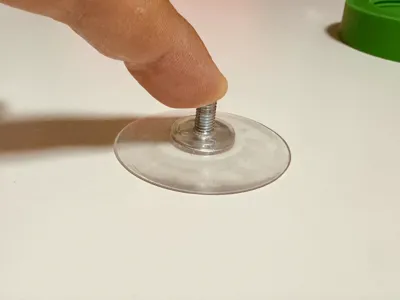
- If using the suction cup base (Figure 9-10), ensure the surface is smooth and clean before attaching. Firmly press the suction cup (Figure 11) before attaching the base and tightening with an M5 nut.
- Tighten the final limit bolt 1 + limit cap 1 to the base, then attach the lamp body using the limit cap to complete the installation.
License

You shall not share, sub-license, sell, rent, host, transfer, or distribute in any way the digital or 3D printed versions of this object, nor any other derivative work of this object in its digital or physical format (including - but not limited to - remixes of this object, and hosting on other digital platforms). The objects may not be used without permission in any way whatsoever in which you charge money, or collect fees.


Comment & Rating (1)