Search models, users, collections, and posts

Frunuts Semi-Automatic Fruit Dryer and Feeder
Remixed by
IP Report

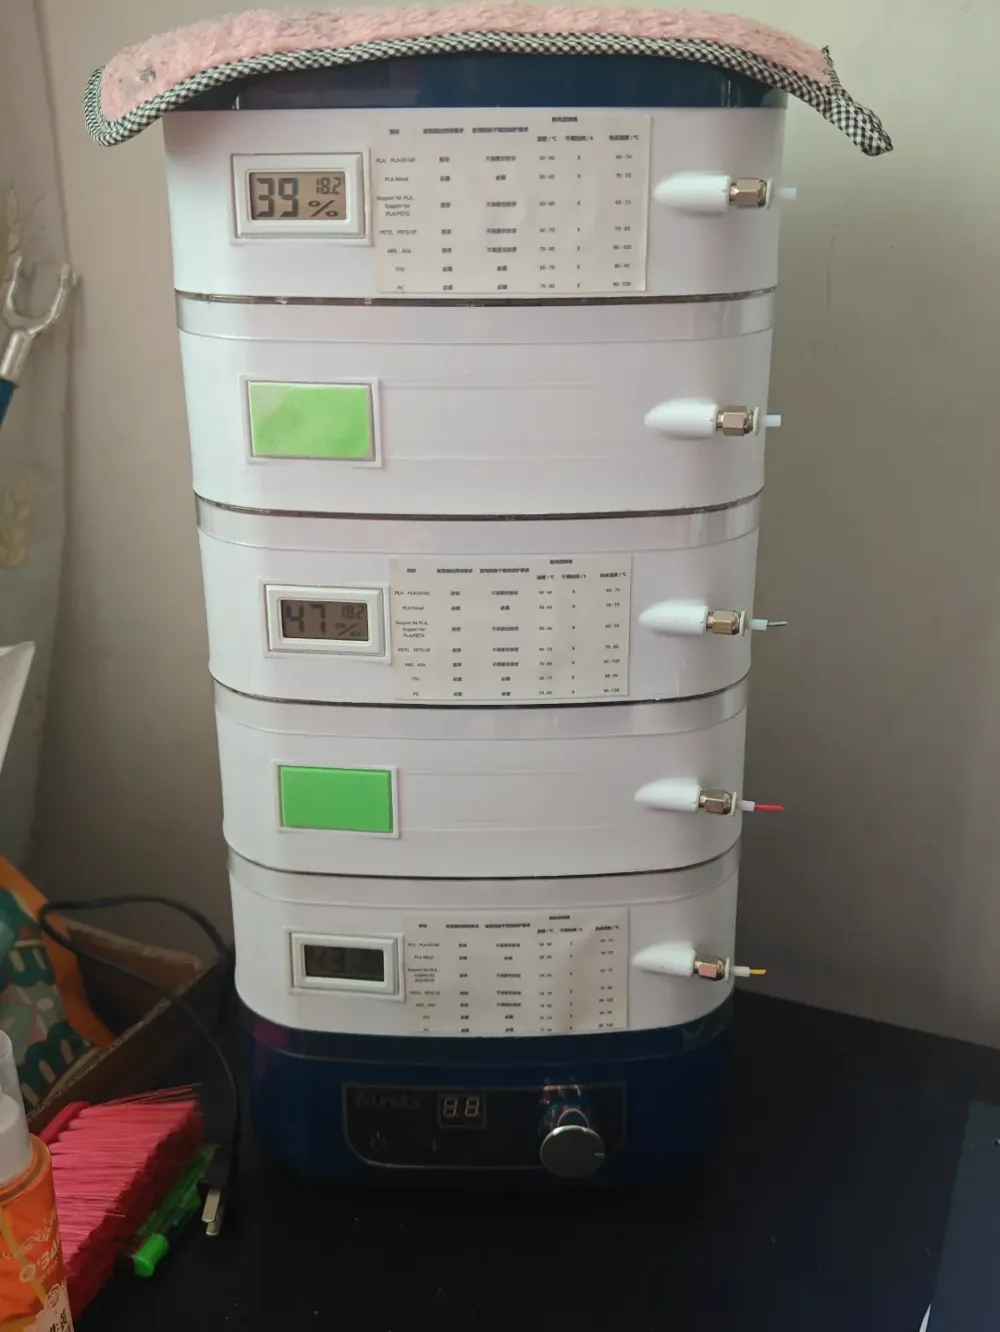
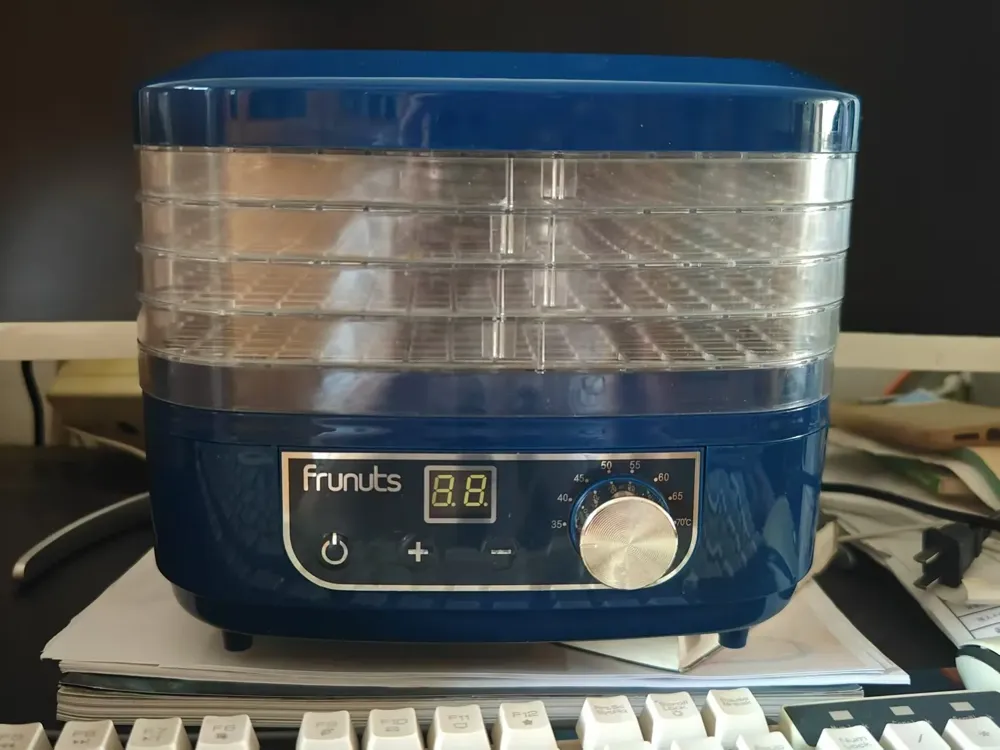
GIF
Print Profile(1)

0.2mm layer, 2 walls, 15% infill
Designer
8 h
2 plates
Open in Bambu Studio
Boost
5
9
0
0
8
1
Released
Description
Content has been automatically translated.
Boost Me (for free)
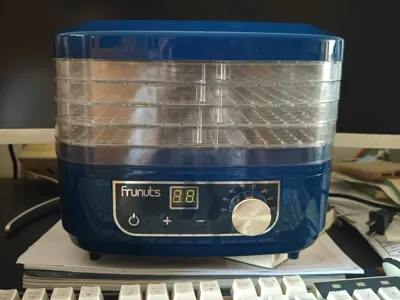

Adapted from KIM's circular nut dryer at https://makerworld.com.cn/zh/models/457585?from=search#profileId-501292, this riser incorporates slots for a hygrometer and a feed port. It enables fully automated drying and feeding, perfectly compatible with the Frunuts nut dryer.
PET or ABS printing is recommended. The A1 can 3D print the riser as a single piece. I used ABS, and the result is exceptionally smooth; I printed while drying. Incredibly convenient. Each layer can also accommodate a pouch of desiccant beads, functioning as a desiccant box when not drying.
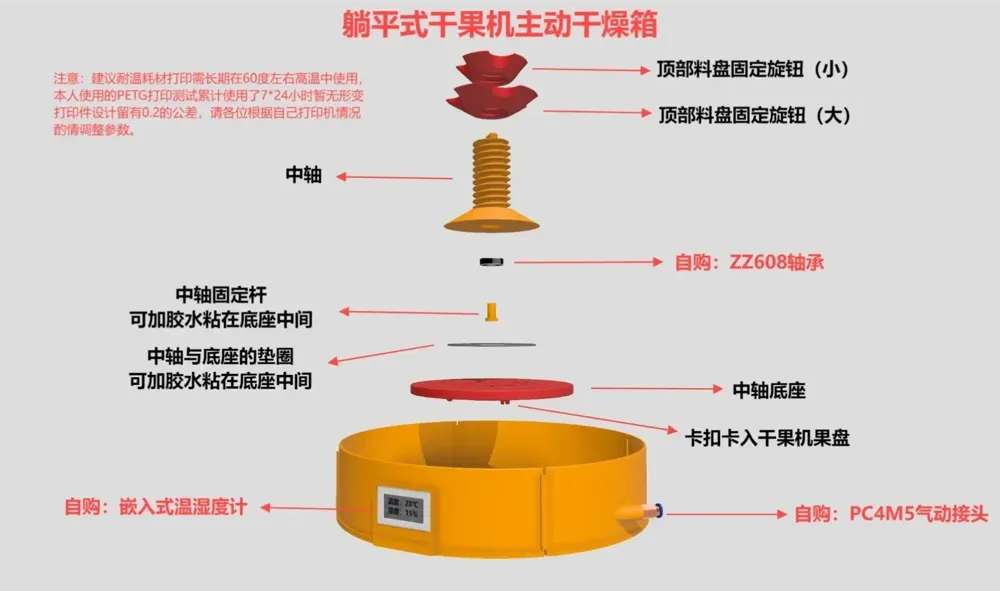
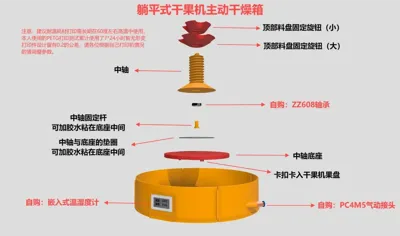
Installation steps are shown in the diagram (provided by KIM):
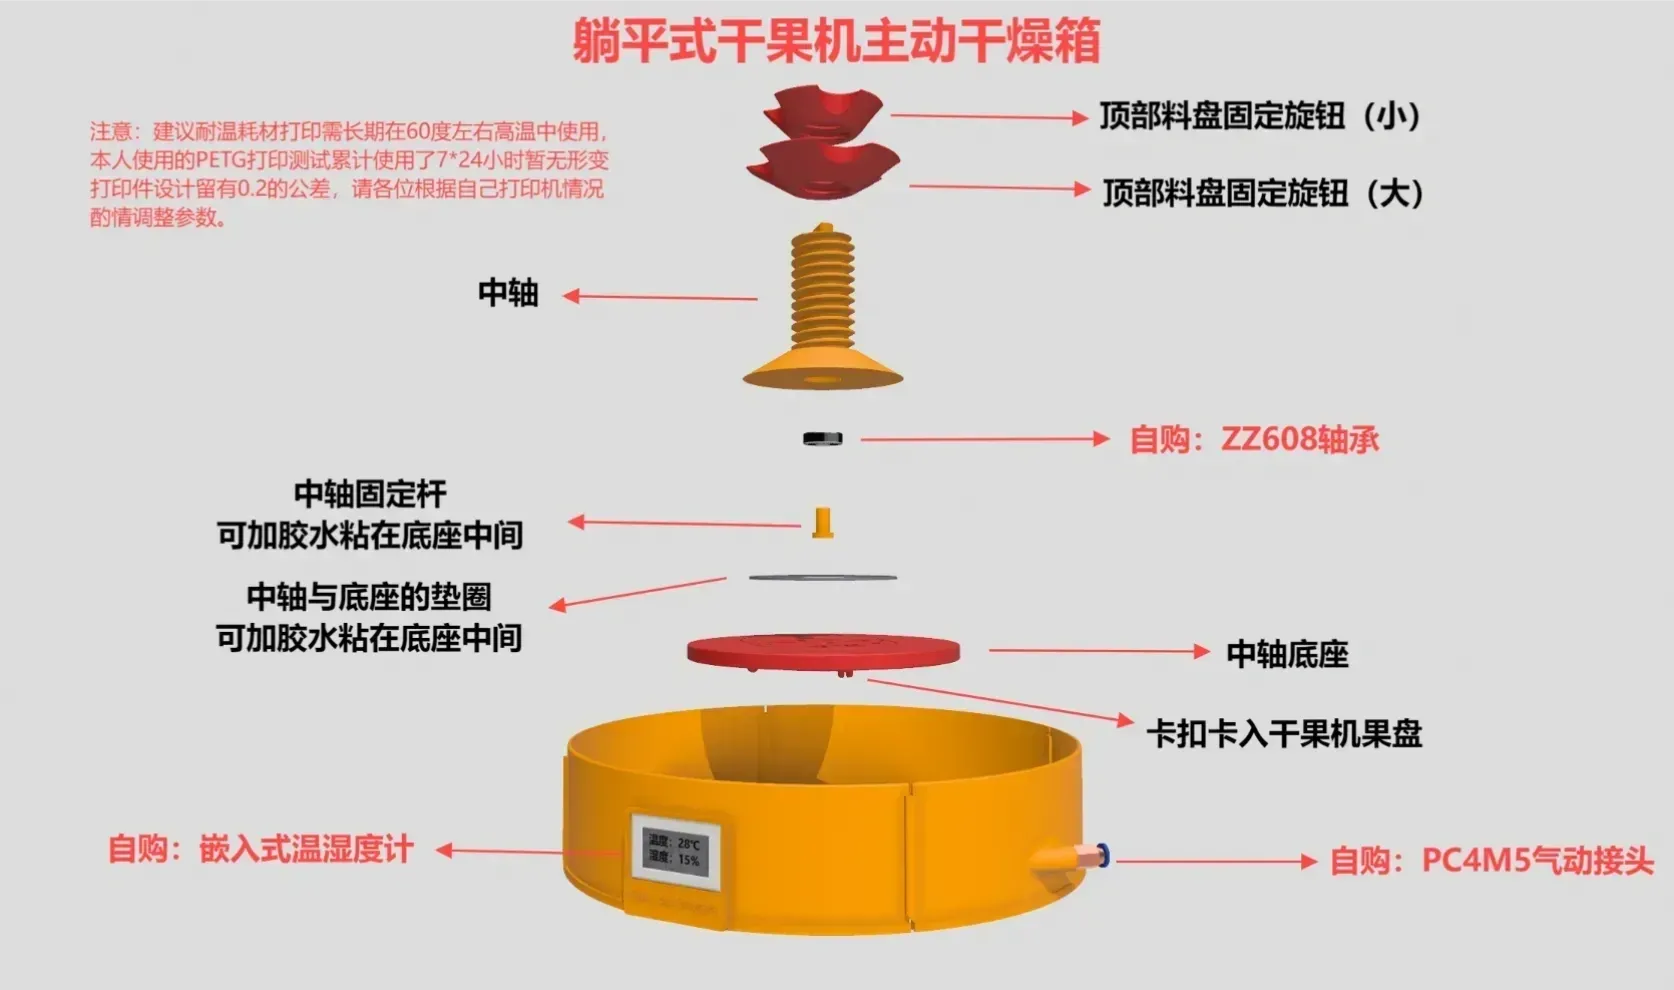
Important Notes:
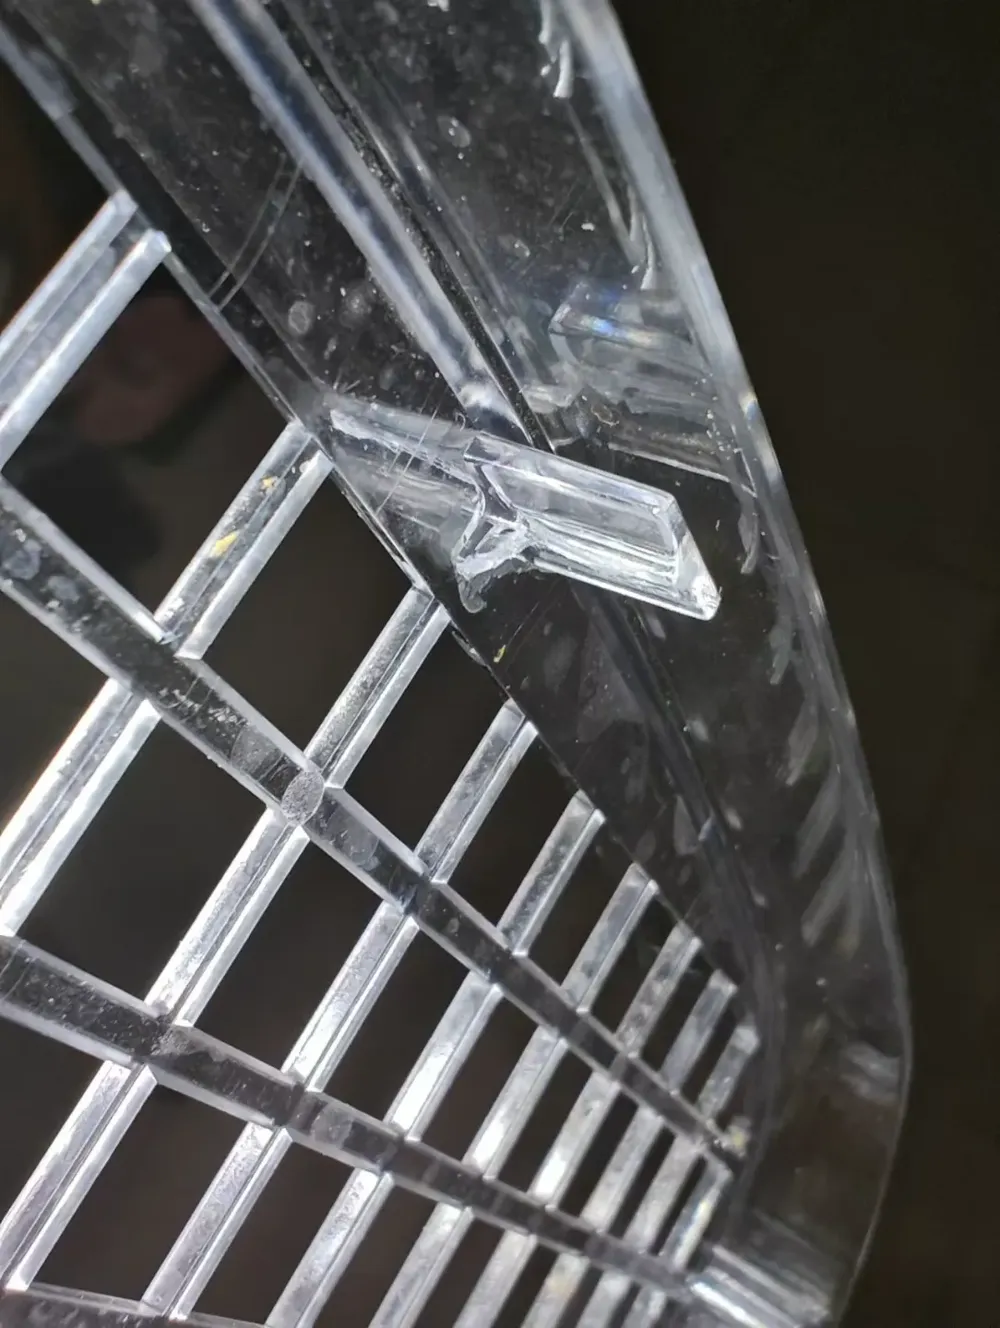
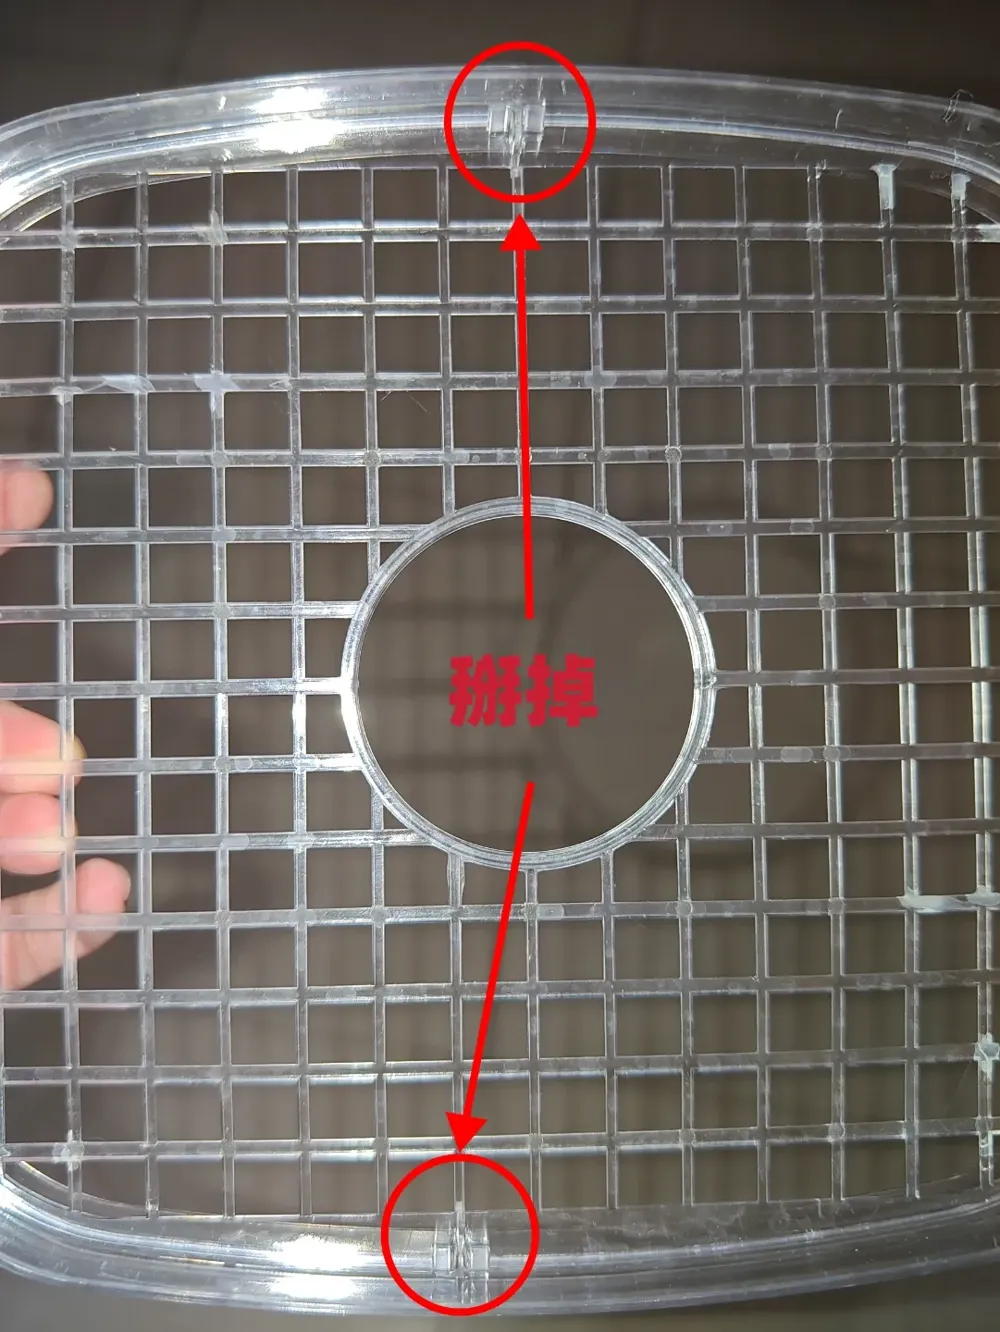
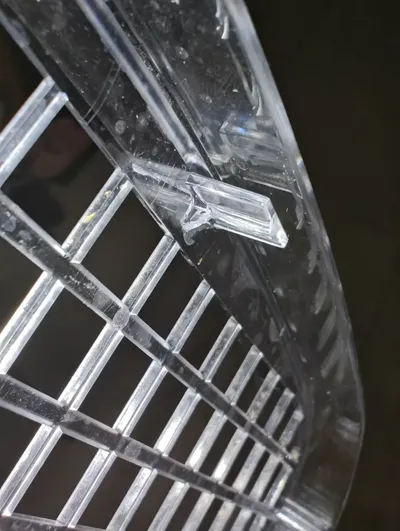
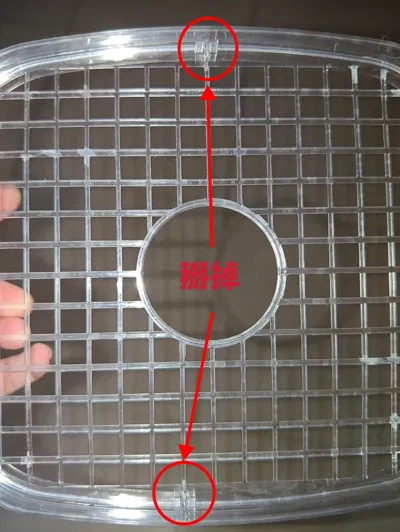
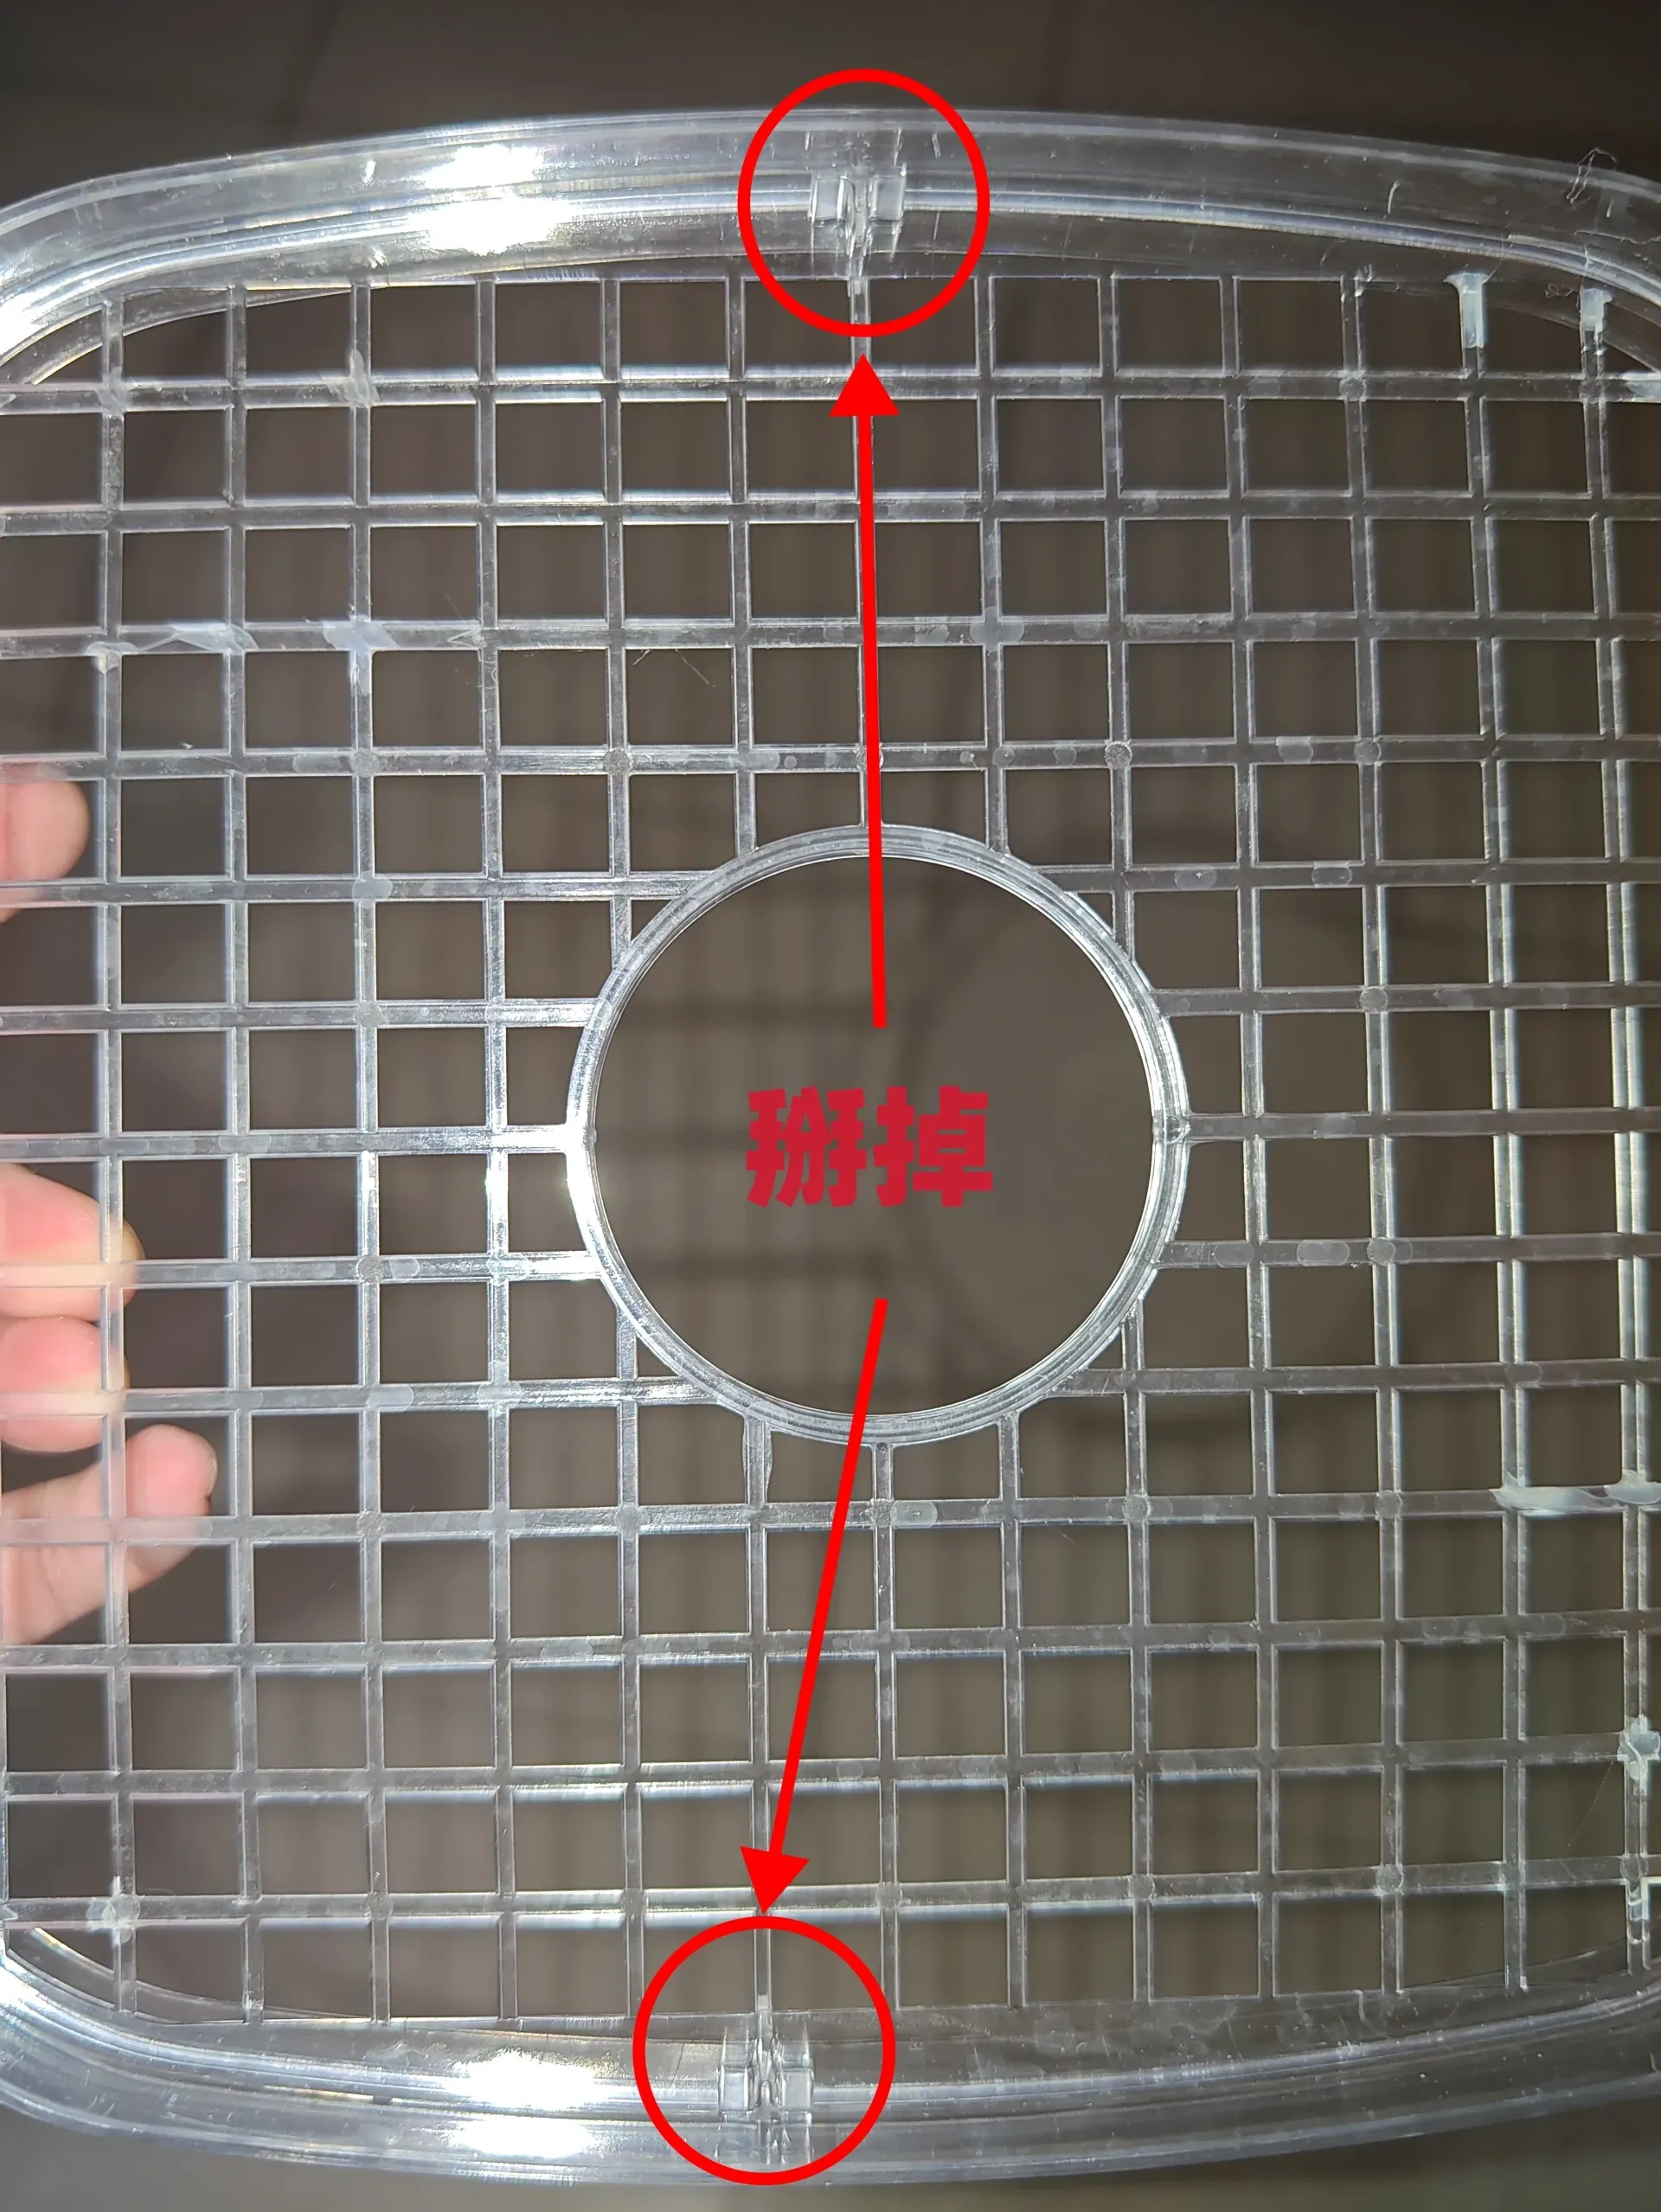
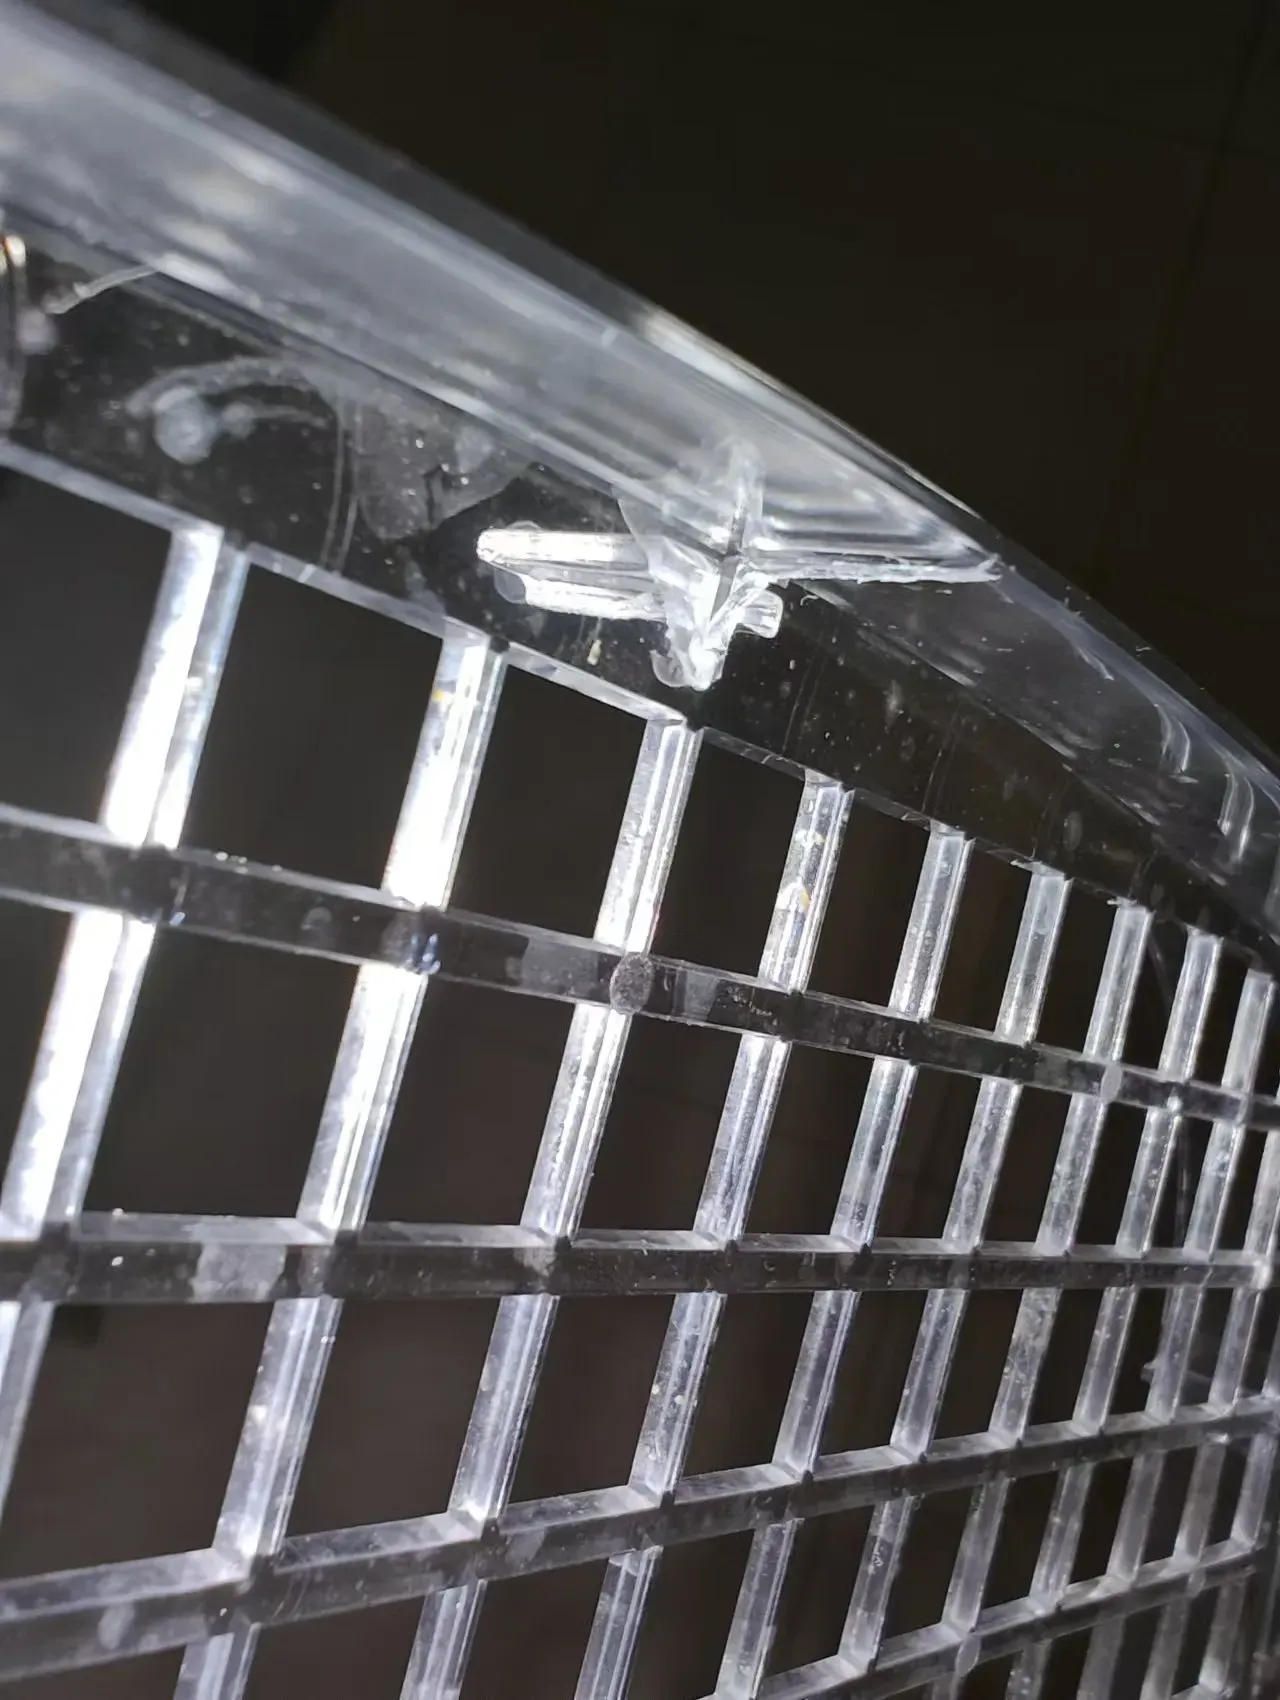
1. Each drying compartment has two small tabs that need to be removed with pliers and lightly sanded; otherwise, they will obstruct the filament spool. Removing them will not affect the nut dryer’s functionality, as shown below:
After removal:
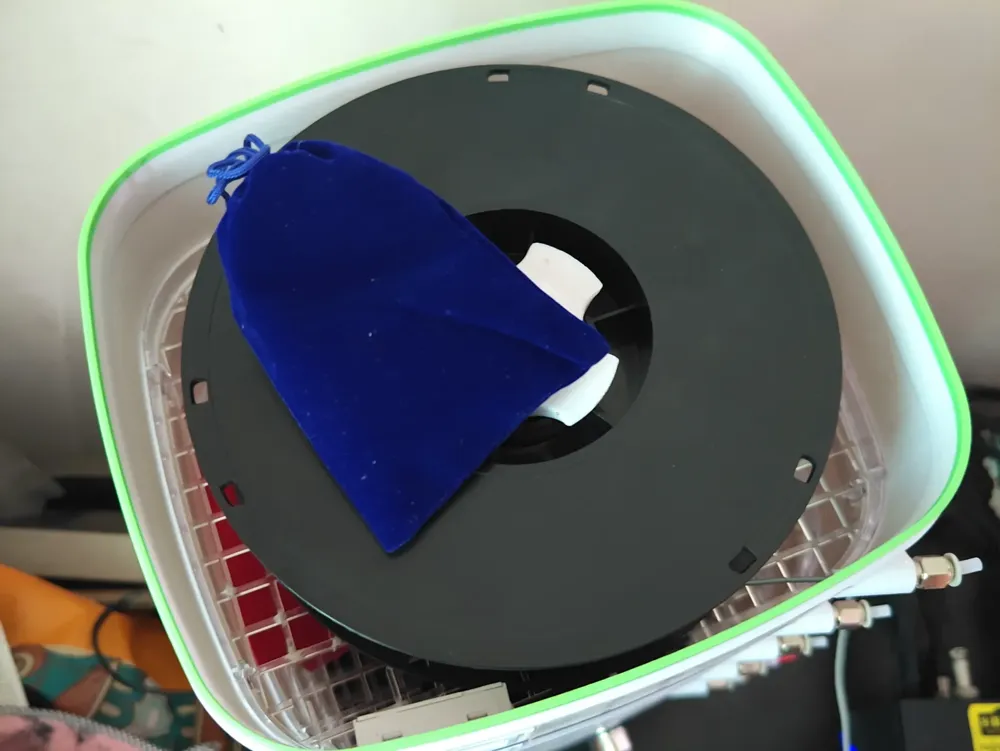
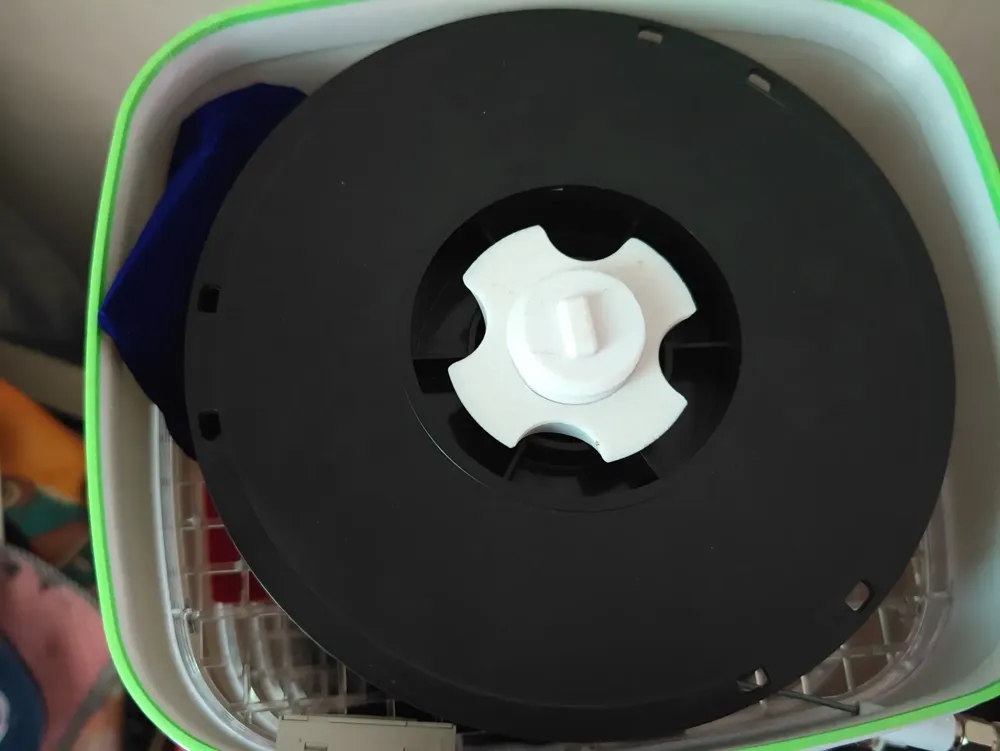
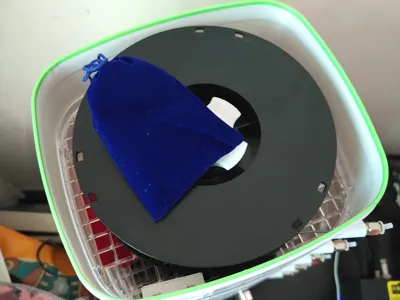
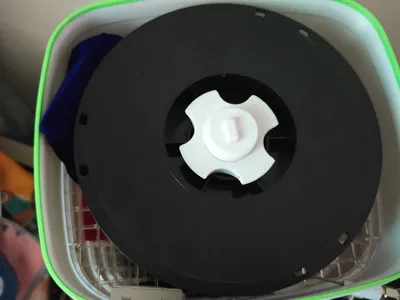
2. Place desiccant beads in a pouch next to the filament; this serves as a desiccant box. Drying the filament also dries the beads—a boon for the less diligent. Placing the desiccant bag beside the spool doesn’t impede smooth filament feed (except when the spool is full, which may cause slight obstruction), as shown below:
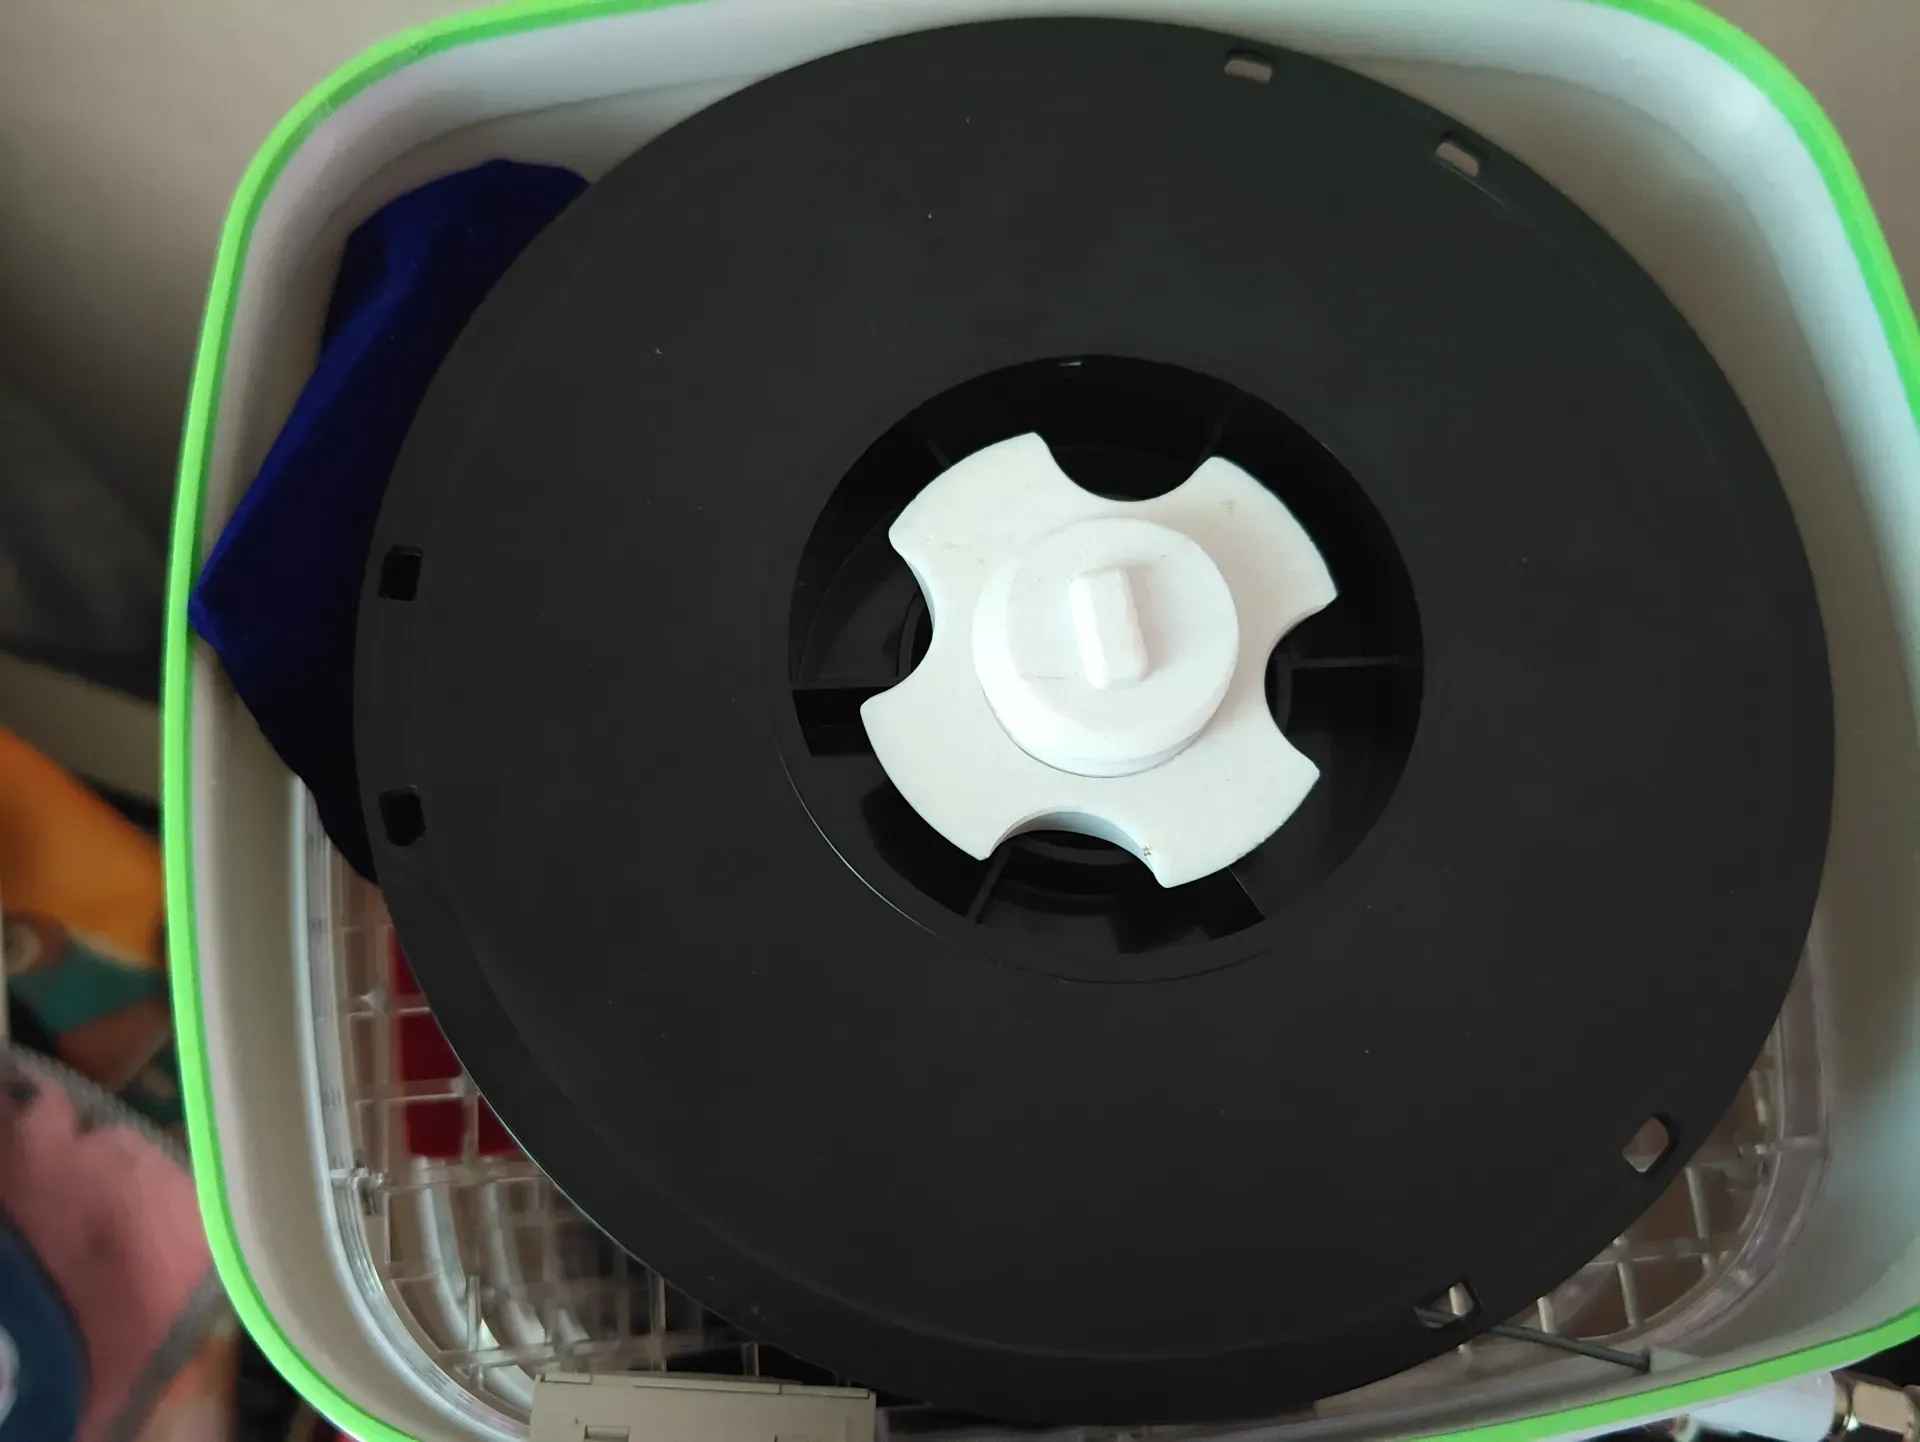
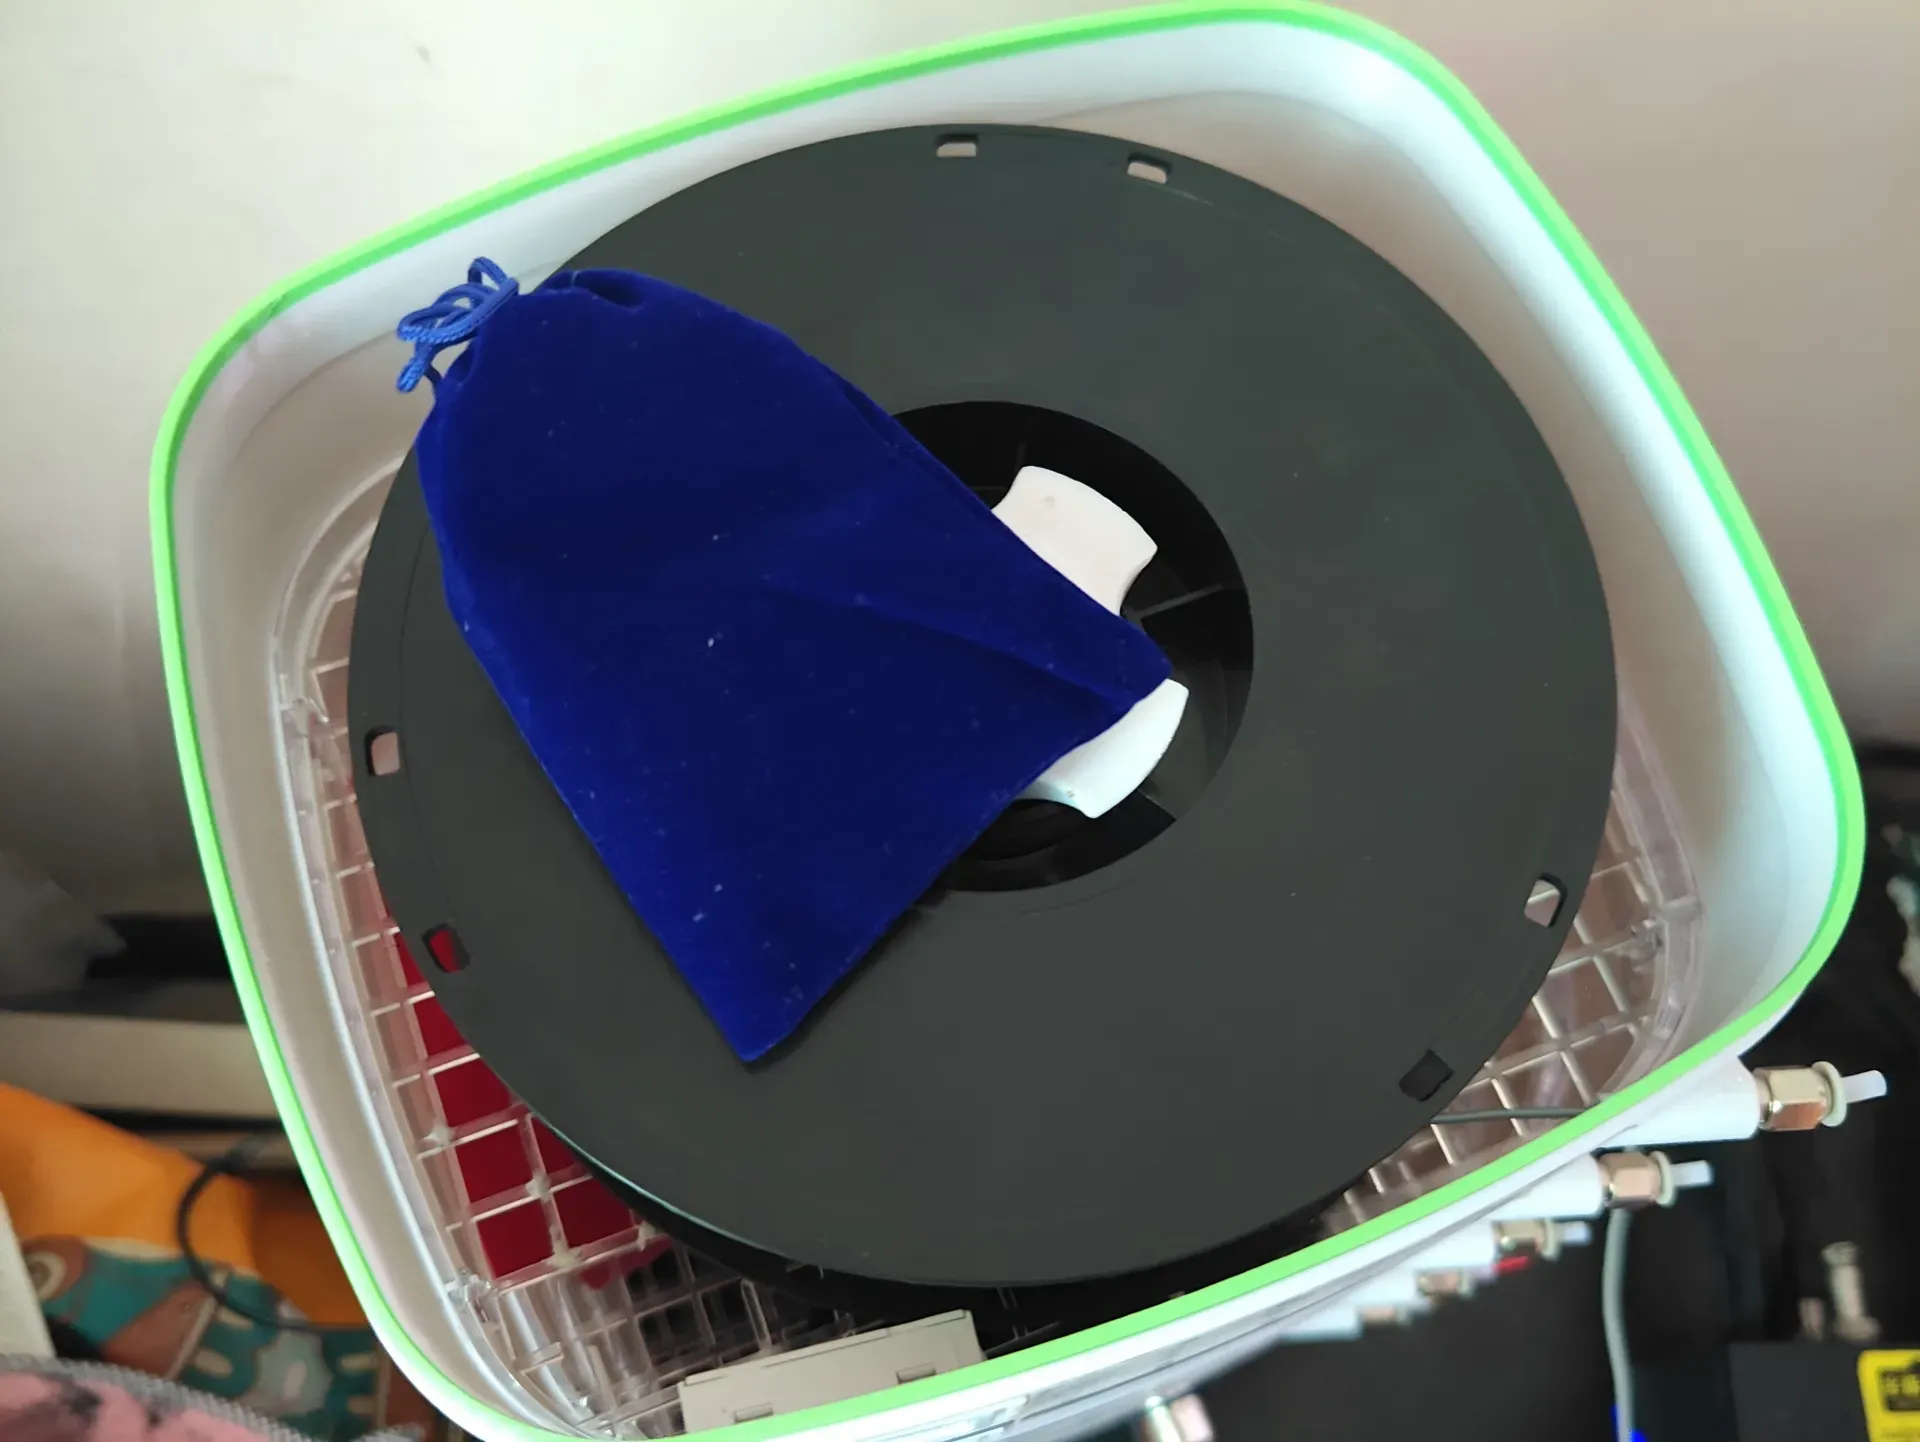
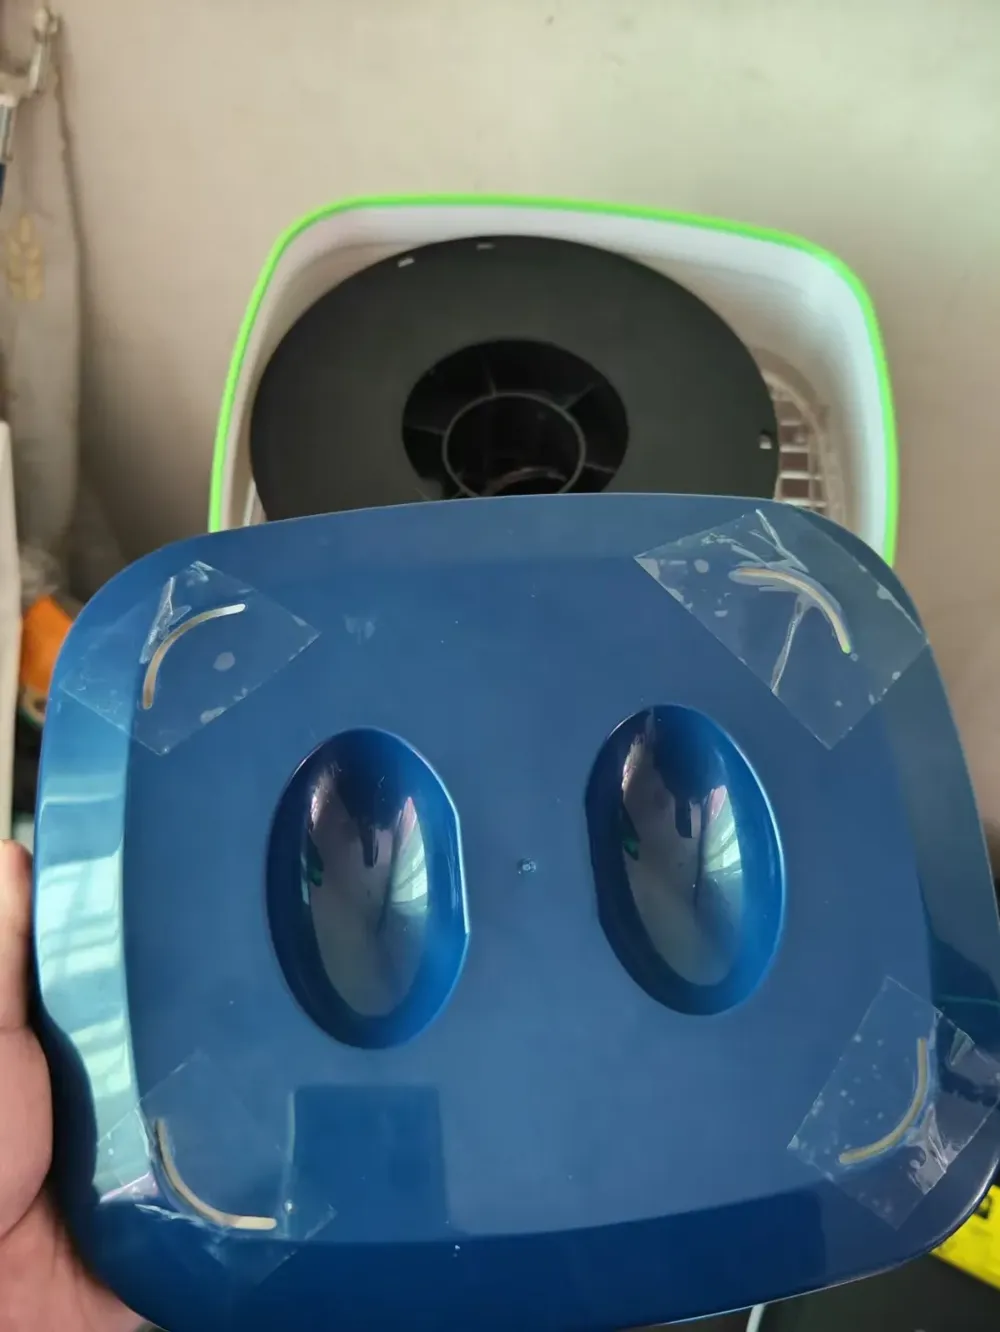
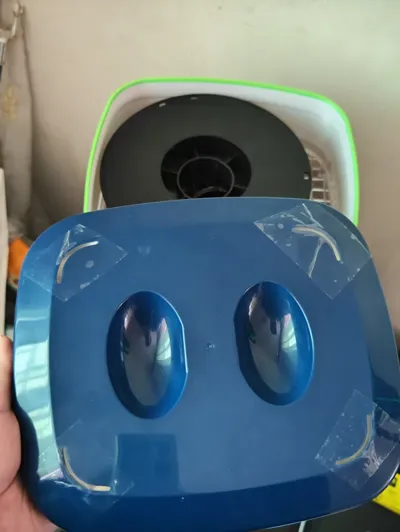
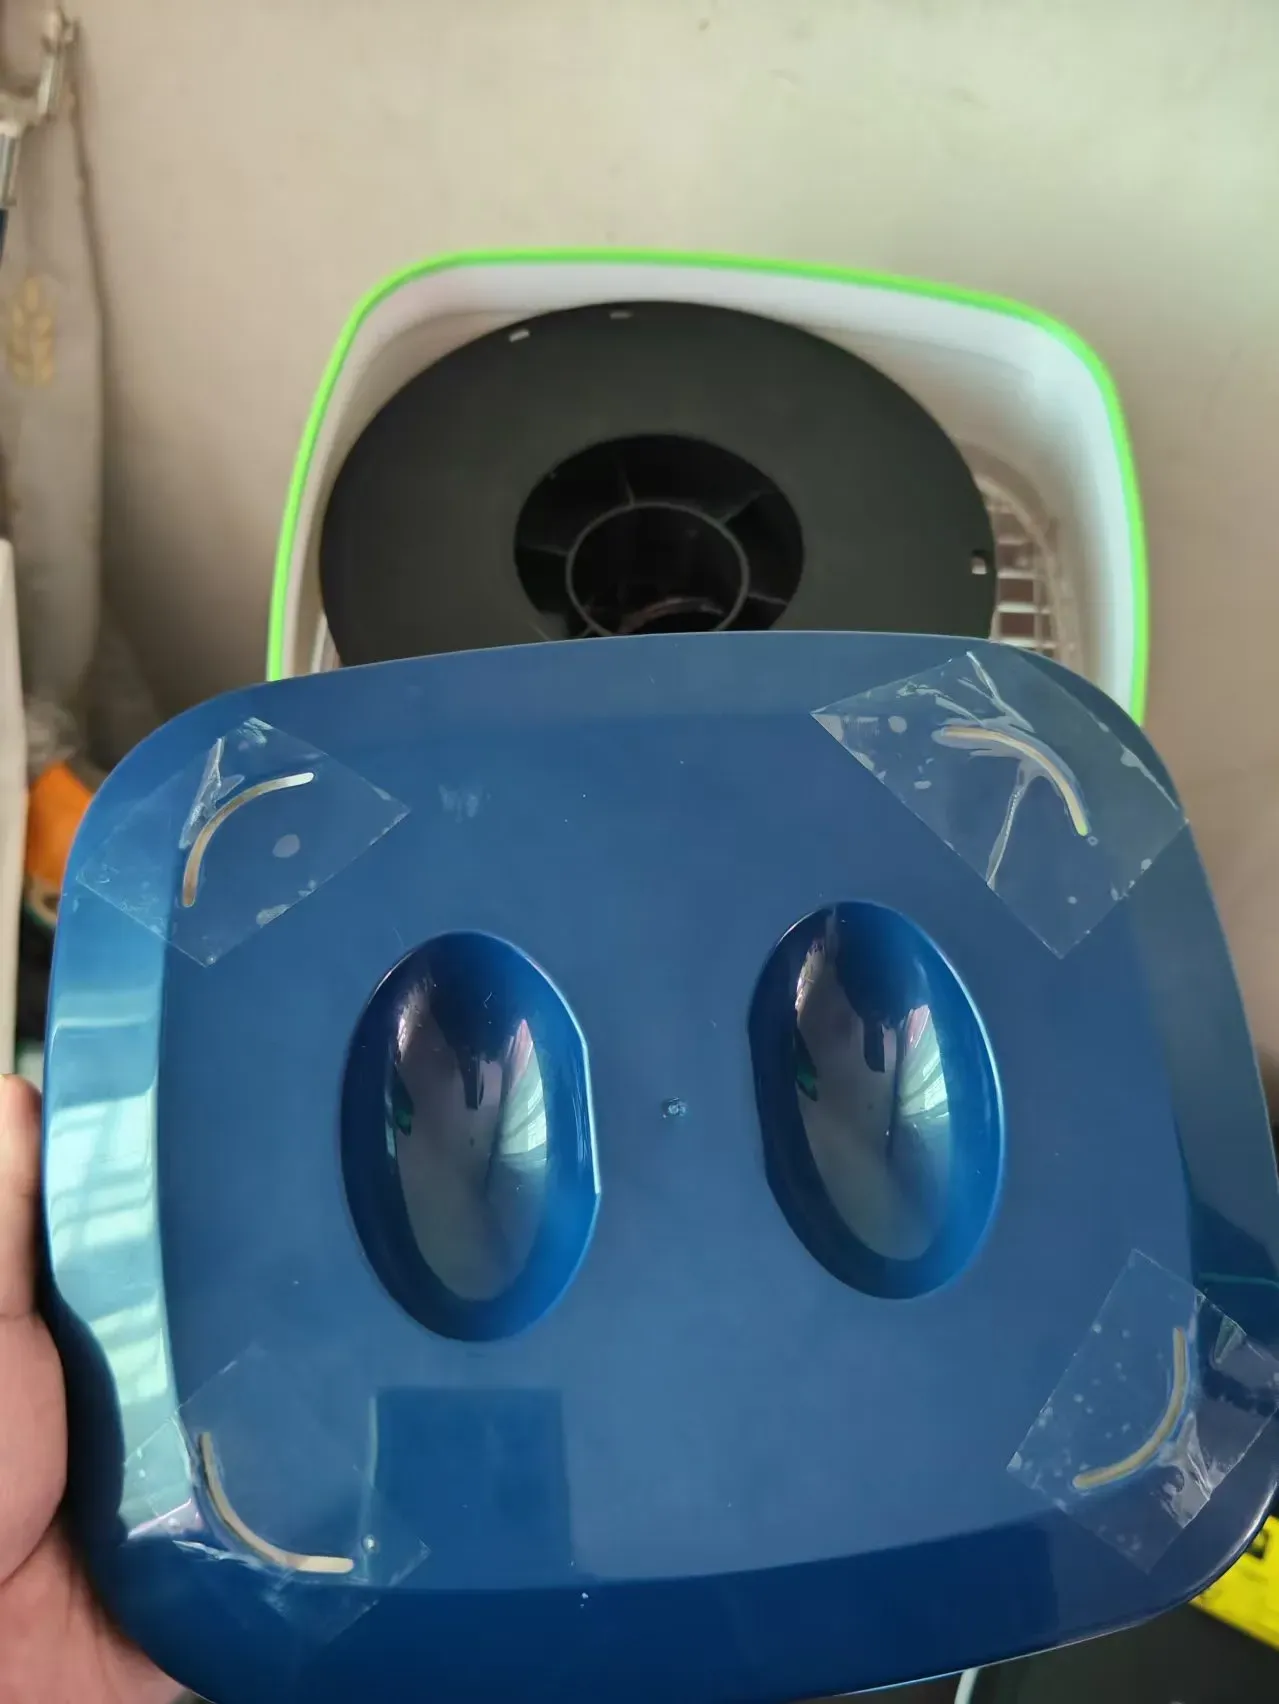
3. Seal the air vents around the nut dryer lid with clear tape. For optimal drying, consider placing a dry towel on top of the lid. In Chongqing’s rainy season, humidity is around 30-40%, which is satisfactory, similar to a rice bin desiccant box, as shown below:
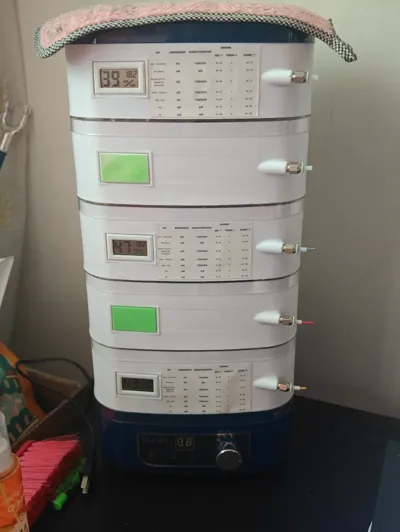
4. Each riser has a hygrometer; it can dry five spools simultaneously. If hygrometers aren’t needed on every layer, cover them with lids. A lid for the hygrometer is included (it’s recommended to place hygrometers on layers 1, 3, and 5), as shown below:
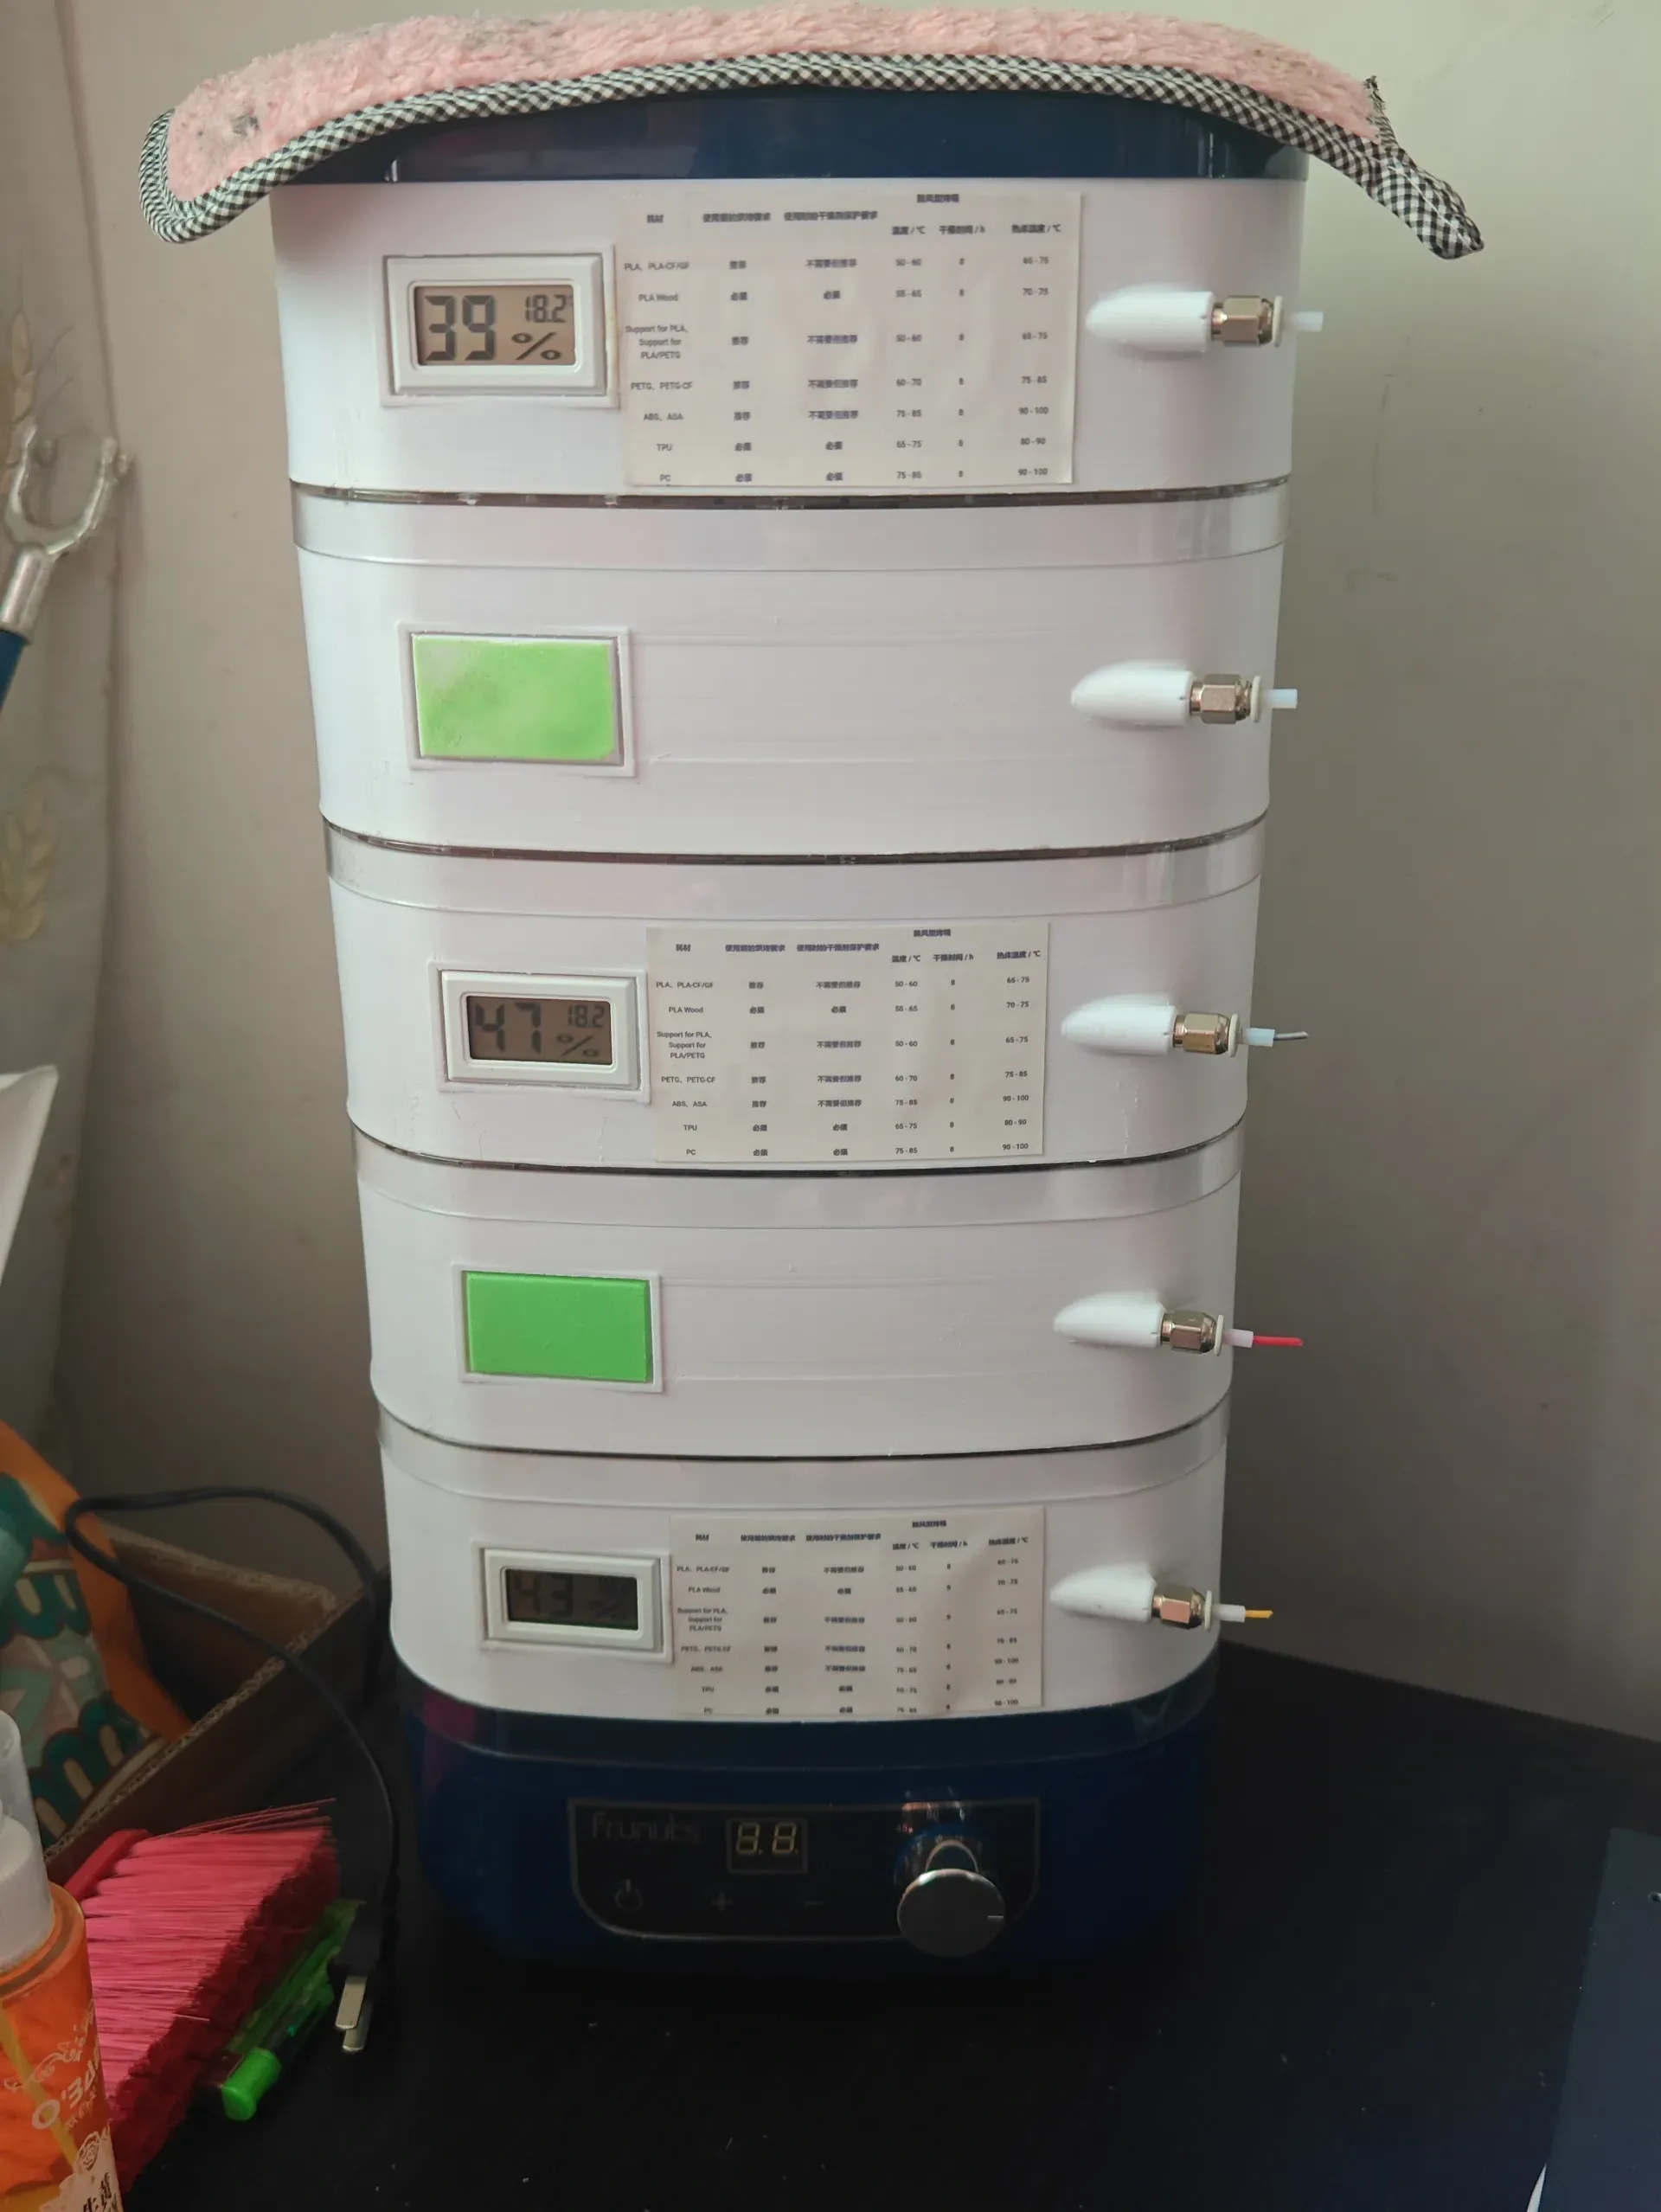
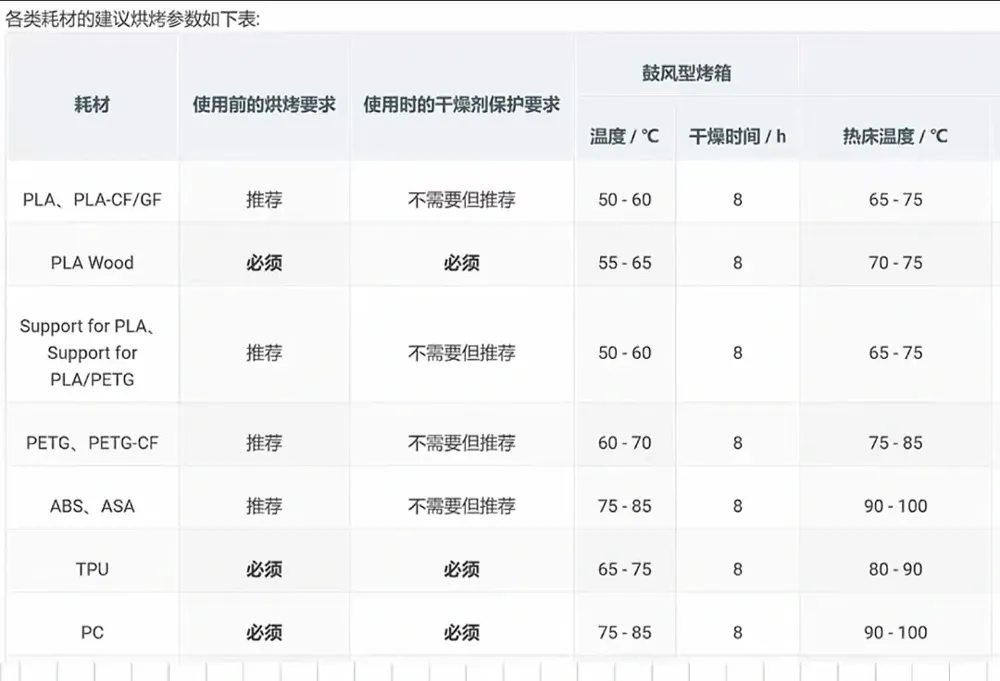
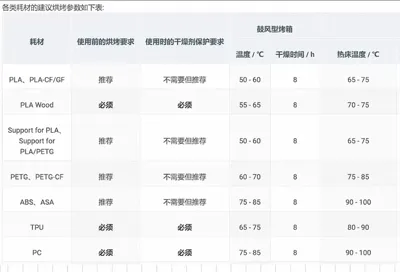
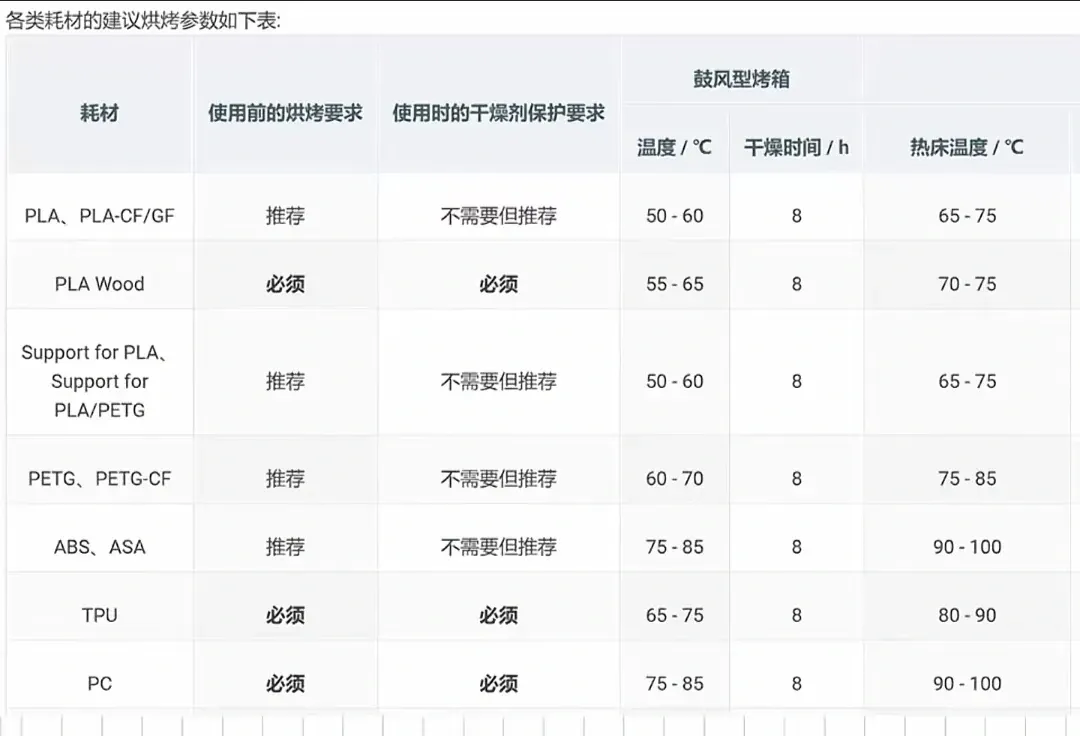
5. Attachments (drying temperature and time chart for each material):
If you enjoy this, please consider boosting me! Thank you!
Documentation (1)
Assembly Guide (1)
半自动干果机干燥箱.pdf
This remix is based on

License

This user content is licensed under a
Creative Commons Attribution-Noncommercial-Share Alike


Comment & Rating (0)