
Adria Twin Supreme Swing Curtain
Print Profile(1)

Description
Greetings,
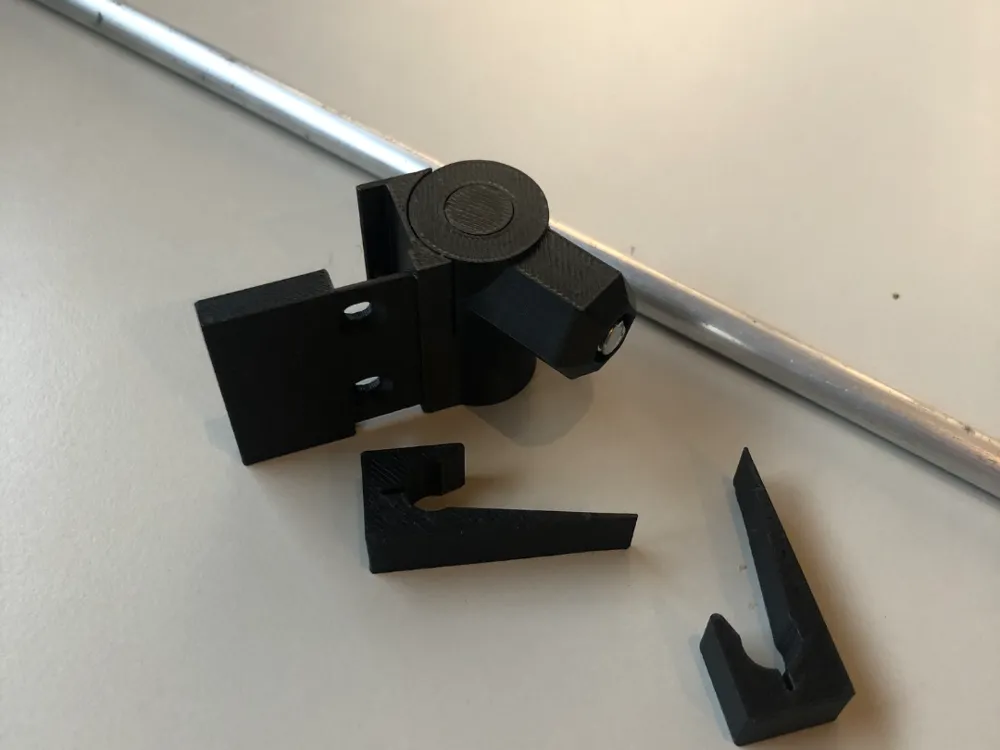
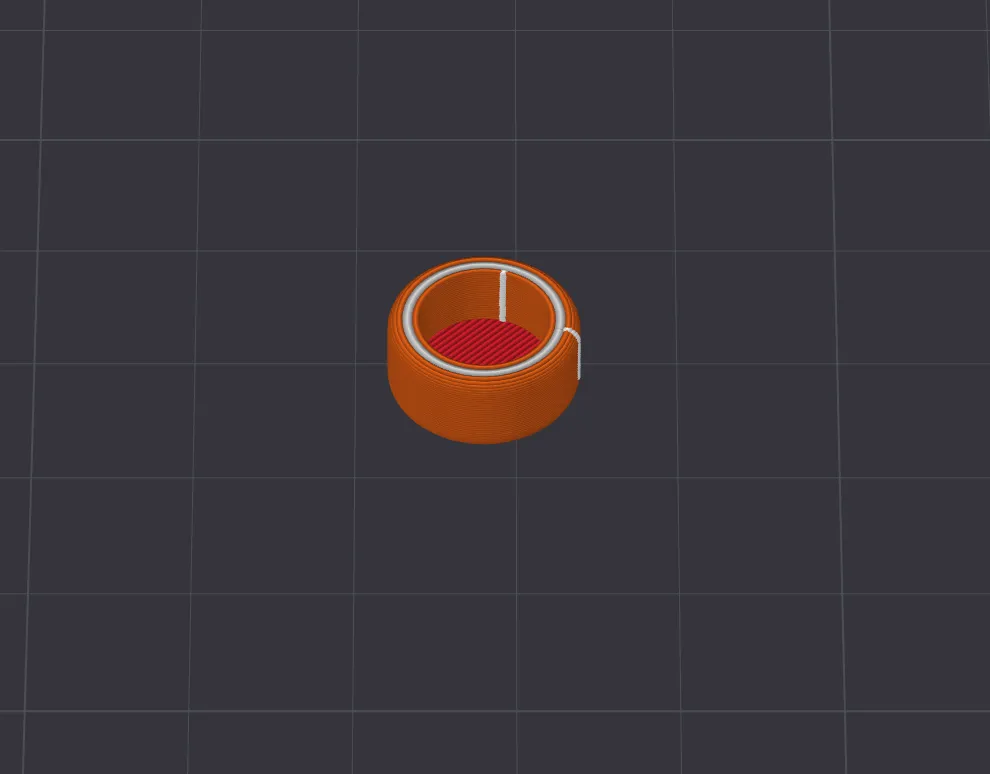
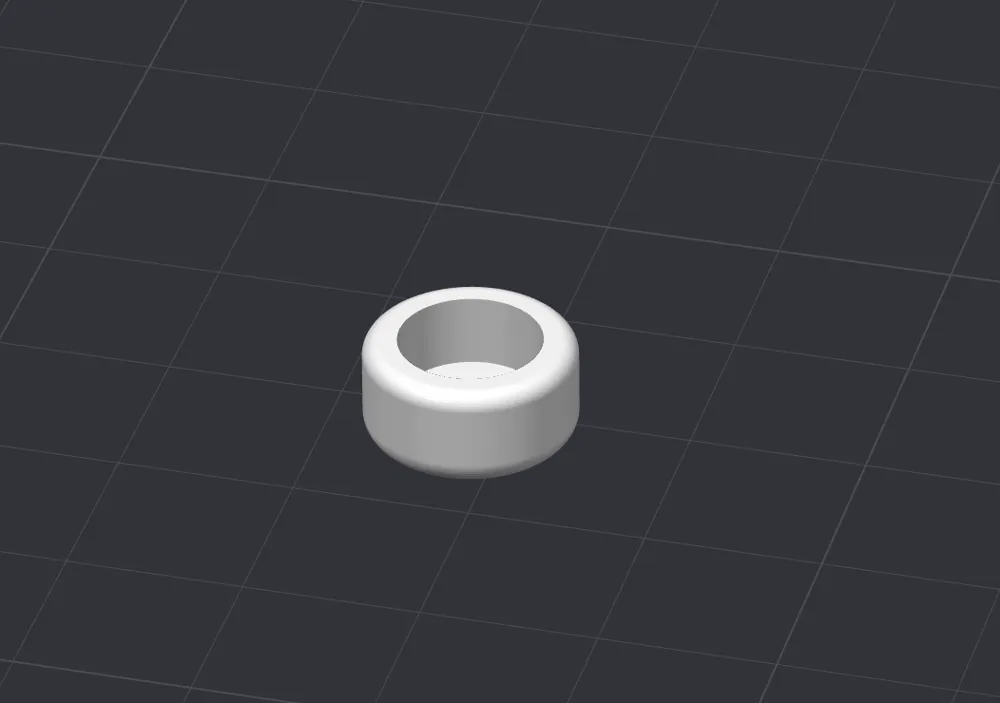
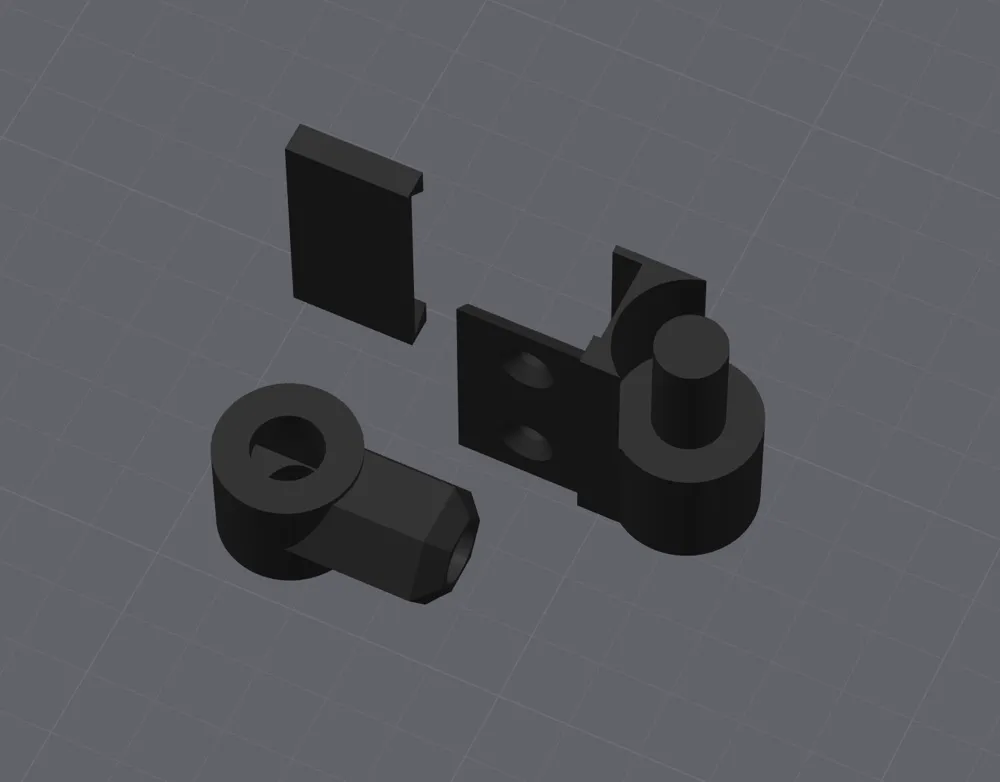
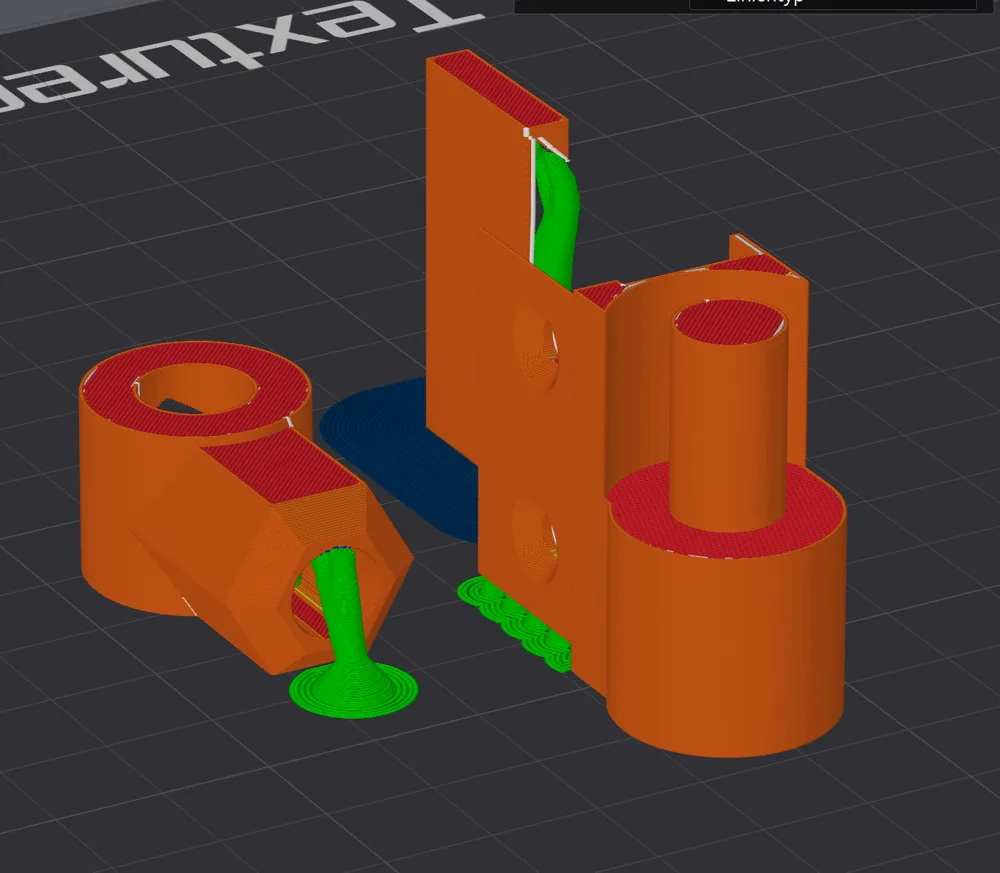
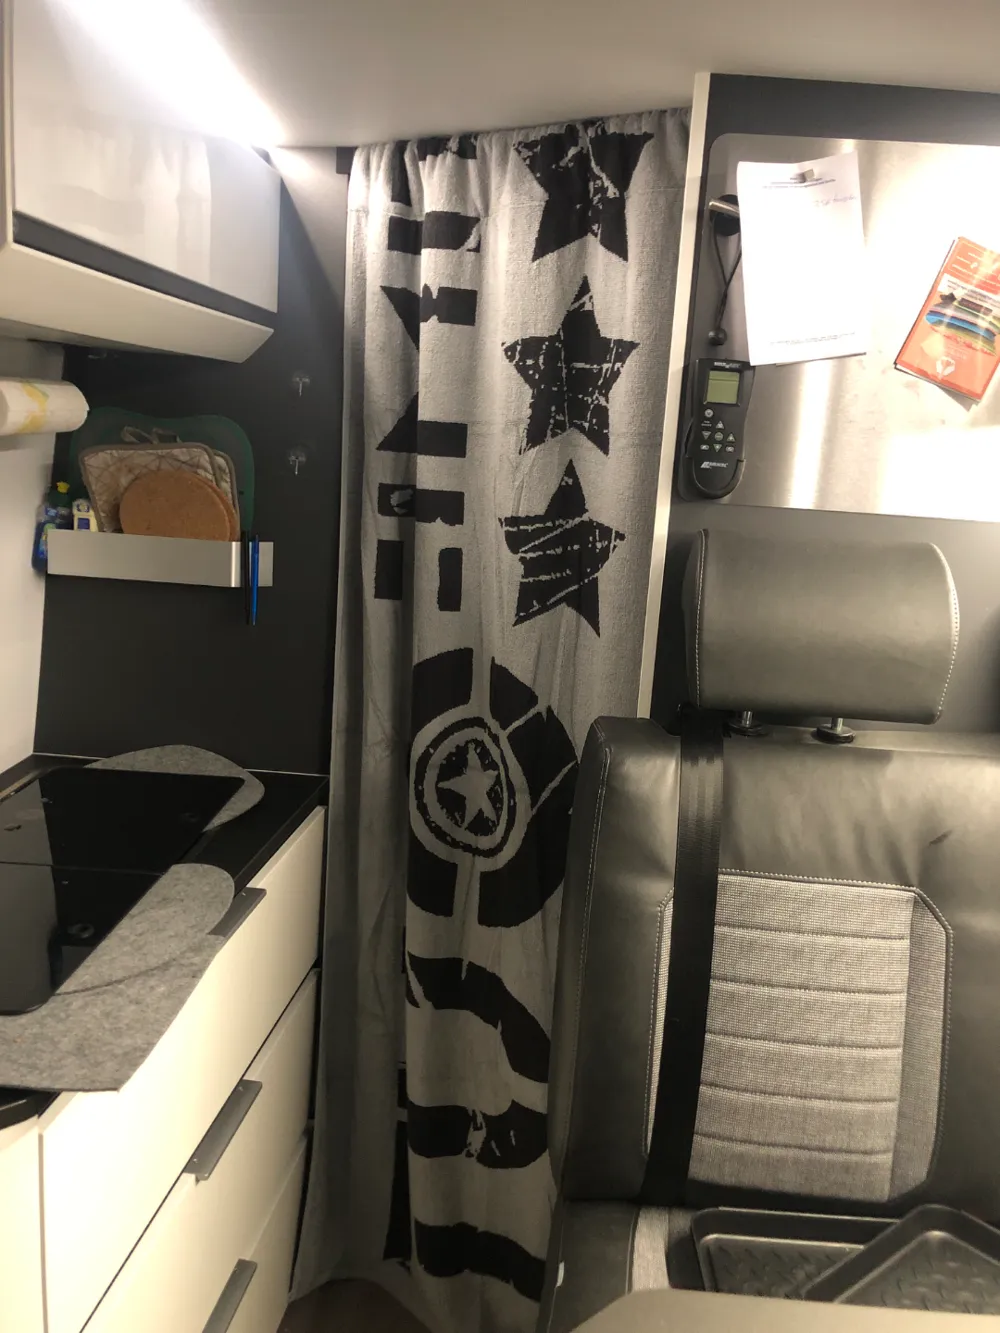
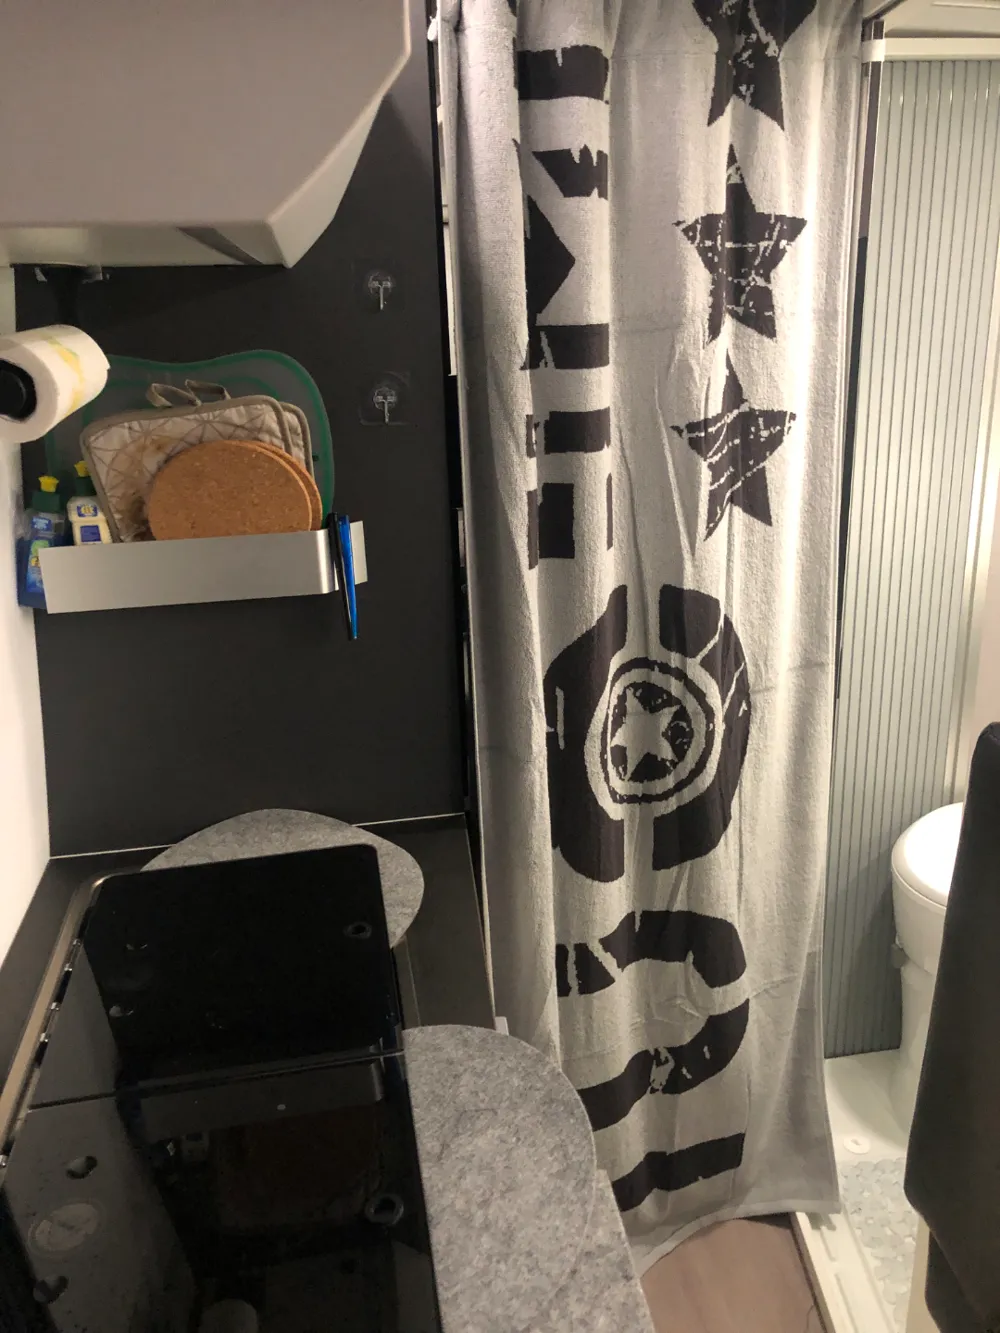
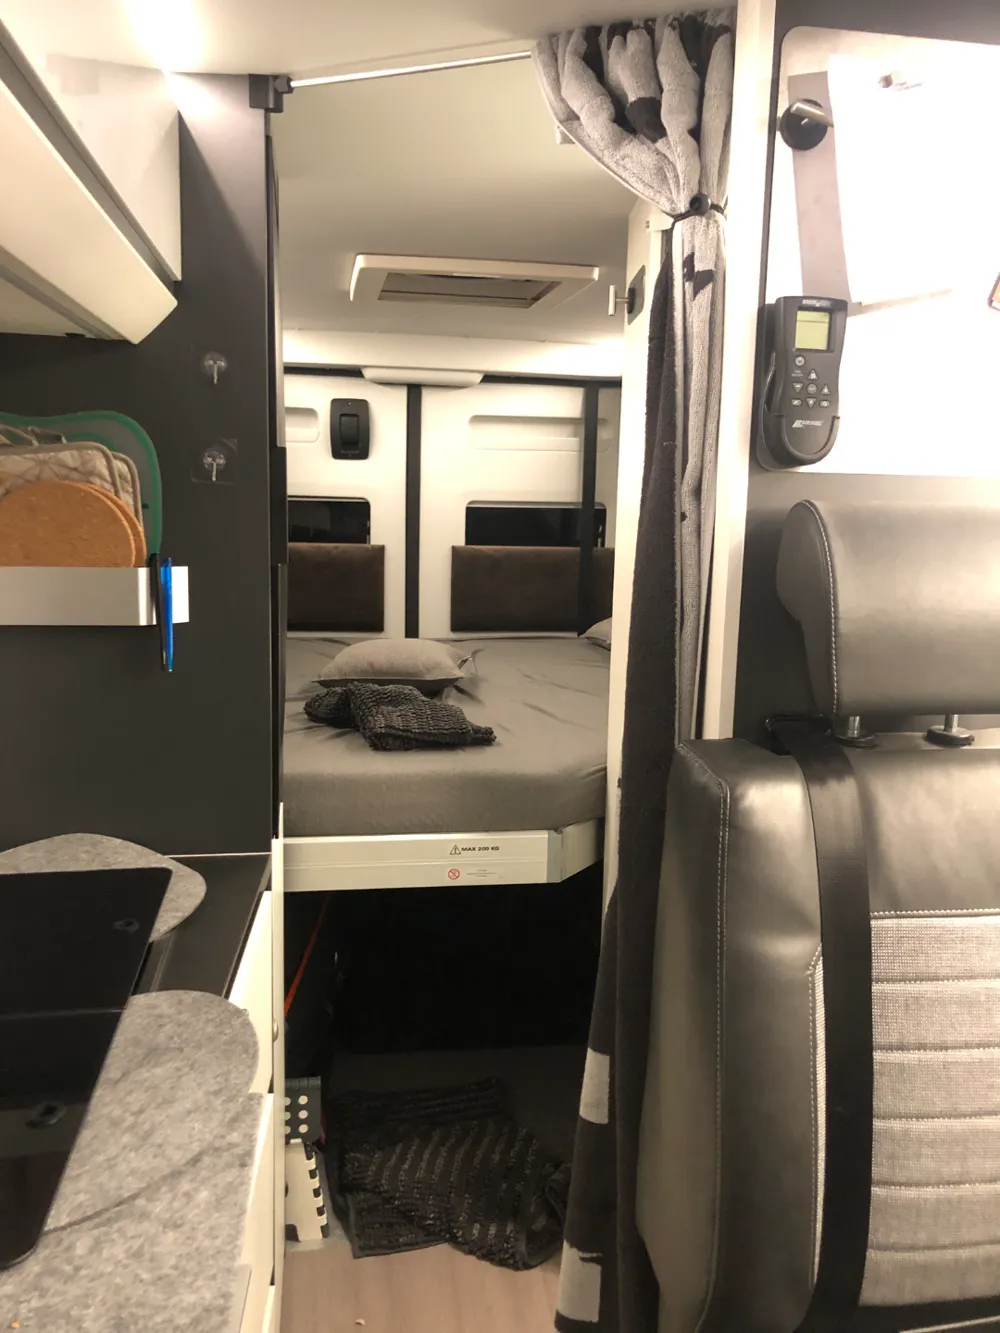
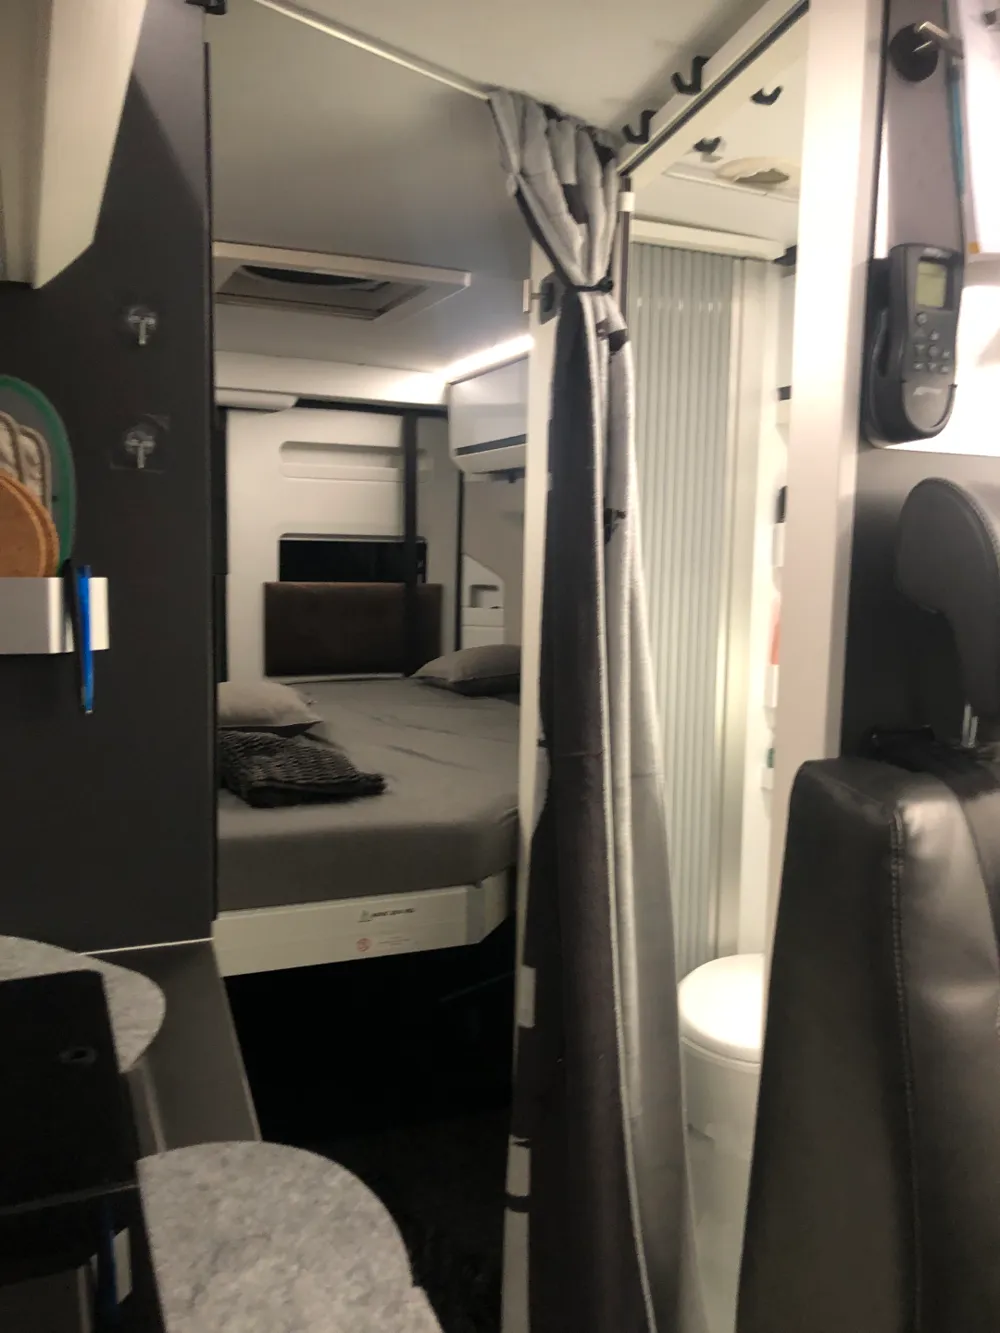
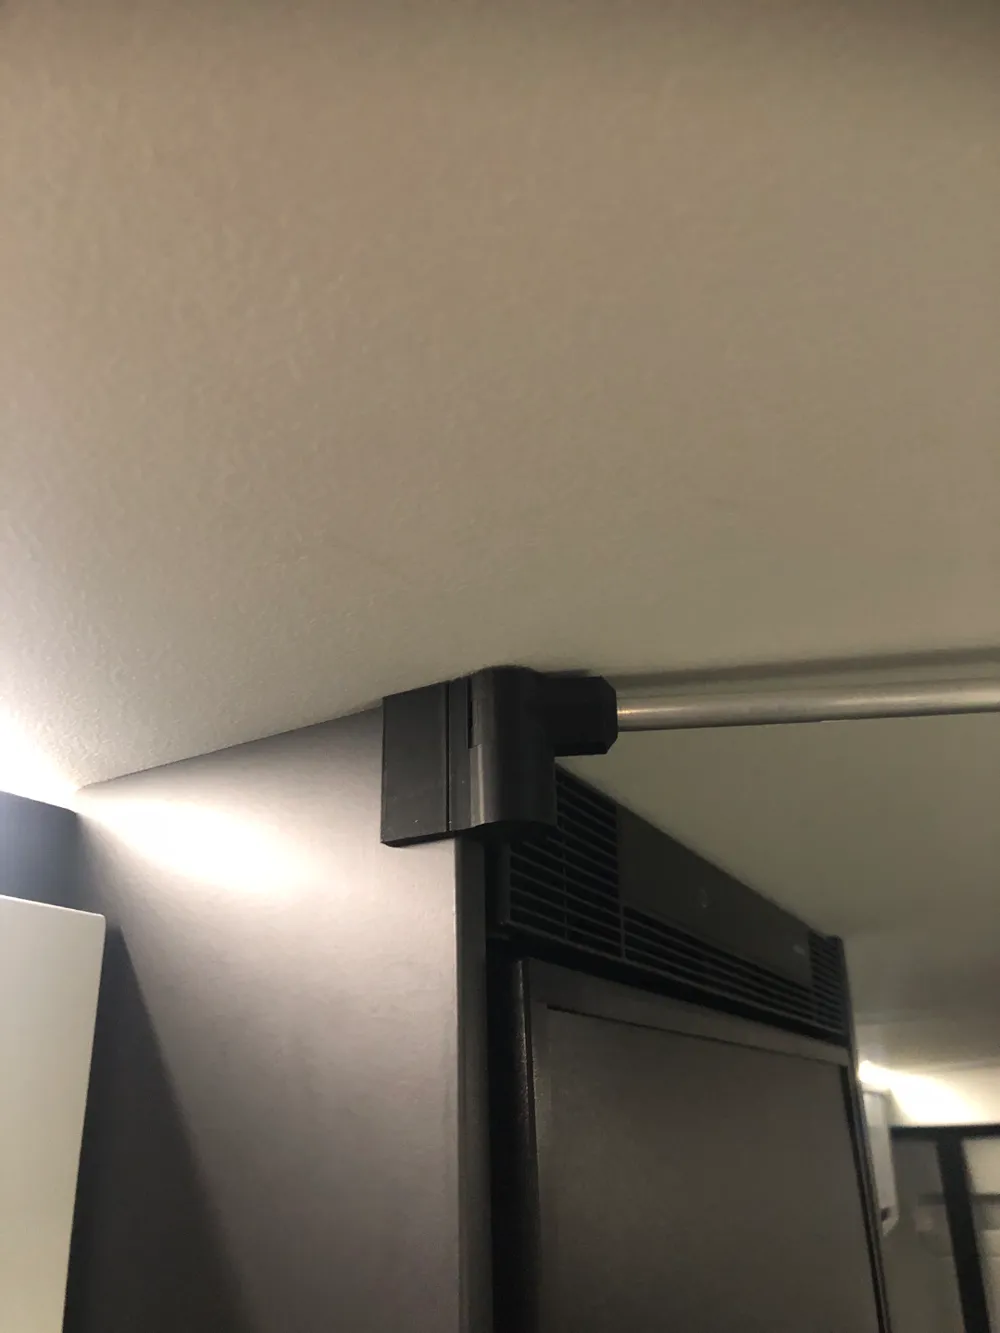
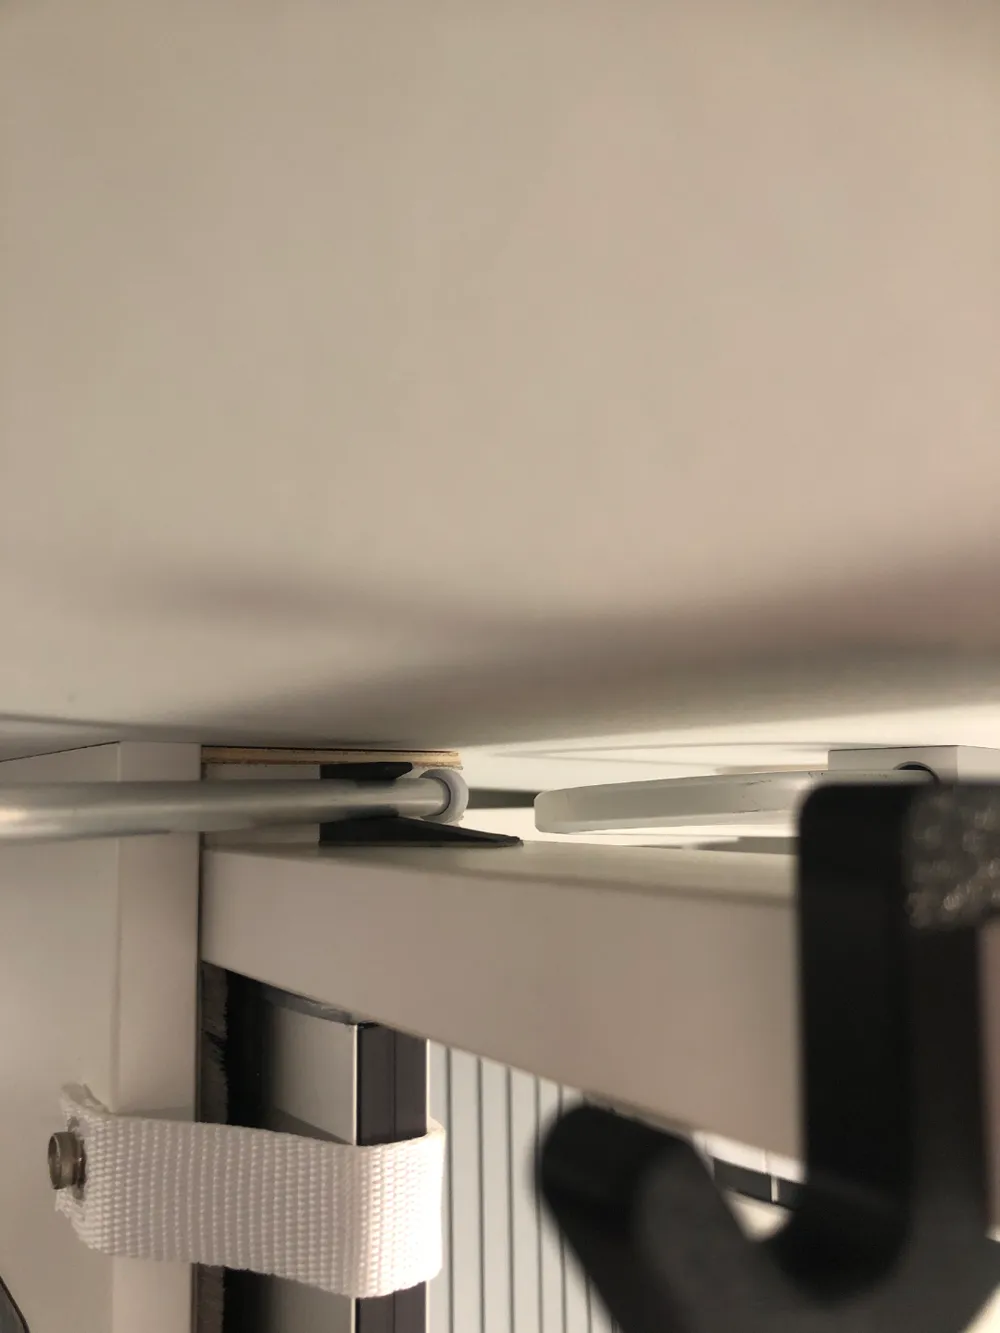
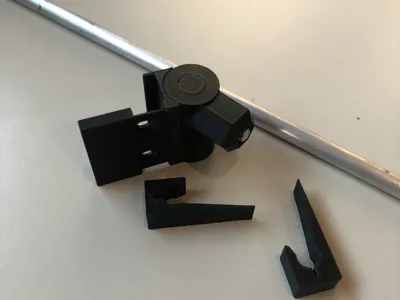
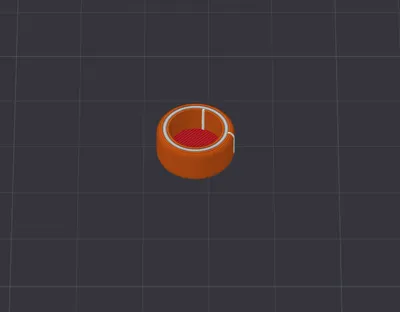
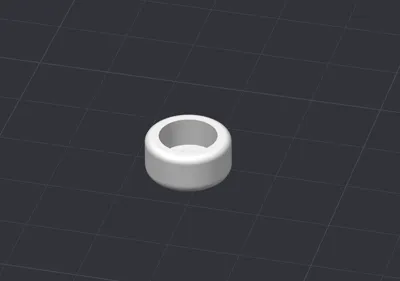
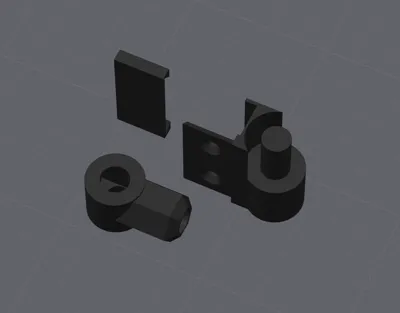
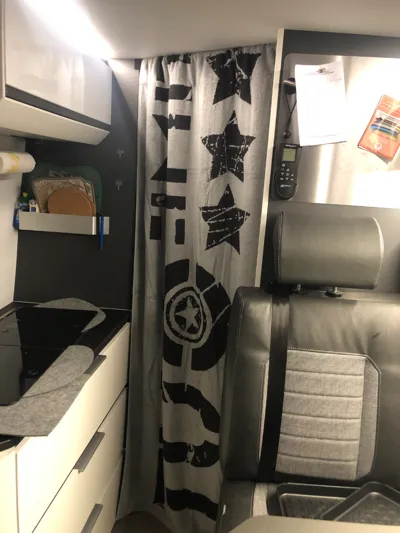
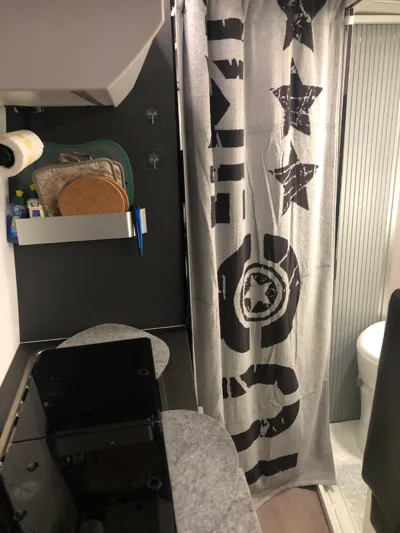
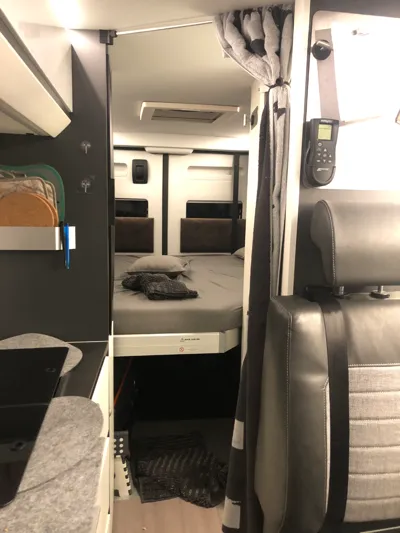
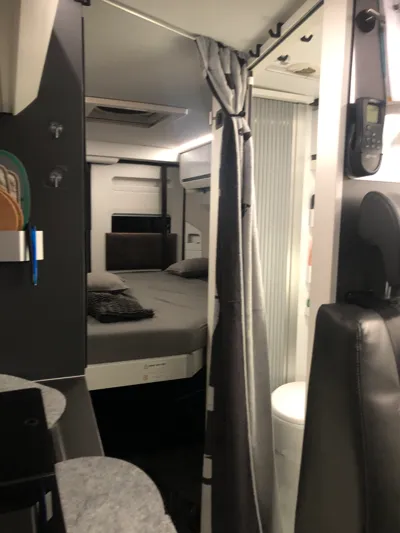
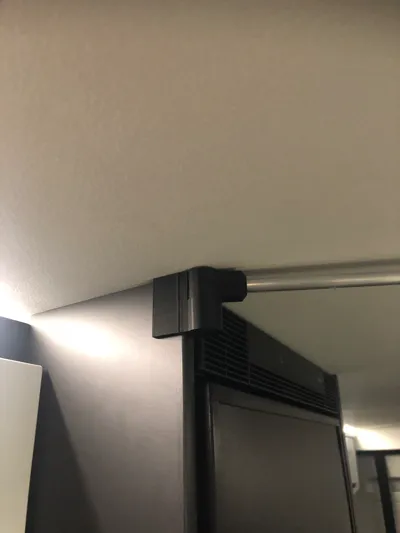
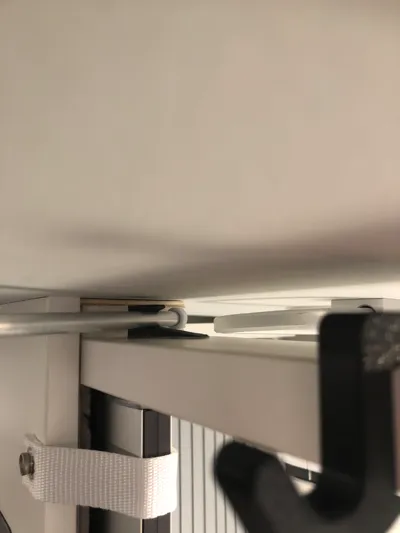
To be frank, I didn’t originate this concept. I encountered a similar design and re-engineered it to my specifications. It incorporates a hinge affixed to the refrigerator’s upper left corner—requiring screws, unfortunately. A 65cm tube is secured to the hinge. A curtain of your choosing is then mounted on this tube. We utilized a 200x80cm towel, hemming 12cm at the top and stitching it securely. The tube slides within the gap above the sliding door, allowing for front or rear mounting. To eliminate rattling, two retaining wedges are adhered to the gap, locking the tube in place. The tube’s end cap was printed in white to prevent potential colored streaks on the ceiling, a risk given occasional contact, especially with our coat hooks (available in my profile, opt for the small variant). After printing, additional components are necessary:
- An aluminum round tube, 650mm long, boasting an 8mm outer diameter and 1.5mm wall thickness. One end requires threading (I employed a ready-made cutter). The tube remains secure in the swivel anchor even without threading, though I favor positive locking mechanisms. Print the end cap on the opposite end.
- An M6x16 screw. Inserted into the swivel anchor, it secures the tube.
- Two 3.5x12mm wood screws. Ensure a relatively small head for compatibility with the cover.
- Approximately 5cm of double-sided adhesive tape for securing the retaining wedges.
Installation is straightforward. Attach the hinge to the refrigerator’s exterior wall, sliding it upward until flush, and securing it with the 3.5x12mm screws. Position the cover over the screws. Slide the aluminum tube, complete with end cap, into the gap between ceiling and sliding door frame, and secure it to the hinge. Affix adhesive to the catch wedge’s opposite side (refrain from peeling the backing yet). Position the rod at one end, then adjust it approximately 1mm in the opposite direction. Slide the catch wedge along the tube until optimal placement is achieved. Swing the tube and wedge toward the center, remove the adhesive backing, firmly press the wedge against the ceiling, reposition it 1mm from the end stop, and press downward, gently assisting with your fingers if necessary. Repeat this process for the other wedge. Finally, slide your chosen curtain onto the rod.
Addendum: If screwing into the visible sidewall is undesirable, mirror the wall anchor in your slicer for internal attachment. This necessitates refrigerator removal. Thanks to Christian for this suggestion.
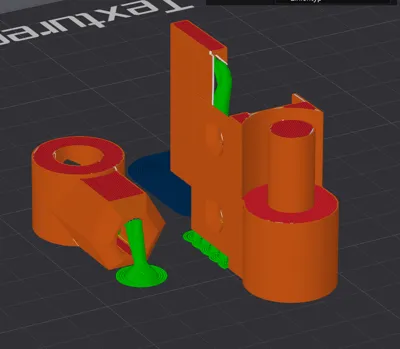
Printed using PETG, 0.16mm layer height, 4 wall lines, 25% infill, and tree support structure. End cap printed in white; remaining parts in black.
Happy printing!
License

You shall not share, sub-license, sell, rent, host, transfer, or distribute in any way the digital or 3D printed versions of this object, nor any other derivative work of this object in its digital or physical format (including - but not limited to - remixes of this object, and hosting on other digital platforms). The objects may not be used without permission in any way whatsoever in which you charge money, or collect fees.


Comment & Rating (11)