Ventilation Top V2 for P1 and X1 Series


Print Profile(1)

Bill of Materials


Description
Hello everyone,
With this project, I want to address a problem of the P1 and X1 series, for people who print a lot of PLA.
Since PLA has a very low melting temperature, the door should actually always be open and the glass cover removed during printing to minimize the risk of a nozzle clog. However, this increases the noise level and dust enters the housing, which is not an optimal solution.
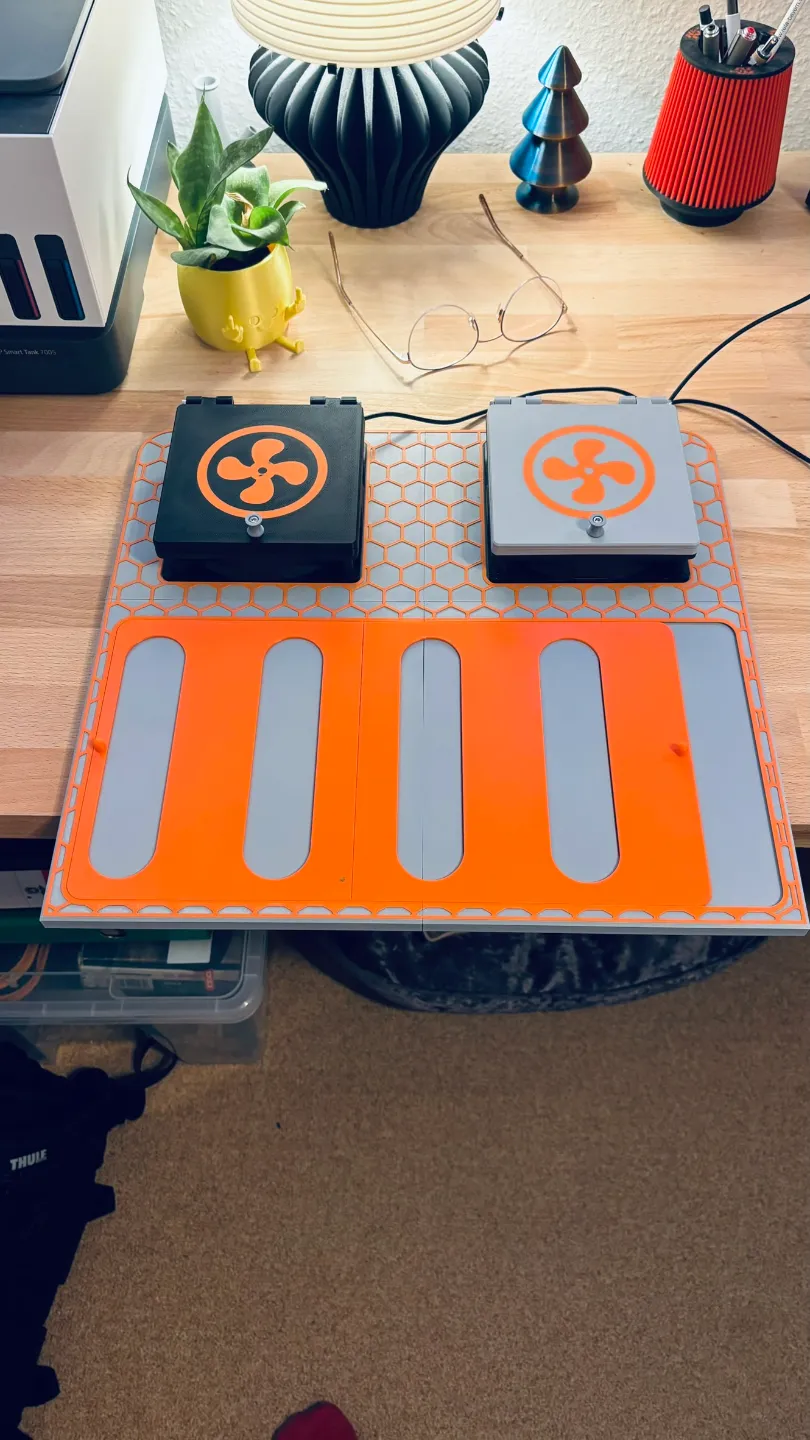
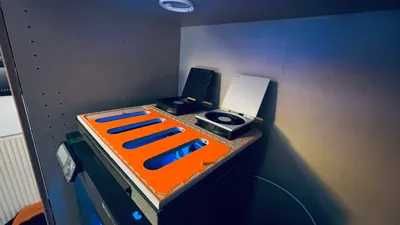
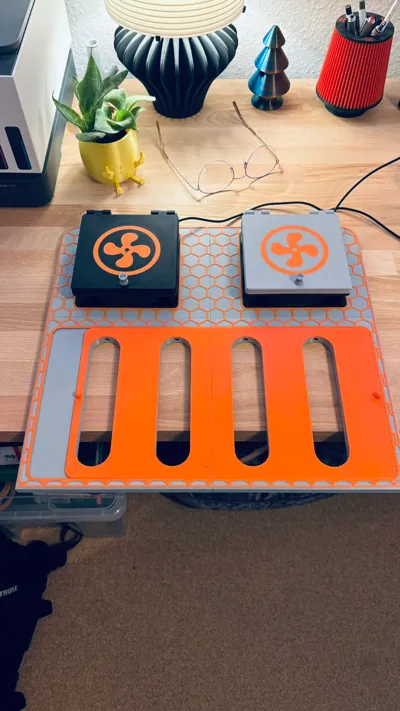
Therefore, I have designed a replacement for the glass cover.
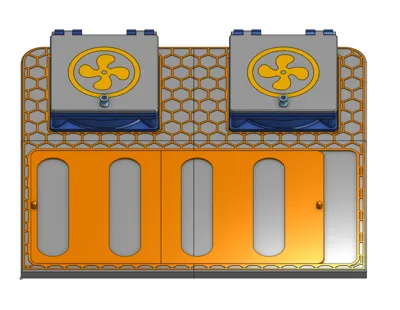
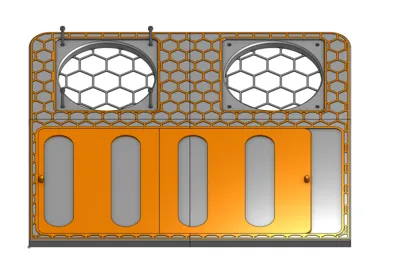
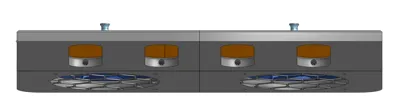
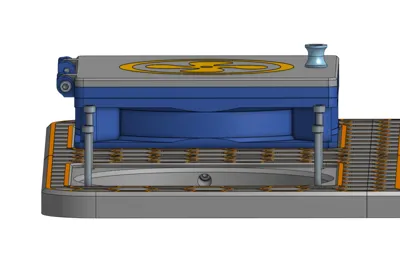
The Ventilation Top is divided into several parts to allow for optimal printing.
I used PETG-HF for all parts, which should be perfectly sufficient for the temperatures prevailing in the build chamber.
I strongly recommend using my print profile to ensure the perfect fit in the end.
If you also use PETG-HF, it is important that it is sufficiently dried before printing, otherwise the accuracy of fit and print quality will suffer greatly.
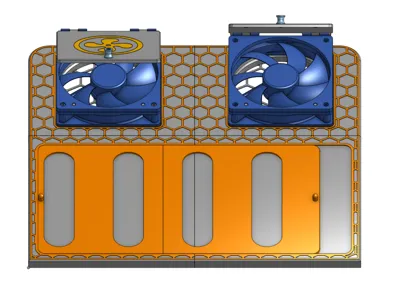
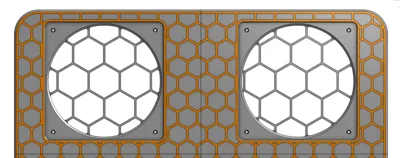
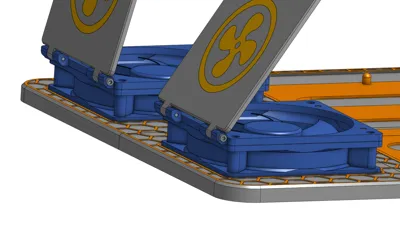
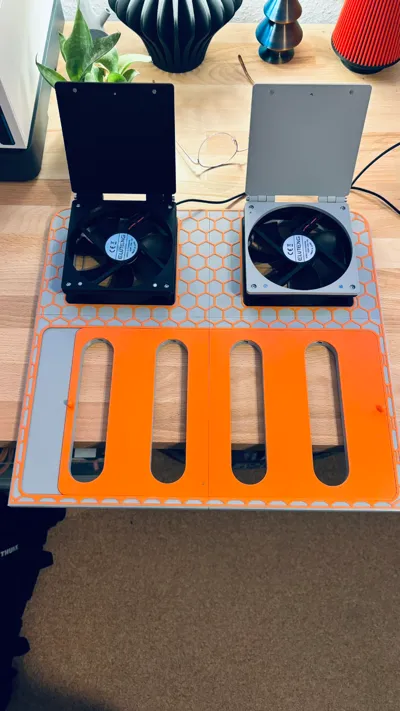
The Ventilation Top is designed for two 120 mm fans, which either (Variant 1) bring fresh air into the housing or (Variant 2) extract warm air from the housing. In Variant 1, I have integrated an additional filter that can be printed. Theoretically, however, this should not be necessary, since the air pressure should push the sucked-in dust back out. The use of the filter is up to each individual.
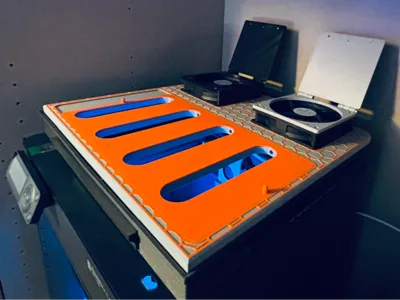
Furthermore, additional ventilation slots can be opened via the slider to improve air exchange.
However, to ensure that materials requiring a high build chamber temperature can still be printed, the fans and ventilation slots can be closed. This ensures that the functionality of the printer is in no way restricted.
For the fans, I used 120 mm fans powered via USB, a simple solution. I am also working on a small Arduino project that automatically starts the fans when the build chamber temperature exceeds a certain value and switches them off again when this value is undershot. I will link this project here when it is finished.
Regarding the required parts:
- 13 × M3 × 5 melt-in threaded inserts (Voron Style)
- 5 × M3 × 16 or M3 × 18 DIN 912 countersunk screws
- 12 × M3 × 30 DIN 912 countersunk screws
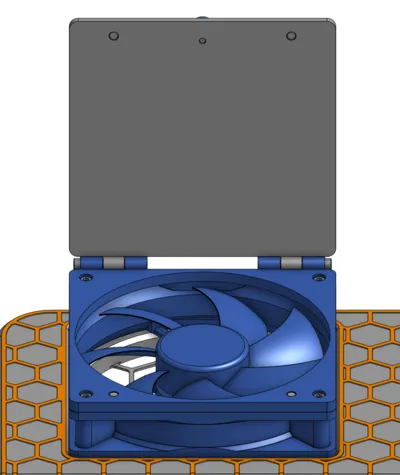
- 2x 120mm fans 24-25mm high
- Optional 8 × 4 × 2 mm magnets for the fan cover
For assembly:
Assembly is actually quite self-explanatory.
I will add a few more pictures with cross-sections, which will hopefully clarify any remaining questions.
However, if you have any further questions, feel free to write to me.
Boost Me (for free)
If you like this project, I would be very grateful for a free BOOST, many thanks.
License
You shall not share, sub-license, sell, rent, host, transfer, or distribute in any way the digital or 3D printed versions of this object, nor any other derivative work of this object in its digital or physical format (including - but not limited to - remixes of this object, and hosting on other digital platforms). The objects may not be used without permission in any way whatsoever in which you charge money, or collect fees.
Comment & Rating (0)