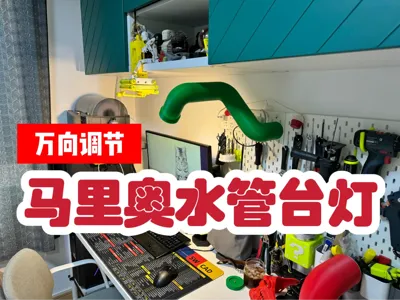
Mario Pipe Lamp, Creative Desk Lamp, Omnidirectional Adjustment, No Dead Angle Lighting, Compatible with IKEA Skadis Pegboard


Print Profile(1)
Description
Boost Me (for free)
Creating this was no small feat, the limited-rotation mechanism required numerous iterations, revisions, and setbacks before achieving optimal functionality Your support is greatly appreciated
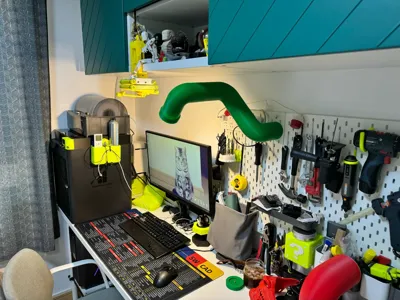
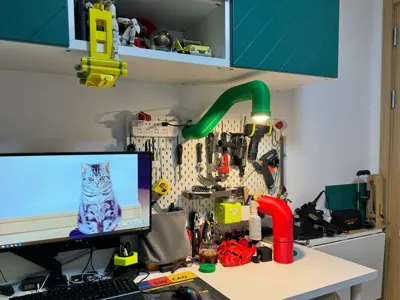
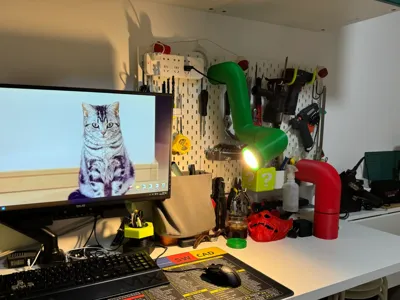
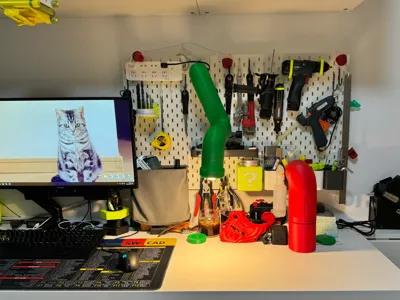
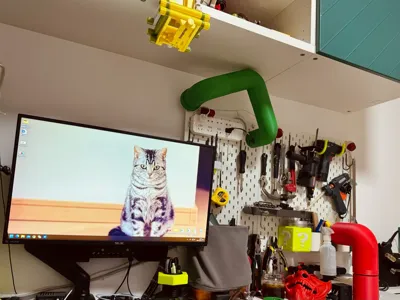
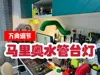
This is a 3D-printed pipe lamp inspired by the iconic Super Mario pipes It features three joints with limited rotation, allowing for versatile illumination adjustment
Note: Construction requires basic soldering skills Please prioritize electrical safety and ensure the power is OFF during assembly
Bill of Materials:
- E27 Ceramic Lamp Holder: 1 https://mobile.yangkeduo.com/goods.html?ps=pfBou35uE4
- E27 LED Energy-Saving Bulb: 1 (Wattage, size, and color temperature are customizable Common table lamp bulbs are suitable Maximum diameter should not exceed 60mm)
- M4x4x6 Injection-Molded Nuts: 2 https://mobile.yangkeduo.com/goods.html?ps=t1hSZfPiTT
- Two-Wire Power Cord: 1 (Length as needed) https://mobile.yangkeduo.com/goods1.html?ps=zvQALR1C8n
- Round Two-Pin Switch: 1 https://mobile.yangkeduo.com/goods1.html?ps=qQsWYmVUSQ
- M6x8mm Button-Head Screws: 9-12 (Recommended for pegboard or wall mounting: 12 screws For suction cup desktop mounting: 9 screws Suction cups may not adhere to non-smooth surfaces) https://mobile.yangkeduo.com/goods1.html?ps=MXjjQFrhLZ
- M4x20 Screws: 5 (2 for lamp holder, 3 for screw-on base)
- M4 Nuts: 3 (for screw-on base)
- M4 Washers: 6 (for screw-on base)
- Suction Cup with M5 Screw: 1 https://mobile.yangkeduo.com/goods.html?ps=z9nlIn9lPv
- M5 Nut: 1 (for suction cup base)
- M5 Washer: 1 (for suction cup base)
Assembly Instructions:
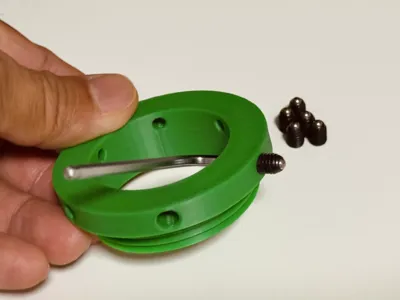
- Install button-head screws (as shown in Figure 6) using a 4mm hex wrench into the three limit screws Each limit screw has six positions; three button-head screws are sufficient (For pegboard or wall mounting, the joint closest to the wall requires all six button-head screws to prevent insufficient limiting force due to excessive leverage)
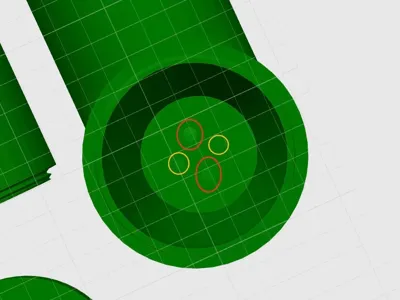
- Insert two injection-molded nuts into the lamp head interior at the locations indicated by the red circles in Figure 7 (The lampshade's design focuses the light forward A simplified lamp head will be provided later for users seeking a less complex alternative)
- Assemble the components in the following order: ["Lamp Body-Power Supply"—"Limit Screw + Limit Nut"—"Lamp Body-Middle"—"Limit Screw + Limit Nut"—"Lamp Body-Head"] Feed the power cord through each section, exiting at the yellow circled location in Figure 7 Pass the cord through the corresponding holes in the white lampshade, and secure it using the lamp holder screws
- Using two M4x20 screws, secure the lamp holder into the designated slots After passing through the lampshade, screw them into the injection-molded nuts embedded in the "Lamp Body-Head" (During assembly, retract excess wiring between the lampshade and the body to prevent entrapment)
- Tighten the three main components using the "Limit Screw + Limit Nut" and test the functionality of the button-head screw limiters
- Cut a power cord at the designated switch location and solder each end to the switch's terminals Secure the switch from the inside using 502 adhesive or hot melt glue
- For the screw-on base (Figure 8), secure the base to the pegboard using three M4x20 screws, including the washers Then, screw the last set of "limit screws + limit nuts" with 6 button-head screws into the base, completing the lamp assembly
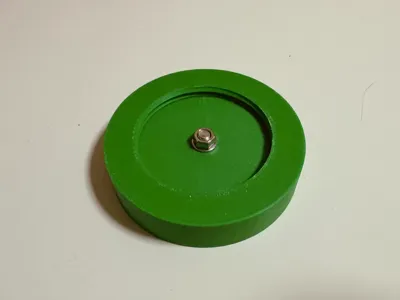
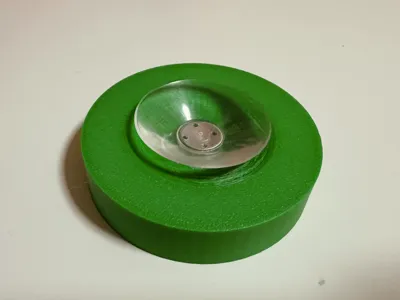
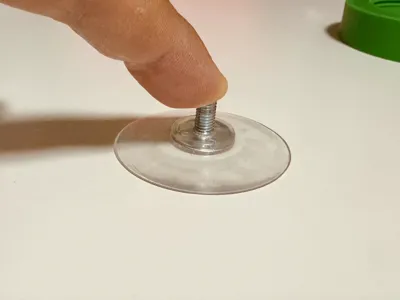
- For the suction cup base (Figures 9-10), ensure a clean and smooth surface Attach the suction cup (as shown in Figure 11) firmly and tighten it to the desktop using the M5 nut and washer Finally, screw the last set of "limit screws + limit nuts" into the base and attach the lamp
License
You shall not share, sub-license, sell, rent, host, transfer, or distribute in any way the digital or 3D printed versions of this object, nor any other derivative work of this object in its digital or physical format (including - but not limited to - remixes of this object, and hosting on other digital platforms). The objects may not be used without permission in any way whatsoever in which you charge money, or collect fees.
Comment & Rating (0)