Iris Mechanism Fidget V2


Print Profile(3)


Description

Hello!
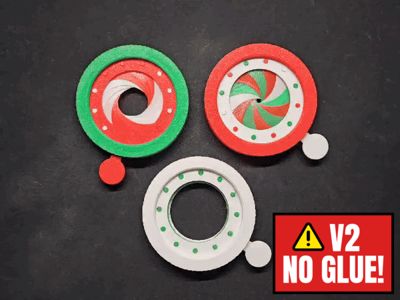
This is an improved version of my original iris fidget.
It is more robust, harder to break and easier to assemble since it doesn't require any glue!
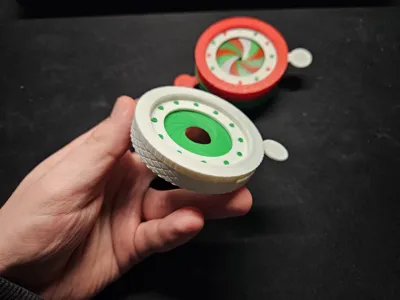
It also has a nice rugged outside for easier holding.
Make sure to let the plates cool completely before taking any of the parts off!
Watch the tutorial setup here:
Thank you for the overwhelming support on my first version, you guys pointed out a lot of my previous design flaws, so I thaught I should take the feedback and improve on it!
I will continue working on a model which finally allows the iris to close completely, it is more complex and I can't really grasp yet how it's supposed to work properly but I will give it my best!
Note for printing:
Make sure “DETECT THIN WALL” is turned on!!!
Textual guide:
Step 1: Fold the tips of the blades 12 times
| Step 2: Arrange all 12 blades around the actuator ring as shown on the picture, make sure each blade is overlayed over eachother (watch video tutorial for more info):
|
Step 3: Align the base body with the actuator ring with the blades on as shown on the picture: Make sure that the rightmost side of the slit is touching the right side of the actuator ring pin.  | Step 4: Slide the assembly off the table, rotate it and put it on the table. Then take the securing pin and screw it onto the main body part as shown on picture bellow:  |
Step 5: Voila that's it, if you followed everything correctly it should be working just fine!  | Additional notes:
|


License
You shall not share, sub-license, sell, rent, host, transfer, or distribute in any way the digital or 3D printed versions of this object, nor any other derivative work of this object in its digital or physical format (including - but not limited to - remixes of this object, and hosting on other digital platforms). The objects may not be used without permission in any way whatsoever in which you charge money, or collect fees.
Comment & Rating (326)