
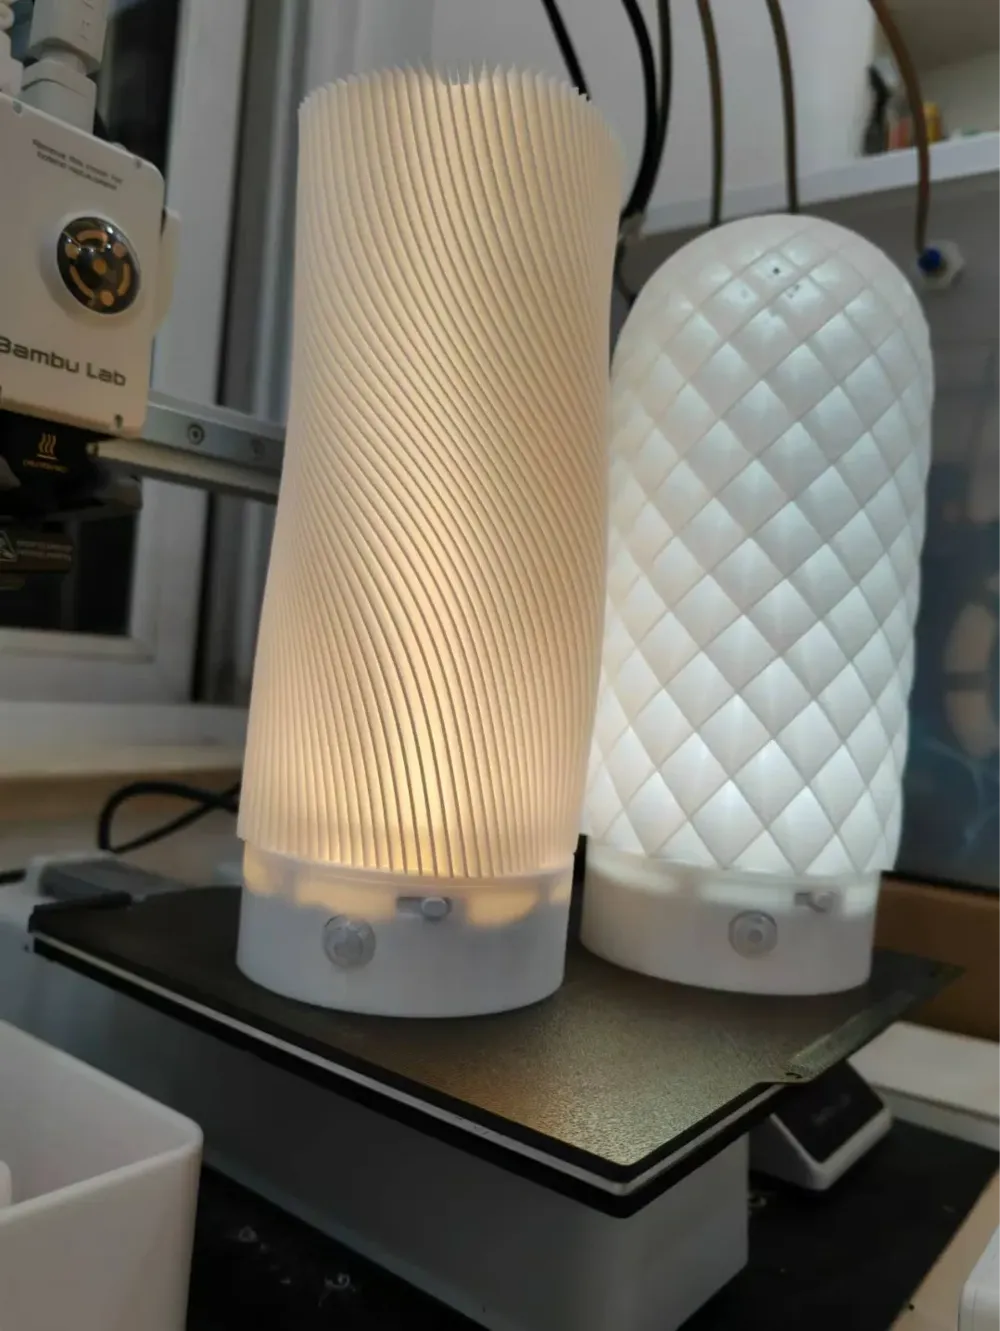
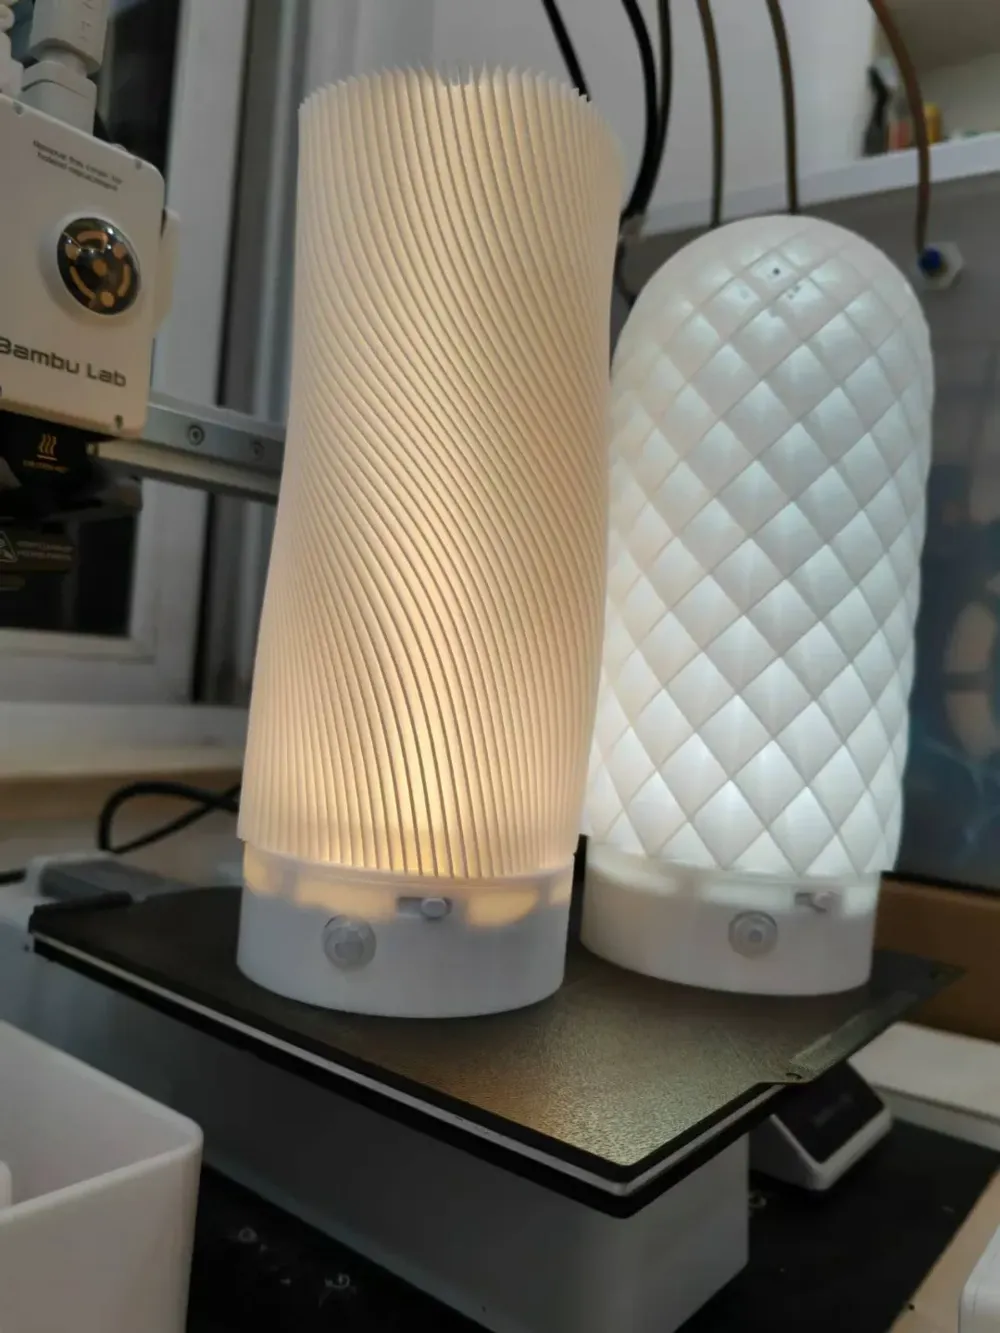
Rechargeable LED Motion-Sensor Night Light Retrofit Kit Adaptable to Bambu Lab LED Night Light Lamp Kit-001 Shade

Print Profile(3)
Description
Boost Me (for free)
If this helps, please give it a boost, thank you!!!
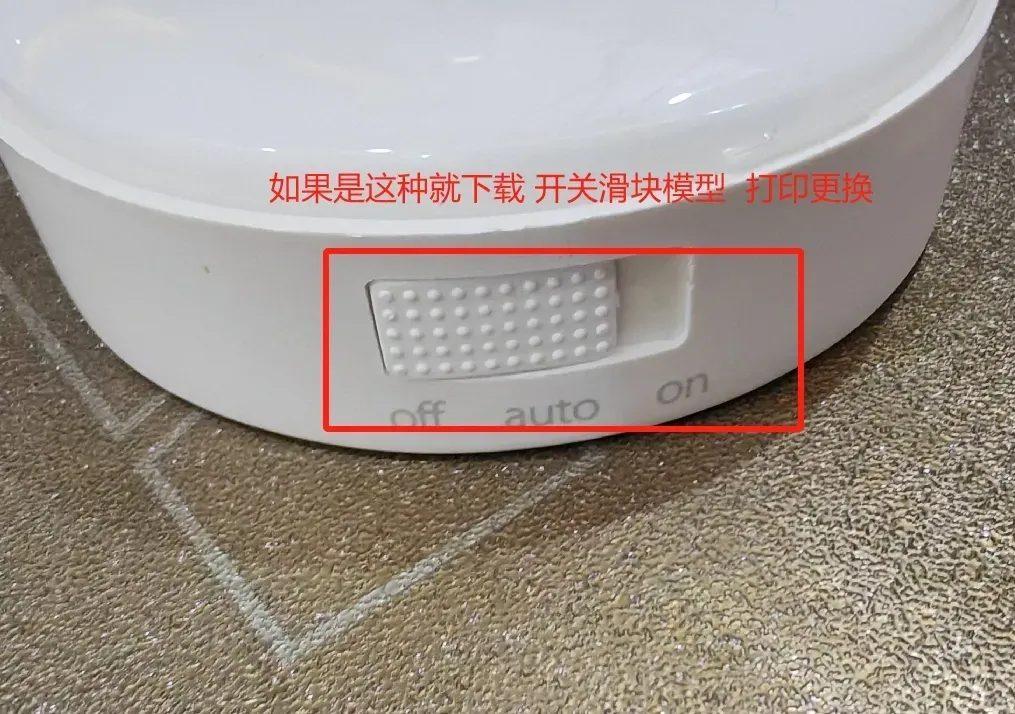
January 5, 2025: Added a new switch slider model configuration. (Note: I recently purchased another night light for modification and discovered that the switch slider was different, but the light panel remained the same.
If you encounter a different slider, download and print the switch slider model.)
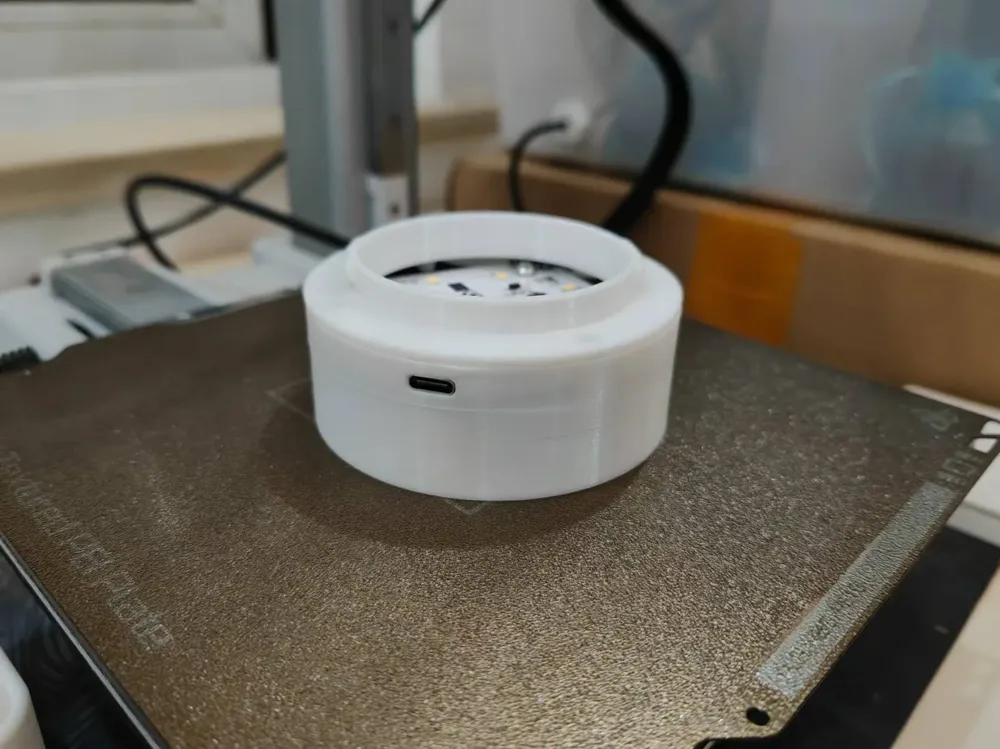
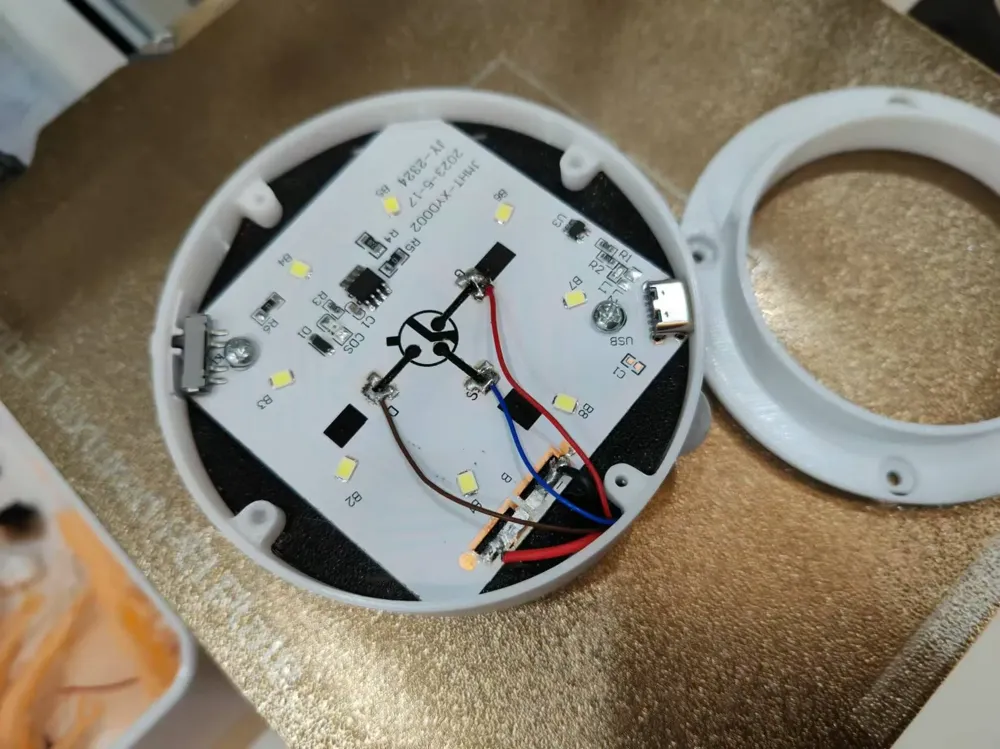
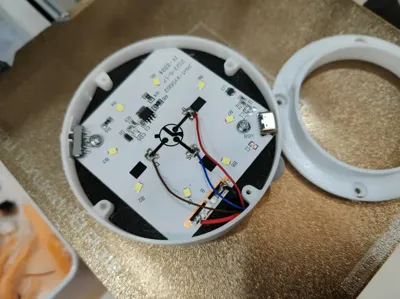
Before downloading and printing, you will need to purchase a charging induction night light from Taobao, the Type-C model with a switch, as shown in the image. With coupons, it costs around four to five yuan including shipping. Basic soldering skills are required. Four M2 screws are also needed; screws for securing a computer motherboard will suffice, or self-tapping screws of similar diameter can be used.
Exercise caution when connecting the lithium battery and using a soldering iron.
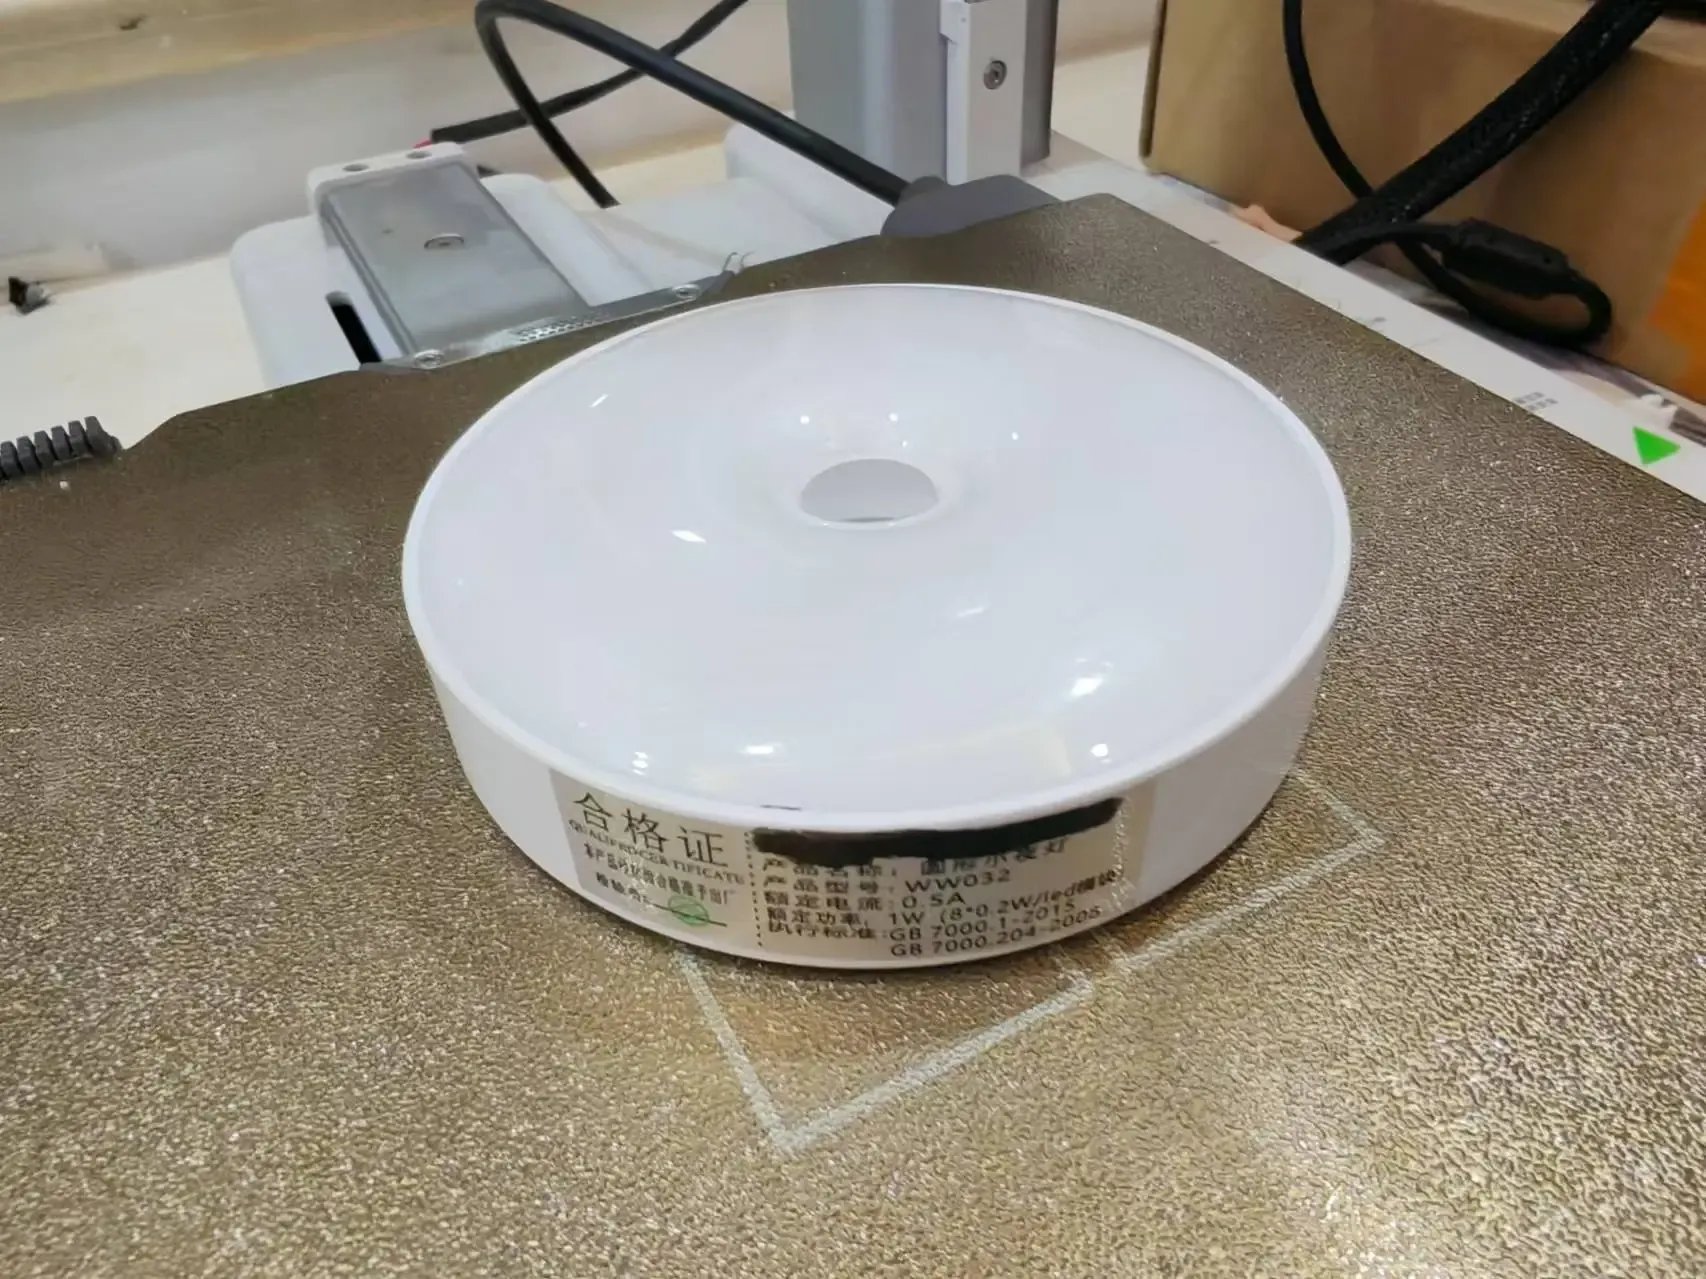
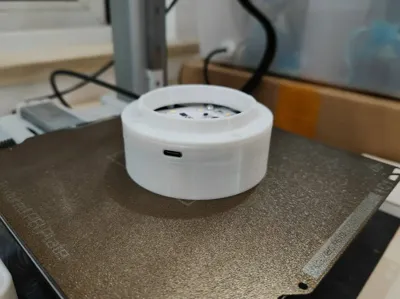
The model has two versions: one with an 18650 battery holder that can accommodate one or two 18650 batteries. When connecting two batteries in parallel, ensure they are of the same brand and model.
(A single 18650 battery can last a considerable time)
If your battery lacks nickel strips, you can purchase battery spring strips. The model includes slots for the spring strips; direct soldering of the battery is not recommended.
For versions without the battery holder, you can use the original small battery or a separately purchased pouch battery. The black disc in the model prevents contact between the light panel and the battery and also reduces light leakage.
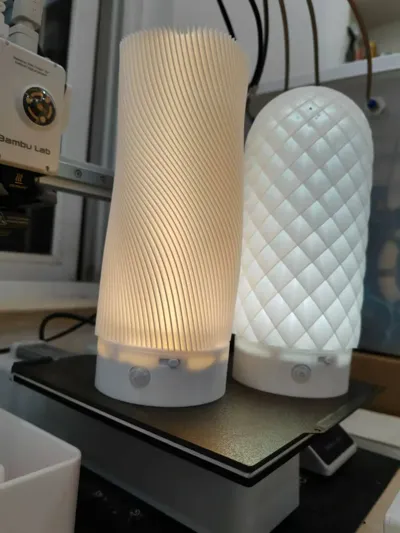
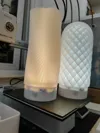
The model does not include a lampshade. Link to the official Bambu Lab lampshade:LED Night Light 001 from Bambu Lab - MakerWorld
Modification steps:
1. Pry open the night light lampshade, remove the light panel, and detach the night light's original battery (unless you are not replacing the battery) and sensor. Remove the switch slider from the casing; if the switch slider is different, download and print the switch slider model.
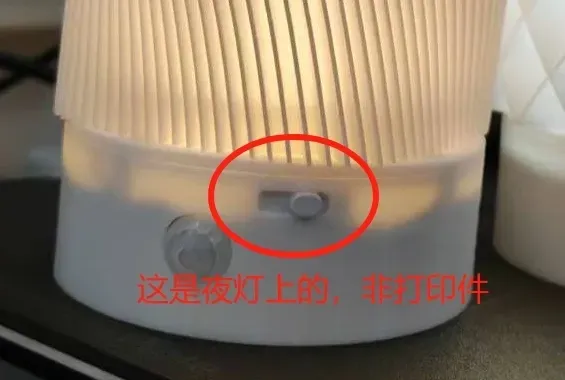
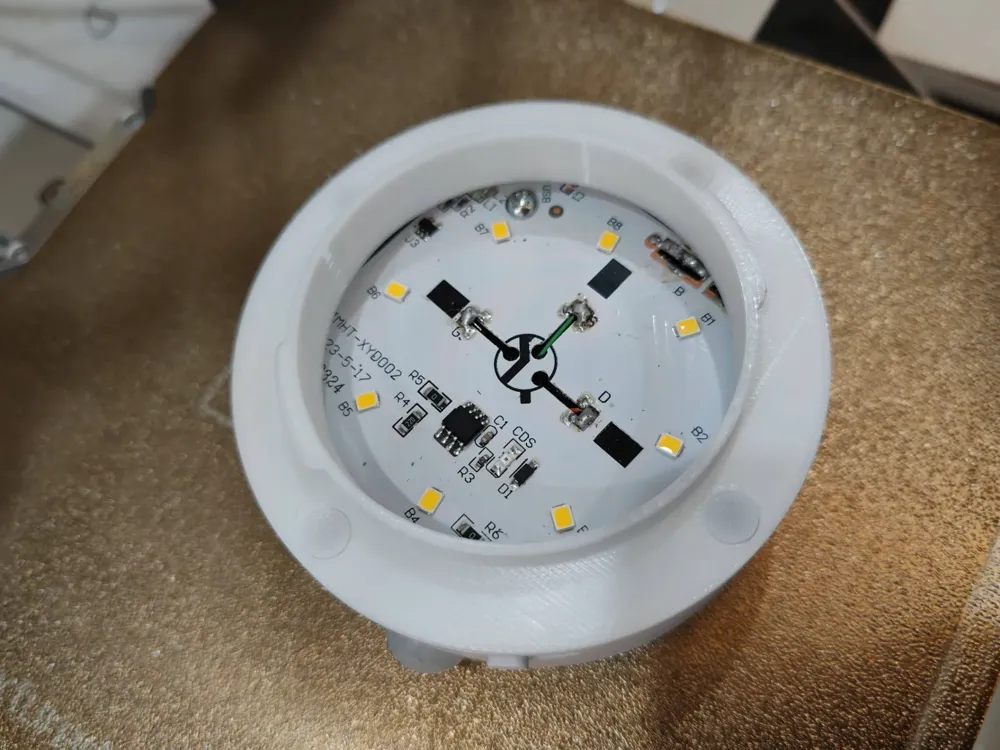
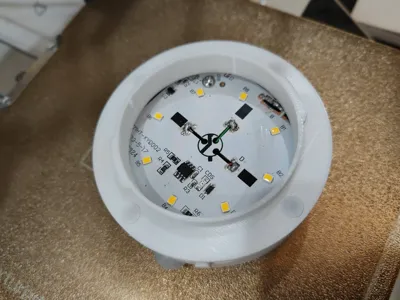
2. Insert the light panel into the printed casing. Measure the lengths of the battery positive and negative connection wires and the sensor extension wires, adding two to three centimeters. Remove the light panel and solder the battery and sensor, paying attention to the polarity of the battery and the sensor wiring. Routing the sensor wires through the central hole enhances aesthetics.
3. Insert the sensor into the sensor base, then press it firmly into the casing (gently squeeze the casing to make the sensor opening protrude slightly for easier installation). It is secure without screws.
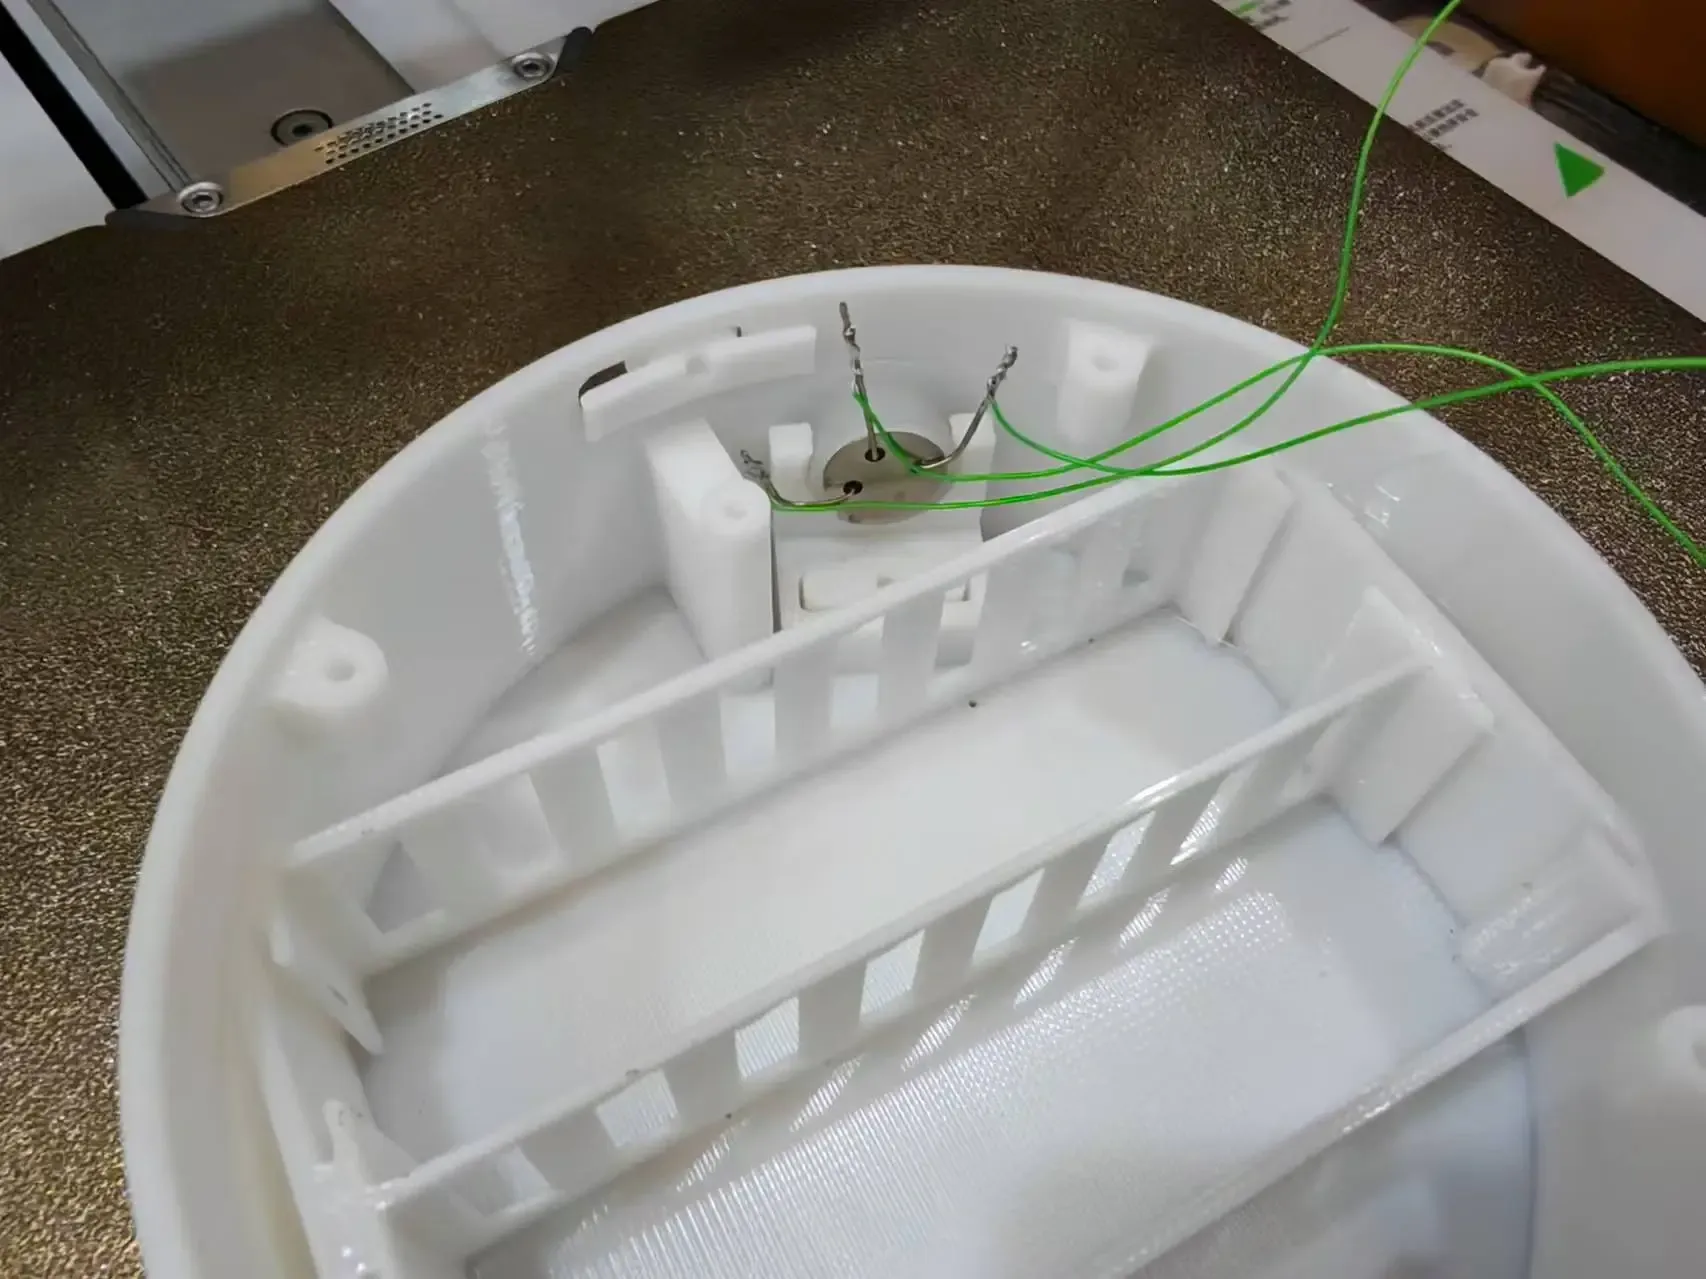
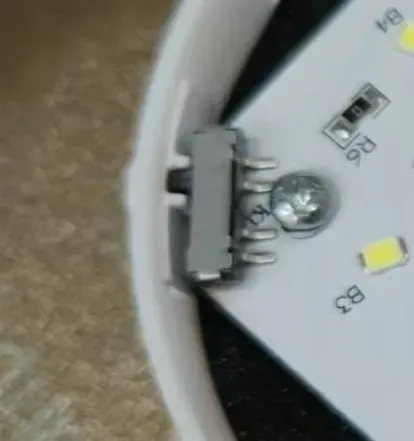
4. Insert the battery (if not using spring strips, use double-sided tape for securing), insert the light-blocking disc, arrange the wiring (cut out wire slots in the light-blocking disc), install the switch slider, install the light panel and tighten the screws (use the original screws from the light panel). Note that the screw holes are very close to the switch pins; ensure the screws do not contact the pins. Consider slightly angling the screws during tightening.
5. Install the top cover.
License

You shall not share, sub-license, sell, rent, host, transfer, or distribute in any way the digital or 3D printed versions of this object, nor any other derivative work of this object in its digital or physical format (including - but not limited to - remixes of this object, and hosting on other digital platforms). The objects may not be used without permission in any way whatsoever in which you charge money, or collect fees.


Comment & Rating (2)