
Triumph Speedmaster Electrics Box(Under Seat V1.0)
Print Profile(1)

Description
EDIT3: note that a V2 box is available here: https://makerworld.com/en/models/1156112#profileId-1161214
( EDIT2: I will be doing a version 2.0 of the box to incorporate some switched and fused auxilary power, should be done before riding season :D EDIT: if your downloading it as a freebie at least give us a like on it :D ) Note that the original version alows for slight suspension adjustment but i have updated the files to include a version which should allow for the standard wrench to go through the whole adjustment range but decreases the internal use slightly but… someone will need to print and test if it does first as i did this after mine was already installed.
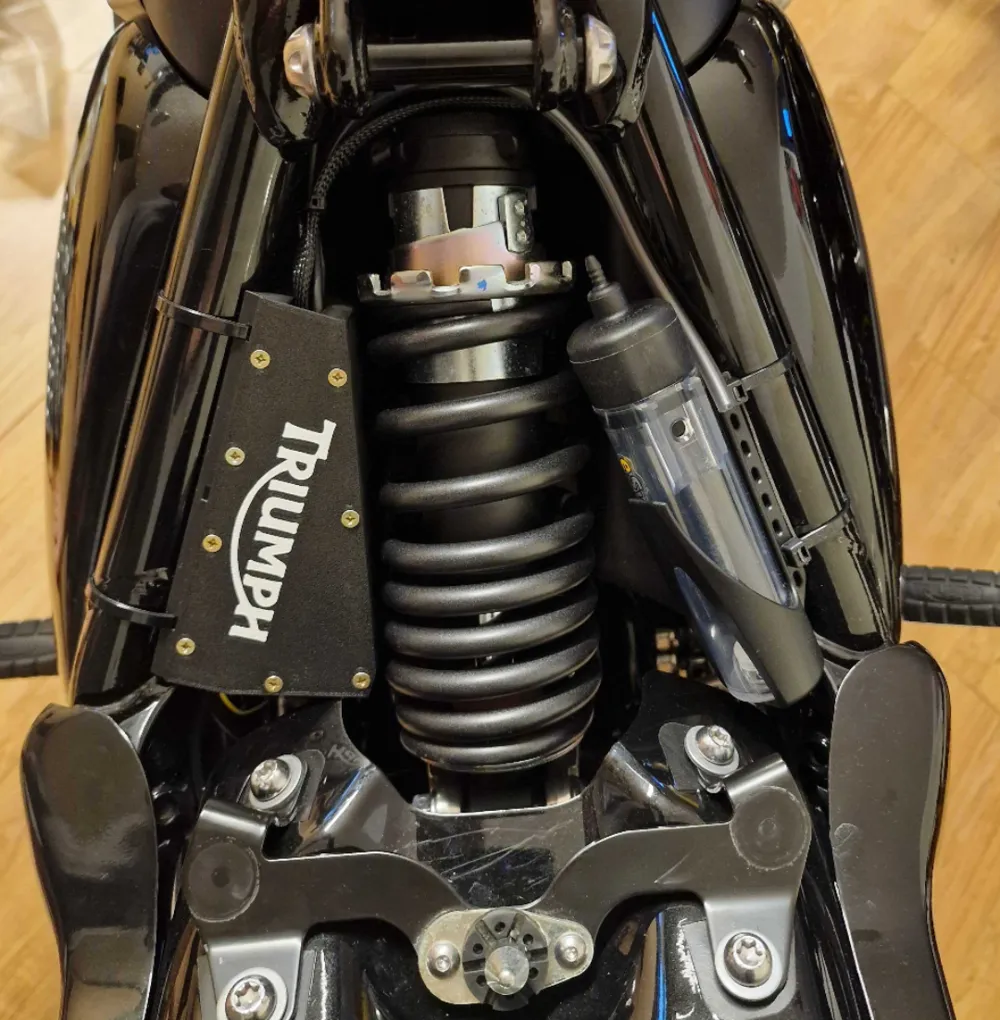
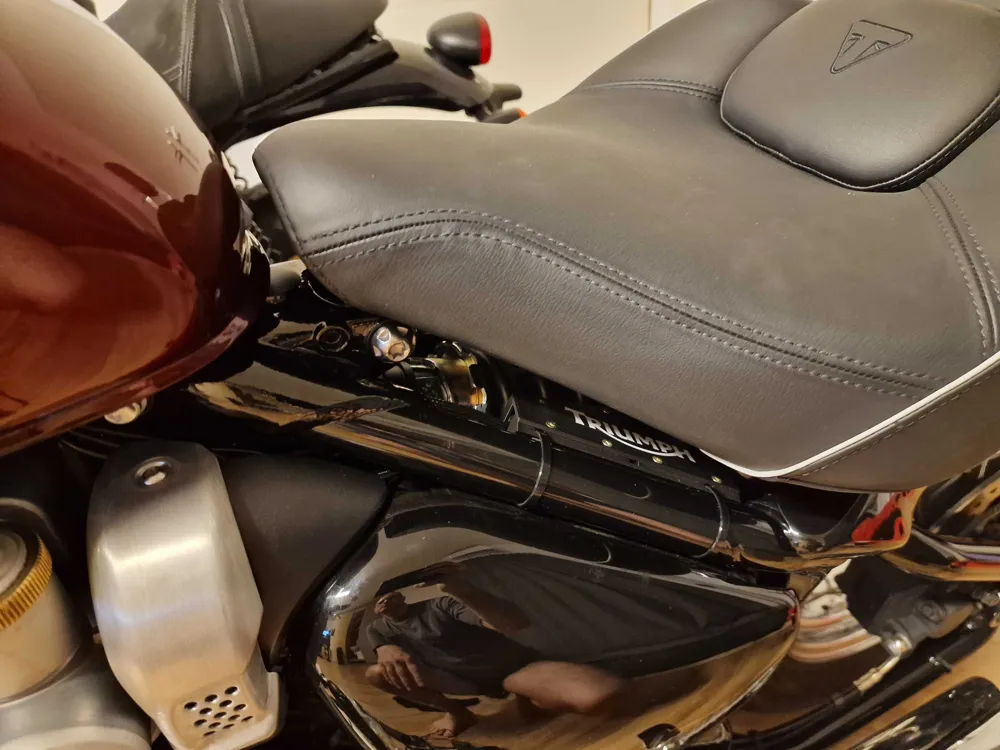
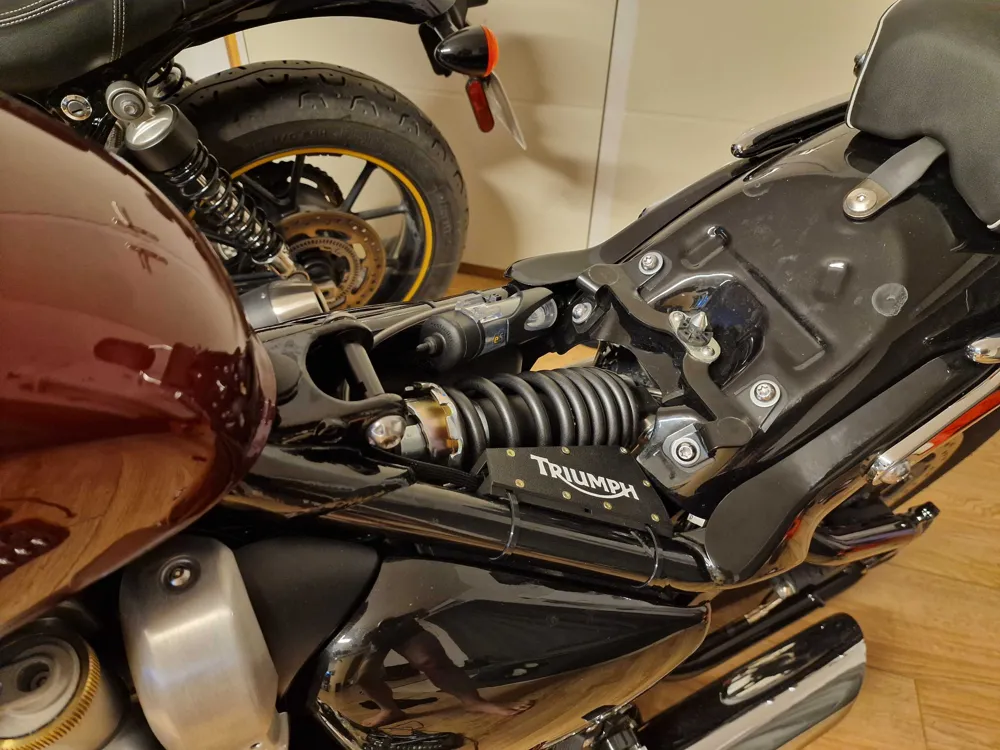
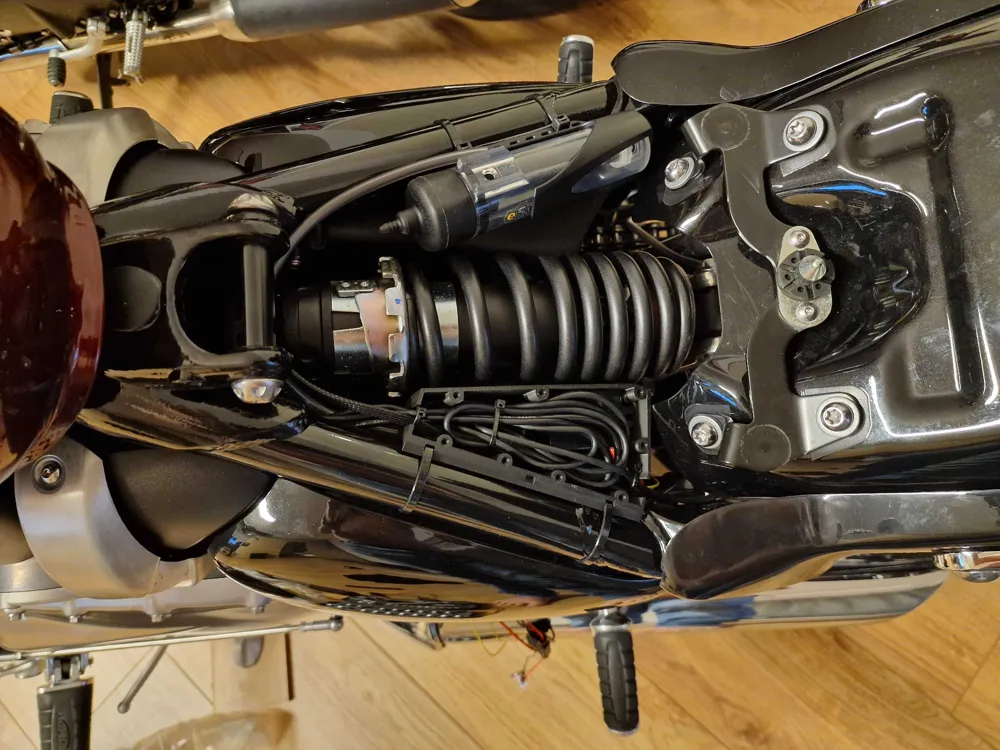
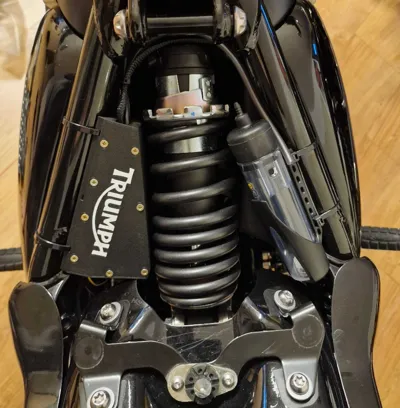
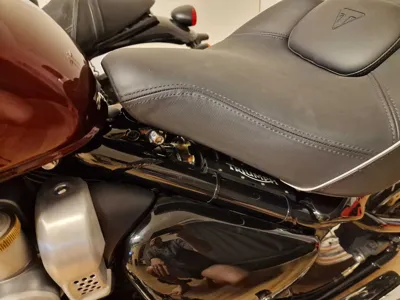
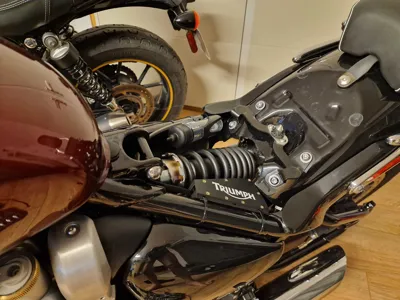
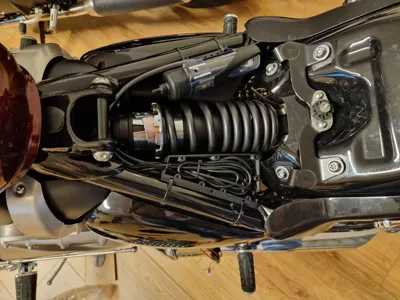
An electronics box to tidy up cabling under the seat on a Triumph Speedmaster. I made this little custom box to stow cabling under the seat on my Triumph Speedmaster. It houses connections for the Scottsoiler, INNOVV cameras and USB supply. there is also a 6mm diameter hole near the bottom to route the oiler tube through just to keep it secure and out of the way. If you are forever changing your suspension setting anything past the first couple notches then this may not work out for you as you need to shift the box out of the way to get the wrench past.
The one with screw holes i design it to work with 3 x 16mm chip board / wood screws. Also, it is a bit of a tight sqeeze to get it in place, you need to put the rounded bit agains the frame tube and then rotate it down into place and you will need to force it to rotate past your suspension spring but it will go, with stock suspension anyway. also take care to mount it as far back as you can and still get the lid on so that your suspension wrench still slots in. Ride safe and if you print it and use it please do post a photo back here of it, it makes it so i want to keep posting things if i see others make use :)
for the tie wraps, i put the heads inside the box down low to avoid interfering with the lid if i used the pressure fit one, which i did not. and also, you cant tell from the photos but there is a place to push through a smaller tie wrap at each cable entry, it is designed so you push the tie into the hole and it will come out the other side so very easy to fish through!
License

You shall not share, sub-license, sell, rent, host, transfer, or distribute in any way the digital or 3D printed versions of this object, nor any other derivative work of this object in its digital or physical format (including - but not limited to - remixes of this object, and hosting on other digital platforms). The objects may not be used without permission in any way whatsoever in which you charge money, or collect fees.


Comment & Rating (16)