noIR camera case&bracket


Print Profile(1)

Description
First I printed an arm that allowed the camera to look at the bed from the back, but most of the time that was like looking at someone's behind on an up escalator, so I decided I wanted the camera
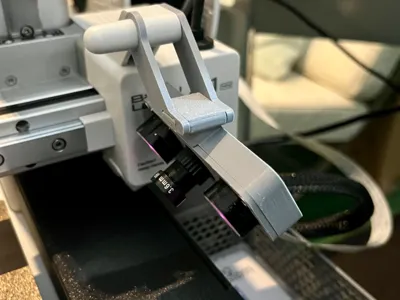
- on the X-axis, so it moves up with the model as it progresses
- on the side, next to the built-in one
- … but a little higher, and looking down at a sharper angle to have a better view.
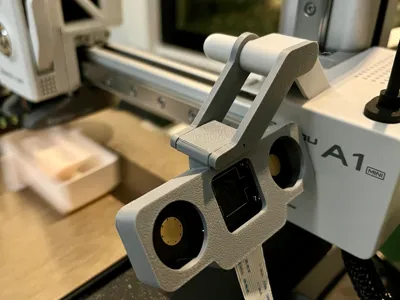
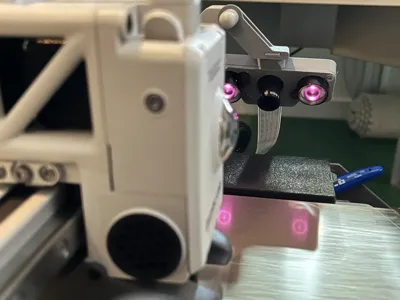
I decided to extend the arm that is already there. Both sides of its new elbow fit rather tightly, but together they cannot be shaken loose. The camera does not really budge, even during the pre-printing calibration. The result of the video in darkness is impressive:
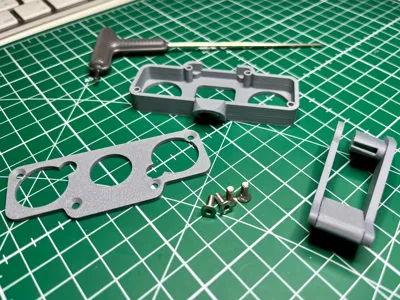
You will need
- a Raspberry Pi with OctoPi (and OctoEverywhere, if you want some control over the printer, but the video stream is better in OctoPi)
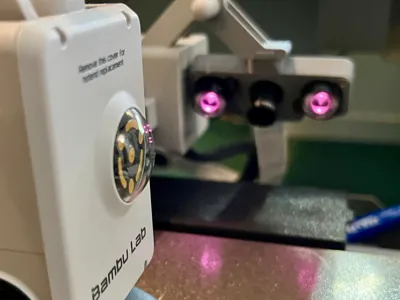
- a noIR-comptatible camera (I ordered this cheap one; no affiliate link)
- a long Pi camera cable (mine is 100 cm)
- four M3*8 screws
- two 10mm magnets
- some super glue (otherwise those magnets will get loose during the calibration vibration)
License
You shall not share, sub-license, sell, rent, host, transfer, or distribute in any way the digital or 3D printed versions of this object, nor any other derivative work of this object in its digital or physical format (including - but not limited to - remixes of this object, and hosting on other digital platforms). The objects may not be used without permission in any way whatsoever in which you charge money, or collect fees.
Comment & Rating (2)