
Print Profile(5)


Description
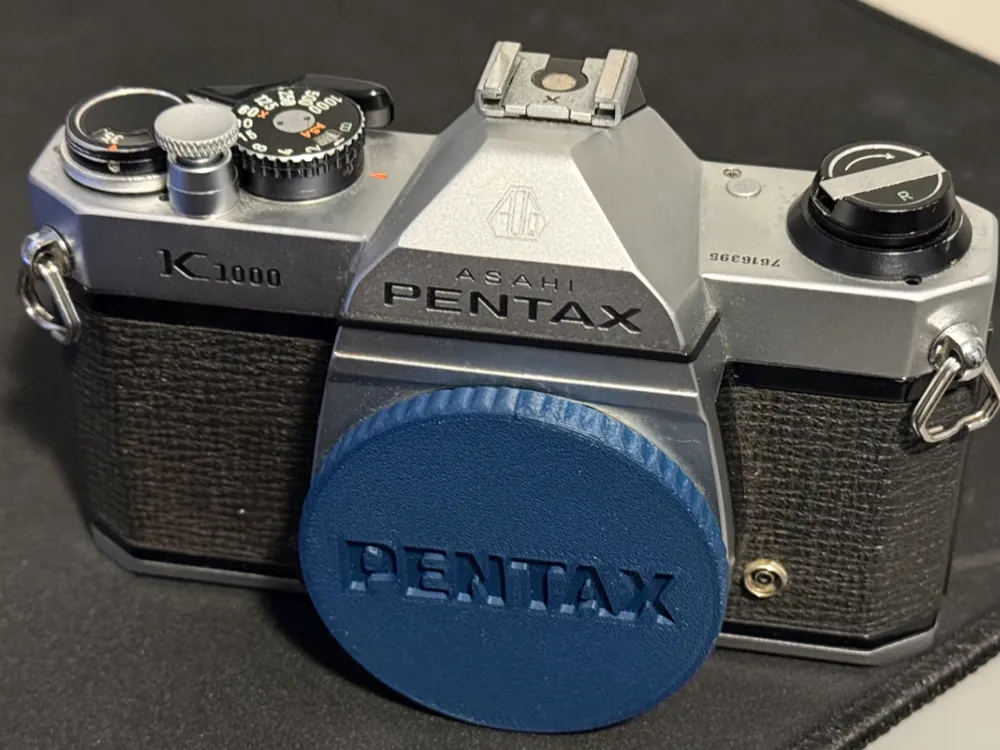
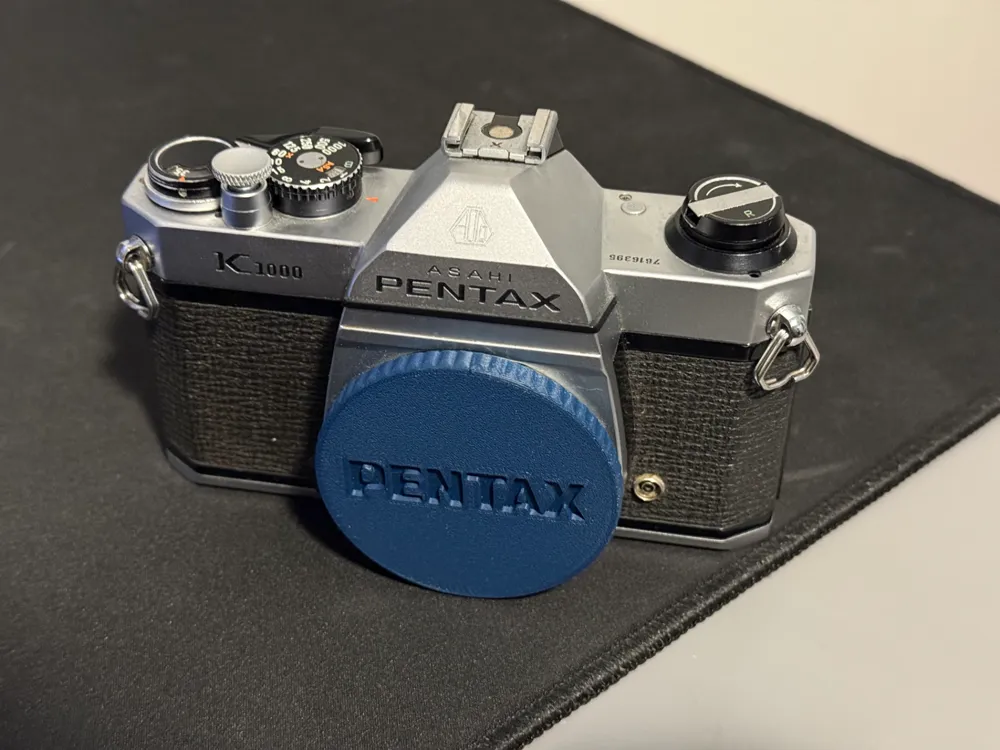
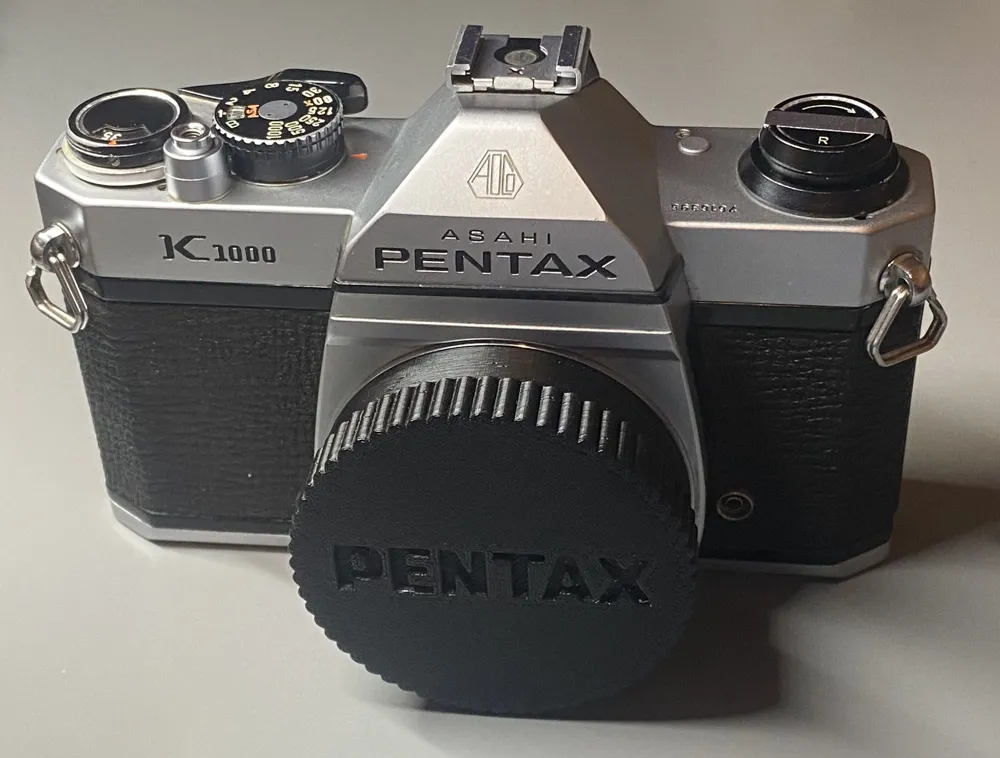
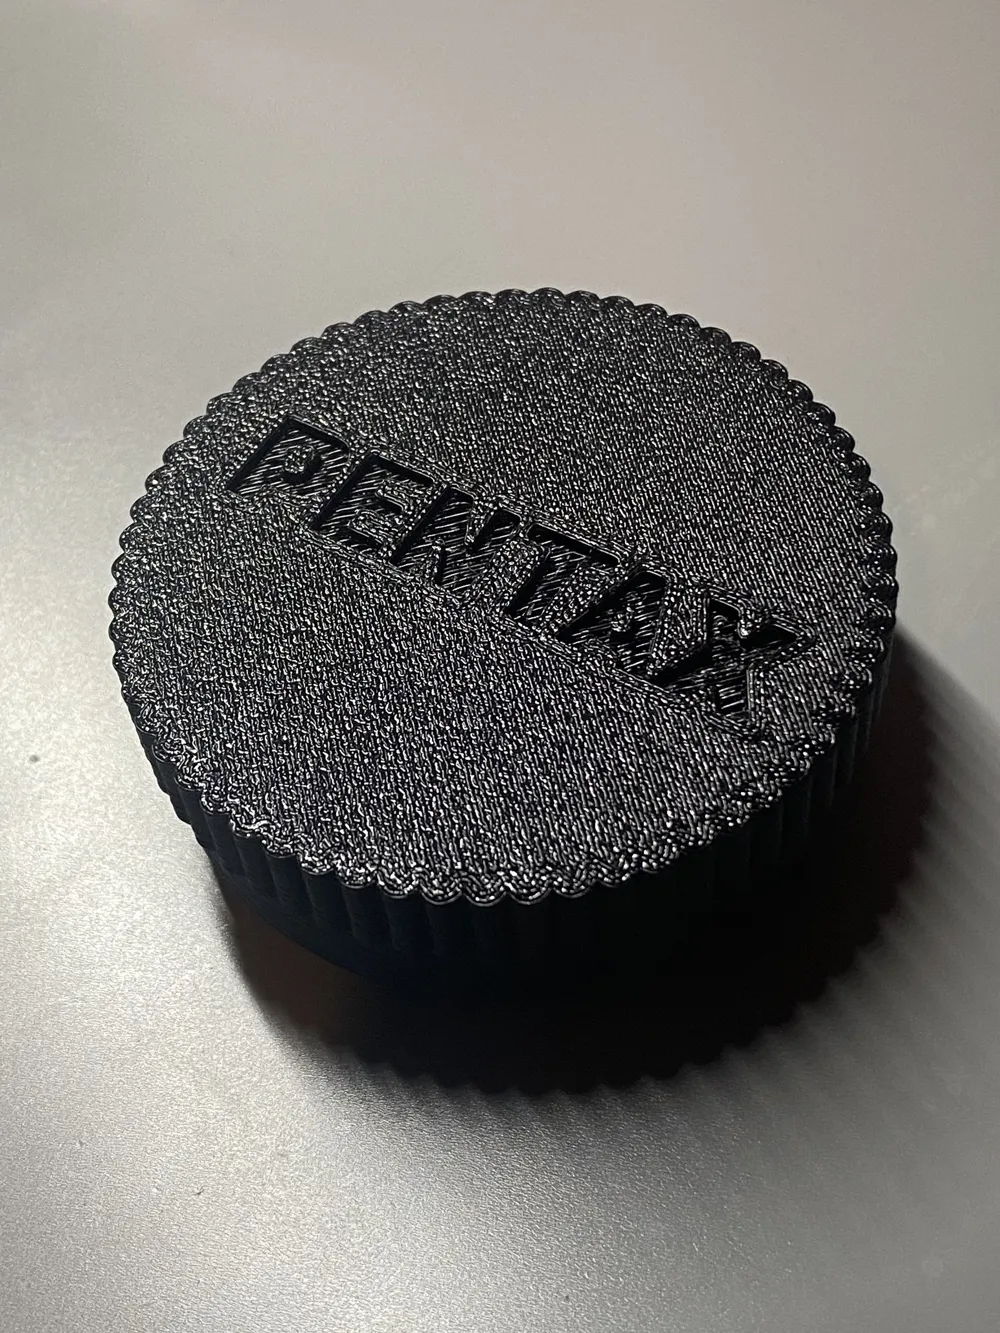
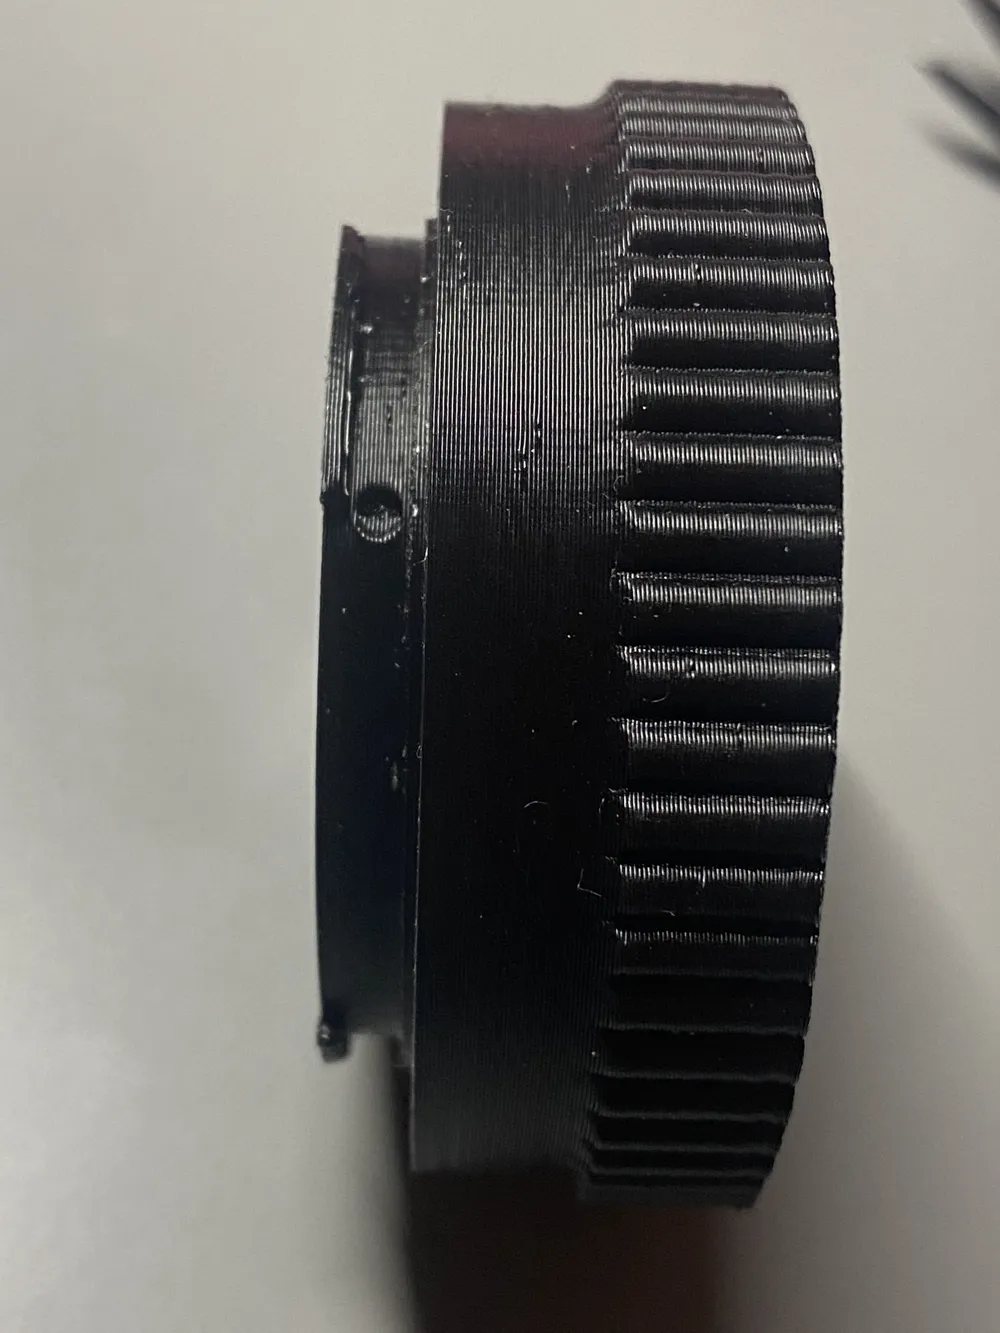
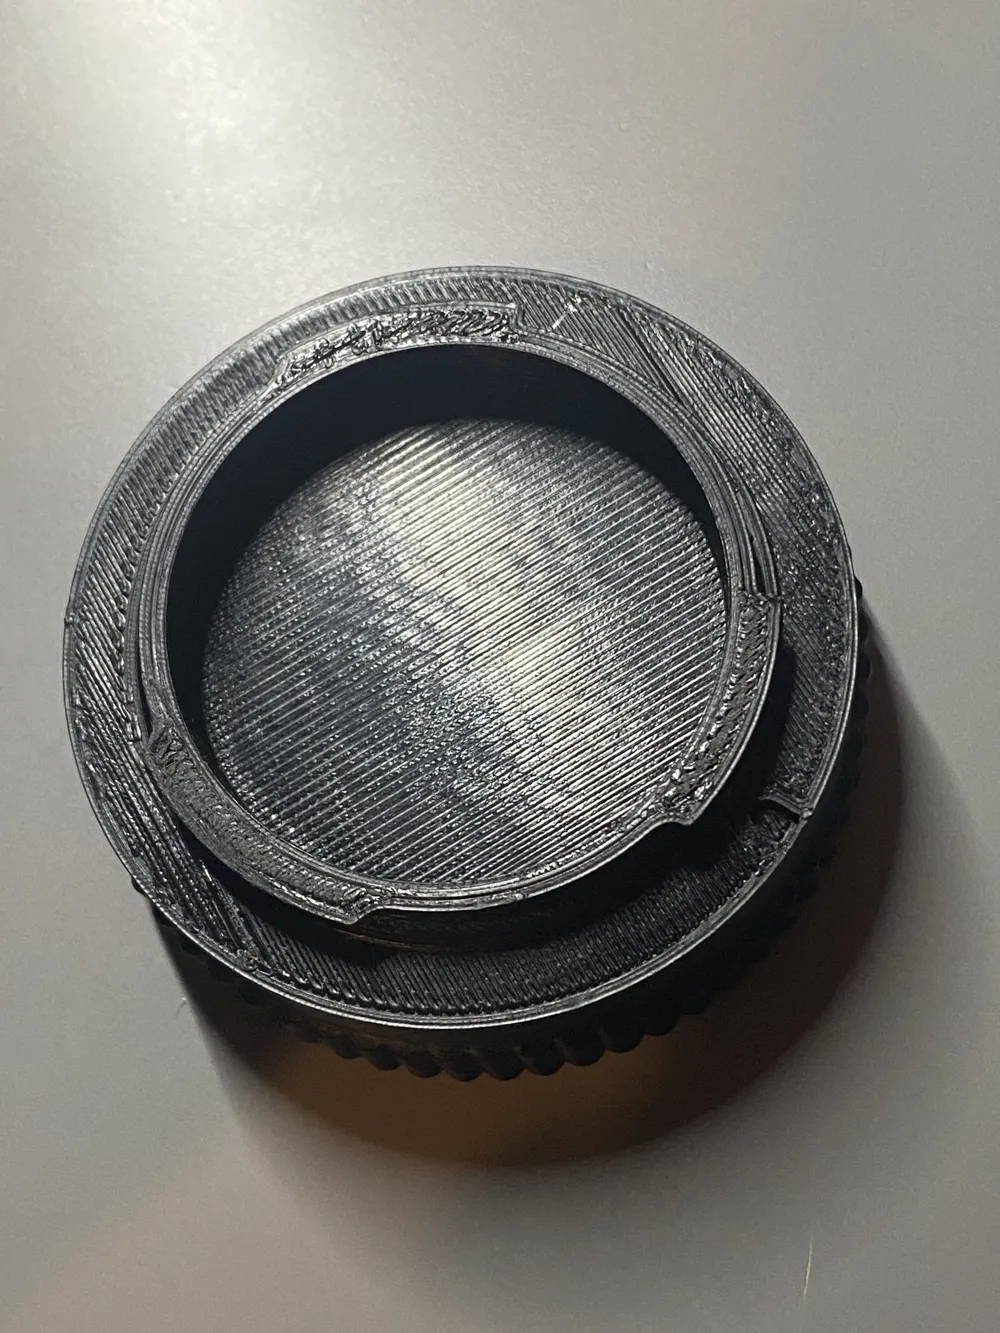
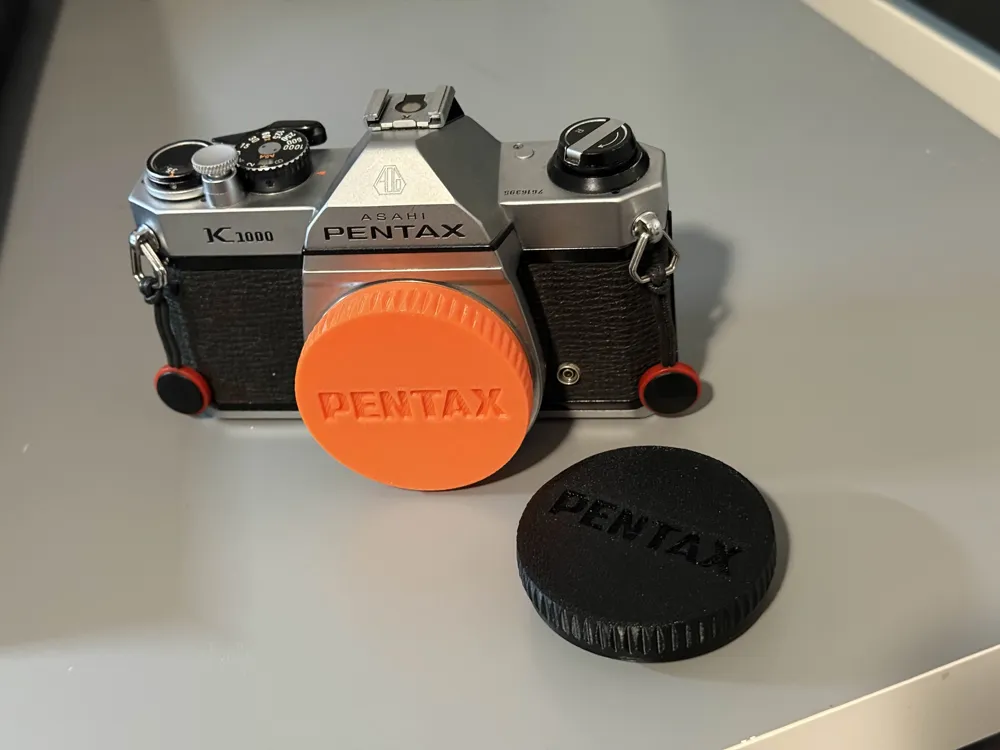
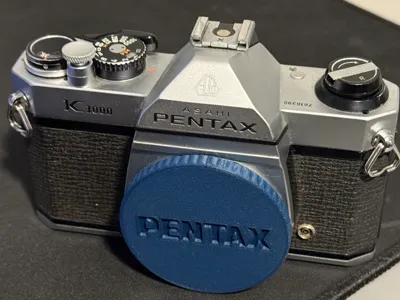
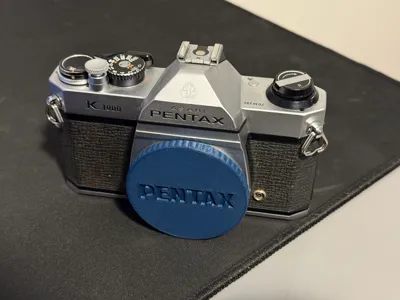
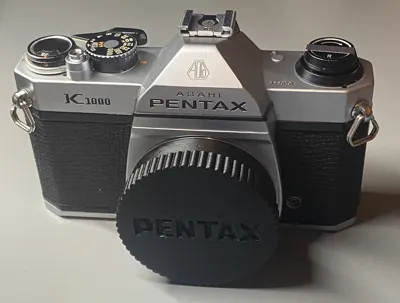
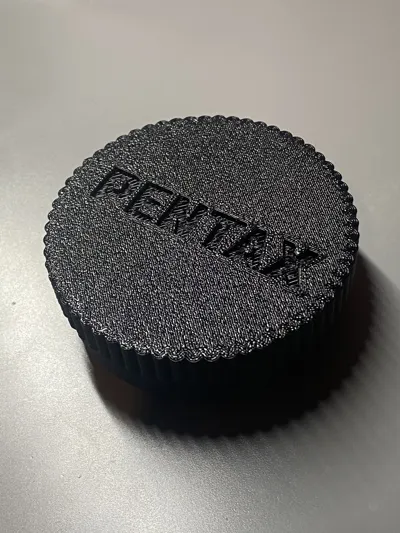
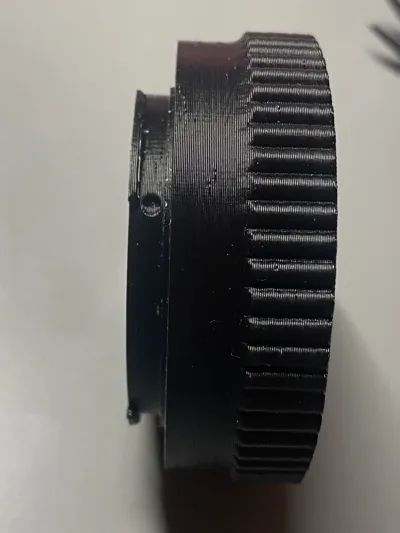
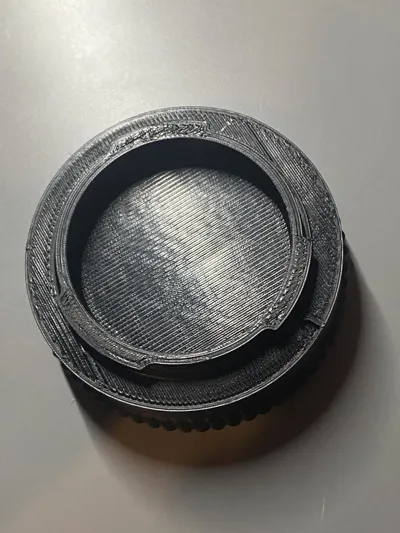
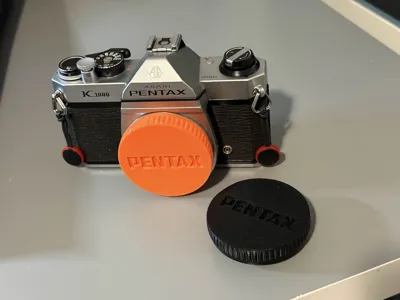
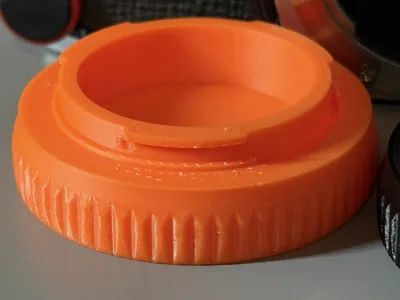
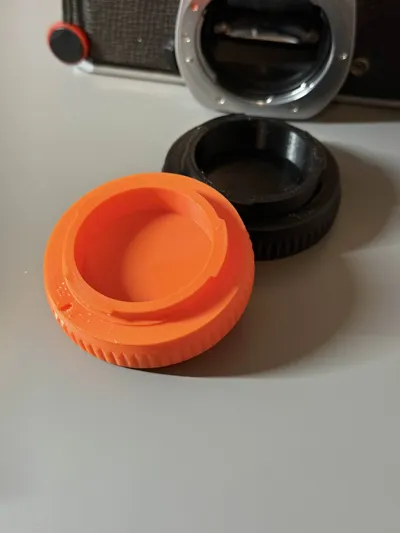
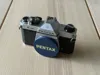
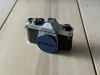
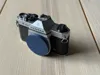
I've made 4 versions of the camera body cap depending on what you'd like. one that keeps the locking pin in place and one that doesn't, and then each of those two options with or without the Pentax logo on it. I've printed the logo + locking pin model on my lightly modified Ender 3 v2 with a .4mm nozzle and .2mm layer height and it fits just fine on my Pentax K1000. (after some fair use on the body cap I've noticed some slight back and forth movement so I may update the files to have a little tighter tolerances on the outer diameter of the locking mechanism.)
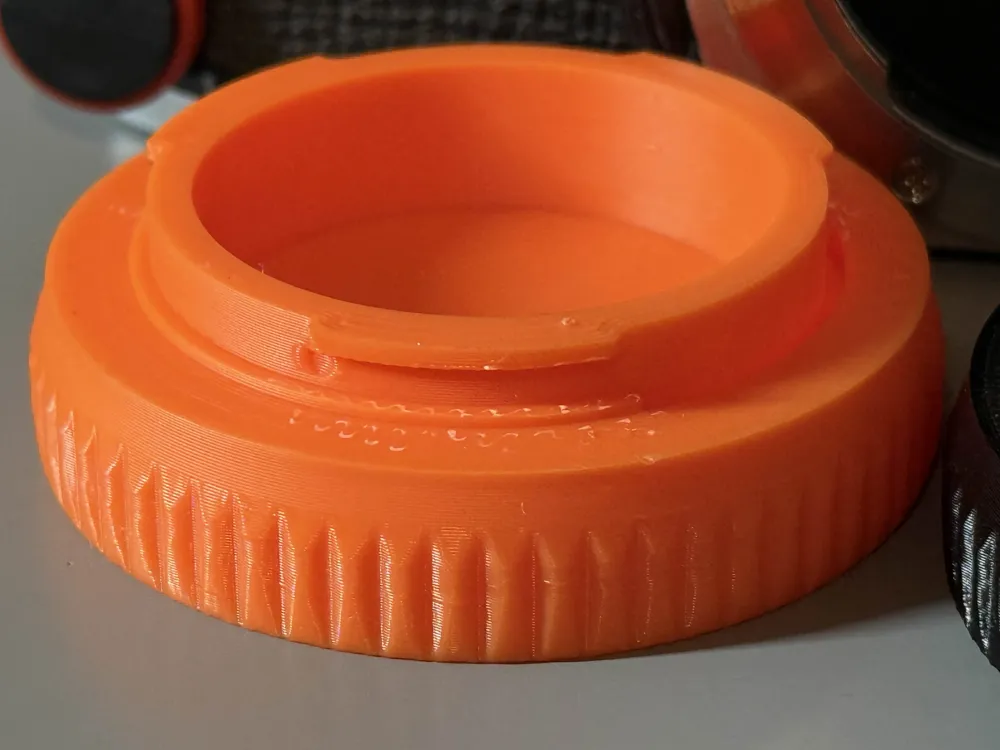
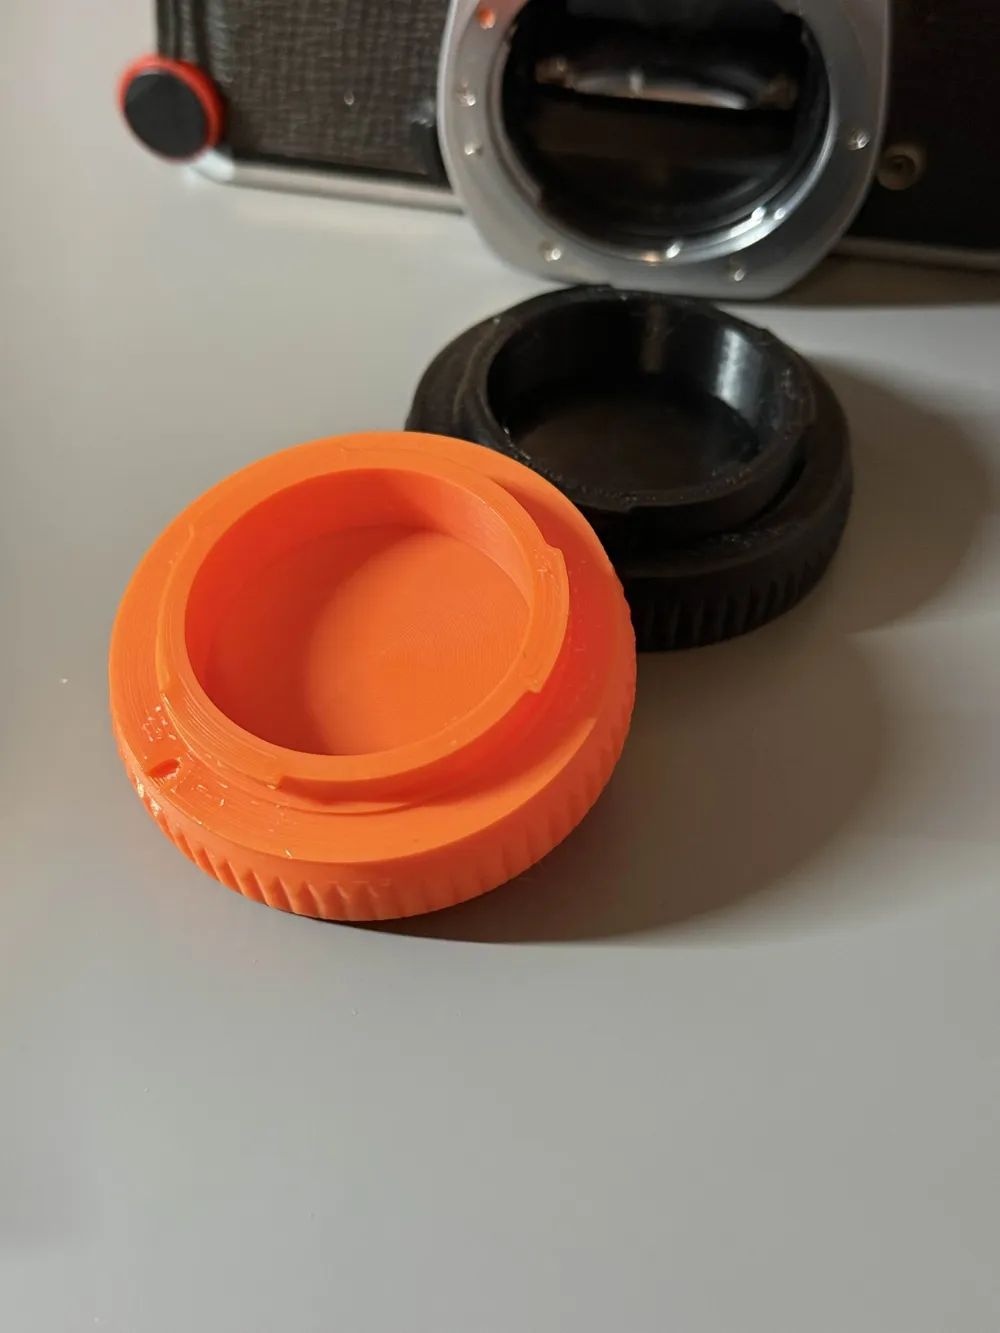
For the newer slim model the printing/slicing considerations are the same except it has been printed on a Bambu Lab P1S at default speed settings with a .4mm nozzle and layer height of .2 mm. The slim model was printed in basic orange Bambu Lab PLA and a generic black PLA on the same Ender 2 v2 mentioned earlier to show varying printing conditions. Thinnest body cap printed in Bambu lab dark blue matte PLA.
Notes about printing/slicing:
- Not too sure if it matters much but use an infill that would block more light from reaching inside the body if there is a light meter that may drain your camera's battery. (Ex. Cubic Subdivision in Cura)
- I recommend printing with the logo/flat side facing down on the build plate for better adhesion + print first layer slow or use a brim (You may have trouble removing the brim but I had some trouble with the wavy bits sticking on my first layer so you can decide if the trouble of post processing is worth it).
- Make sure there are no stringing bits on the top part that will go inside the camera to avoid getting anything on the sensor/mirror.
- I don't recommend using tree supports for this just because pulling traditional supports out of the mount was just much easier for me.
License



Comment & Rating (9)