
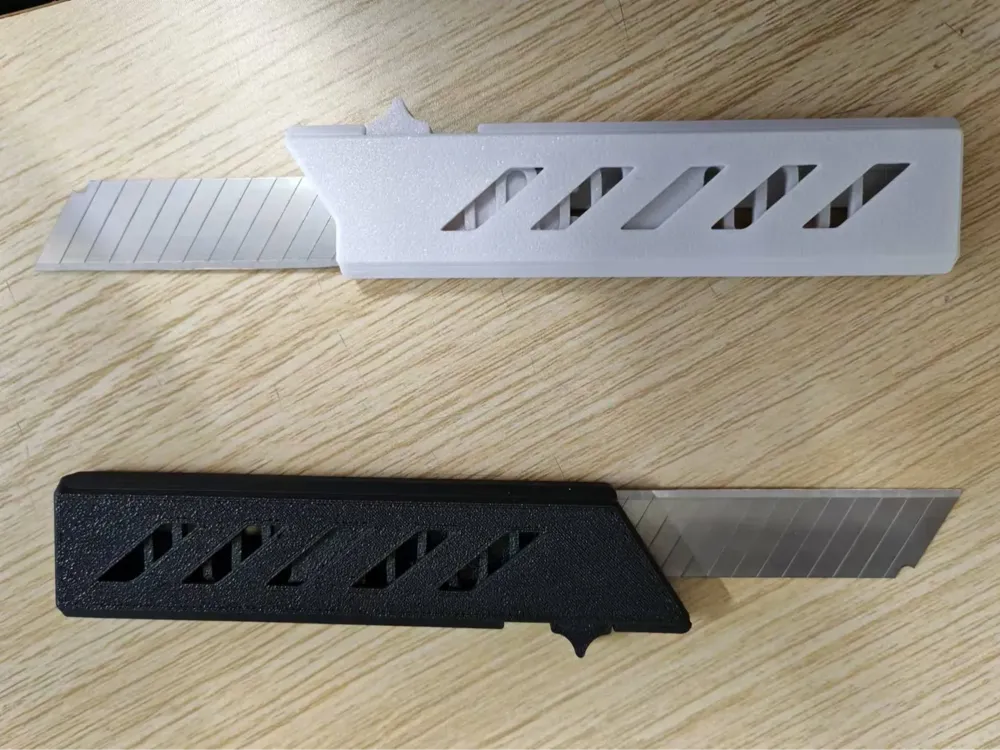
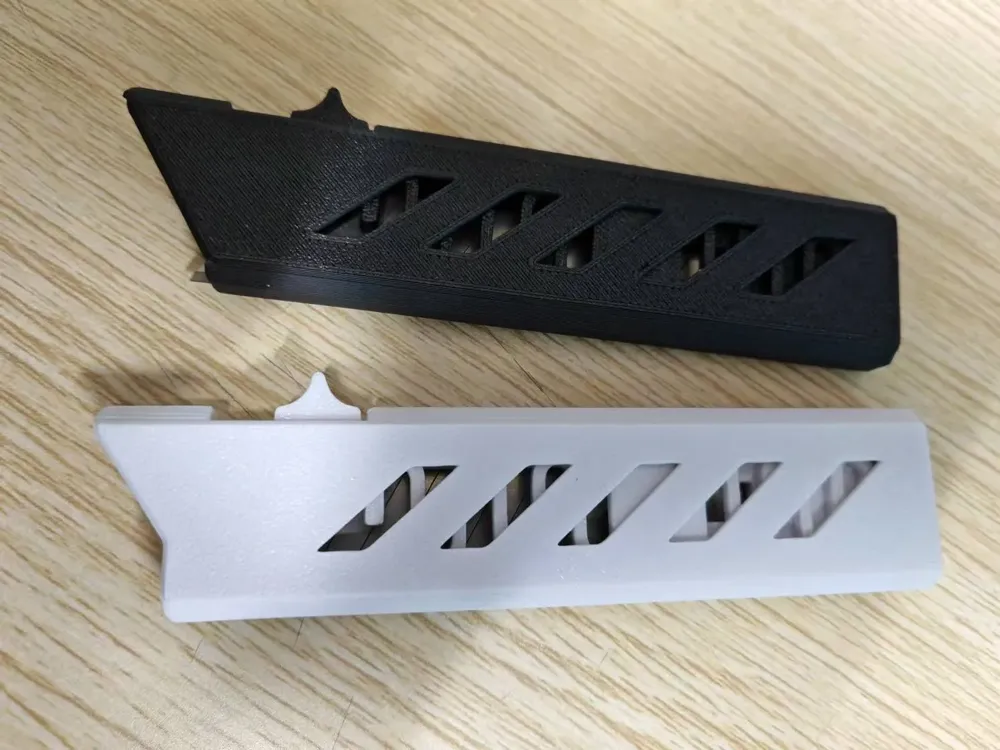
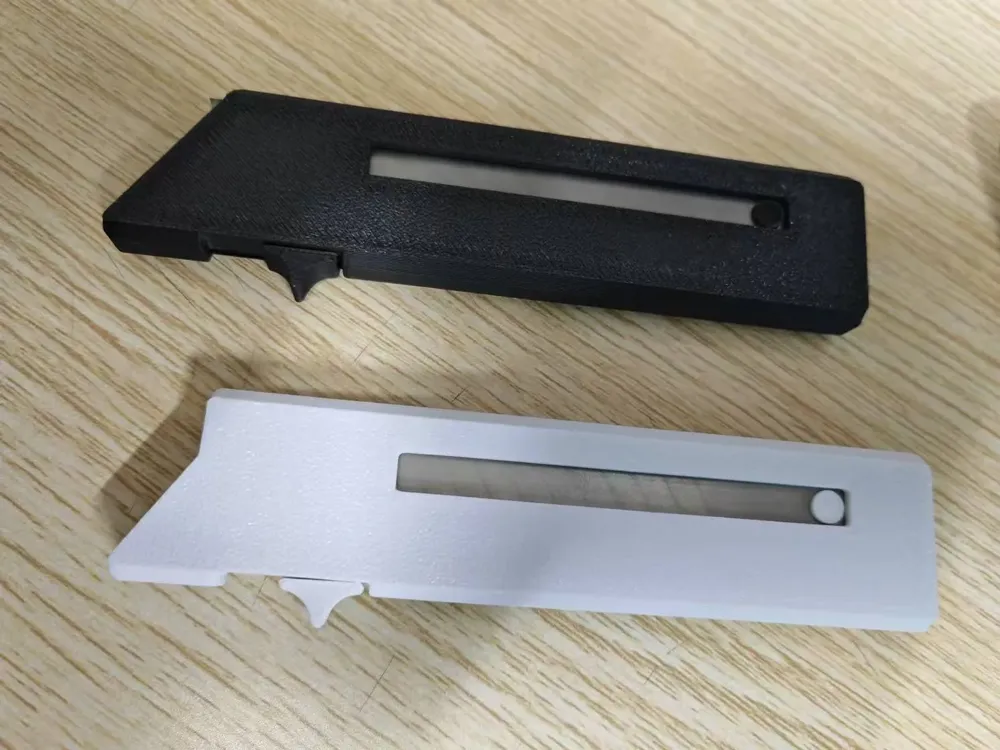

Print Profile(6)
Description
Dec. 20 2024 Update:
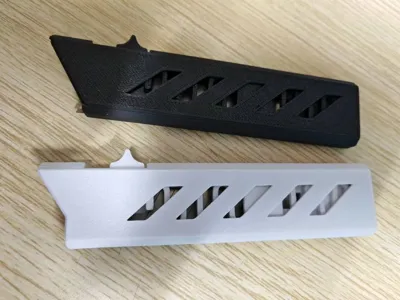
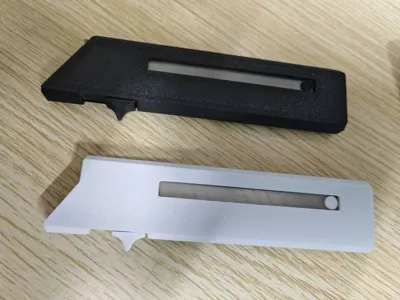
Simplified the structure, reducing the number of printed parts to four;
Increased tolerance to accommodate various 18mm blades with thicknesses ranging from 0.4-0.7mm;
Added a safety version with no exposed blade per user suggestions.
*Since the v2 version has a cutout on the back, it is not friendly to left-handed users, so the v1 version is still retained.
Assembly Steps:
Combine the blade and slider (ensure the blade fits snugly against the slider, especially for 0.7mm blades):
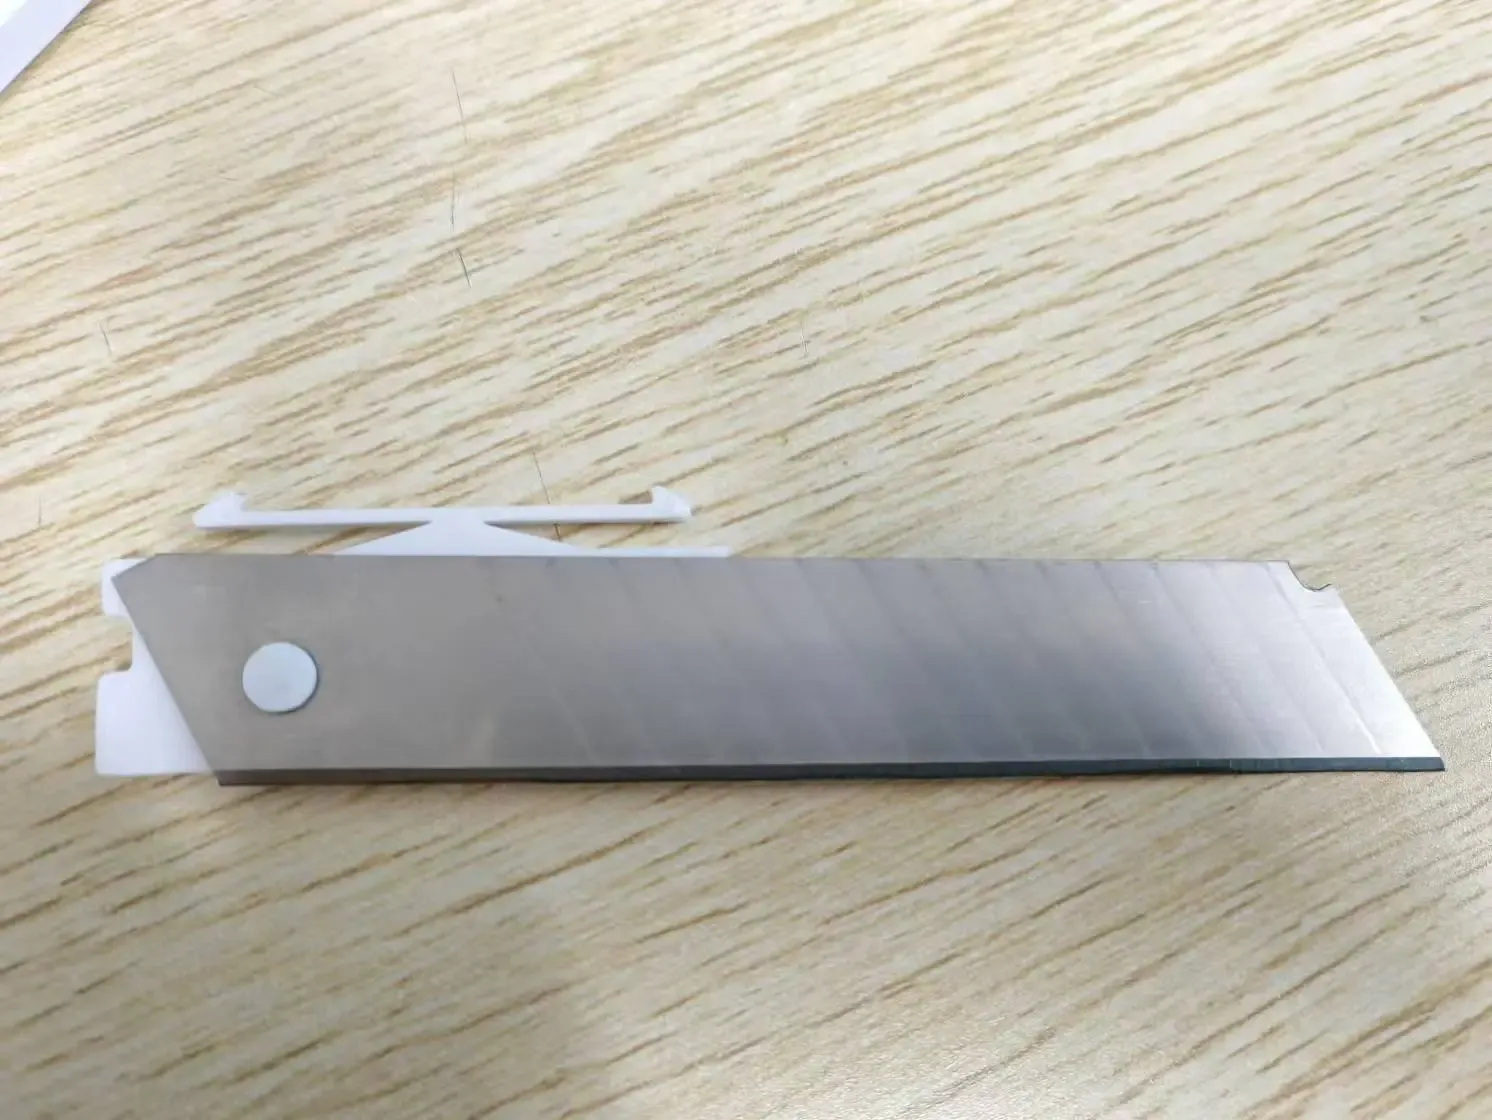
Insert into the base, ensuring smooth movement:
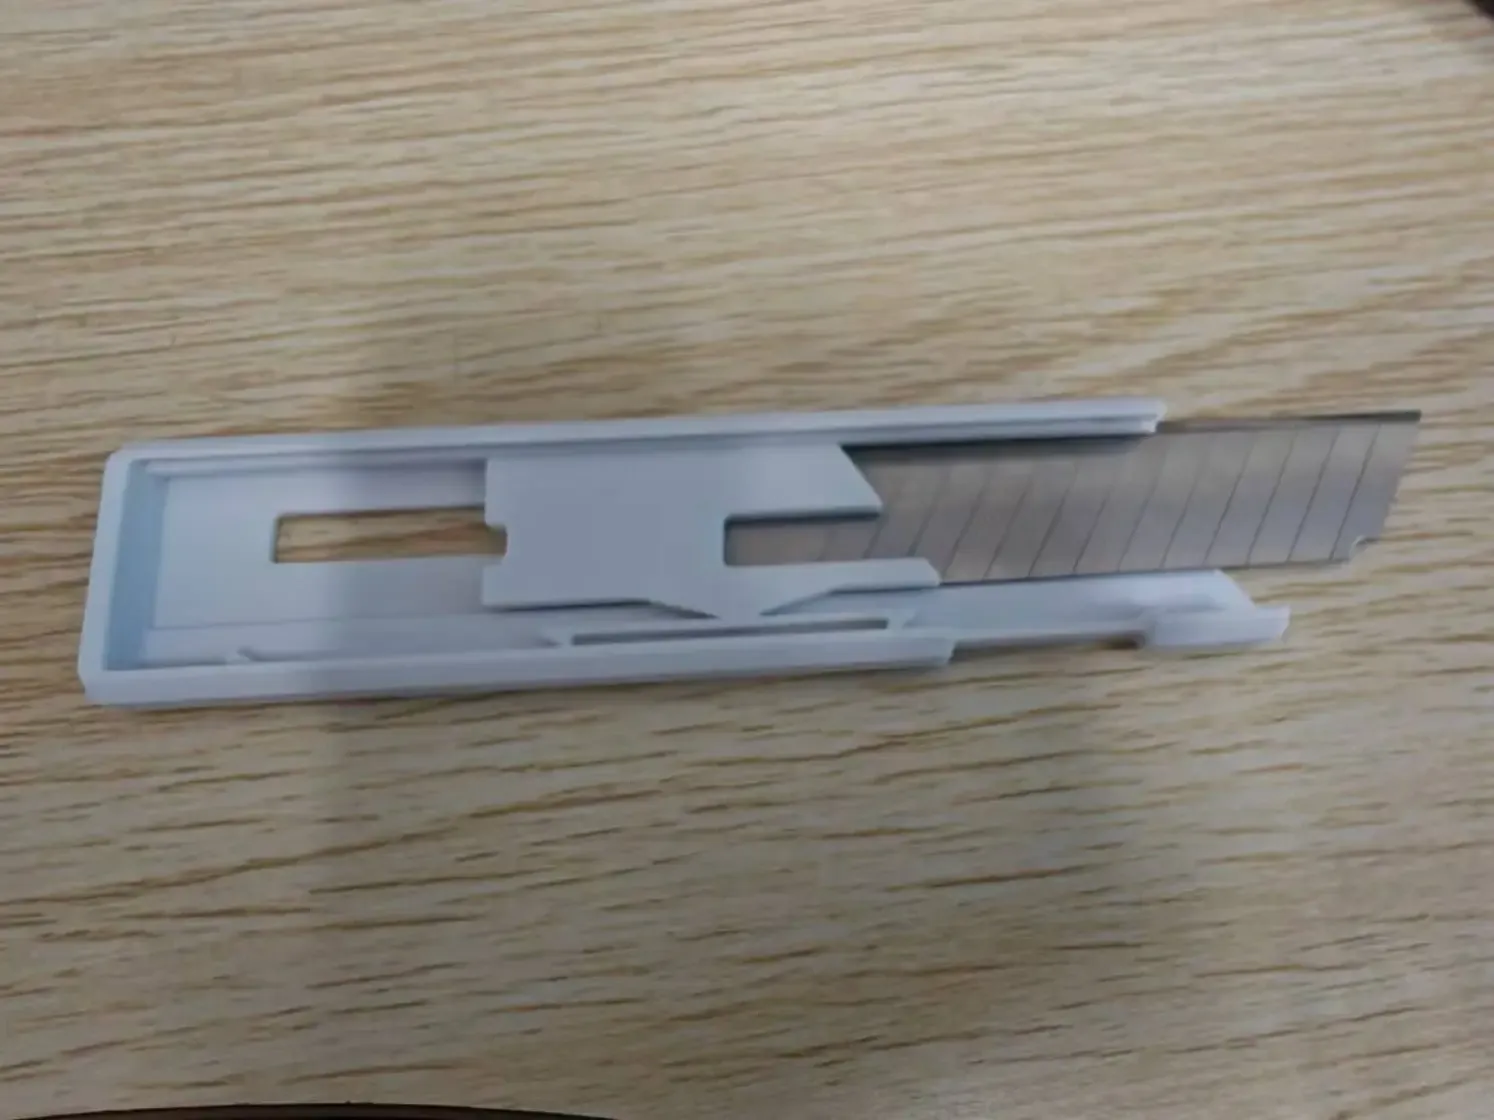
Insert the spring. Do not forcefully push the switch at this time; without the top cover's support, the spring is prone to misalignment and breakage:
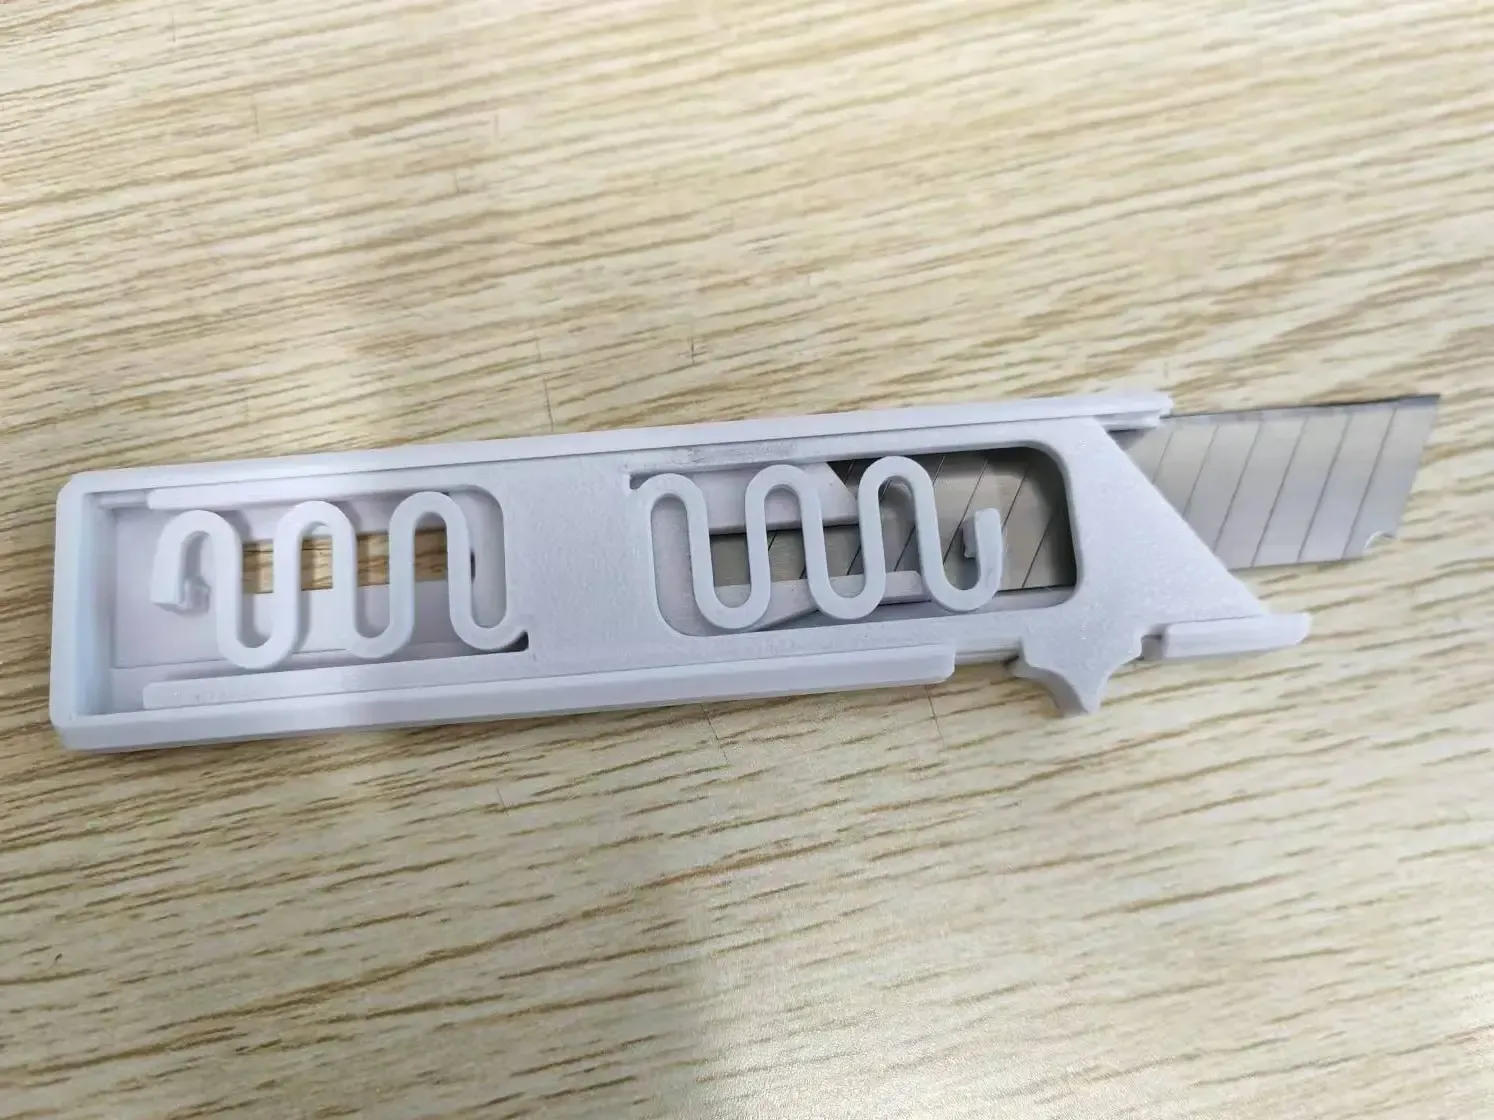
Slide in the top cover and begin using:
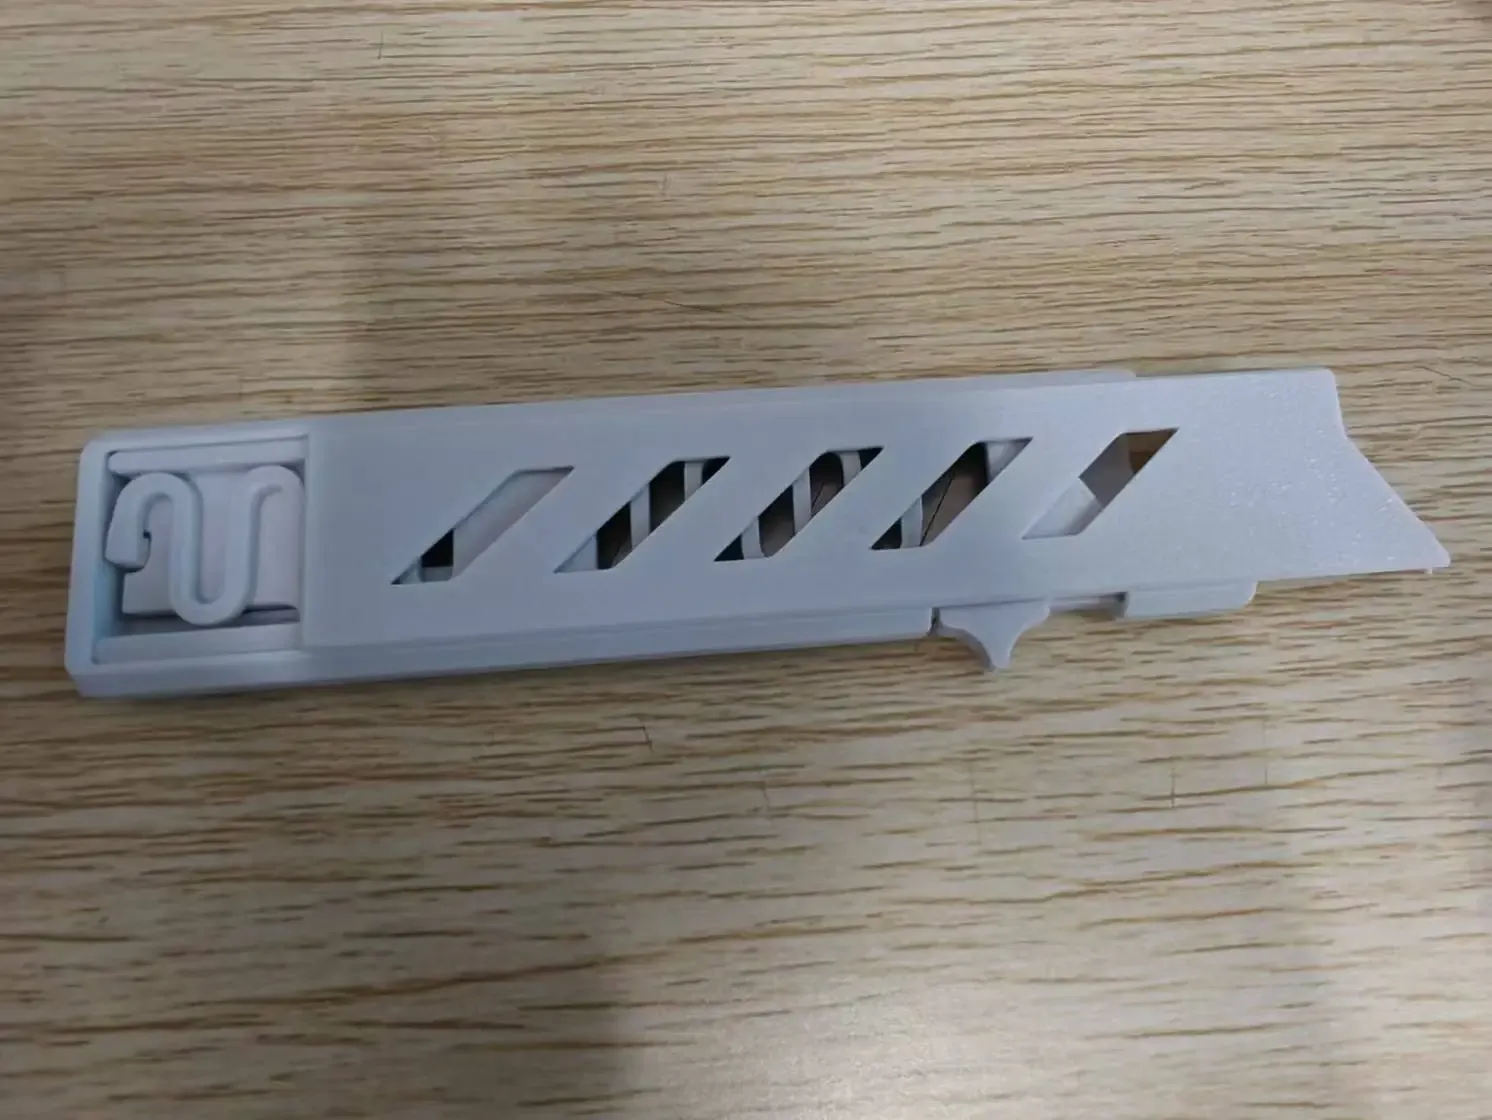
*For any improvement requests, please comment. I will continue to follow up; also, don't hesitate to boost me!
Boost Me (for free)
-------------------------------------------------------------------------------------------------------------------------------------------------------------------------------------------------------
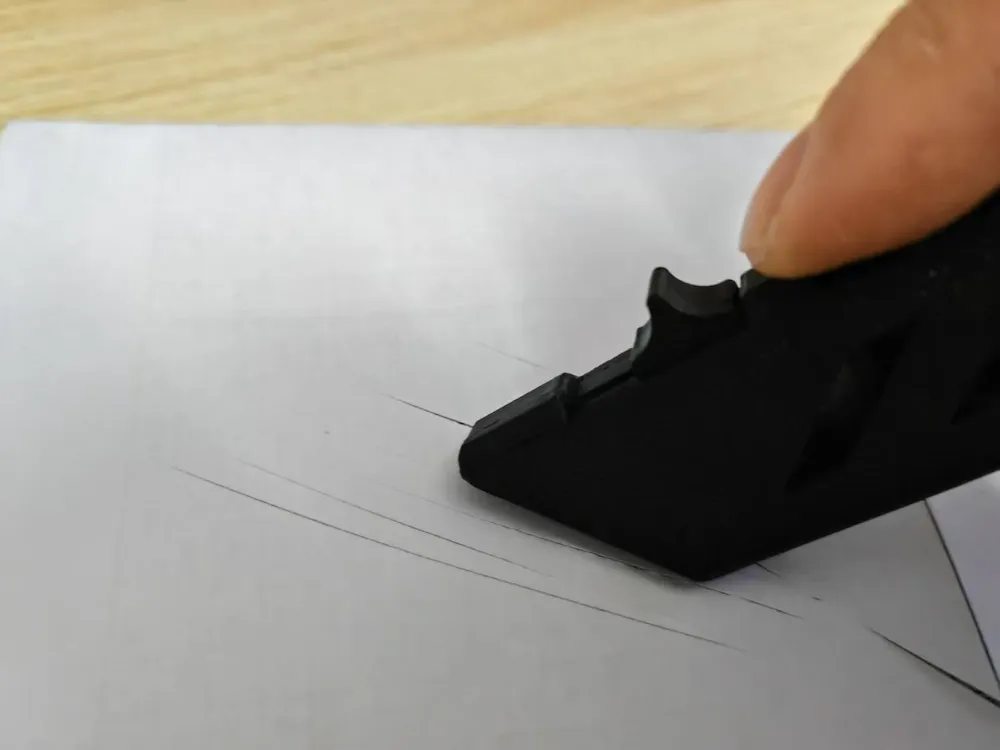
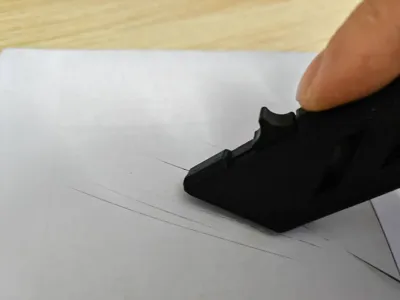
Based on the principle of an OTF spring knife, this design allows for the installation of 18mm SK5 utility blades. It features a compact structure, strong resilience, and stable construction. When deployed, it functions as a utility knife; when retracted, the exposed tip can be used for paper cutting or opening packages. *Caution: The blade is sharp, and the ejection speed is fast. Do not use it for illegal purposes.
After printing, assemble according to the following steps:
Obtain all parts and inspect surface smoothness:
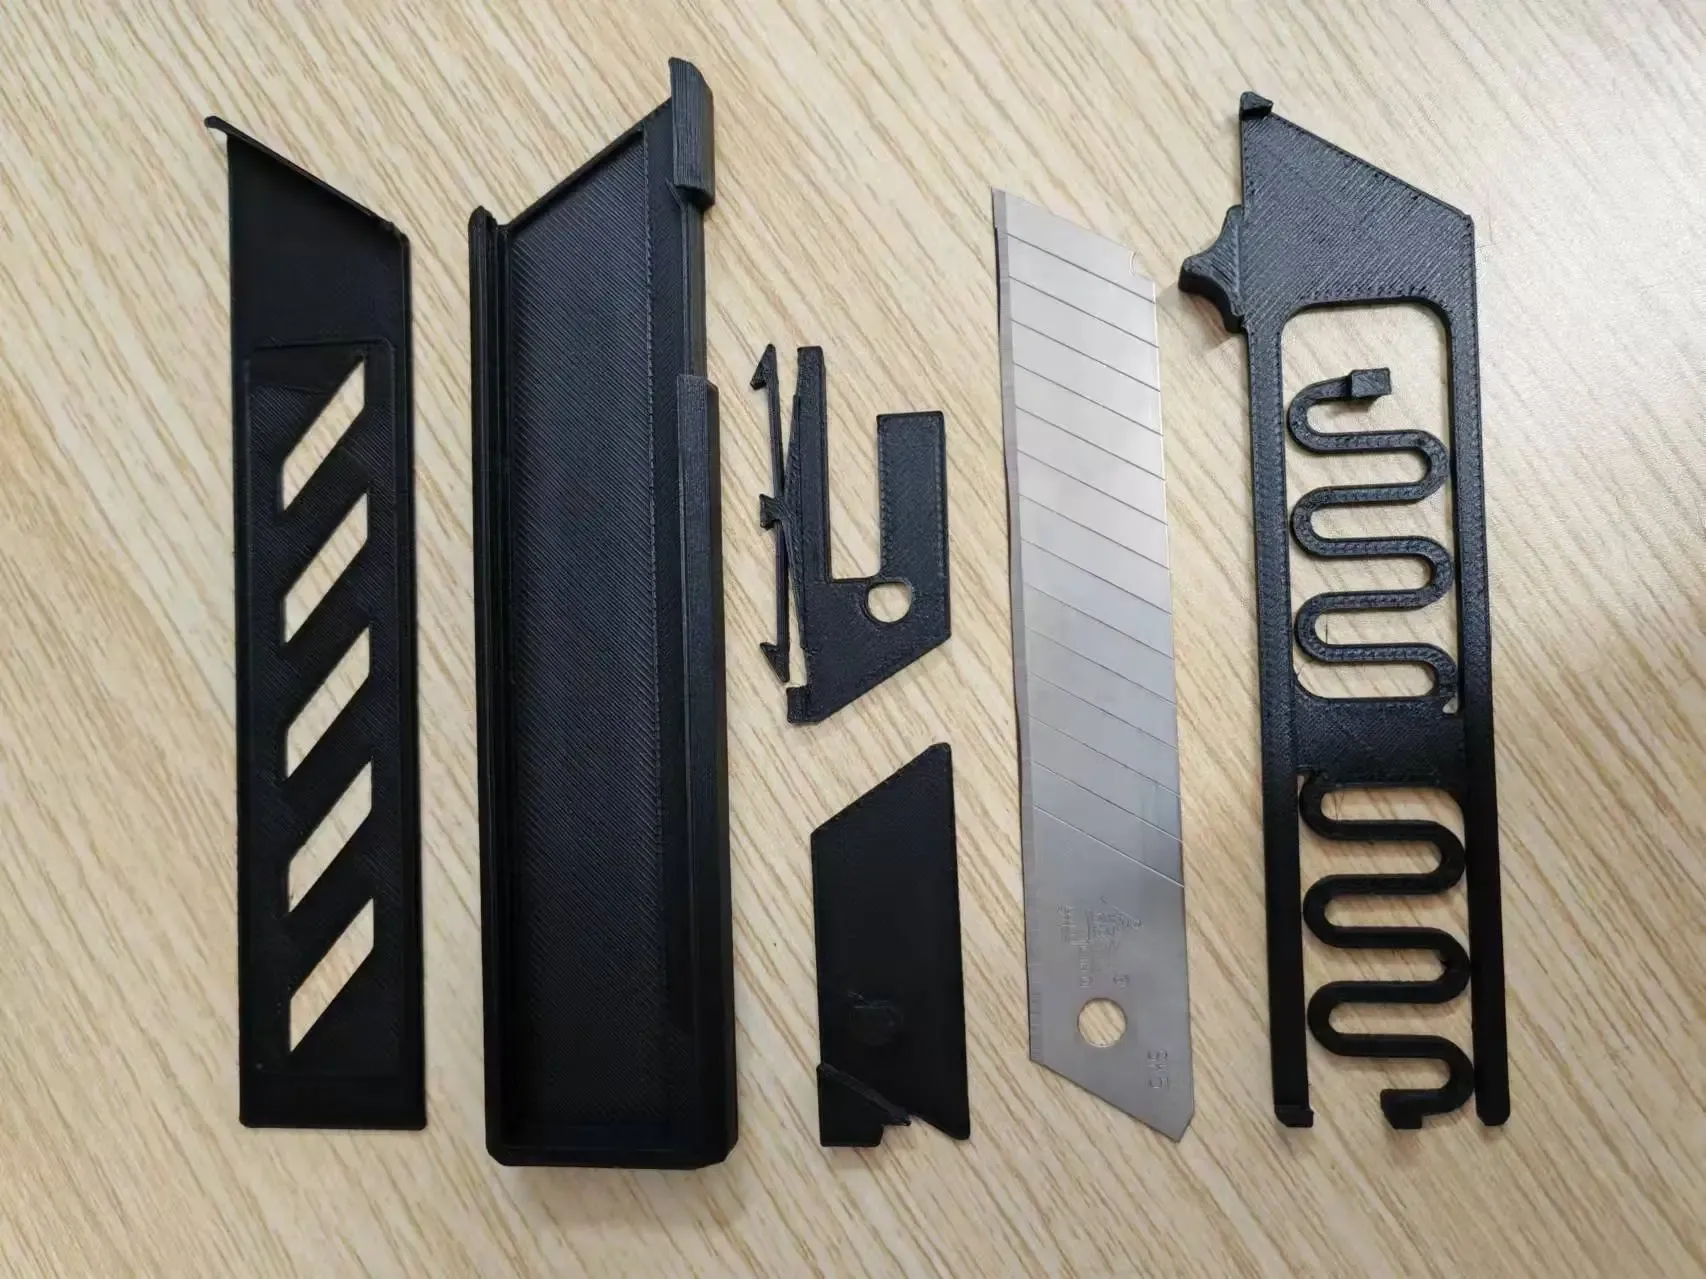
Install the blade onto the slider base plate:
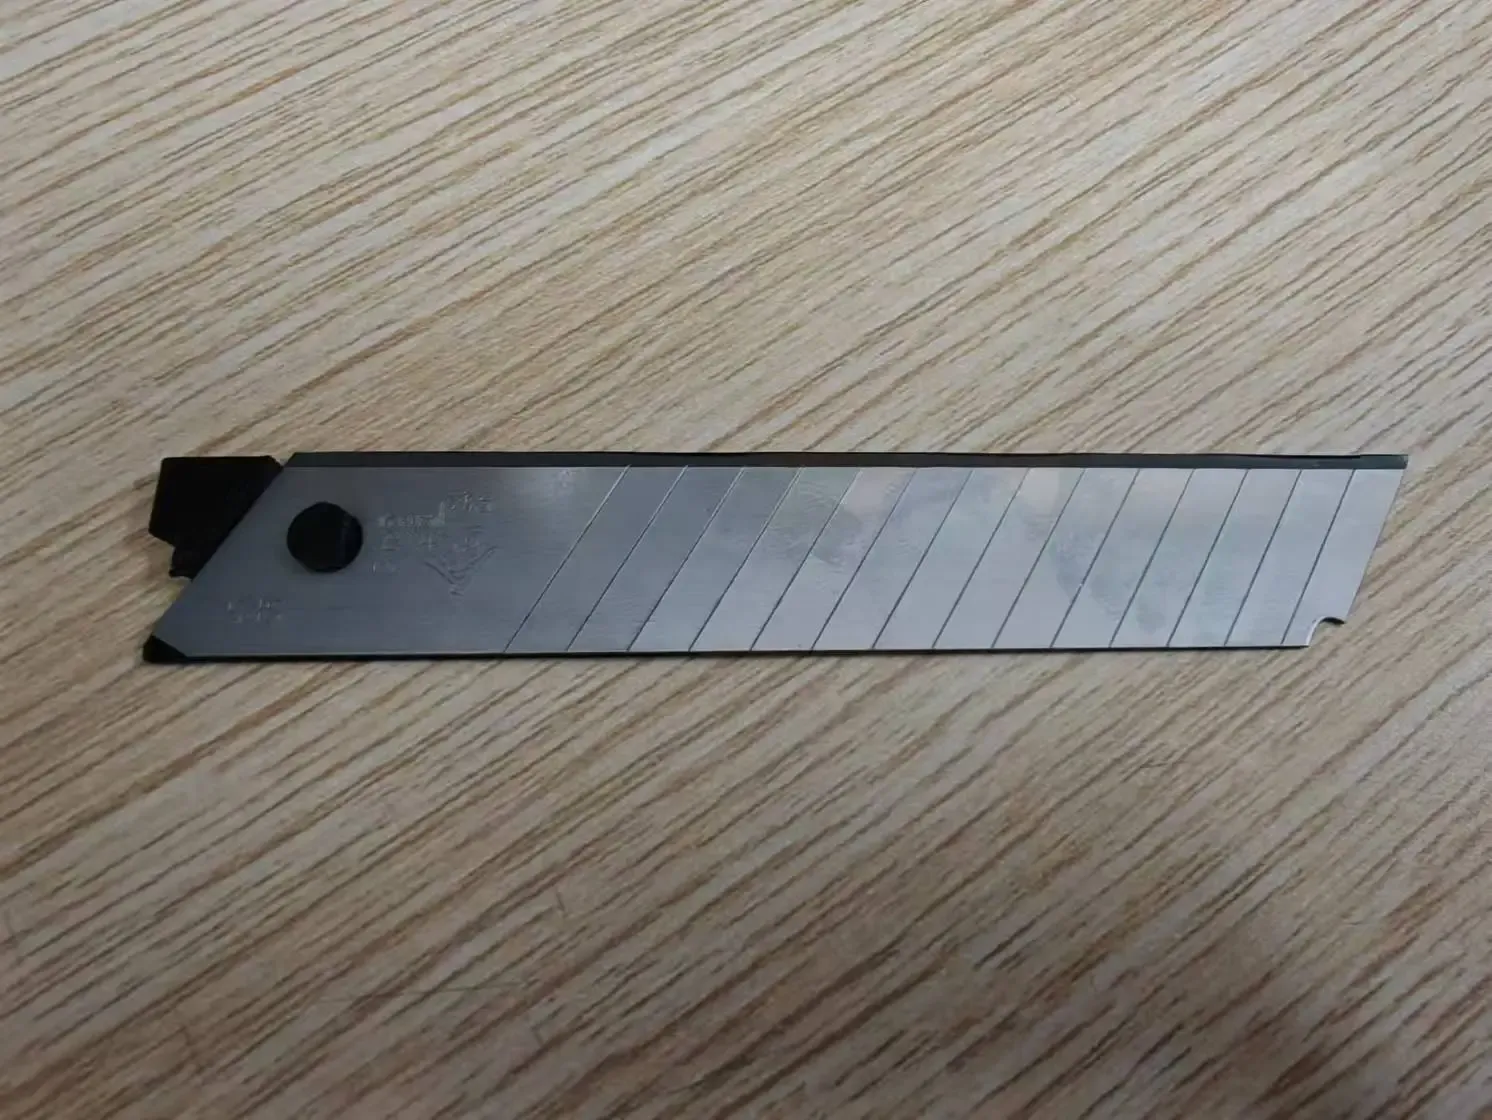
Insert and press firmly on the slider top cover to ensure that the blade does not loosen:
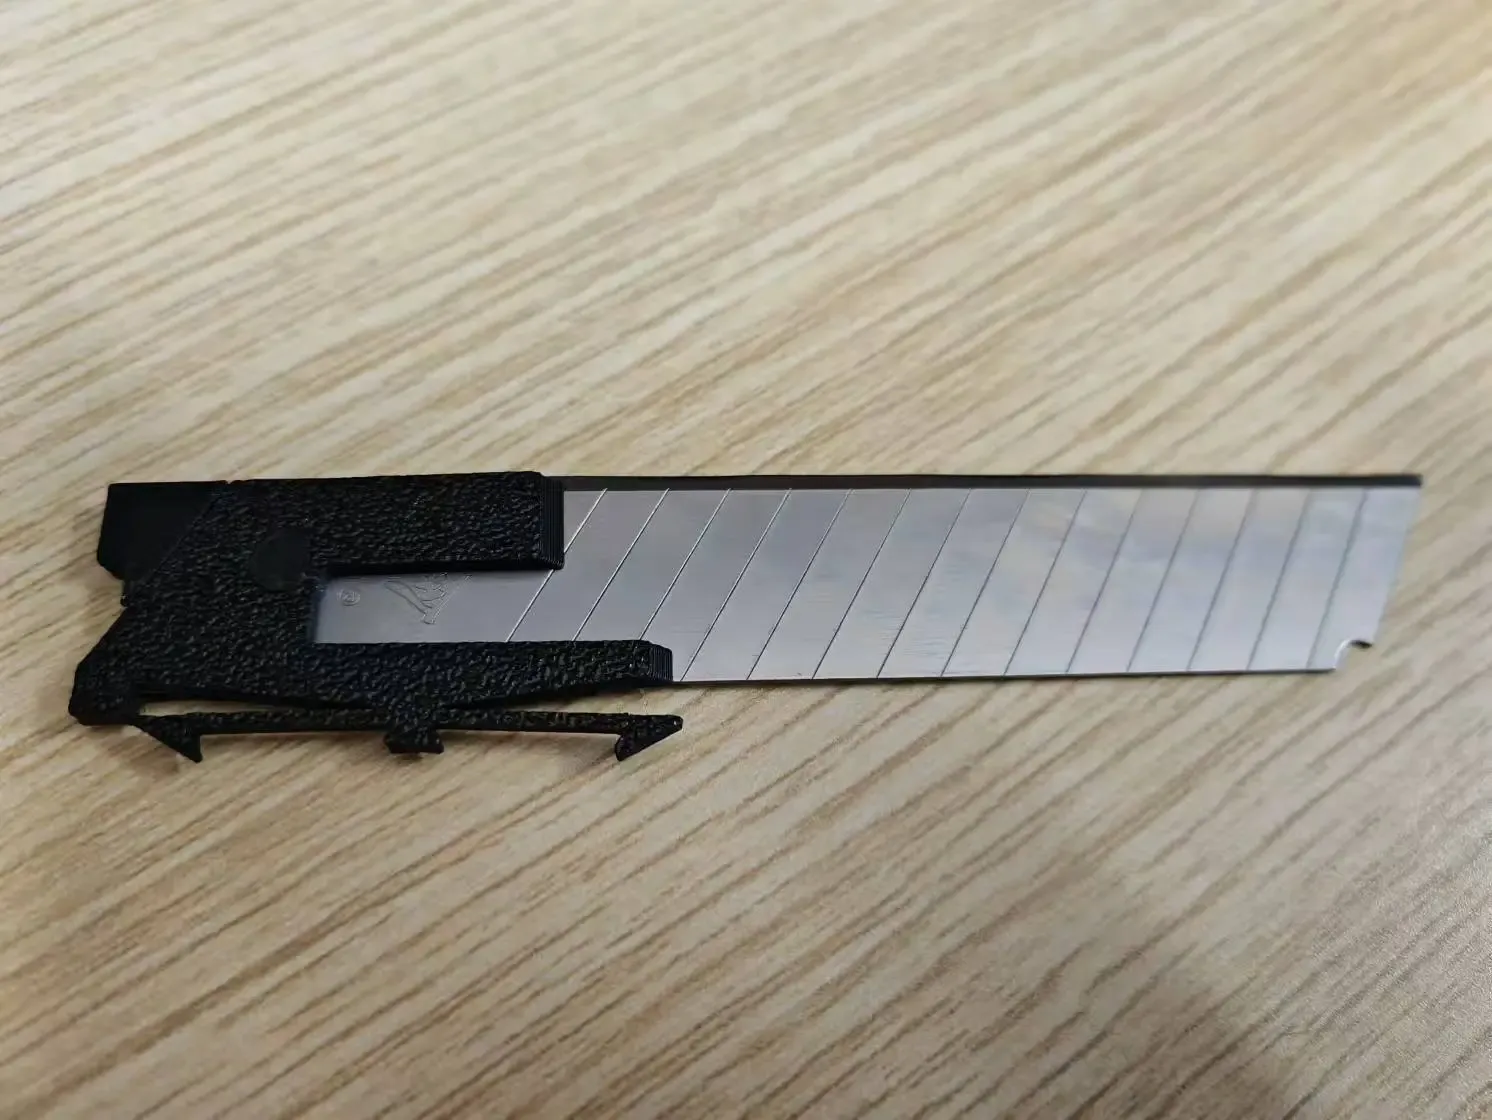
Insert the slider diagonally into the base, aligning the blade toward the short side and embedding it into the slide rail. Move the slider back and forth until it slides freely:
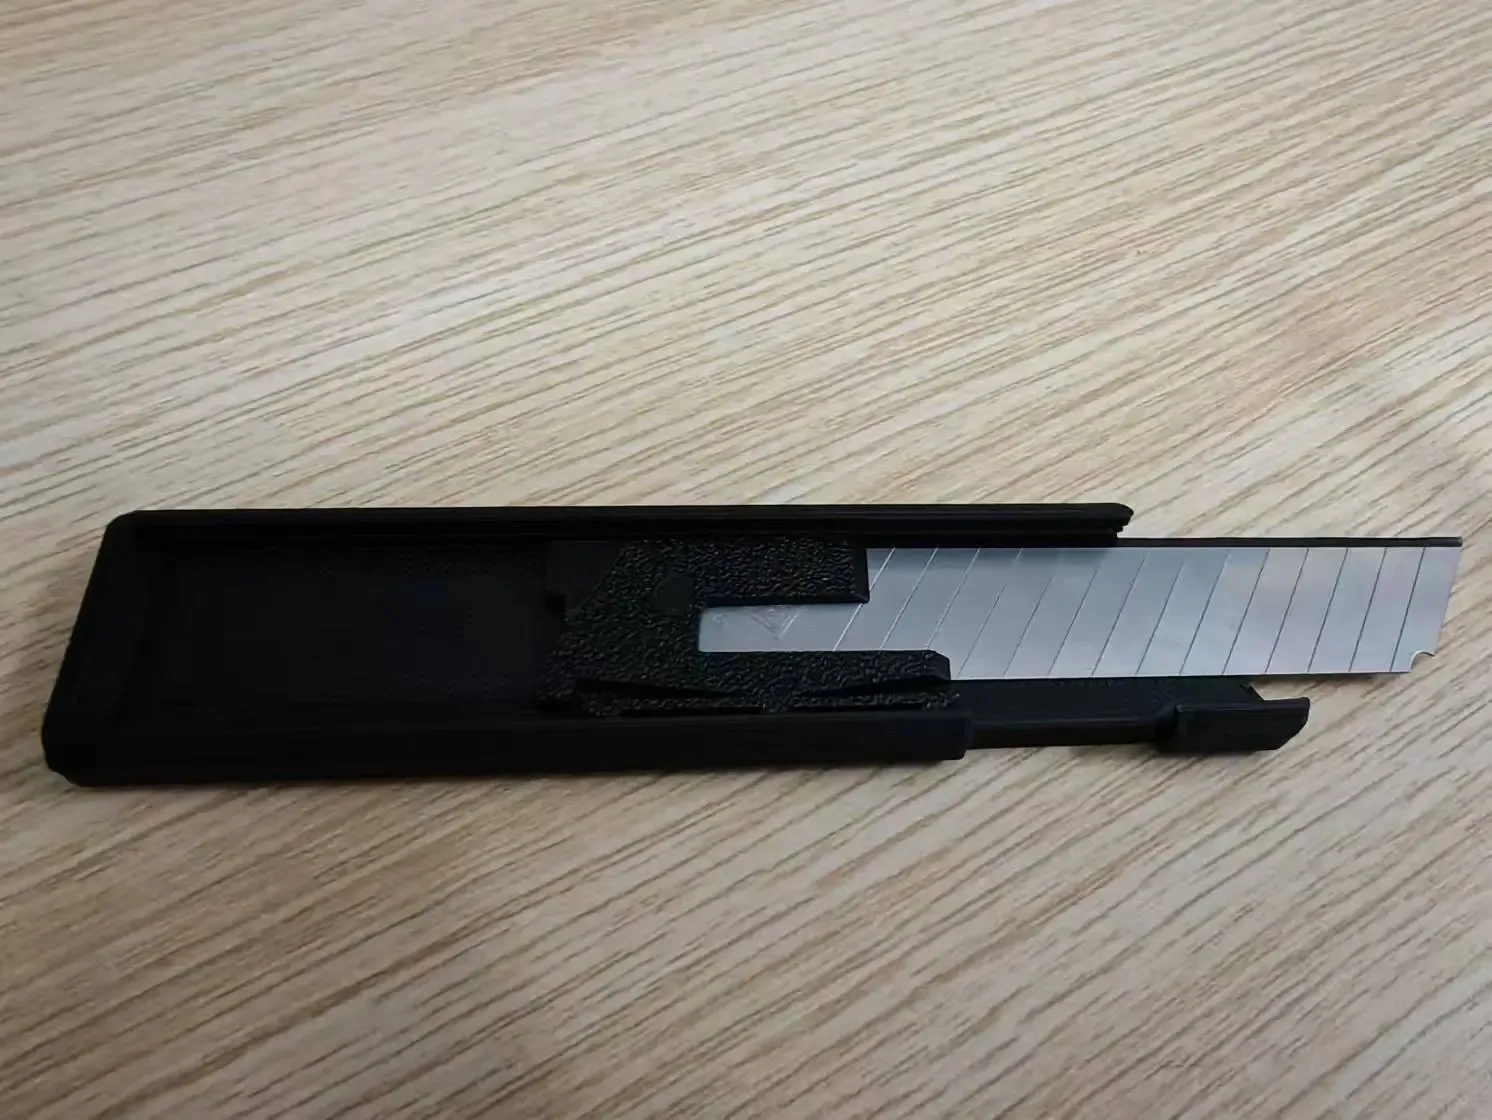
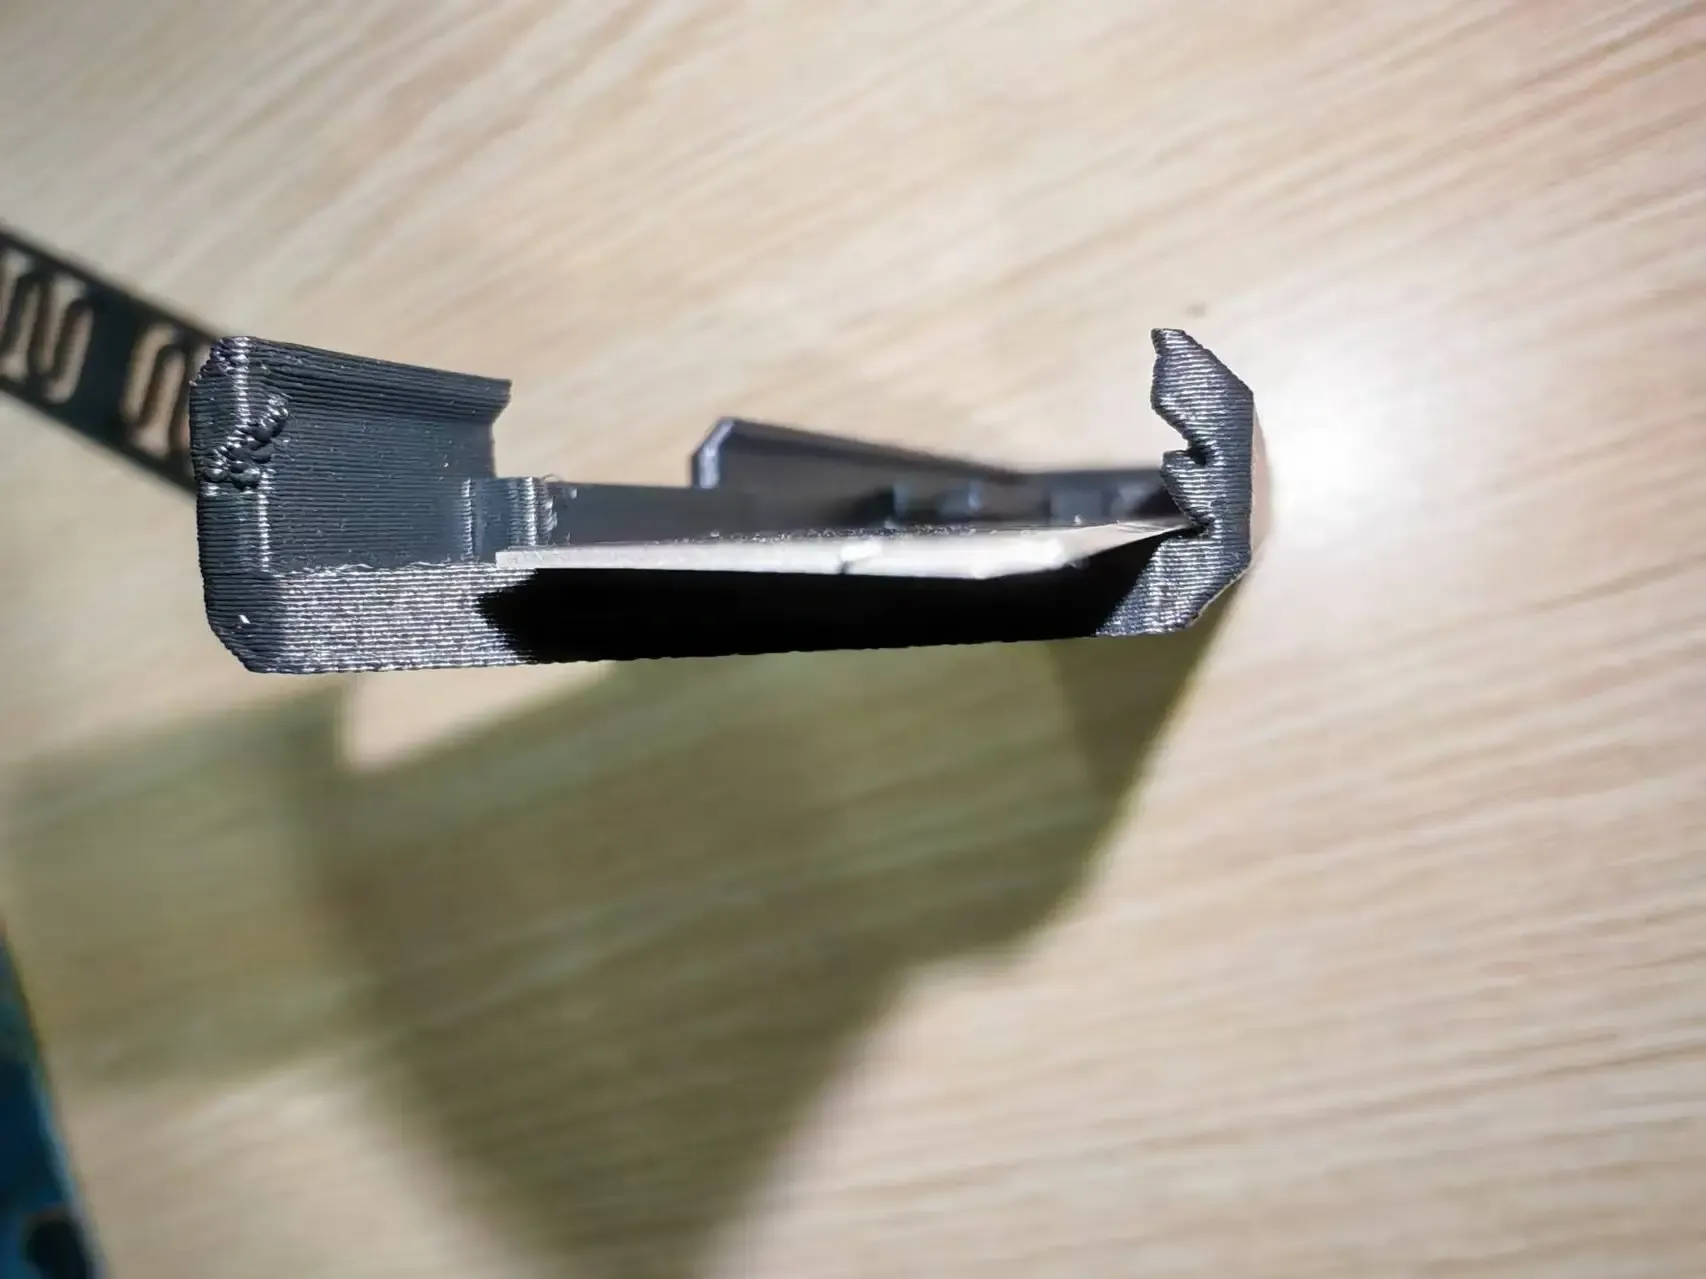
Insert the spring diagonally:
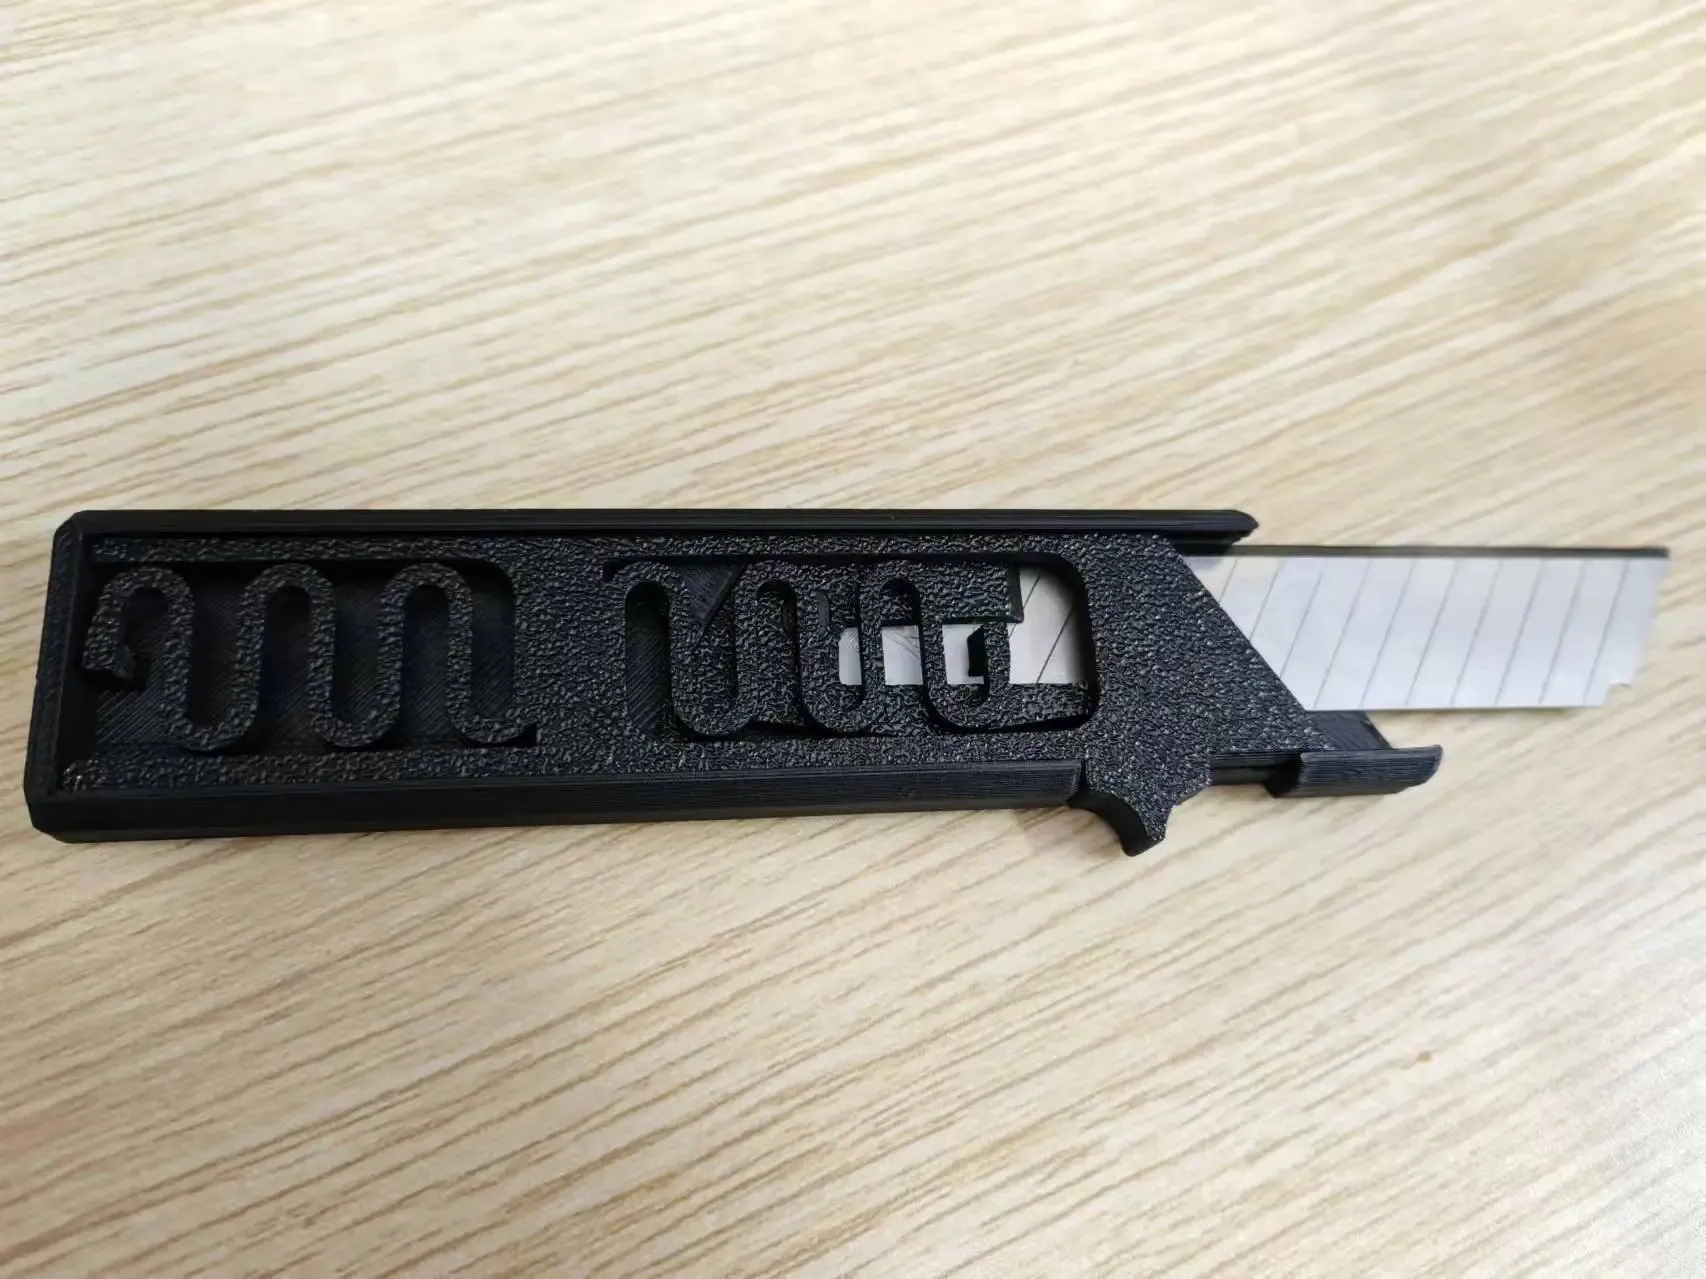
Insert the top cover and slide it to the bottom:
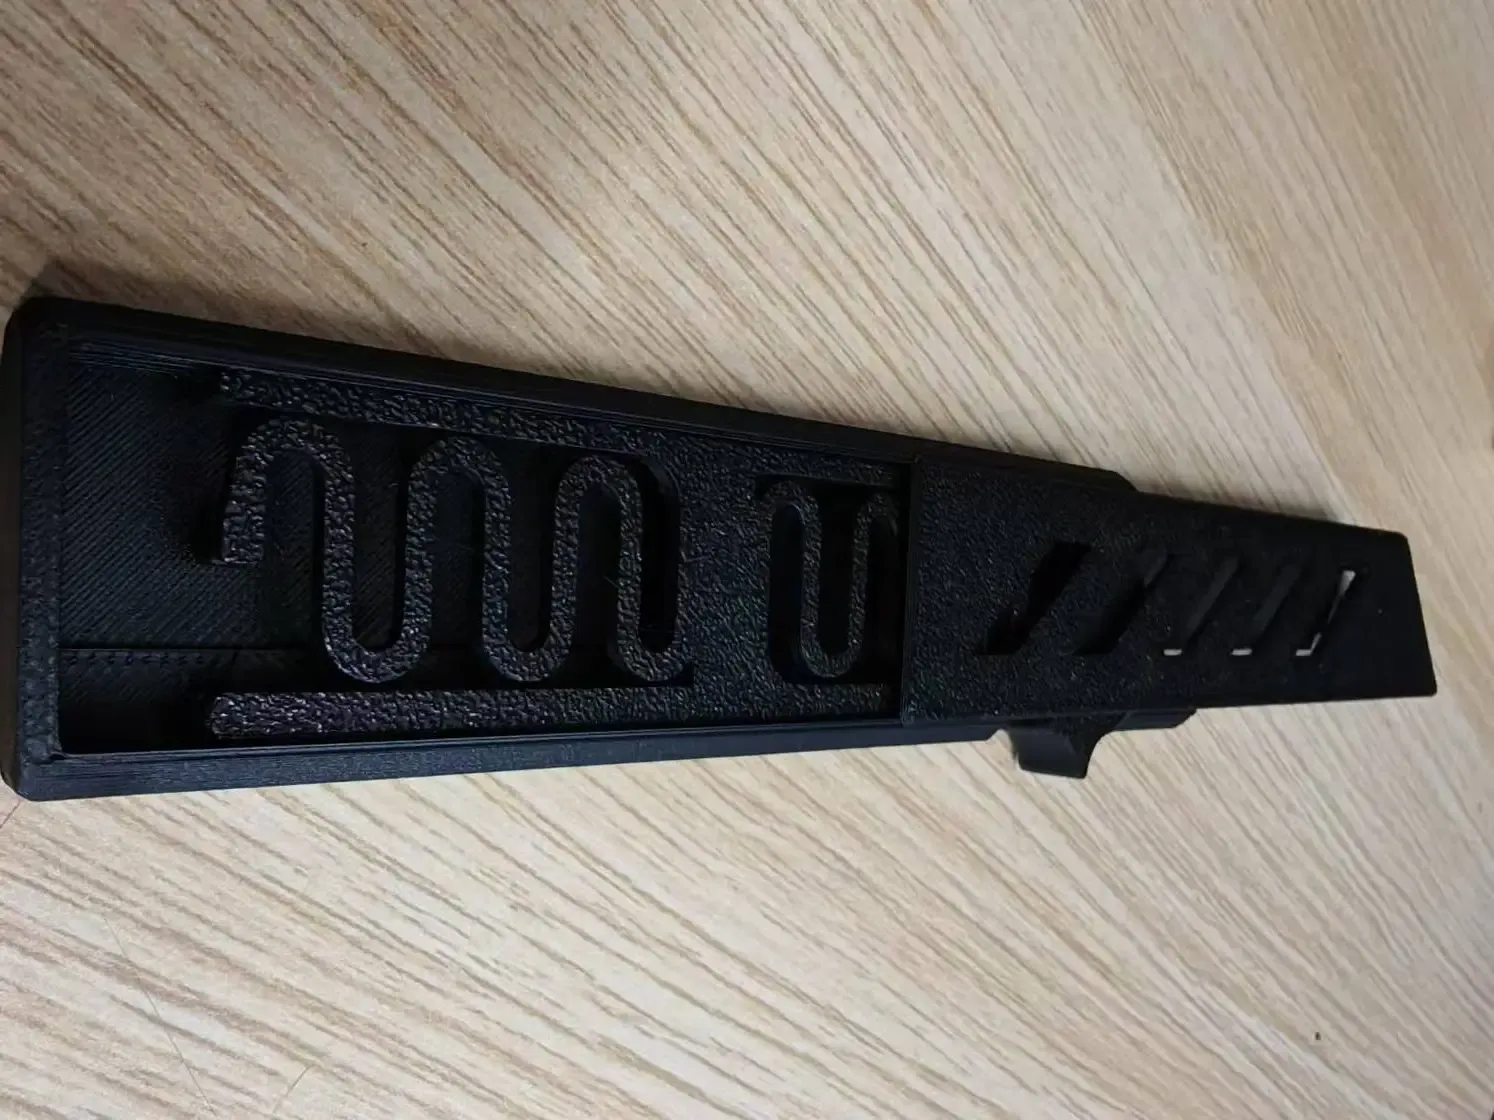
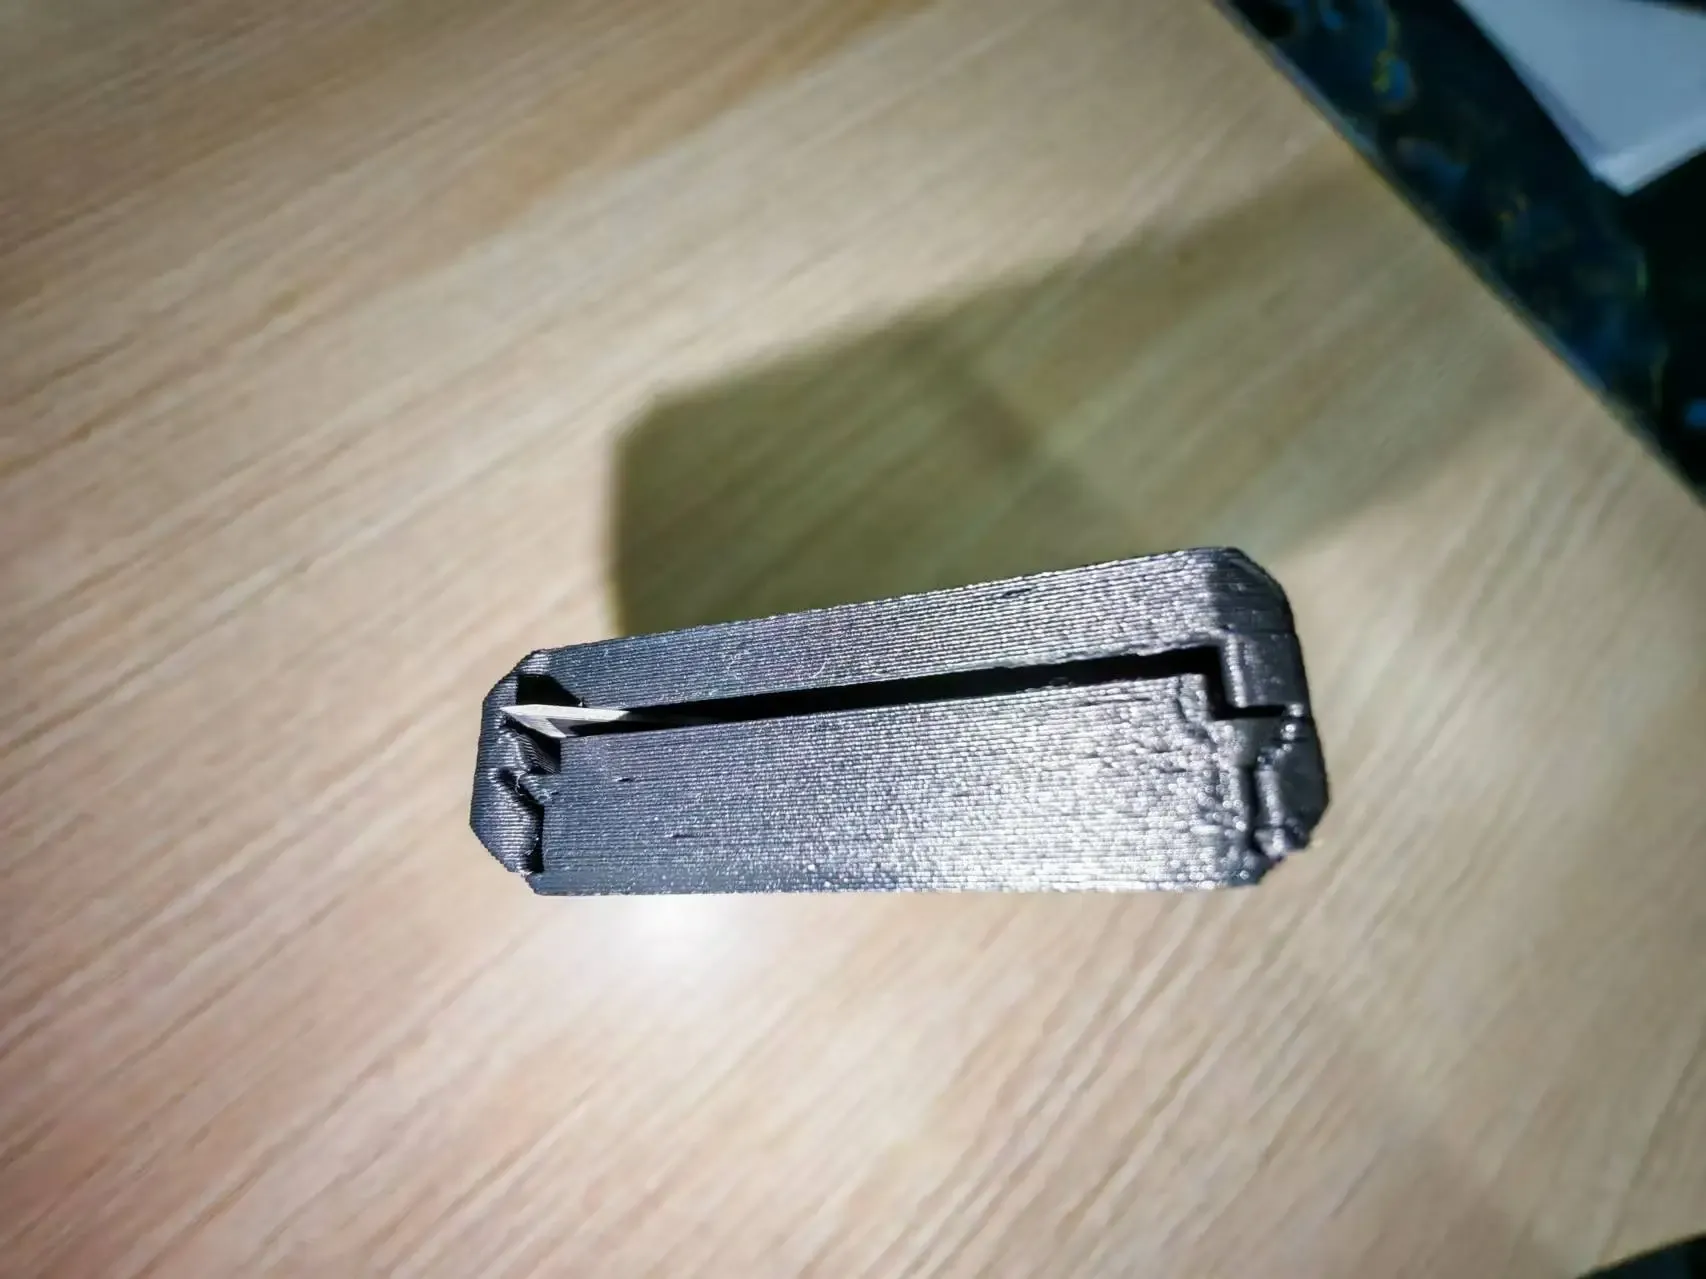
Assembly complete. Test the ejection for smooth operation; it generally becomes smoother with repeated use.
Boost Me (for free)
License

You shall not share, sub-license, sell, rent, host, transfer, or distribute in any way the digital or 3D printed versions of this object, nor any other derivative work of this object in its digital or physical format (including - but not limited to - remixes of this object, and hosting on other digital platforms). The objects may not be used without permission in any way whatsoever in which you charge money, or collect fees.


Comment & Rating (88)