
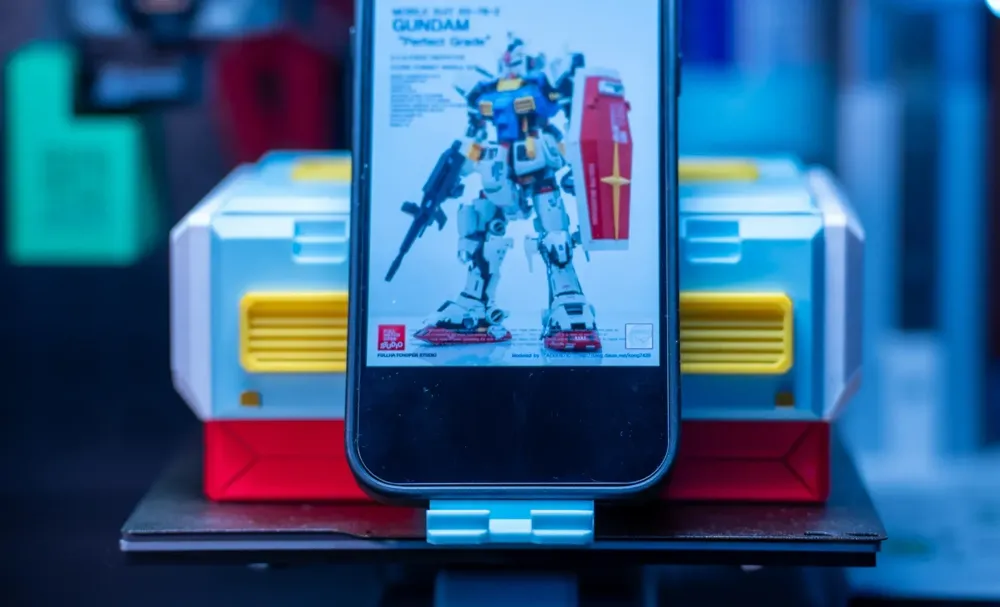
Gundam Tissue Box (with Phone Stand)
Print Profile(3)
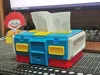

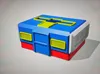
Description
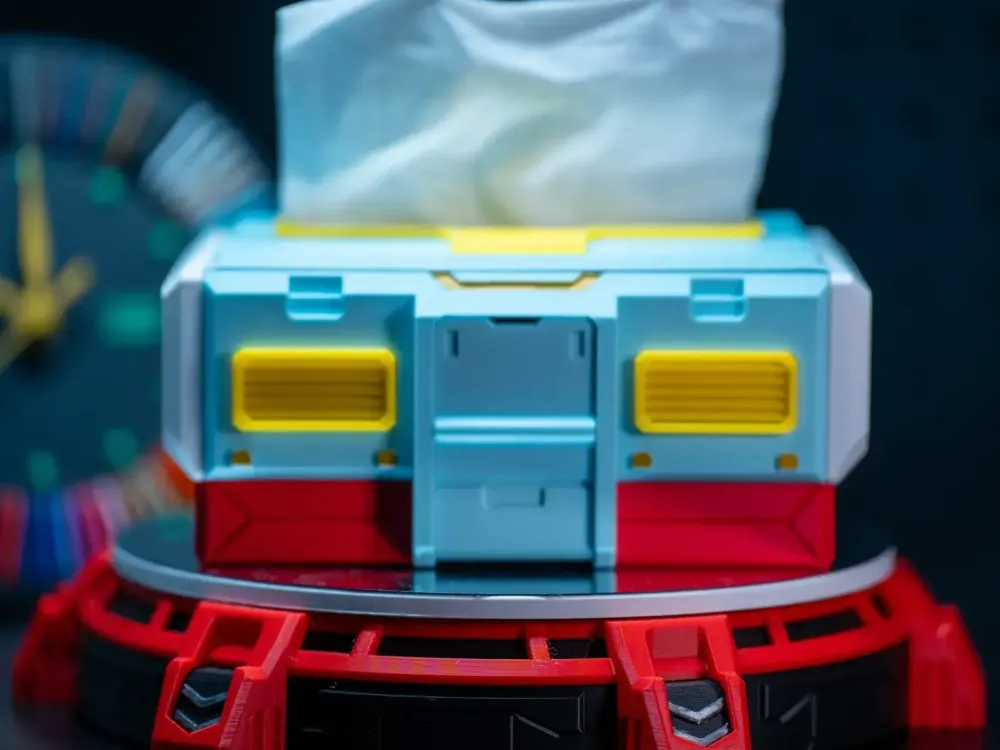
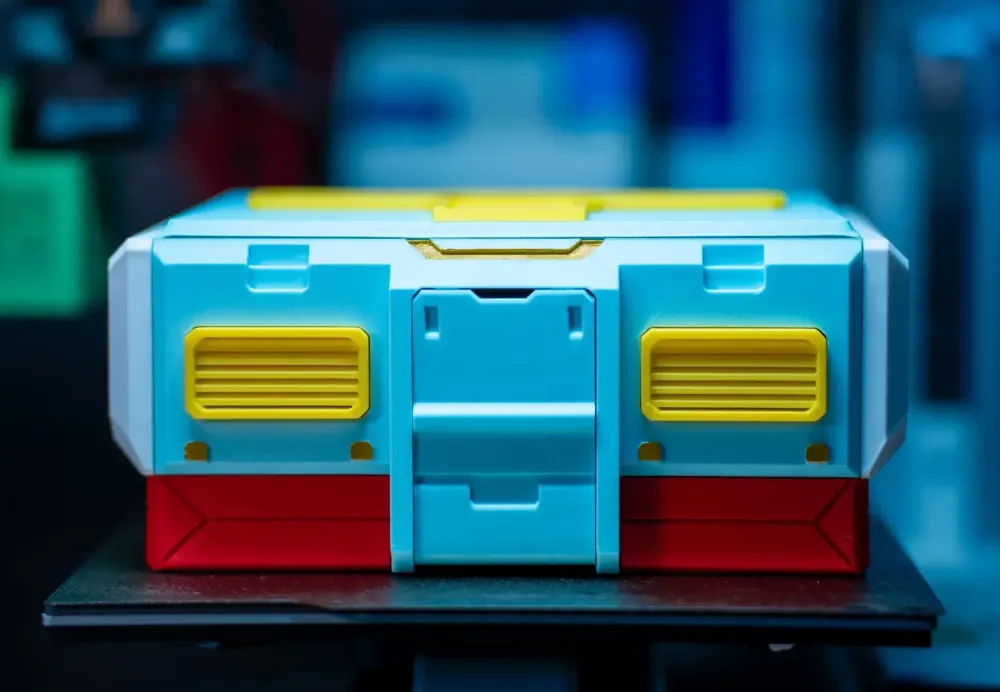
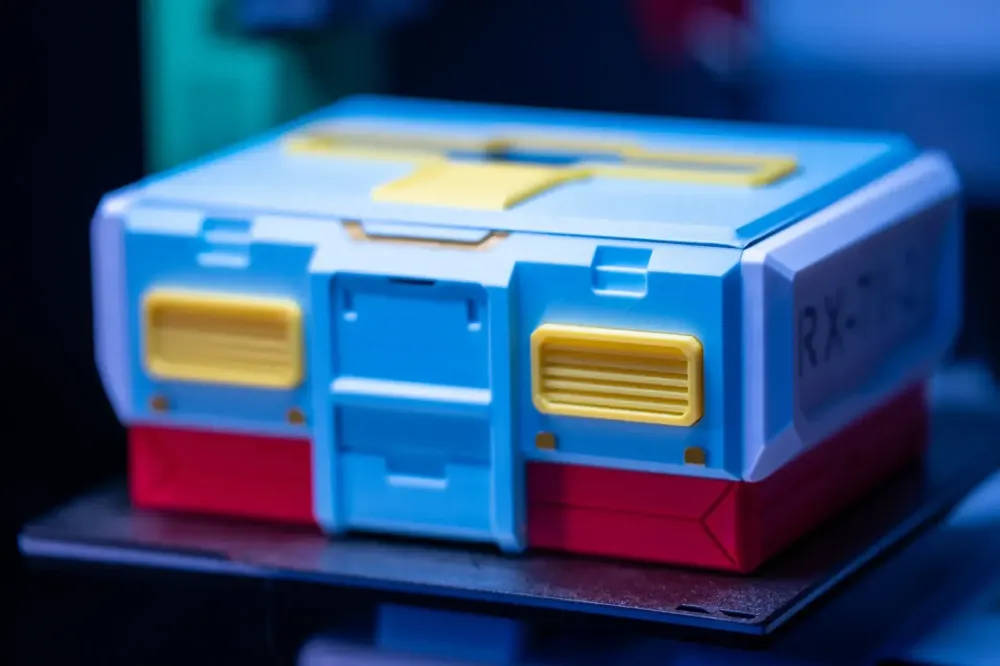
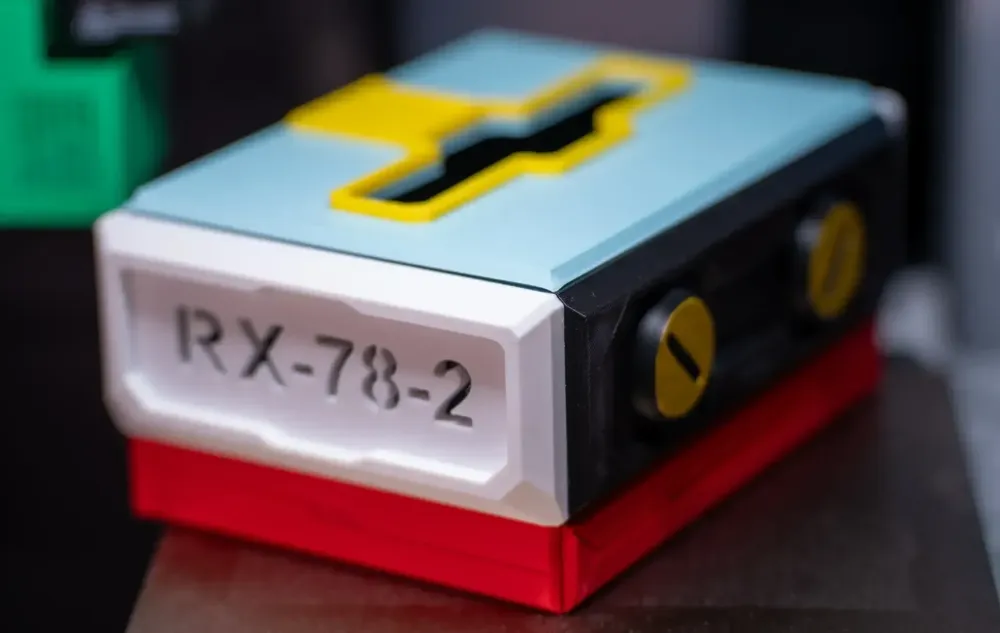
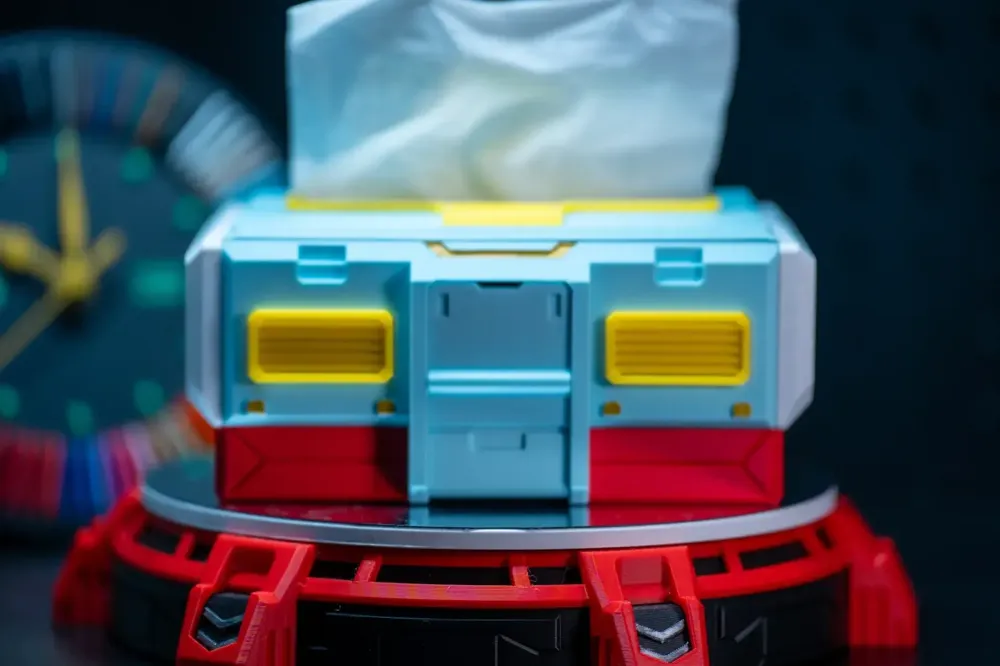
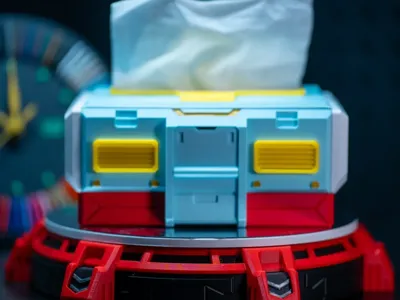
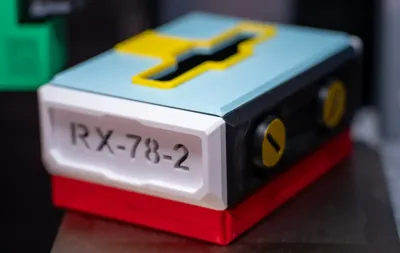
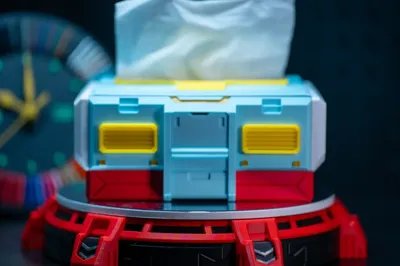
Witnessing my wife's substantial tissue stockpile, a whimsical idea struck me: I crafted this tissue box. I'm quite pleased with the result (Many thanks to 艺境Artoverse for the stunning product shots—far superior to my own!).
Boost Me (for free)
If you appreciate this design, please consider boosting me; my goal is to acquire an A1 printer for free.
July 18, 2025: I've noticed many users enjoy repainting the two large screws on the rear panel. Therefore, I've made them detachable, allowing for easy replacement with different colors. (I haven't personally tested this, but it should work. Let me know if you encounter any issues.)
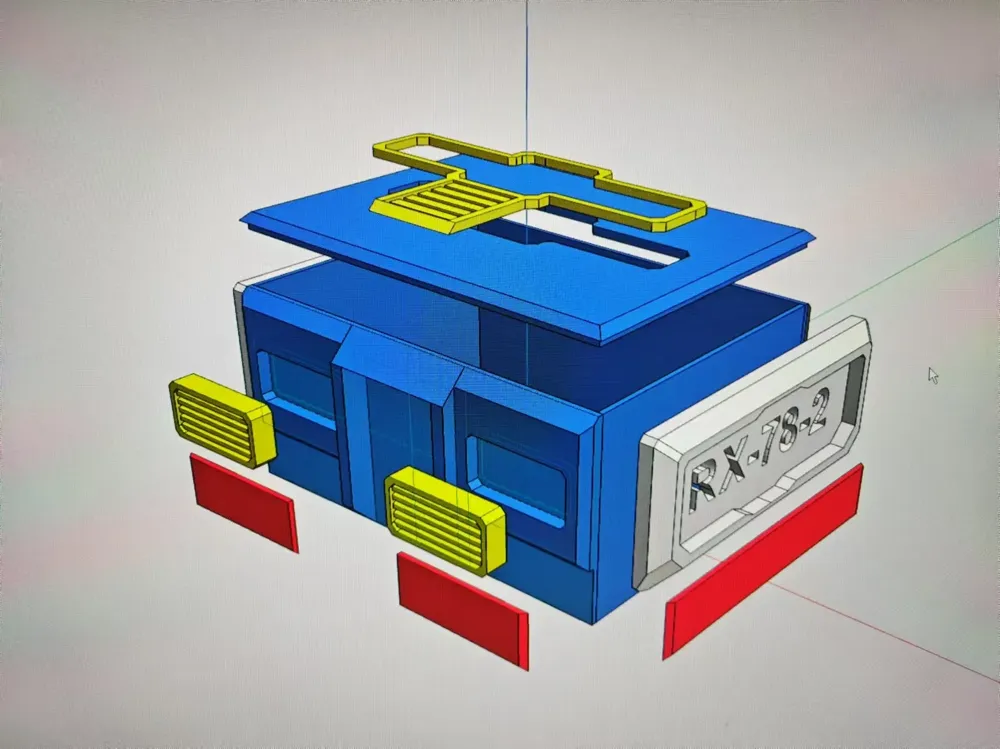
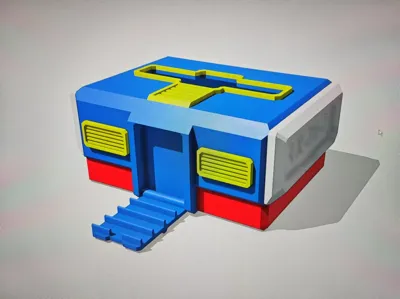
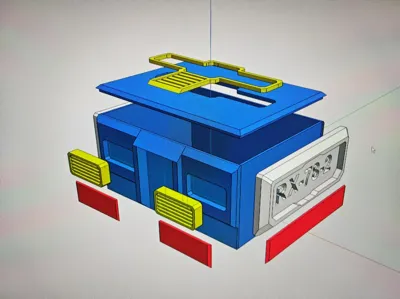
December 22, 2024: While browsing Xianyu today, I discovered someone selling my tissue box (facepalm). This practice is certainly not commendable; however, personally, seeing something I painstakingly modeled over several evenings appreciated and valued brings a certain quiet satisfaction. (Stealing the design files is one thing, but copying my product shots is excessive. At least print your own, take new photos, and give me a download and a boost!) Furthermore, despite its extended availability, nobody seems to have discovered a... hidden feature, shall we say. Each component is designed for separate attachment, with the box body as a standalone piece. This intentional design allows for DIY customization. For instance, you could omit the supplied box body, generate a custom-sized container using Tuotu's desktop organizer generator, then attach the existing decorative pieces. Voilà! A tissue box transforms into a desktop organizer (grin). Even if already printed, simply scale it down for an embedded fit, patching the tissue box's top opening and adding a simple, modeled hinge. Let your imagination run wild (grin). I genuinely hope you all enjoy my creation.
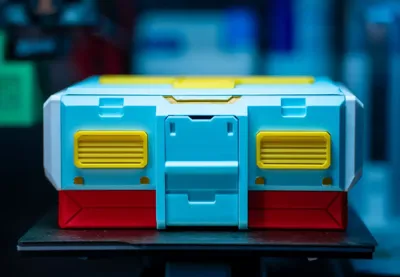
P.S.: Here are the box dimensions: External dimensions: Height 73mm, Length 154mm, Width 114mm. Internal dimensions: Height 70mm, Length 150mm, Width 110mm. I've also included an unperforated top cover and decorative piece to facilitate your DIY endeavors.
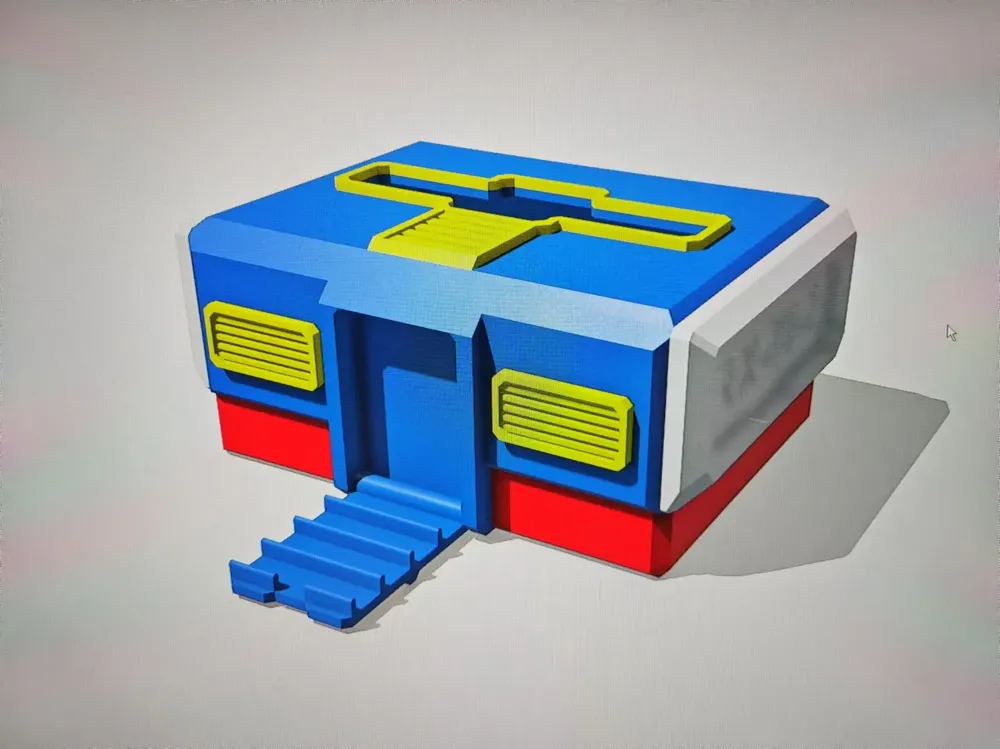
Note: This model requires assembly using adhesive; precise alignment features are absent. Moderate crafting skills are necessary. Proceed with caution if this presents a challenge. (The advantage is the elimination of AMS; each panel is independent, allowing for varied color schemes—imagine the possibilities!). Additionally, I've included a set of un-etched front and side panels for those preferring a minimalist aesthetic or wishing to add their own decorative etchings.
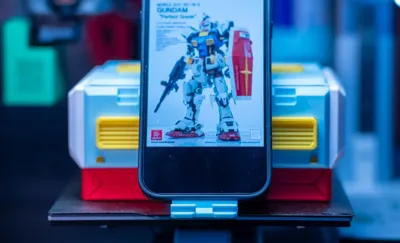
Step One: Attach the front decorative panel first (install the hatch-style phone holder beforehand; simply thread the filament through). This simplifies subsequent panel alignment.
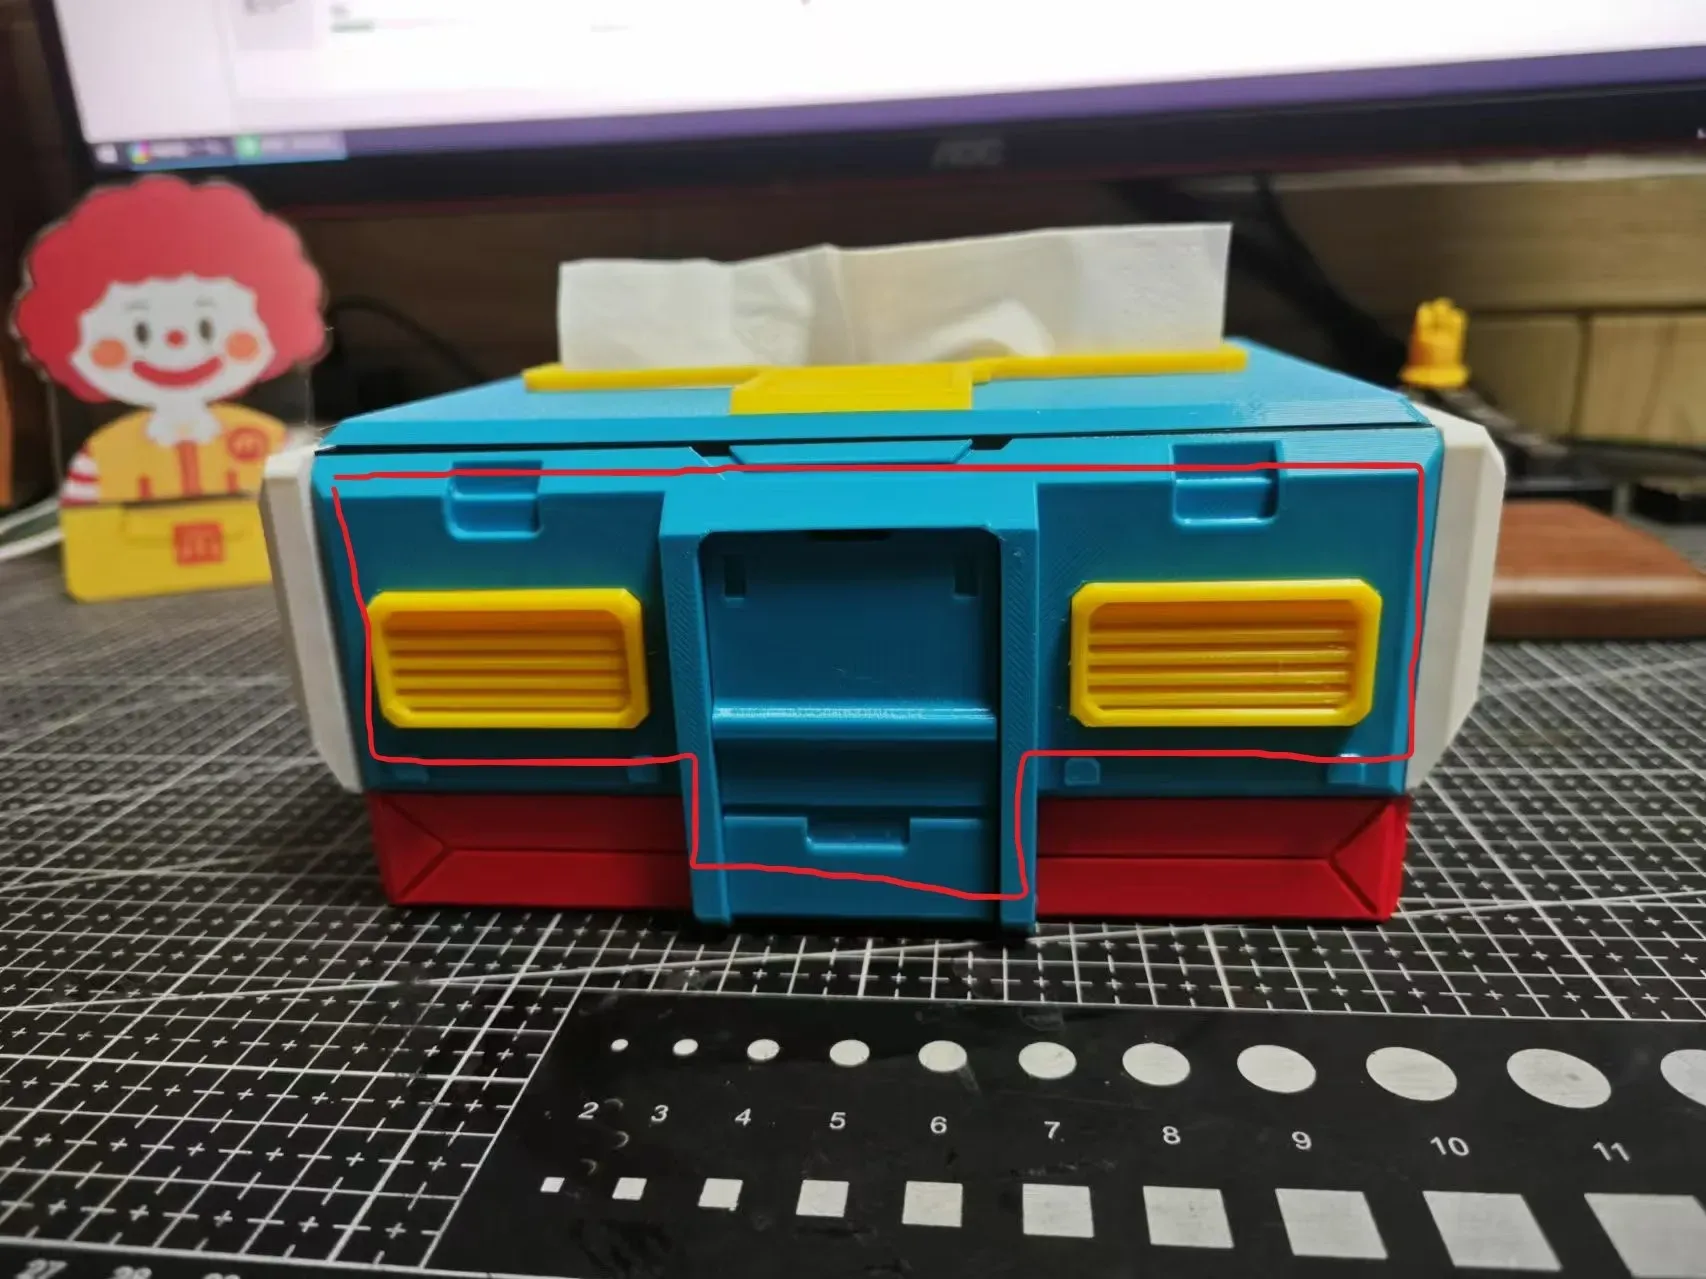
Step Two: Attach the side panels, heeding their orientation.
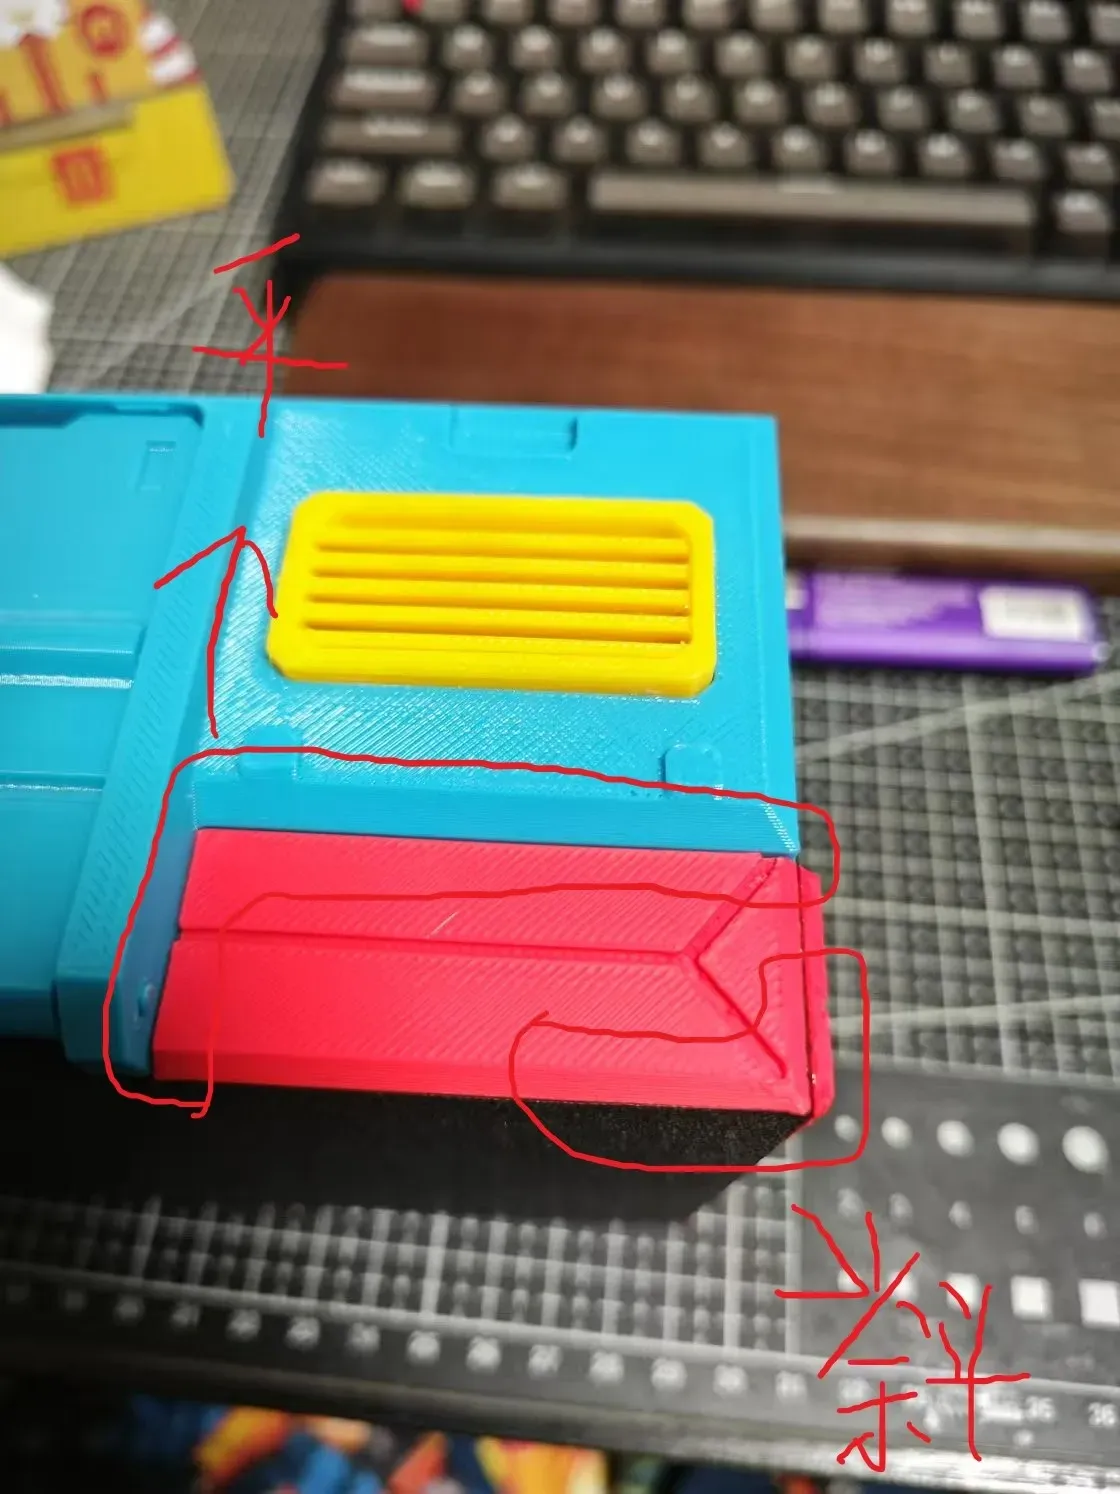
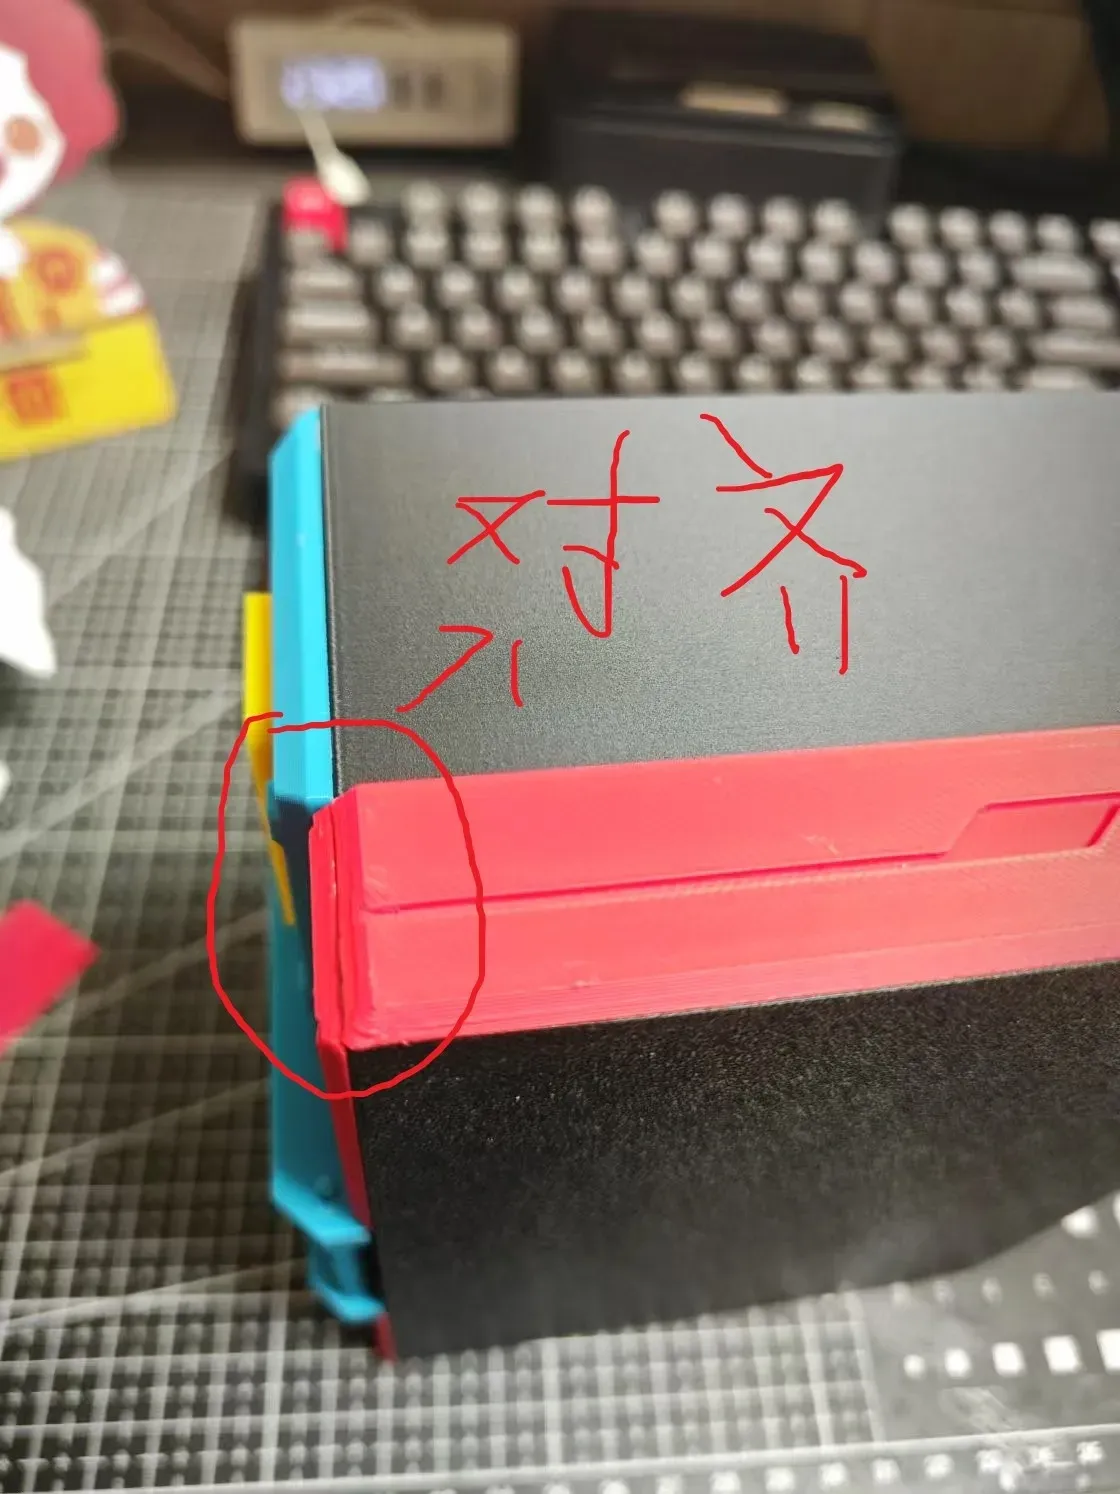
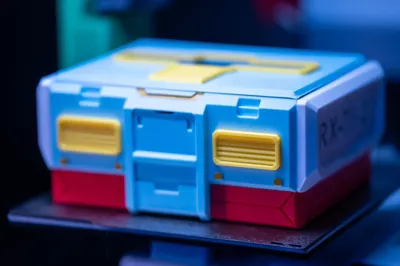
Step Three: Attach the side panels. The left features "RX78," the right "Gundam." Ensure alignment with the front panel.
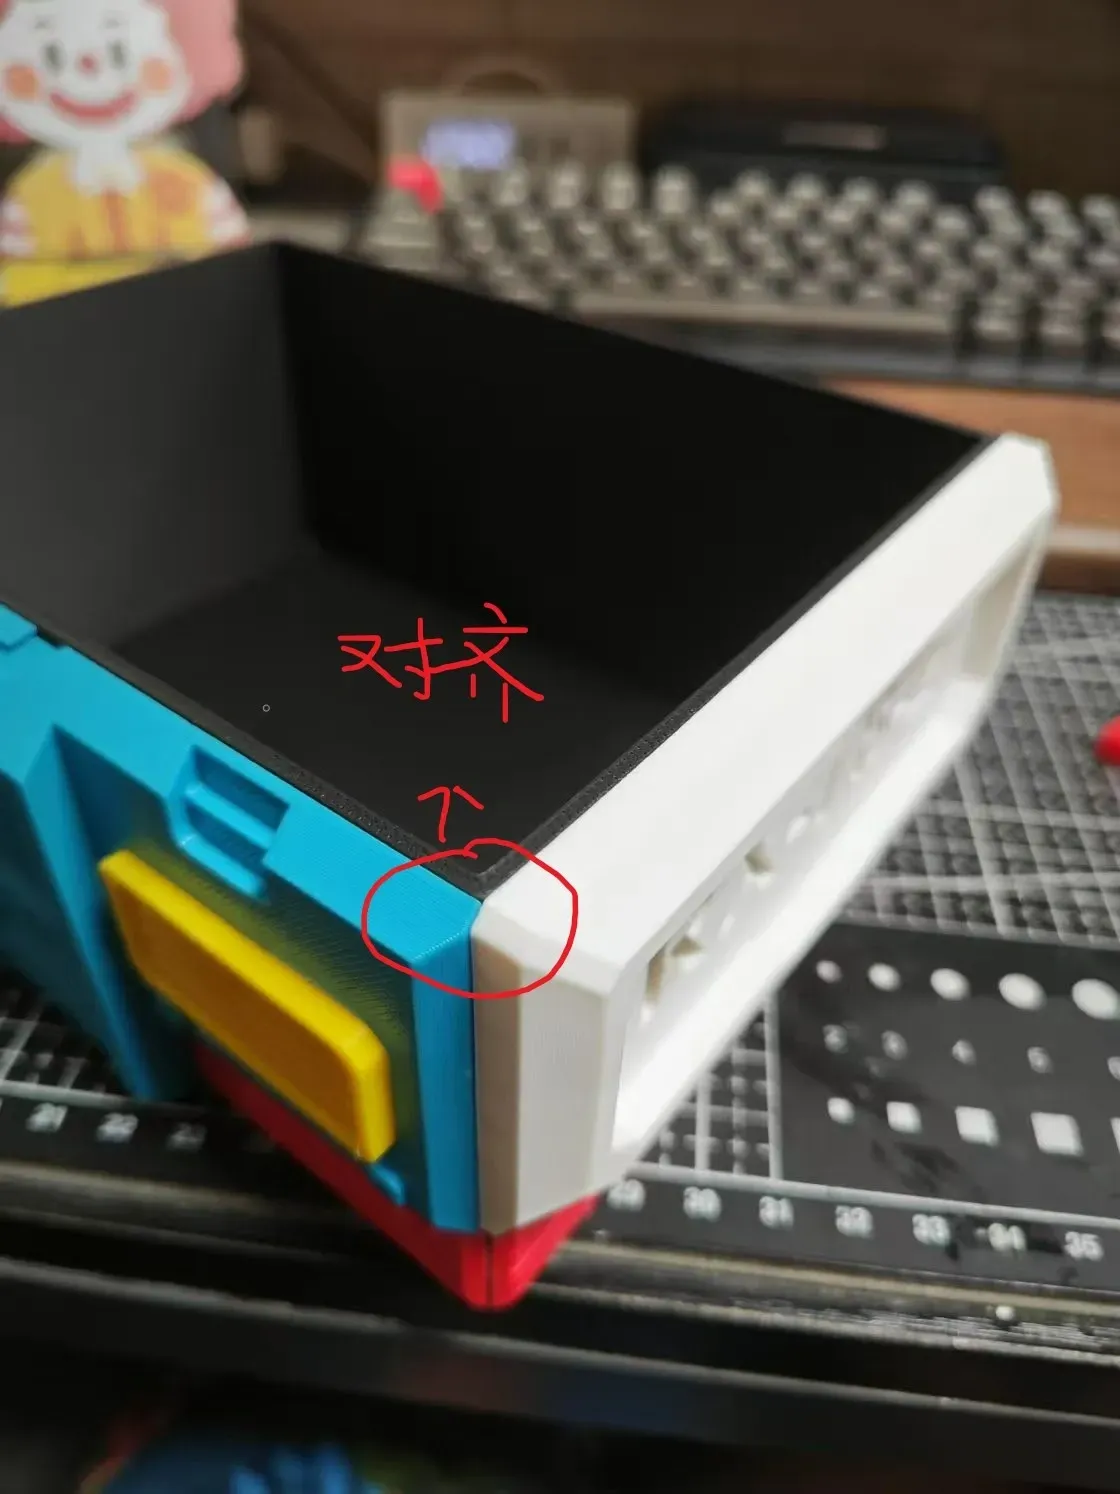
Step Four: Attach the rear panel. Ensure proper alignment.
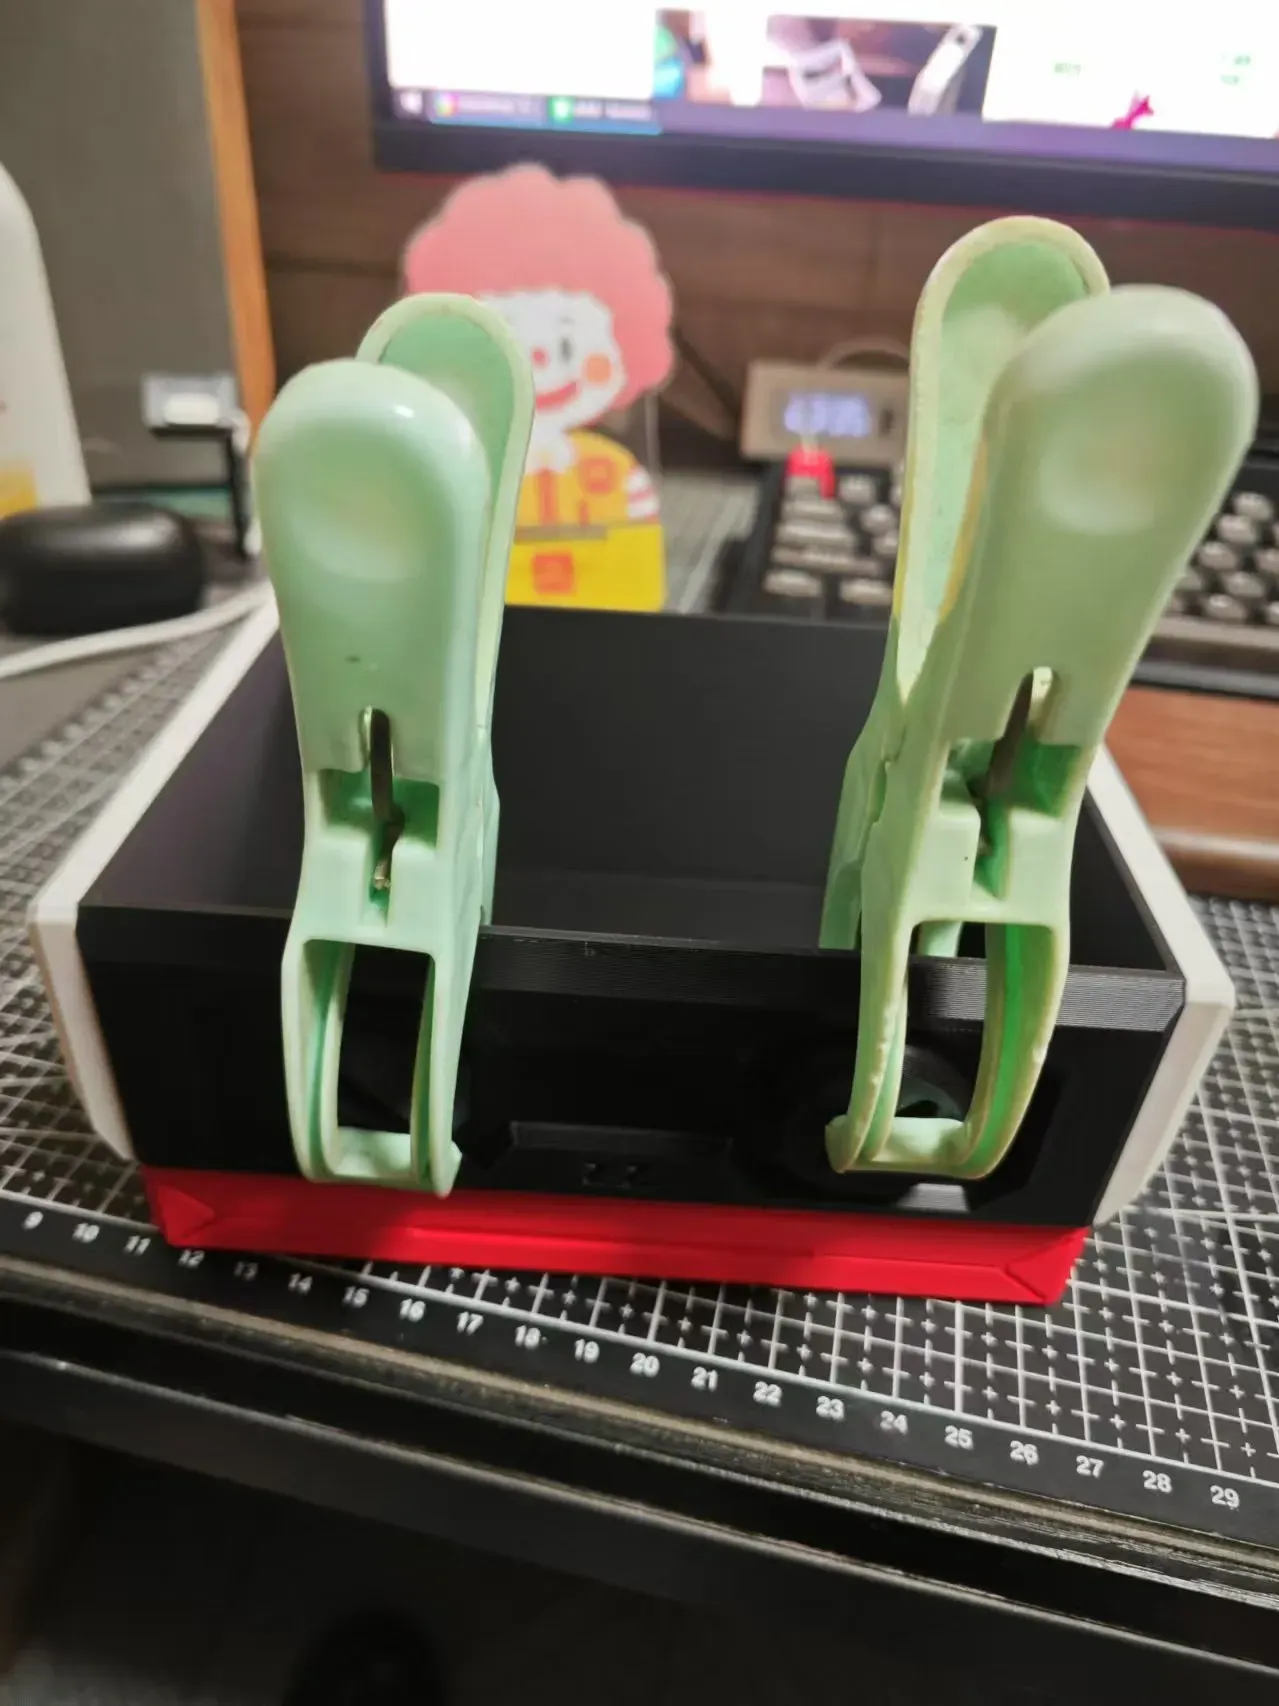
Step Five: Attach the top cover panel, aligning the openings and ensuring correct front-to-back orientation.
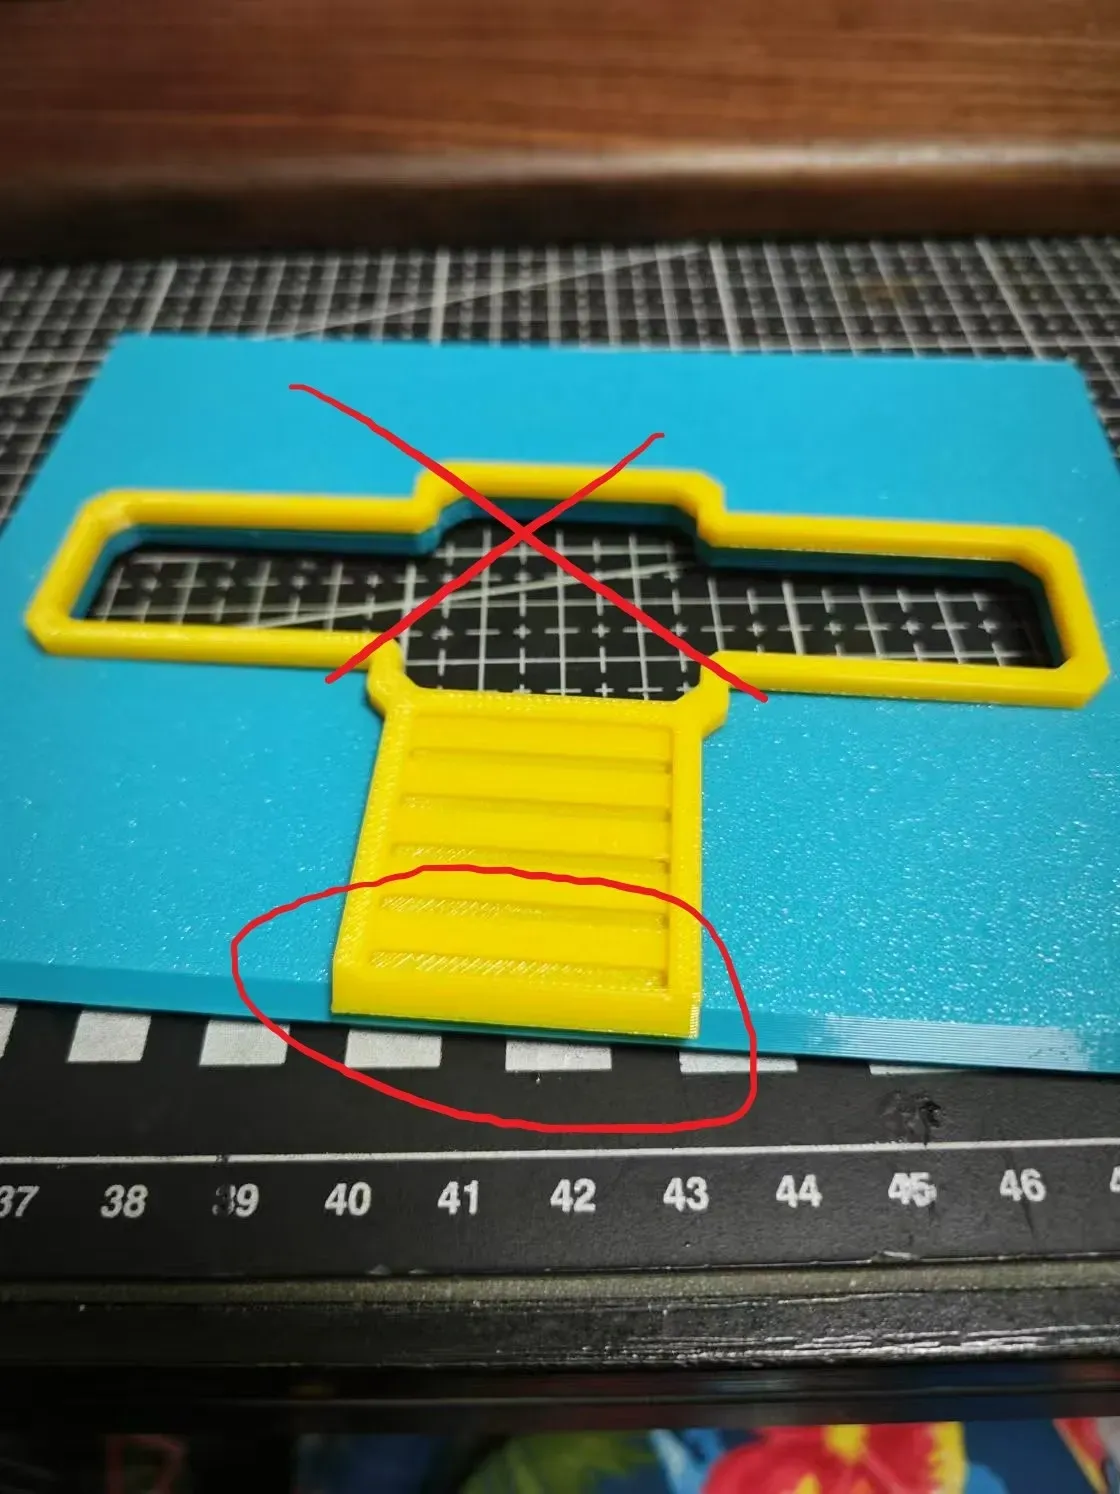
And there you have it! I hope you enjoy it. Share your stunning color schemes!
License

You shall not share, sub-license, sell, rent, host, transfer, or distribute in any way the digital or 3D printed versions of this object, nor any other derivative work of this object in its digital or physical format (including - but not limited to - remixes of this object, and hosting on other digital platforms). The objects may not be used without permission in any way whatsoever in which you charge money, or collect fees.


Comment & Rating (43)