Philips Hue Tap Dial Integration – Busch & Jaeger


Print Profile(3)


Description
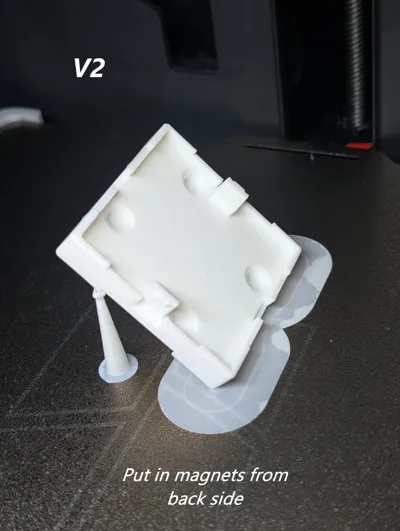
{Print profile} V2 now available. Set in the magnets from the back side.
(second plate for Gira 55 standard framework)
Snap On/In to install a Philips Hue Tap Dial switch inside original Busch & Jaeger Balance SI. ((and Gira55))
The Gira 555 version have been modified as suggested in comments.
Print like in the .3mf file or as example in the last photo/screenshot of the slicer for the best result.
(With the tree support and within an angle of around 45 degree).
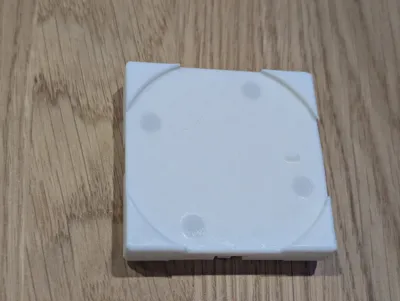
You'll need 6mmx3mm magnets to put in the 4 holes. This will keep the Dial switch in place.
Hardware:
| 4x | 6mmx3mm | magnets |
License
You shall not share, sub-license, sell, rent, host, transfer, or distribute in any way the digital or 3D printed versions of this object, nor any other derivative work of this object in its digital or physical format (including - but not limited to - remixes of this object, and hosting on other digital platforms). The objects may not be used without permission in any way whatsoever in which you charge money, or collect fees.
Comment & Rating (14)