
Desiccant dryer and cover for Polymaker Polydryer

Print Profile(10)


Description
Boost Me (for free)
Like it? Please boost me! Cheers!
----------
🗣️ LATEST UPDATES:
- The basket vents are no longer angled, making it easier to print
- There are 2 small vents (front and back) to improve air exchange and increase drying speed
----------
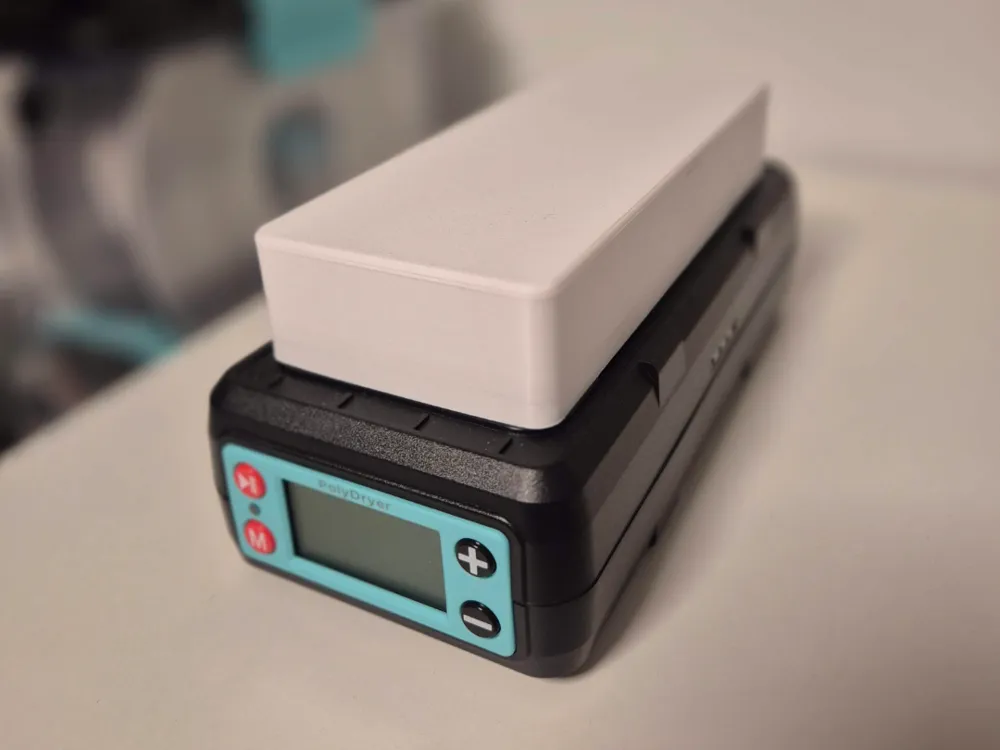
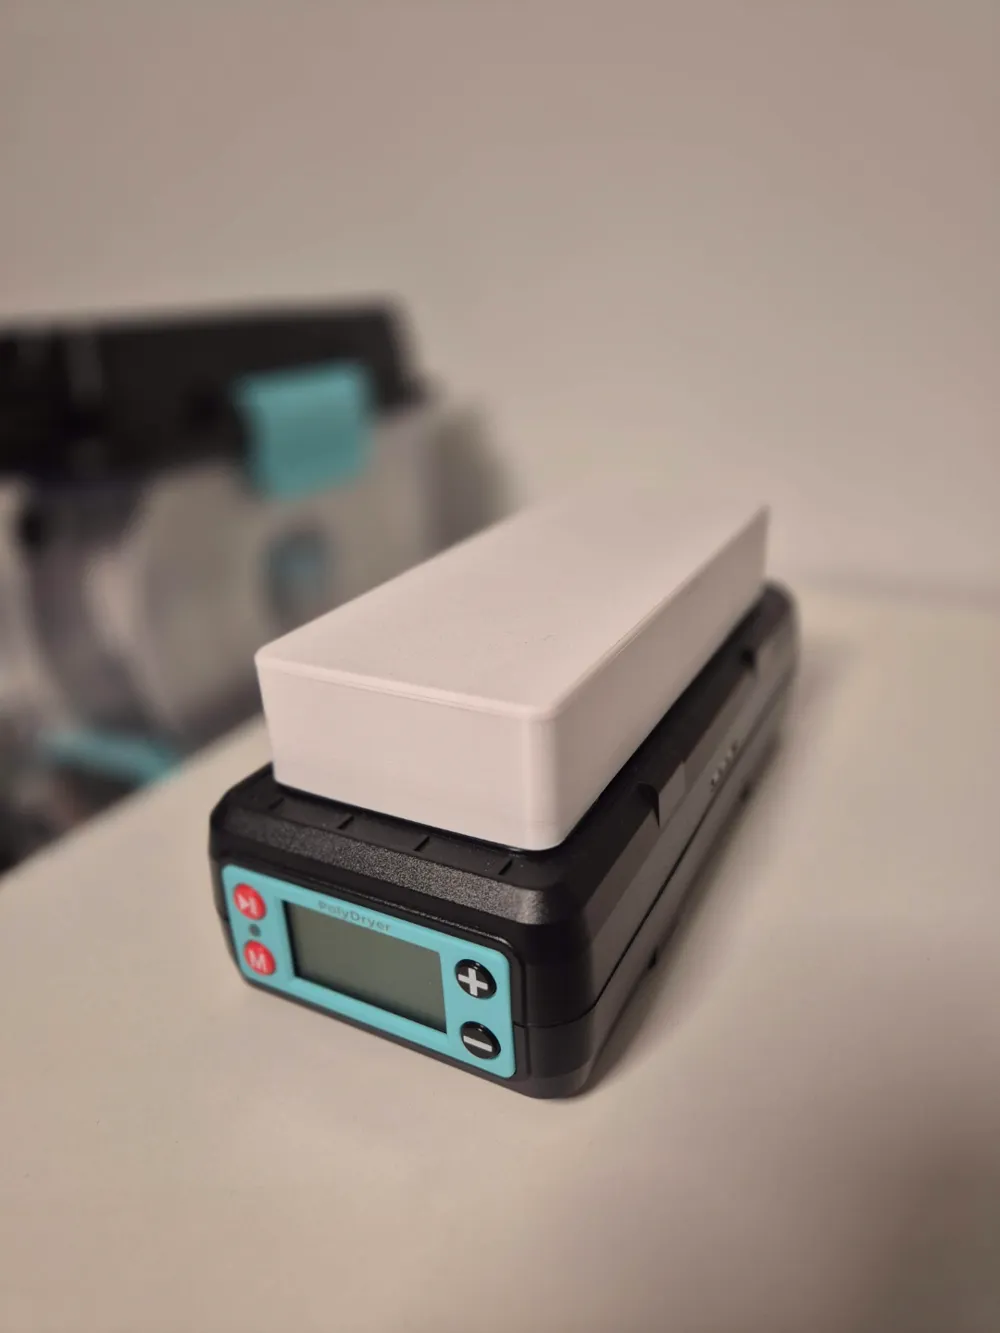
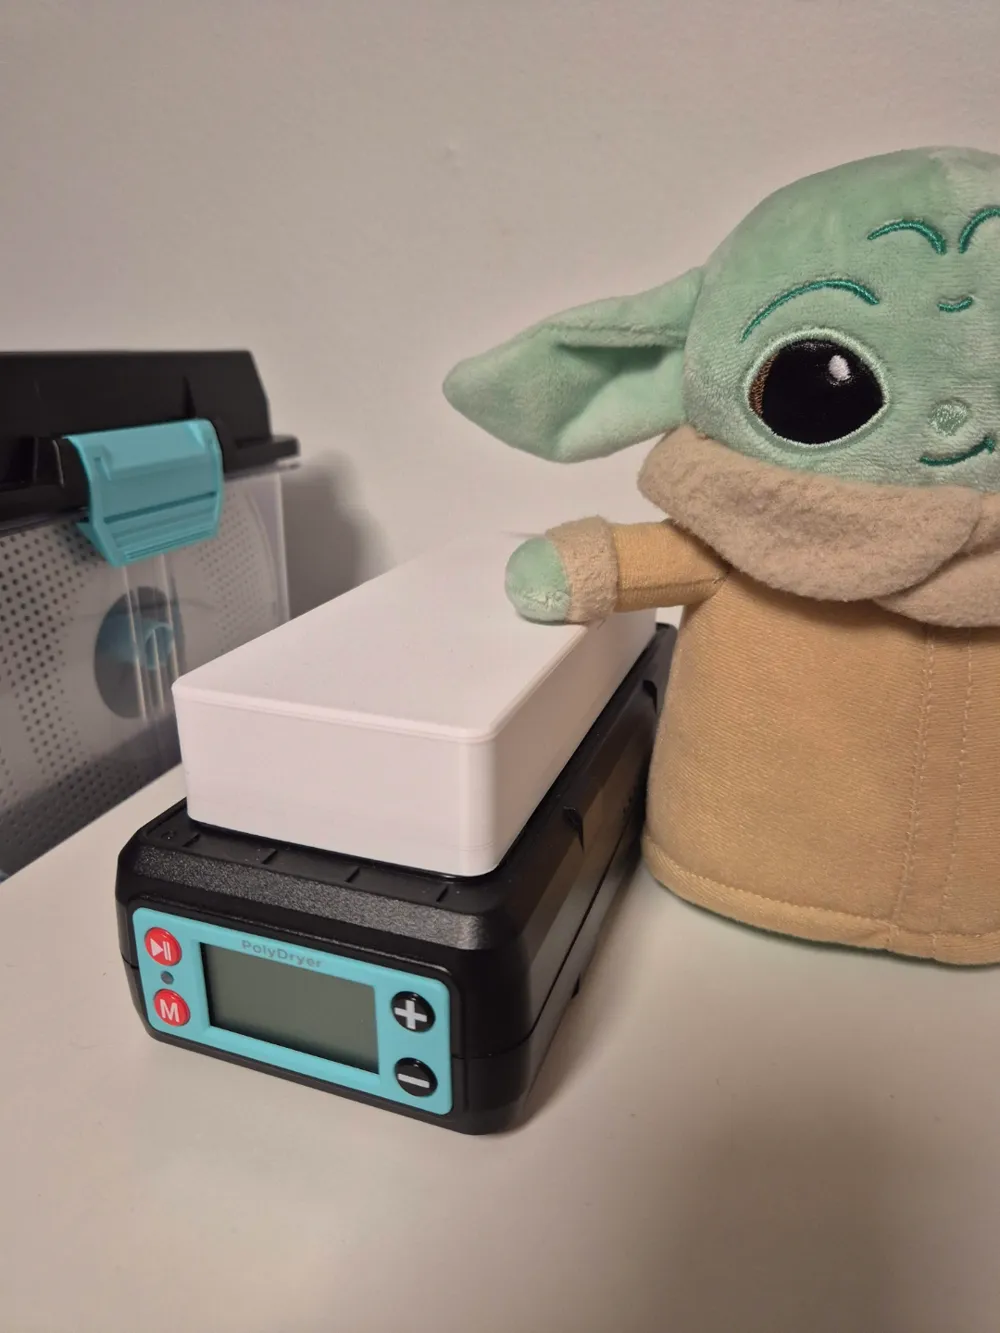
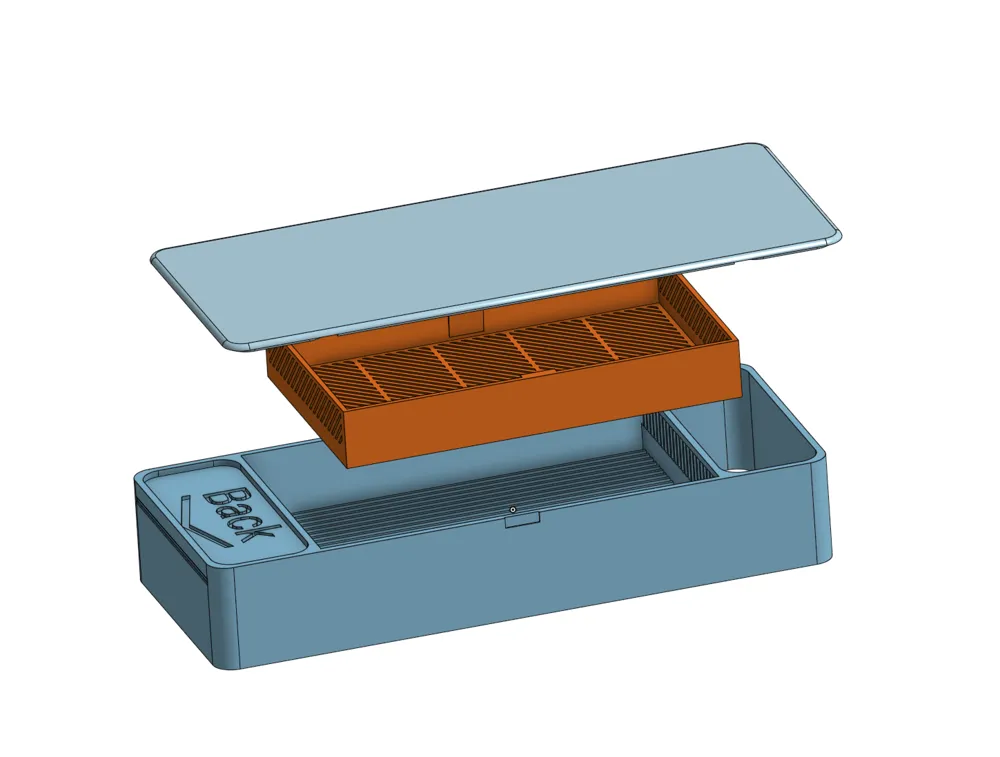
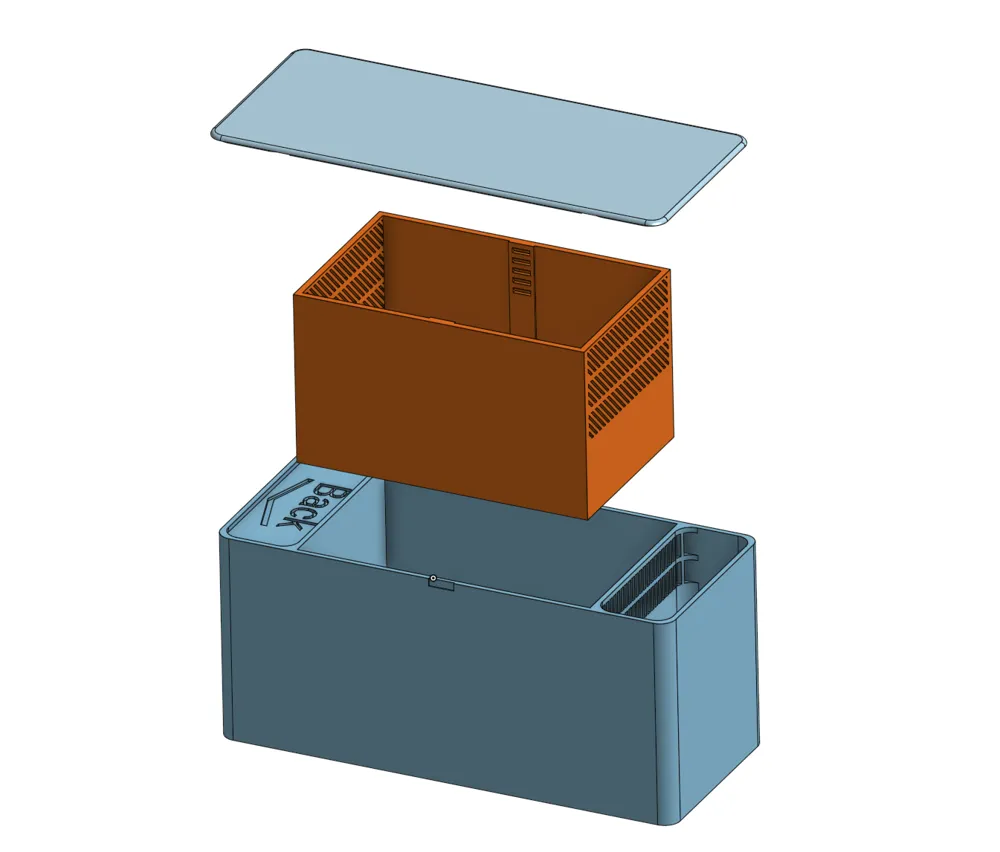
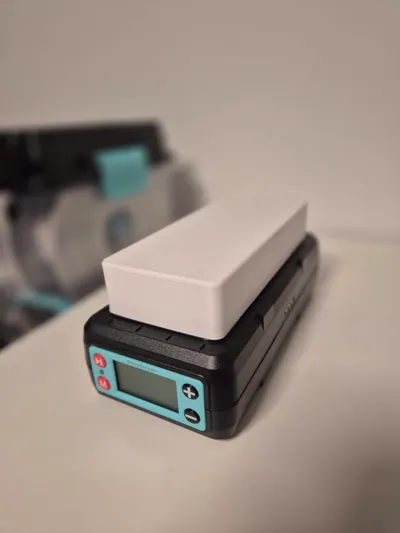
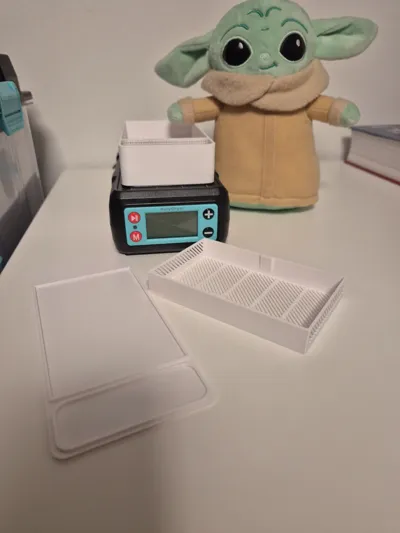
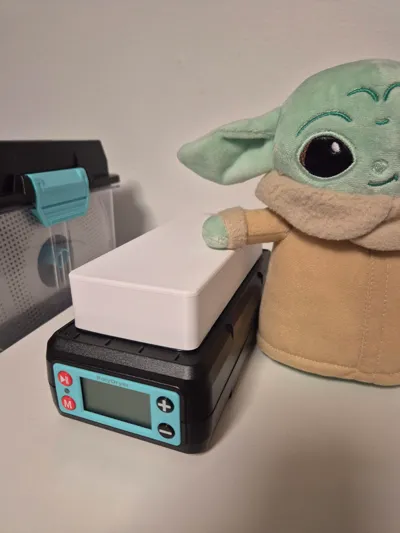
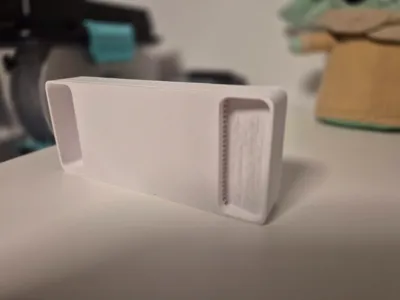
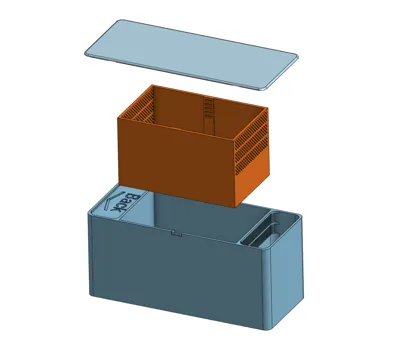
A desiccant dryer and dust cover to the Polymaker Polydryer, so you don't need to take your filament out of the box to dry the desiccant.
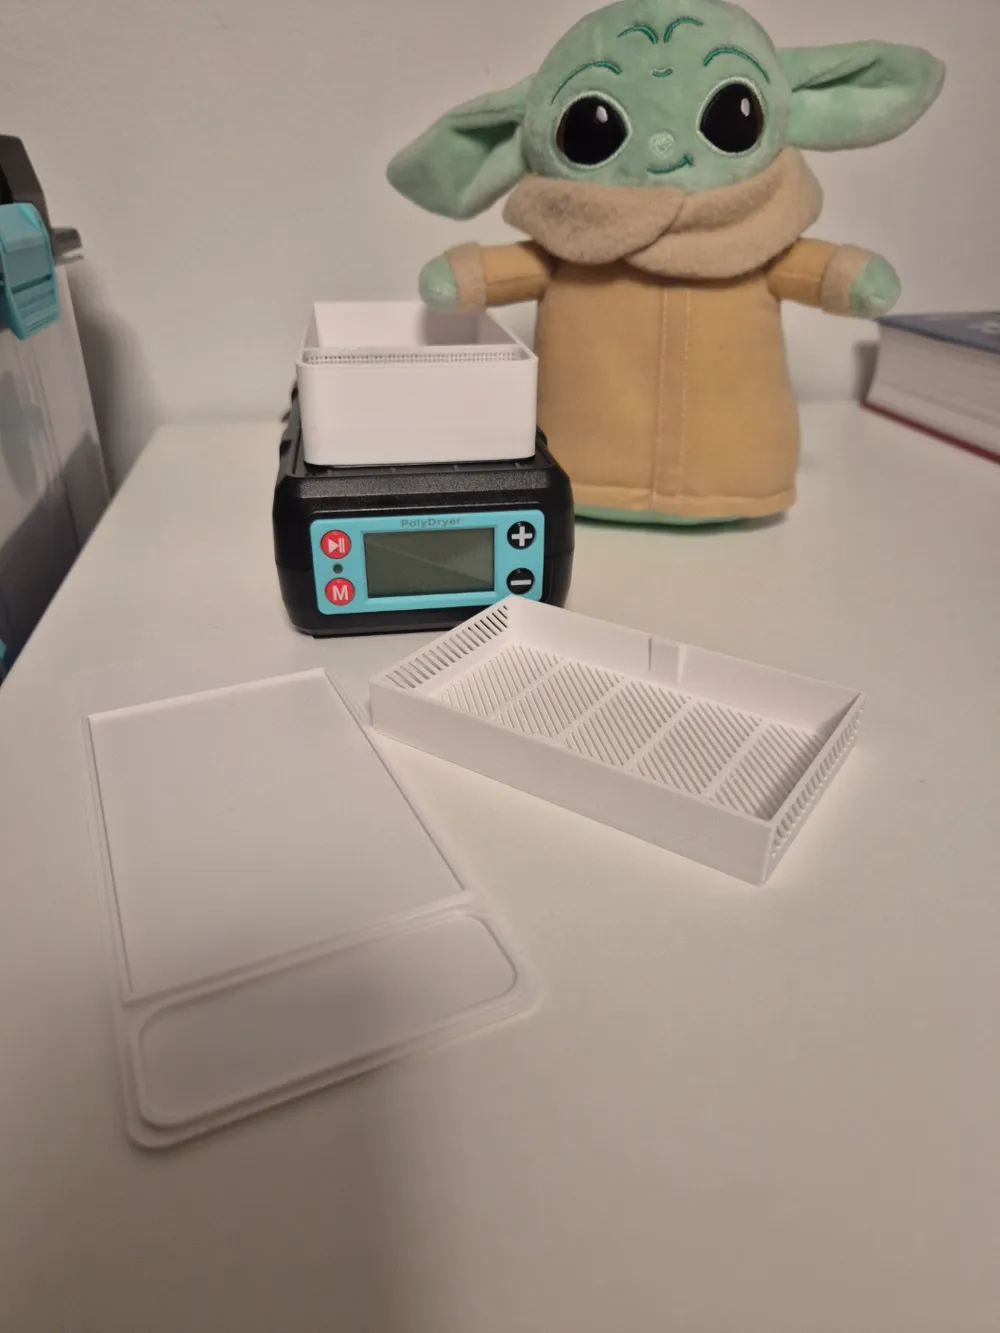
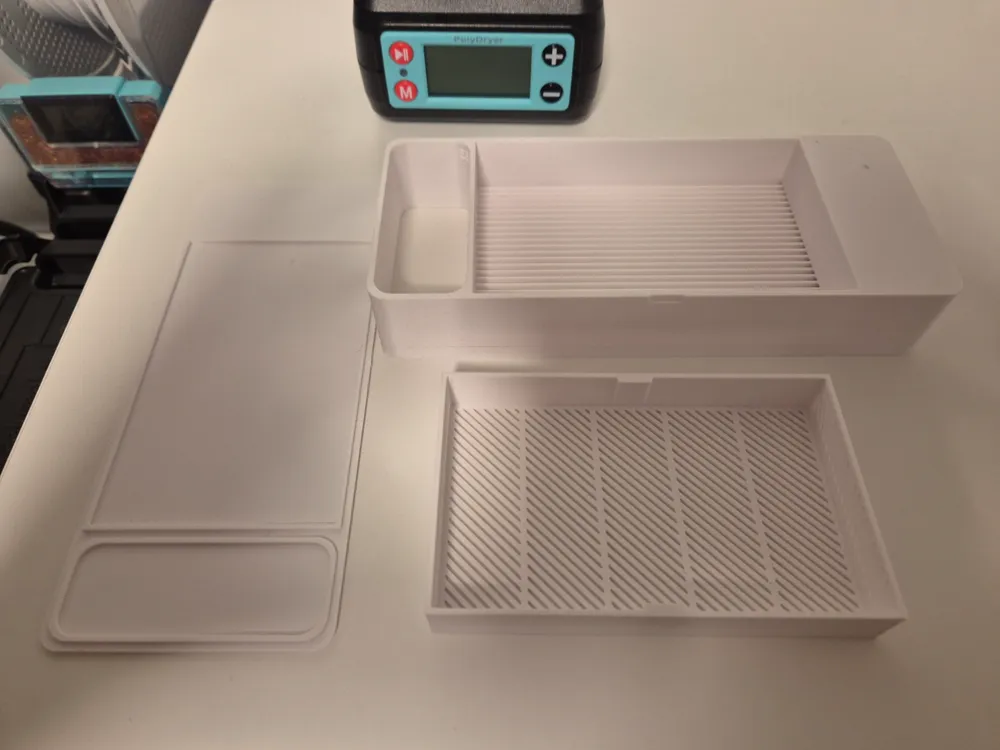
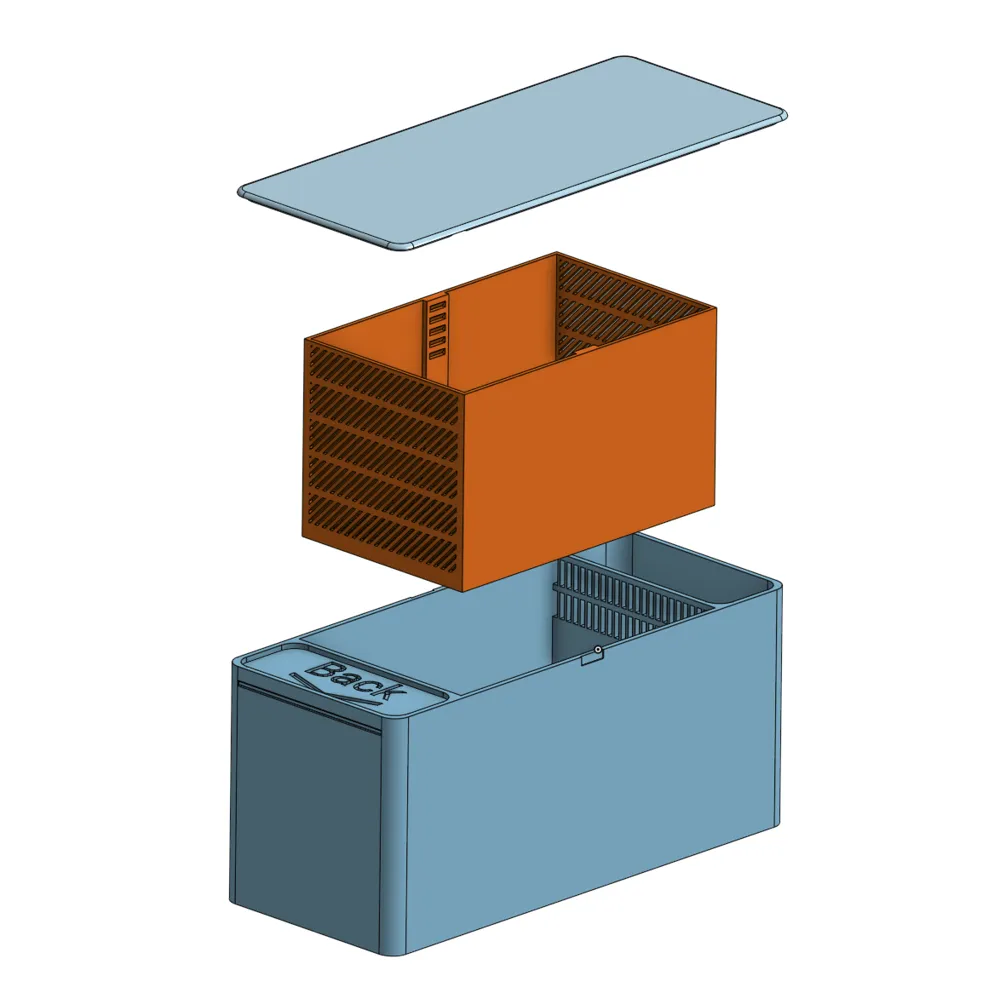
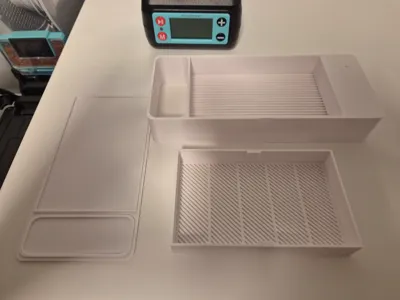
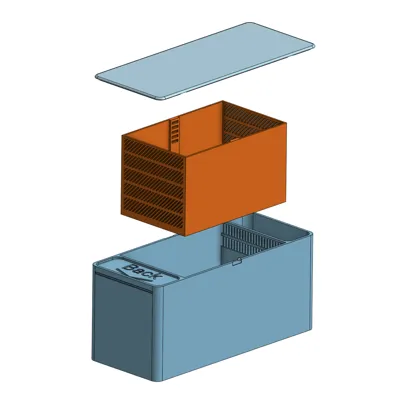
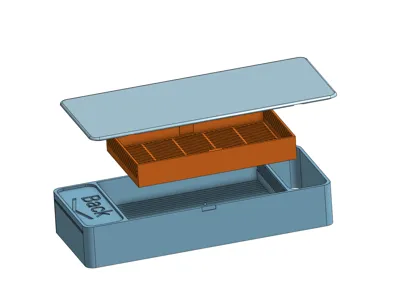
The model includes an insert for the Polymaker Polydryer, a basket to hold the desiccant and a lid.
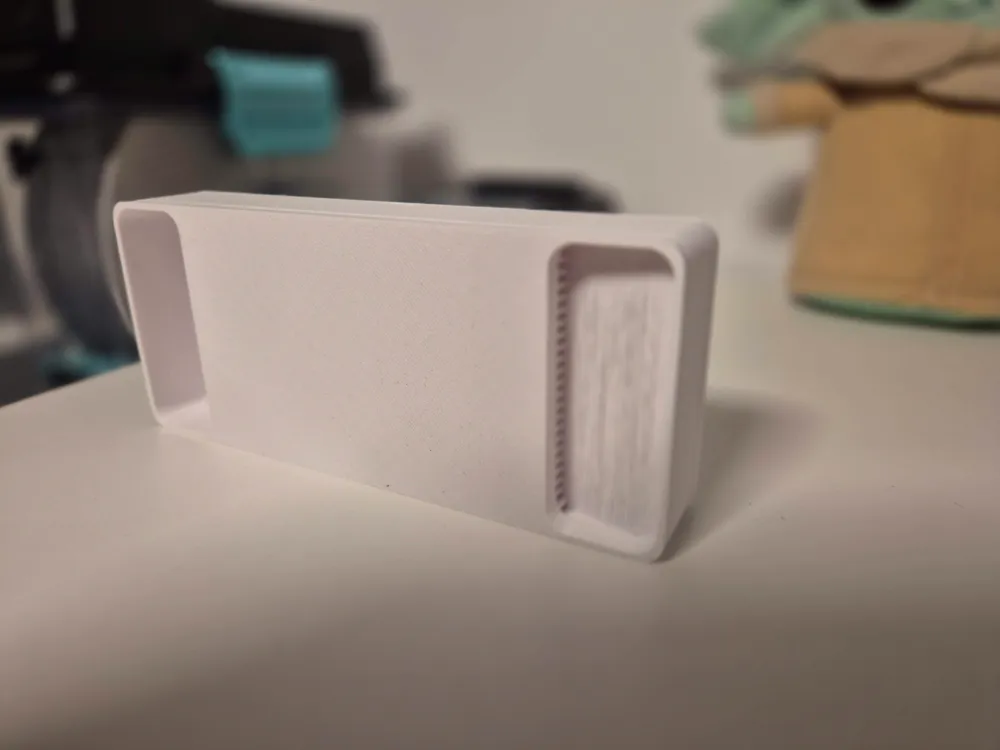
The insert is designed in such a way that the hot air from the dryer is blown from the bottom and sucked at the top, as to optimize the drying process.
The back of the insert, which should go on the blower side, is marked with a sinked line on the outside and clearly marked with ‘Back’ on the top.
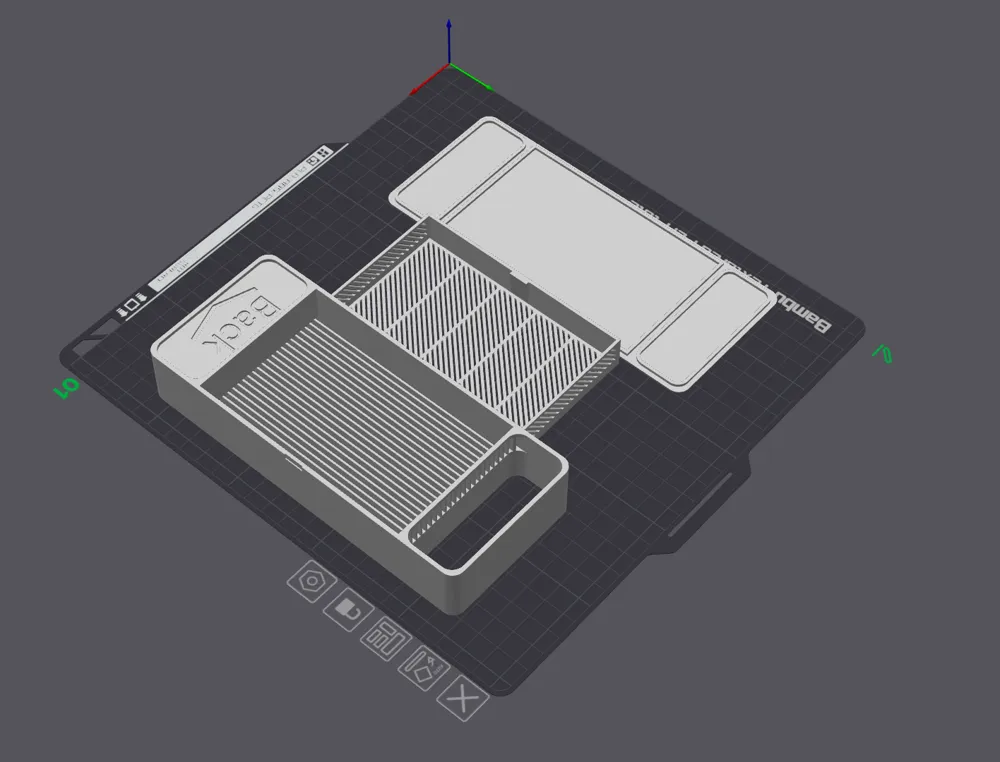
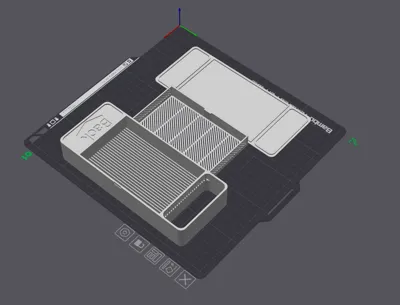
There are 3 different print plates in this model:
- a standard size
- a large size
- a large size with a thicker basket, that should be easier to print than the standard large basket
- an x-large model with a thicker basket
Bryan Vines published a review of this model on YouTube:
GunplaMark also published a review of it on Youtube:
Thank you both for that!
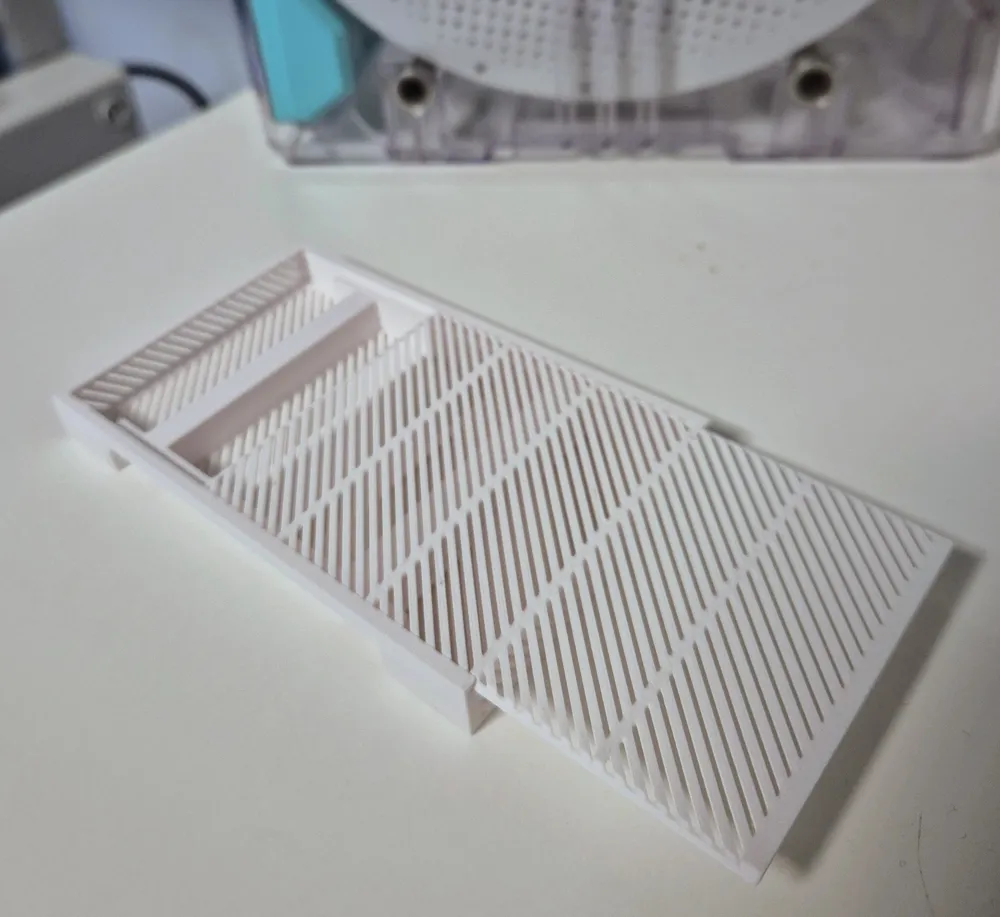
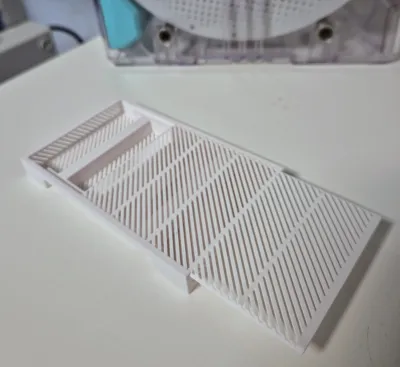
In addition to the dryer and basket, I have also created a desiccant cartridge that fits on the bottom of the Polydryer Box:
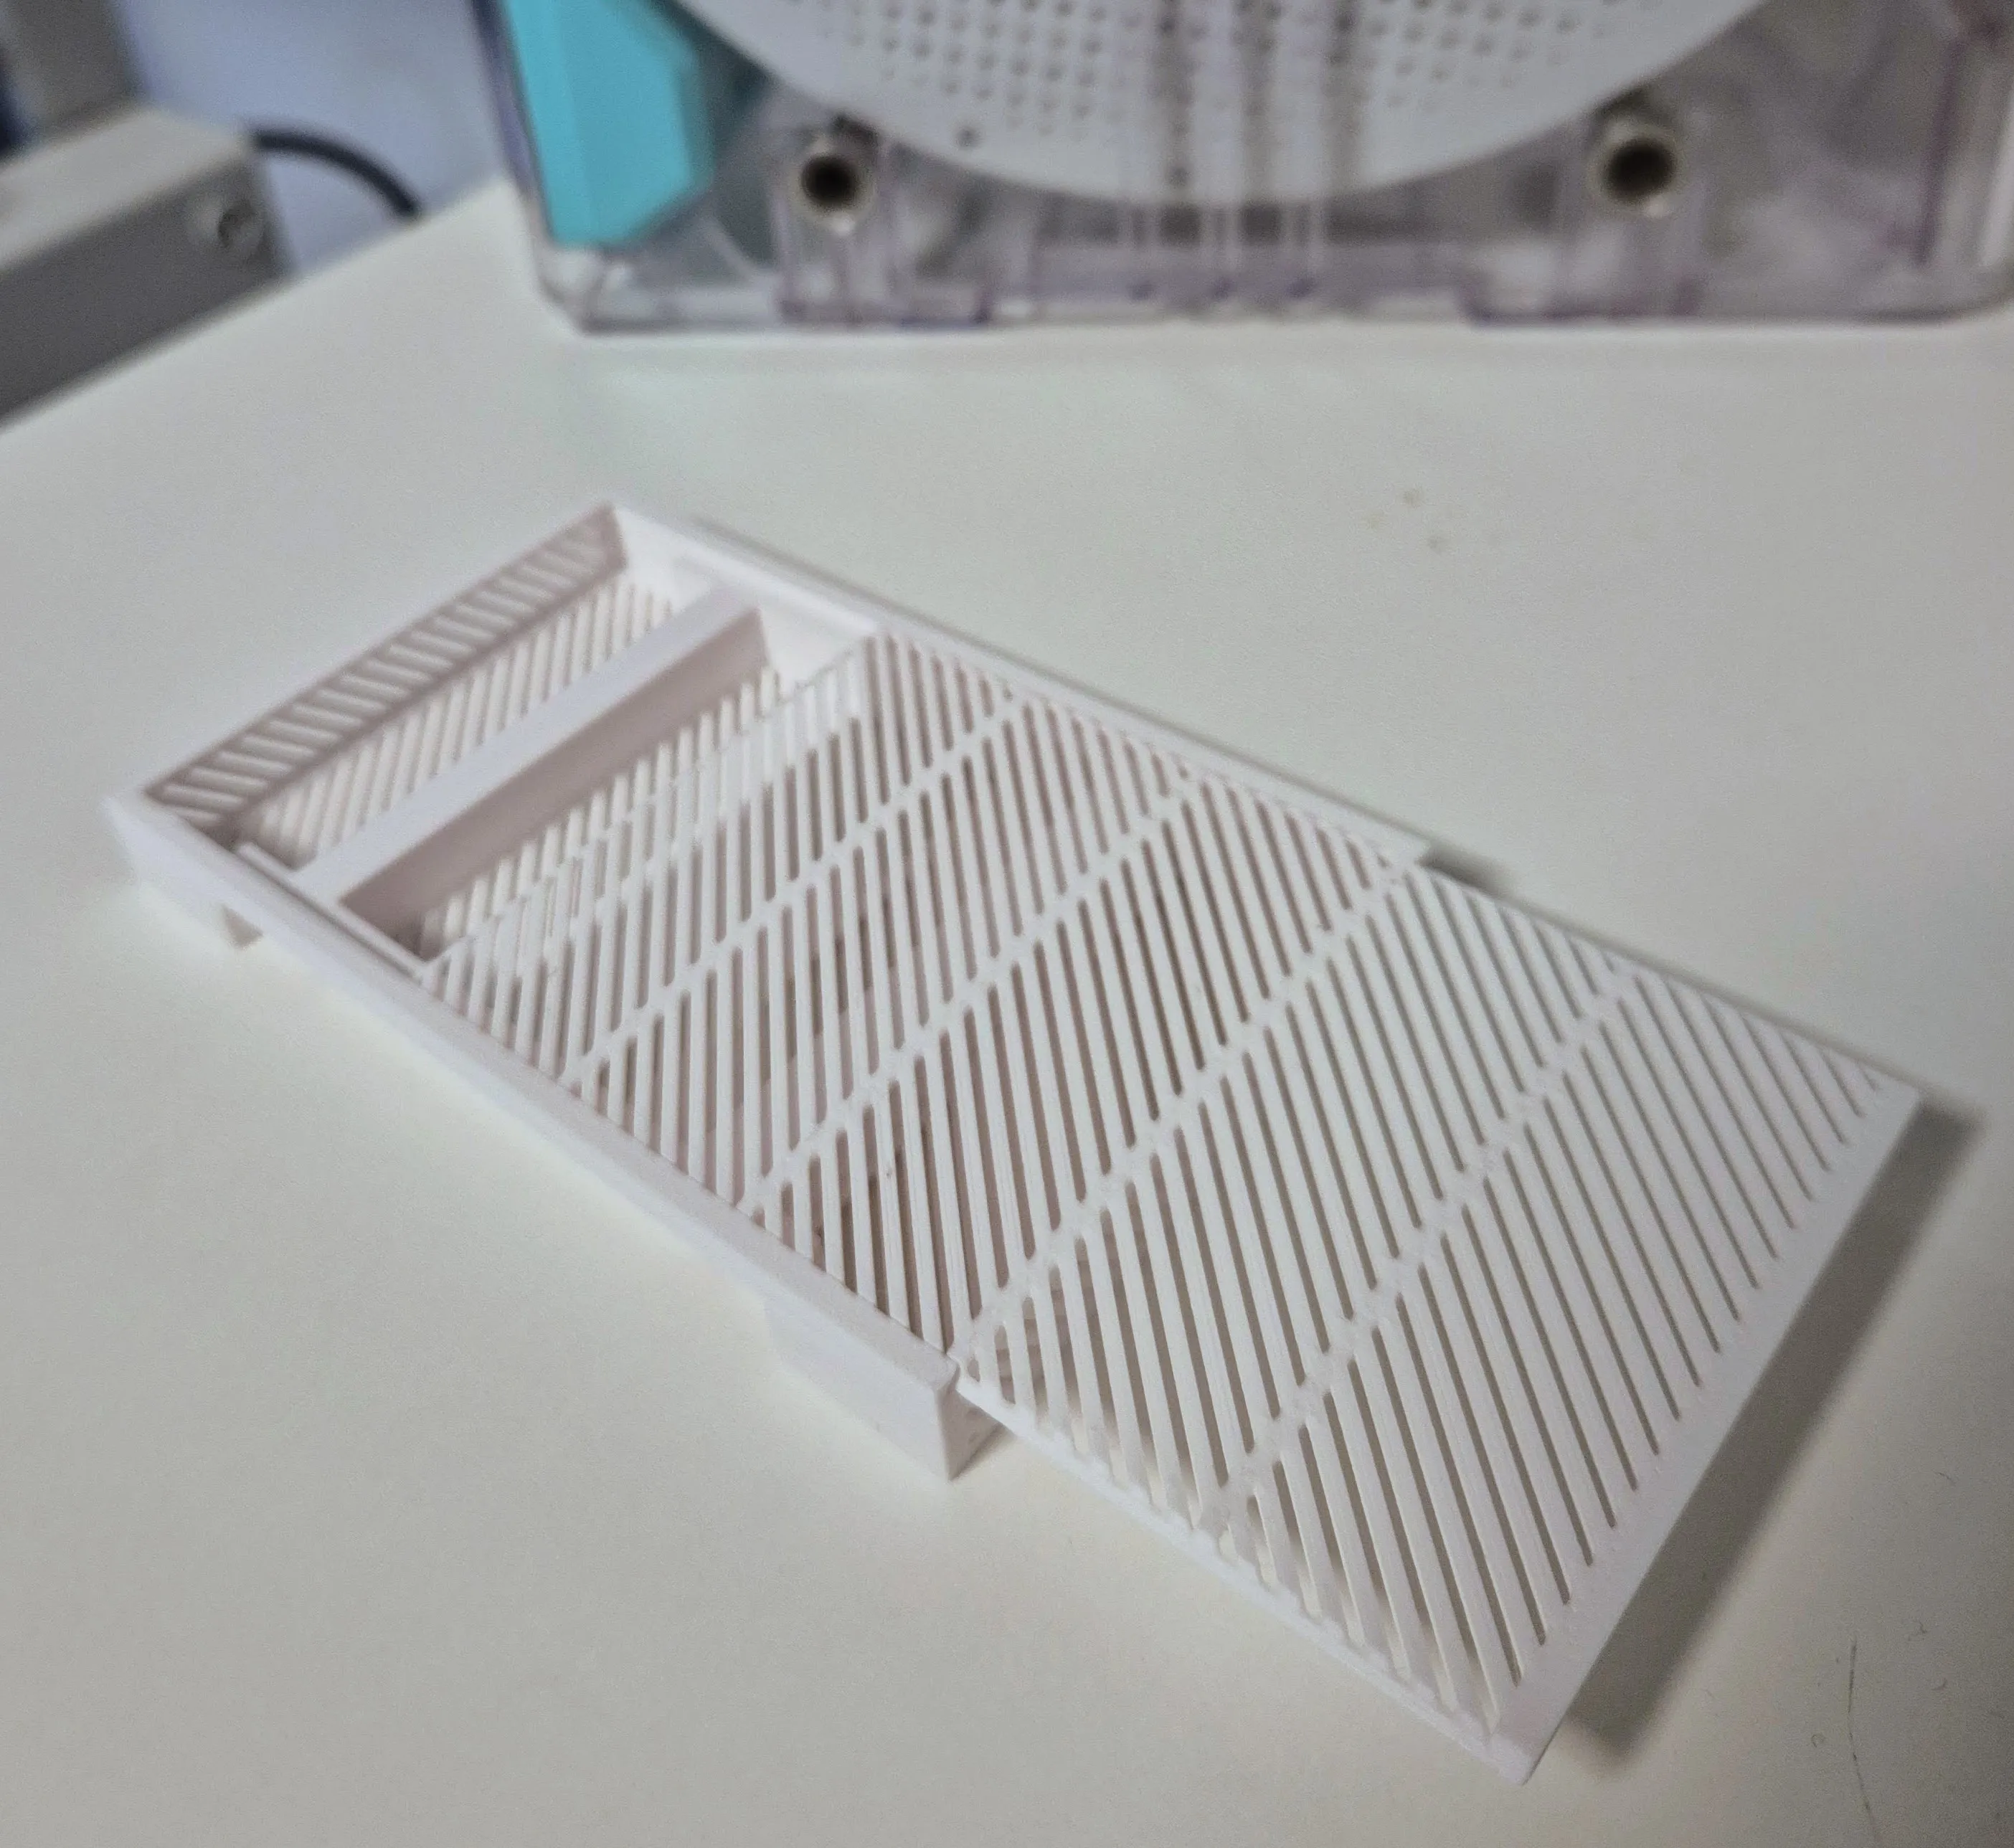
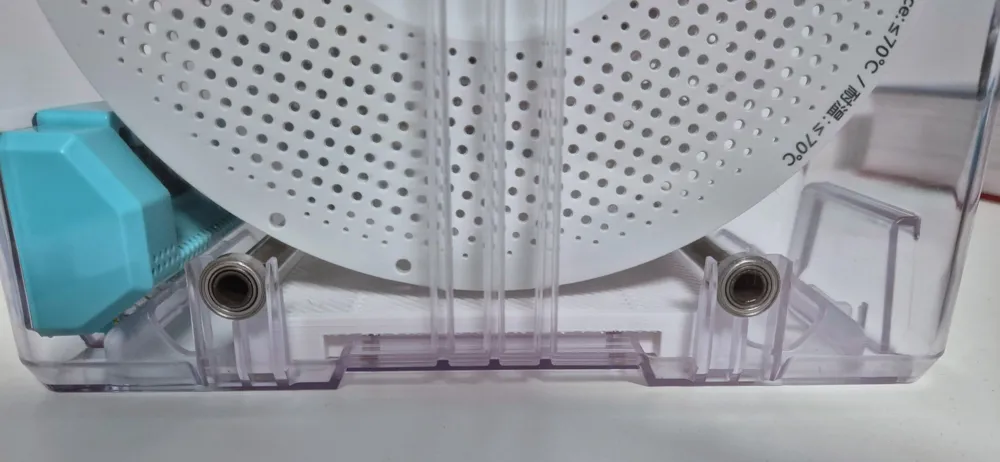
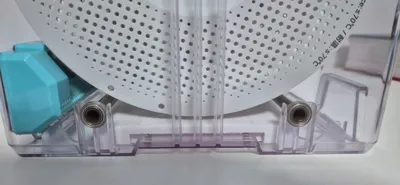
⚠️ The cartridge only works with the high spool support. It does not work work with the rollers. That is because it would leave too little space for the desiccant.
The cartridge fits exactly in the dryer and let you dry the desiccant without having to pour it in and out of the cartridge, making it super convenient. You can fit up to 5 cartridges in the large model:
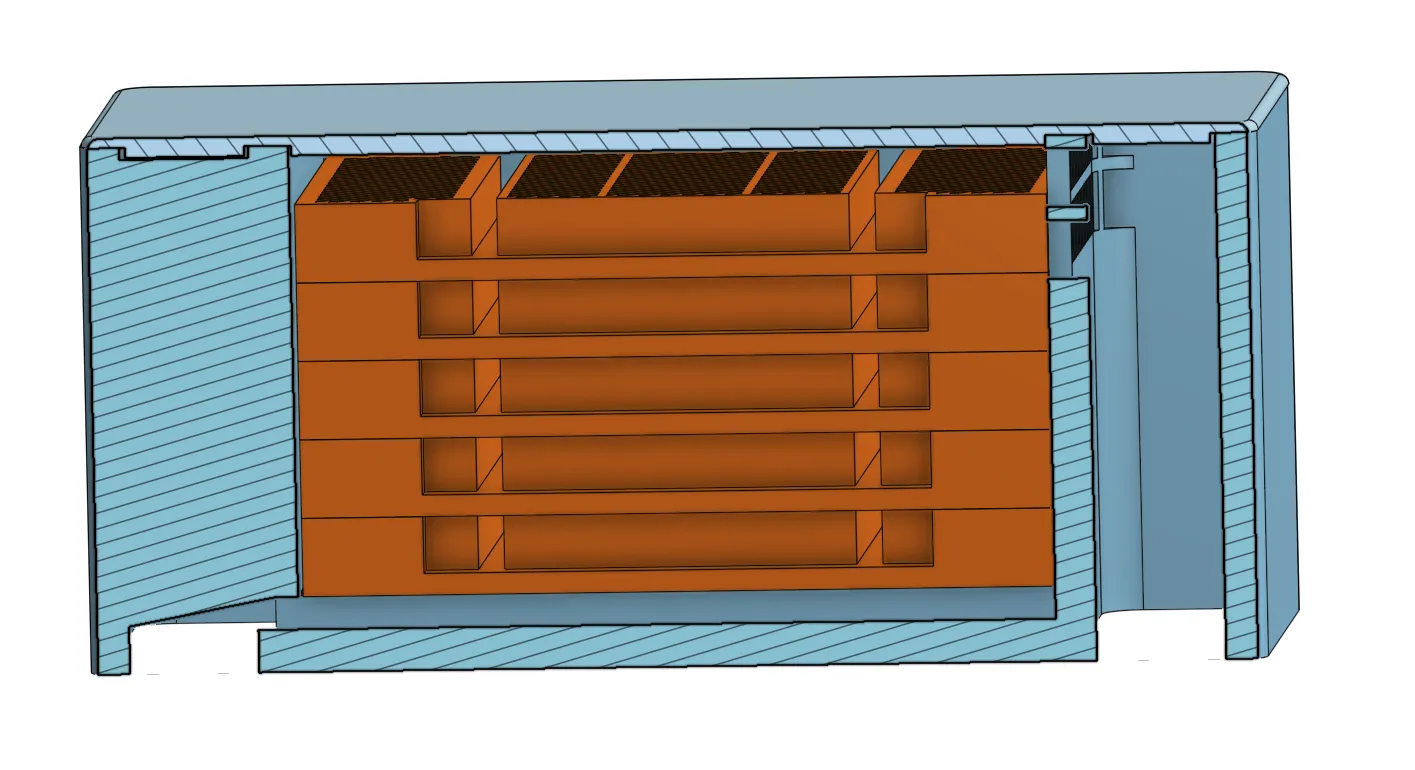
I recommend stacking the cartridges upside down in the dryer for a better airflow.
⚠️ If you are using the STL files instead of the 3MF files for printing, please read this:
- You need to split the model of your choice into objects in your slicer before printing. All models are a 1-object-model containing all parts.
- Consider adding brims to the dryer part of the model, since the corners are relatively thin.
- Consider enabling supports on the back part of the dryer (large back air vent entry, where the Polydryer air blows out), since the overhangs are relatively large. It is not strictly necessary but will improve the quality of the print. I recommend using tree-support, since it is easier to remove.
- Do not add supports to the small air vents. It is not necessary, you'll have a hard time removing them and will possibly damage the print.
- The cartridge container must be printed with supports
License

You shall not share, sub-license, sell, rent, host, transfer, or distribute in any way the digital or 3D printed versions of this object, nor any other derivative work of this object in its digital or physical format (including - but not limited to - remixes of this object, and hosting on other digital platforms). The objects may not be used without permission in any way whatsoever in which you charge money, or collect fees.


Comment & Rating (1259)