
Marble Run for 16mm glass marbles

Print Profile(6)



Description
I wanted to find a track for my sons 16mm glass marbles. Which is a standard size but nothing!
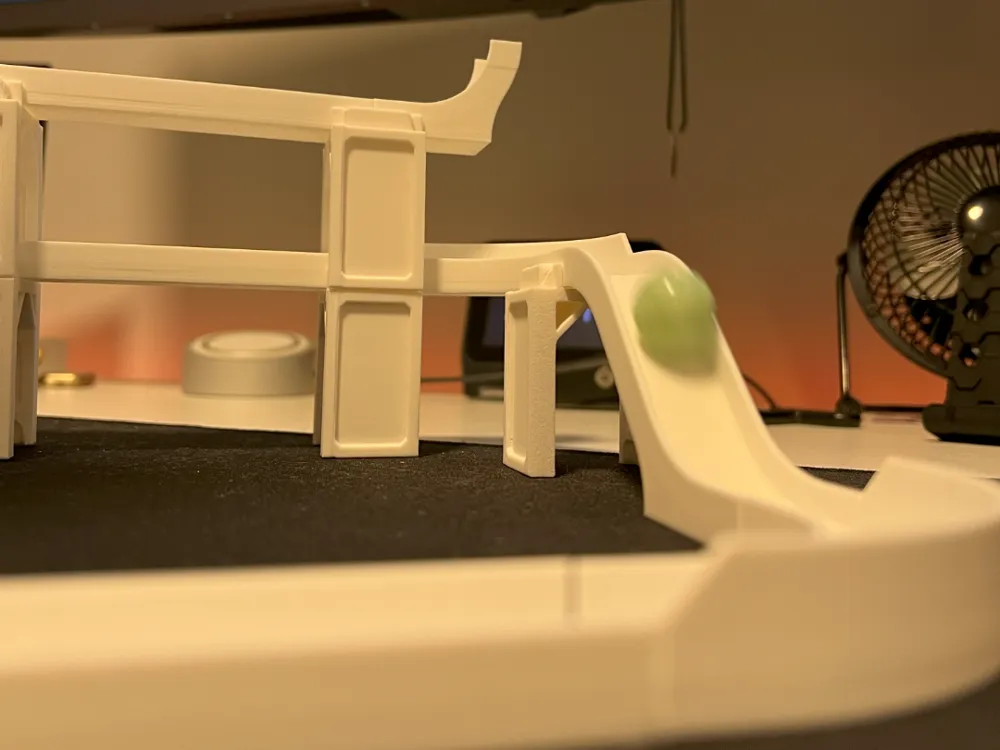
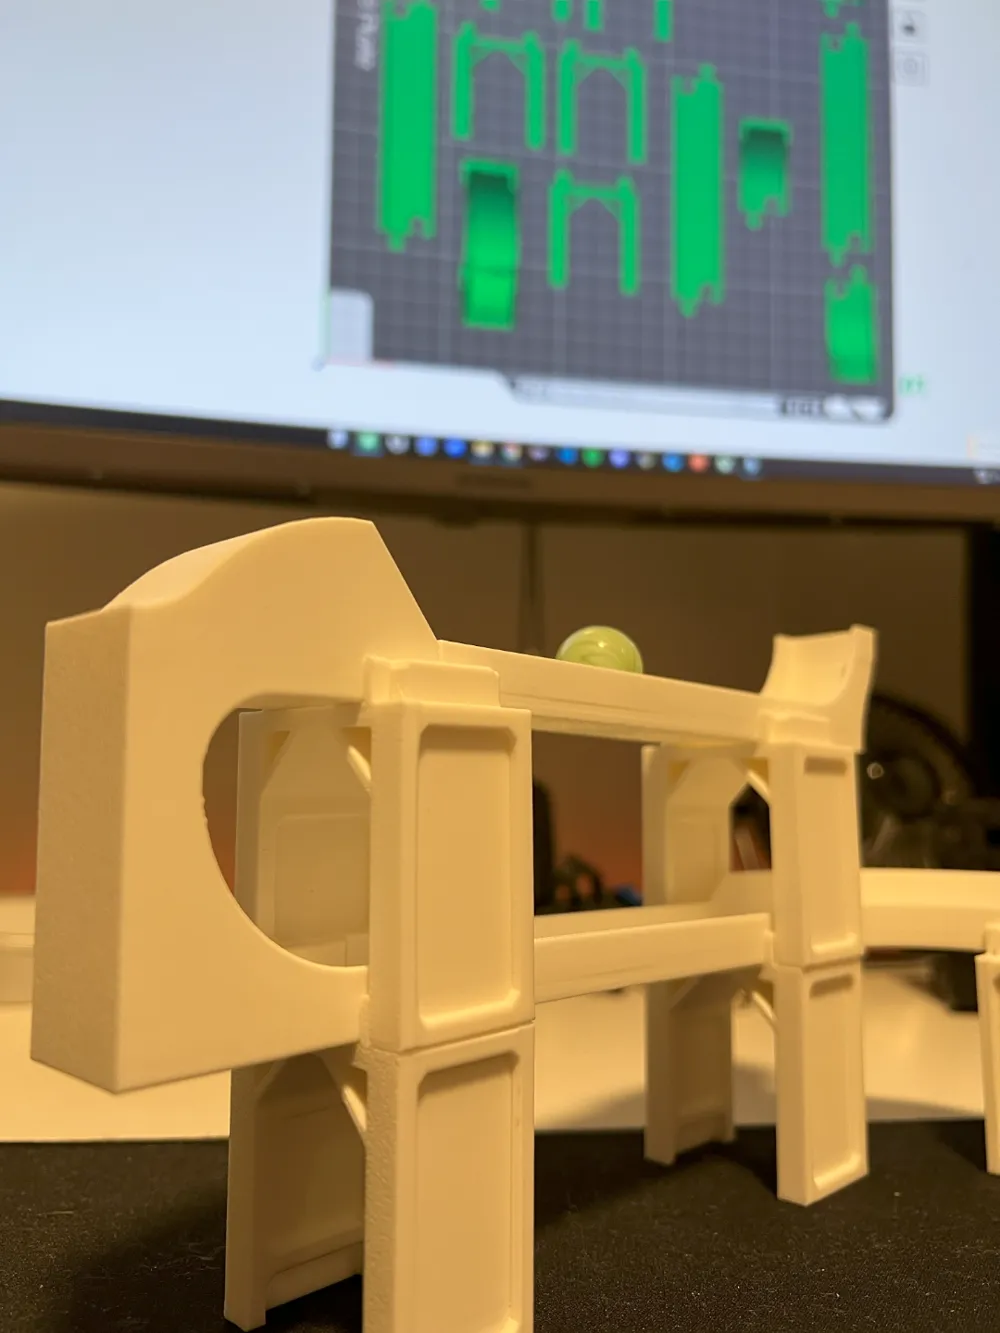
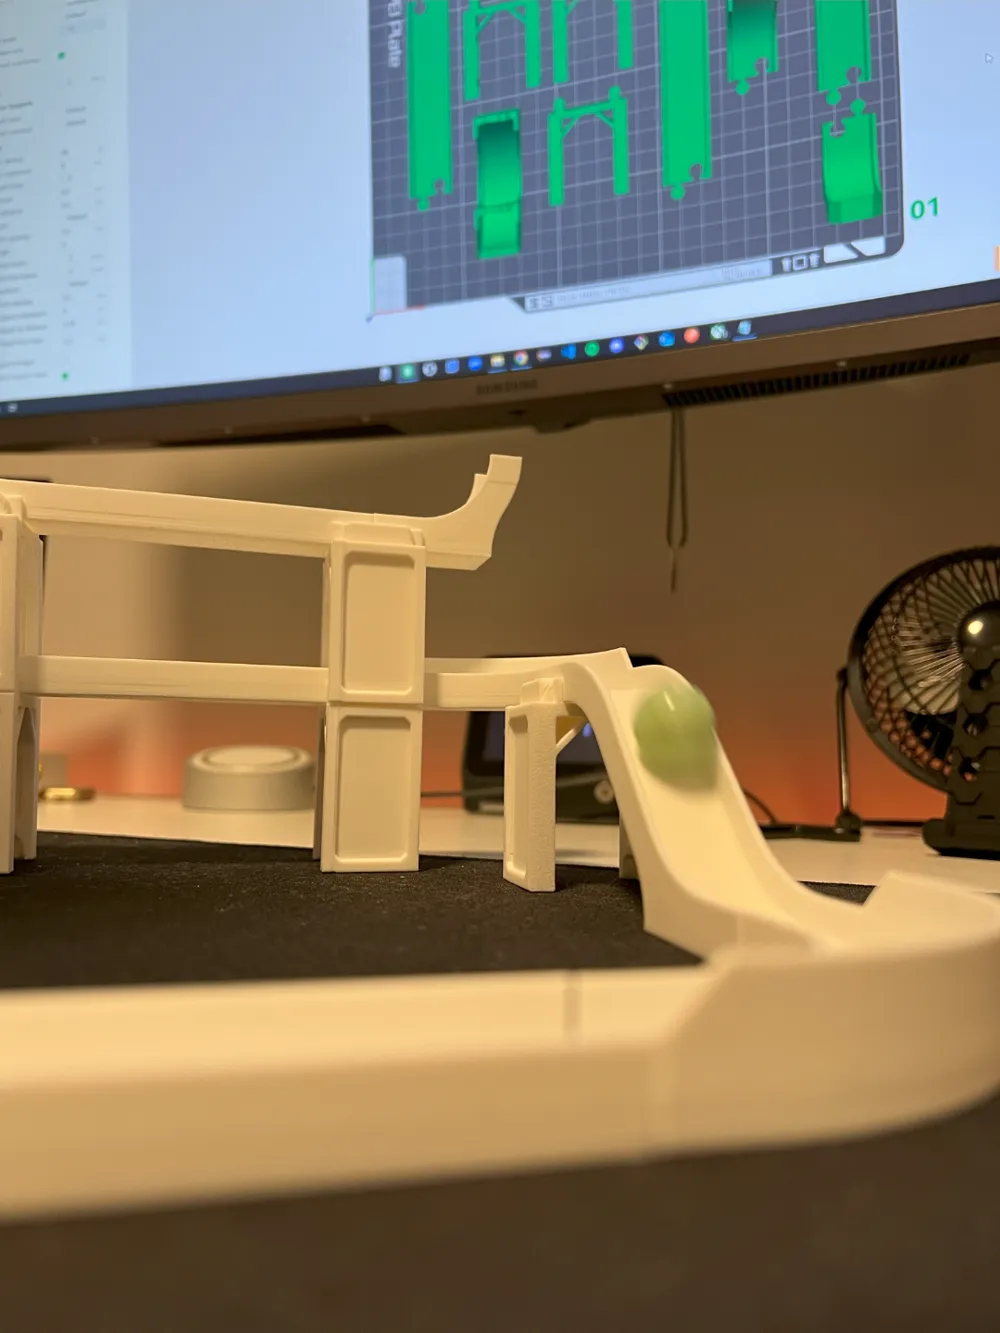

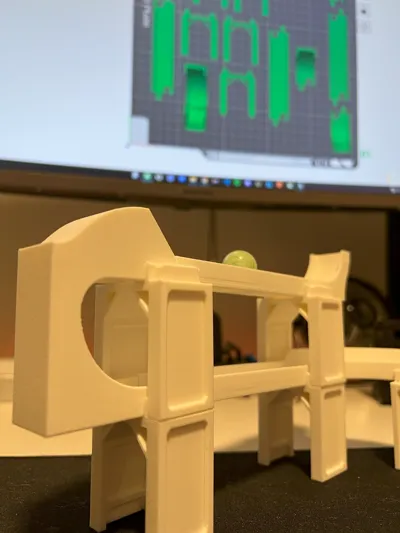
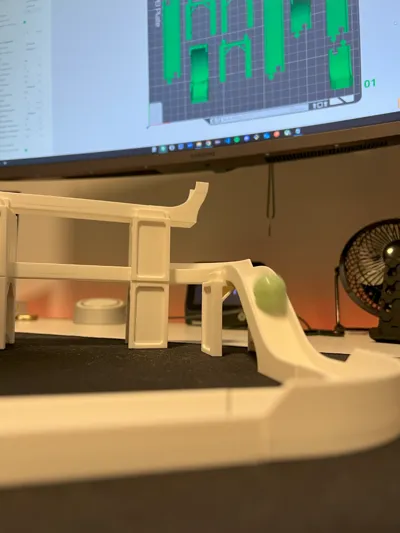
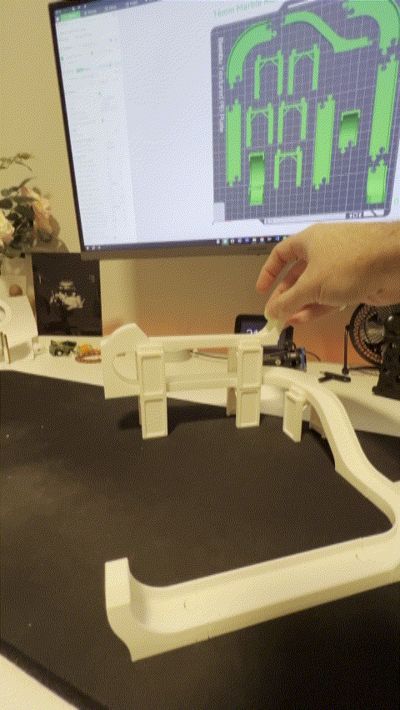
So here comes a set of tracks to create your own marble run/marble machine! The tracks can be printed as needed and rearranged into different layouts.
All parts require minimal assembly (if any) and no supports (with two exceptions). These are perfect if you just want to print and play without the hassle of post-processing, assembling, gluing, etc.
Print instructions and descriptions for each part are included in the instructions.
I hope my hours of work (and failed prints) will bring fun and creativity to you and your children! If you have any problems, custom parts, or a cool layout feel free to message me. I'll do my best to fix any issues and I'd love to see what others create with my little project!
Print instructions
Introduction
Each part has a number (e.g. part 1).
All parts are printed with 0.2 mm layer height, no supports, no infill preference, and in the orientation shown in the CAD images unless otherwise noted (parts with different print settings with be denoted with an asterisk* and the new instructions will be bolded). Most parts are printed with the bottom side of the track or component lying on the print bed.
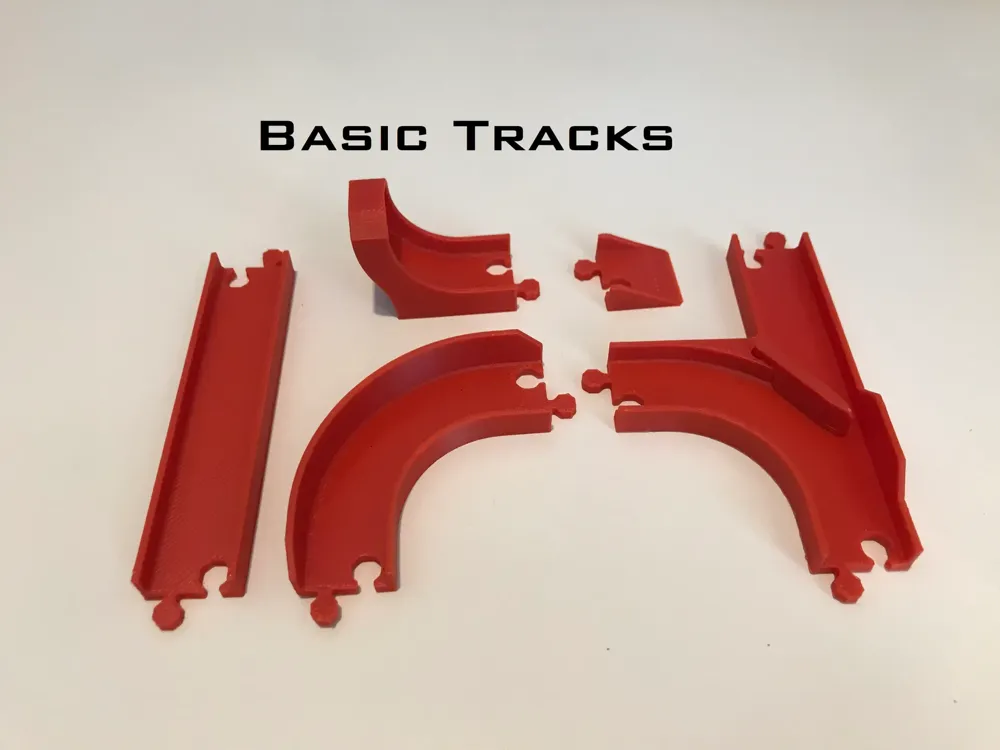
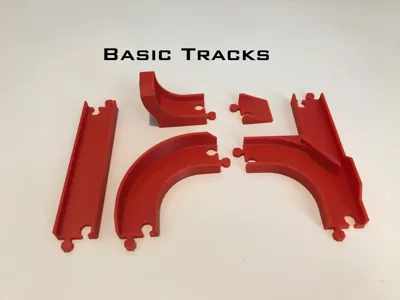
Basic Tracks
1 - Straight Track: A simple straight track.
2 - Curved Track: A simple 90 degree turn.
3 - Open End Track: End track in which the marble/roller can roll off the track.
4 - Closed End Track: End track in which the marble/roller can stop or roll back, staying on the track.
11 - Start Track: A little last minute add-on. A place to start your run from by dropping your marble on an angle and so gaining speed.
5 - Left Switch Track: A switch track that turns right.
6 - Right Switch Track: A switch track that turns left.
7 - Switch Gate*: The part is oriented on the print bed with the top touching the bed to eliminate excessive overhang. Shown in CAD. An optional part to attach to the switch tracks to force marbles in a certain direction rather than having a "passive" switch track.
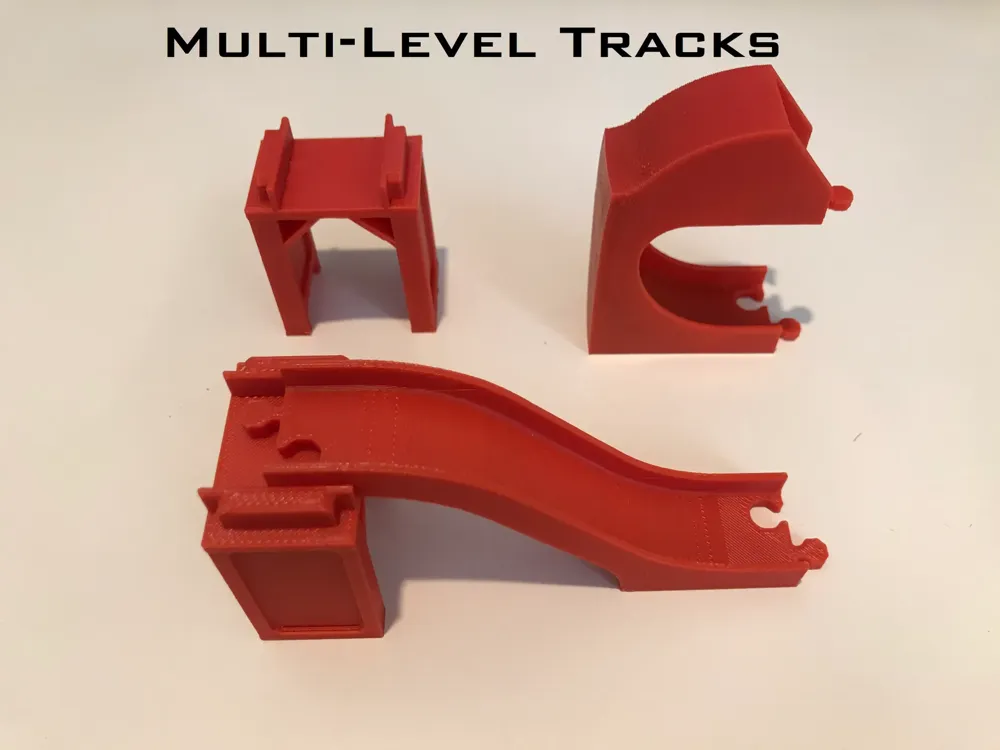
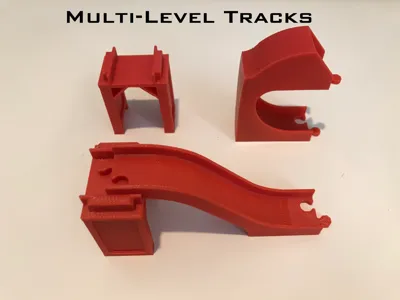
Multi-Level Tracks
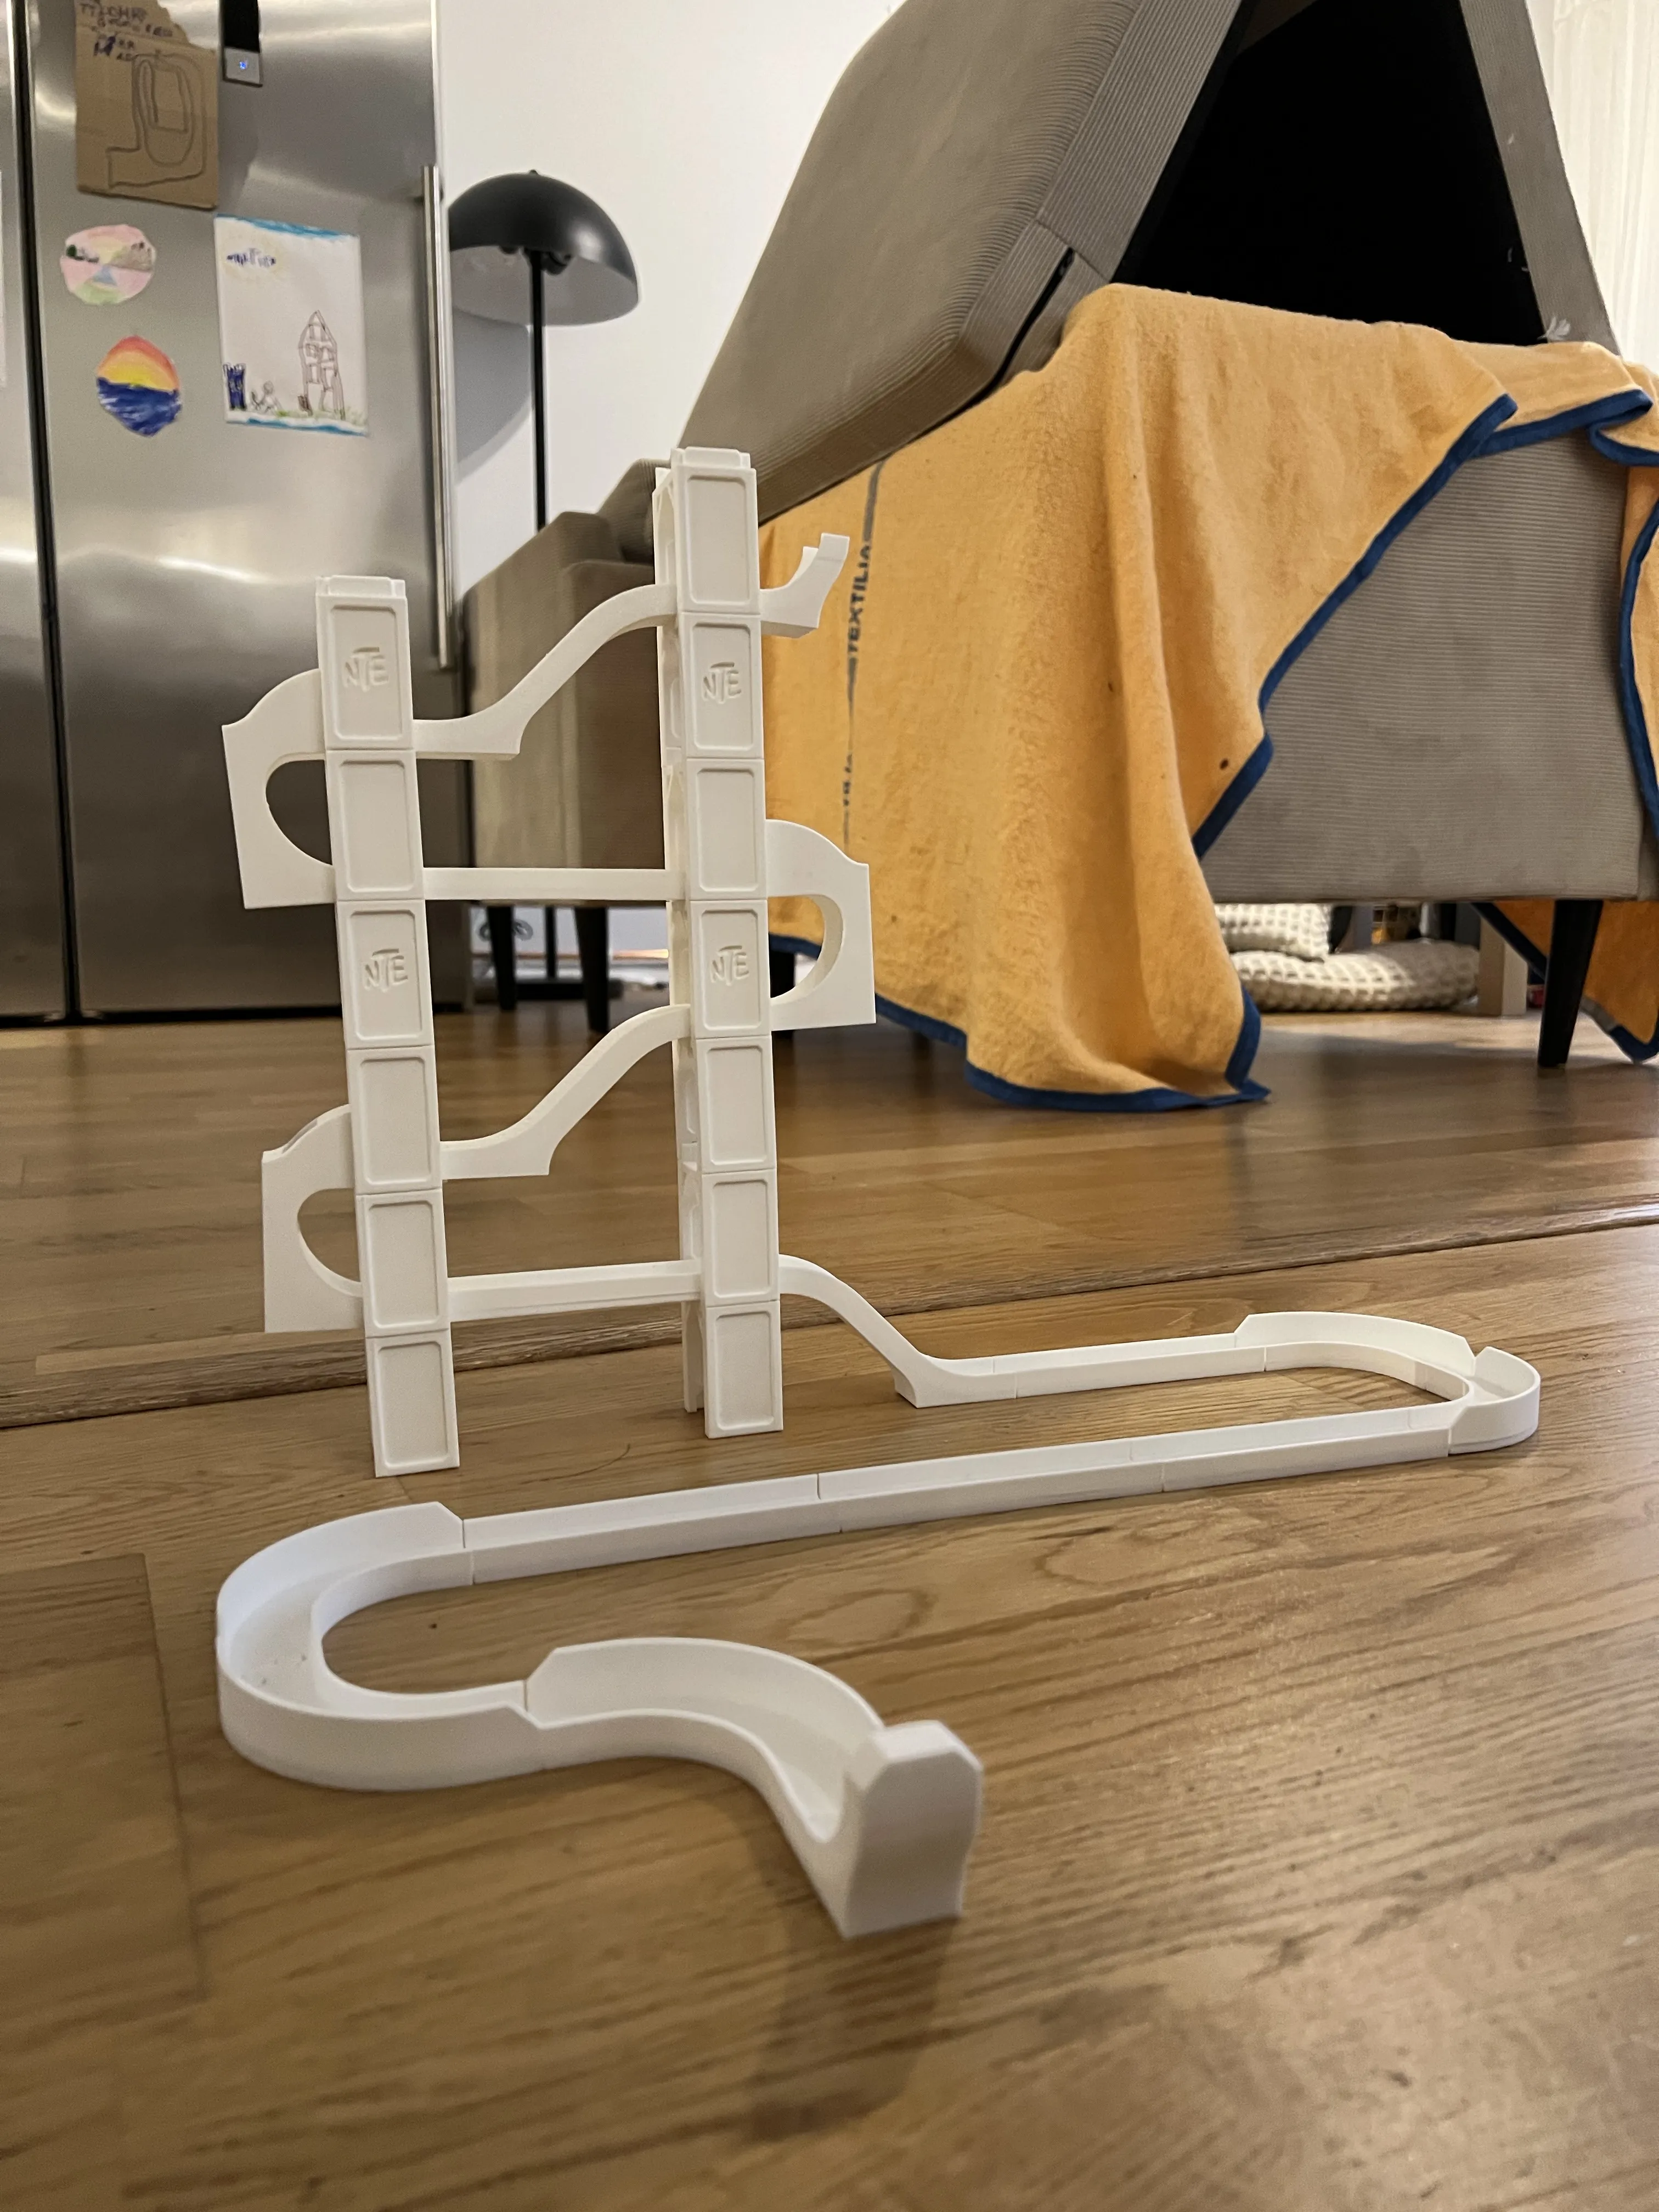
8 - Stilt: A structural part to raise your tracks. These can be stacked on top of each other to go even higher!
9 - Ramp*: Requires supports! This is a simple ramp to move the track up or down.
10 - C-Ramp*: The part is oriented on the print bed with the flat side wall touching the bed to eliminate excessive overhang. Shown in CAD. This is a ramp that not only moves the ball down but makes it move in the opposite direction in which it came.
Thanks to Devin Ho for support!
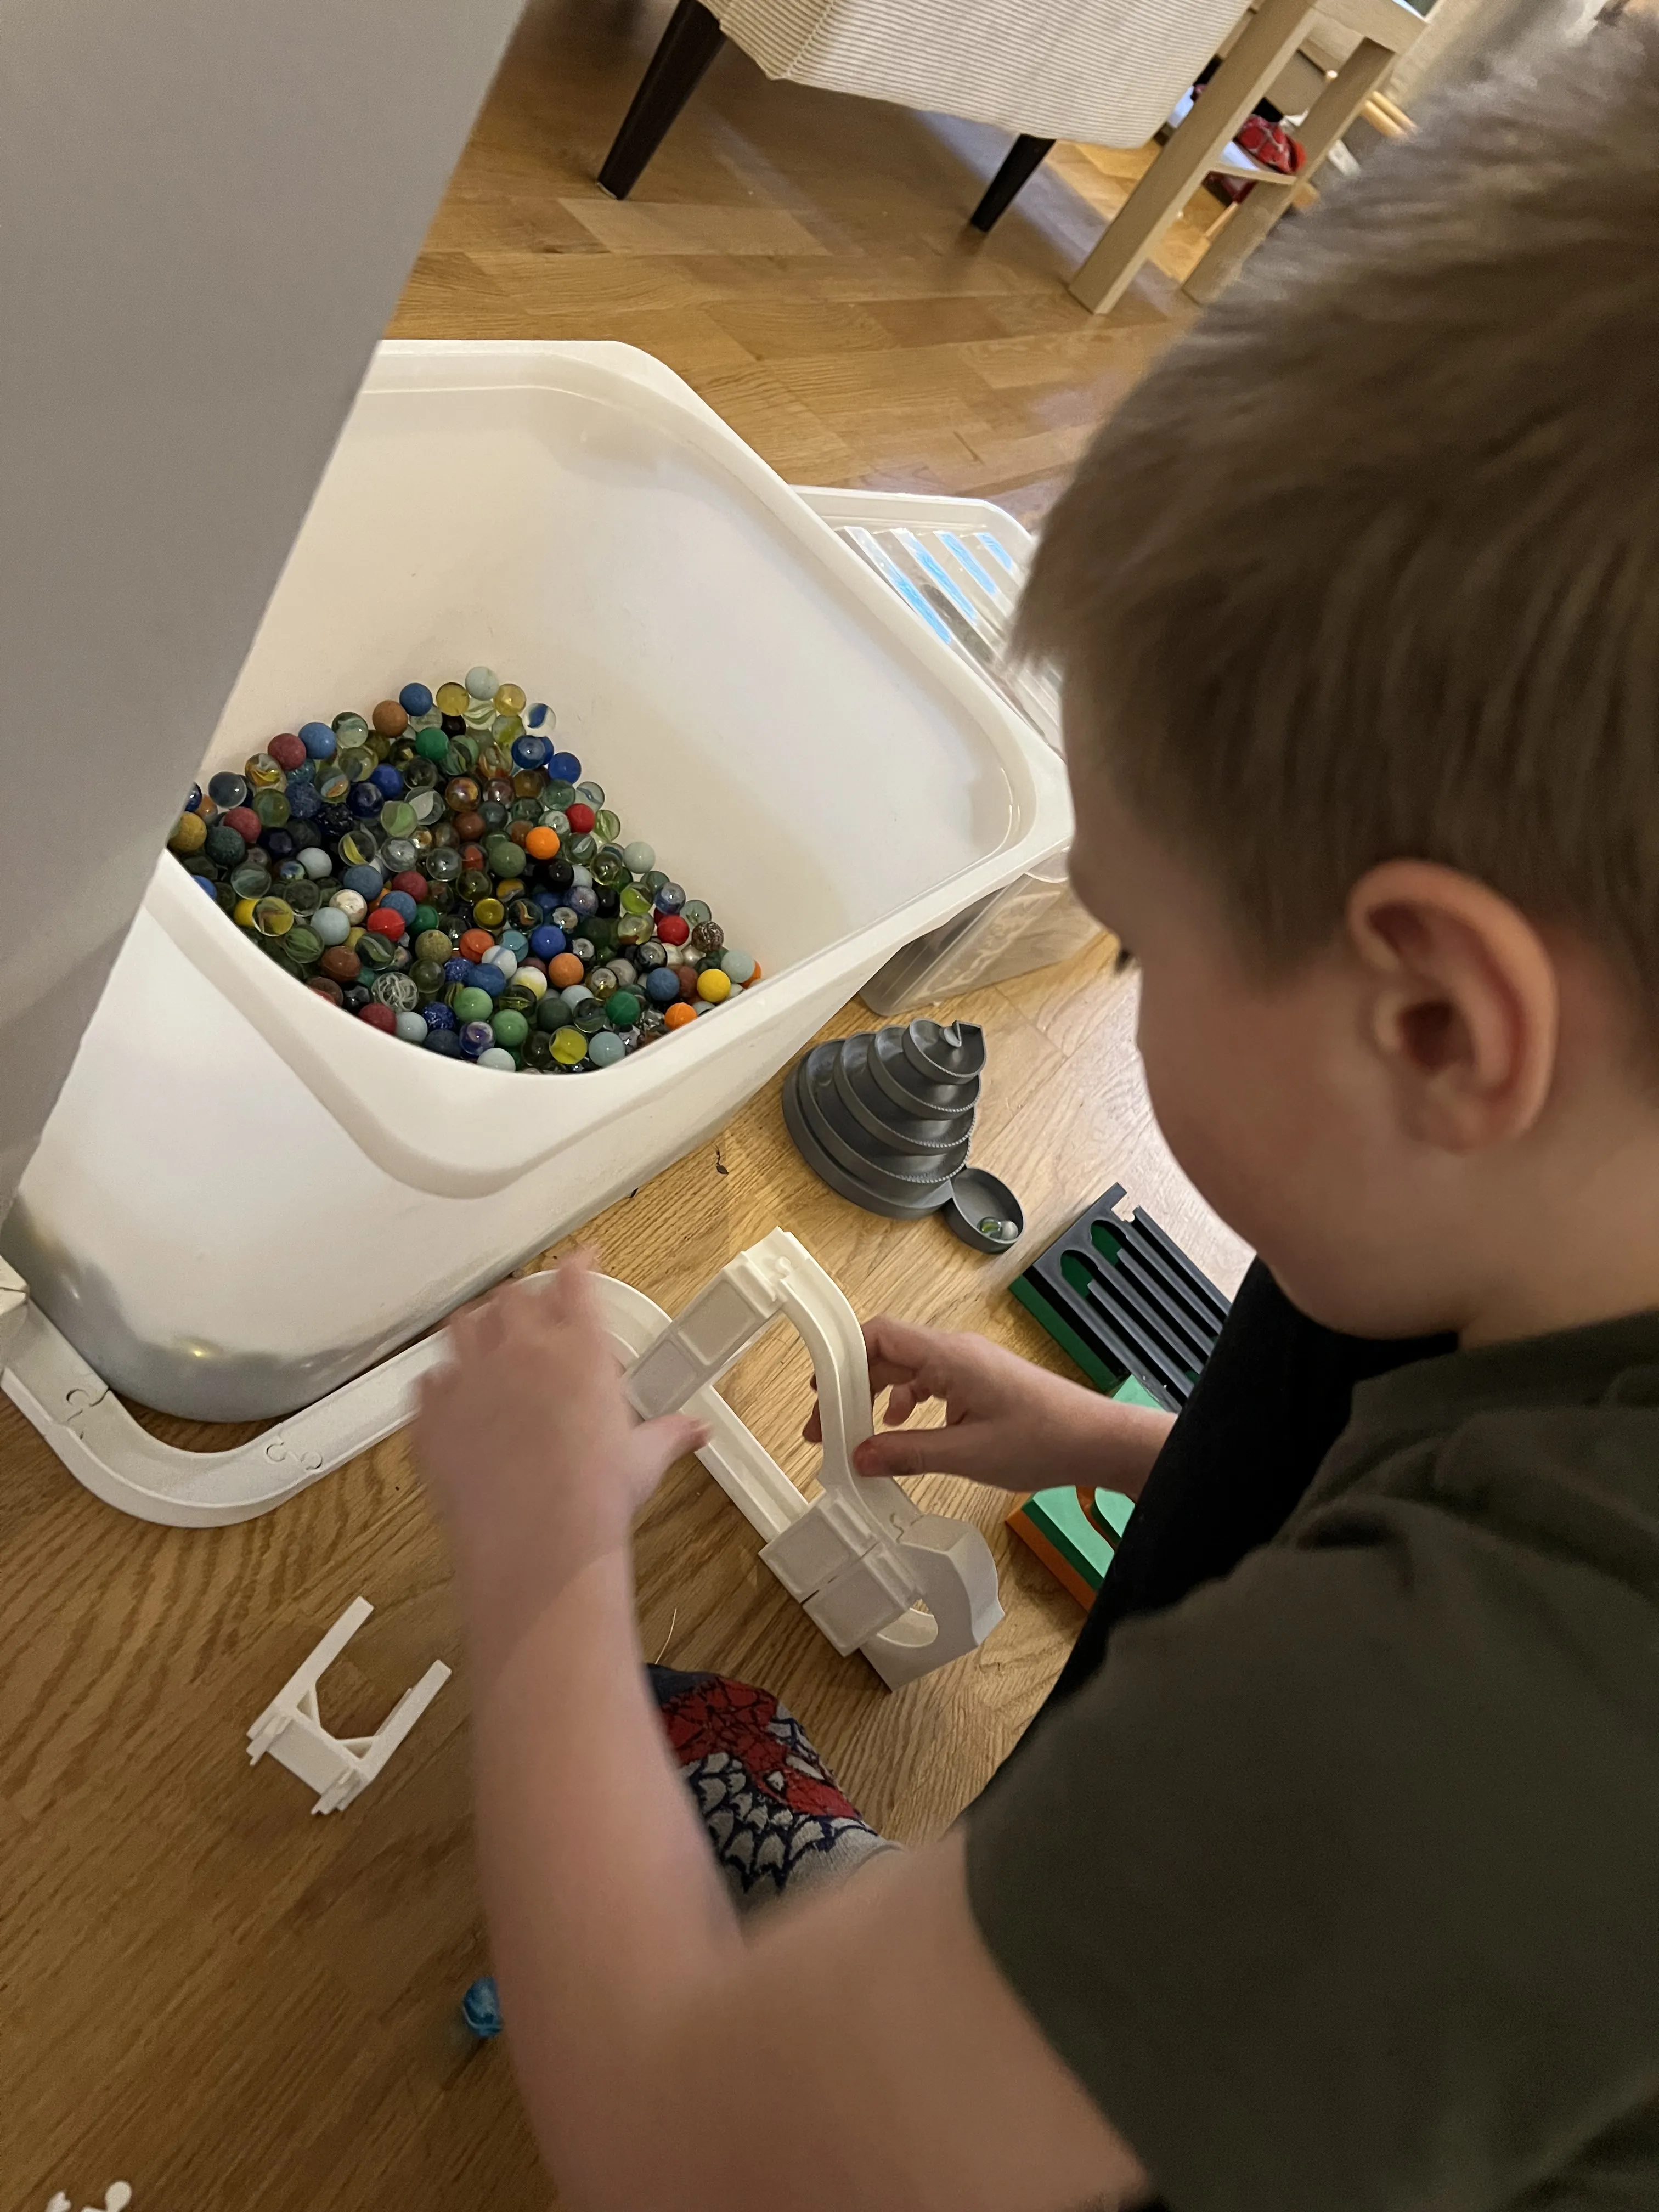
5 year old approved👍🏼
Build it as you wish🛠️
License

You shall not share, sub-license, sell, rent, host, transfer, or distribute in any way the digital or 3D printed versions of this object, nor any other derivative work of this object in its digital or physical format (including - but not limited to - remixes of this object, and hosting on other digital platforms). The objects may not be used without permission in any way whatsoever in which you charge money, or collect fees.


Comment & Rating (17)