DIY Skateboard Mold Kit


Print Profile(5)


Bill of Materials
- IPS Weld-On 16 Acrylic Plastic Cement x 2:
- 3/4" MDF x 1: For the template
- Wood x 1: Base for the molds
- Titebond III wood glue x 1:
- Neoprene Solid Rubber Sheet x 1:
Description
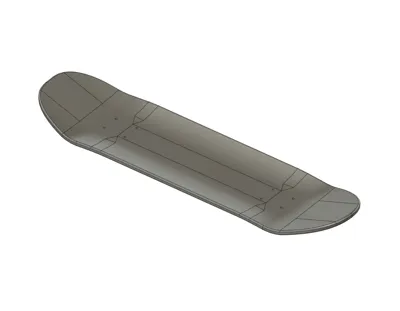
Molds and templates to create your own skateboard decks.
This is a pretty involved project but I have made many decks using these molds and it works well. I have included the files for making the mold as well as one shape template. There are models of the deck as well, but the real fun is in pressing real decks.
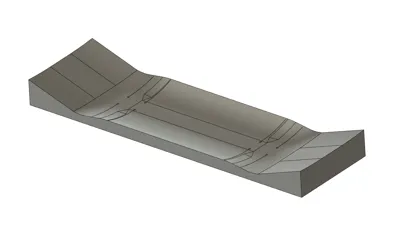
The mold is made with holes for a 14.4" wheel base and a single deck offset with an extra 1/8" for rubber padding.
Some helpful resources
Boost Me (for free)
If you find this useful, boosts are appreciated!
Assembling the Mold
To assemble the mold you glue all the parts to a base that is at least 10" x 34". I used ¾" Pine. To glue it together I used IPS Weld-On 16 Acrylic Plastic Cement and it worked well.

Pressing a Skateboard
Skateboards are made by gluing thin veneers and pressing them in the mold. A typical skateboard is made of 7 1/16" plys of maple veneer. My favorite supplier is Marwood Venners, but you can source your wood anywhere. For glue, I use Titebond III. There are lots of resources online on making DIY skateboards so I will not repeat it here.
I highly recommend using 1/16" rubber sheets between the mold and the wood!
For the press there are multiple options from vacuum bags to industrial presses. I suggest searching online for a solution that works best for you.
I started with a simple press of 2x4s and long bolts, which worked well and I got good boards from it. The down side is that it takes a while to clamp, is hard to provide even pressure, and you have to leave it in the press for longer due to the low clamping pressure.


Eventually, I built a more proper press out of steel so that I could clamp more evenly and with greater pressure. This press is easier to use, but a lot harder to make.

Once you get your veneers, glue them up, press them, and wait for it to dry you will have a nice blank skateboard!
Don't forget to mark the center lines before removing it from the mold. I use a center punch and punch the bolt hole locations using the holes in the mold.

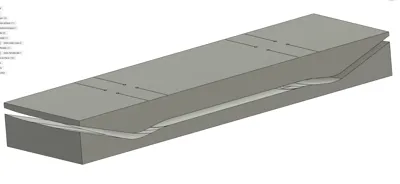
Assembling the Shape Template
I included a template for a popsicle style skateboard that is 8.3" wide and 32" long. The template is made to be used with a routing table to route the shape. You should glue and screw the template parts to a piece of MDF and then cut and sand it flush to the template.

Shaping the Skateboard
When using the shape template and routing table you simply attach the blank to the template with bolts and wingnuts, pre-cut the deck close to the template with a bandsaw or jigsaw and then route it on the routing table.


You can also free cut it out to any shape you want.
License
You shall not share, sub-license, sell, rent, host, transfer, or distribute in any way the digital or 3D printed versions of this object, nor any other derivative work of this object in its digital or physical format (including - but not limited to - remixes of this object, and hosting on other digital platforms). The objects may not be used without permission in any way whatsoever in which you charge money, or collect fees.
Comment & Rating (1)