
A1 enclosure—Simple, low-cost
Print Profile(1)
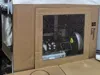
Description
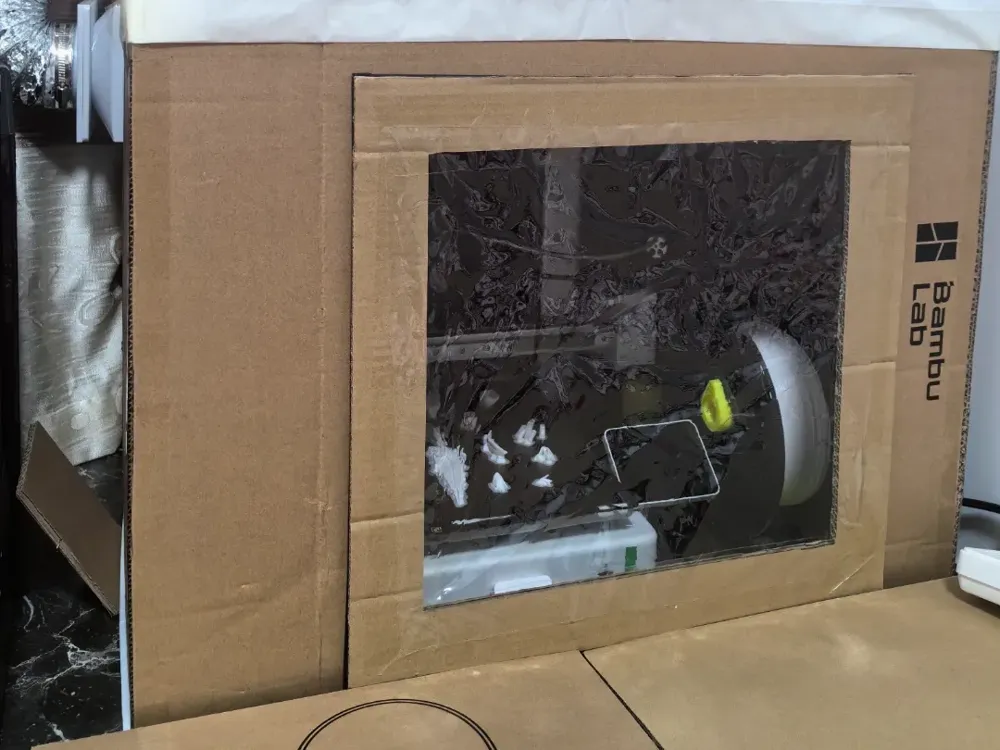
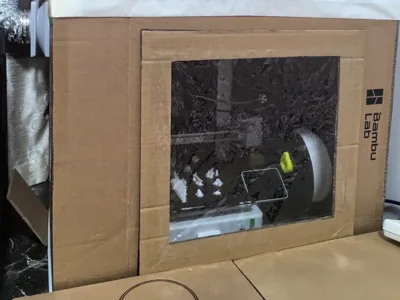
A good enclosure solution requires considerable cost, as there's no strong aesthetic requirement, and seeing someone directly using cardboard boxes provided inspiration. By printing some auxiliary parts, I created my own enclosure solution. It requires some hands-on ability and time, but overall it is relatively easy.
First, let's talk about the dimensions, which are 60cm * 60cm * 50cm (width * depth * height).
The enclosure uses the packaging box of Bambu Lab A1, directly using the cut pieces. You can also buy corrugated cardboard from Taobao or Pinduoduo, which is relatively inexpensive. The Bambu Lab packaging box is 5mm thick, so the parts are also adapted to 5mm.
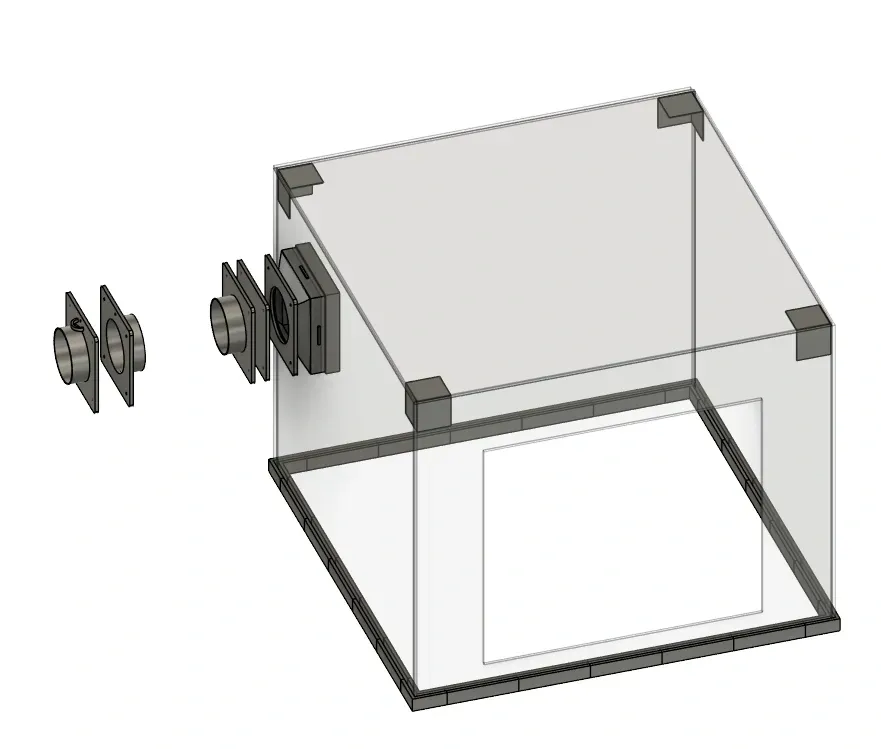
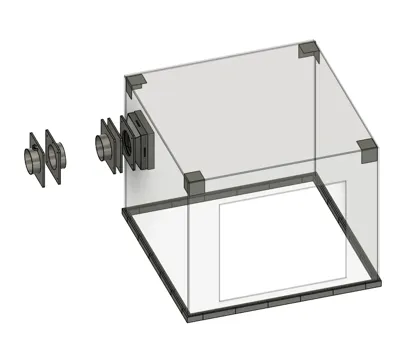
To prevent uneven cutting from causing instability, a base is made to ensure the bottom is flush. Tray 1 shows the parts used; 5mm thick cardboard fits snugly. The two pieces of cardboard overlap as shown in the image. After joining, seal the gaps with tape.
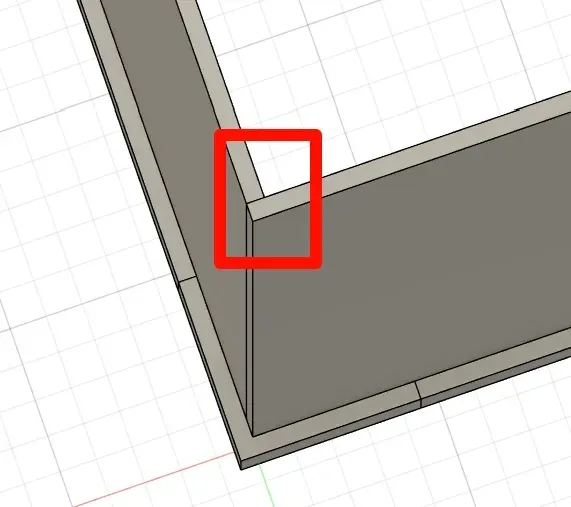
Tray 2 contains the four support parts at the top, used to secure the shape and prevent wobbling. If only using the Bambu Lab packaging box, a complete piece of cardboard is insufficient for the top; therefore, I simply used paper for one layer, then added some cardboard (joined with tape) on top to prevent accidental punctures.
For the enclosure door, I used adhesive magnetic strips for opening and closing. A transparent film is used for viewing the interior. There are many choices for transparent films, such as filament bags, and it's not necessary to purchase them separately. If observation is not considered, you can even directly use the cut piece of cardboard.
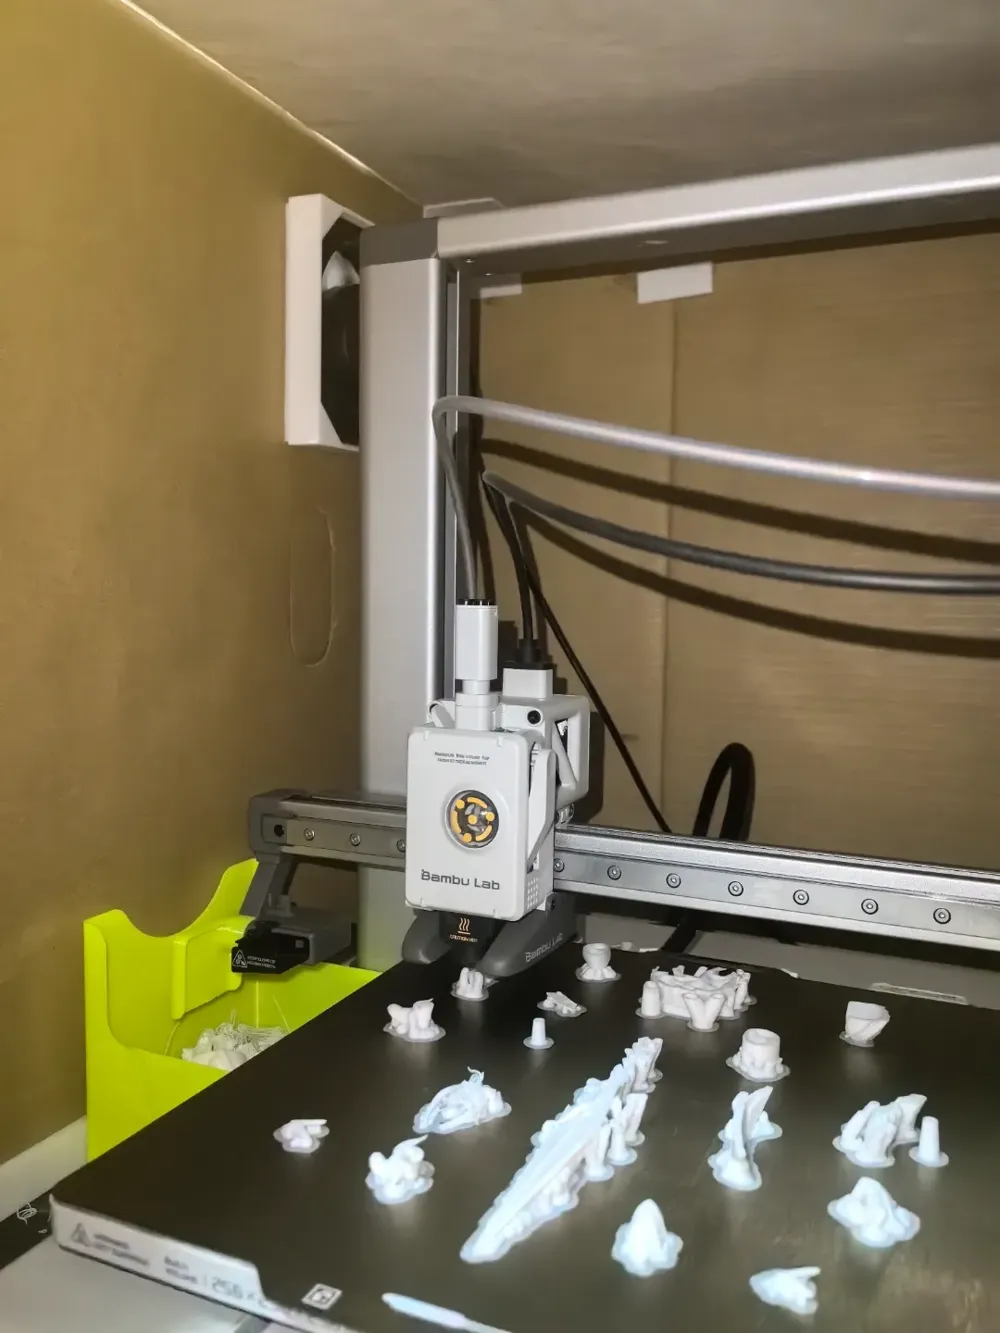
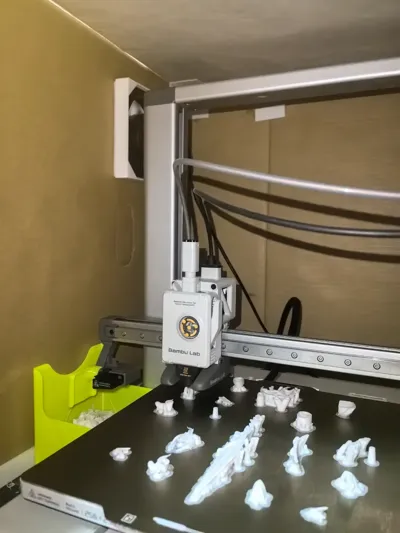
Next is the most important part, the installation of the exhaust vents. I used a 12cm fan purchased from Taobao; a higher speed is recommended. Trays 3 and 4 are the parts for securing the fan, effectively preventing it from falling off, eliminating the need for screws or additional fixation. Simply drill holes in suitable locations on the cardboard box according to your placement.
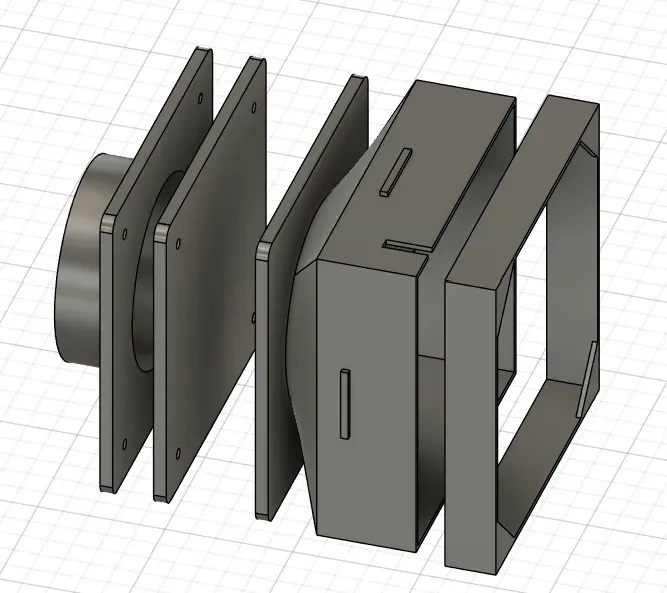
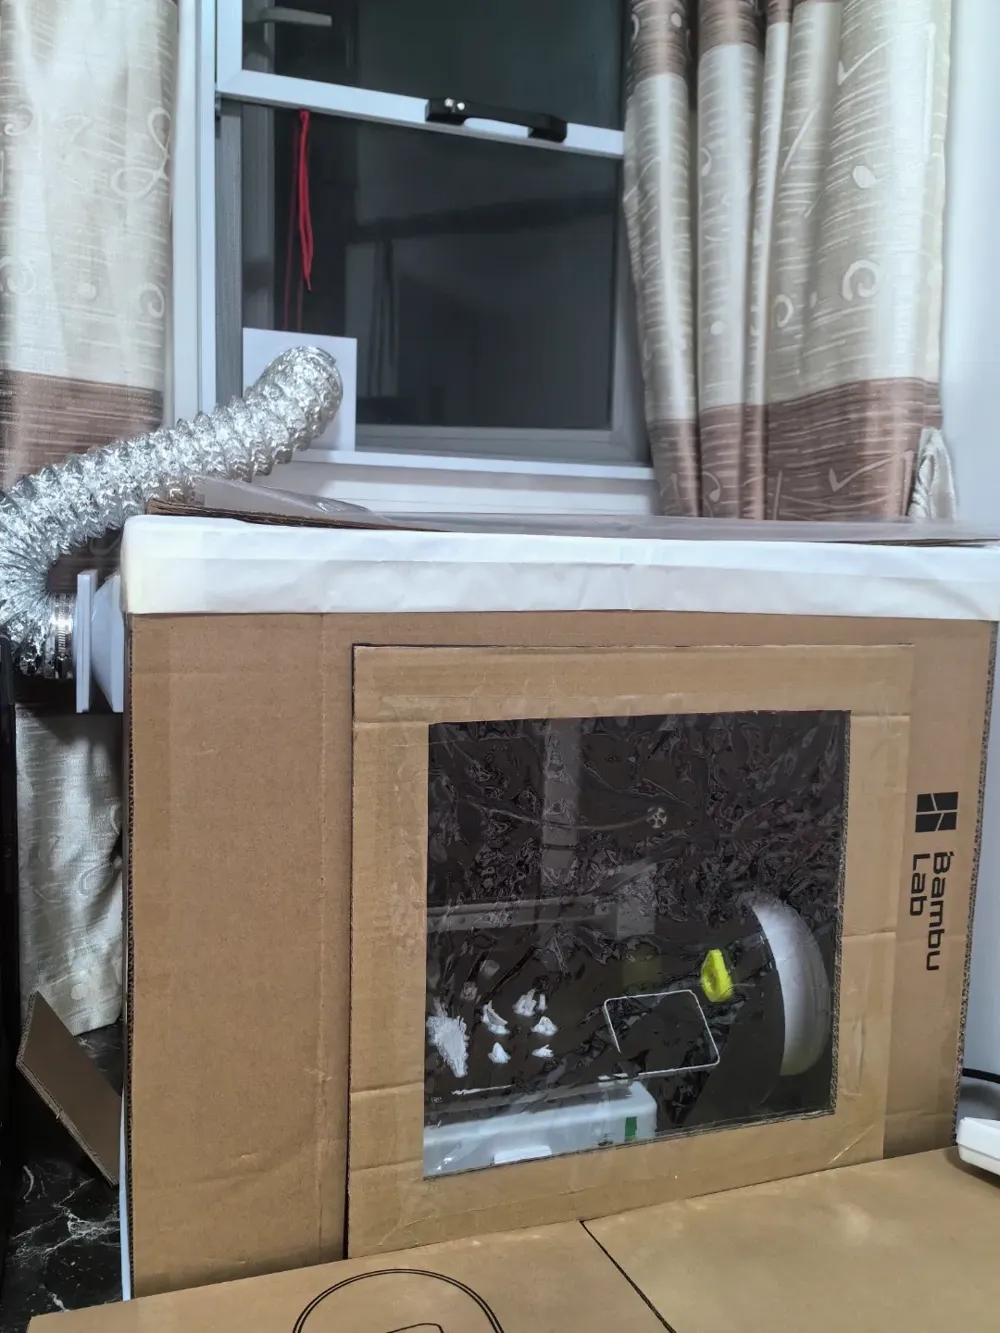
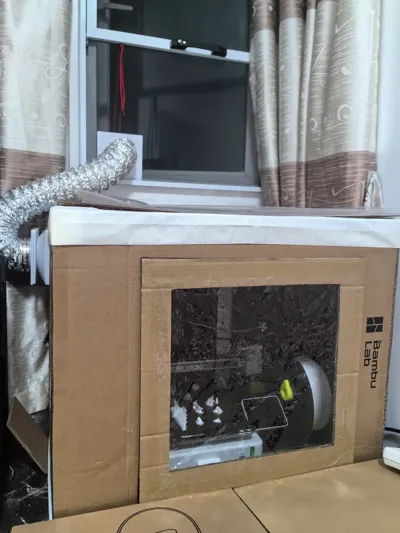
The exterior of the box is connected to the exhaust pipe using magnets. The exhaust pipe has a diameter of 8cm; the magnets are circular, 4mm in diameter, and 3mm thick. The magnetic force of this size is slightly weak; those with strong hands-on skills may consider expanding it using negative parts in the slicing software. Remember to maintain a tolerance of approximately 0.1-0.15mm. My design is quite tight, requiring force to push in; no glue is needed, once it's in, it won't come out. As for why it is divided into two parts, it is because I want to be able to seal the exhaust vent when it is not in use. These correspond to Trays 5 and 8.
If you don't consider window screens, this is where you can finish. Because I have window screens at home, I don't want to open them when printing. Therefore, referring to the designs of other experts, the window screen's inner and outer parts are also connected using magnets, with the outer part adding a hanging loop for additional fixation, preventing it from falling from the window and causing high-altitude falling objects. As shown in the physical image, I use a rope to pull it back into the window and tie a knot; if the outside loosens, it will be caught by the window screen and won't fall. This part corresponds to Trays 6 and 7.
This completes the simple enclosure. Print and use as needed.
Special Reminder: Pay attention to the direction of the magnet installation. Incorrect installation is difficult to remove and will cause the printed parts to be scrapped, resulting in waste.
Below is a list of parts in each tray and separately purchased materials; you can print and use them as needed. Thank you for your support.
Materials:
- 12cm 220v fan
- 4mm*3mm circular magnets
- Adhesive magnetic strip
- 8cm diameter exhaust pipe + hose clamp
Printed Trays
- Enclosure base
- Three-sided support
- Fan fixing part 1
- Fan fixing part 2
- Fan exhaust pipe connector
- Window screen outer exhaust pipe connector
- Window screen inner exhaust pipe connector
- Fan sealing connector
License



Comment & Rating (6)