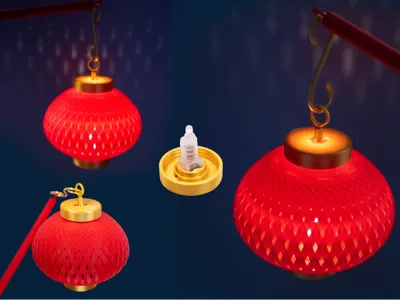
A festive openwork lantern (with LED installation option)


Print Profile(2)

Description
Boost Me (for free)
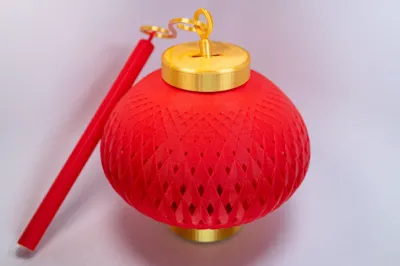
Following the previous lantern, I have designed a new, openwork miniature lantern. Previous lantern: https://makerworld.com.cn/zh/models/733436#profileId-692483
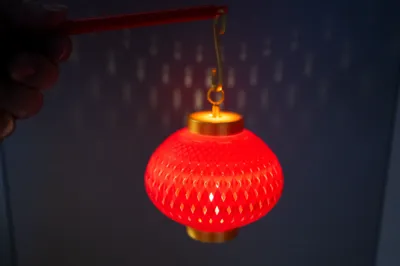
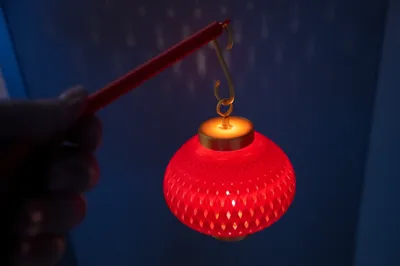
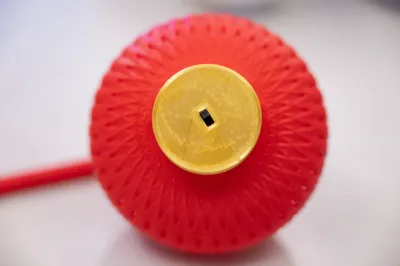
It can serve as an ornament or a handheld trinket. When fitted with a small light, it illuminates beautifully; even without, it remains aesthetically pleasing.Apart from the internal light, all components are 3D printed, excluding any metal parts. Two filament colors, red and gold, are used—one spool per color—with no color changes required during printing; AMS is not necessary, and it is printable on an A1 mini.
Link to purchase small light on Taobao: http://e.tb.cn/h.T4AxwH03Tx0ZapN?tk=NKLt3xqZkcg
The tree-like support at the lantern's apex is larger than the lantern opening. For easier removal, separate the support from the top and then trim the branches.
2024.12.28: Added a base with a hanging loop (Configuration 2), allowing multiple lanterns to be vertically strung together for hanging.

Assembly Guide
Installing the Top Cover
1. Thread the small hook through the hole in the top cover and press the cylindrical clasp firmly into place.


2. Screw the top cover onto the lantern.

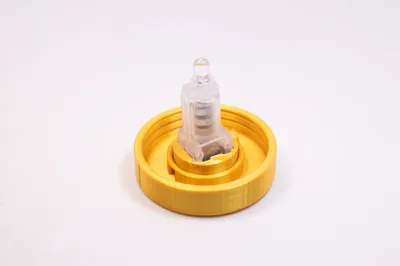
Installing the Base
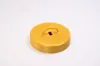
1. Insert the small light fixture into the light; one side has two recesses, the other one. Align these with the protrusions on the light's plastic component. The two raised surfaces on the fixture face downwards—avoid reversing it.
If you are not using a light, skip this step.

2. Snap the fixture into the base's clasp; the light switch should align with the hole in the base.

3. Screw the base onto the lantern.

Attach the rod to the lantern using the long hook, completing the lantern assembly.

License
You shall not share, sub-license, sell, rent, host, transfer, or distribute in any way the digital or 3D printed versions of this object, nor any other derivative work of this object in its digital or physical format (including - but not limited to - remixes of this object, and hosting on other digital platforms). The objects may not be used without permission in any way whatsoever in which you charge money, or collect fees.
Comment & Rating (3)