
A1/ A1 Mini External Spool Enclosure

Print Profile(2)


Description
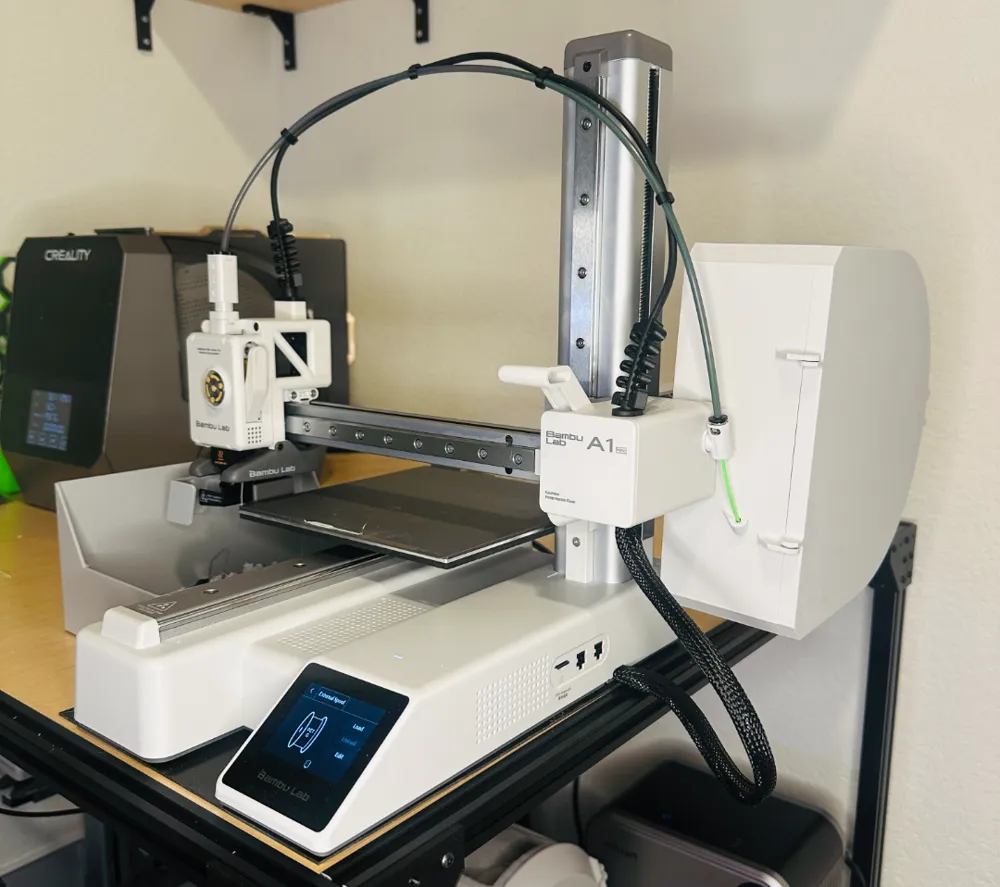
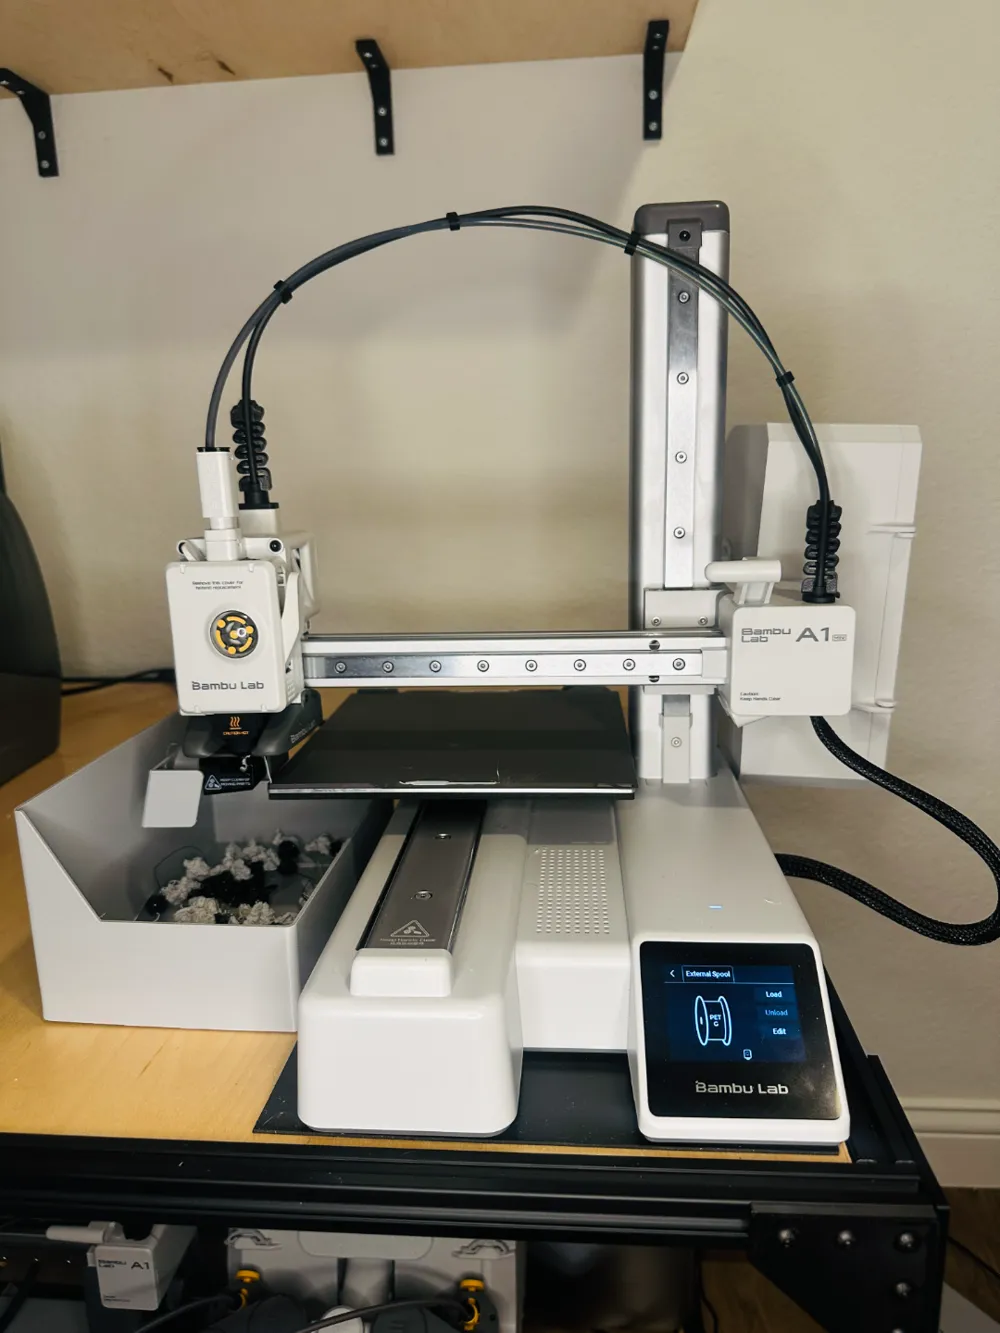
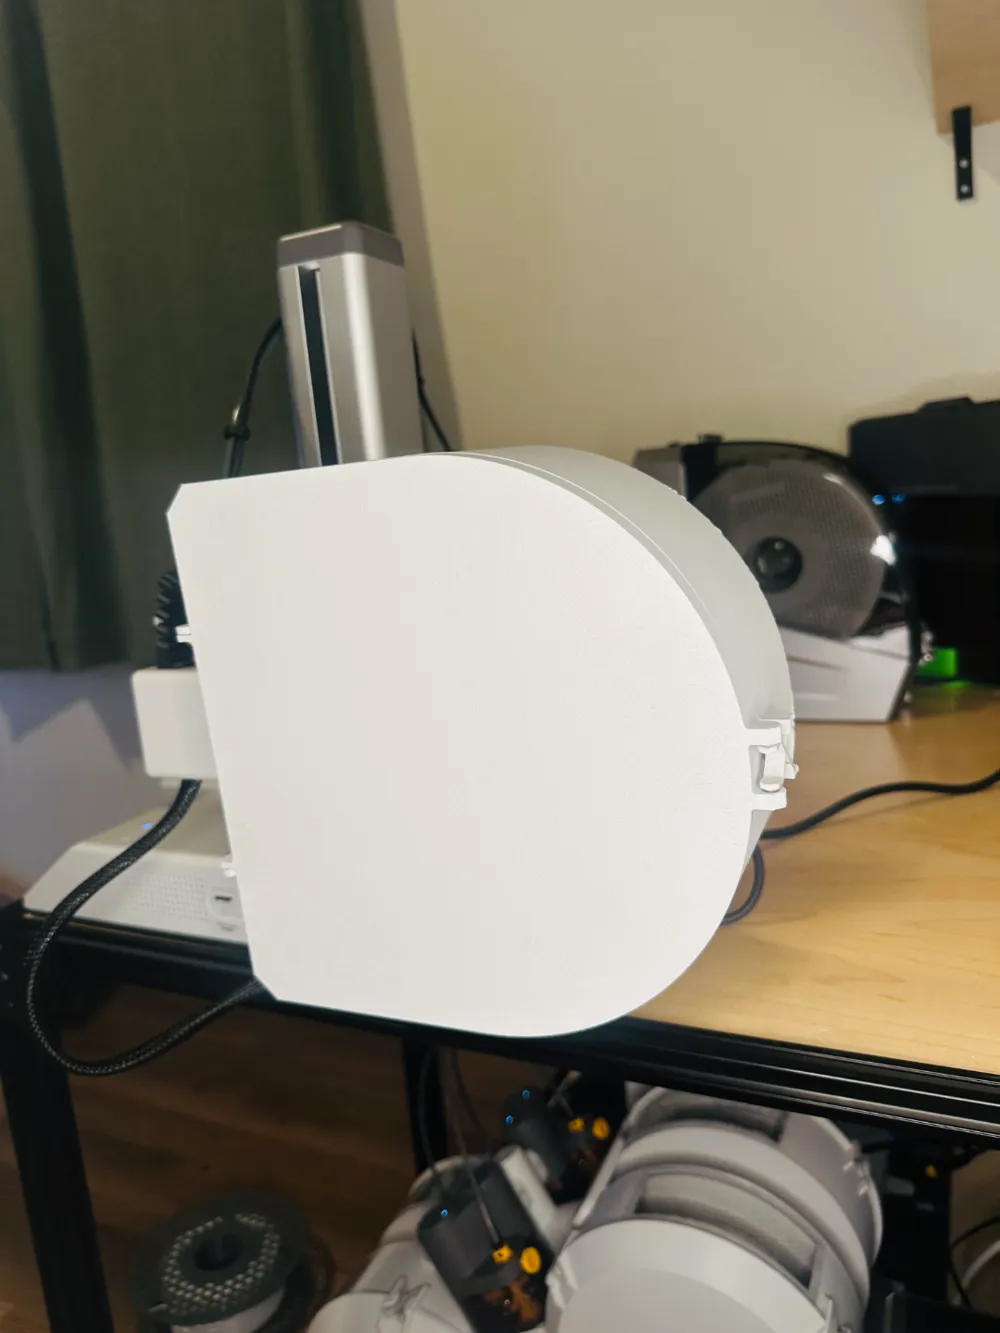
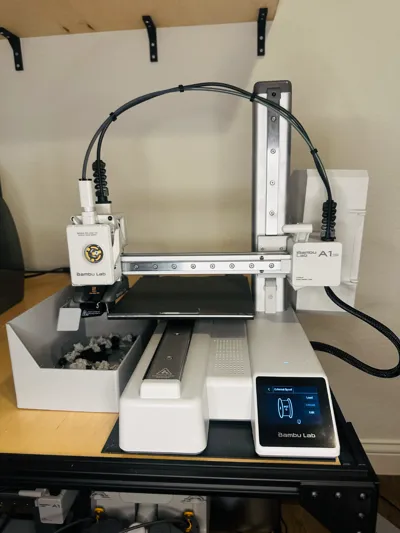
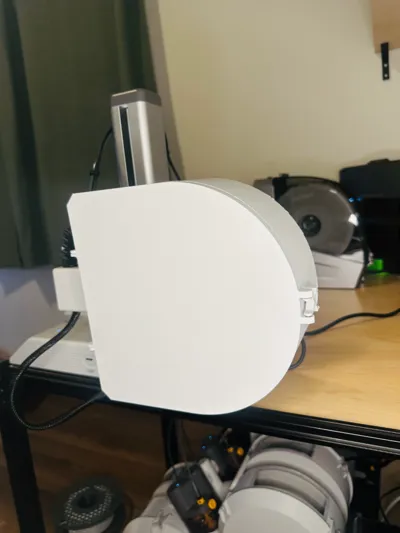
External Spool Enclosure for the A1 Mini!
I'm a big fan of the Ultimate Spool Enclosure for the AMS Lite but I was disappointed to see that nobody had made one for the External Spool Holder. I spent countless hours designing and testing this model and now at long last, you can keep your external spool filament dry!
Boost Me (for free)
This took a long time to make and test, please boost if you found this useful!
OPEN FOR DERIVATIONS
I clicked through too fast when uploading this model and now I can't change the license. Feel free to download the STL and make your own edits. Here's a link to the files in OnShape as well (sorry it's messy: https://cad.onshape.com/documents/040933eff50c786b9e18f86f/w/c196e530c6e885e8127373ab/e/1485614cda51fdb30bf3fe32?renderMode=0&uiState=67ed5e6355411219468db531)
A1 Notice
I have reports that newer A1 printers do not have detachable filament guides, this means that unfortunately this enclosure will not work on newer A1 printers unless you are able to get ahold of an older filament guide :(
Print Instructions
- On the Spool Box and Spool Lid (Labeled in the 3MF file), print with brims as they are prone to warping due to their size. No supports needed!
- The only piece that requires supports is the Bracer. This piece needs to be strong to handle the load, so when printing in PLA I highly recommend using 40% fan speed and 225 degree nozzle temps for maximum layer adhesion.
- The rest of the pieces are easy to print and require no supports or brims.
A1 Mini Assembly Instructions
Place the bracer as pictured. Please note the tolerance is pretty tight, this is intentional as it stabilizes the entire assembly.
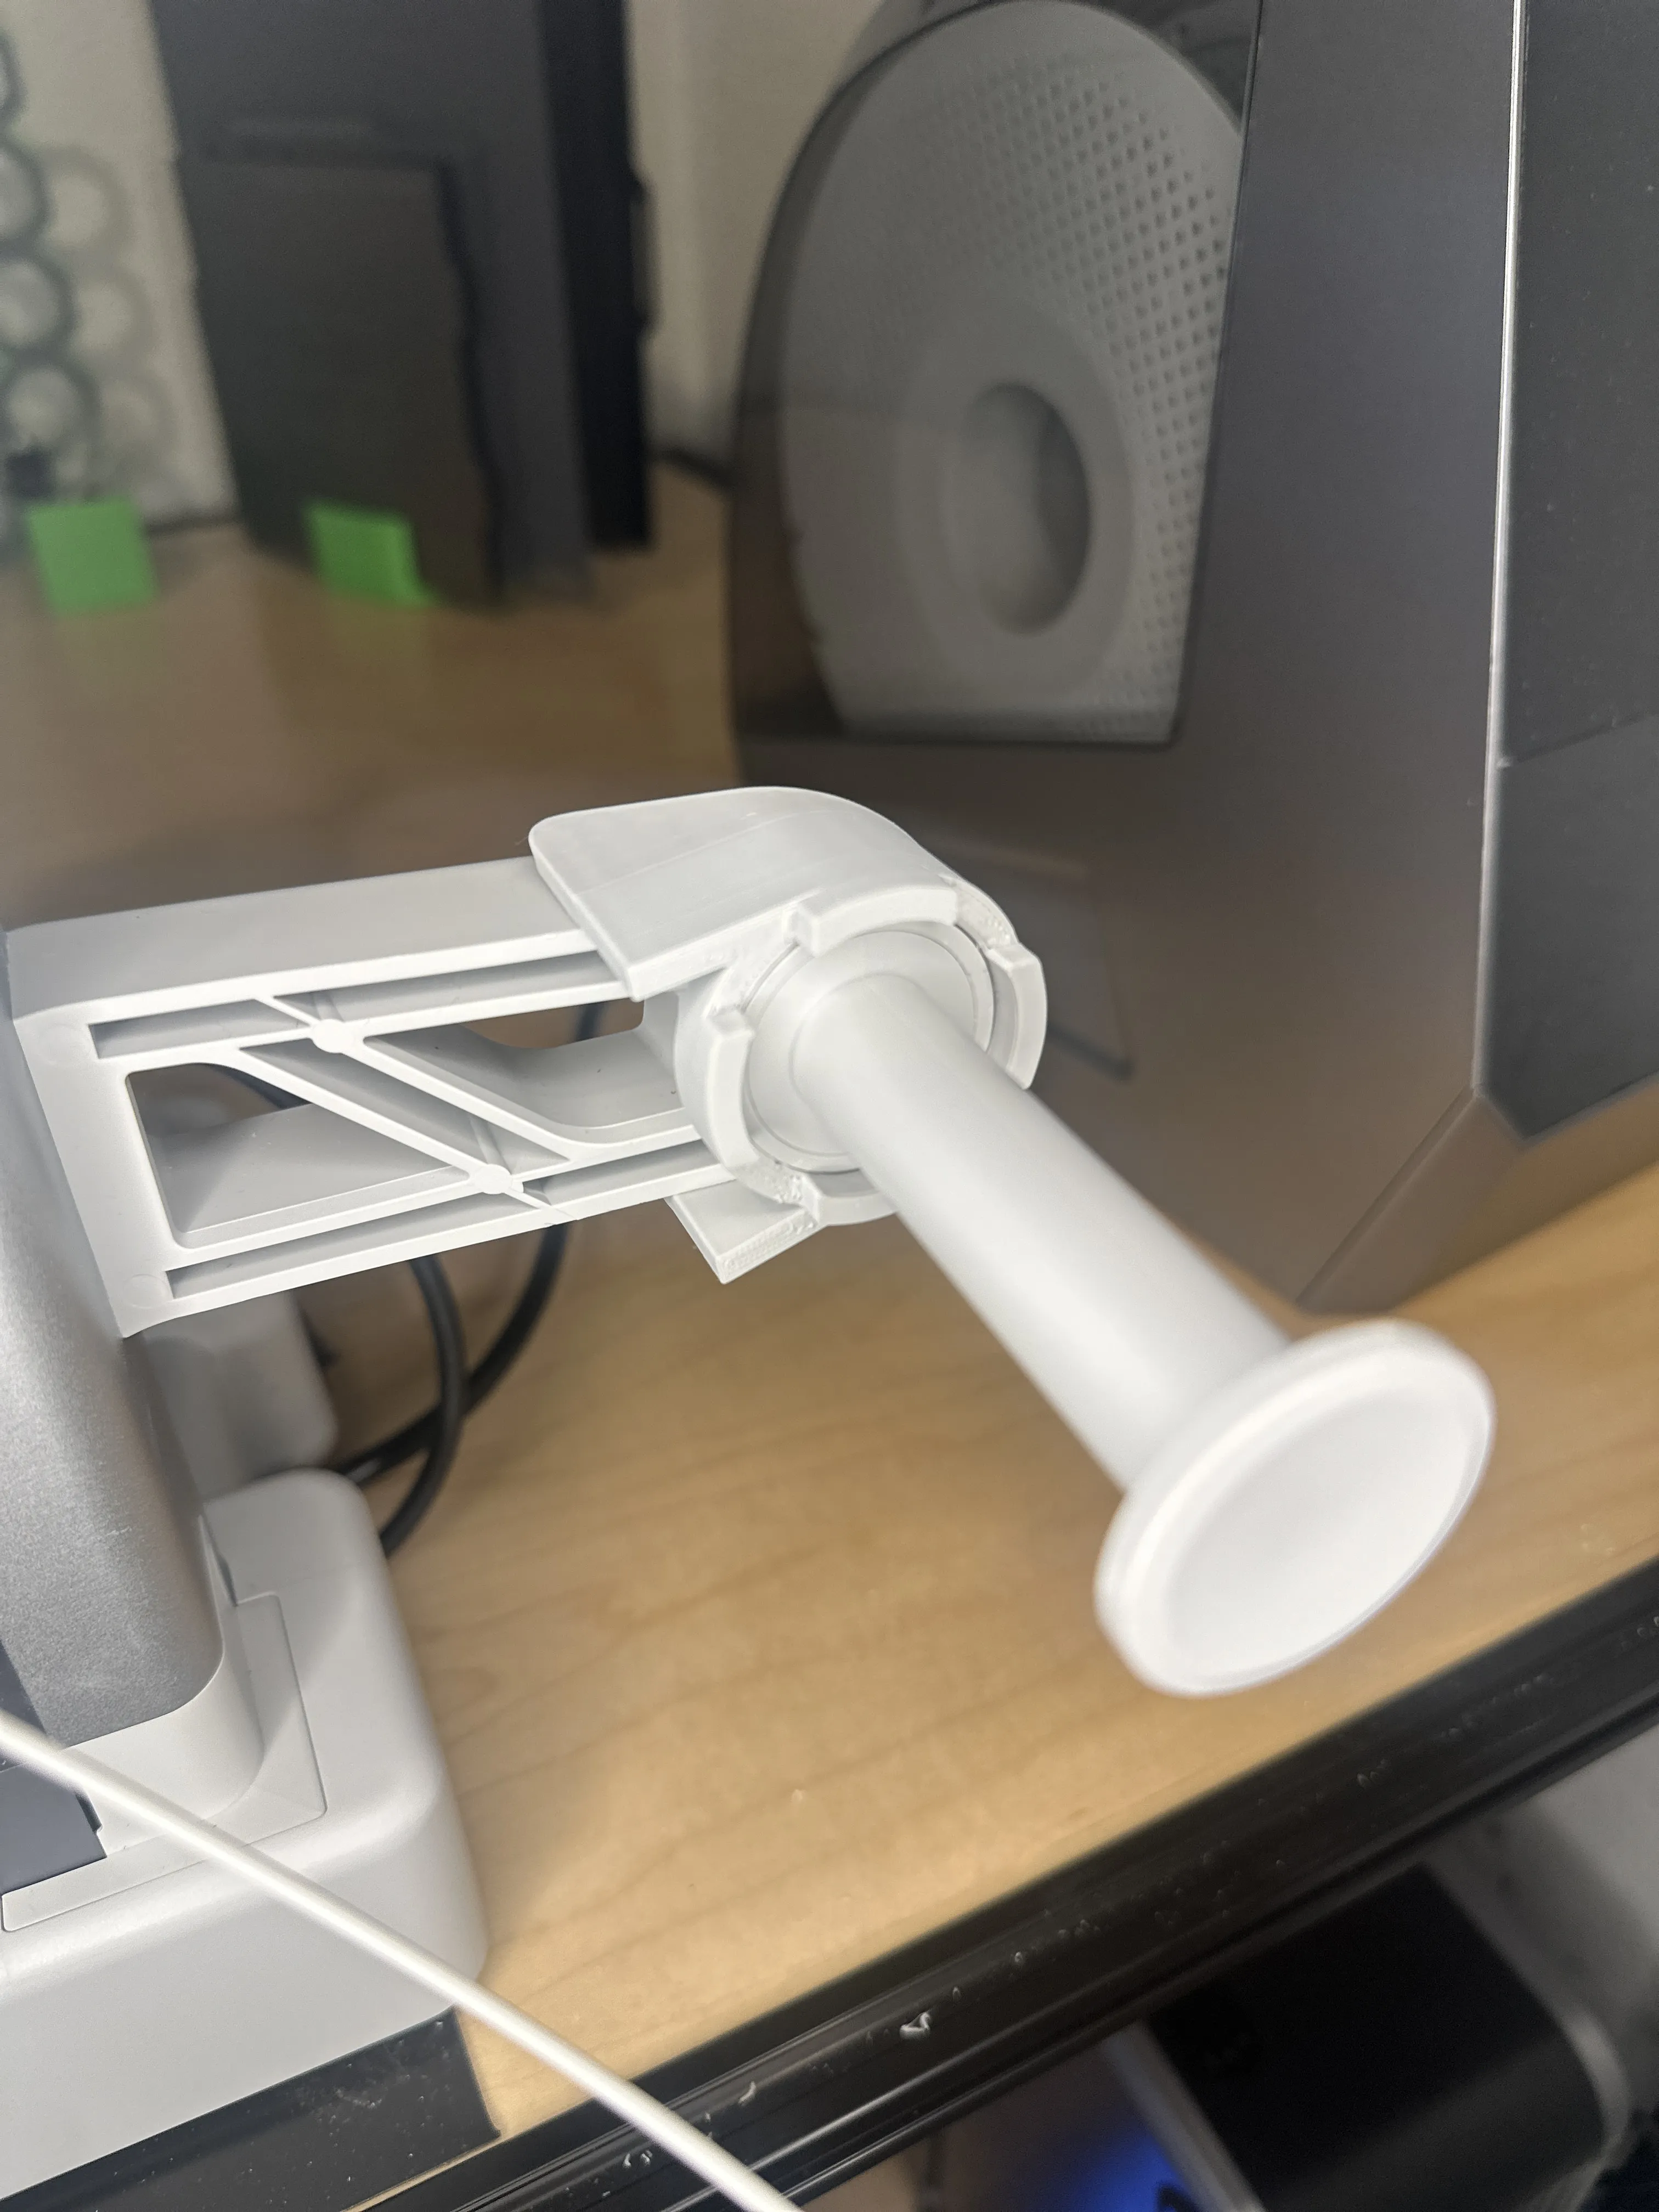
Place the Spool Spacers on next one at a time. Line each one's slots up with the notches on the bracer. Give them a good squeeze near the end of the spool holder to lock them into place. You may need to apply slight pressure to the Bracer to give space for the spool Spacers.
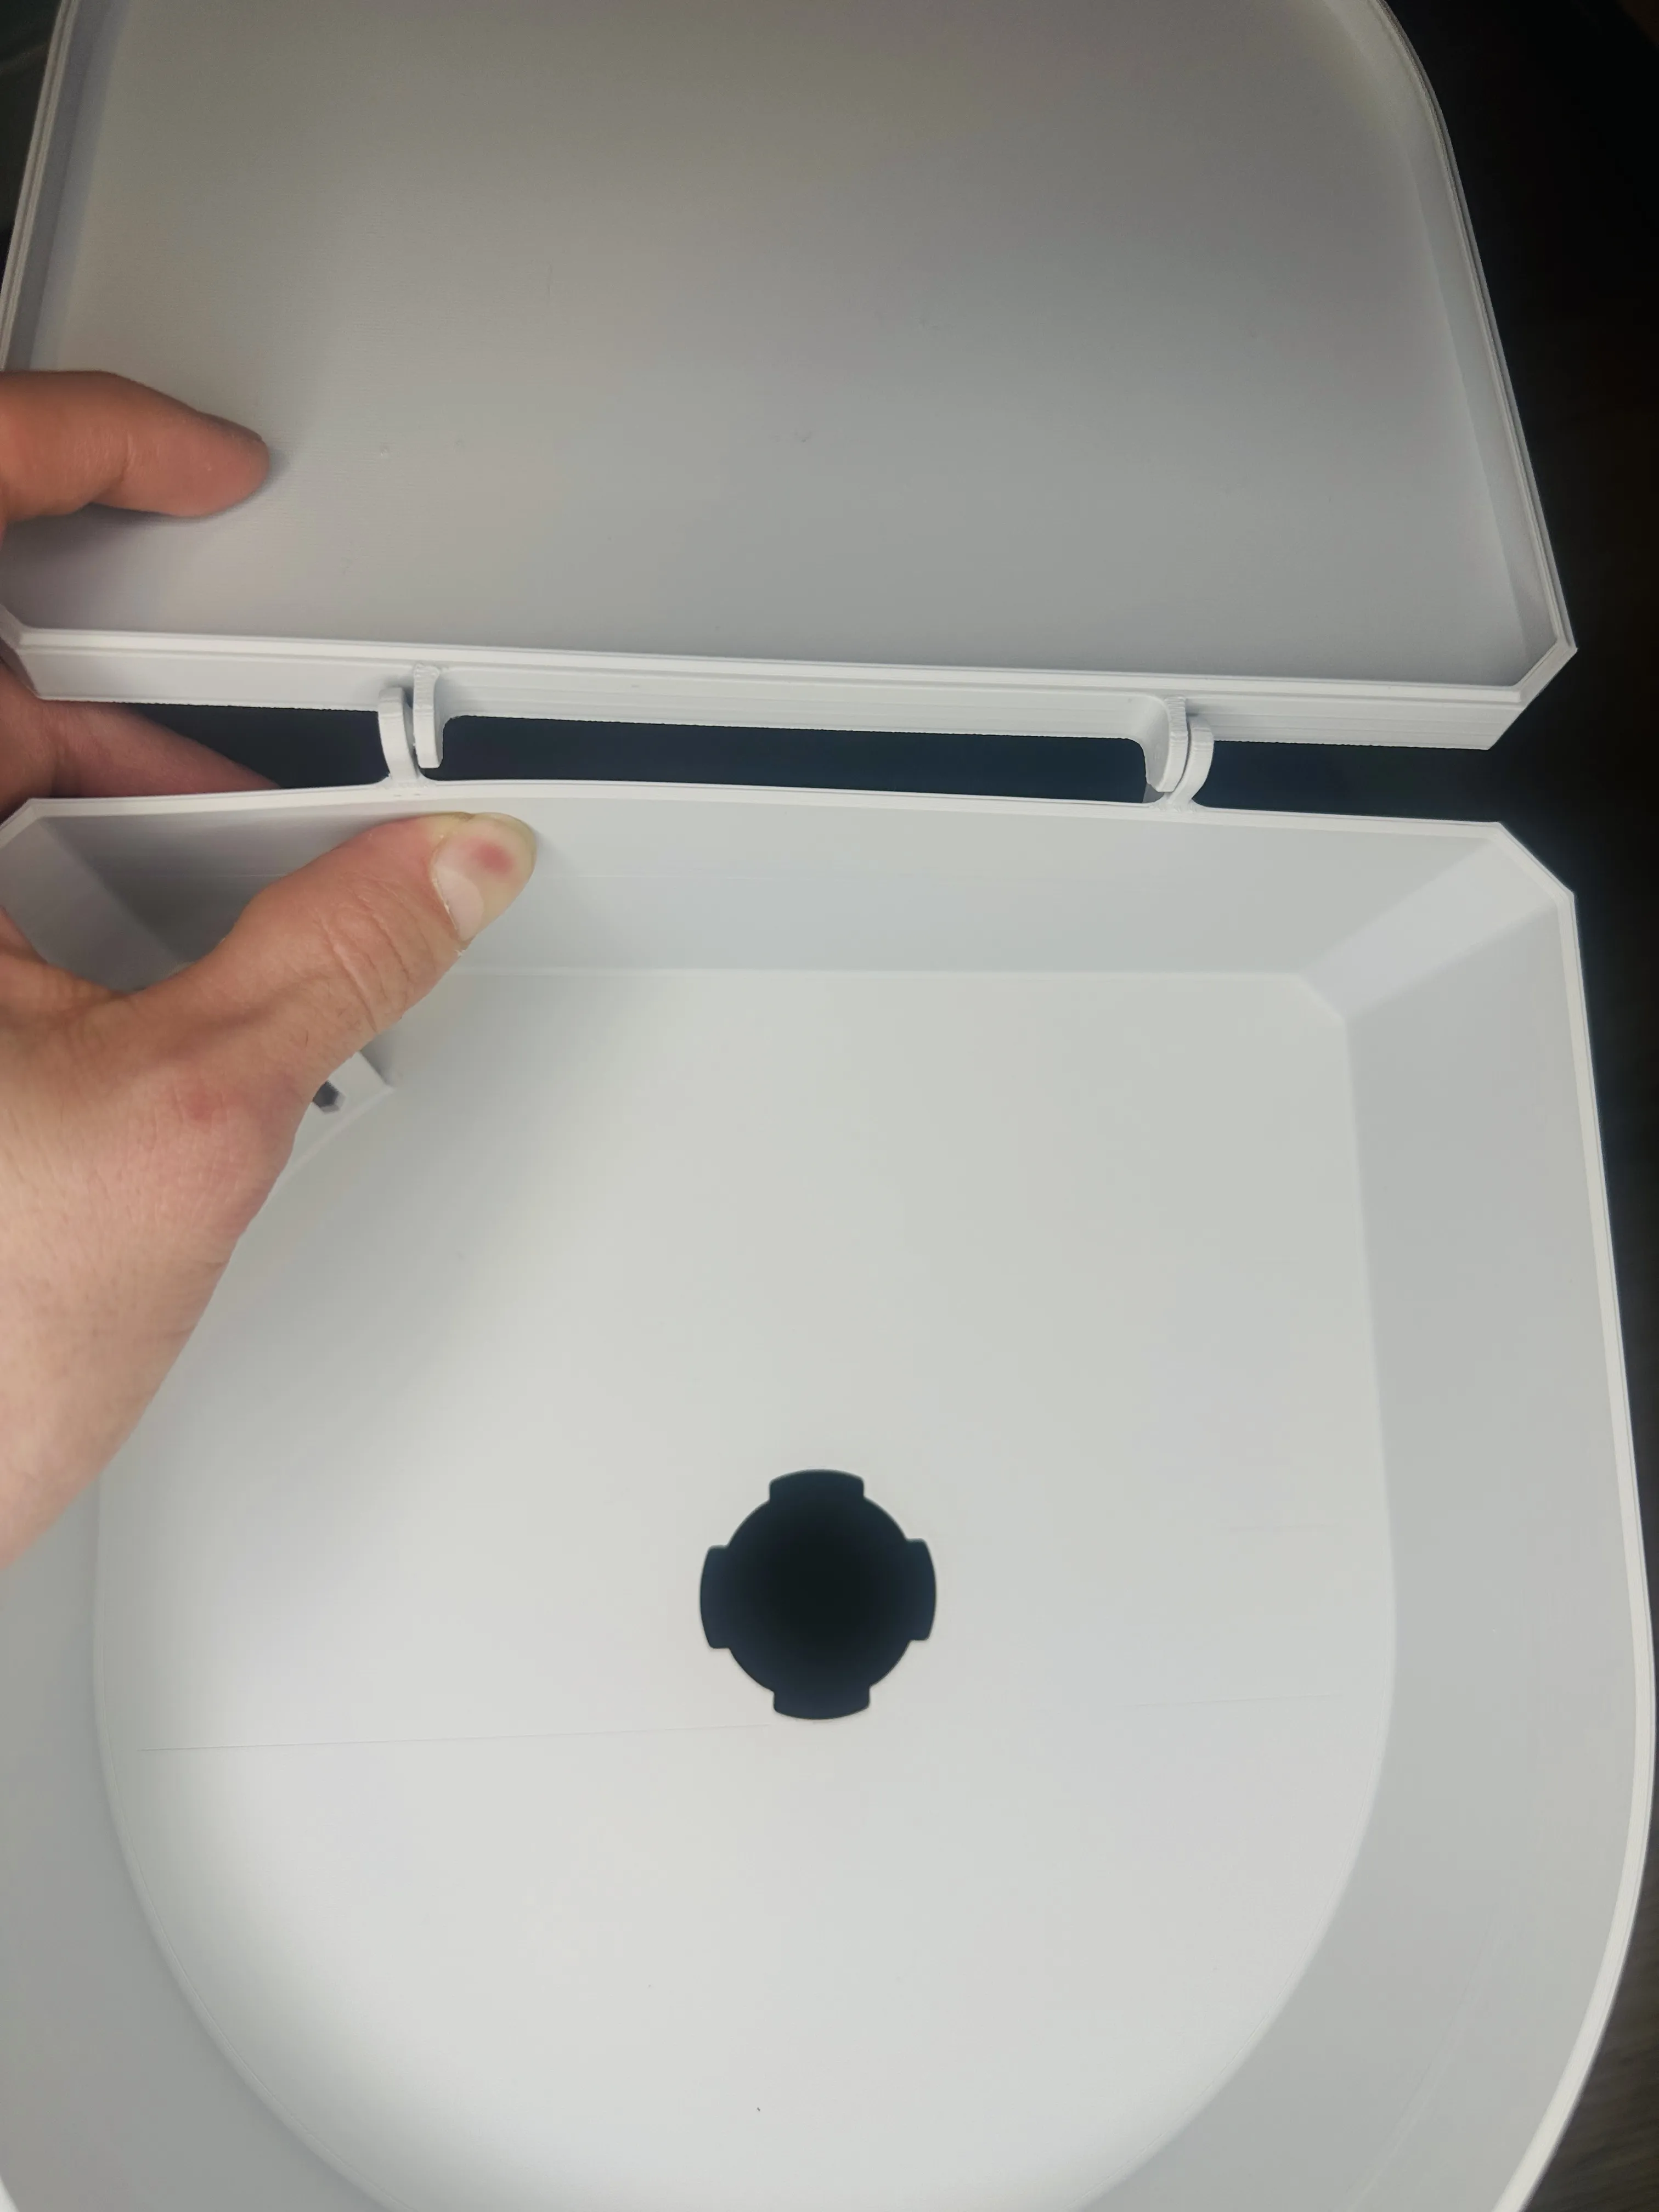
Attach the Lid to the Spool box. Lightly press on the side wall to give room for the hinges to lock in.
Take the Latch and lightly pinch the end to attach it to the Lid.
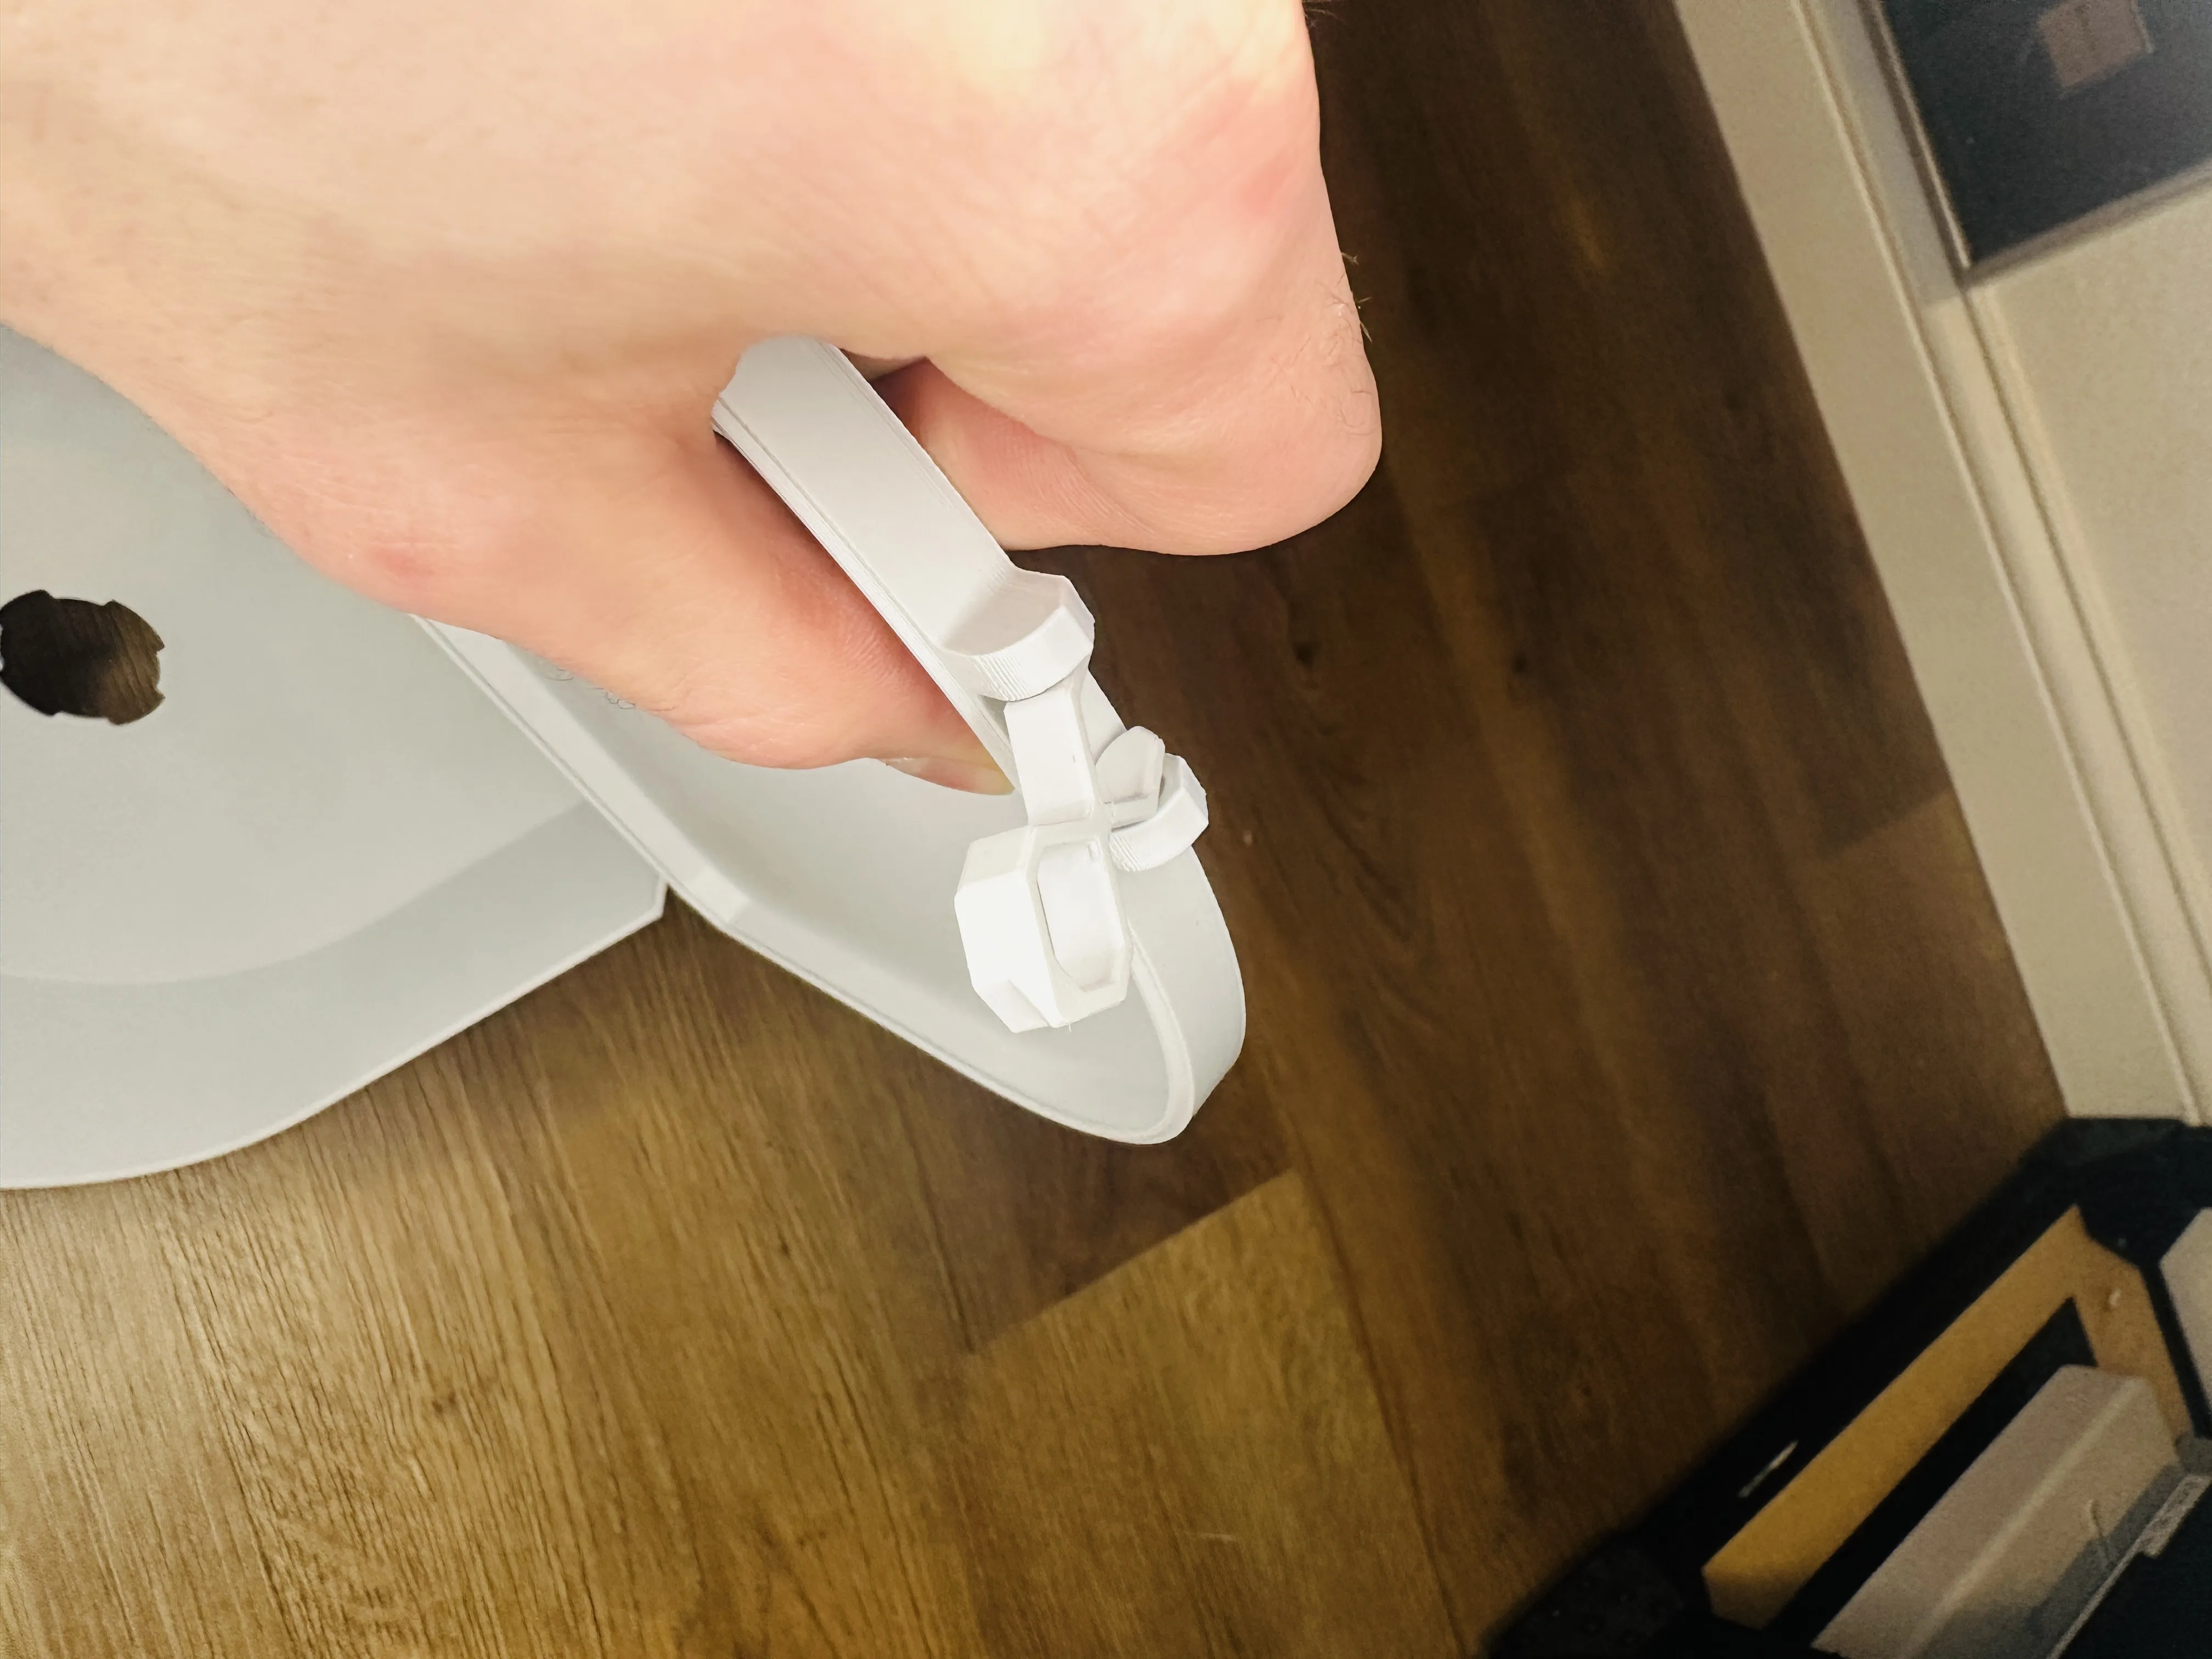
Install the spool box onto the spacers. It can hang loose at this point.
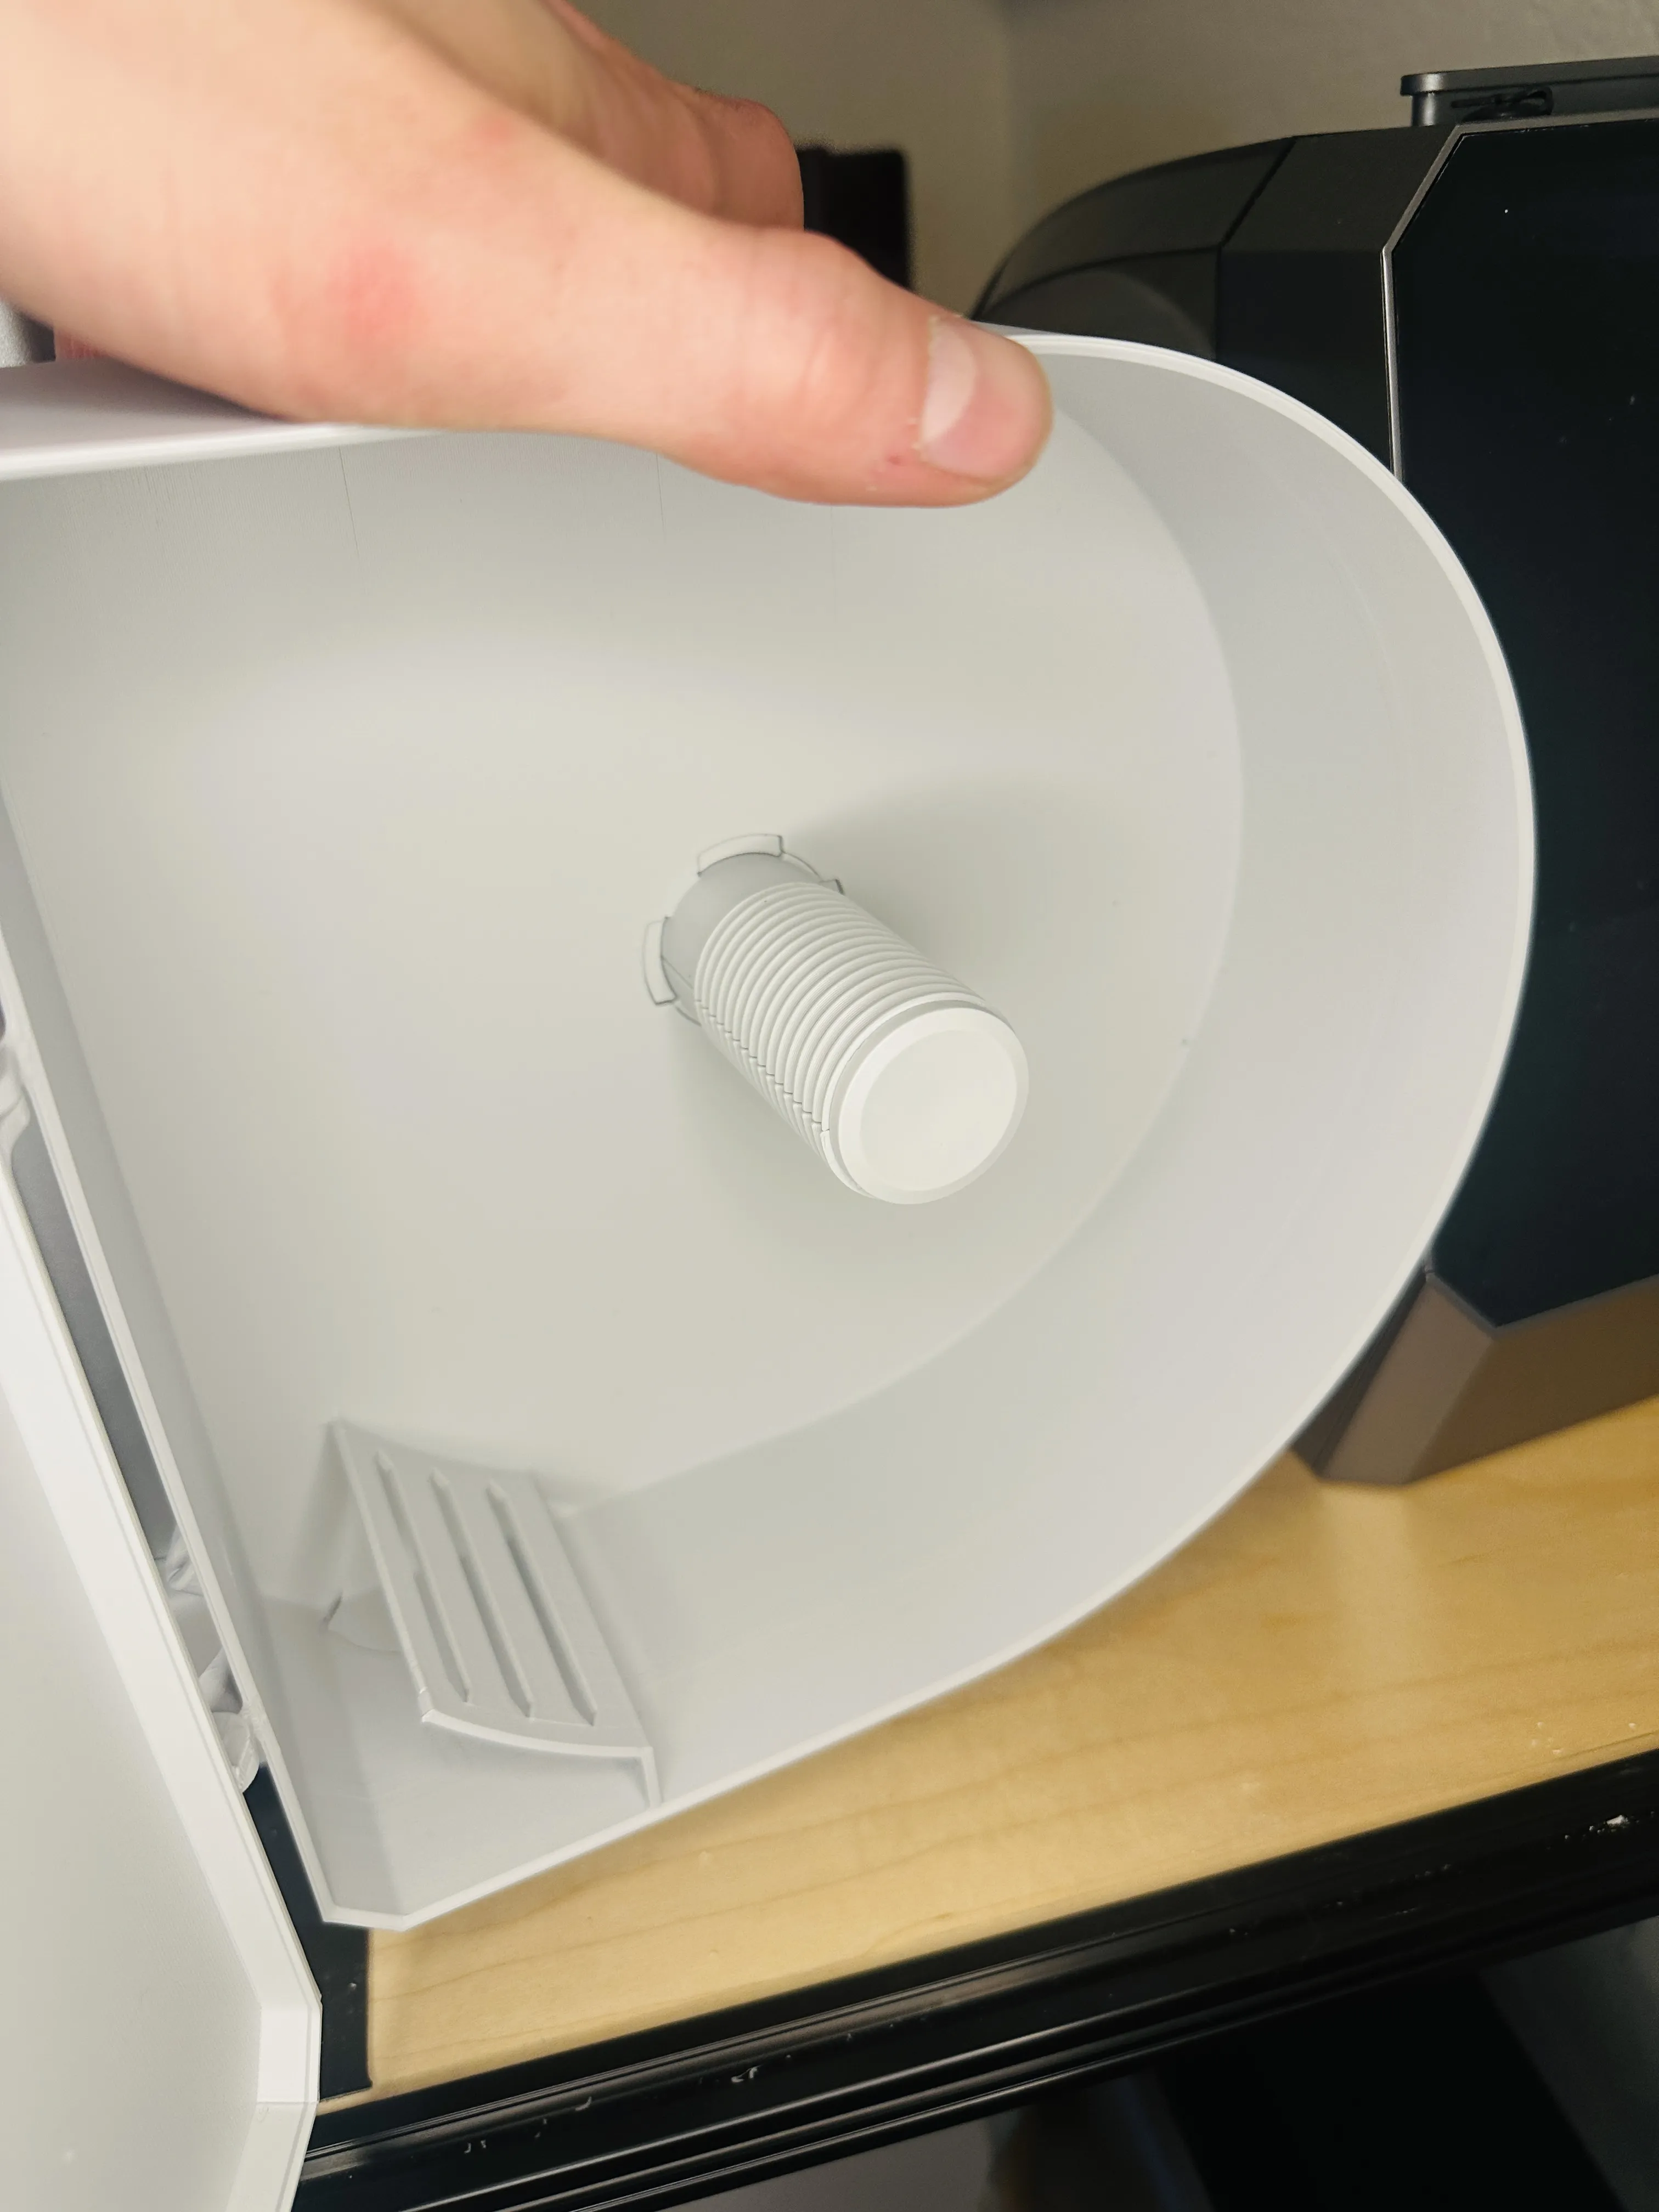
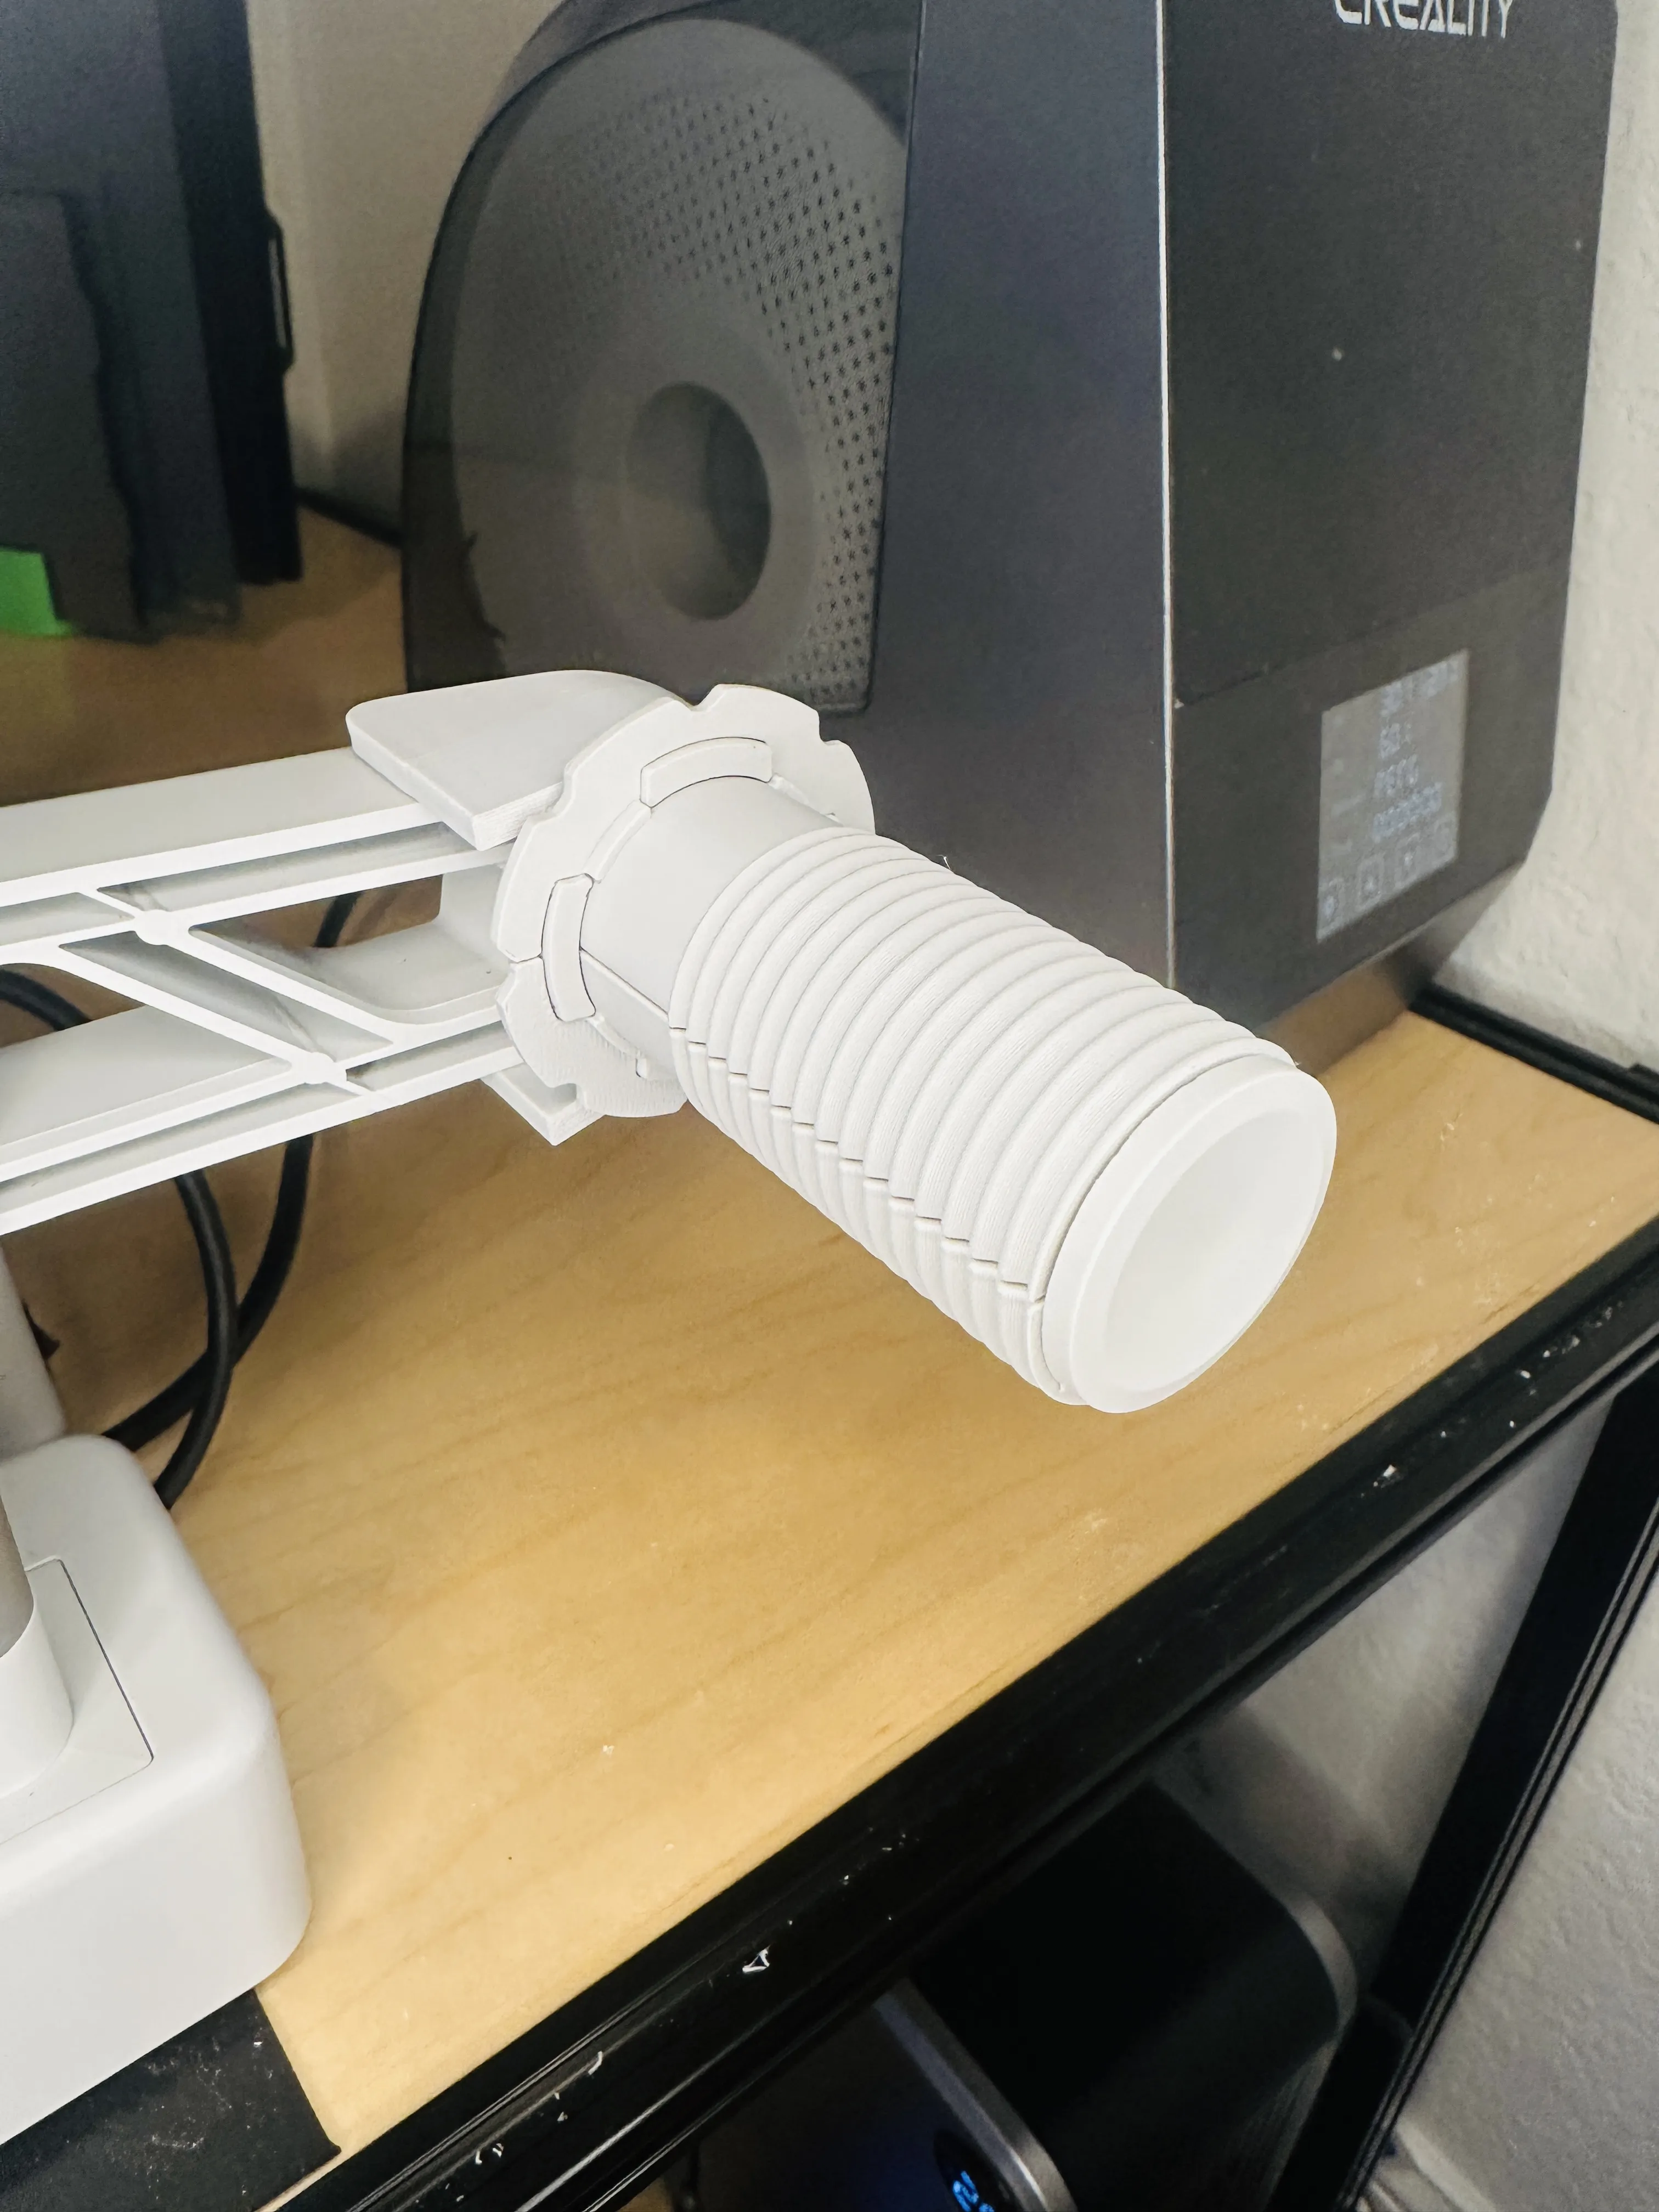
Take the Spool Holder and screw it onto the Spool Spacers. You may have to pinch them together and line them up to get the thread started. As you reach the end, line up the slots in the Spool Box to the bracer and Spool spacers. Fully tighten the Spool Holder to secure the entire assembly together. There will be a tiny amount of movement but it should NOT be freely spinning.
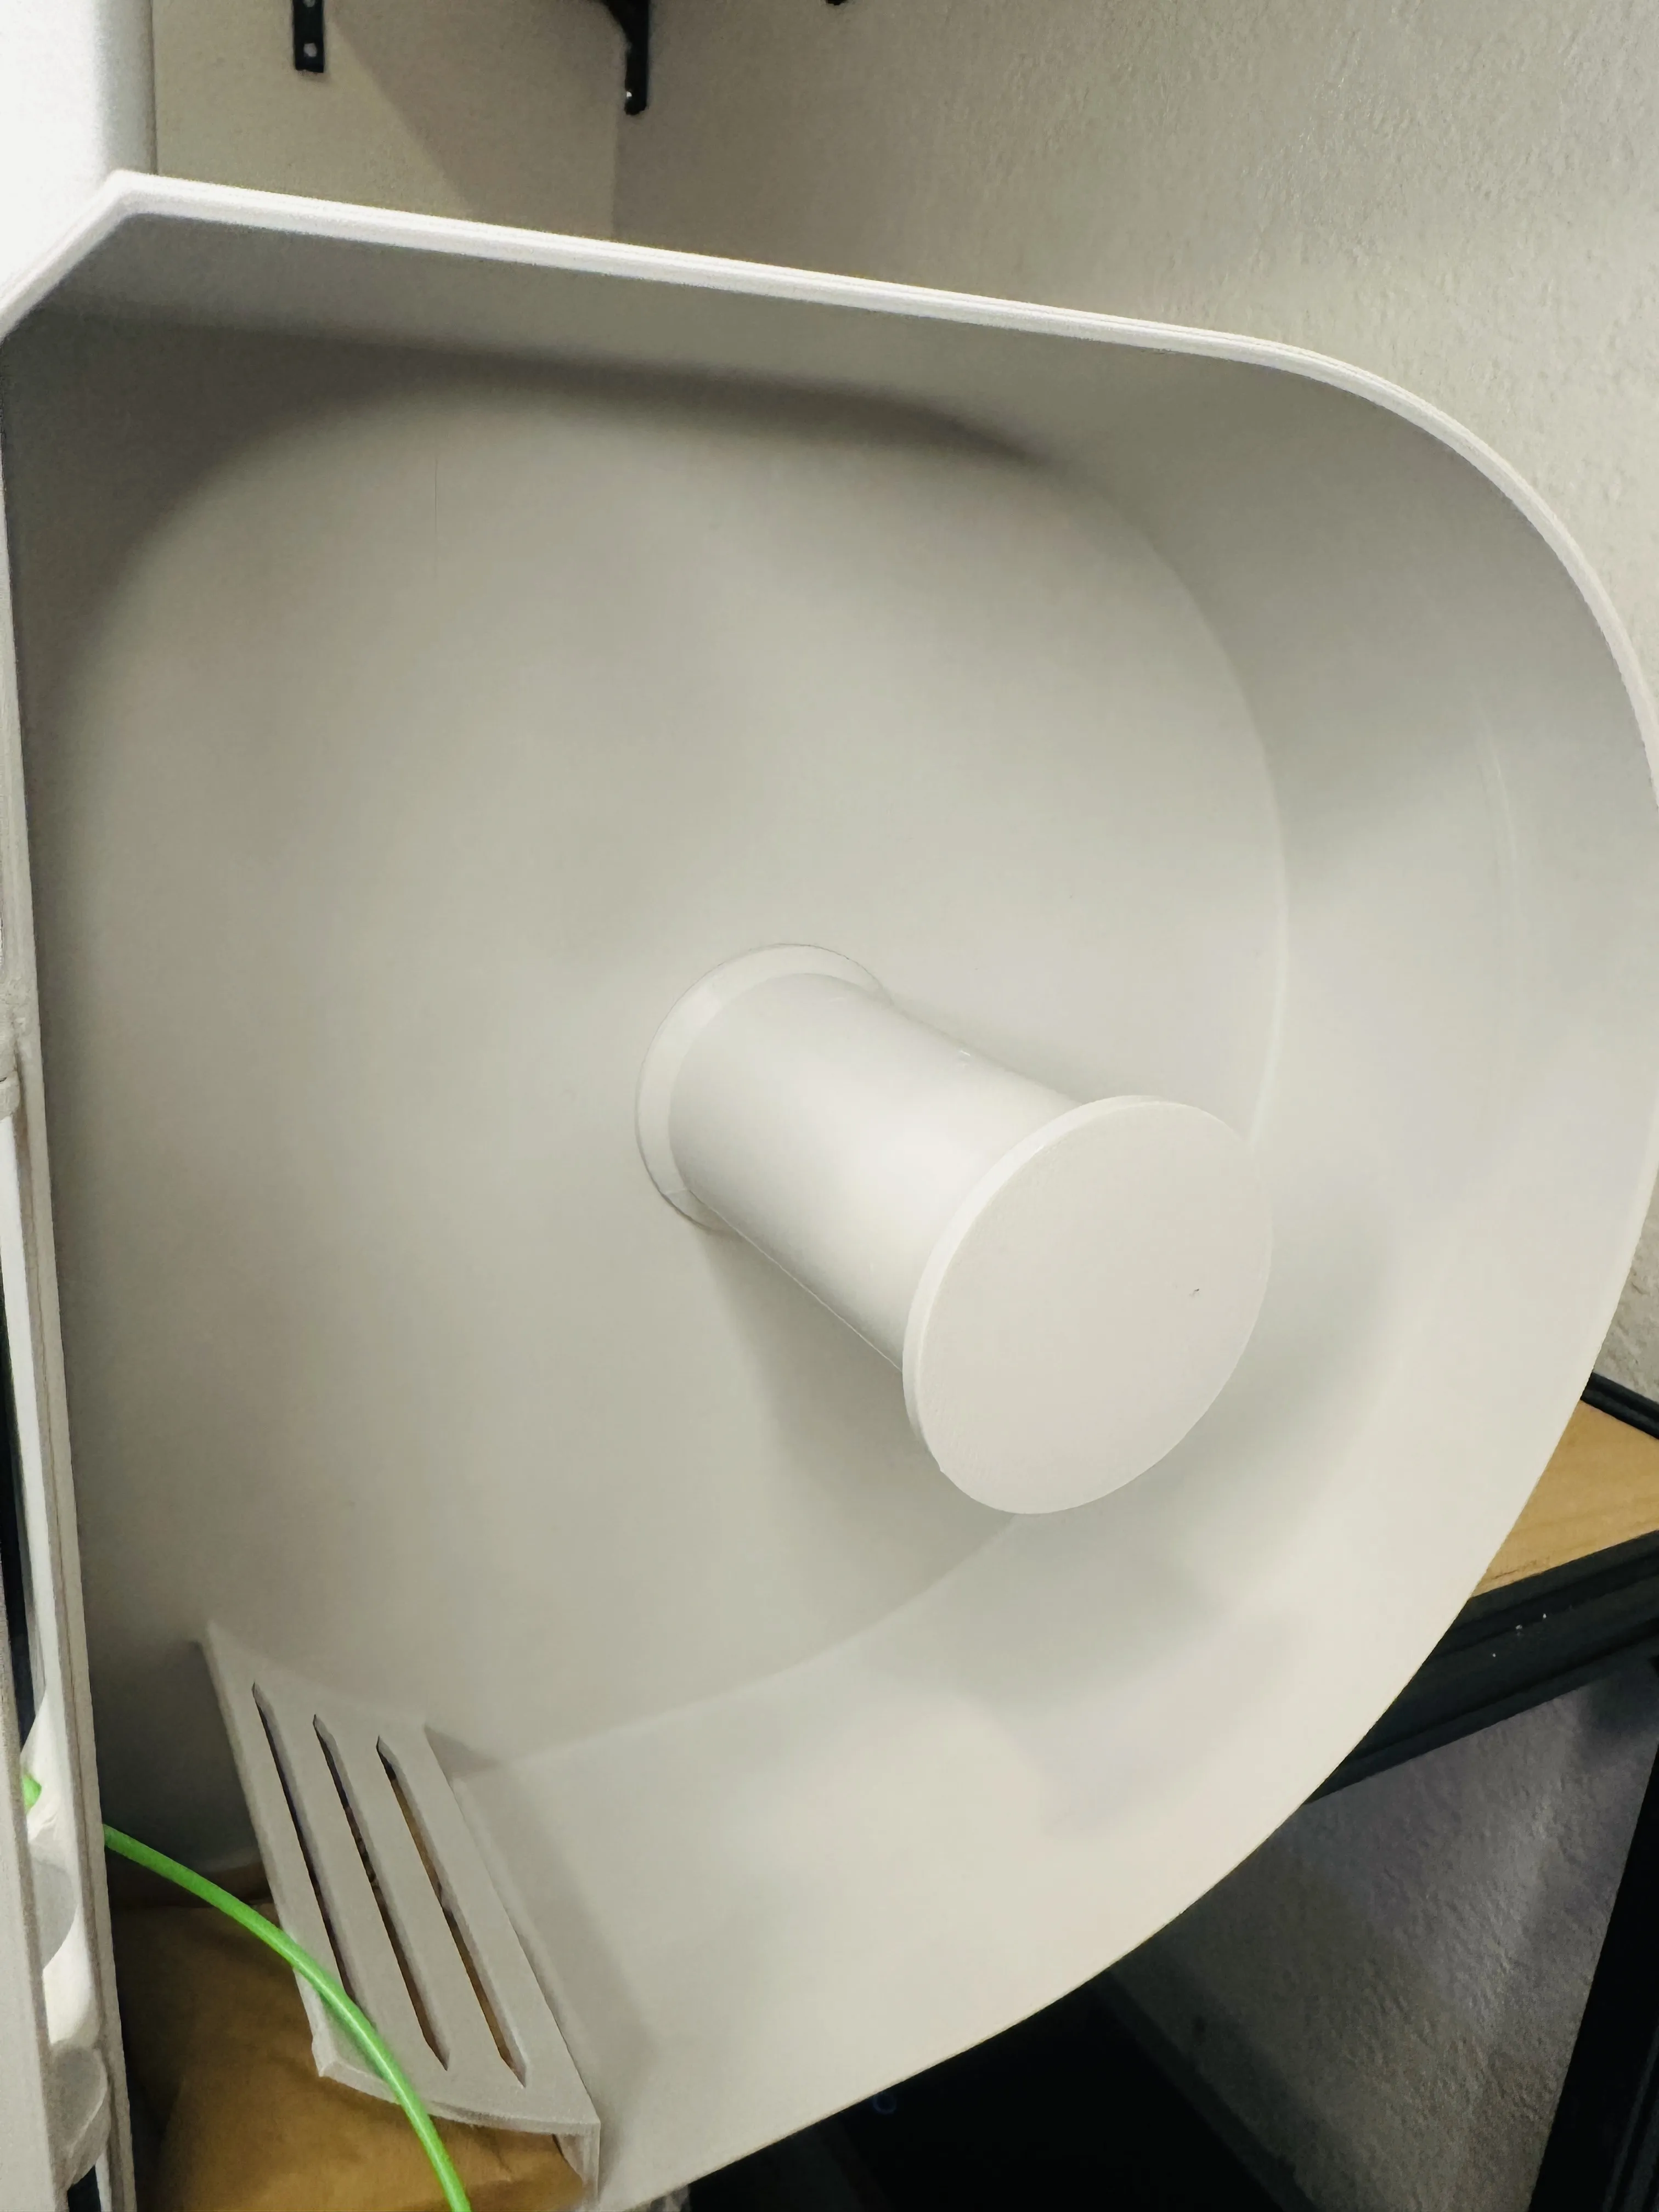
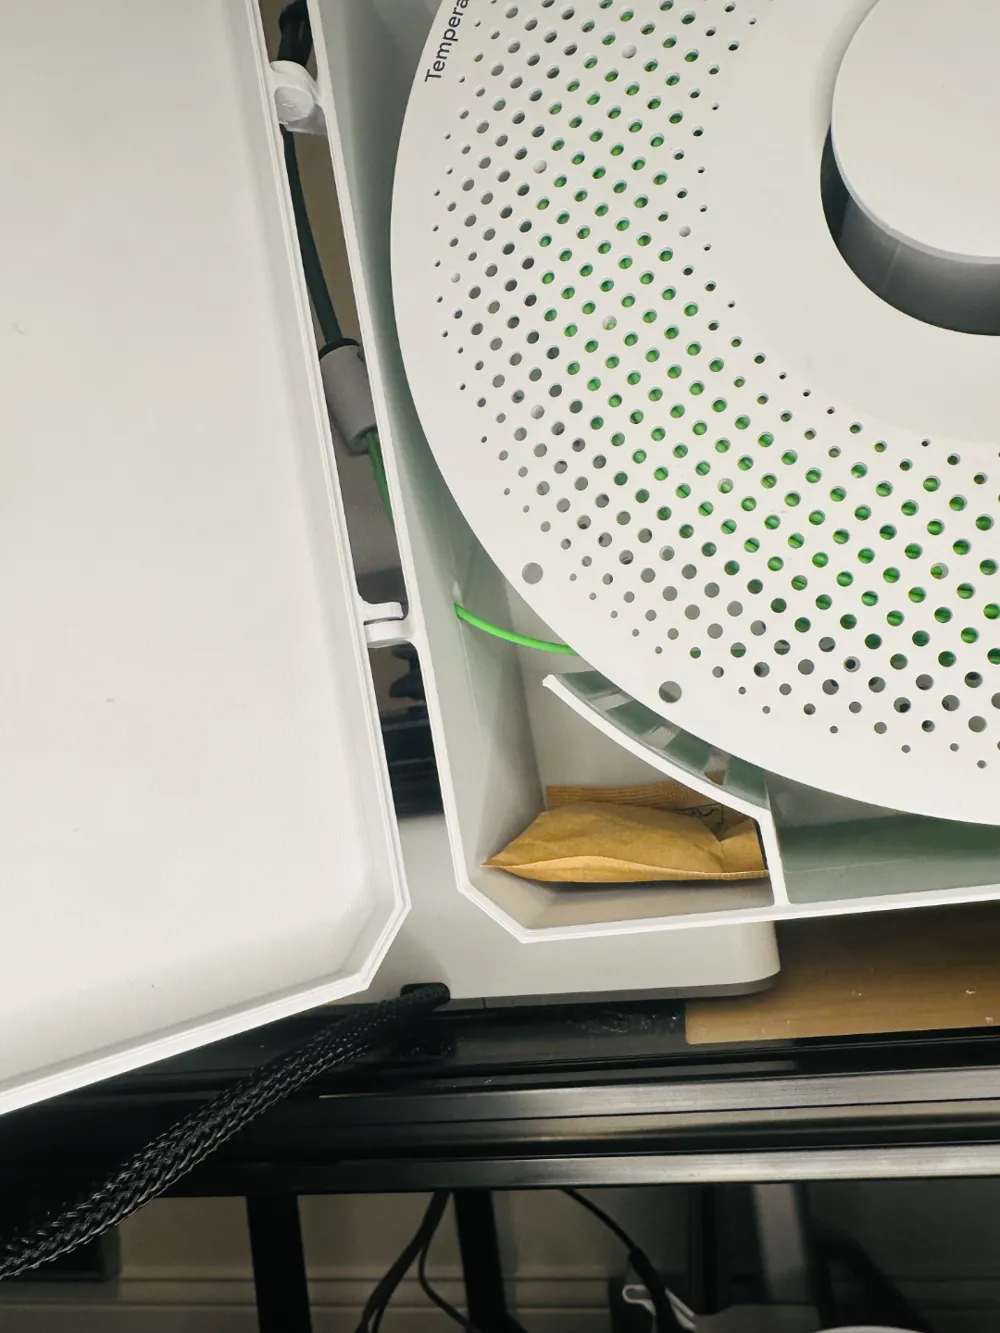
Now you can place your desiccant in the bottom slot, feed some filament through the hole in the side, and place your spool on the holder! Don't forget to close the Spool Box with the latch.
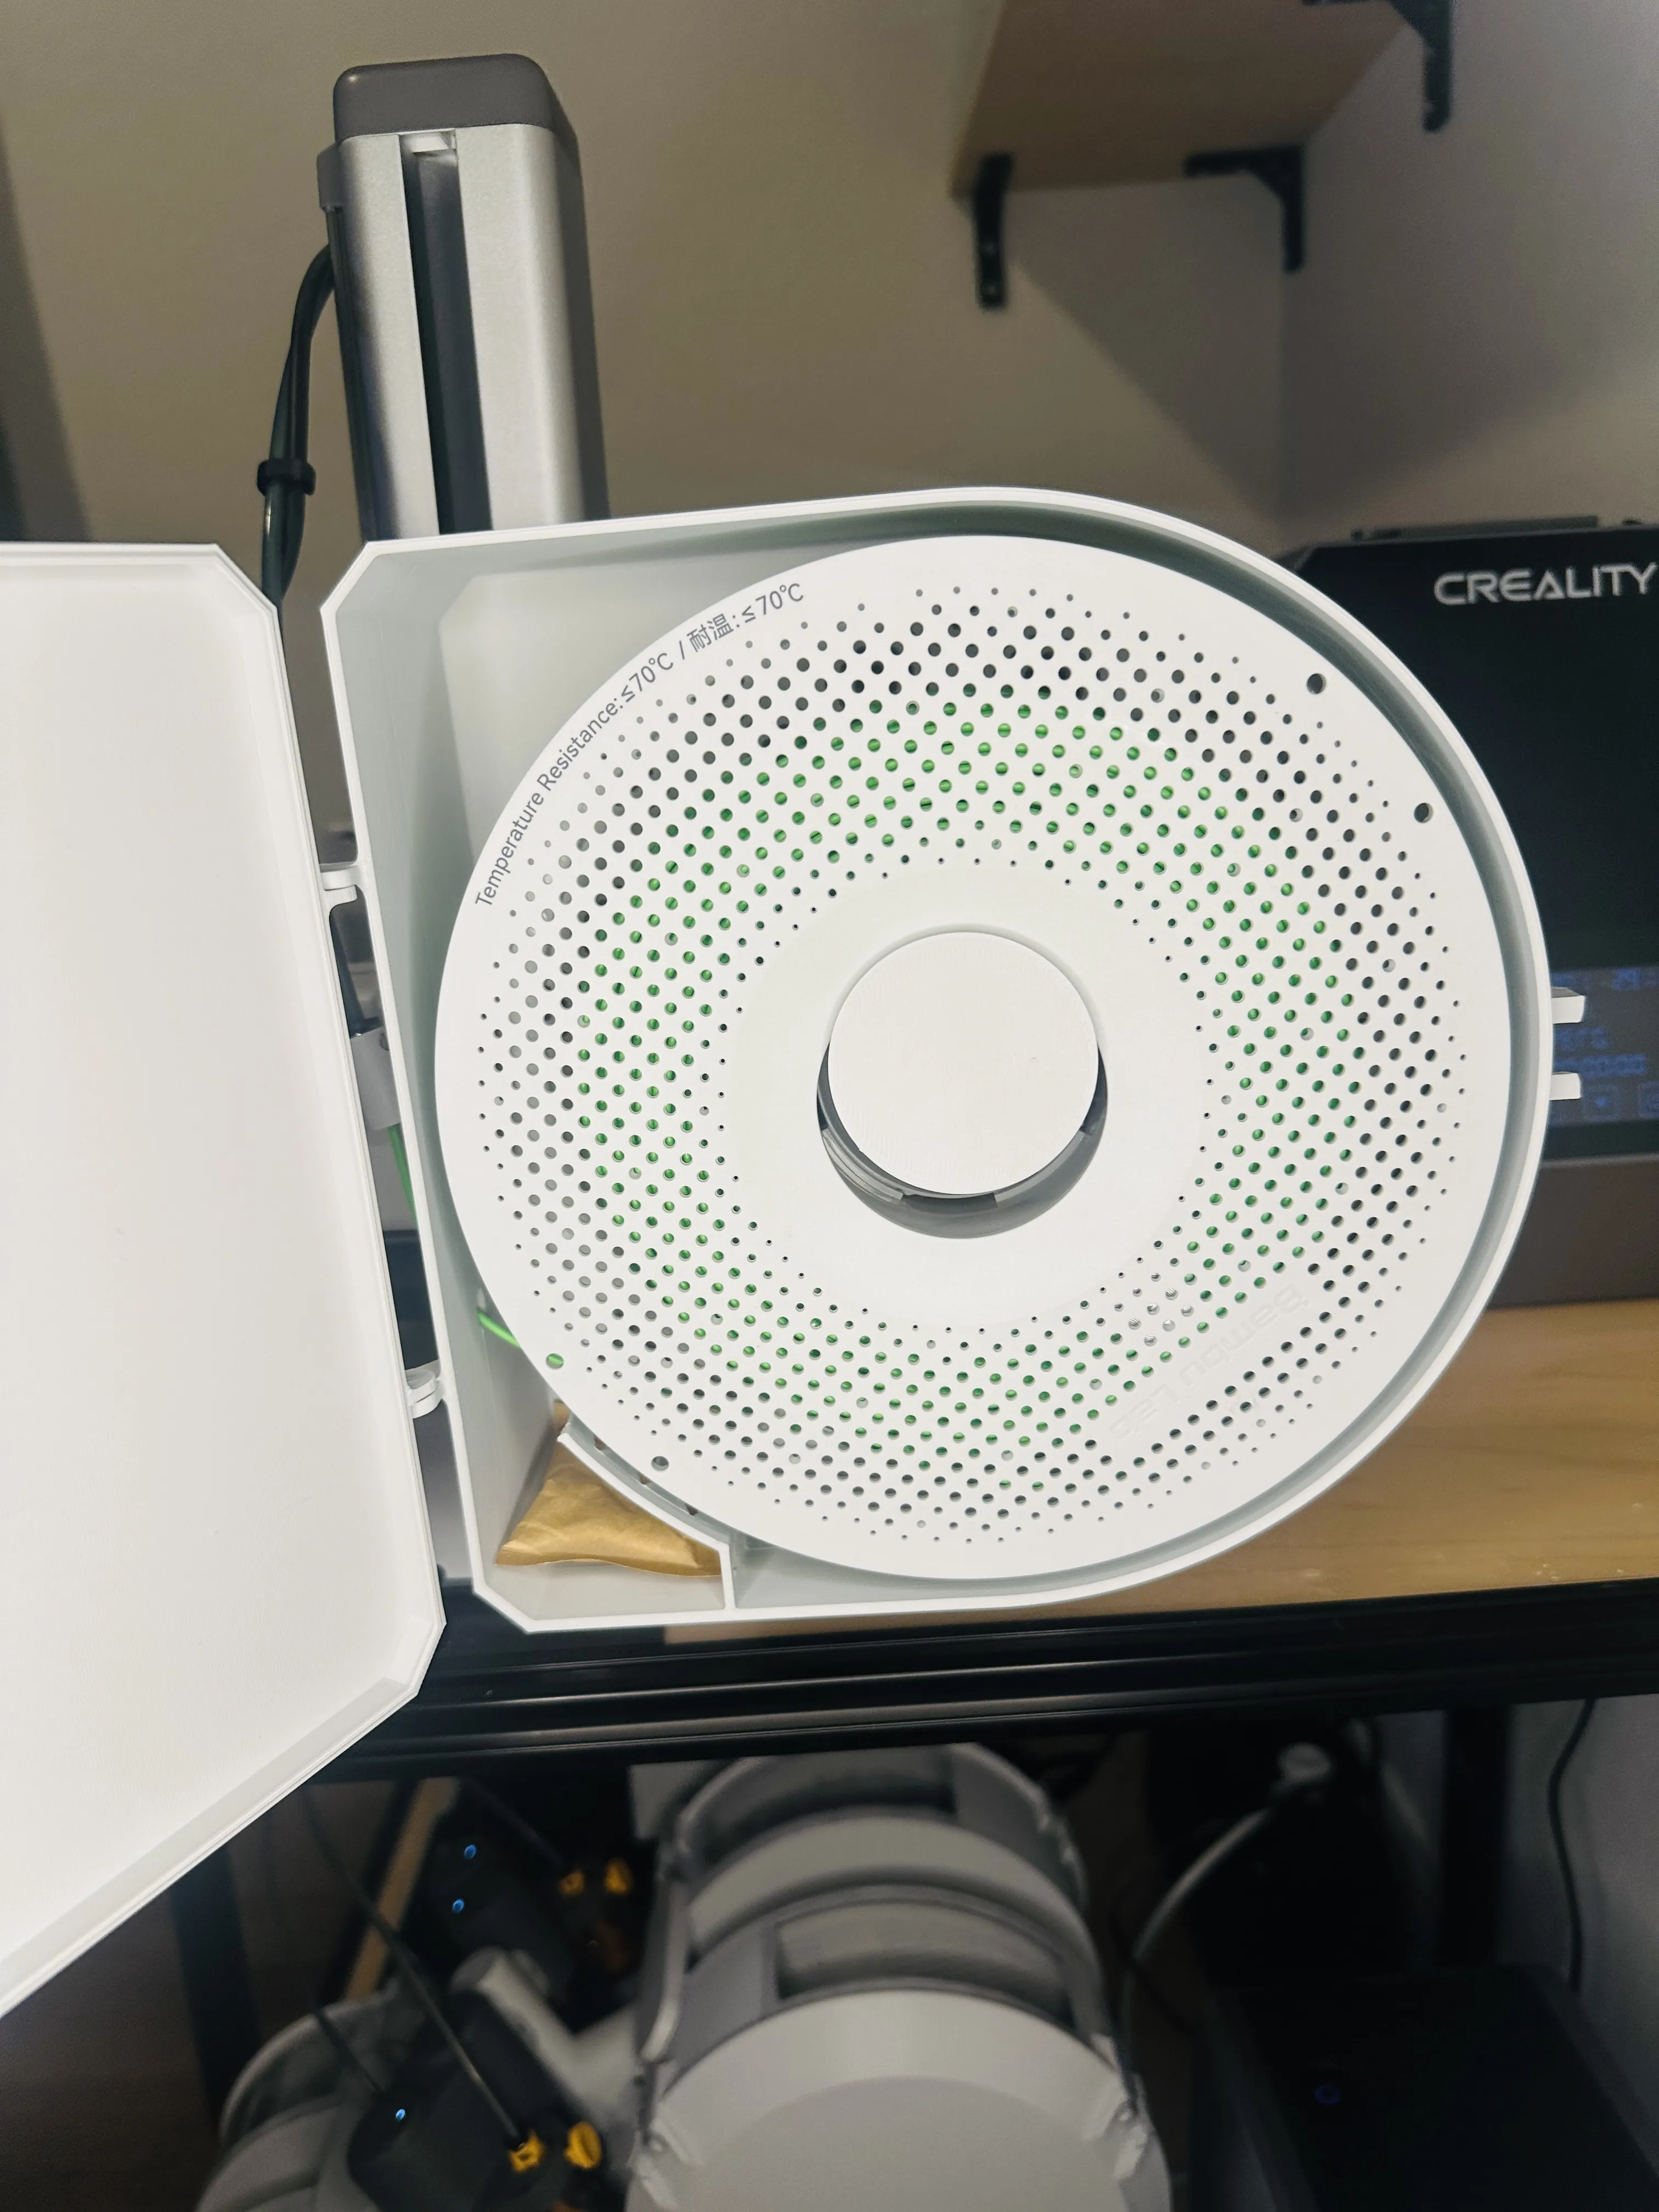
(Optional) Print the refillable desiccant box and you can slide it directly into the desiccant holder area!
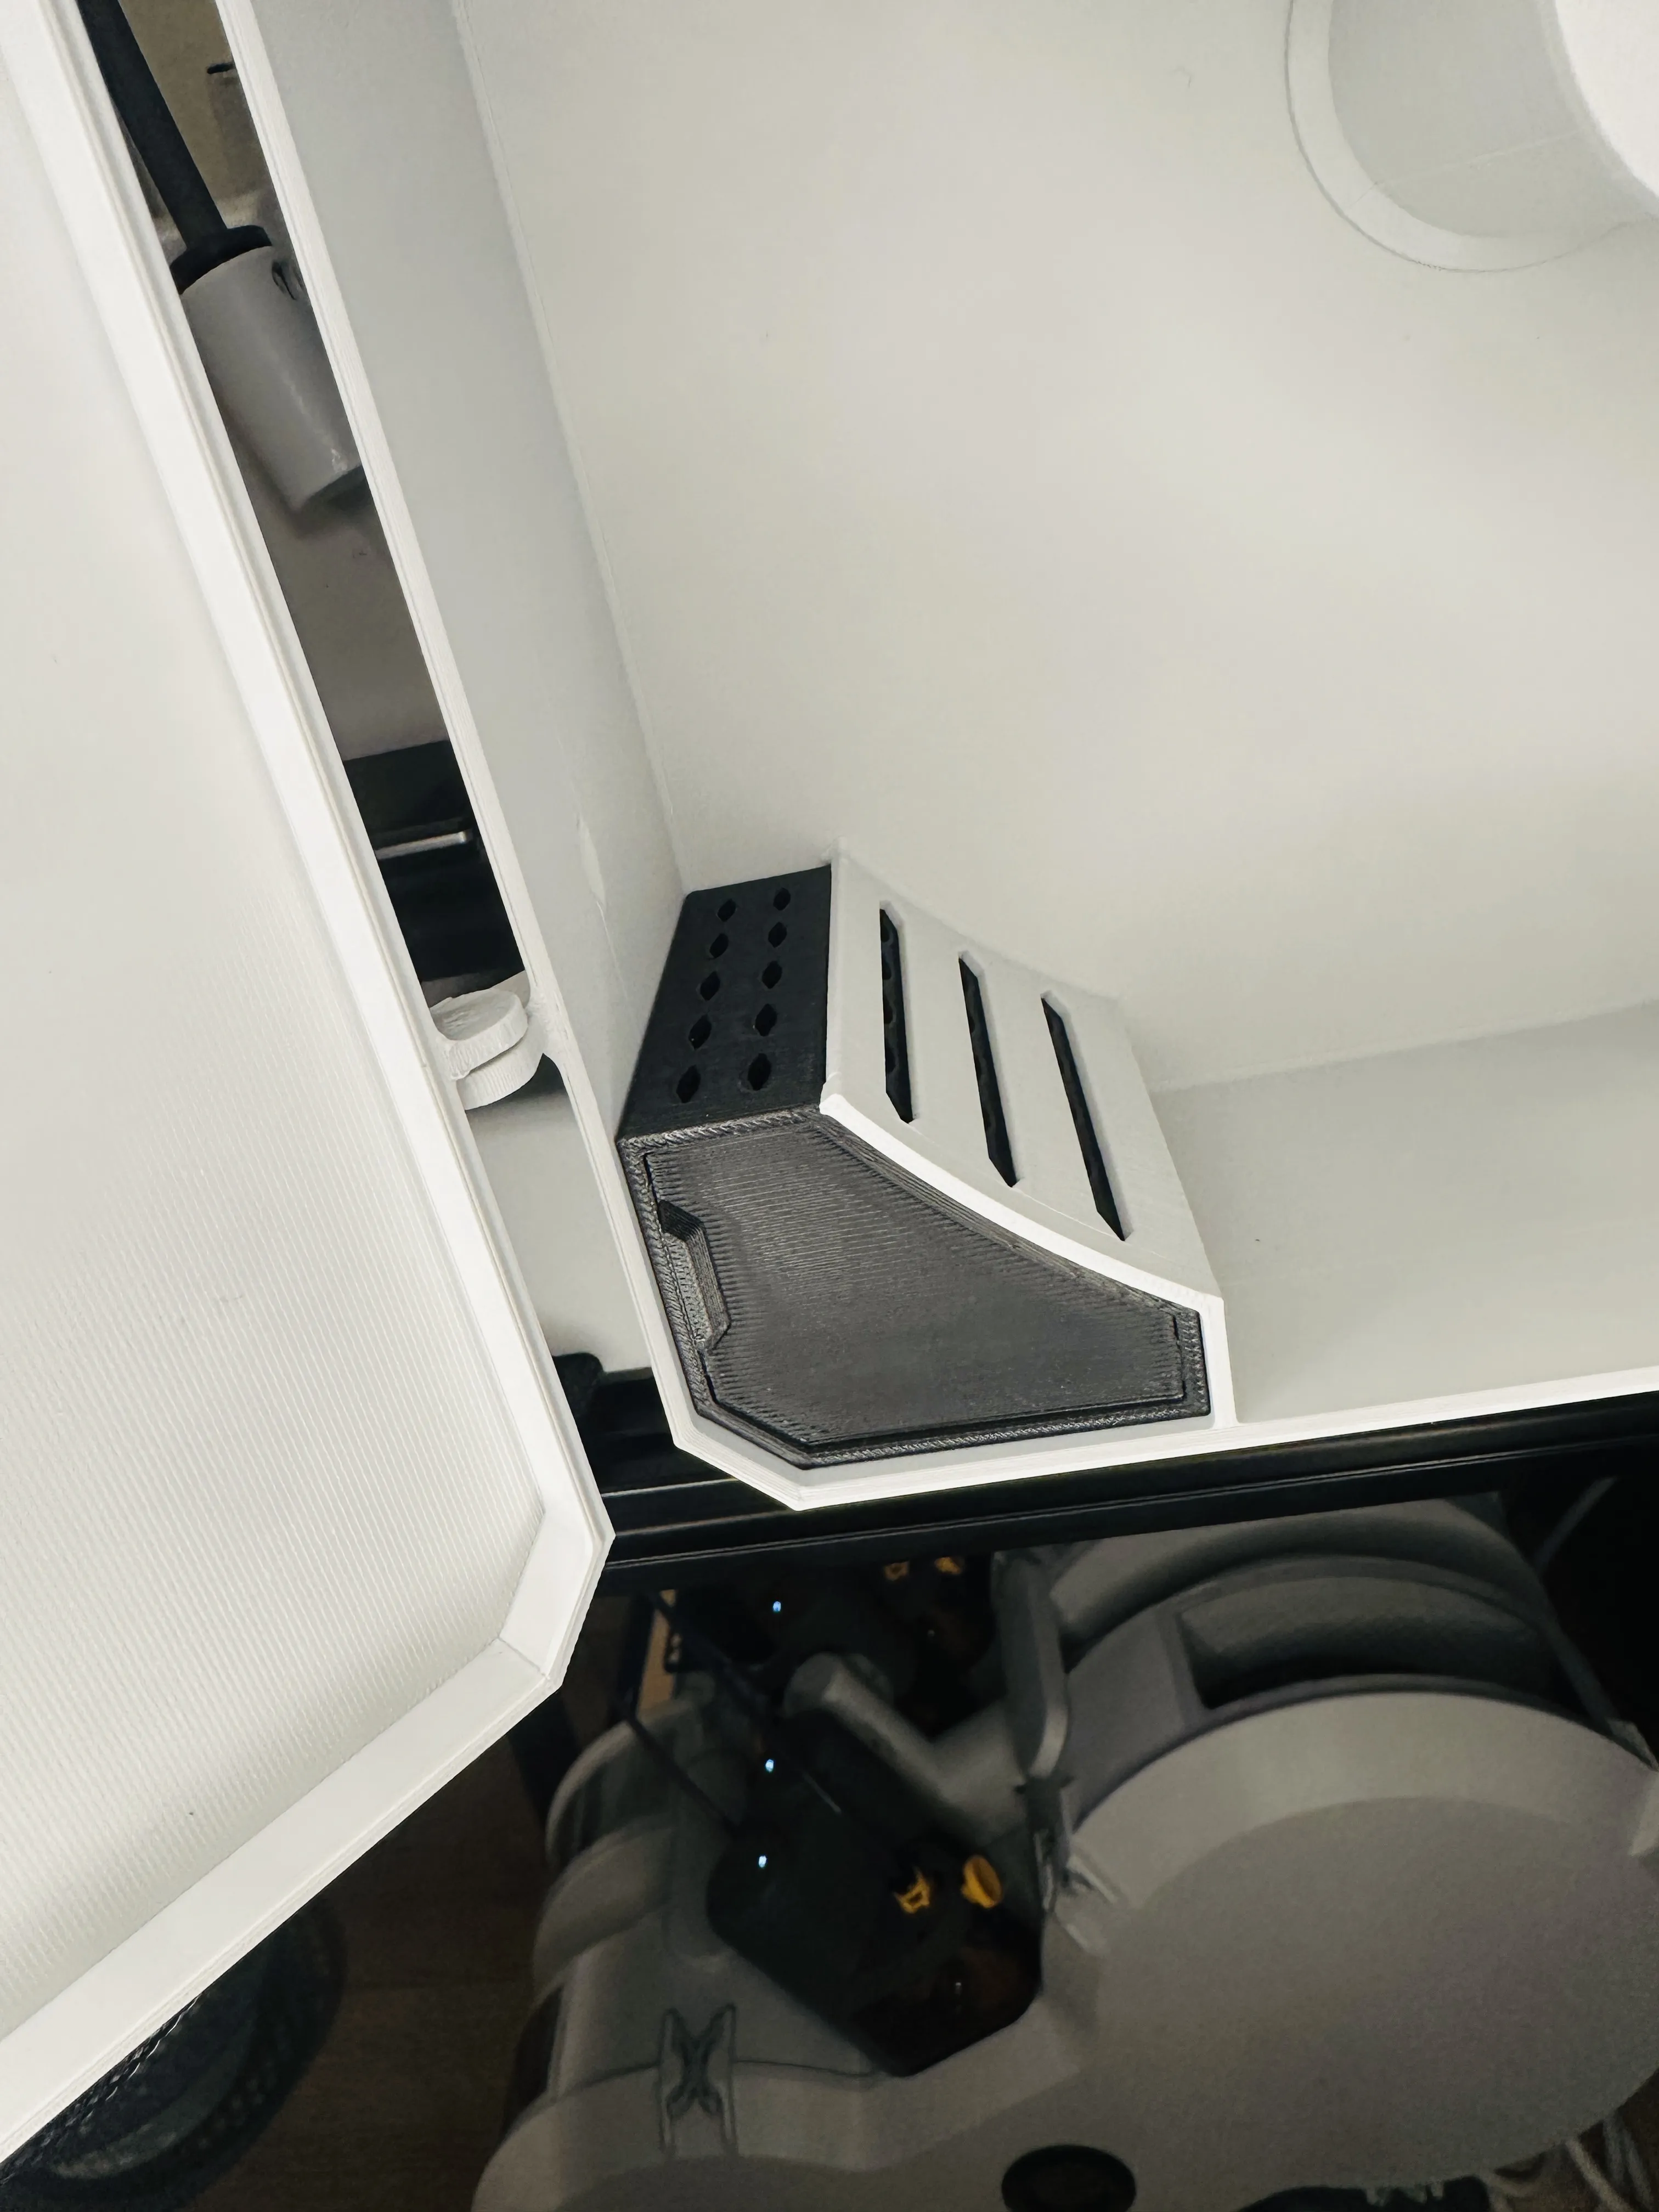
A1 Assembly Instructions
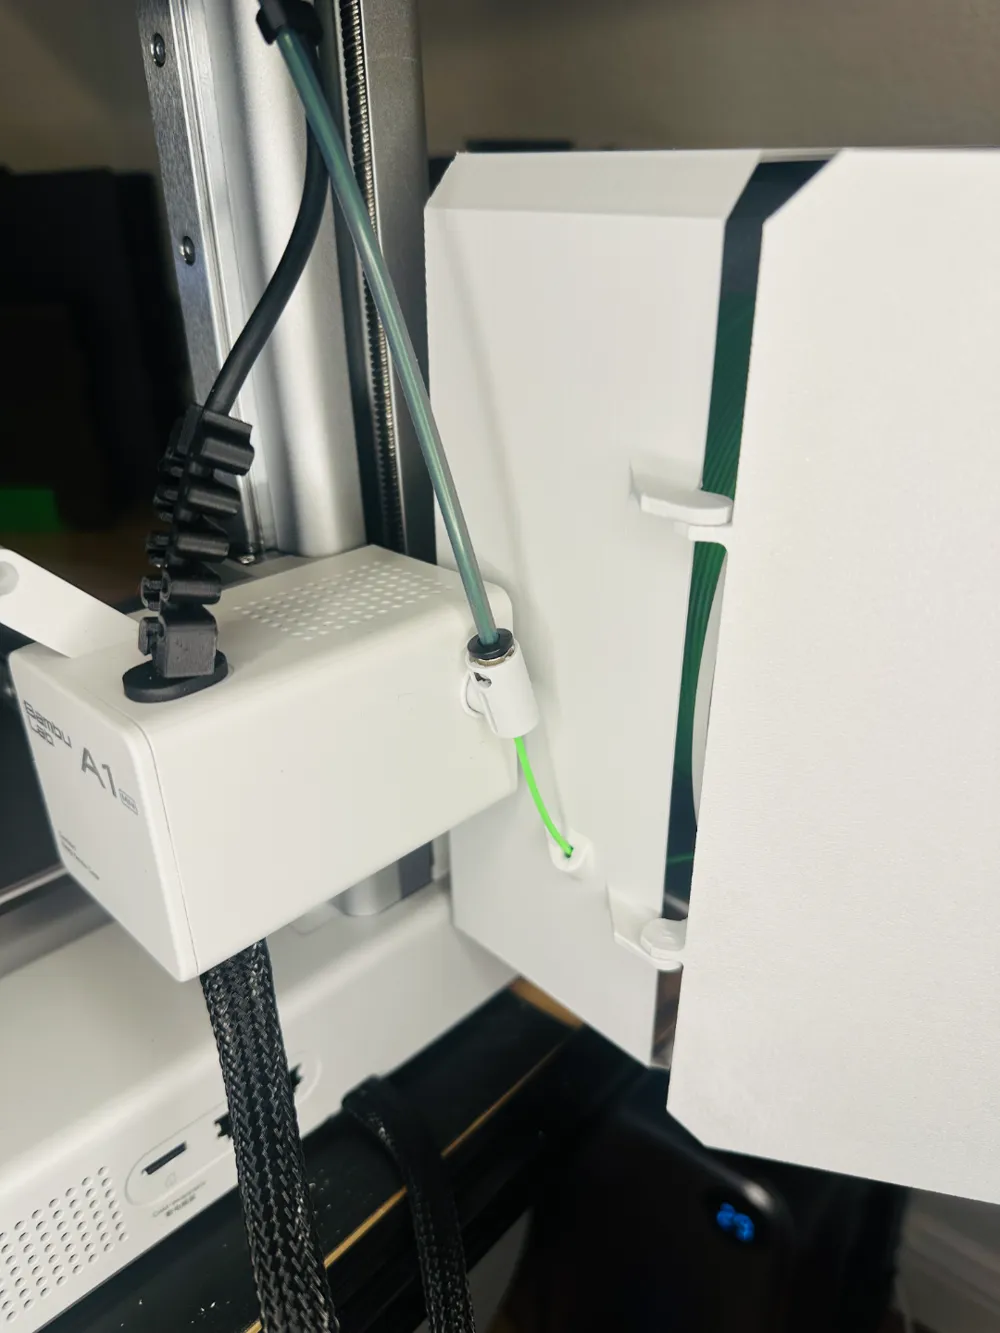
Print out the A1 Enclosure profile. Unscrew the Filament Guide from the External Spool Holder that came with the A1 using the wrench that also came with the A1. Line up the slots and screw the Filament Guide into the Bracket.
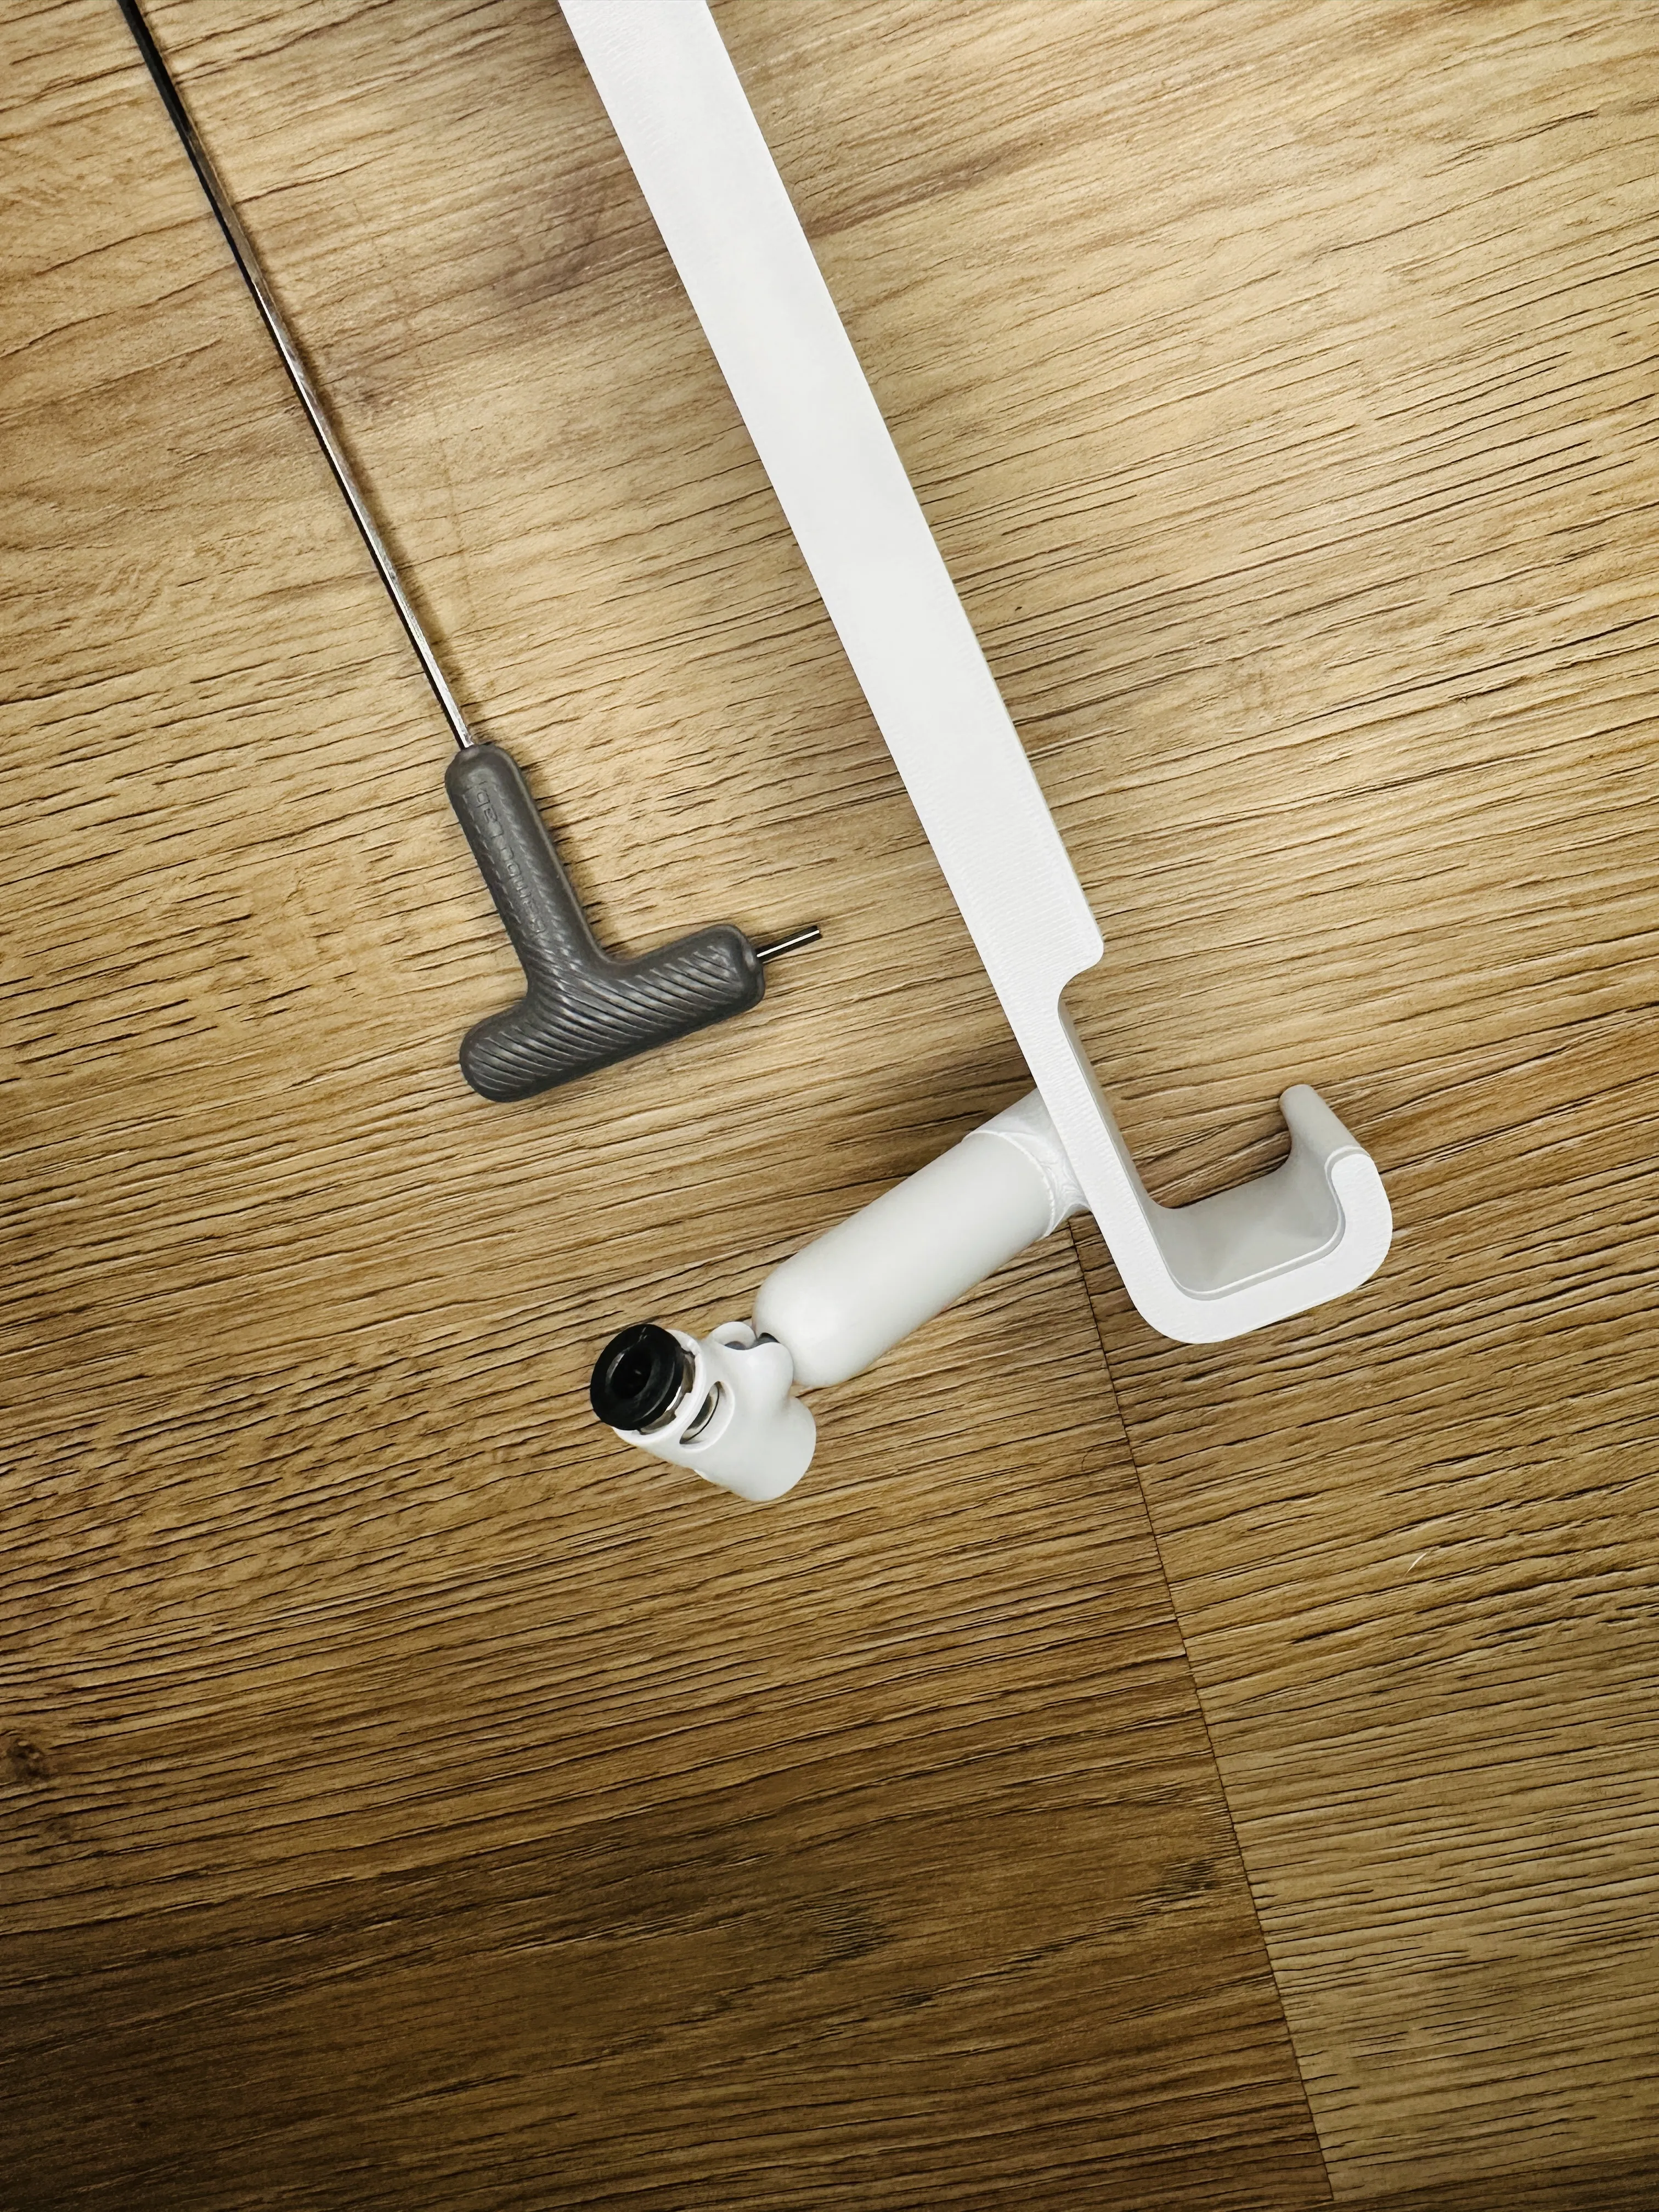
Attach the Lid to the Spool box. Lightly press on the side wall to give room for the hinges to lock in.
Take the Latch and lightly pinch the end to attach it to the Lid.
- Install the Spool box over the Bracket (yours will have the lid on it at this point). Push it in enough so that the notches are sticking out past the spool box.
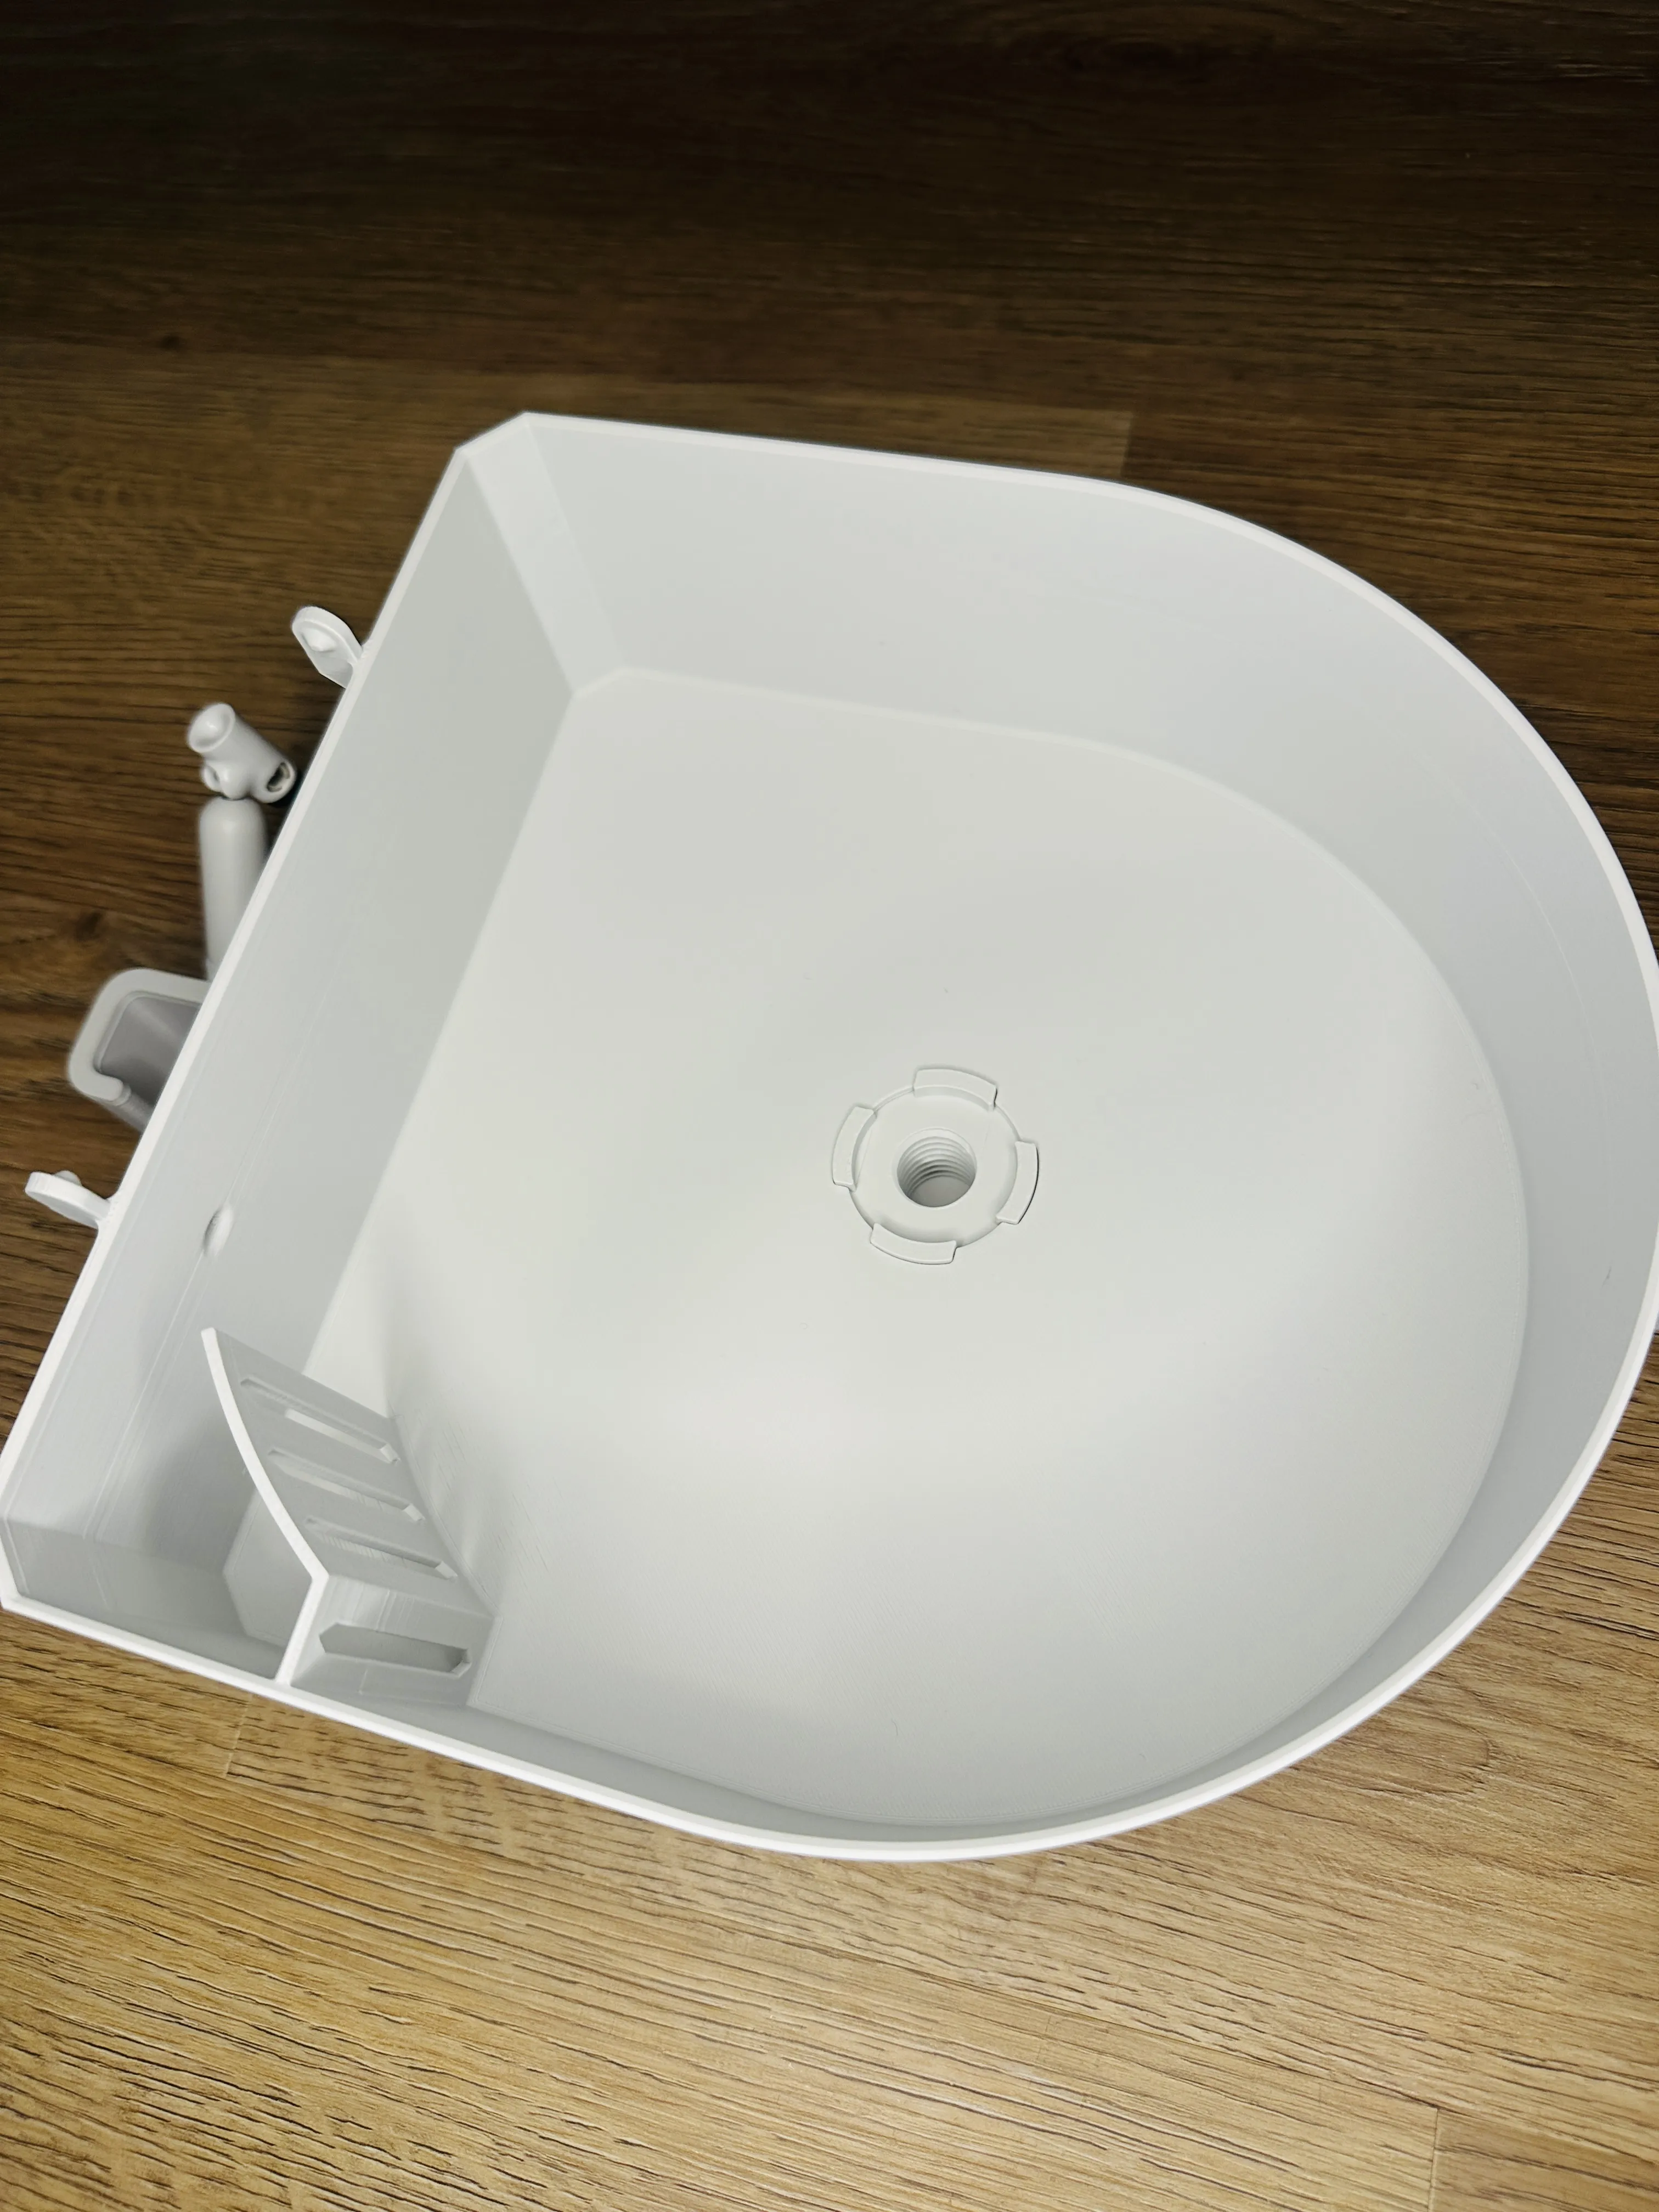
Start the thread on the Spool Rod (don't tighten all the way yet). Then install the Spacers, popping the notches into them so they fit flush with the base of the Spool Box. Tighten the Spool Rod down all the way while pinching the Spacers together.
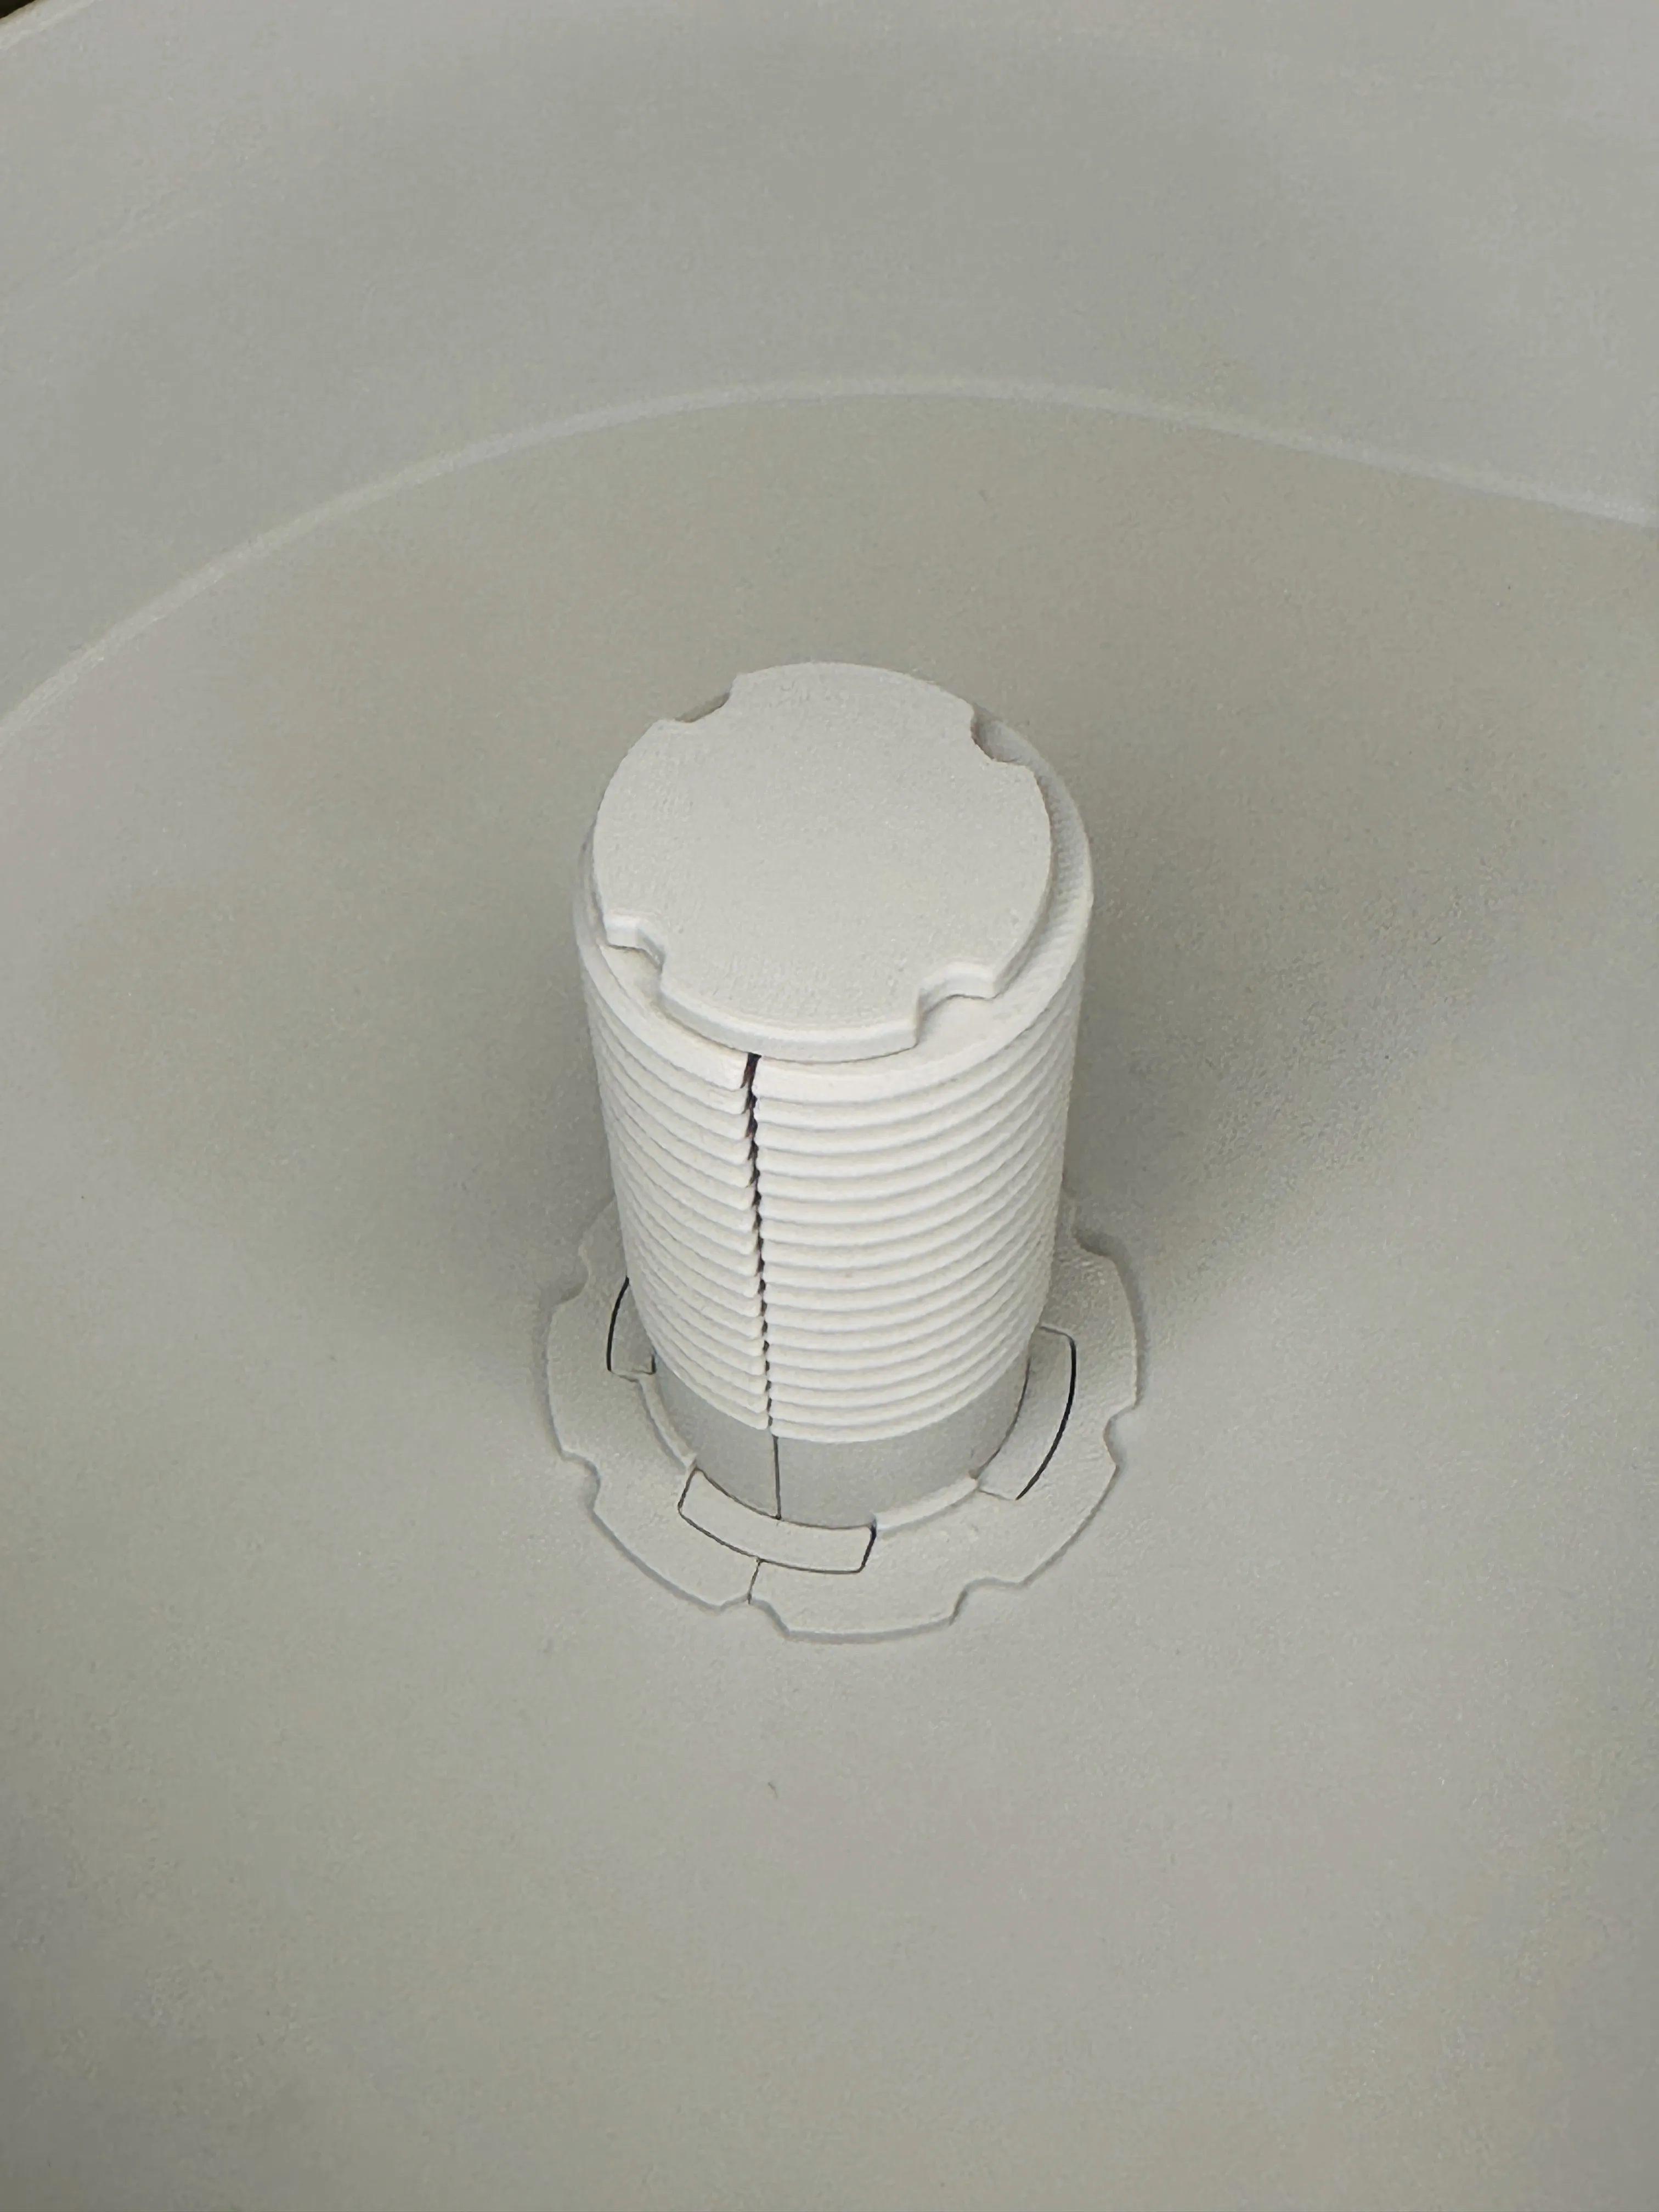
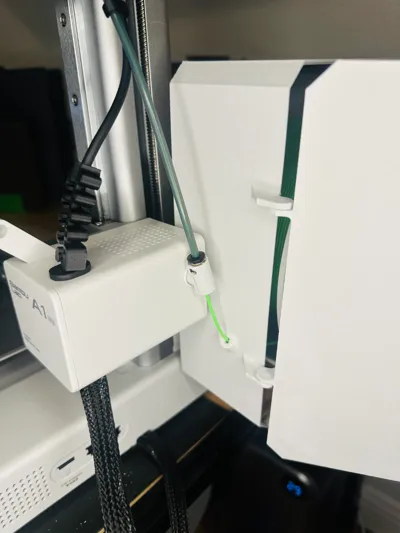
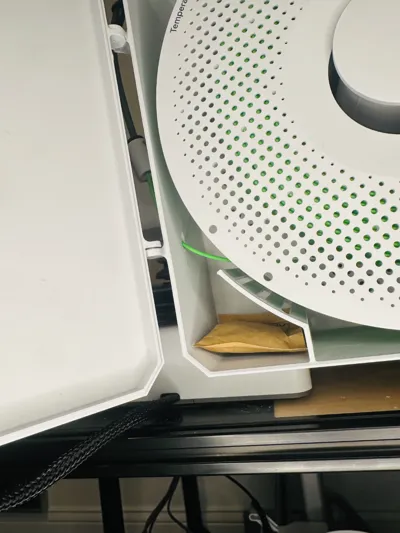
Screw on the Spool Holder over the spacers and tighten it down as far as it will go. Now, you can mount your A1 Enclosure by mounting the Spool Bracket to the top of the frame! (Lid and Latch removed in the image below to show the mounting setup, yours should have the lid installed)
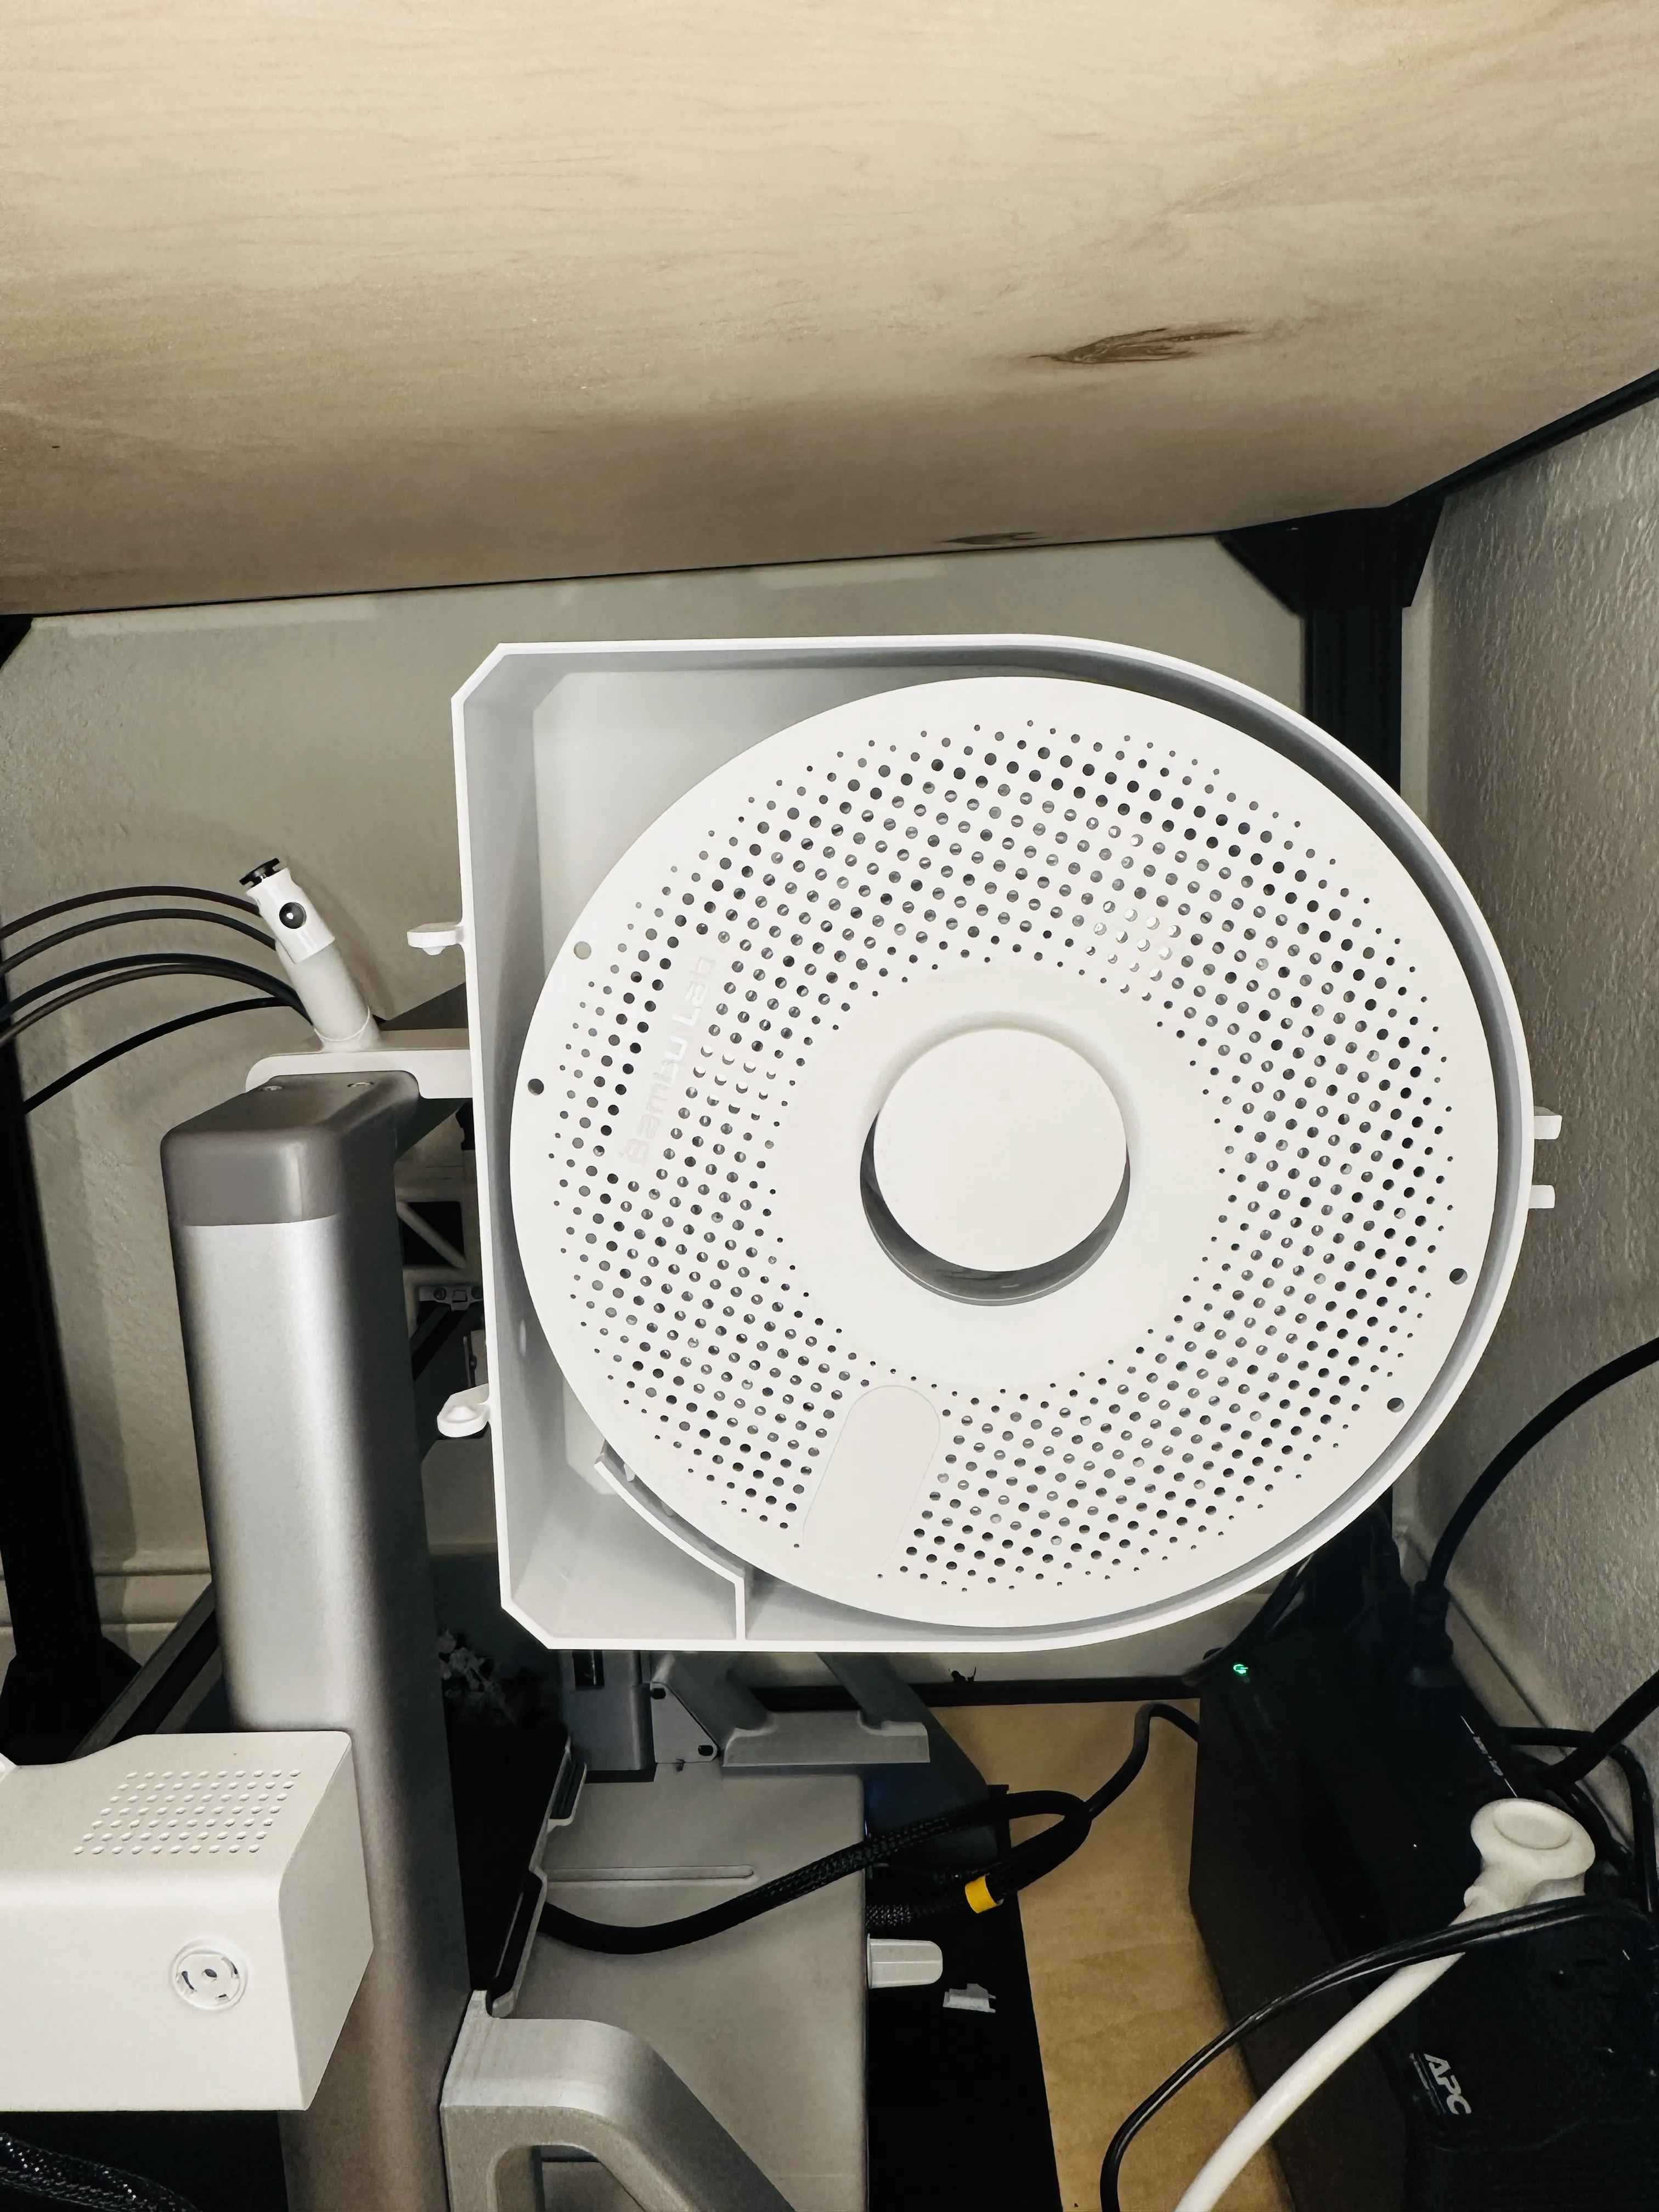
Attach the PTFE tube to the Filament Guide now, you may need to trim it if your PTFE tube is particularly long (don't cut too much though). Now you can feed filament through the Spool Box hole (I recommend doing this before putting the filament in) and feed filament into the Filament Guide.
Notes
This spool box will fit Bambu Spools and smaller spools perfectly. You can fit a spool up to 3mm wider and 5mm taller as well, but this may not fit spools larger than that. Unfortunately, to leave clearance for the extruder this is as big as I can make it!
If you run into any problems, please leave a comment below!
License

You shall not share, sub-license, sell, rent, host, transfer, or distribute in any way the digital or 3D printed versions of this object, nor any other derivative work of this object in its digital or physical format (including - but not limited to - remixes of this object, and hosting on other digital platforms). The objects may not be used without permission in any way whatsoever in which you charge money, or collect fees.


Comment & Rating (73)