
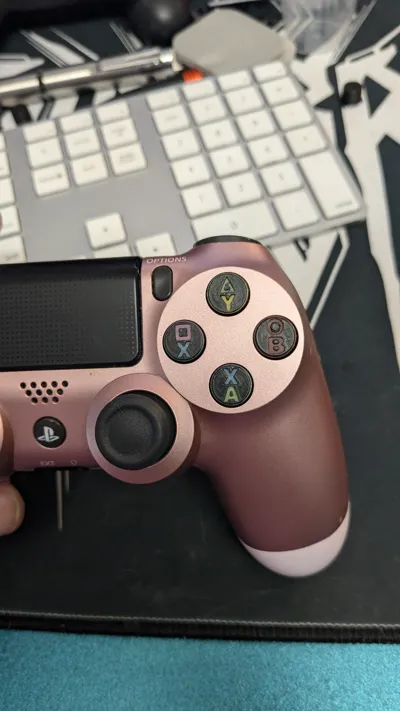
Playstation 4 Controller with Xbox Icons
Print Profile(1)

Description
Boost Me (for free)
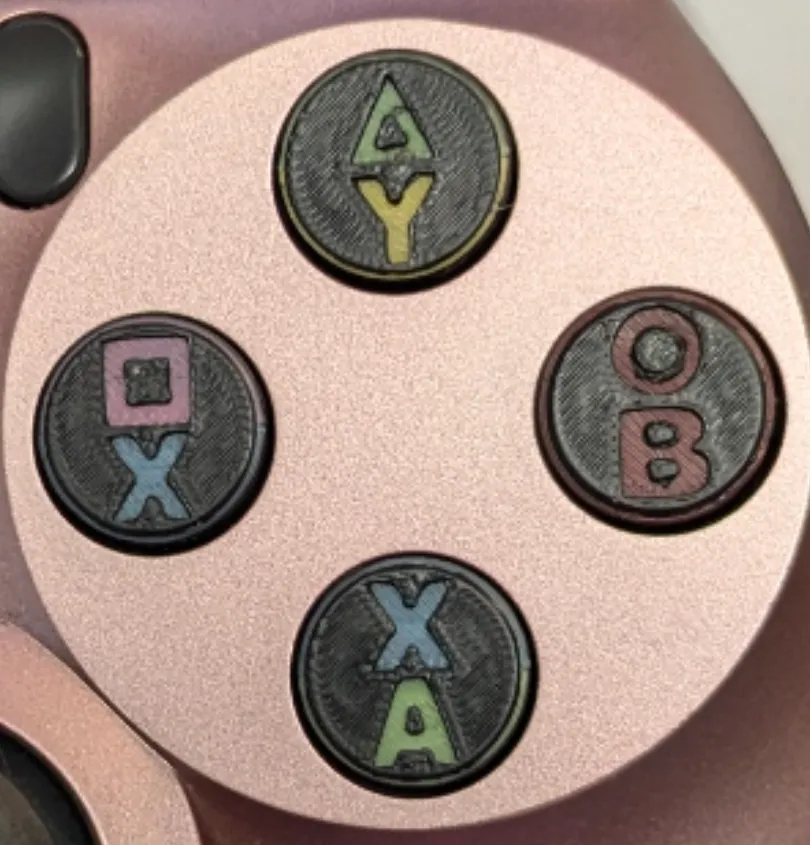
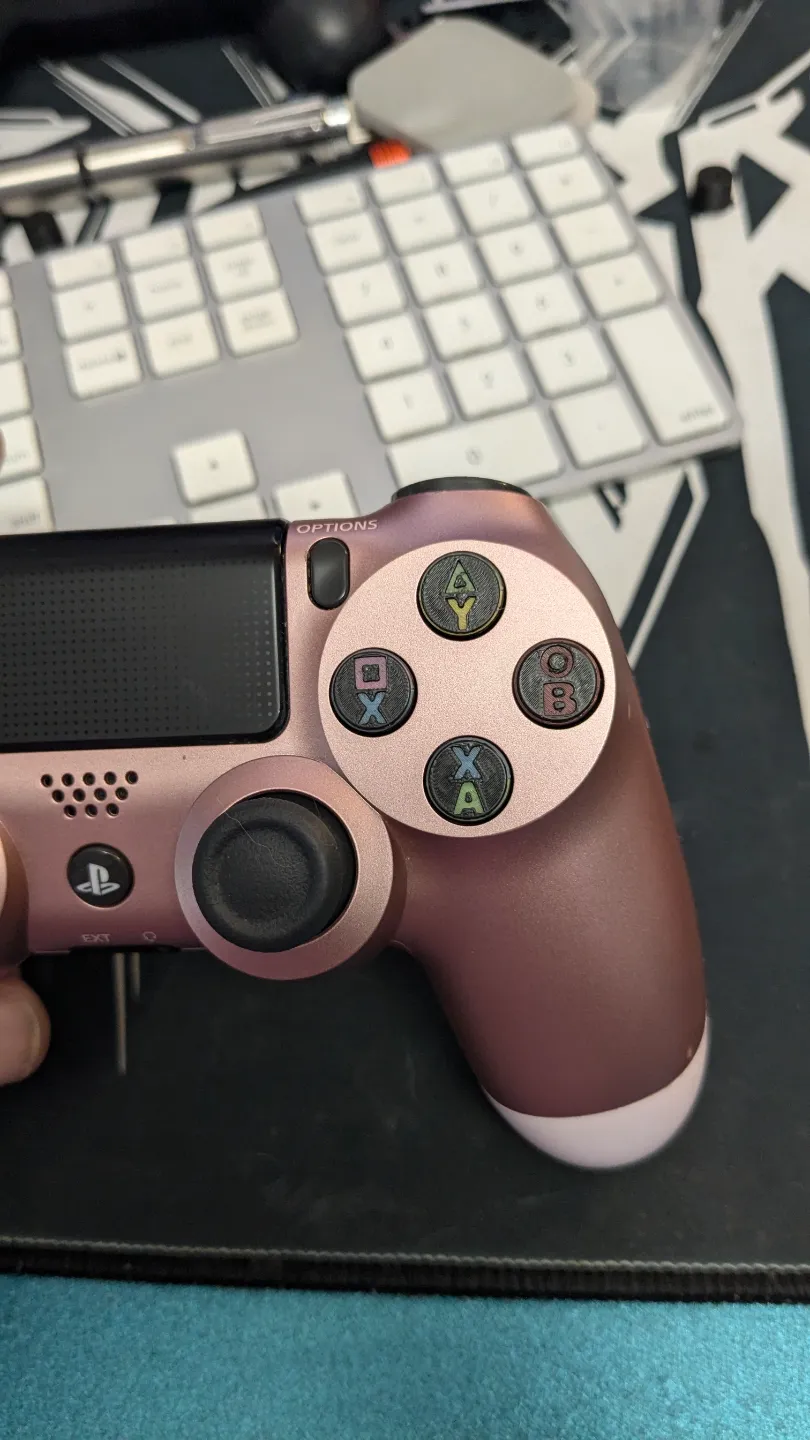
These replacement icons are probably only for a handful of people. But if you're like me, and you use a Playstation controller on your PC and you don't always remember the xbox icons on those games that don't have settings to change the icons. I've got the fix for you! Enter in the DS4 controller with both Xbox and Playstation icons on it. Color matched to their respective consoles. These are very easy to print. But you really should use a 0.2mm hothead for this print. The details on the buttons will be lost on a 0.4mm but you can try if you like, just don't expect them to look perfect. Try printing at 0.10 layer height with a 0.4mm. The layer height is critical to the colors being at the proper height and the button remaining the same size as the original buttons.
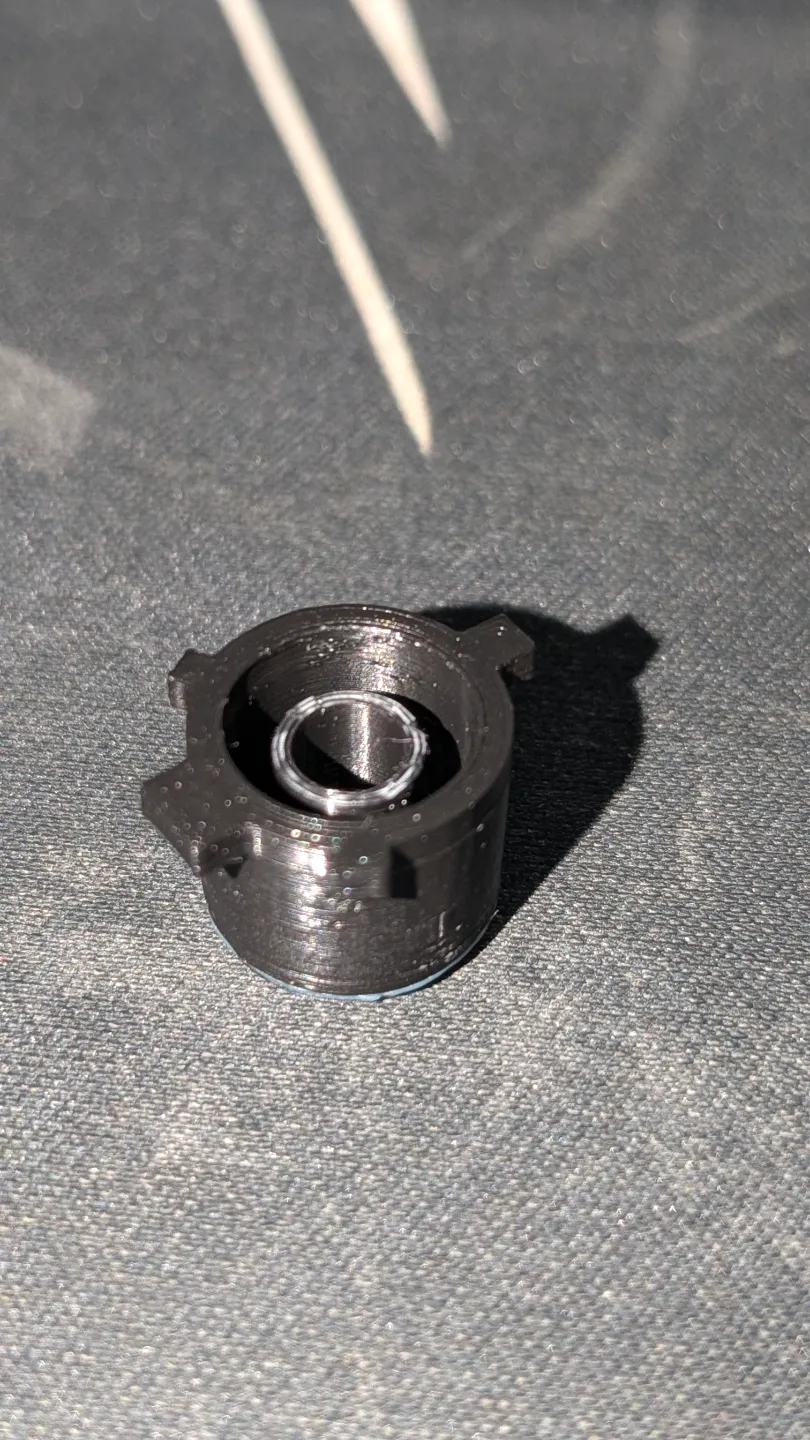
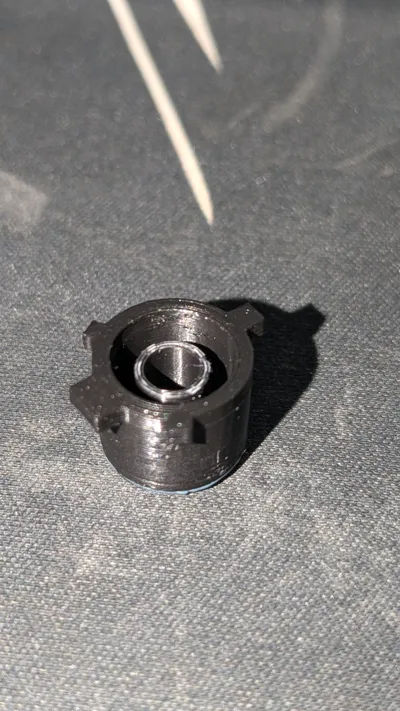
Be sure to use a 0.2mm nozzle, setup your printer correctly. Have the correct colors loaded and press print. When they are done, flip them over, and break off the tiny supports on the bottom center ring (use tweezers and just wiggle till they break see picture for how it looks after they are removed). These must be removed to properly sit in the controller. A little bit of sanding with a 3000 grit will give you ultra smooth feeling. If you want to take it a step further, apply a light coat of resin to the top only. But without the resin the top of the buttons feel great even without sanding. But I recommend very light sanding. Just scuff it with a 3000 grit. Don't go crazy, the layers are very thin.
Look up videos on YT on how to safely disassemble the controller. It takes less than 5min to do so and replace the buttons, but you should look up how to do it correctly so you avoid breaking the small tabs on the controller housing. Having a small phillips head screwdriver, a plastic pry bar, and tweezers will make taking the controller apart a breeze.
iFixit has a nice guide on taking it apart: https://www.ifixit.com/Guide/DualShock+4+(CUH-ZCT1U)+Battery+Replacement/22074
I printed these on a A1 with a 0.2mm hothead. Glue is HIGHLY recommended. If you have problems with adhesion of the very small center supports, change your fan settings to “no cooling for the first 11 layers". An AMS is recommend, but not needed if you know how to pause and change filament mid print. Add a pause on layer 84 in slicer to change colors (manually pause the print when it moves to the purge tower to switch colors again, review the color change order on each layer in the slicer to understand where you change colors on the purge tower when doing it manually), add pause on layer 87 to change back to black. If you have an AMS you don't need to do any of this, just load the right colors.
Let me know if you have any suggestions for improvements.
License

You shall not share, sub-license, sell, rent, host, transfer, or distribute in any way the digital or 3D printed versions of this object, nor any other derivative work of this object in its digital or physical format (including - but not limited to - remixes of this object, and hosting on other digital platforms). The objects may not be used without permission in any way whatsoever in which you charge money, or collect fees.


Comment & Rating (0)