
Reusable Filament Spool (Bambu Refills)
Print Profile(3)


Description

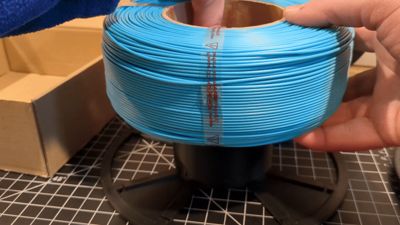
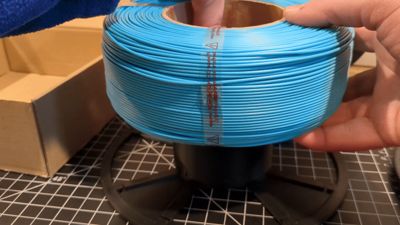
This is my take on a Reusable Filament Spool. I designed this from ground up and it is not based on Bambu's, I wanted to try something a little different. I use this for both Bambu Refills and also Elegoo Cardboard spools. There are numerous options out there, this one I've tweaked to this point where it works well for me, so offering it here.
Some features of my design:
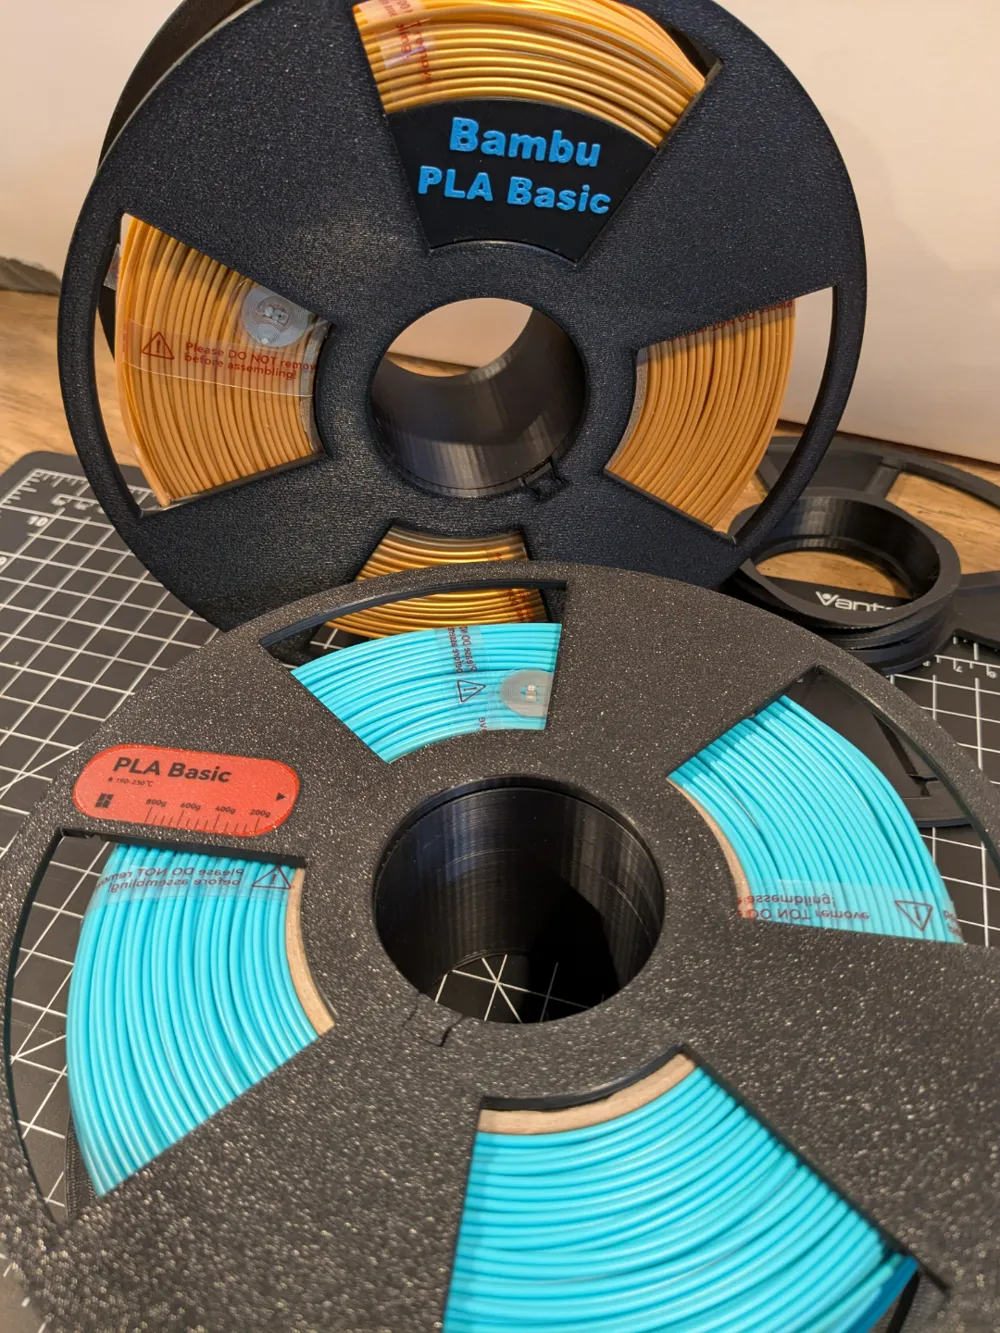
- Works with Bambu Refill rolls.

- Works with Elegoo's carboard rolls as well, by ripping off the ends. (not sure about other brands)
- Works with AMS Lite (I don't have standard AMS)
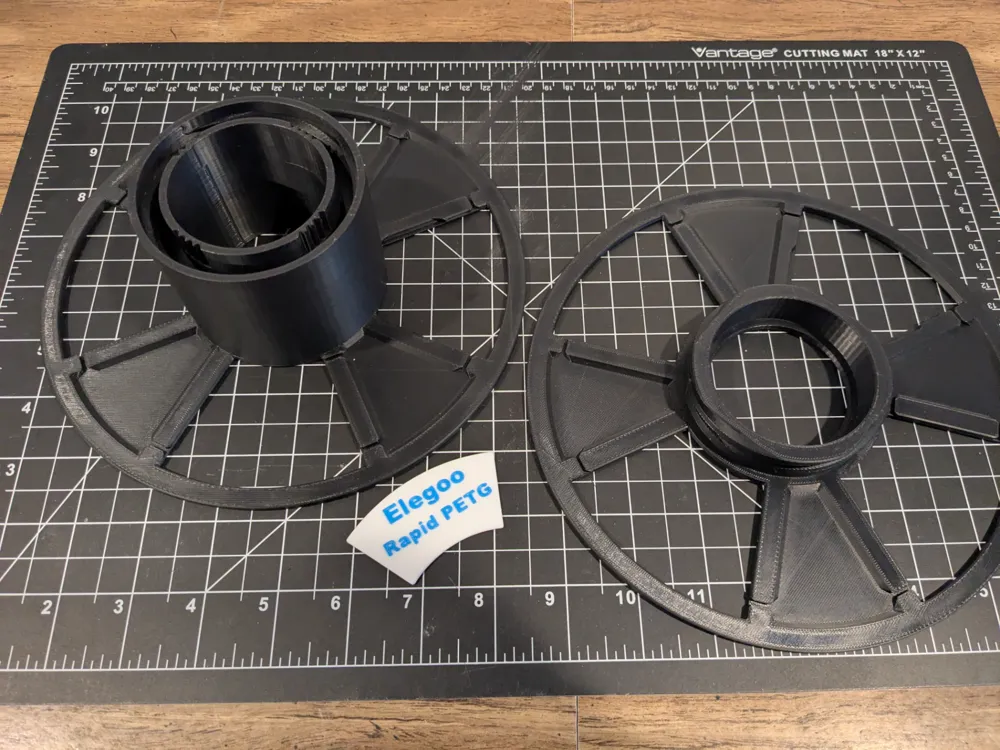
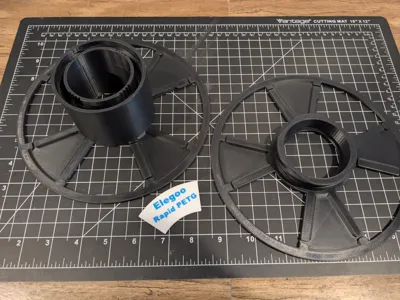
- Uses a screw on approach to joining the two pieces of the spool, allowing for width variance, if roll is a little thicker.
- Built in locking mechanism to prevent two pieces from accidently coming apart.
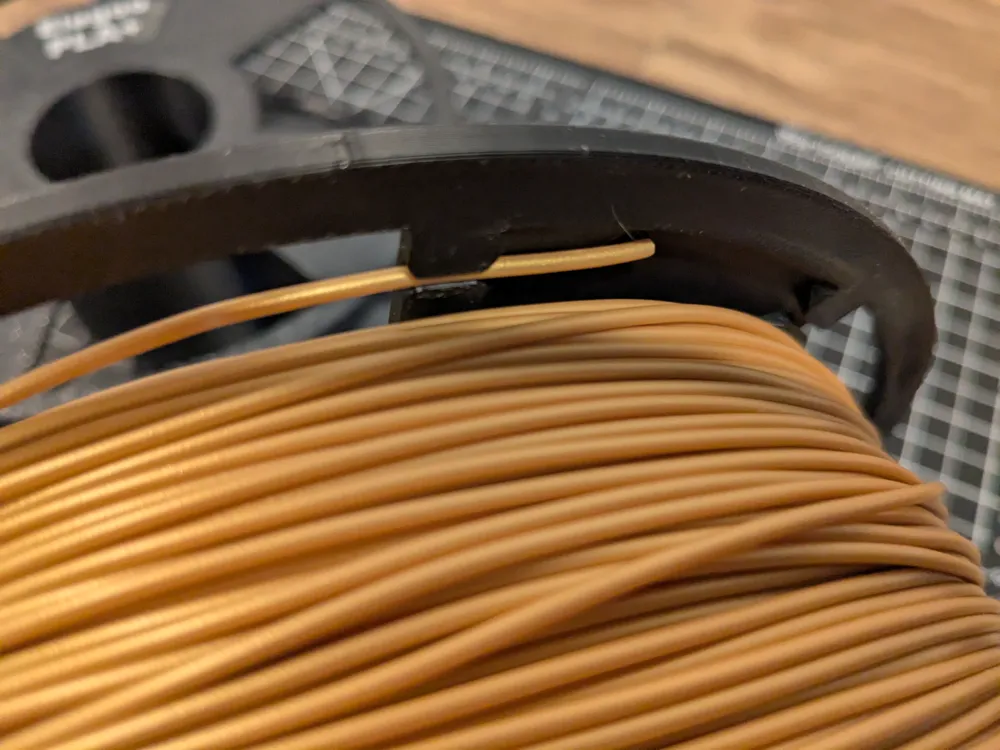
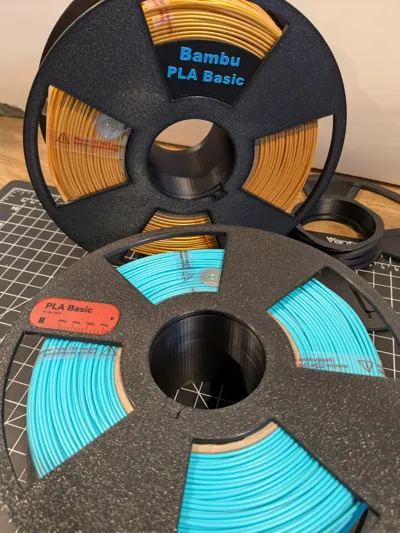
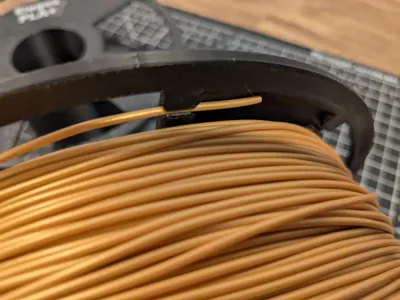
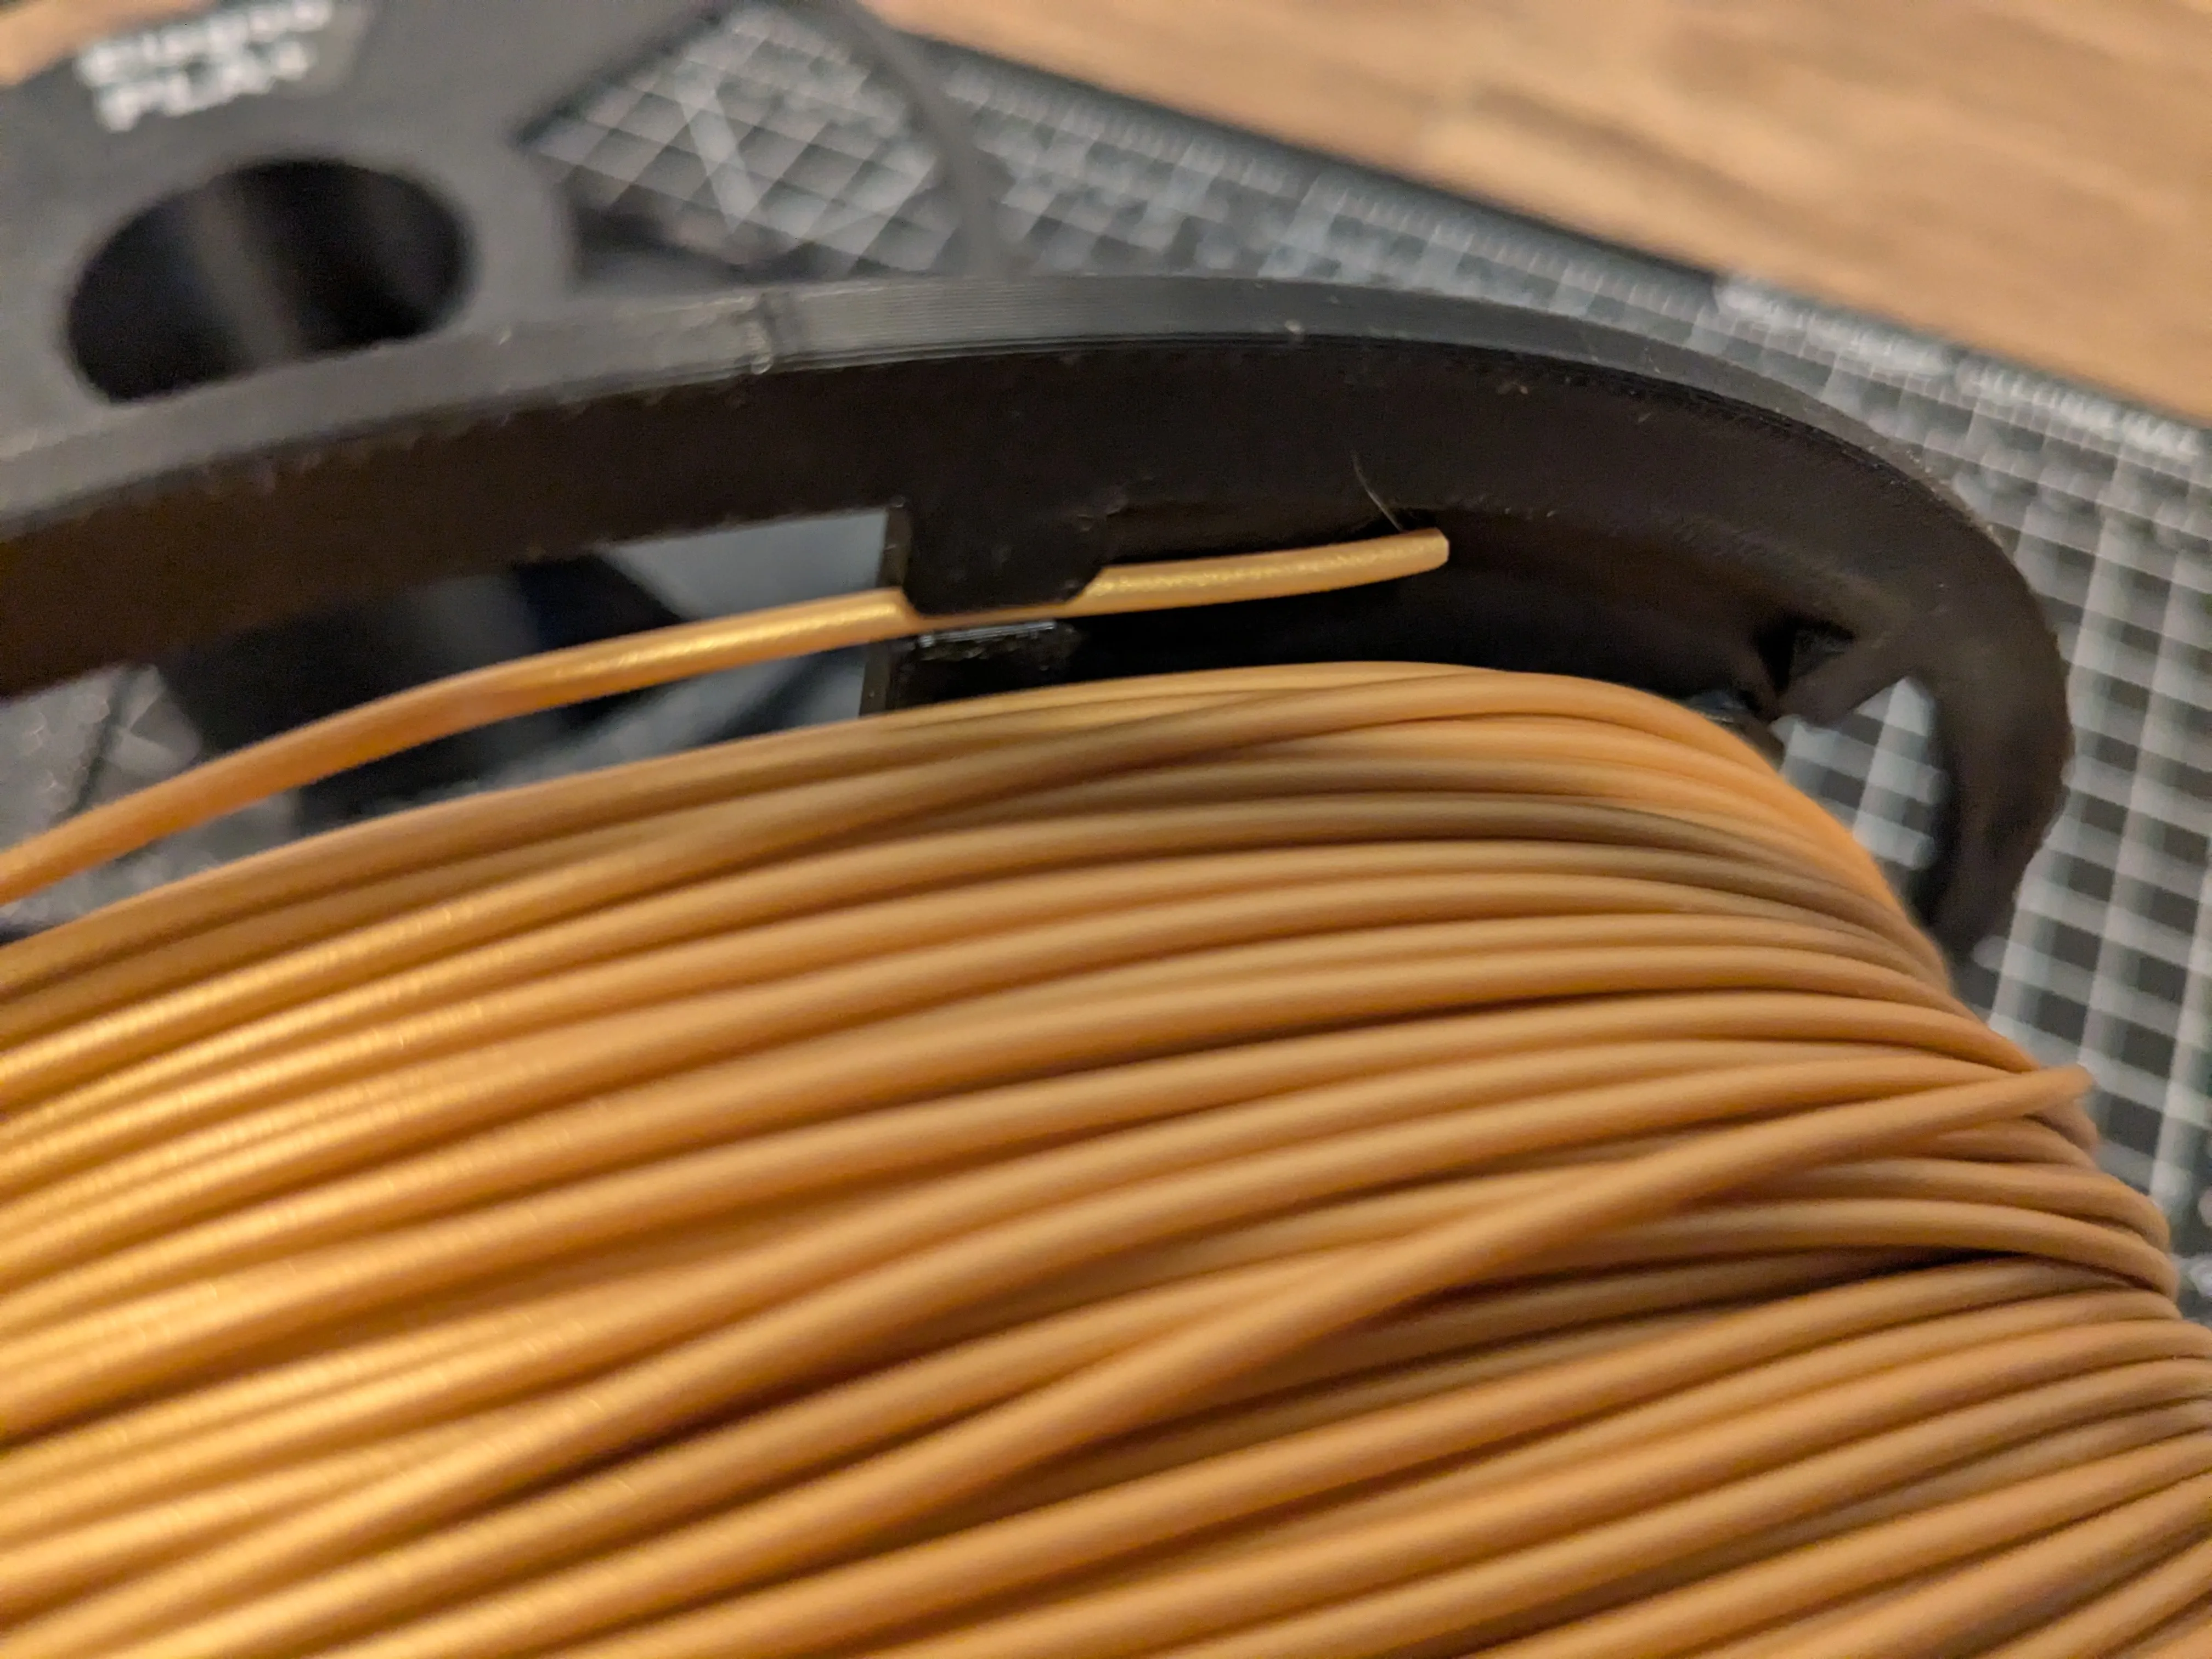

- Built in Filament clips, that keep filament inside the spool
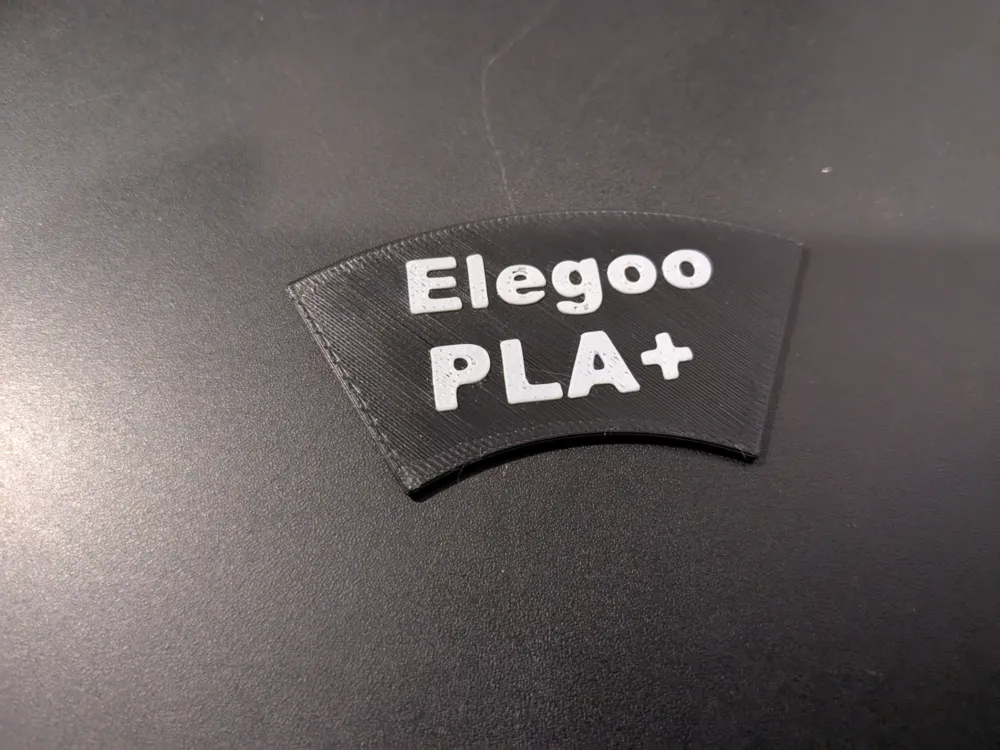
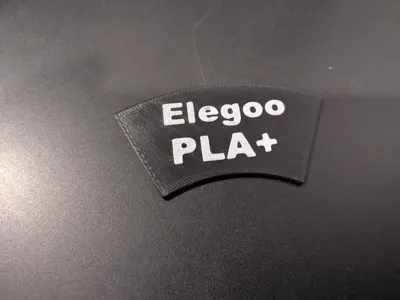
- Optional removable Labels. Can create (in Bambu studio) and print your own labels that 'snap' into either side of the spool.
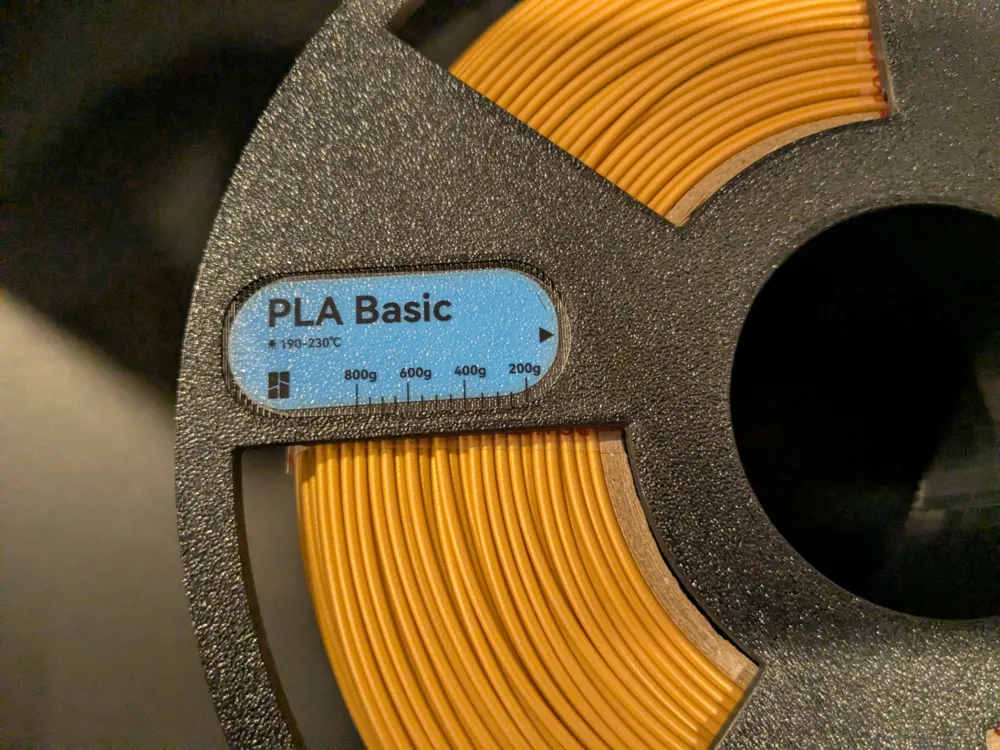
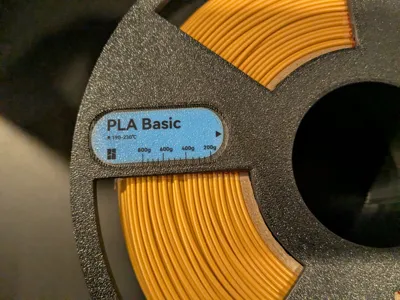
- Optional Bambu Sticker label spot (two color print)
- Visibility of roll so can easily see how much filament is left on roll.
Dimensions:
Outer Side Diameter: 200mm (This is consistent with standard Bambu spools)
Outer Core Diameter: 82mm (This is what the cardboard filament spool slides onto)
Inner Core Diameter: 55mm (This fits AMS Lite well for me)
Total Width (with Sides): ~68mm (About 2-3mm wider than standard Bambu spools)
Inner Core Width: 60mm
According to Bambu Studio Material Estimates: Side1 = ~92g and Side2 = ~53g
How to Print:
I print at .2 layer height with no supports and 8% infill. I used PLA/PLA Plus/PETG, but I would expect any stiff plastic to work.
Need to print Side1 and Side2.
I provide two versions of profiles for the spool. These are identical, except one is setup for two color print where the spot for the Bambu refill sticker is in different color (when printing all in black, the sticker doesn't show up well).
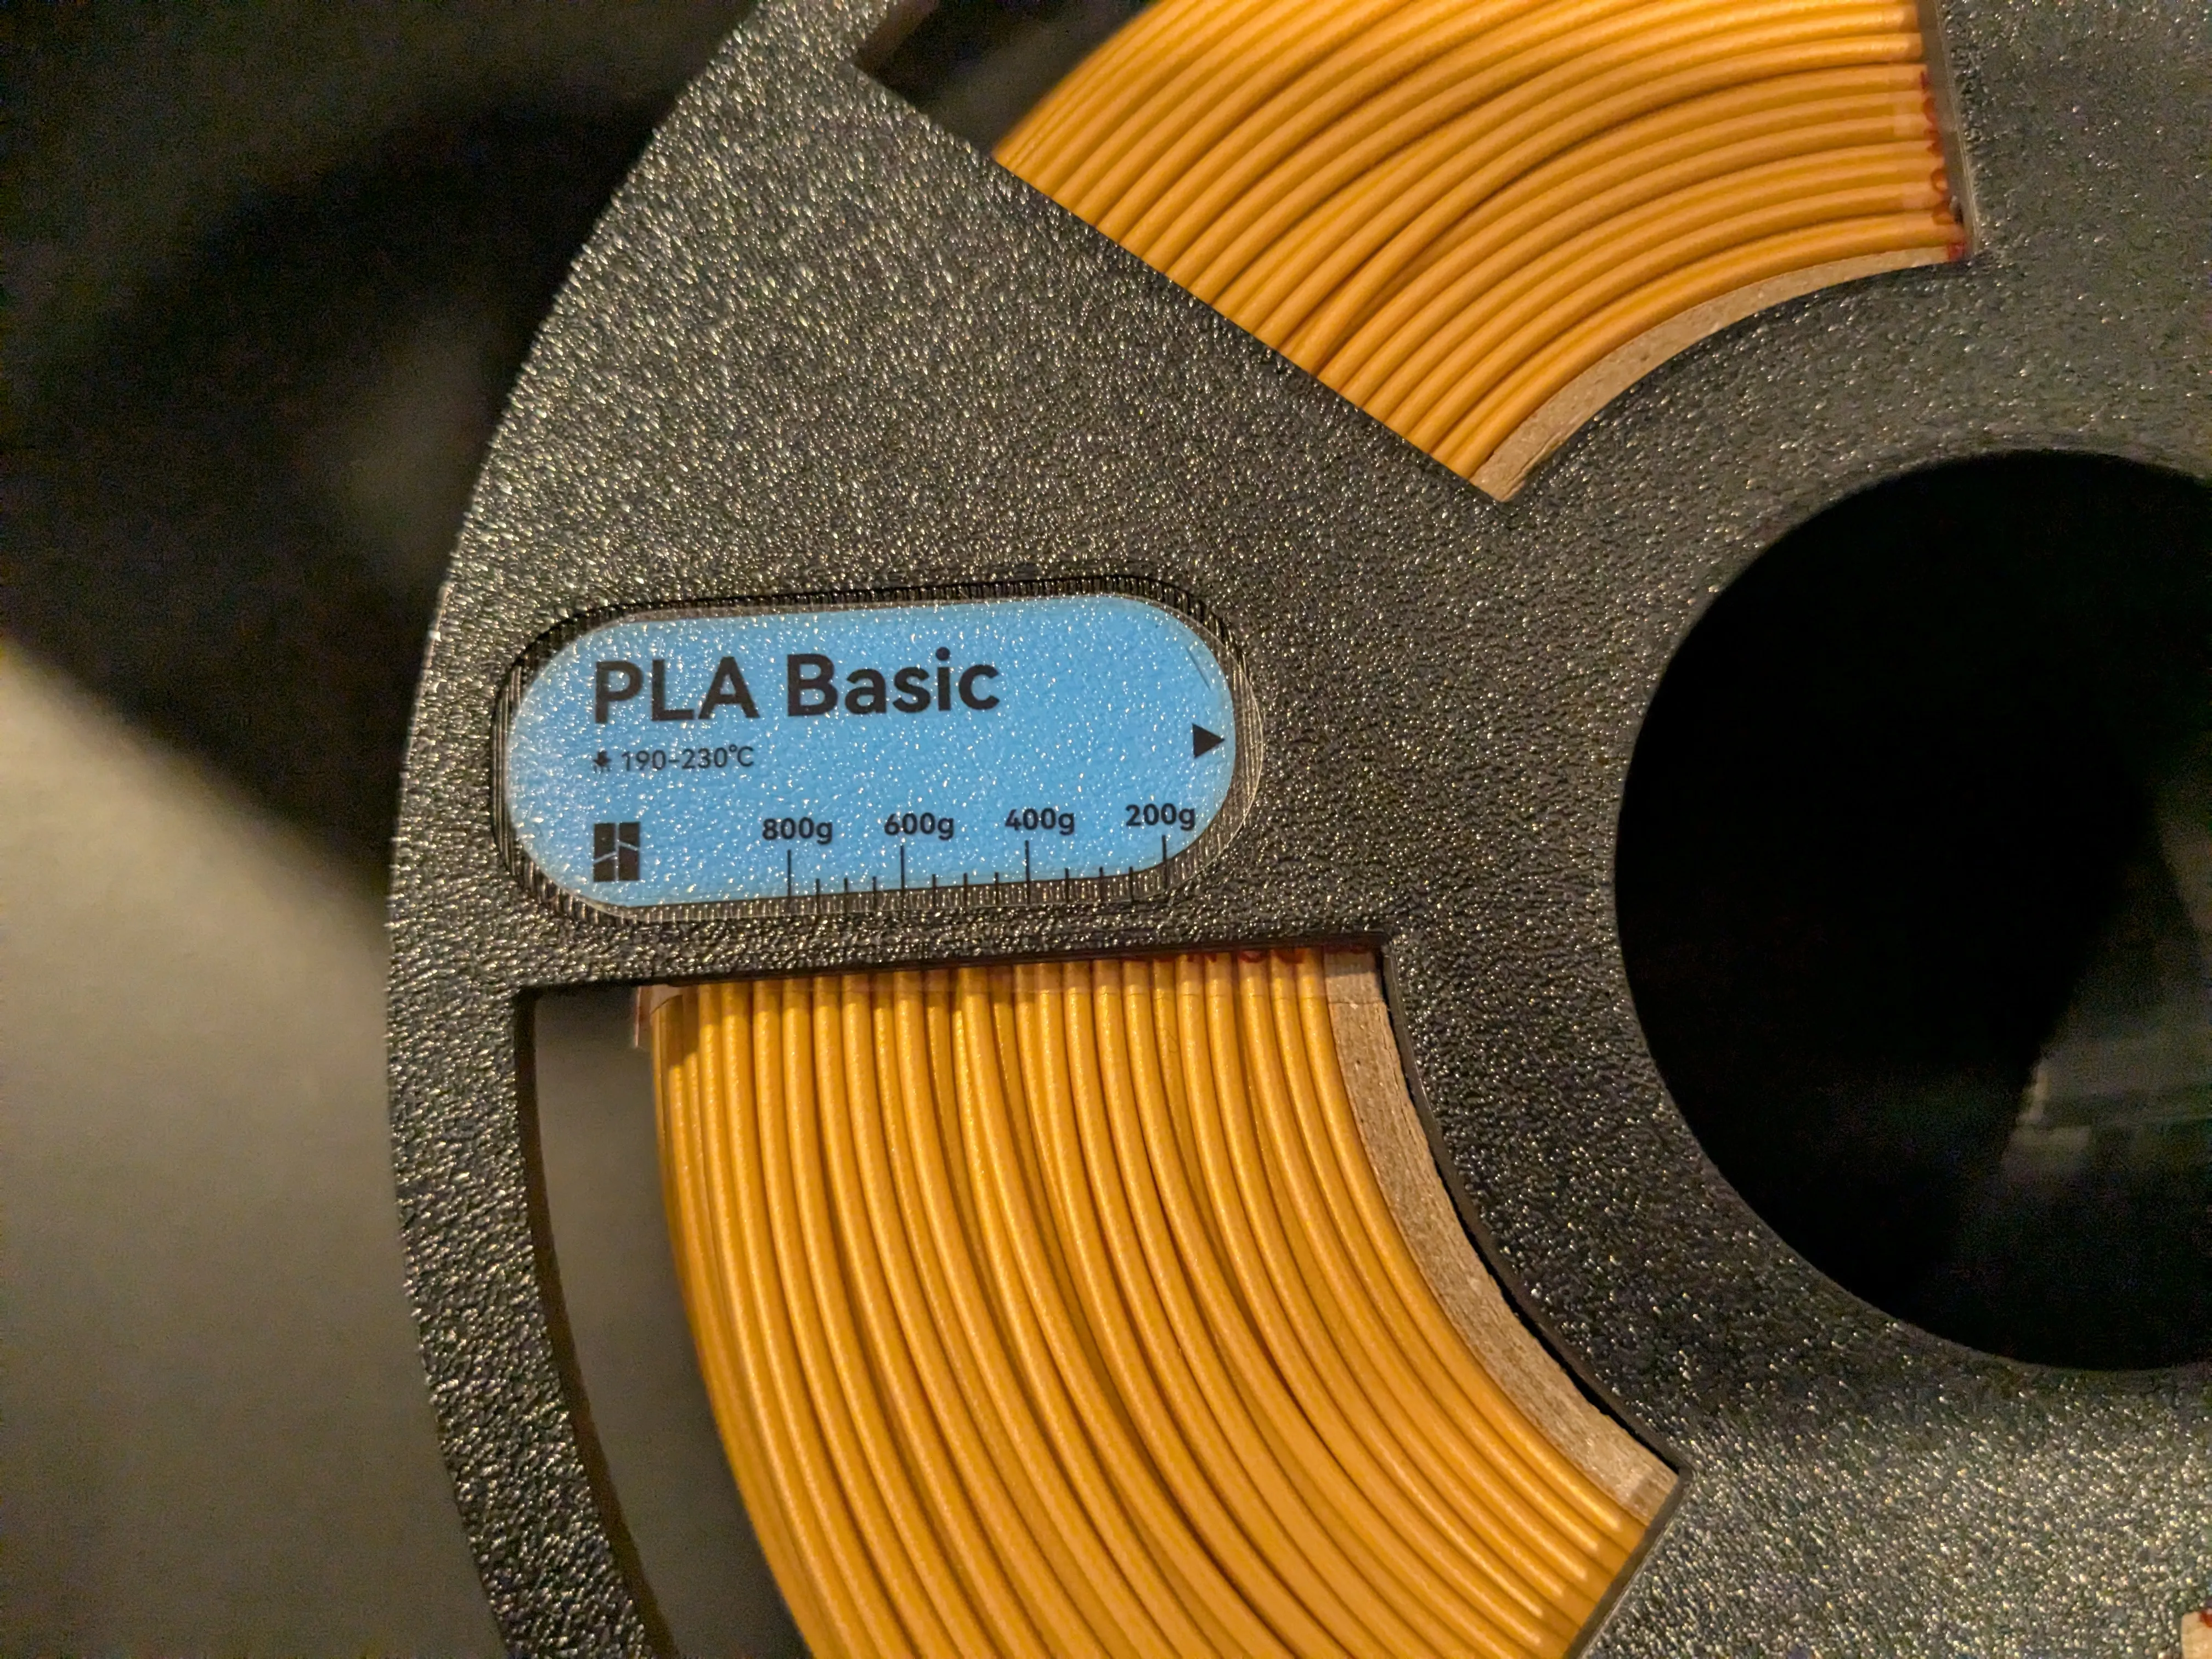
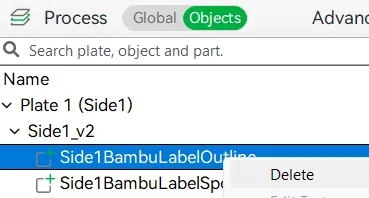
NOTE: one can still get a Bambu Label "outline" by deleting the 'BambuLabelOutline' object, this will create an indented outline to guide to where to affix the sticker.
Lock Pin:
Side 2 has a 'built in' lock pin to keep things secure, this is print in place and should slide up and down. This pin needs to be lifted up when screwing on the top, then fit into one of the grooves when tight. There are multiple grooves to allow for cases where maybe spool is a bit wider. For me, the force of the filament pushing against the sides is enough to keep the lock pin in place. If pin is hard to lift, I use small flathead screwdriver.
Filament Clip:

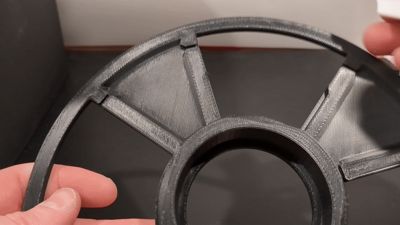
The spokes of the sides have places to secure filament so should be no need for external filament clip, this is designed to keep filament inside the spool, so can stack the spools and such without having to deal with filament hanging out or some extra clip.
Optional Label Plate:
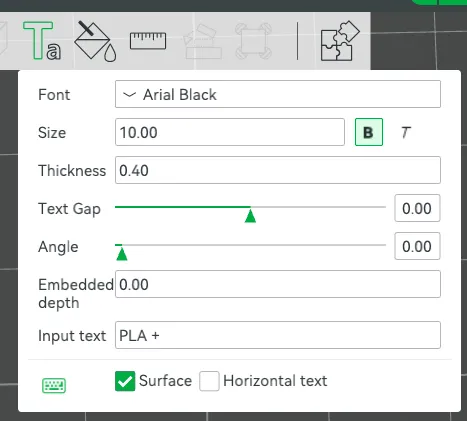
The Label Plate print profile contains a blank label plate and a couple example labels using raised lettering. Printing a label plate is completely optional. The labels are designed to 'snap' into either side and can be easily removed/reused. Can print blank and write on it with marker, or can add lettering right in Bambu studio. Here is example settings I use when adding lettering (Note the .4 thickness, this means two layers for the lettering if using a .2 layer height, so would do filament color change at layer 9)
Two of the spokes of the spool sides have grooves (on the inside) that the label plate sets into. Each corner of the grooves has a small tab/overhang that secures the plate. For me, I start by putting one of the top corners under its tab, then I rest the opposite side of the plate into its groove at an angle, then push down from the top of the plate to 'snap' it into place (takes some force). To remove I just kind of pull hard enough so it pops out.
Respooling Note:
I do not respool so not sure if or how well this would work for that. I don't have any holes in the core, but there is a filament 'clip' on one of the spokes at the base of the spoke. Feeding line through there and then up to one of the top 'clips' should secure it.
Conclusion:
Thanks for reading, if anyone does take time to print this, would love to hear experience and see pictures. Happy Printing.
License

You shall not share, sub-license, sell, rent, host, transfer, or distribute in any way the digital or 3D printed versions of this object, nor any other derivative work of this object in its digital or physical format (including - but not limited to - remixes of this object, and hosting on other digital platforms). The objects may not be used without permission in any way whatsoever in which you charge money, or collect fees.


Comment & Rating (252)