
Adaptable Single-Spool 3D Printer Filament Dry Box
Print Profile(2)


Description
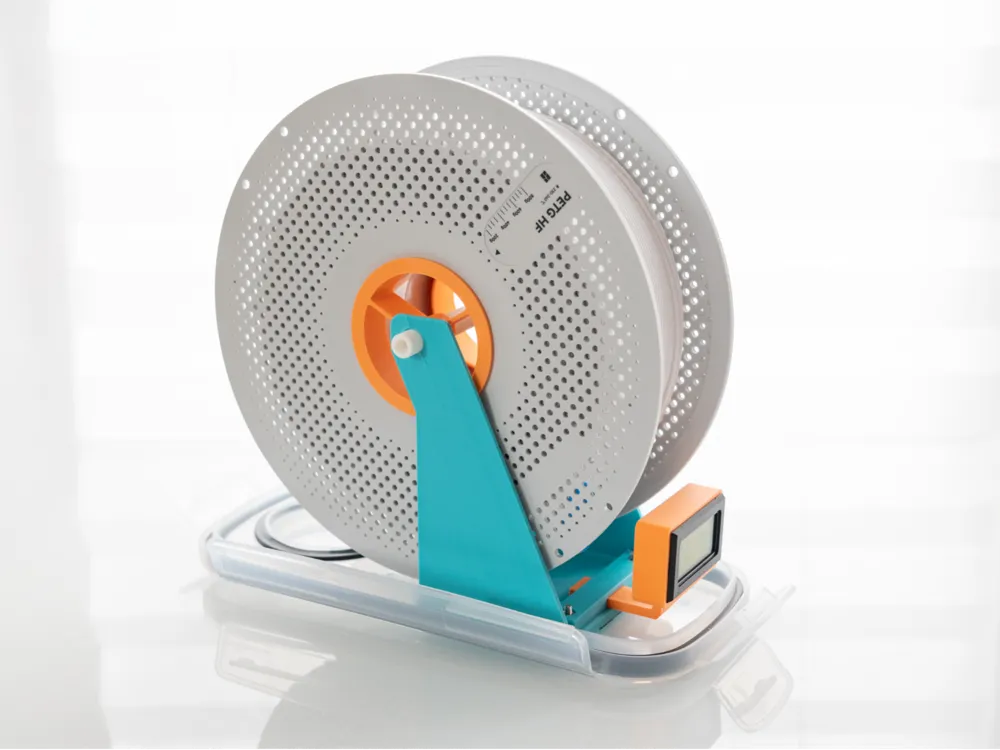
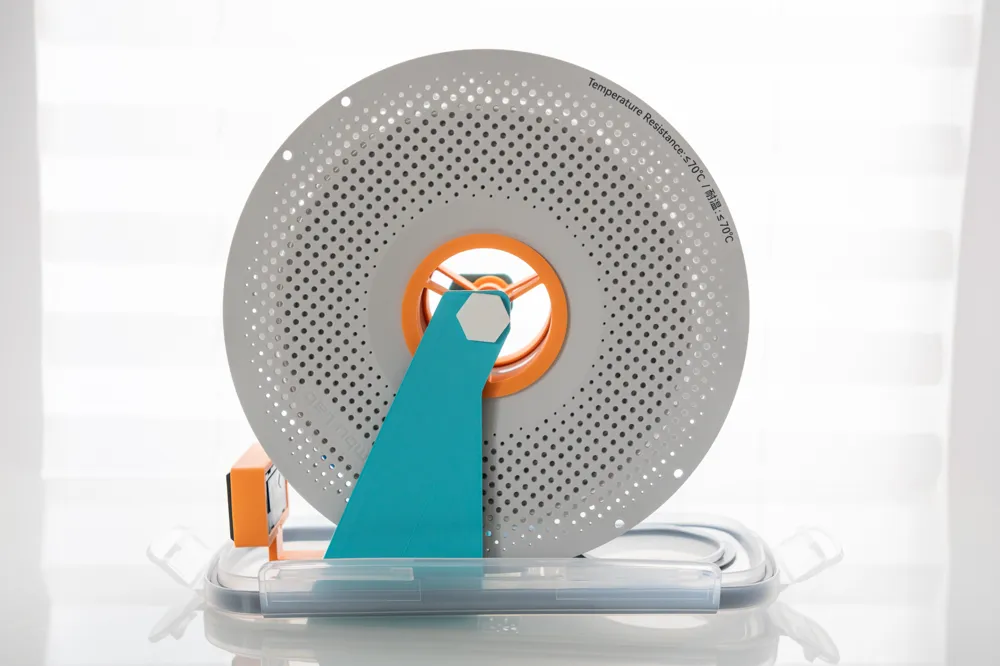
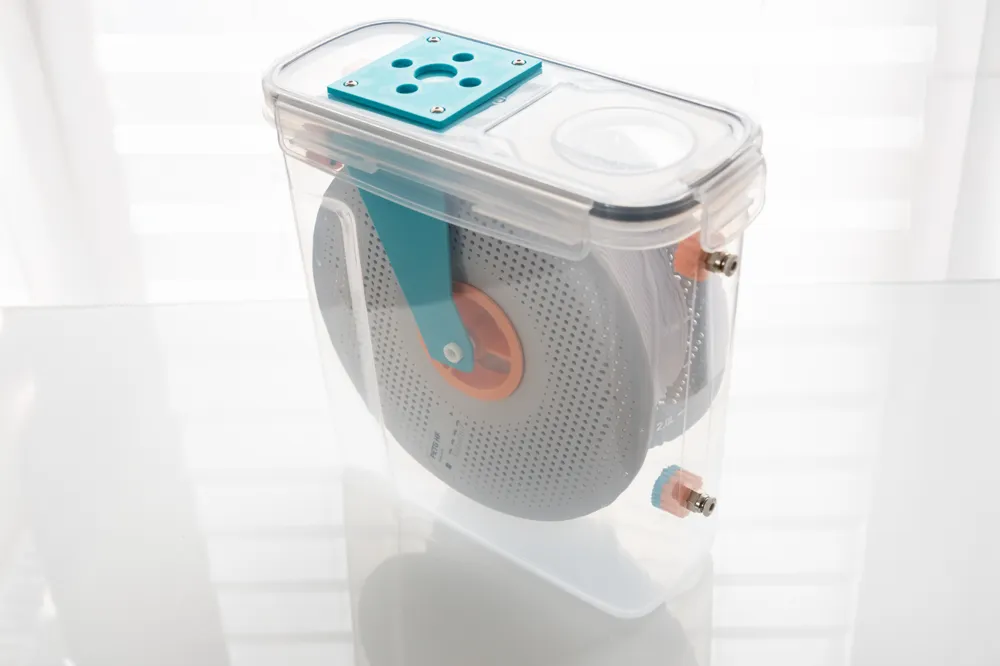
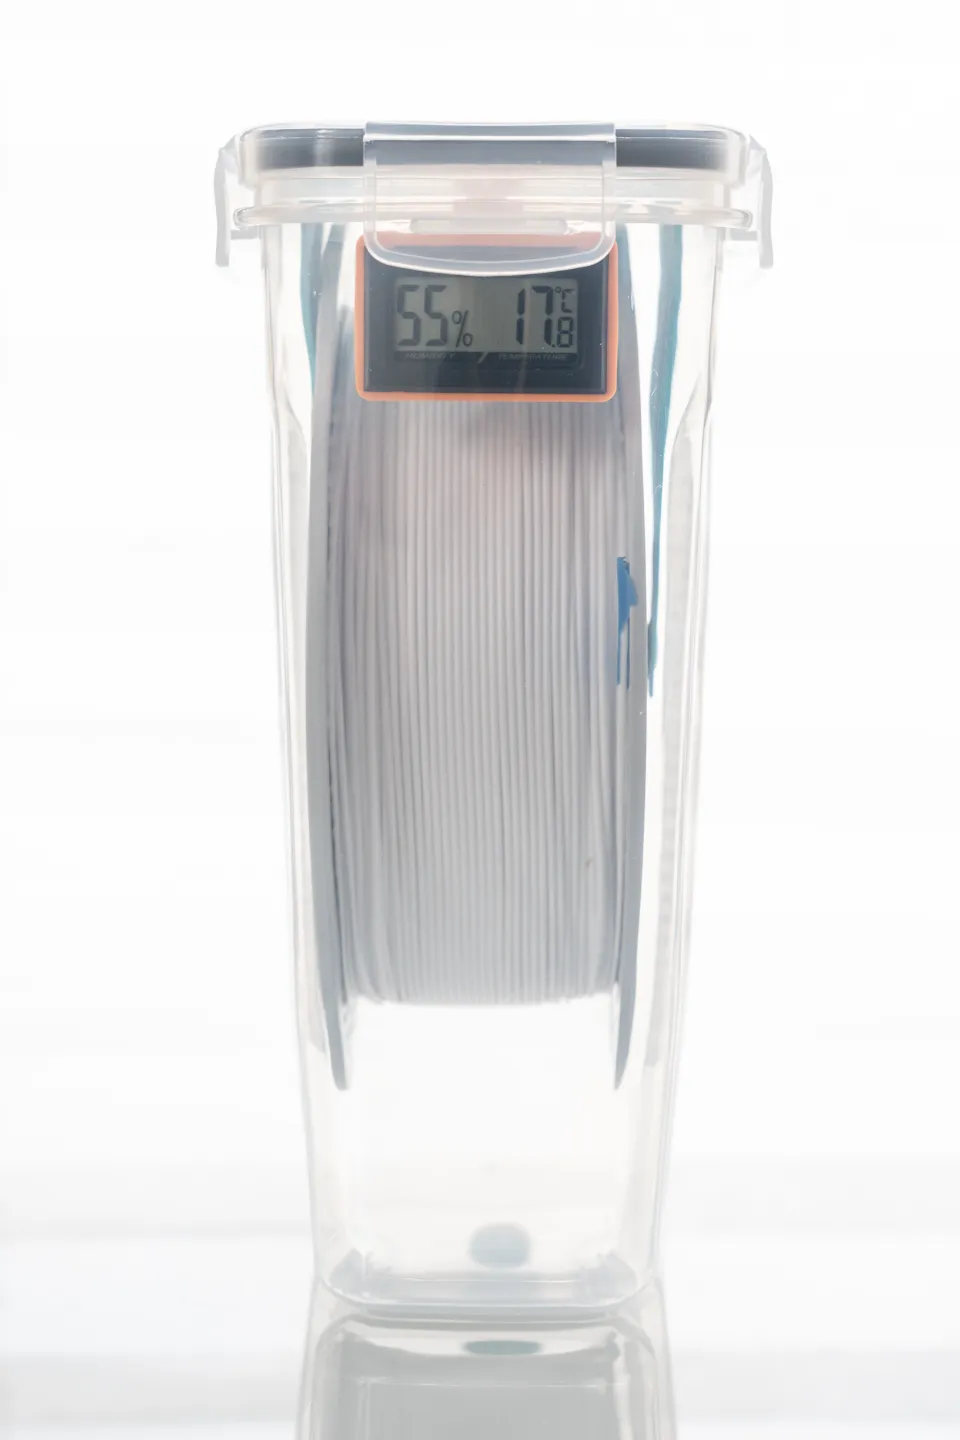
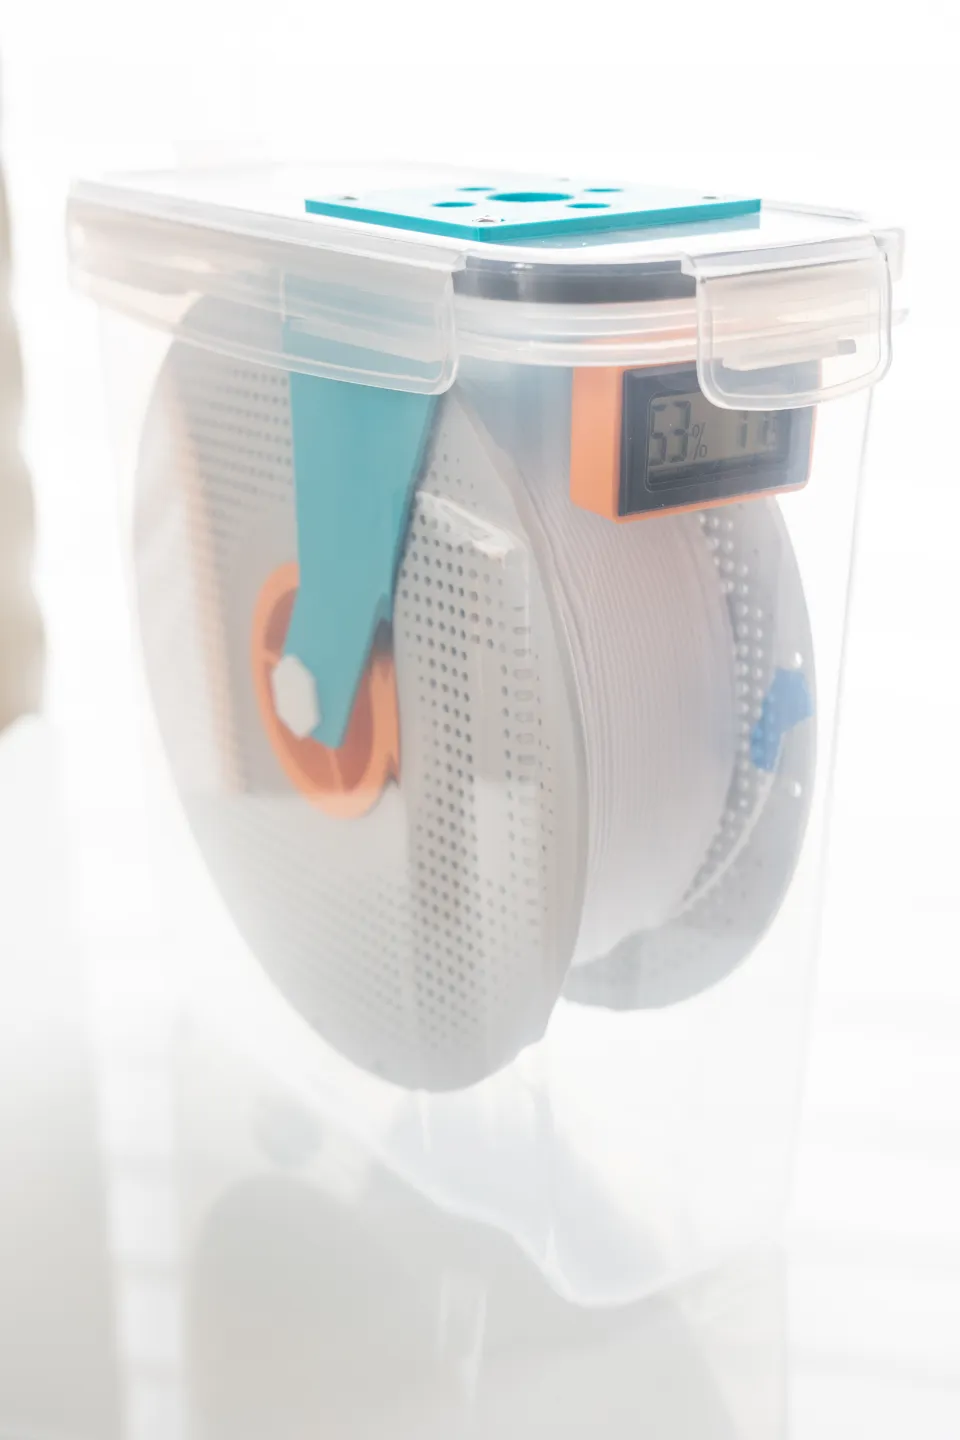
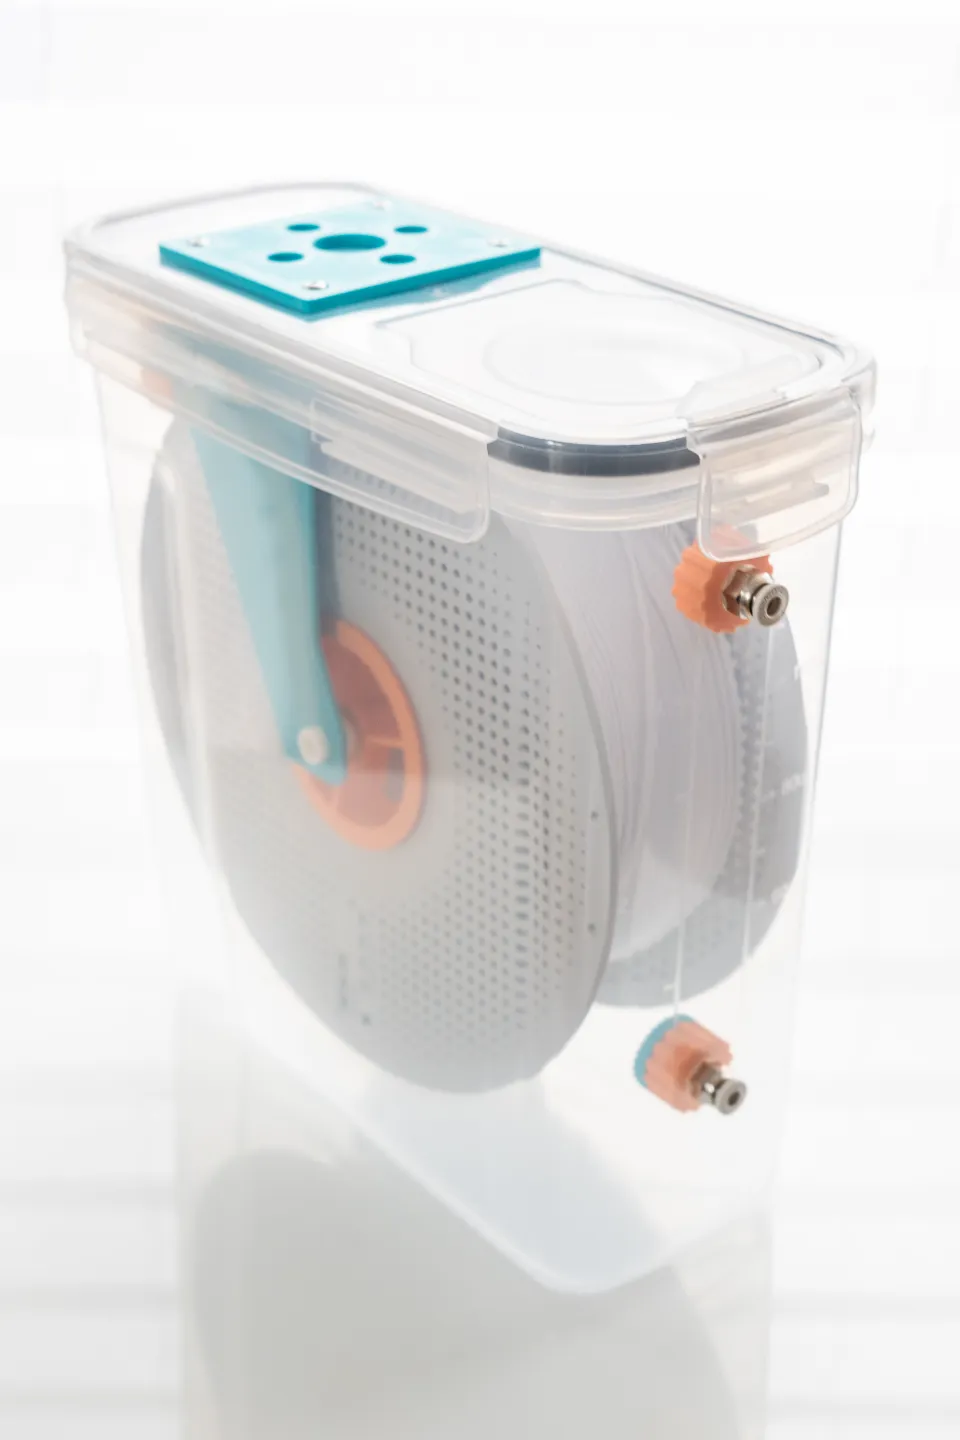
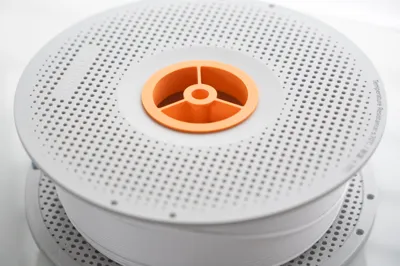
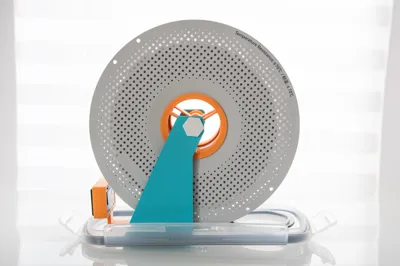
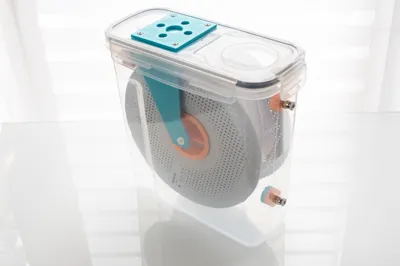
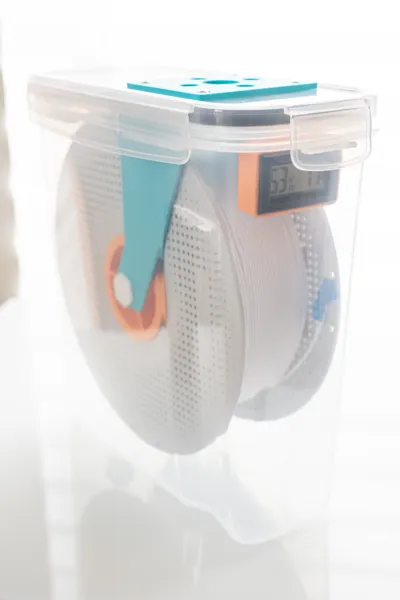
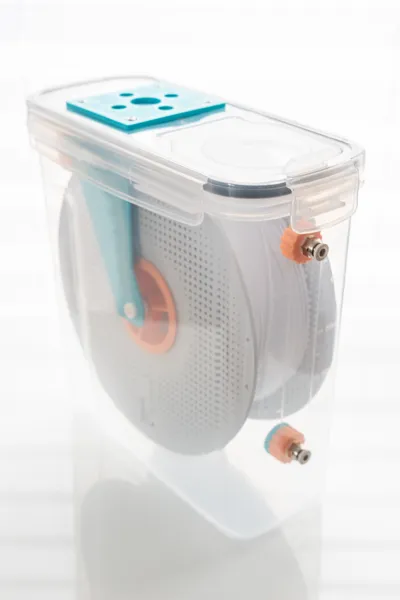
An adaptable and efficient single-spool filament dry box designed to fit a 4-liter cereal box, commonly available online. This design attaches directly to the cereal box cap, ensuring compatibility with various cereal box models without requiring design modifications. It works in any orientation, prints quickly, and requires minimal filament.
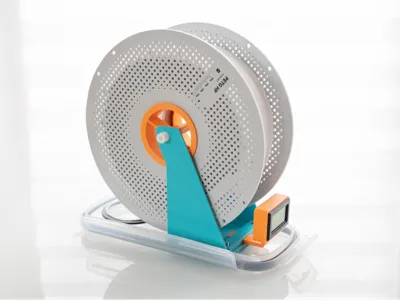
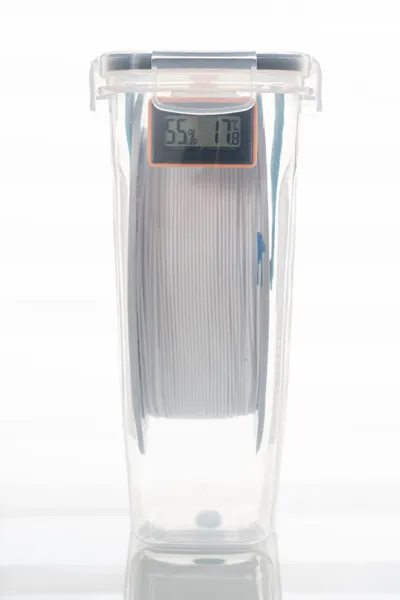
The design also allows the cap and roll assembly to be used on a non-drilled bottom container for simple filament storage. Supports standard roll sizes with different spool center roll diameters and includes a mount for an optional temperature/humidity indicator.
You can utilize my PTFE nut with cap for PTFE fitting connector installation, providing a tool-free solution for securely attaching PTFE connectors.
Material List:
- 4-liter cereal box – Commonly available on Amazon or similar stores
- Screws (screw lengths may vary depending on the cereal box model):
- 2x M3x12mm screws
- 2x M3x16mm screws
- Optional: Temperature/humidity indicator
- PTFE tube (if needed) – For guiding the filament through the box
- PTFE nut with cap – For PTFE fitting connector installation (tool-free)
Please note:
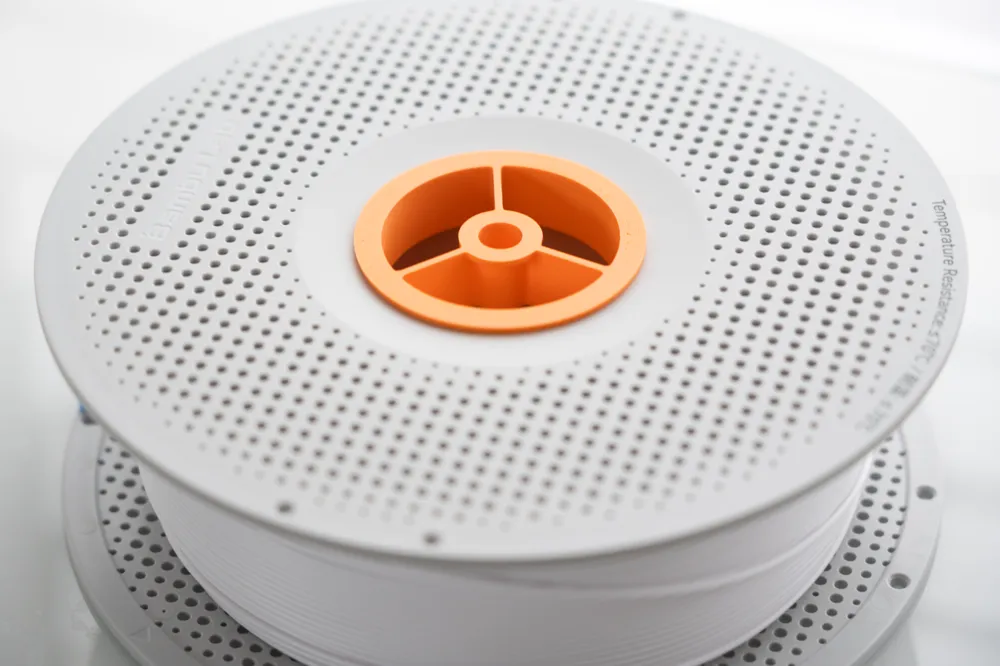
The files include three spool center roll diameters:
- 54mm and 55mm for BambuLab spools (55mm for a snap fit on standard Bambulab spools and 54mm for a loose fit, best for self printed rolls)
- 63mm for Sunlu PLA+.
If you require a different diameter, feel free to ask in the comments section below, and I'll do my best to upload the requested diameter as soon as possible.
Here’s the updated assembly tip with your specific instruction:
Assembly Tips:
I found the best way to mount the holder to the cap is as follows:
- Assemble the spool holder with the center rolls, the axle, the spool holder, and the filament roll.
- Attach the base to the cereal box cap using a piece of double-sided tape, positioning it so the roll is centered.
- Gently slide the bottom of the cereal box into place and check for any contact or friction with the box. Adjust if needed.
- Once you’ve found the correct position, mark it with a fine Sharpie, including the position of the base and the holes for drilling.
- Remove the tape, then drill 2 holes (those under the spool axle) in the marked spots using a 3.5mm drill bit.
- Assemble the spool holder with the pad and fit the shorter screws into the drilled holes.
- Drill the remaining 2 holes and secure the longer screws, attaching the humidity/temperature indicator holder.
Use a good drill bit at very slow speed.
License

You shall not share, sub-license, sell, rent, host, transfer, or distribute in any way the digital or 3D printed versions of this object, nor any other derivative work of this object in its digital or physical format (including - but not limited to - remixes of this object, and hosting on other digital platforms). The objects may not be used without permission in any way whatsoever in which you charge money, or collect fees.


Comment & Rating (8)