
Print Profile(3)



Bill of Materials

- Ribbon x 2: 1 inch wide, with enough length to reach behind the heels
- Rubber Sole x 2: at least 2mm thick, anti-slip
- Insole x 2: generic foam replacement insoles
- Superglue Gel x 1: for the split-part prints
- 3M™ 80 Rubber and Vinyl Spray Adhesive x 1: for the soles; caution: toxic
- 3M™ 77 Super Multipurpose Spray Adhesive x 1: for the insoles; caution: toxic
Description
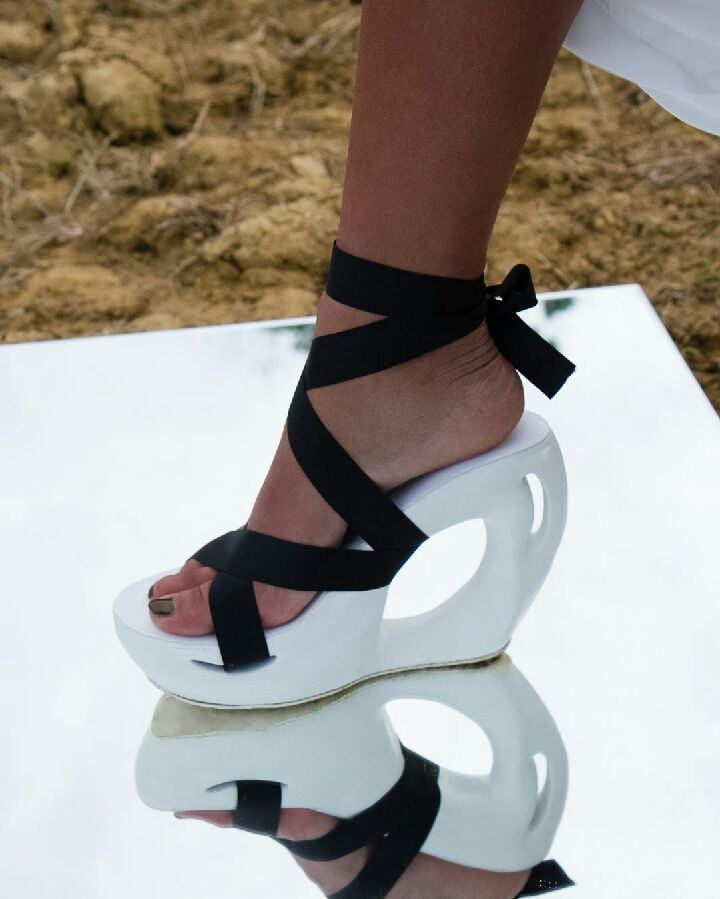
All credits go to the creator of this model: Fakoleon
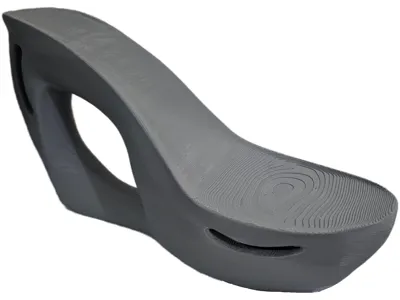
Original model only included 1 shoe and needed a minimum of 30x30cm bed to print. 🥲
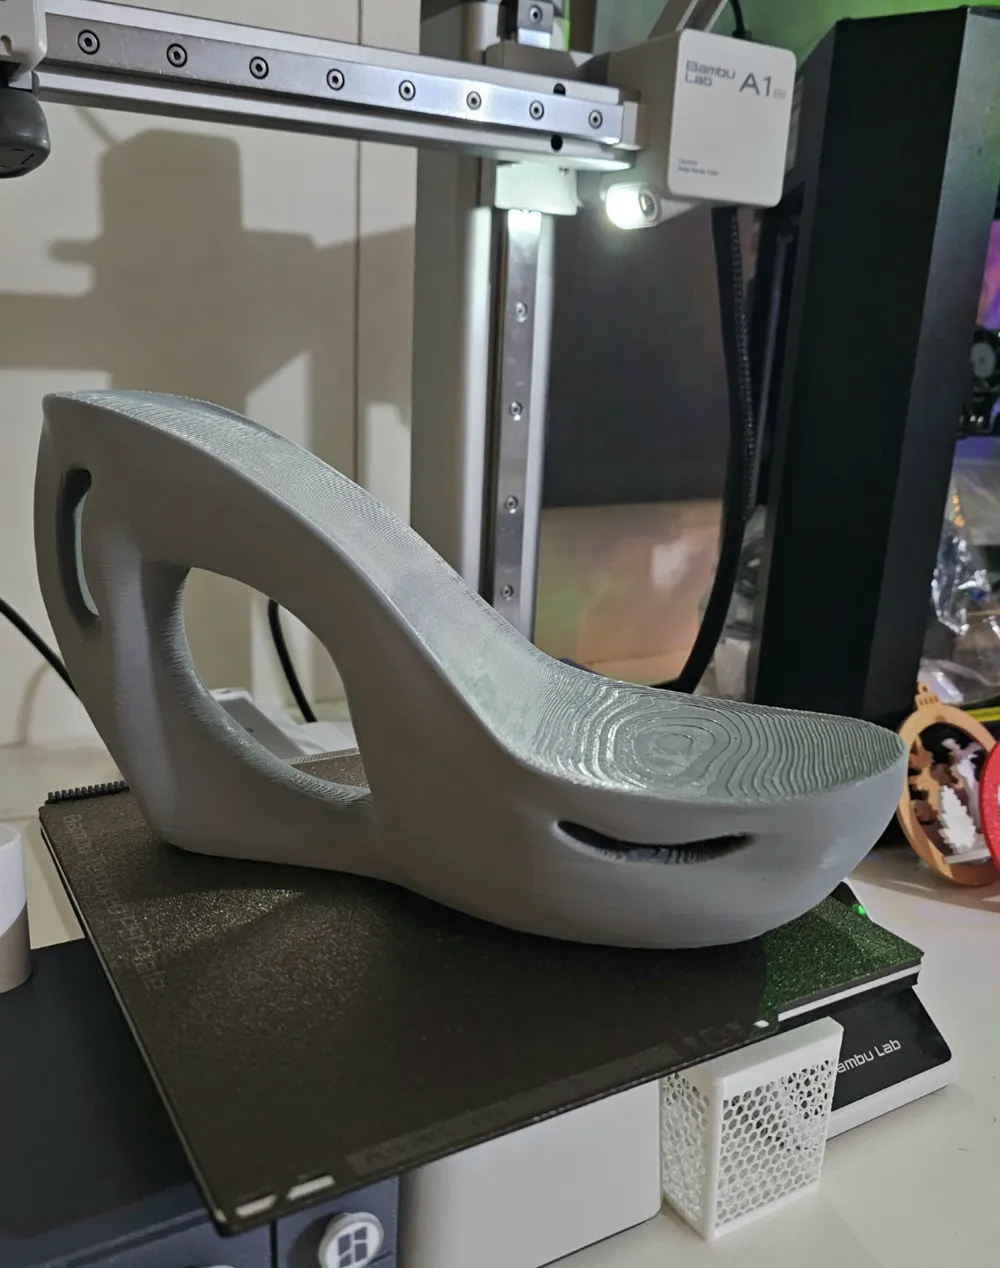
I added a second mirrored shoe to make a full pair and made it all fit onto the A1 mini.
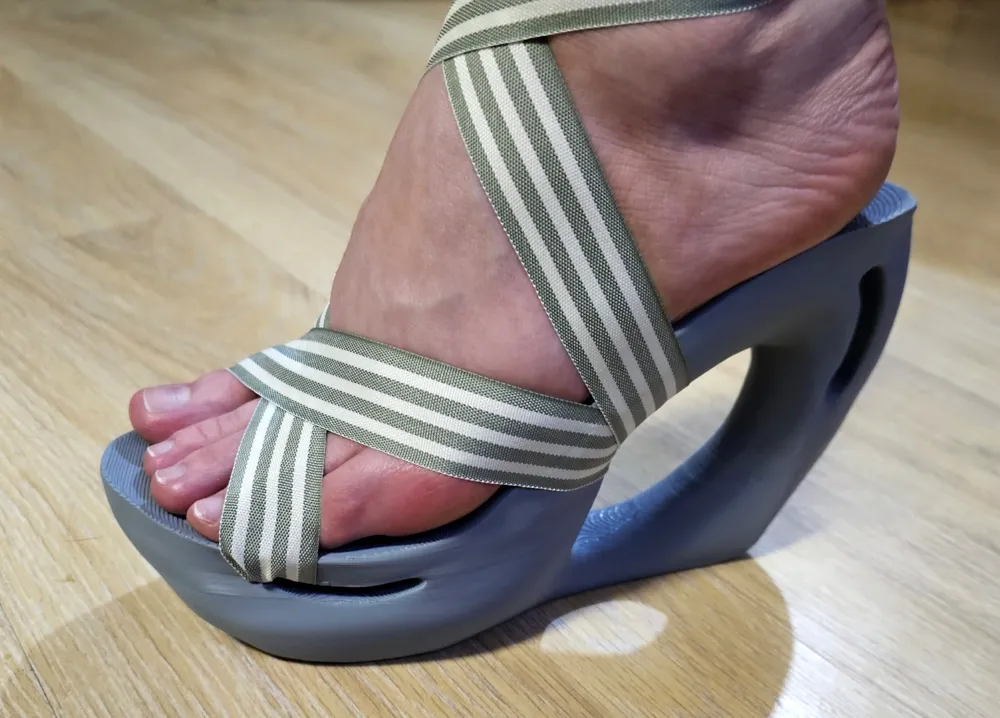
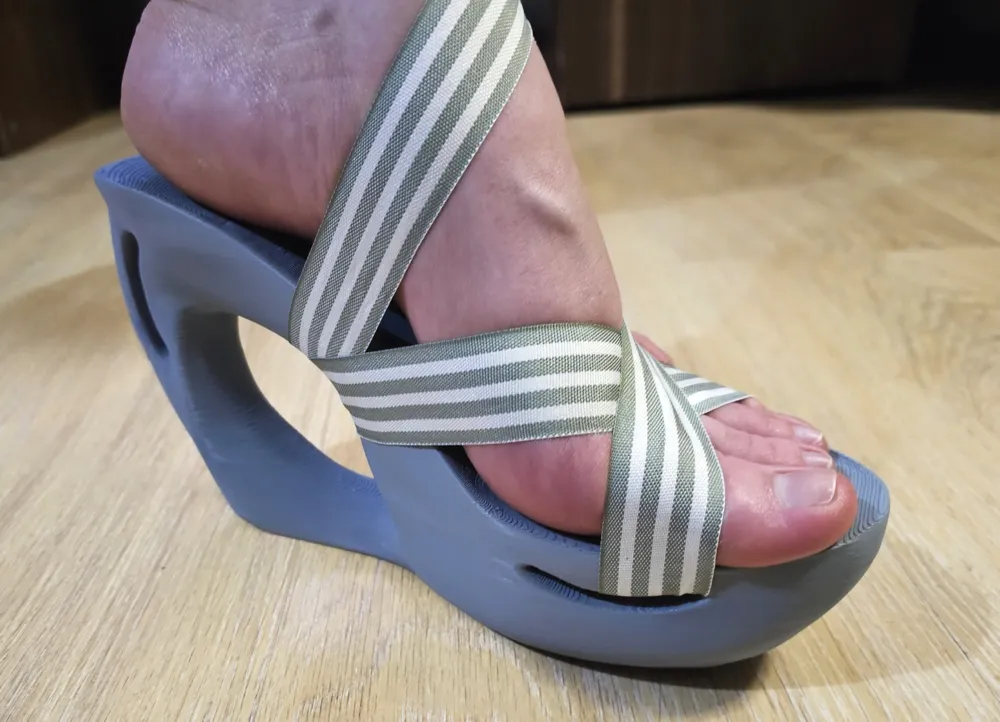
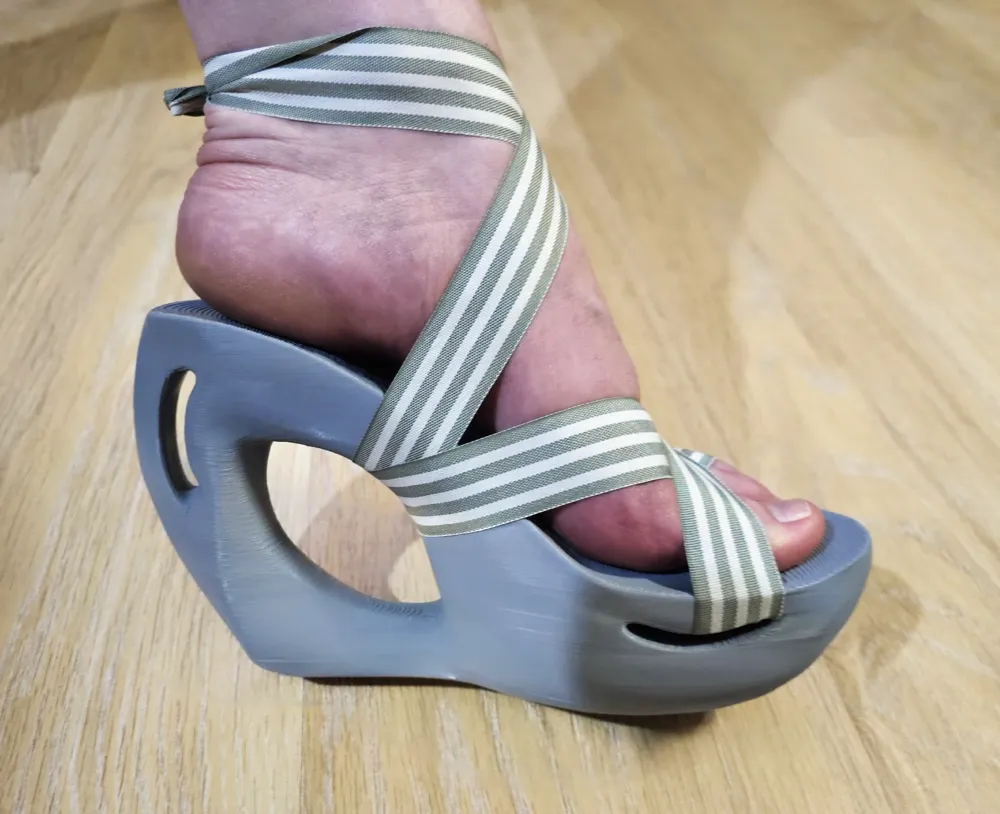
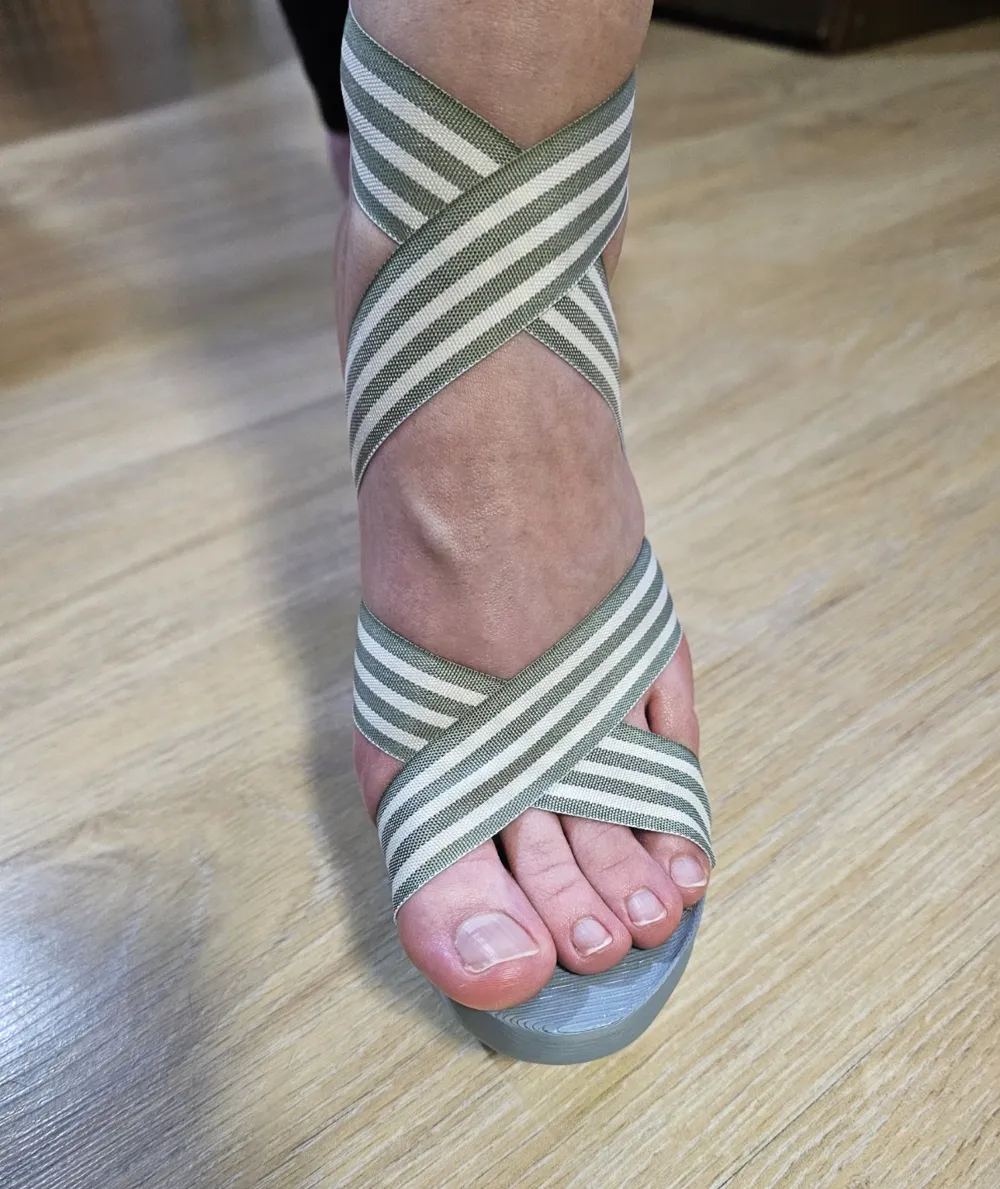
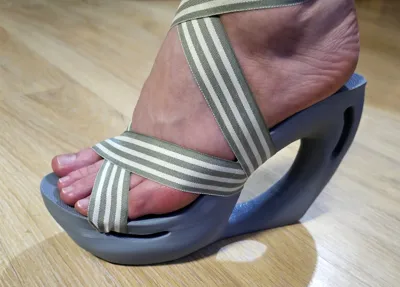
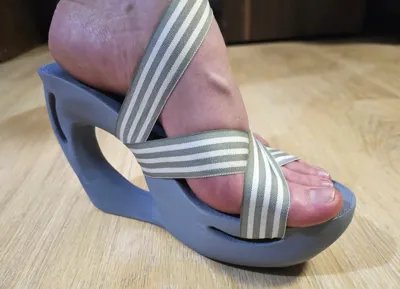
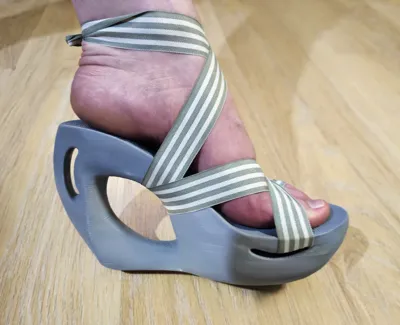
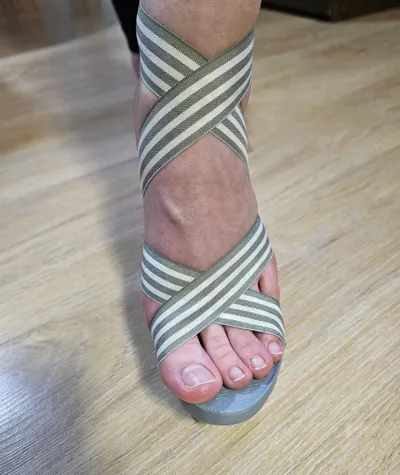
These sandals are designed to be fully wearable!
2 Print profiles included with 2 plates each:
- First profile has the shoes made out of 1 piece, and are size EU 39 (24,6 cm sole length). These can be scaled further down to fit your specific size.
- Second profile has the shoes split into 2 pieces & rotated diagonally to fit the bed of the A1 mini, with lots of extra supports. These are larger, size EU 45 (~28,5 cm, hence the split model), and can be scaled all the way down to size EU 40 (~25 cm). Only the decorative back part of the heel is cut, which can easily be glued back with Superglue gel (or your preferred glue); this should not effect the functionality or strength of the shoe.
Note:
If you are not printing on an A1 mini, you can just resize the first print profile in case you need a larger size (no need to use the split parts if you can fit the full pieces on your print bed).
If you are printing these for a photoshoot (or just really short term light wear) you can use the settings included in the print profile. These will print in PLA, 0.16mm & variable layer height, with 50% gyroid infill, manual tree supports, Arachne, 4 wall loops, all for mediocre strength.
If you are printing these for long term wear, I recommend upping the infill to at least 85-90% for better strength. (Note that this will also increase the weight). Also PLA might not be the best choice for those hot summer days, so maybe try PETG.
- Supports are required for all the plates. They can be tricky to remove, but patience and a long pair of tweezers are your friend.
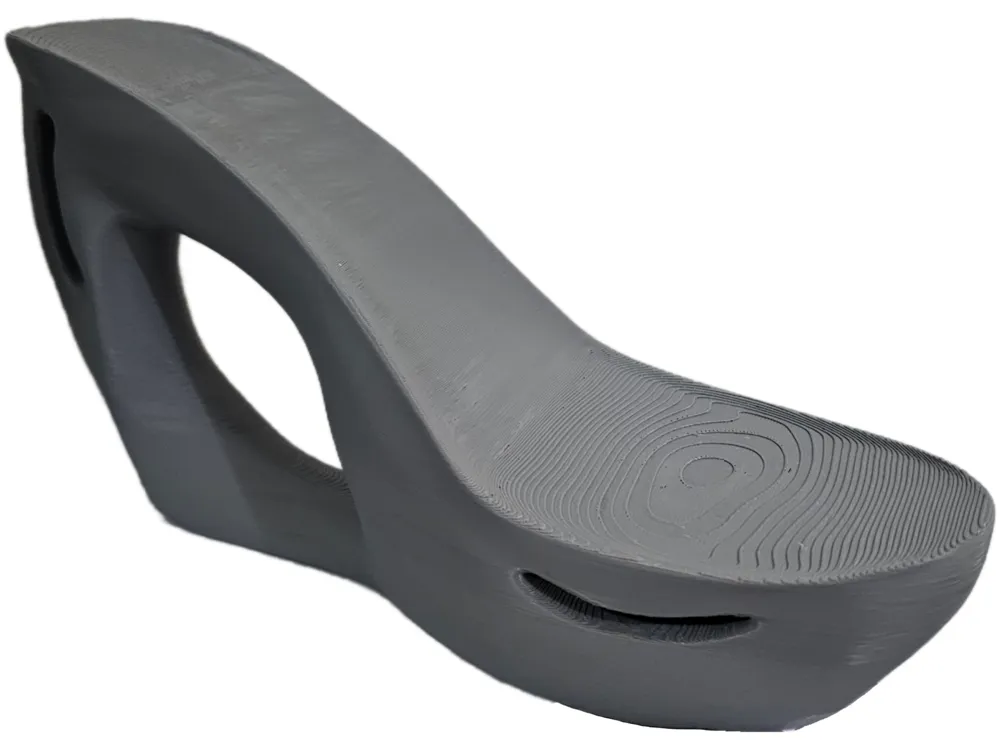
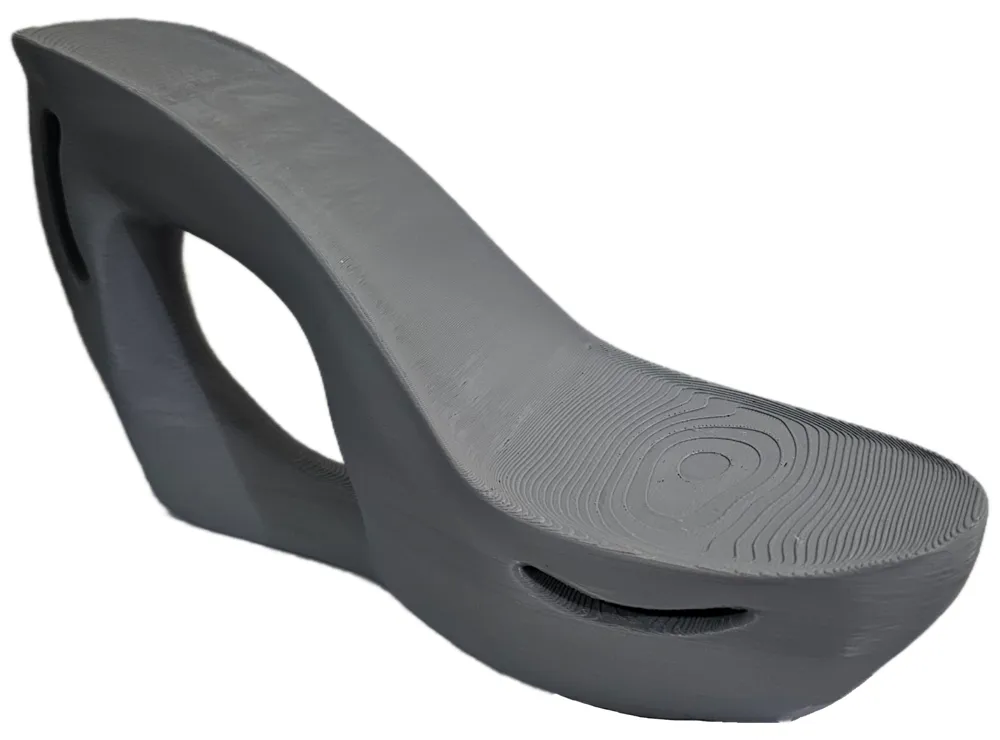
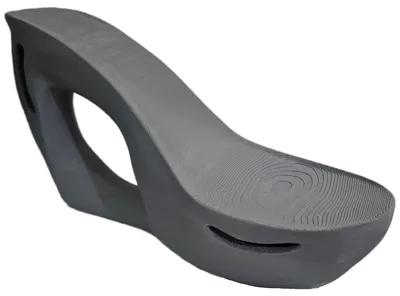
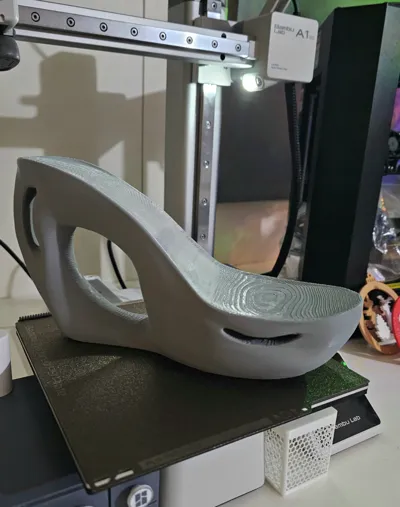
The sandals in the photo were printed on the A1 mini, just as a quick proof of concept. They are size EU 39, with 0.28 layer height, gray PLA, and only 5% infill (took only 4 hours per shoe).
I do not recommend doing this for anything other than using them as Art display pieces.
* After printing you need*
- Long tweezers & needle nose pliers to remove the supports. (be gentle so you don't damage the print)
- A pair of your preferred replacement insoles (amazon has many options). Cut those to size, and glue them to the top of the sandals. I was recommended to use a thin layer of '3M 77 super' spray, which should works best. (or try shoe repair glue, but I can't guarantee its quality or safety while bonding with PLA)
- A pair of anti-slip rubber soles (again, amazon has a ton of options; at least 2mm thickness recommended). Same deal, cut them to size and use a thin layer of ‘3M 80 rubber’ spray to glue them to the bottom of the sandals. (or again, try shoe repair glue, but I can't guarantee its quality or safety while bonding with PLA)
- A pair of ~1 inch wide ribbons. (narrower might be uncomfortable & wider might just look ugly) The length will vary depending on the shoe size, so it's better to get more and just cut to size after test fitting.
Important!
Do not use these sandals without any insole or sole. If they break for whatever reason, and there's no protection between your feet and the print, you might get seriously injured.
If you decide to use 3M 80 and/or 3M 77, make sure to apply these in a well ventilated area, using a proper 3M N95 particulate respirator, protective gloves, and protective glasses. These are industrial adhesives which should be handled with extreme caution!
If you don't feel comfortable using these adhesives, feel free to try something less dangerous.
With all that out of the way, good luck and have fun printing/assembling these 😊
Boost Me (for free)
If you're satisfied with the print! :)
*DISCLAIMER*
By using this product, you acknowledge and agree that you are solely responsible for its proper use. I shall not be held liable for any injuries, damages, or losses that may occur as a result of misuse, improper handling, or failure to follow provided instructions. It is your responsibility to use this product in a safe and appropriate manner.
This remix is based on
License



Comment & Rating (0)