Search models, users, collections, and posts

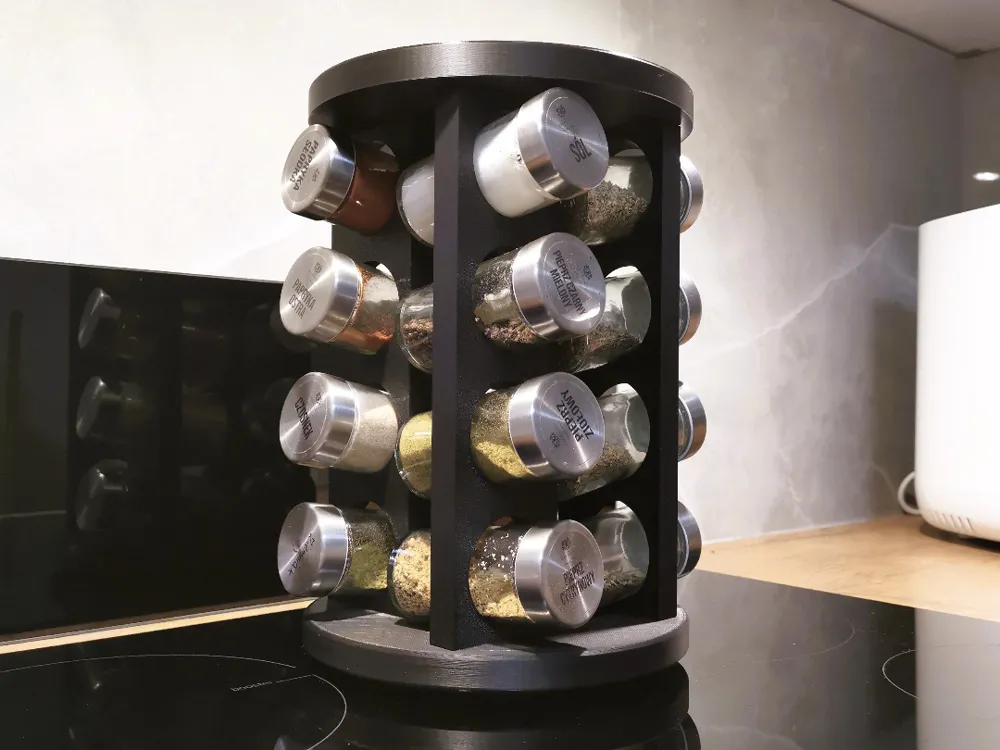
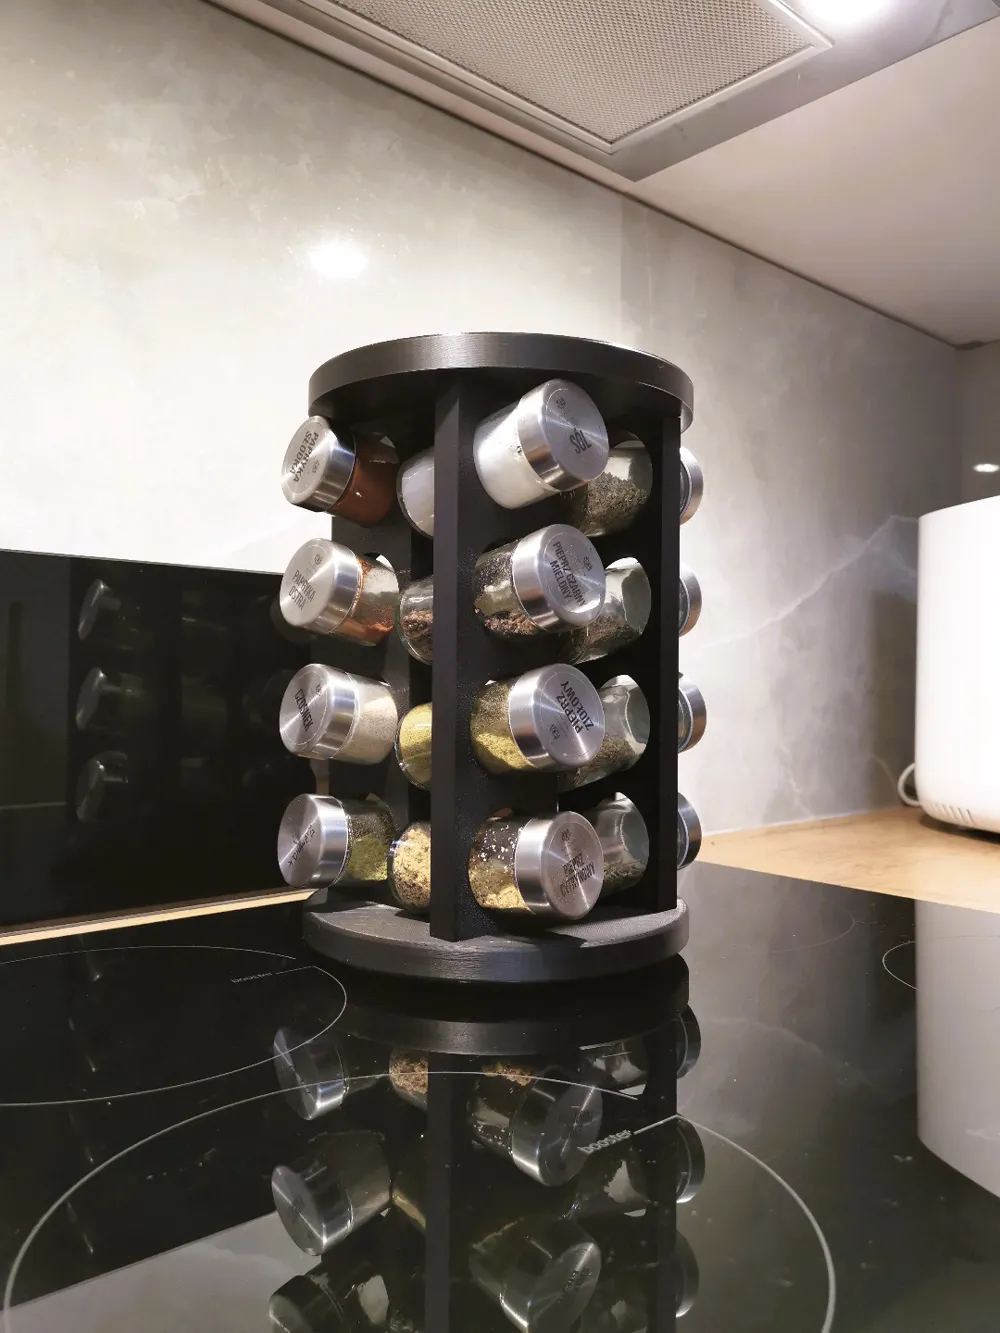
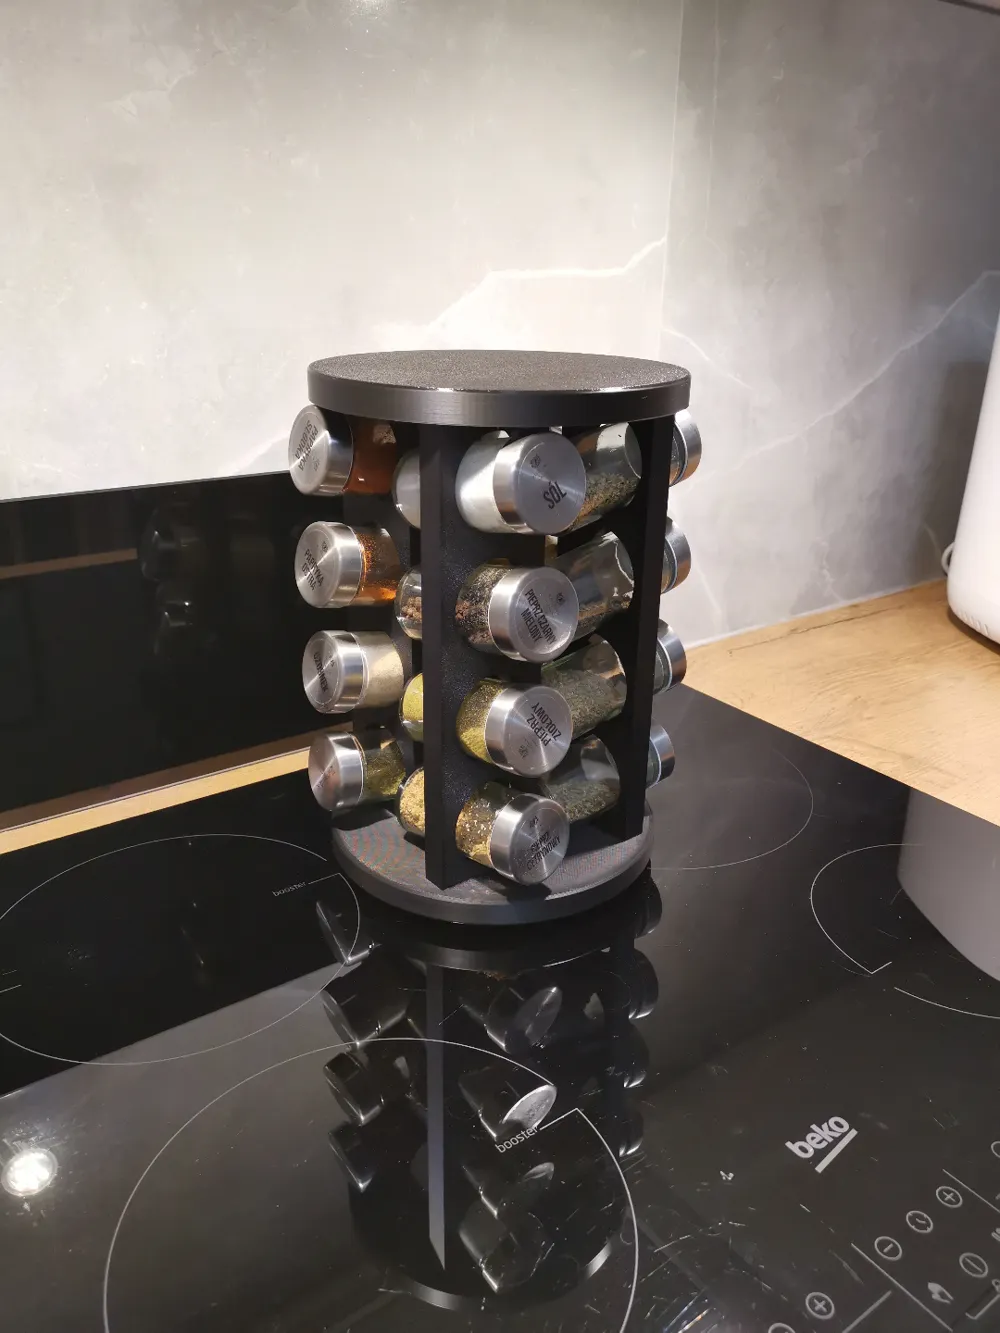
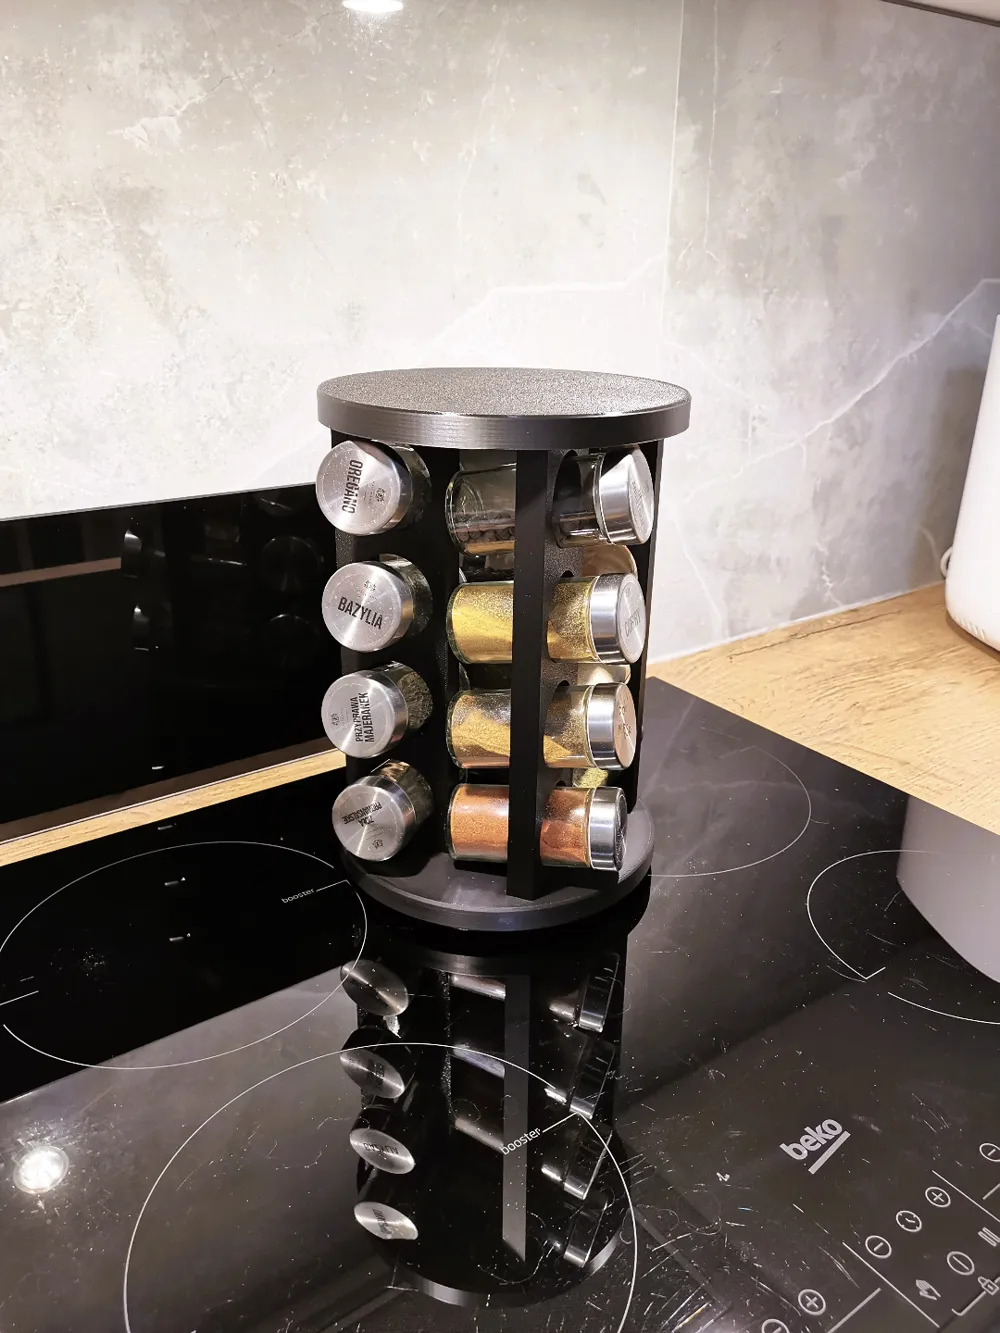
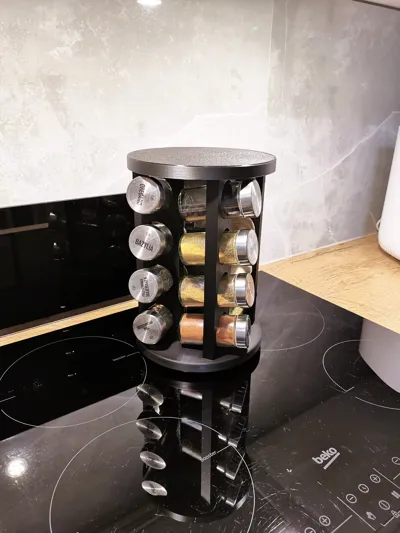
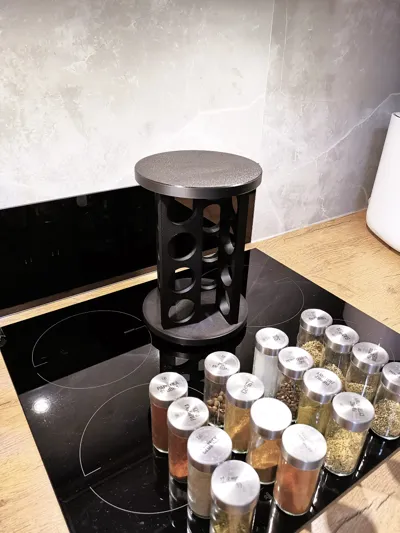
Kitchen spice organizer (rotatable)
IP Report
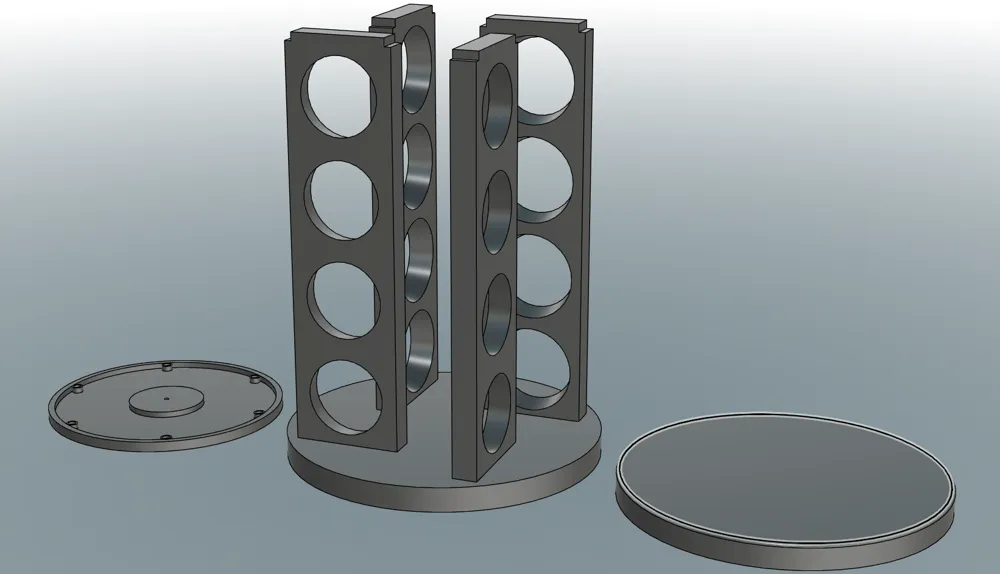
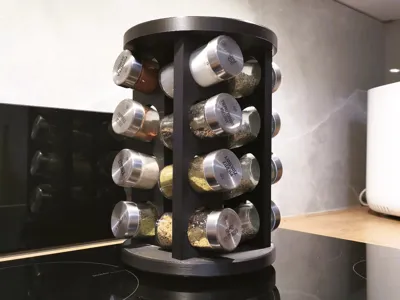
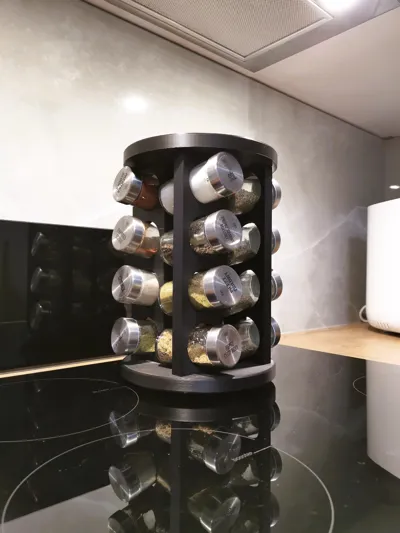
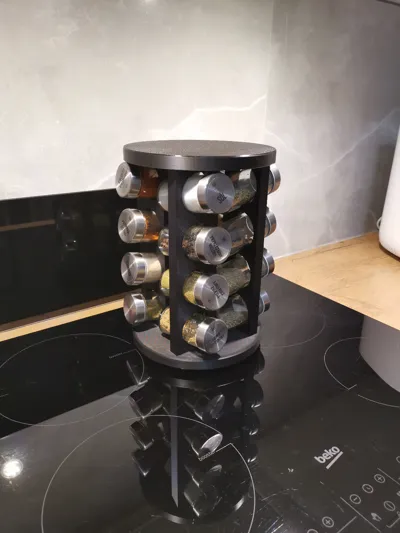
GIF
Print Profile(2)

A1 mini version, 0.2mm layer, 2 walls, 15% infill
Designer
12 h
5 plates

P1P, P1S, X1, X1C, X1E, A1, 0.2mm layer, 2 walls, 15% infill
Designer
14.2 h
5 plates
Open in Bambu Studio
Boost
403
977
32
11
409
129
Released
Description
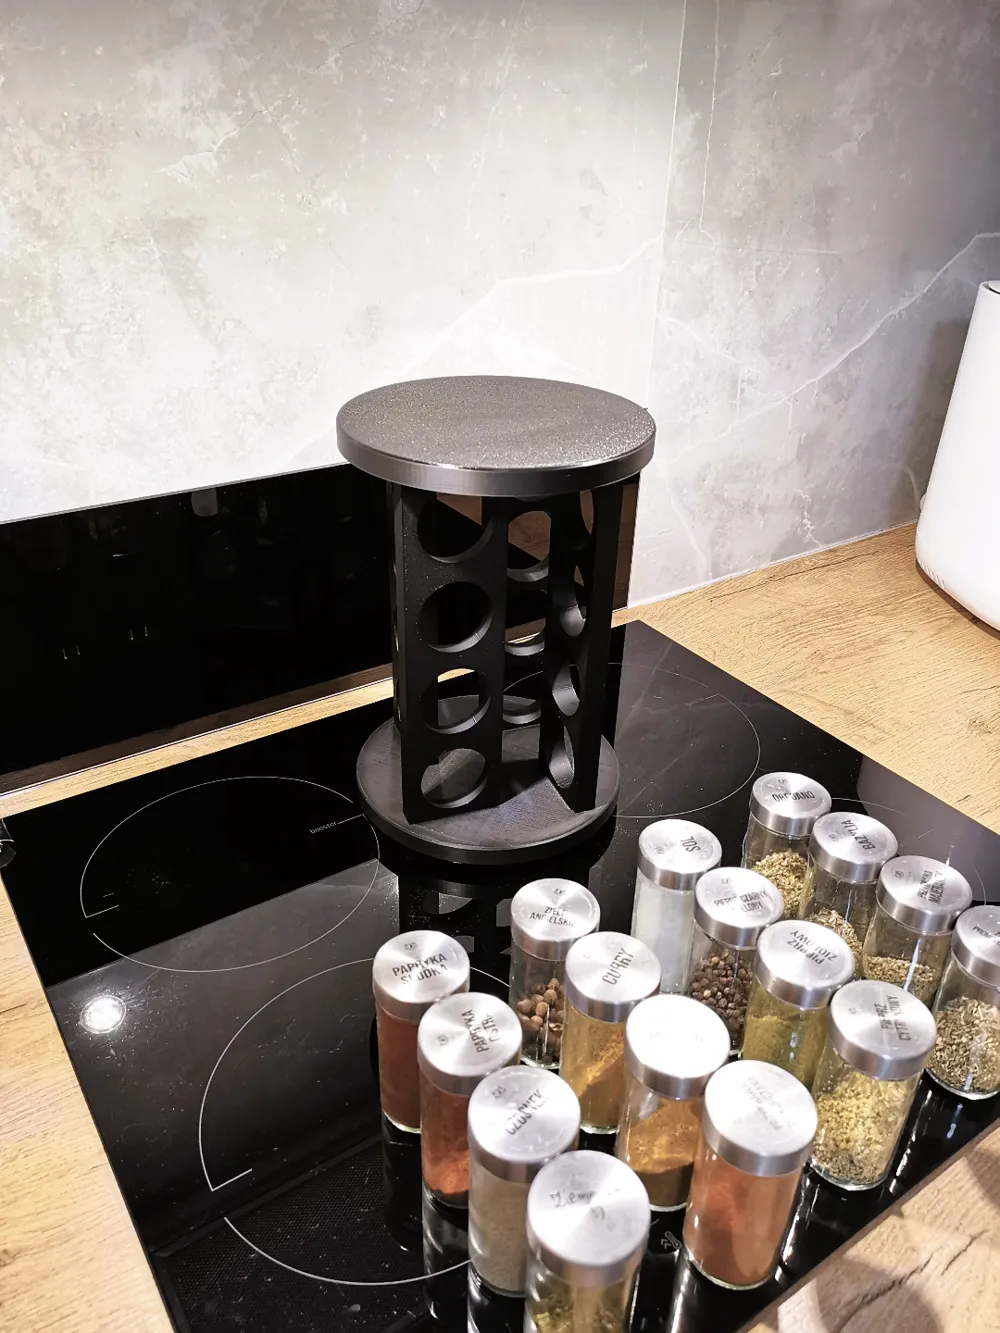
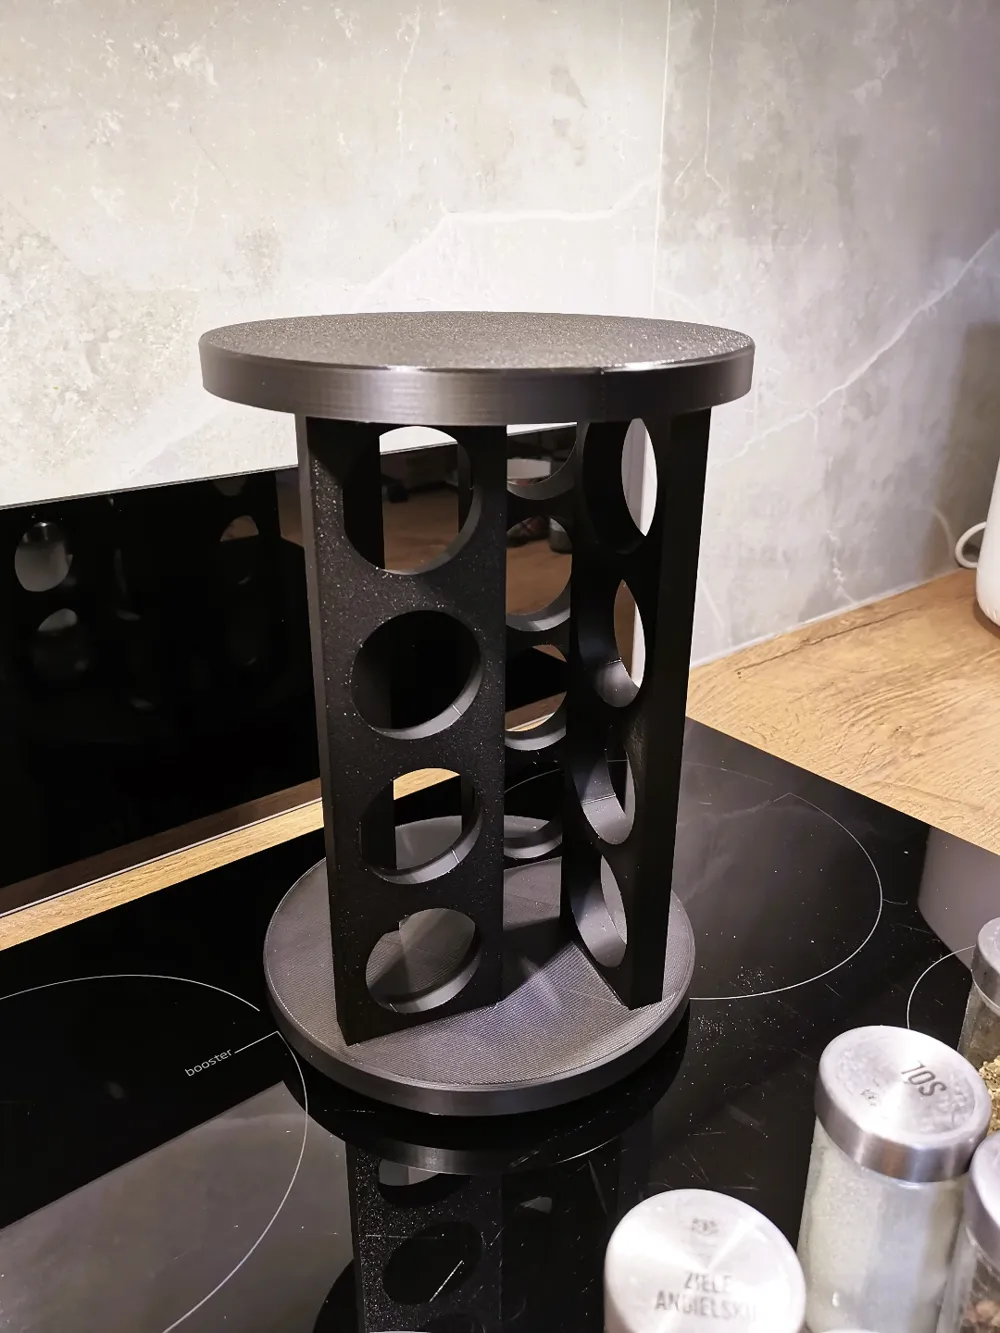
Hey, I’d like to introduce you to my kitchen spice organizer. Its advantages are:
- Simple design

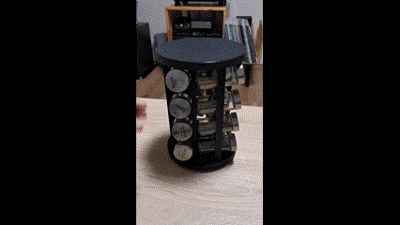
- Rotatable
- Holds up to 16 jars (max diameter 45mm) for spices (jars not included :D)
- Can be printed in multiple colors (e.g., black PLA + PLA Wood for the base)
- Easy assembly
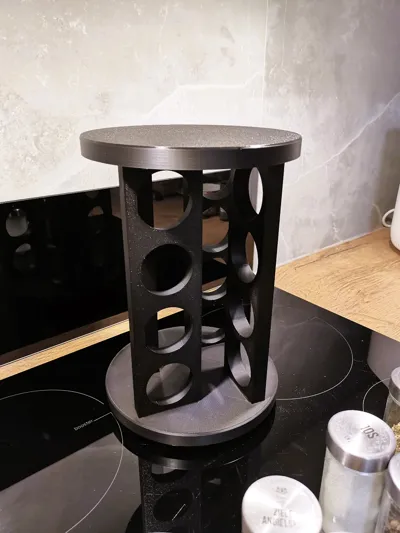
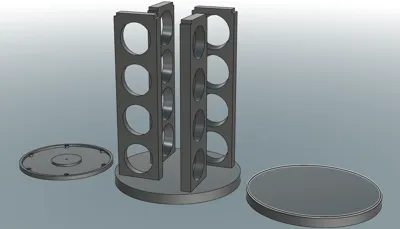
The organizer consists of a rotating base, 4 jar-holding components, and a top piece that provides structural rigidity. To assemble it, you’ll need:
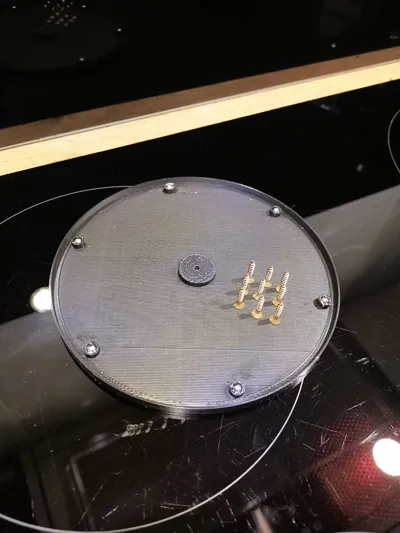
- 9 screws, 3x15mm (wood screws will work).
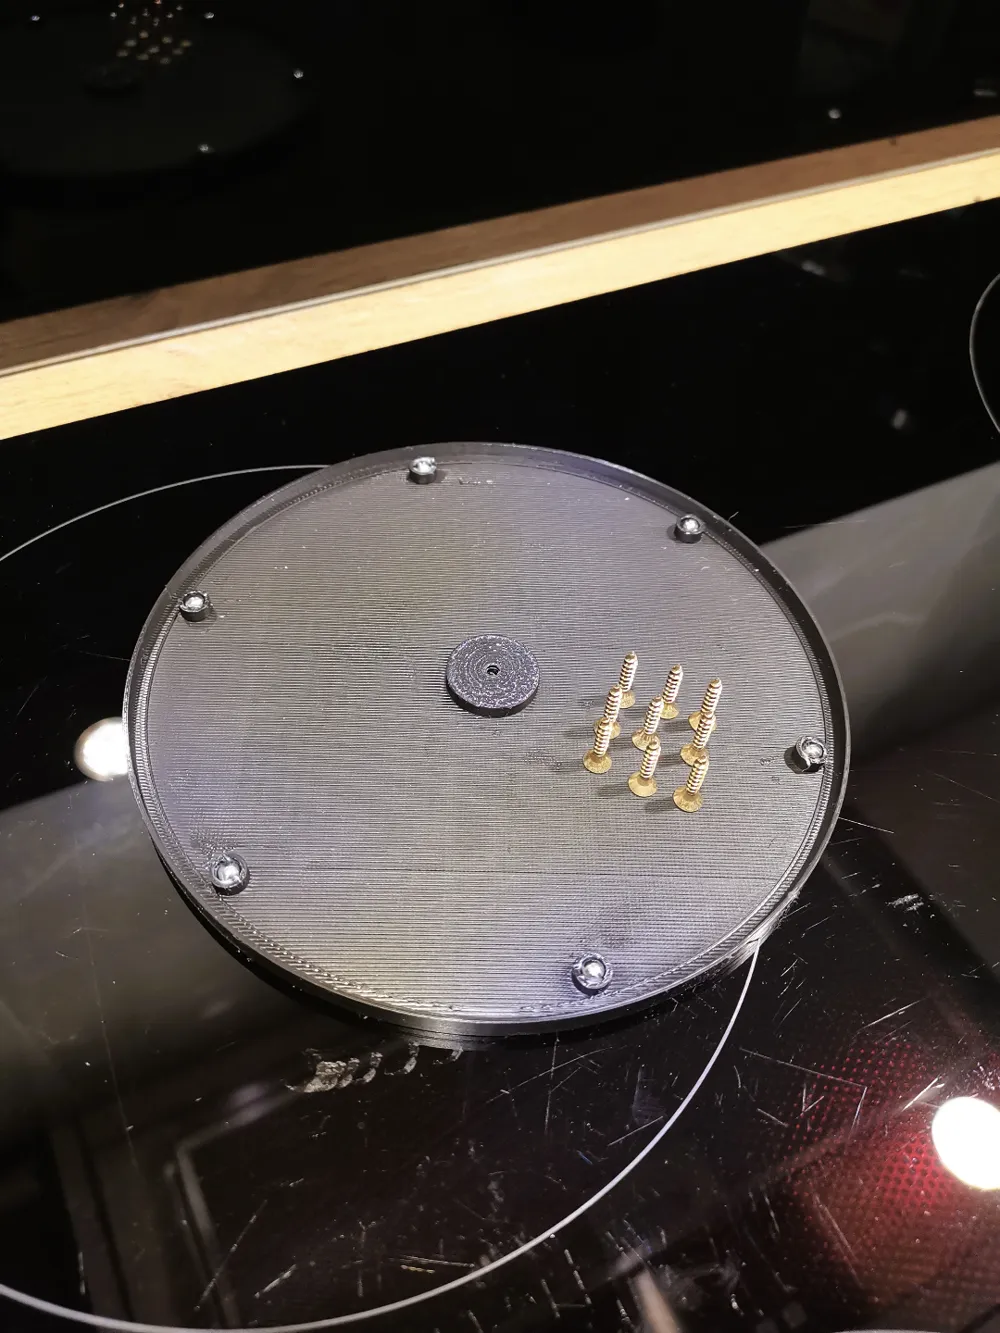
- 6 metal balls, 5mm diameter.
- Optional: Glue to secure the top base to the holders (the holes in the top base have an extra 0.1mm clearance for excess cyanoacrylate glue).
- Optional: Lubricant for the balls and the rotating base.
Assembly Instructions:
- Mounting the jar holders:
Attach the holders so that the smaller opening faces outward (the holes have two diameters: 47mm and 53mm, allowing jars to tilt slightly and stay securely in place). Gently insert them into the bottom base and then tap them with your hand—they should snap nicely into place. - Screwing the holders:
Secure the holders to the base using 3x15mm screws. I recommend tightening them evenly to avoid unnecessary stress. - Attaching the top piece:
Align the top piece with the assembled holders. I suggest doing this step-by-step to avoid any issues (i.e., gently stretch the holders to fit into the top base’s holes). Once everything aligns, press the top piece down. You can use glue before this step for a firmer hold, though I didn’t use any, and it still holds firmly and rigidly. - Mounting the rotating base:
Before attaching the rotating base, you can lubricate the balls and the center component with, for instance, the grease that came with your 3D printer :D. Then, using a 3x15mm screw, attach the base to the rest of the organizer (tighten fully, then loosen by one turn to ensure smooth rotation).
Important Notes:
- I recommend printing the first plate (bottom) on a Smooth PEI sheet to get a smooth surface for the balls in the rotating base to glide on.
- If you wish, you can use full bearings instead of metal balls and modify the rotating base as needed (there’s plenty of extra material for this).
- The organizer is quite large (the holders are 25cm tall), so printing it isn’t possible on A1 mini printer (unless someone trims the holders and makes a version for 12 spice jars instead :D...). - Edit: Never mind, I’ve added the resized version as a new profile (includes the reduction in slots, rounded side edges, and a smaller base and top diameter of 179mm).
License

This user content is licensed under a Standard Digital File License.
You shall not share, sub-license, sell, rent, host, transfer, or distribute in any way the digital or 3D printed versions of this object, nor any other derivative work of this object in its digital or physical format (including - but not limited to - remixes of this object, and hosting on other digital platforms). The objects may not be used without permission in any way whatsoever in which you charge money, or collect fees.


Comment & Rating (32)