
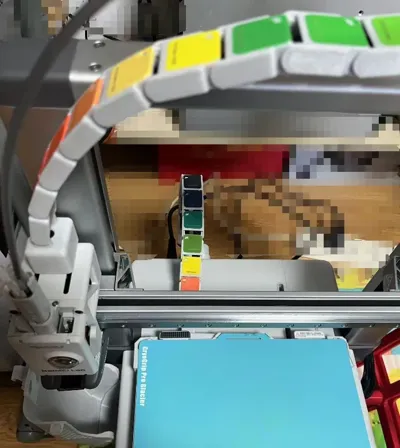
Rainbow cable chain for A1/A1 mini X/Y axis (Bambu color card version)


Print Profile(4)


Description
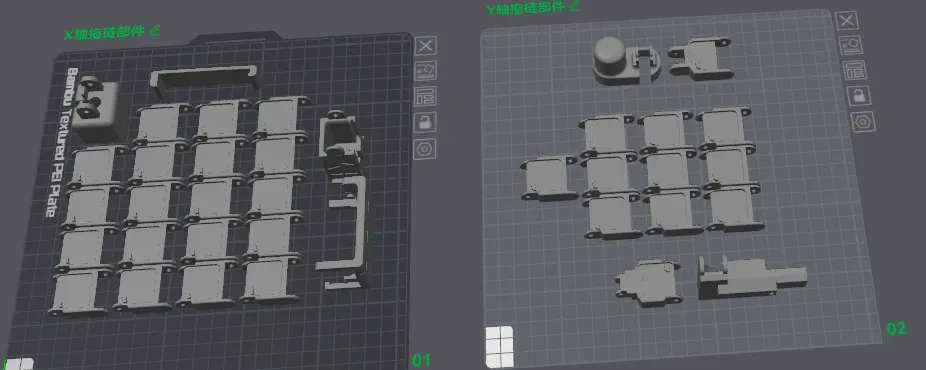
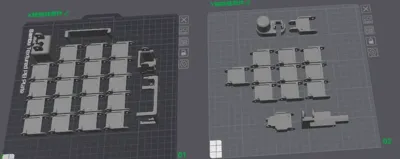
If you are concerned about potential bed adhesion issues, it is recommended to print 1-2 cable chain links first to test, as the cable chain has a small contact area. If you are not confident, you can enable a brim. My arrangement and not setting a brim have been fine in my own multiple printing experiences
Every Bambu Lab A1/A1 mini user deserves to have this rainbow cable chain!_Bilibili_bilibili
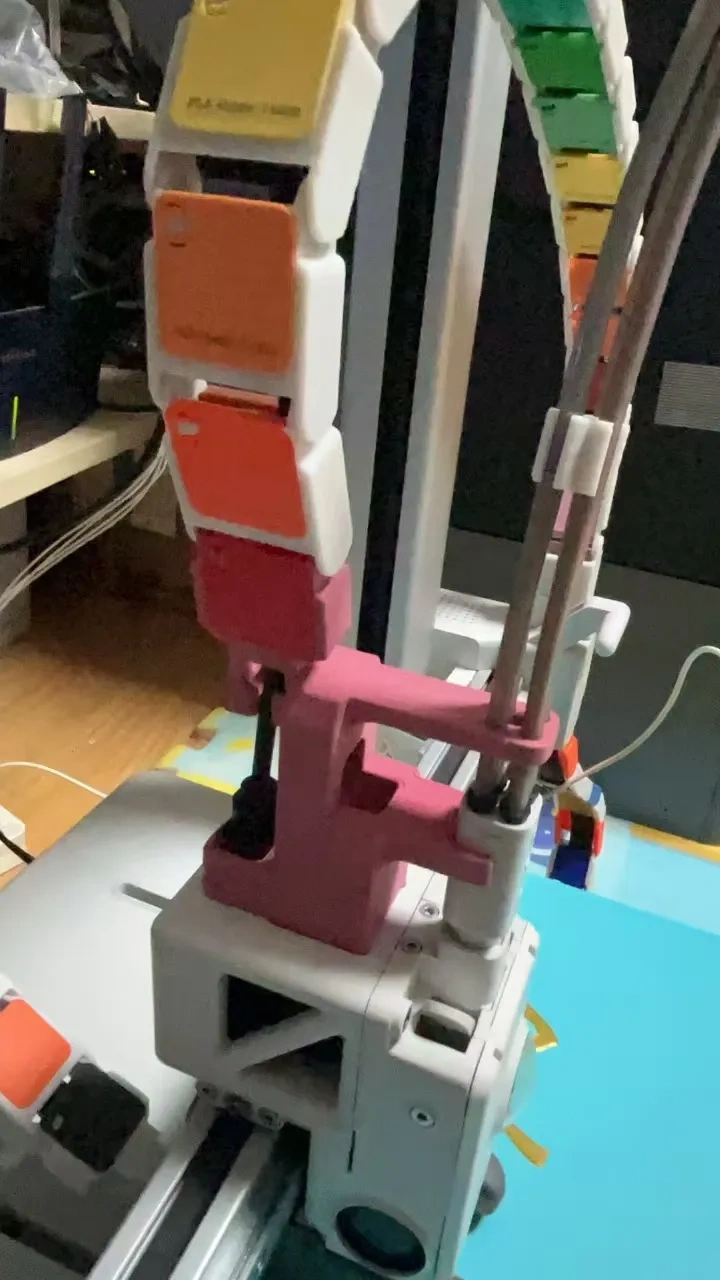
2025-2-2 Updated a print profile, (select the 3rd one on the right) a fixing solution for the extruder end. Because I myself have other accessory devices installed on the gantry, to completely eliminate interference issues, I redesigned this fixing solution, which also incorporates the cable chain, by referencing various PTFE tube guide accessories on MakerWorld. It works well for my own use, and I recommend it to all A1 users. Mini users do not need to worry, as there is no gantry interference
==============================================
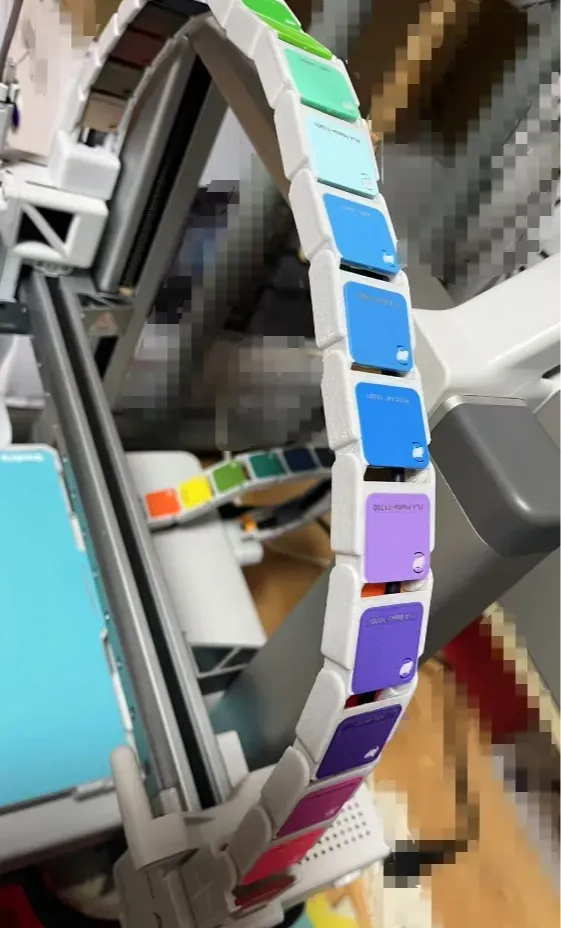
The cable chain I used before was the Moskk83 version. A sudden inspiration led me to utilize the 'filament swatches' included with the idle machine accessories, resulting in this remix version of the X/Y axis cable chain
The fixing parts in the files are mainly adapted from Moskk83's version by modifying the dimensions. Thanks to Moskk83 for sharing
The installation steps involve first slotting the wires in, then using the filament swatches to close a joint link, and then repeatedly performing this step (19 sections are needed for the X-axis, and 10 sections for the Y-axis)

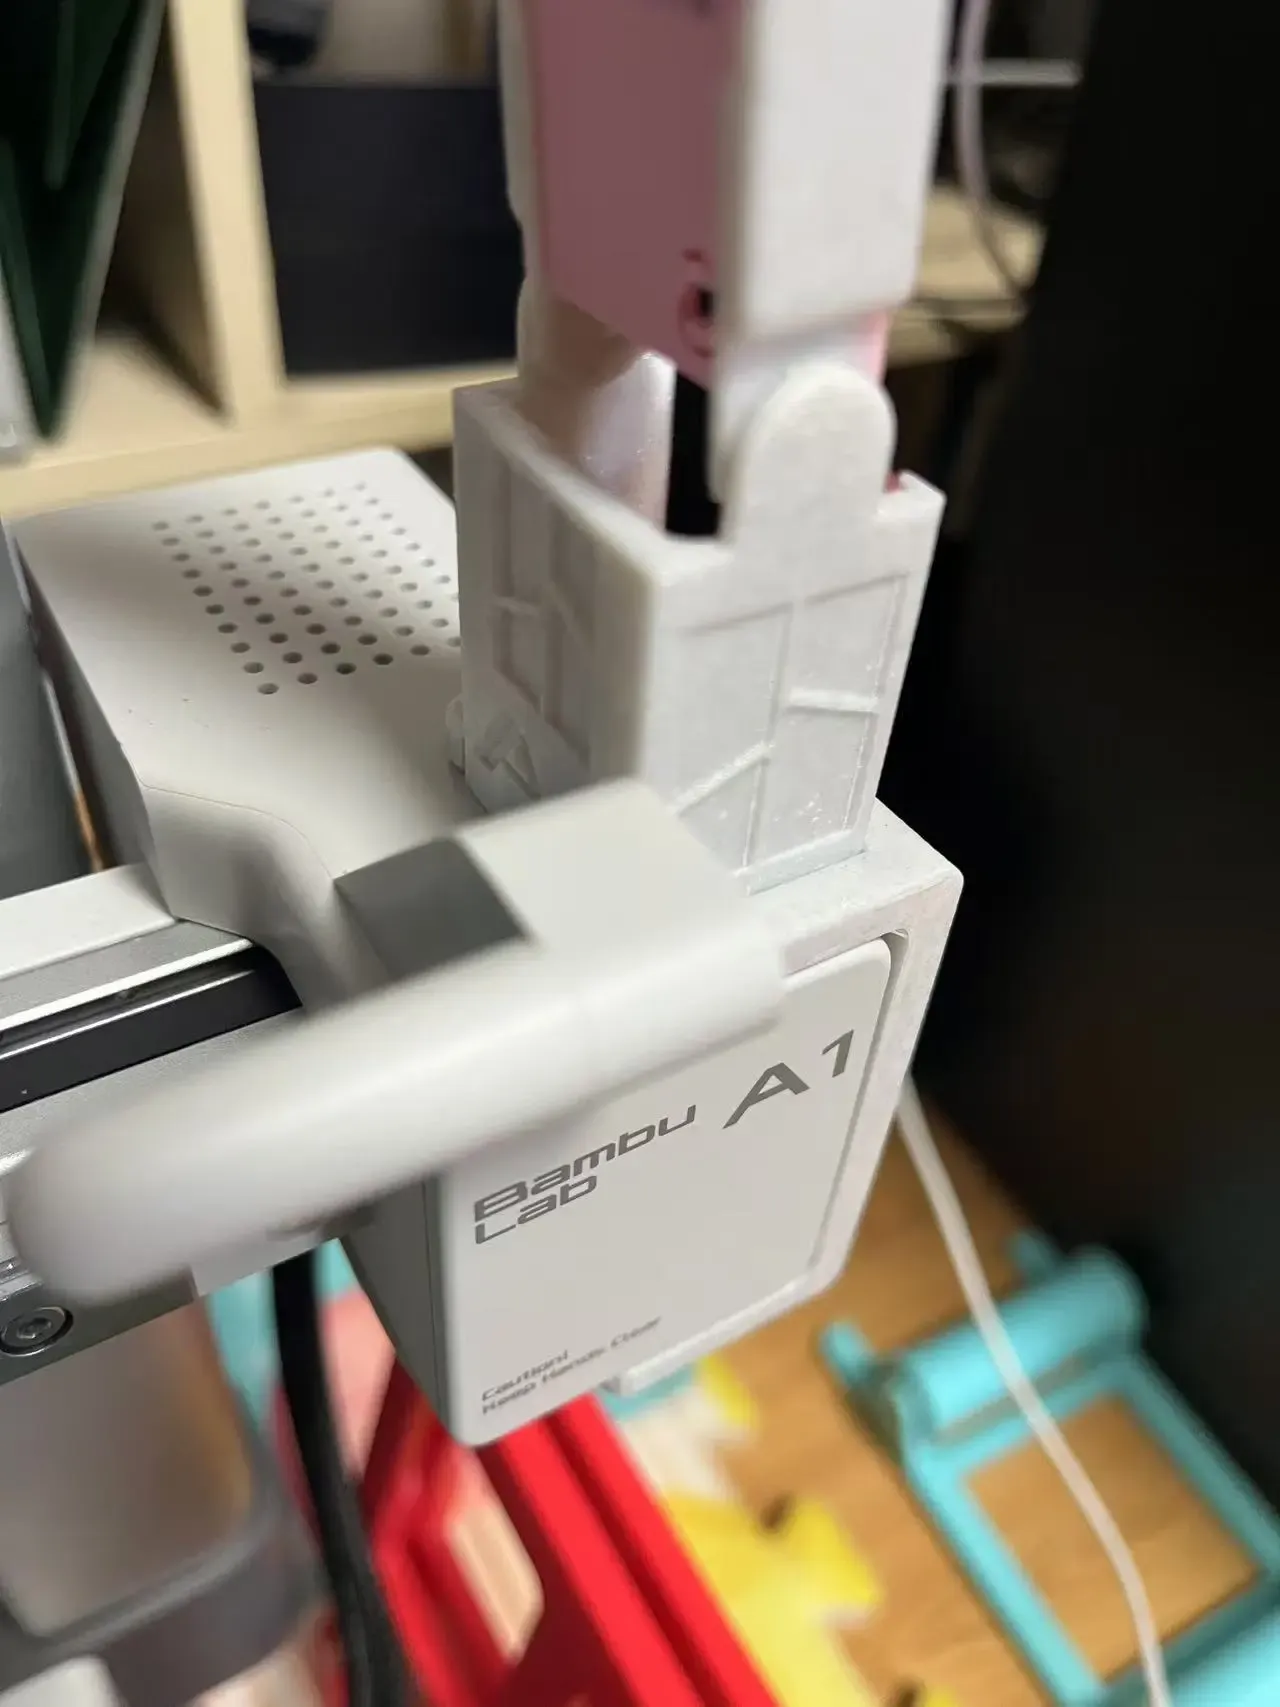
A recessed slot is designed on the inside; please make sure to push it all the way into place, otherwise it will affect the proper installation of the next link. (The photo uses an earlier version of the fixing part, please ignore it. It is mainly to show the orientation of the recessed slot usage). The image below shows the position when it is installed in place
Repeat until both ends are connected
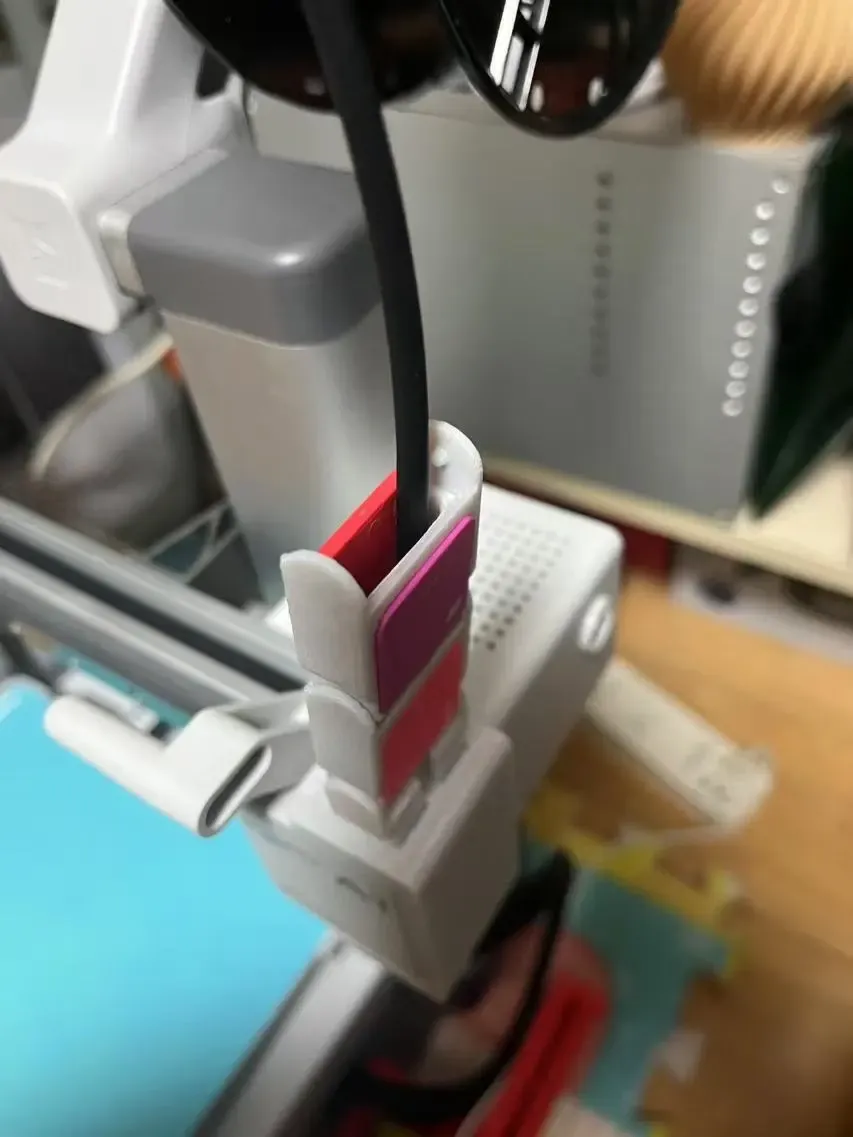
Because my A1 is the integrated packaging version, there might be inconsistencies in cable length compared to the earliest A1. So if there are any length discrepancies, please provide data, old A1 users, and I will modify a patch part for you to use
Similarly, if A1 mini users have length issues, please also provide data
Finally and most importantly: do not modify the print support data. I have already adjusted and tested it. The positions where I did not set supports are unnecessary for supports, such as the cable chain. I need to ensure the flatness of the top filament swatch installation position, so I omitted supports for the recessed part, as it is not necessary. Adding supports will only increase the support removal work by dozens of times
Do not change the printing orientation! If you have any installation issues, feel free to post them in the comment section; I will reply as promptly as possible
----------------------------------------------
2025-1-8
Since I currently do not have an A1 Mini 3D printer, I directly used the fixing parts for both ends of the mini Y-axis recently released by https://makerworld.com/zh/models/943620 @Sam , and adapted the width of the cable chain. This way, A1 Mini users can also print and use it. Simply select and download the corresponding print profile. Thanks to creator Sam for sharing
Boost Me (for free)
thank you!
License

You shall not share, sub-license, sell, rent, host, transfer, or distribute in any way the digital or 3D printed versions of this object, nor any other derivative work of this object in its digital or physical format (including - but not limited to - remixes of this object, and hosting on other digital platforms). The objects may not be used without permission in any way whatsoever in which you charge money, or collect fees.


Comment & Rating (30)