Brushless ESC Case for Mosquito Car - am32


Print Profile(1)

Description
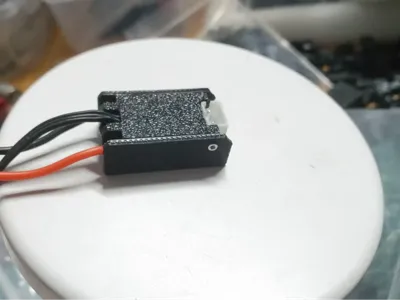
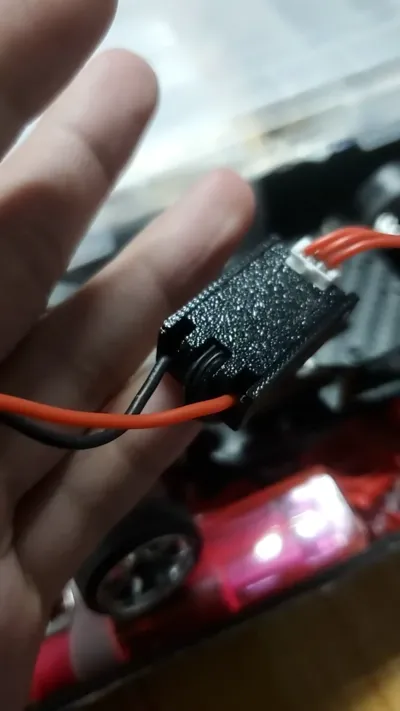
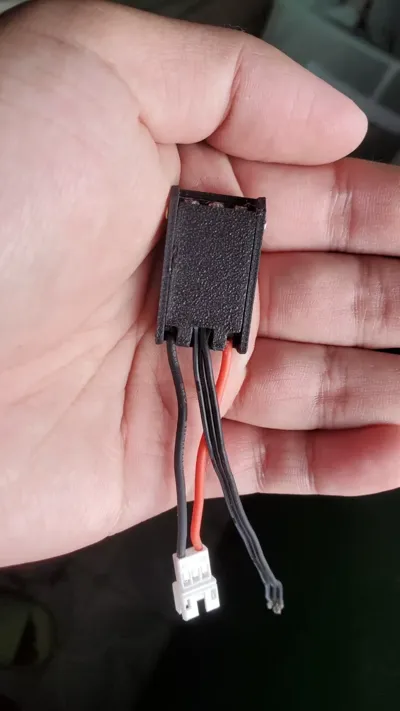
Mosquito car am32 ESC case, ultra-small size, ultra-powerful!
Battery power lines and receiver lines can support both horizontal and vertical placement, offering diverse installation methods.
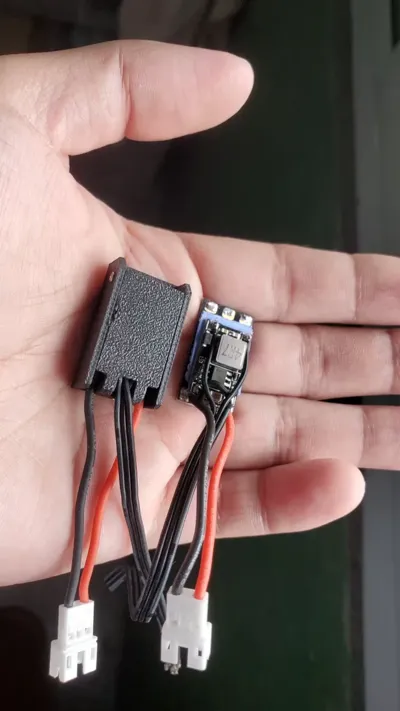
Motor connections come in two versions: direct soldering and PH2.0 connector.
With direct soldering, wires support both horizontal and vertical placement; however, if you choose the PH2.0 connector, only vertical placement is possible.
Choose as needed.
The overall structure is compact, resulting in a higher installation difficulty.
The ESC costs about 19 yuan on Taobao.

The BEC module is as shown, generally under 5 yuan.

All wires are silicone wires.
The battery interface uses PH2.0 aviation connectors. Silicone wires are softer and 22-gauge is sufficient.
You need to change the wire order according to the battery interface (some mosquito car batteries only have PH2.0).
Alternatively, you can use XH2.54 aviation connectors for direct connection to the battery balance charging port (most have it, such as those from WLtoys).

Choose silicone wires for the receiver line, depending on the receiver type.
For miniature mosquito car receivers, use ZH1.5 and crimp the terminals properly. Remember to buy 3P sheaths.


Place a 0.5mm thick silicone thermal pad between the BEC and the ESC.

Then align the BEC input interface with the ESC power supply interface and solder them together, as shown. The rest is up to your soldering skills.
The BEC should not be aligned with the ESC, otherwise the top cover cannot be installed later, as shown.

Then, thread the receiver wire through the hole in the ESC top cover, and then install the receiver wire sheath (If you are using all black wires, make sure to match the positive and negative wire order!)
(Why recommend separate wires and sheaths? Because those with sheaths cannot be inserted through the printed top cover, and you have to manually remove the sheaths~)
Finally, install the case using M1.2*4 screws.

It usually takes about half an hour to assemble one ESC.
Those without soldering experience should not attempt this!
As for the cost, I won't reveal that, hehe~
Boost Me (for free)
Thank you for your support! Support more open-source projects!
License
You shall not share, sub-license, sell, rent, host, transfer, or distribute in any way the digital or 3D printed versions of this object, nor any other derivative work of this object in its digital or physical format (including - but not limited to - remixes of this object, and hosting on other digital platforms). The objects may not be used without permission in any way whatsoever in which you charge money, or collect fees.
Comment & Rating (0)