
Calibration Tile
Print Profile(1)

Description
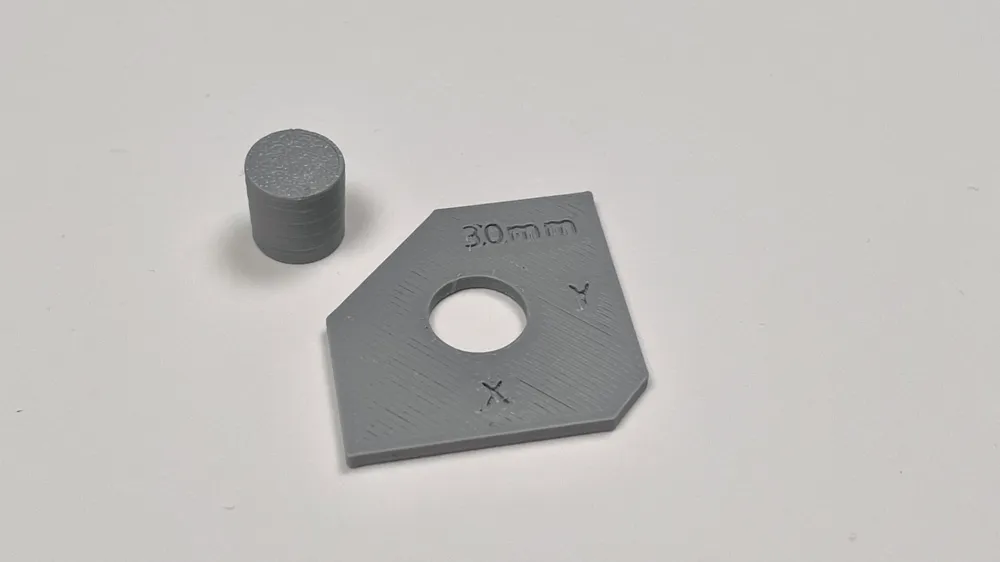
This is a simple but effective calibration tool to ensure accuracy of your prints. It tests X and Y accuracy and hole diameter accuracy.
*** NOTE ***
The following instructions modify how your machine functions and could harm your machine. Although it has worked for me, USE AT YOUR OWN RISK!
Tools needed:
- High precision calipers that can measure down to 100ths of a milimeter
How to use:
- Print out the Calibration Tile using the standard machine settings.
- Allow the part to cool fully before removing from the build plate.
- Once it has cooled to room temperature and been removed from the plate, zero your calipers.
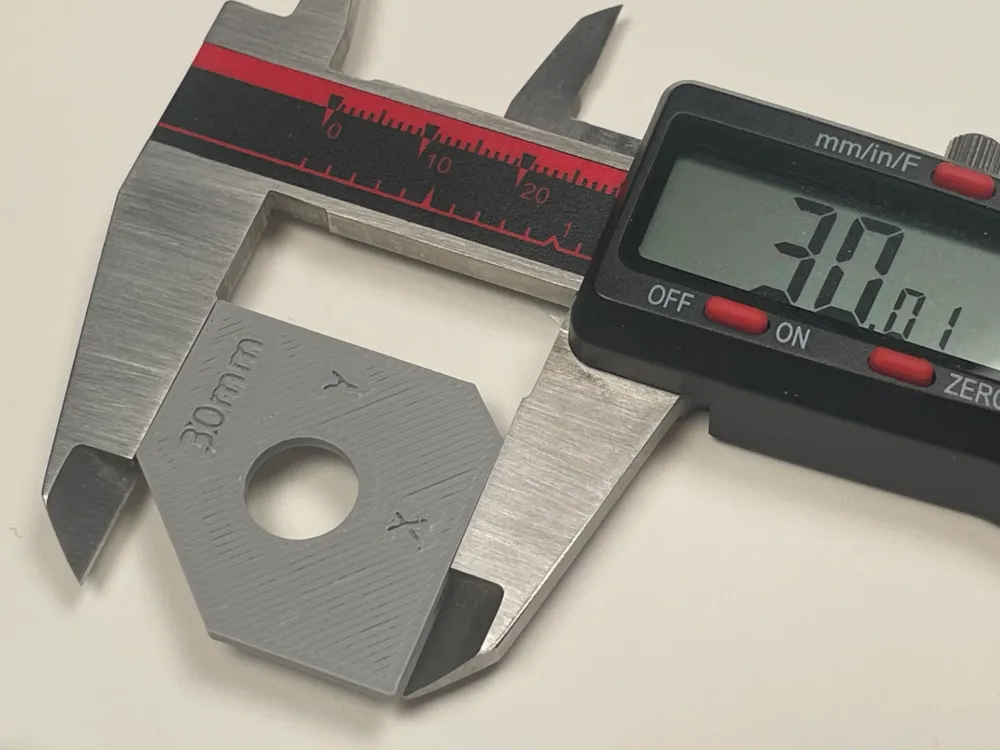
- Measure the Calibration Tile. Be careful and ensure that the Calibration Tile is straight in the calipers.
- Take 3 measurements of the of both the X and the Y axis and record measurements for each axis. Average the measurements for X and Y separately and record the average.
- For each axis divide 30mm by the average you recorded for the axis and record that number. You will use these numbers to modify your printer profile. The numbers should be very small over or under 1. Example: 1.00334444816 or .997789284
In Bambu Studio go to the Printer setting and open the profile to add your user calibration to the Machine Start G-Code.
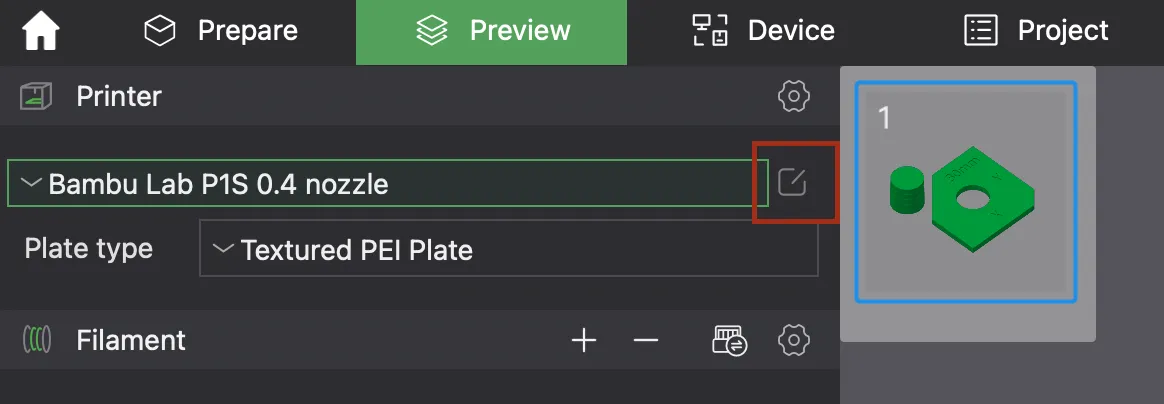
Navigate to the ‘Machine G-Code’ and add the following lines at the very end of ‘Machine Start G-Code’ your X and Y axis averages to create your user calibration section:
My calibration shown in Red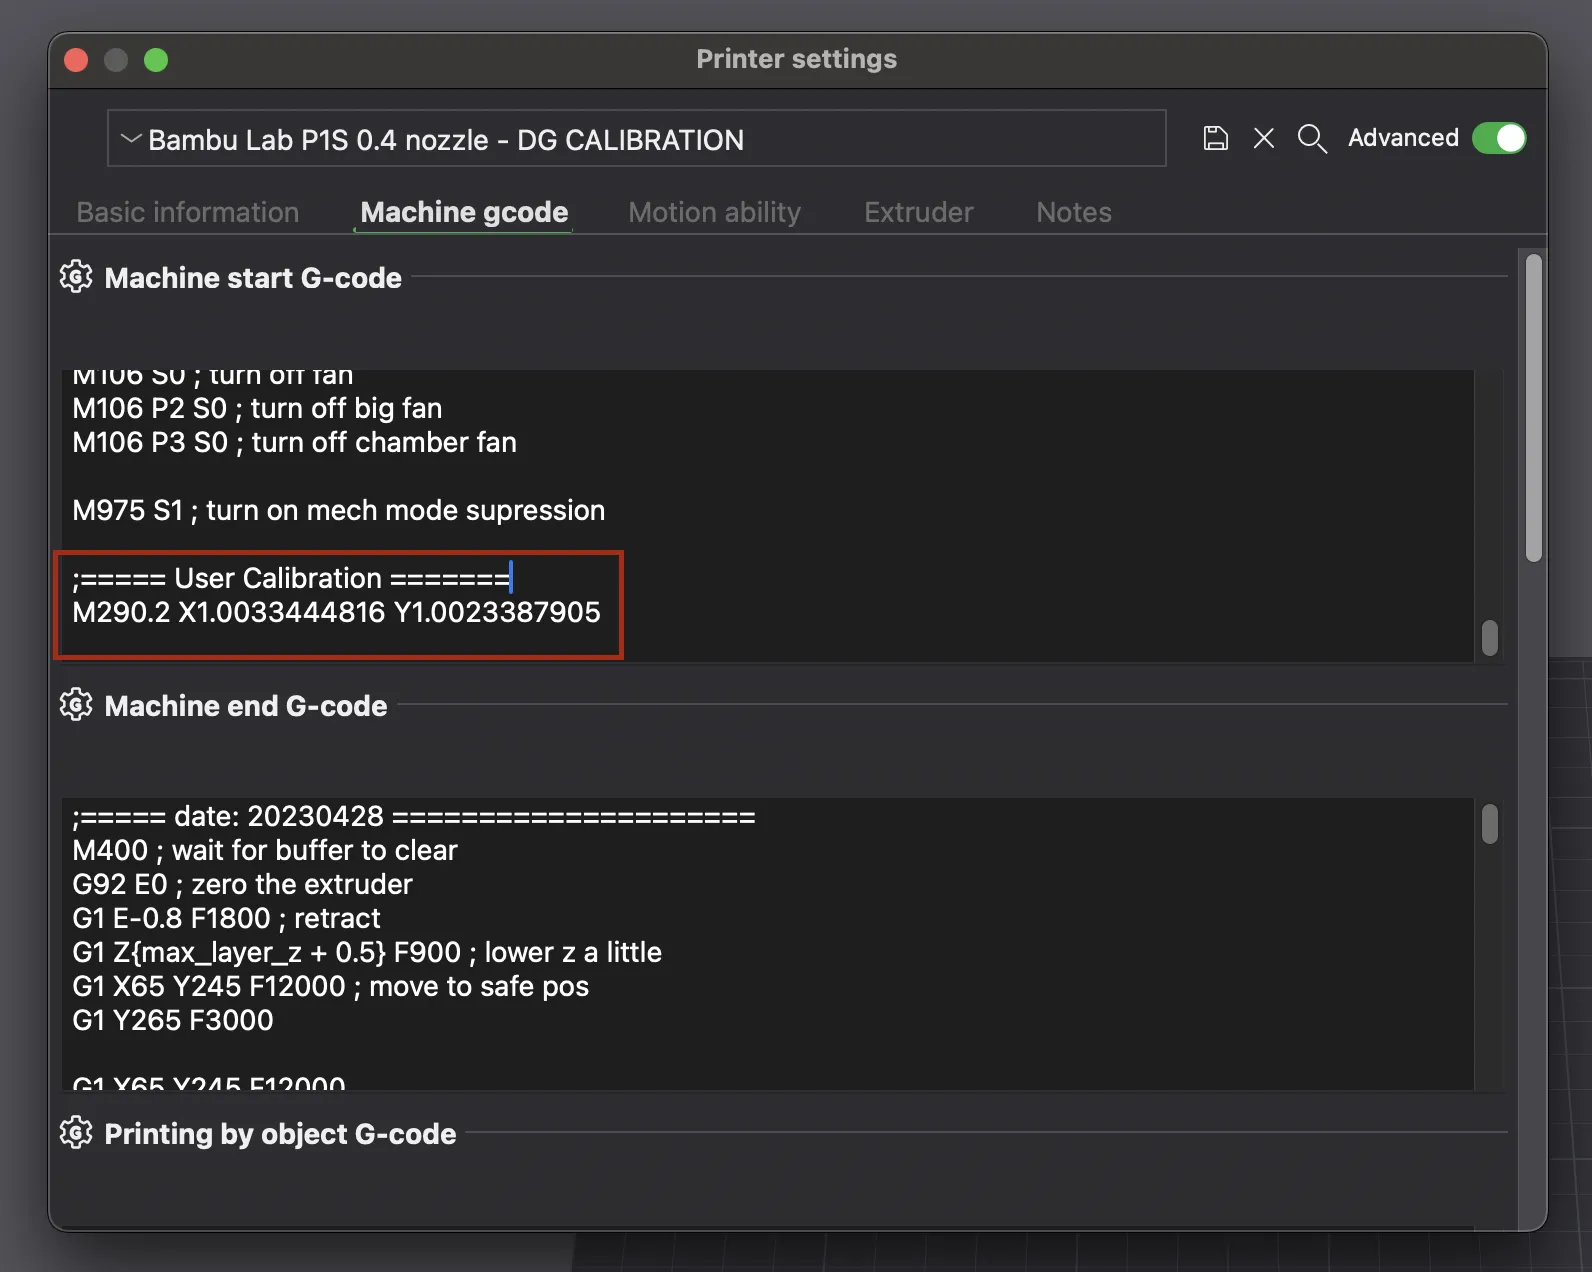
Add this text but replace with your averages with no spaces like the example above:
;===== User Calibration =====
M290.2 x[your x average] y[your y average]
- Reprint the Calibration Tile and remeasure. It should be very close to 30mm now. How accurate you need is up to you. As seen in the pictures I was able to get very close.
- The circle peg has 5 stepped diameters. Then middle step should be 10mm and each subsequent step up and down the peg grows our shrinks by 0.1mm. The hole in the Calibration Tile is 10mm. The peg should slide into the hole up to the middle step. You can use this information to adjust your ‘x-y hole compensation’ but in my experience I have not had to adjust that parameter.
License



Comment & Rating (5)