Drybox Filament Feeder PC4-M10


Print Profile(1)

Description
Membership
Do you want to sell physical prints of my models? The commercial membership grants a license for this
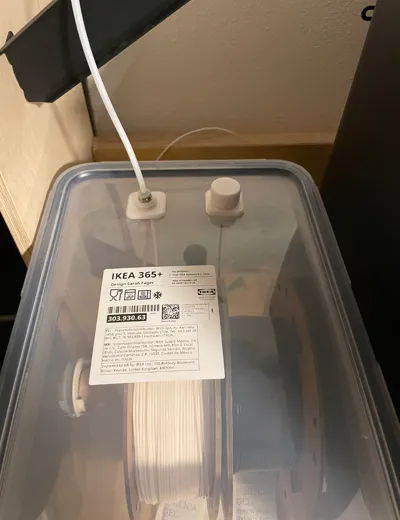
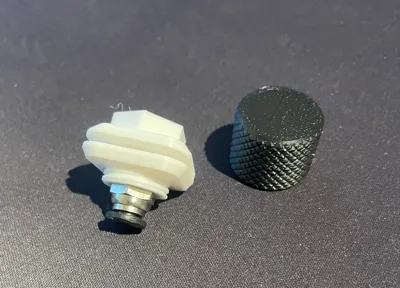
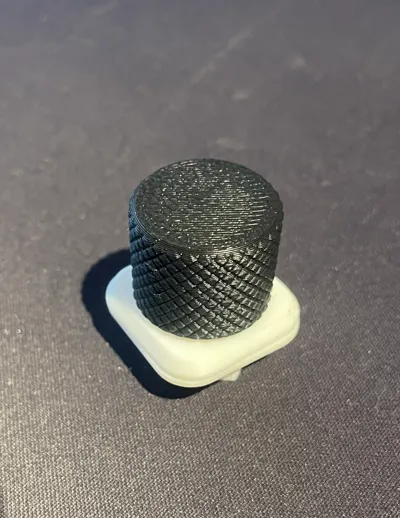
This model is designed to facilitate continued filament use from a drybox. After printing the three components, a 10mm hole must be drilled into the box.
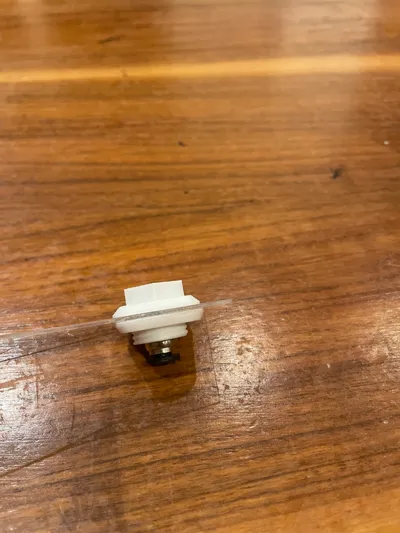
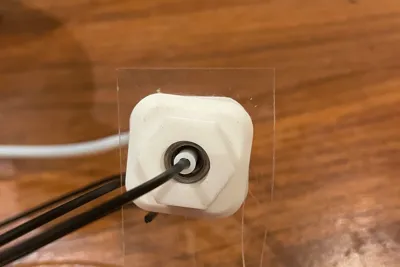
Now, insert the PC4-M10 connector into the upper half and then place it into the hole. Afterwards, screw on the lower half using the threads. This might be somewhat challenging the first time – a 17mm wrench can be helpful here.
Once everything is assembled, the feeder is ready for use. When the filament is not currently needed, the lid can be screwed onto the top threads. However, if the filament is to be used again, simply insert the PTFE tubing into the fitting to guide the filament into the printer.
In the photographs, I used a plexiglass sheet to visualize the assembly.
Boost Me (for free)
License
You shall not share, sub-license, sell, rent, host, transfer, or distribute in any way the digital or 3D printed versions of this object, nor any other derivative work of this object in its digital or physical format (including - but not limited to - remixes of this object, and hosting on other digital platforms). The objects may not be used without permission in any way whatsoever in which you charge money, or collect fees.
Comment & Rating (21)