
Children's Kitchen Cutlery Drawer - kids kitchen drawer
Print Profile(1)

Description
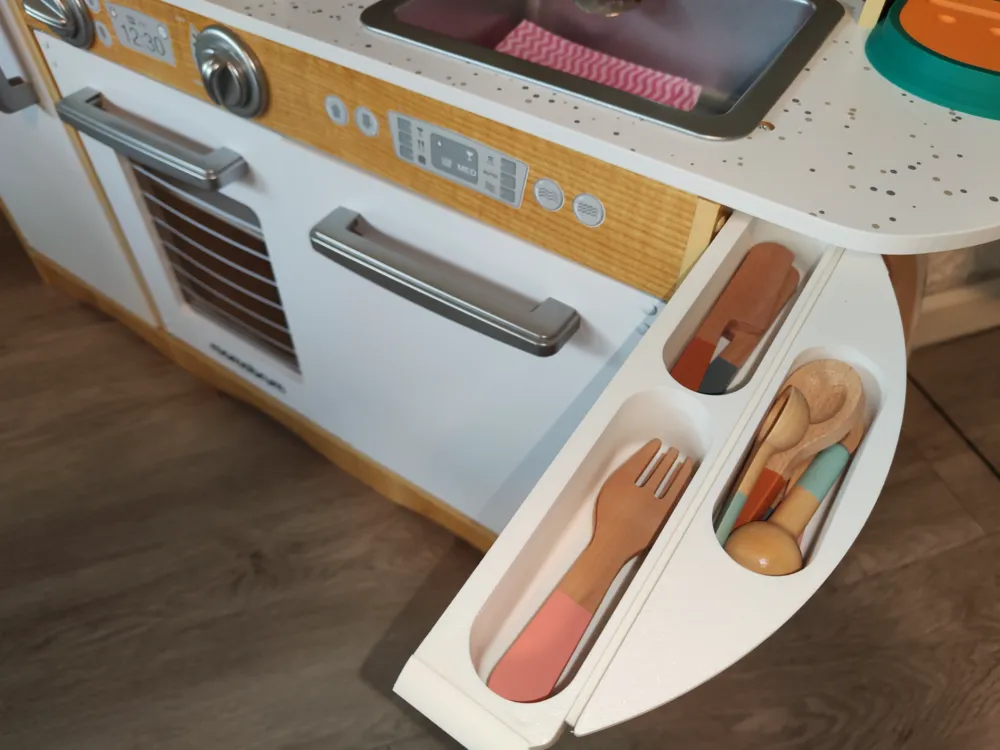
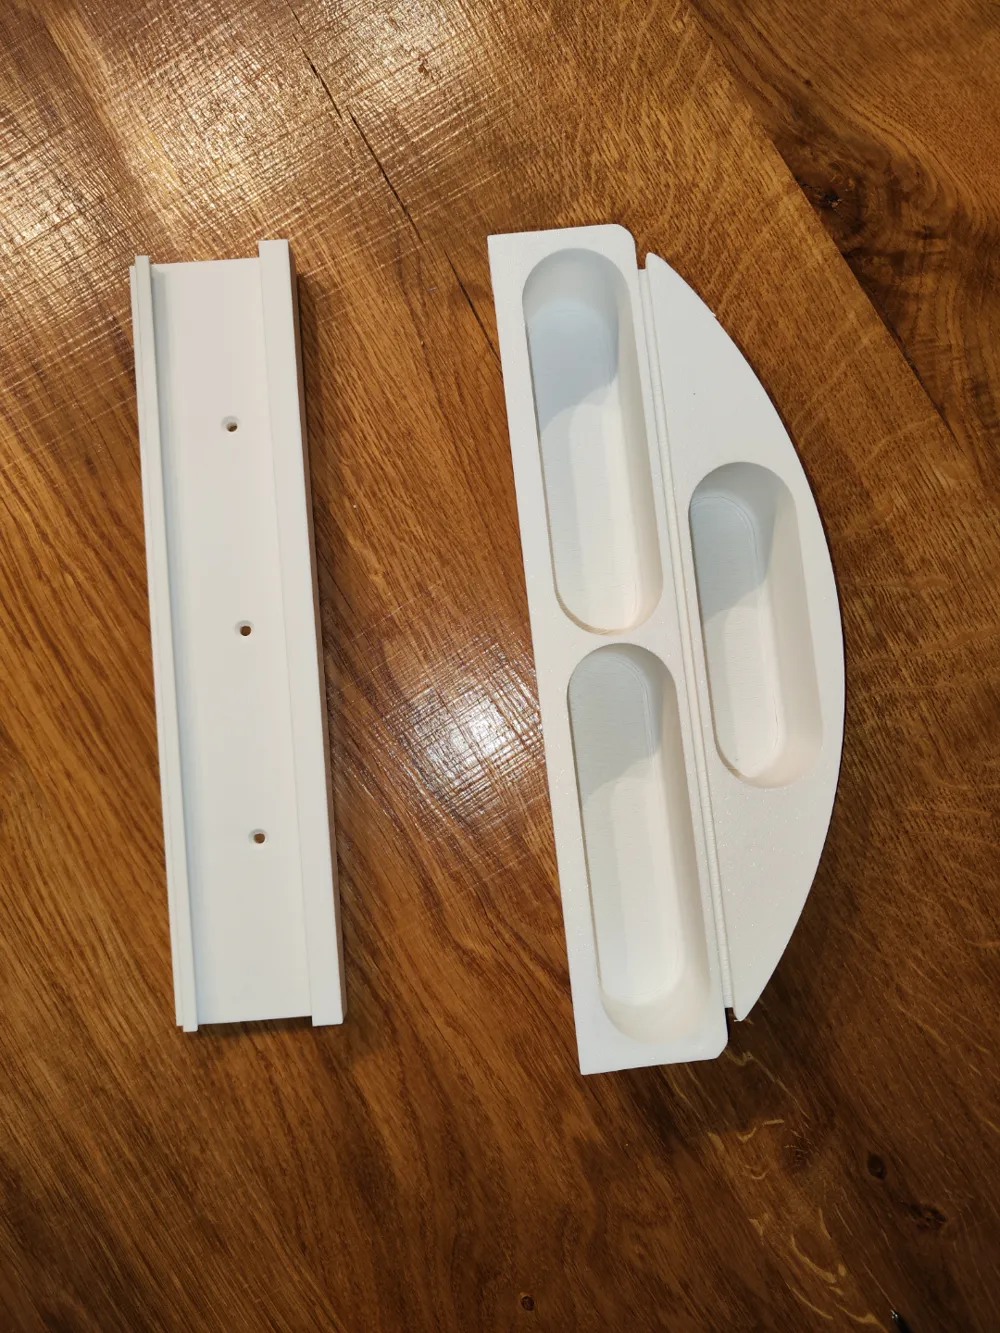
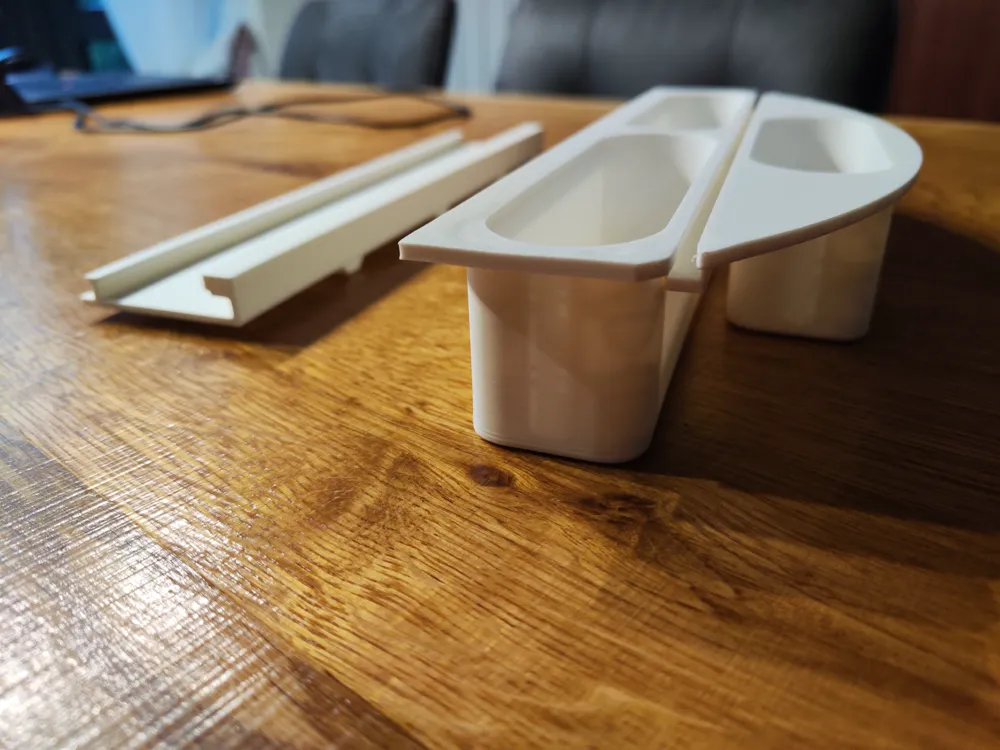
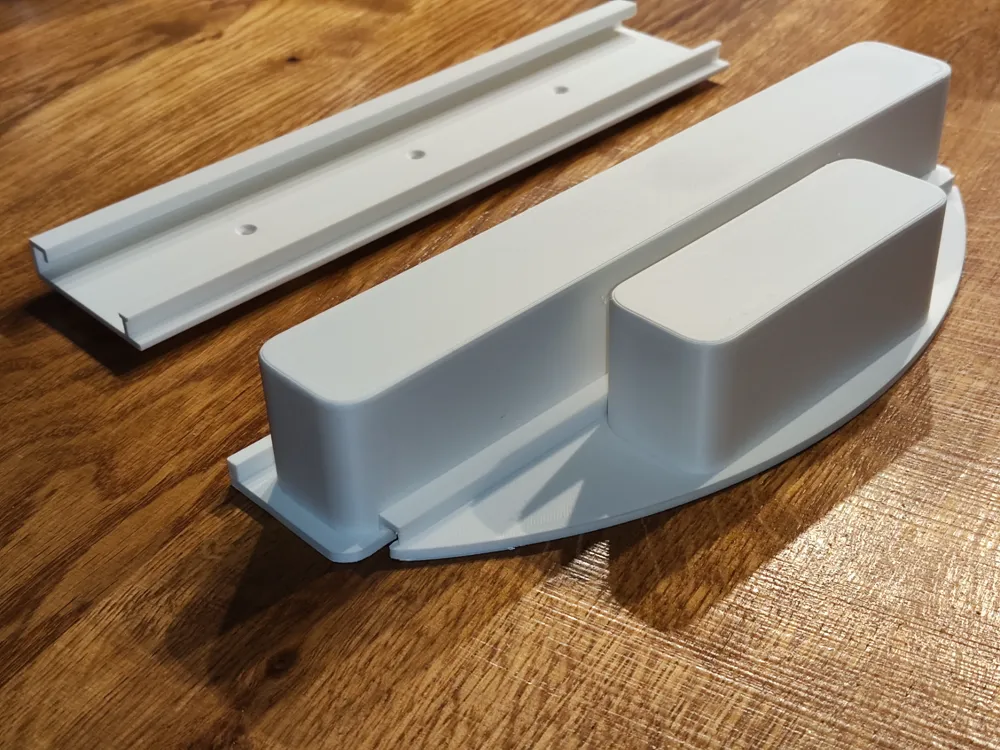
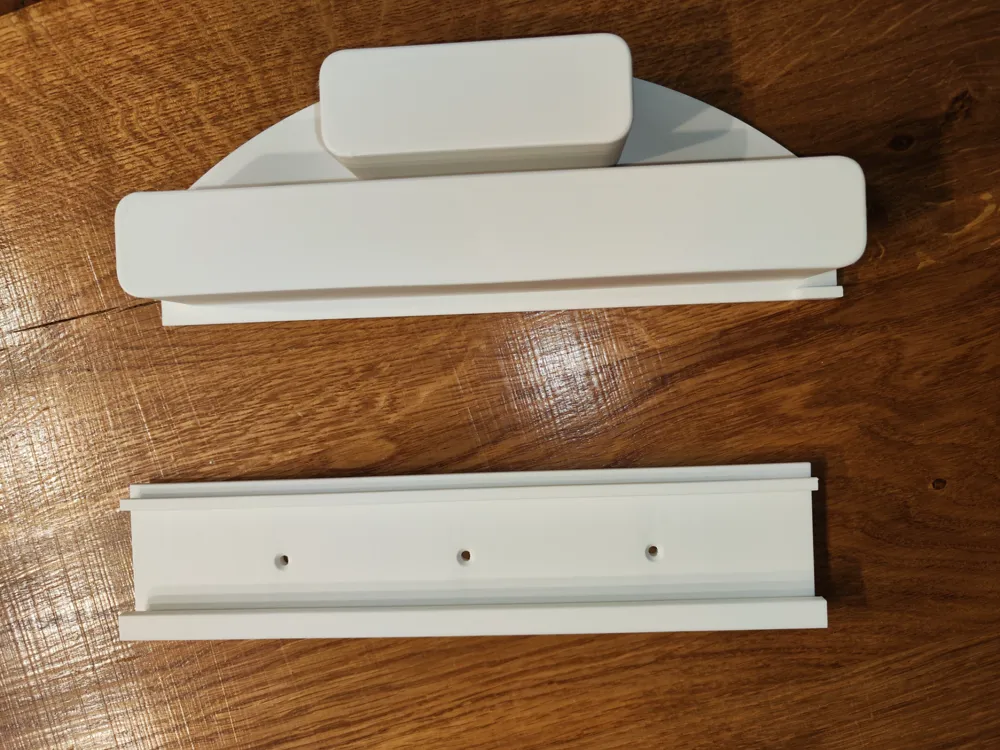
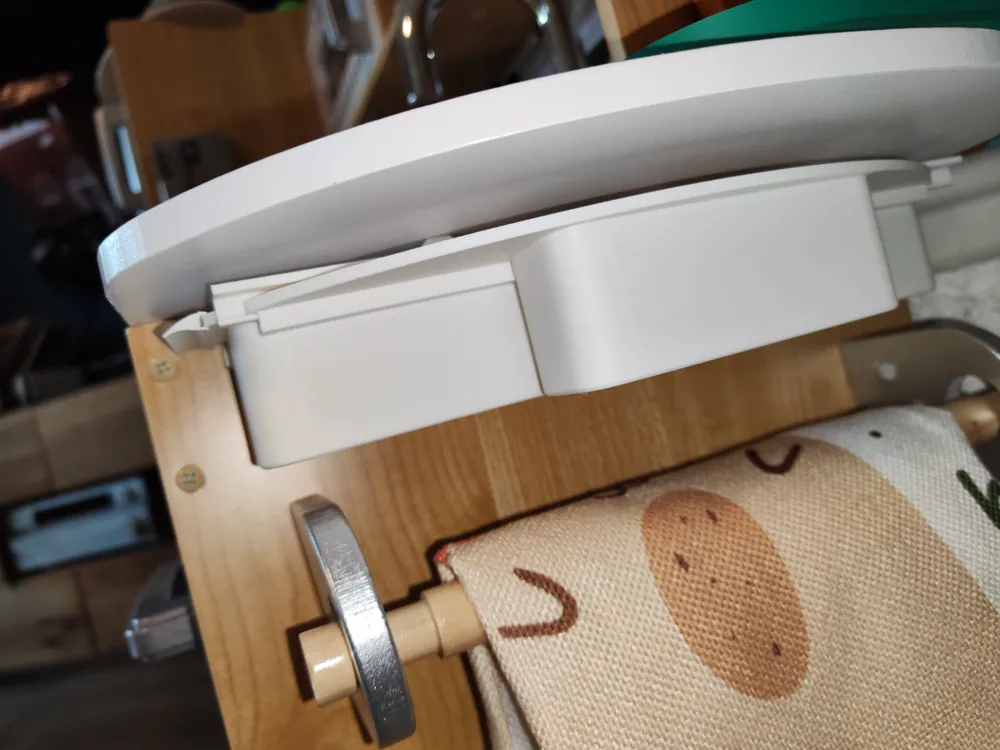
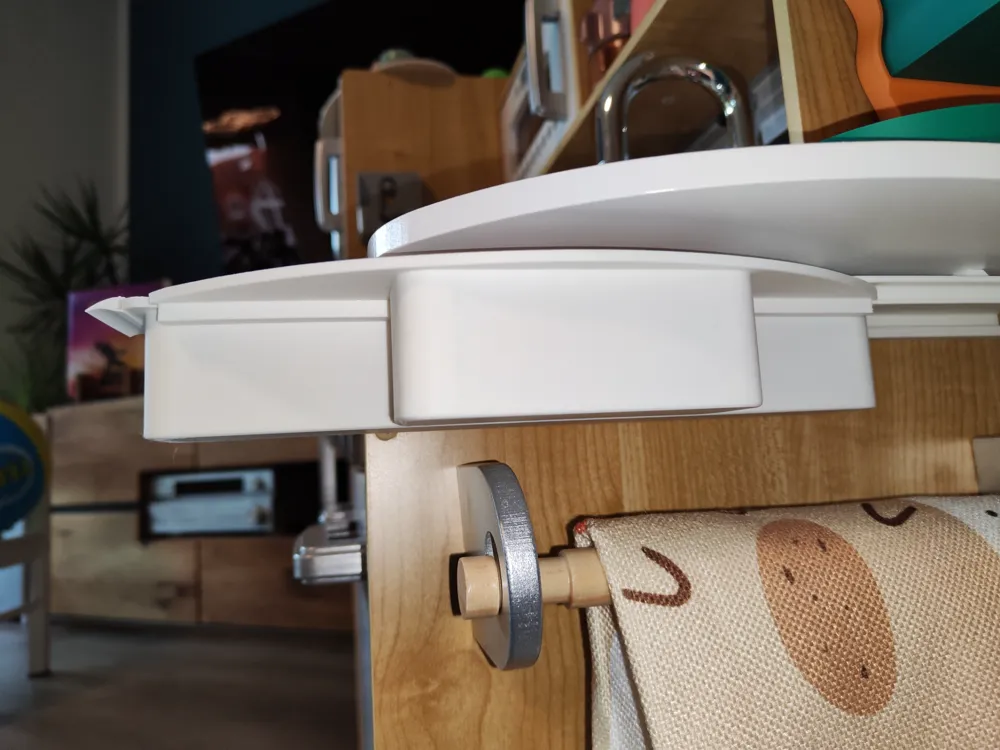
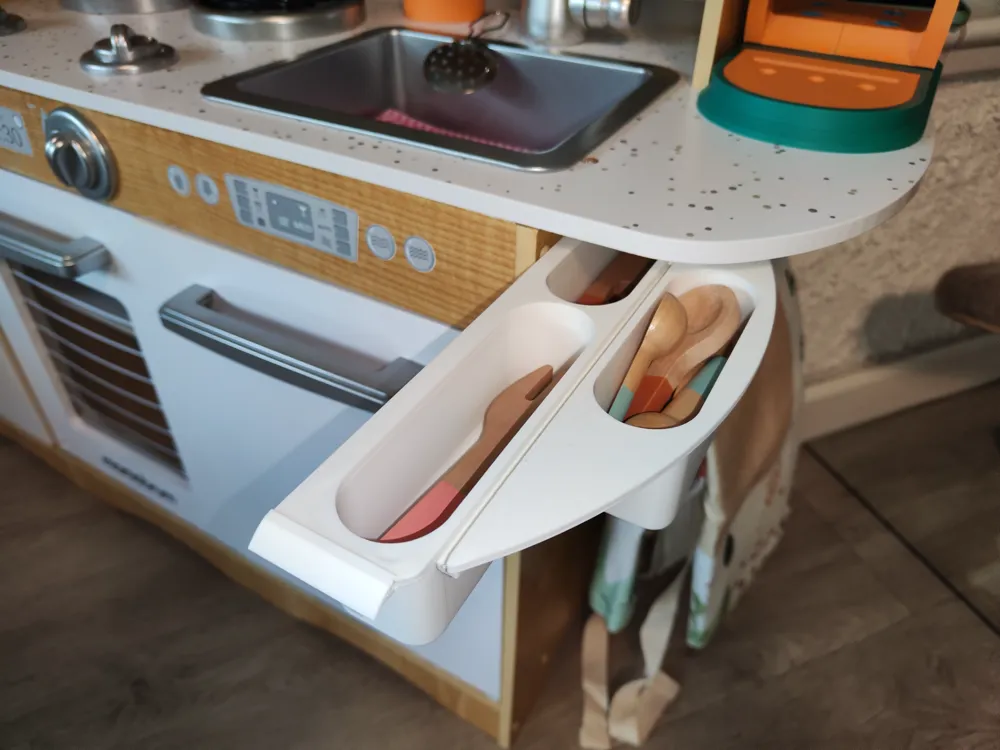
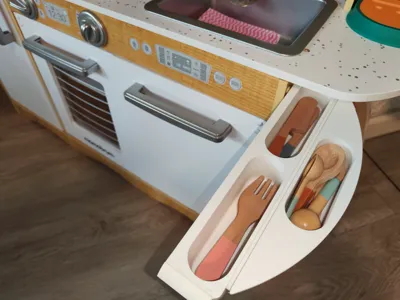
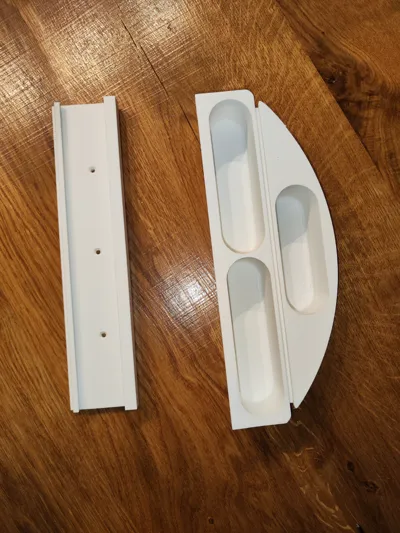
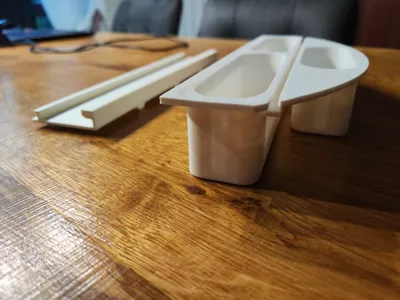
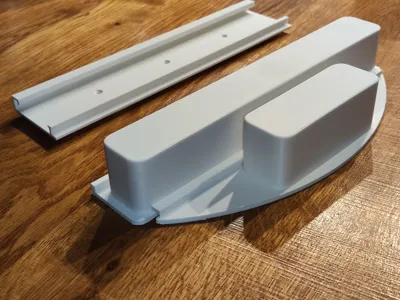
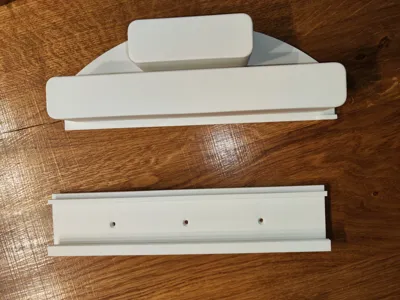
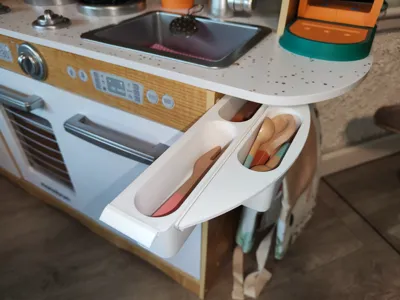
My daughter's Mamabrum kitchen lacked a place to organize cutlery, hence this design for a pull-out cutlery drawer with a built-in stop to prevent complete extraction.
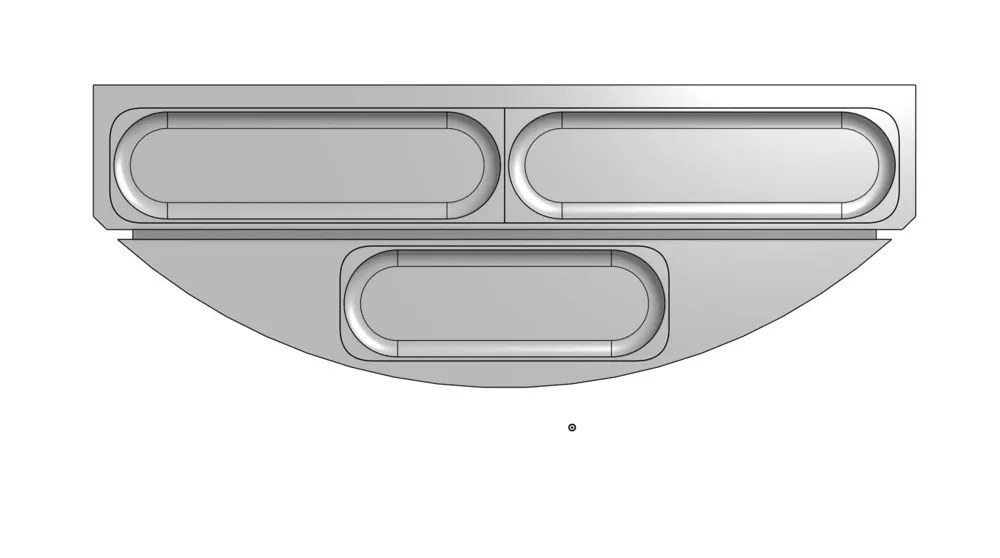
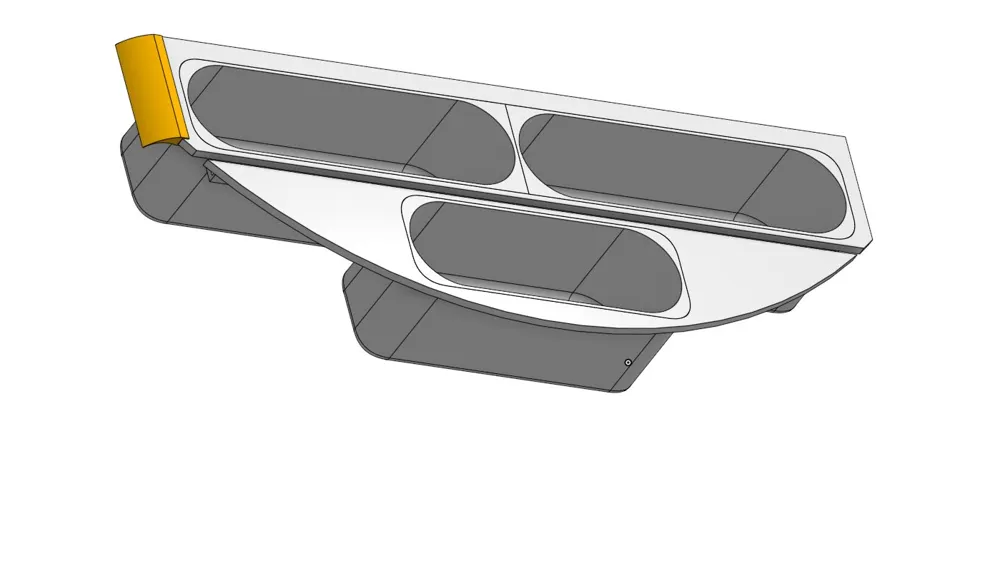
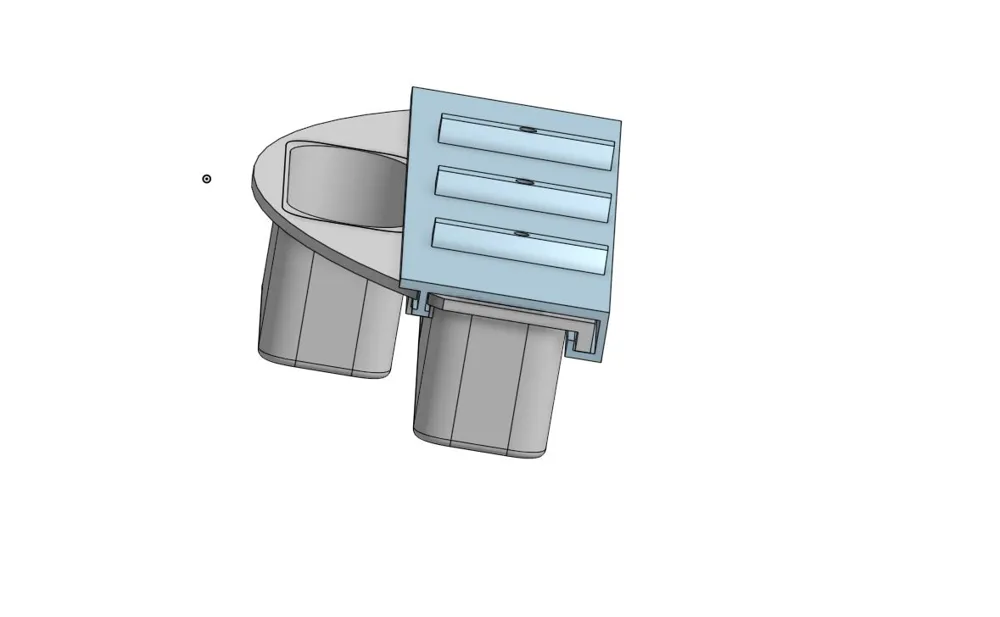
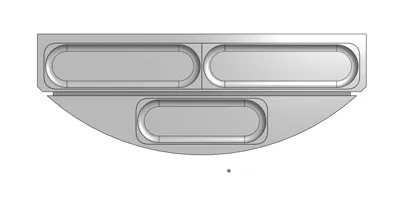
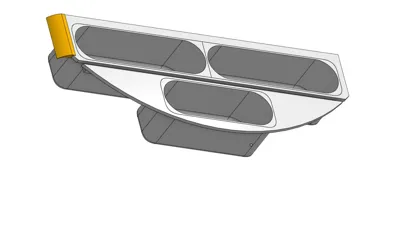
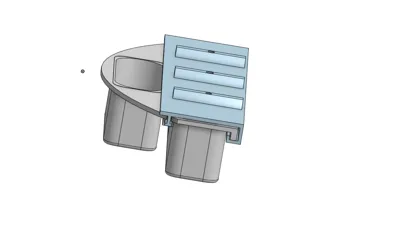
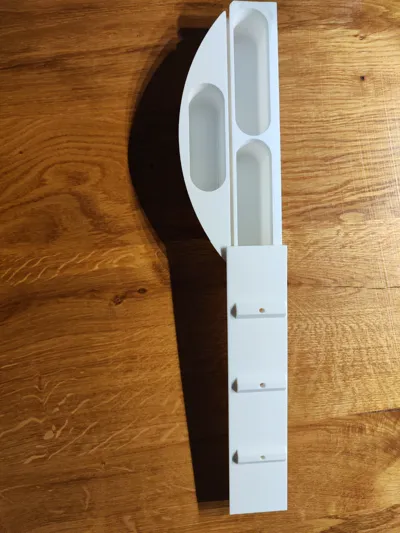
The drawer comprises three parts:
- Cutlery tray
- Mounting bracket and rail
- Pull handle
Assembly:
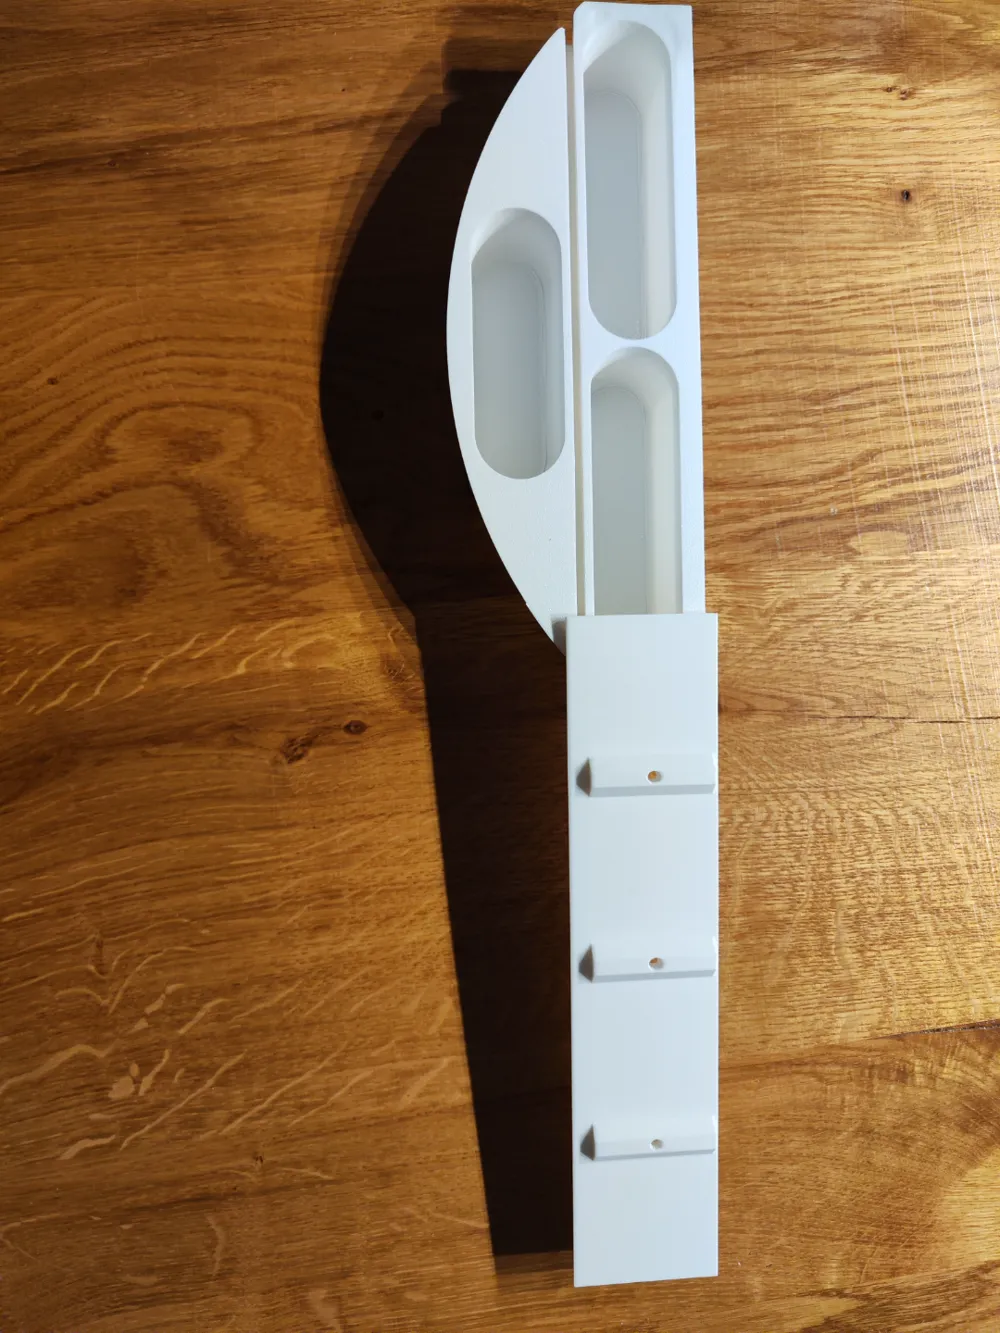
- Print all three parts. The rail within the cutlery tray is 3D printed with organic supports, which can be carefully removed and slid out with patience.
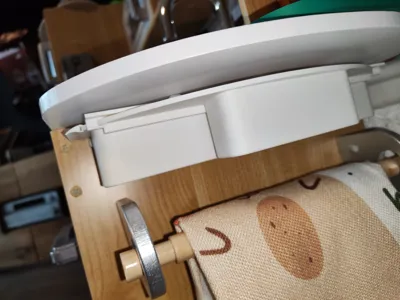
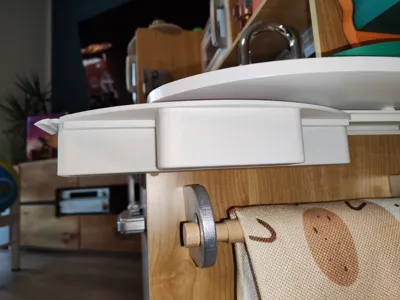
- Insert the cutlery tray from the rear into the rail and fully extend it to verify that the front stop functions correctly and the orientation is accurate.
- Securely fasten the rail and attach the handle.
- The rail can be affixed using three 3.5x16mm wood screws.
- I secured the handle using a small amount of super glue.
This project was designed using Onshape and is publicly accessible, allowing for easy customization to meet your specific needs: https://cad.onshape.com/documents/6928cb8afa5a7554d9eee4ee/w/7c44efcd79471d48c6b98493/e/c18ebfa394ae563f89e7d918
Enjoy printing and repurposing!
------------------------------------------------------------------------------------------------------------
For my daughter’s Mamabrum kitchen, we needed a place to organize the cutlery. This led to the idea of a pull-out cutlery drawer with a stopper to prevent it from being pulled out completely.
The drawer consists of three parts:
- Cutlery tray
- Holder and rail
- Handle for pulling
Assembly:
- Print all three parts. The rail inside the cutlery tray is printed with organic supports, which can be removed and pushed out with a bit of patience.
- Insert the cutlery tray from the back into the rail and slide it all the way through to check that the stopper at the front works and the orientation is correct.
- Secure the rail and attach the handle.
- The rail can be fastened with three 3.5x16 wood screws.
- I fixed the handle with a bit of super glue.
This project was designed in Onshape and is publicly accessible to everyone, so you can easily adapt it to your needs:
Happy printing!
Boost Me (for free)
If you liked, what you printed, please boost me!
License



Comment & Rating (3)