Raspberry Pi 4/5 NAS - v2.0


Print Profile(1)

Bill of Materials


- 60 mm fan (10-20mm height) x 1: Optional
Description
V2.0 version released (01/26/2025)
-15mm HDDs are now supported
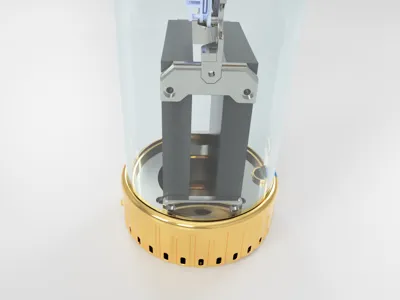
-More space between the drives, allowing more airflow from the bottom fan
-More robust bottom and top drives holder
-Uses less filament
-Only plate #1 needs to be reprinted
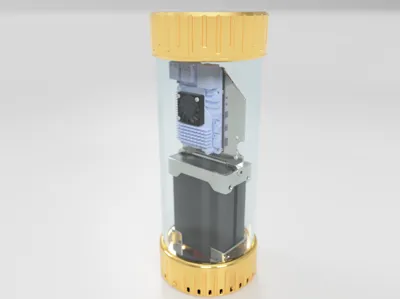
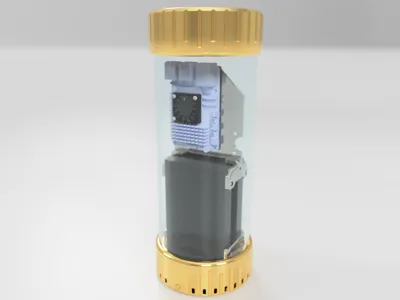
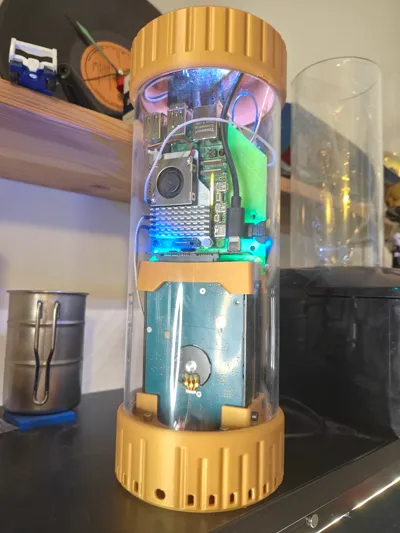
A simple NAS case for RPI (4/5) that uses 2.5" HDD or SSD for the storage.
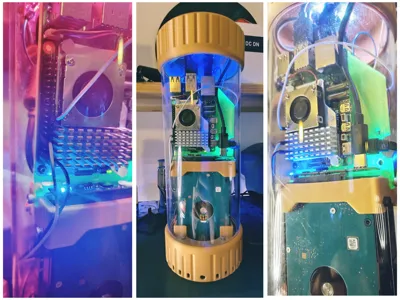
Drives are connected via USB, no expensive HAT or fancy hardware is required. I have used connector/PCB from Axagon USB HDD case, but you can buy only the connector/PCB on Ali, or buy cheap HDD case and take it apart, e.g. this one:
https://s.click.aliexpress.com/e/_EzrMOB2
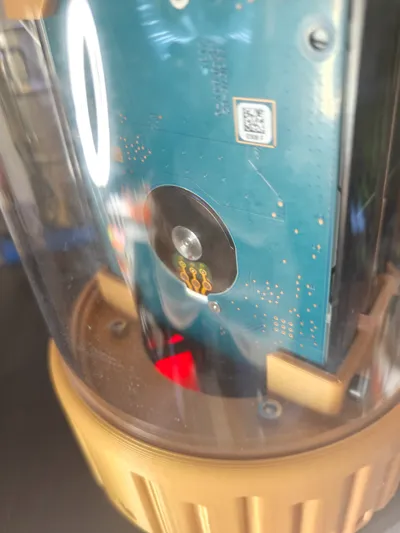
It's possible to install a button PCB (Bambu Lab) to the bottom of the case. If you're not using it, you can glue the printed button the bottom or leave it empty.
Features:
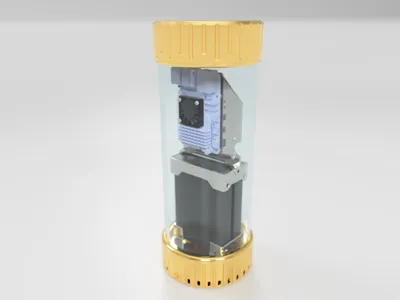
-Vertical design, saves up space
-See-through, it's cool
-Extra cooling possible (60 mm fan)
-Supports disks with height up to 12.5 mm
-Easy assembly and maintenance
You can customize the pattern of the holes in the top cover in the slicer. Just use different infill pattern and infill ratio.
Also there are two version of the RPI holder, one that's aligned to the side and one that aligned in the middle of the tube. If you're powering the RPI via USB, then print the one that's aligned to side, to have a room for the USB cable. Or use 90° USB cable or adapter.
If you need any modifications to the printed parts or you have some ideas for the improvements, just leave a comment.
Any boosts will be highly appreciated, thank you for your support 🤗
Boost Me (for free)
Thank you, thank you, thank you :)
License
You shall not share, sub-license, sell, rent, host, transfer, or distribute in any way the digital or 3D printed versions of this object, nor any other derivative work of this object in its digital or physical format (including - but not limited to - remixes of this object, and hosting on other digital platforms). The objects may not be used without permission in any way whatsoever in which you charge money, or collect fees.
Comment & Rating (1)