

Print Profile(4)


Description
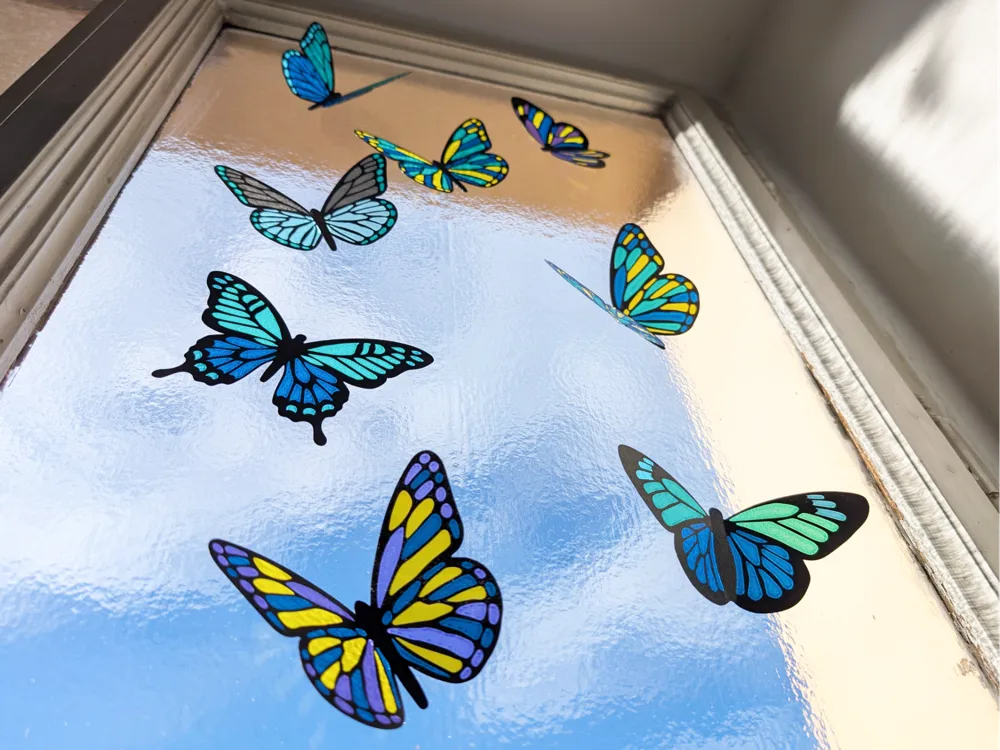
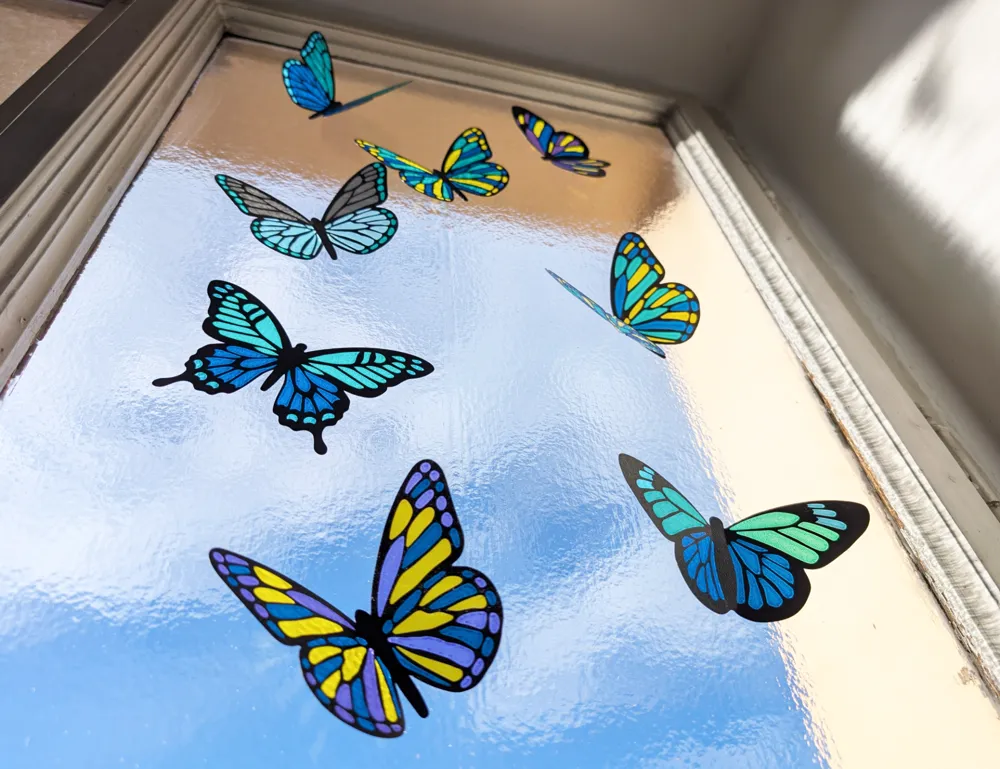
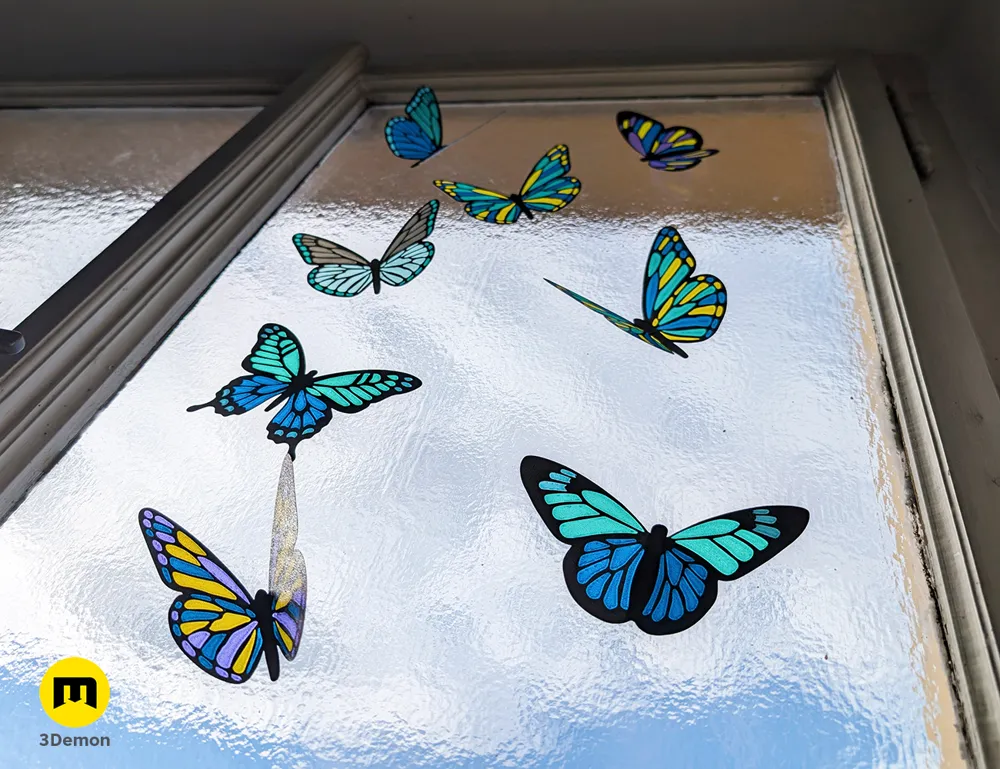
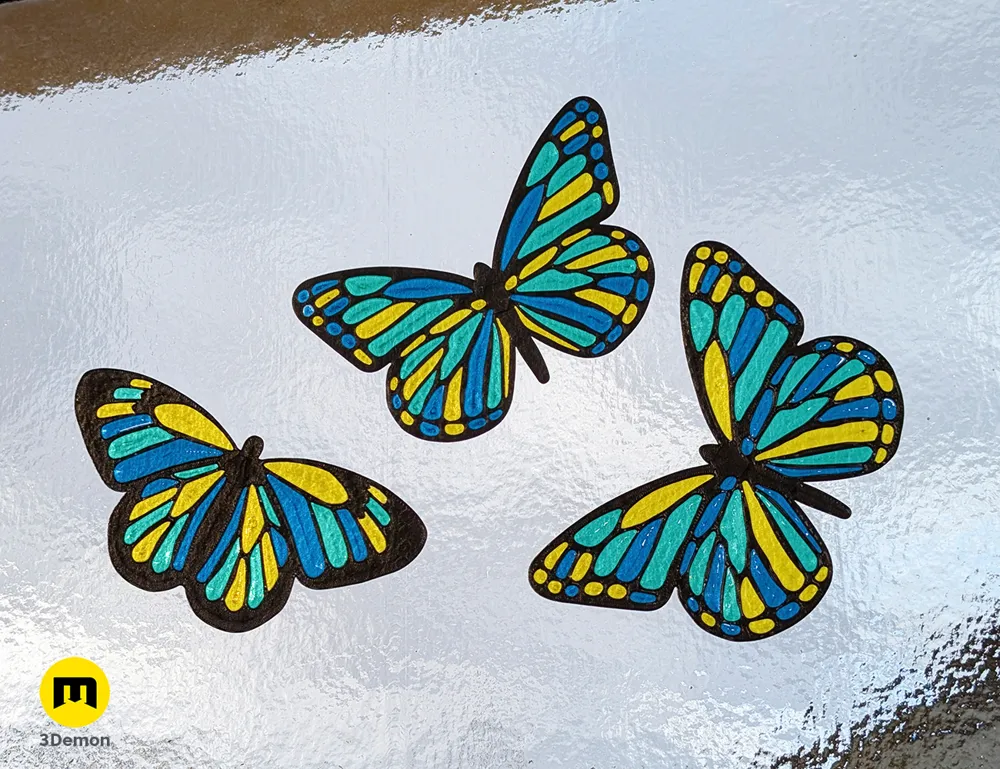
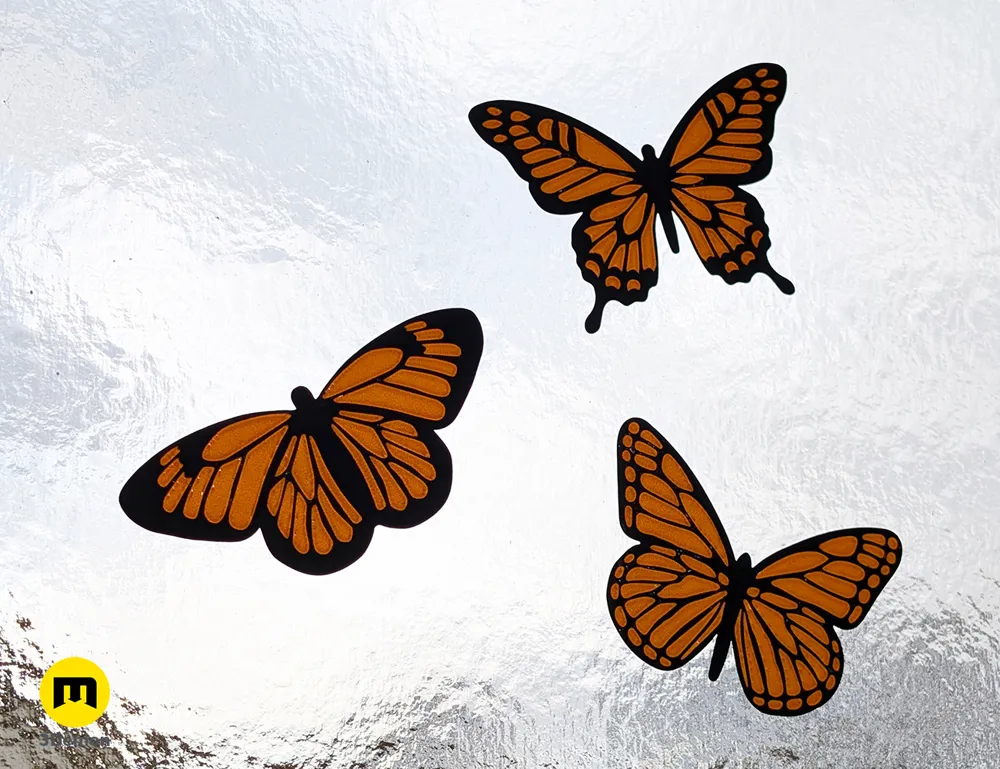
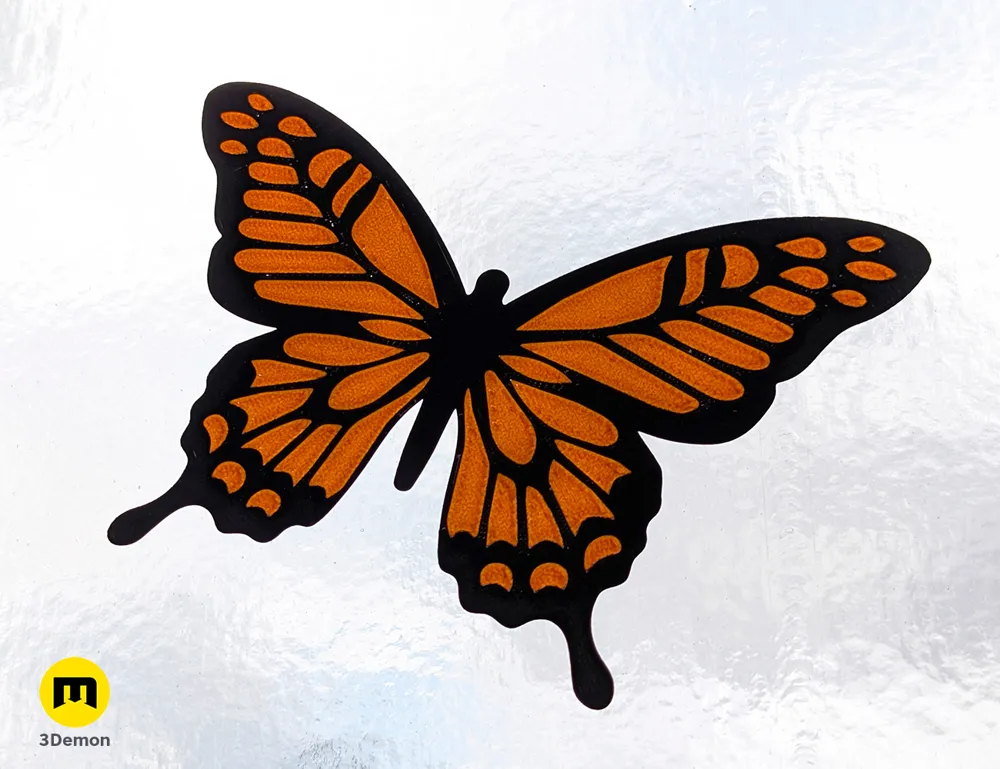
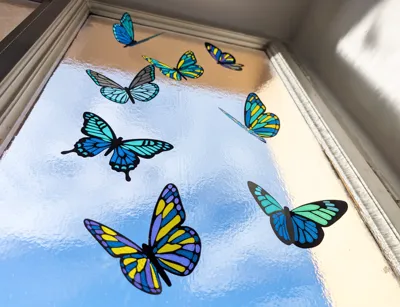
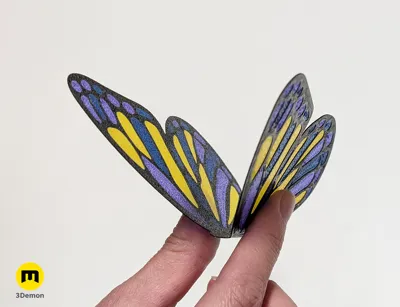
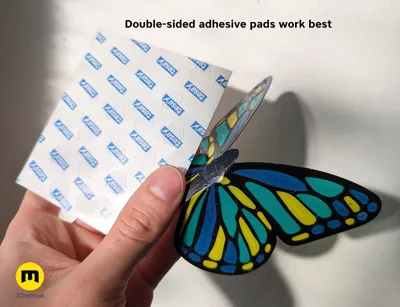
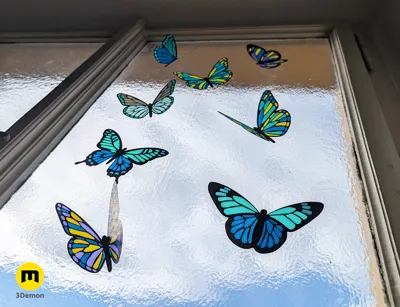
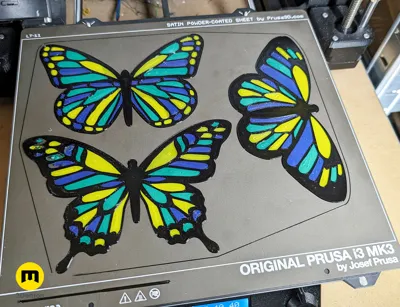
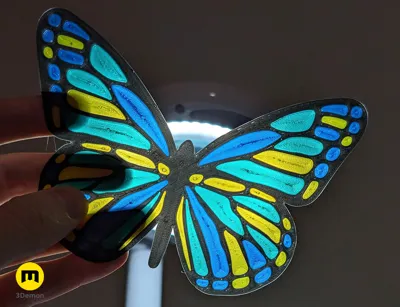
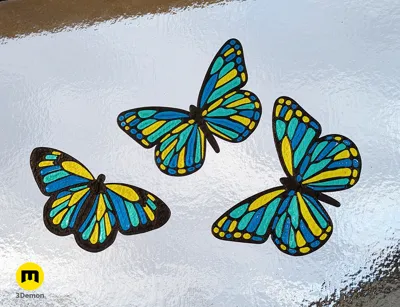
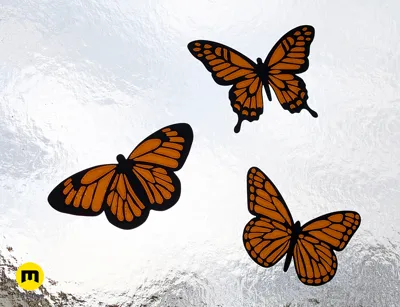
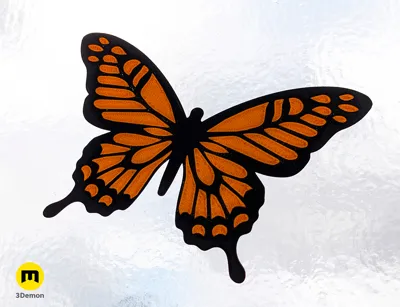
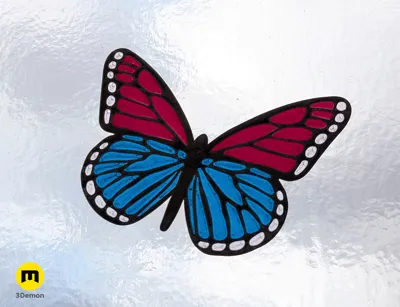
This is a model for creating a butterfly stained glass-style decoration. Place it directly on a window glass or use it as a hanging ornament 🦋
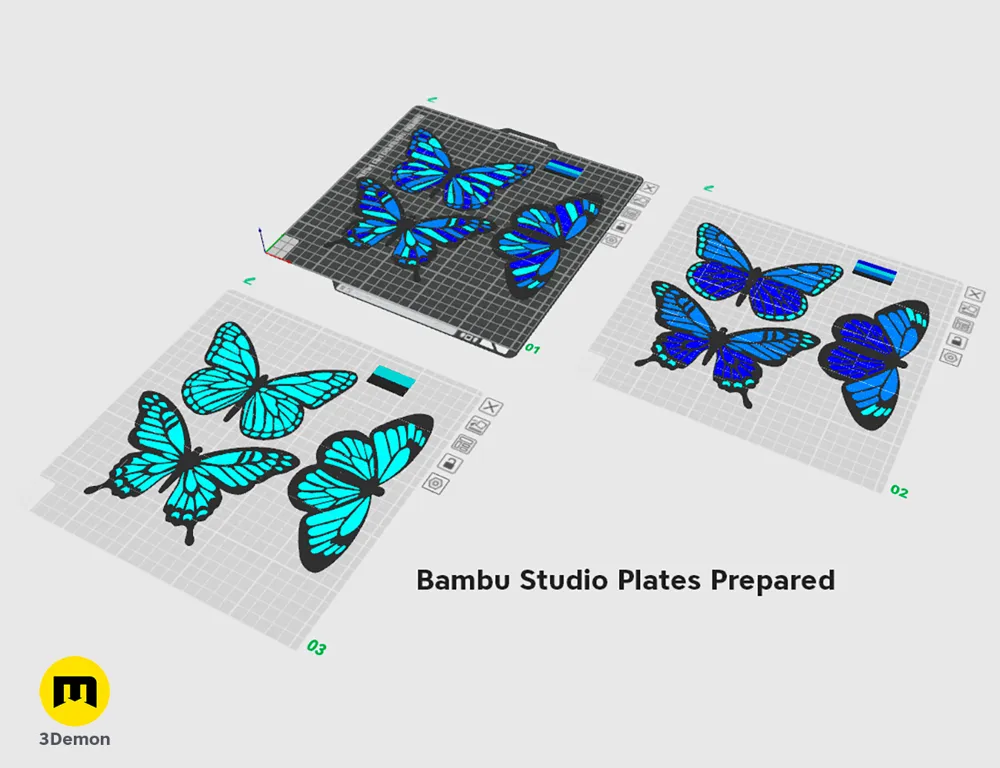
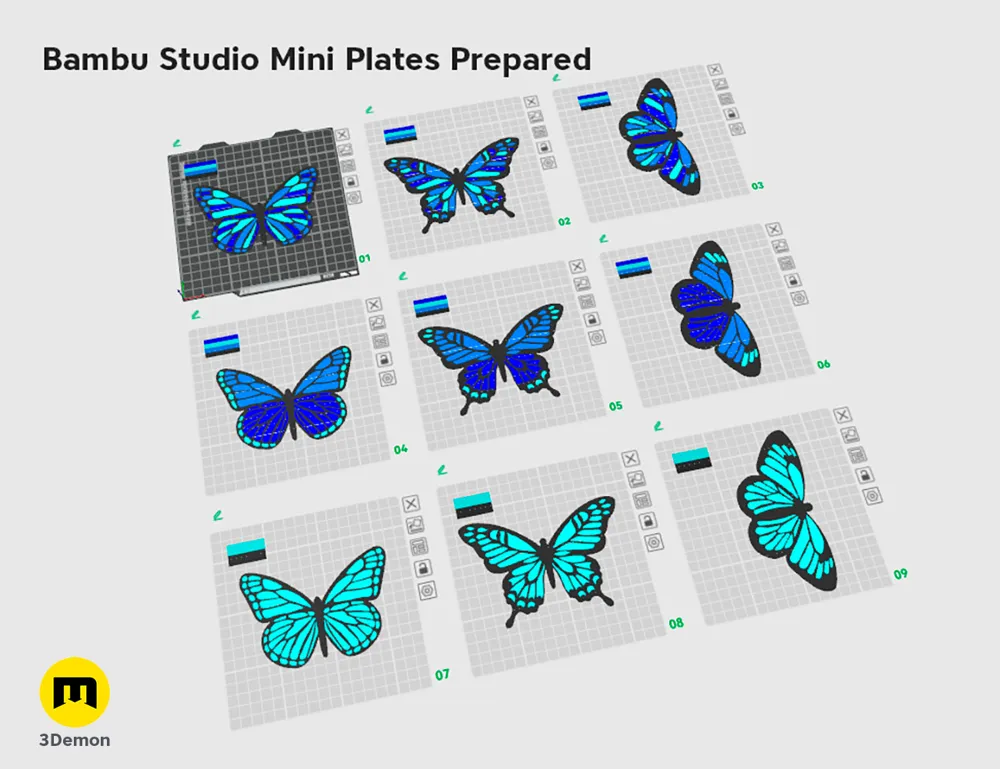
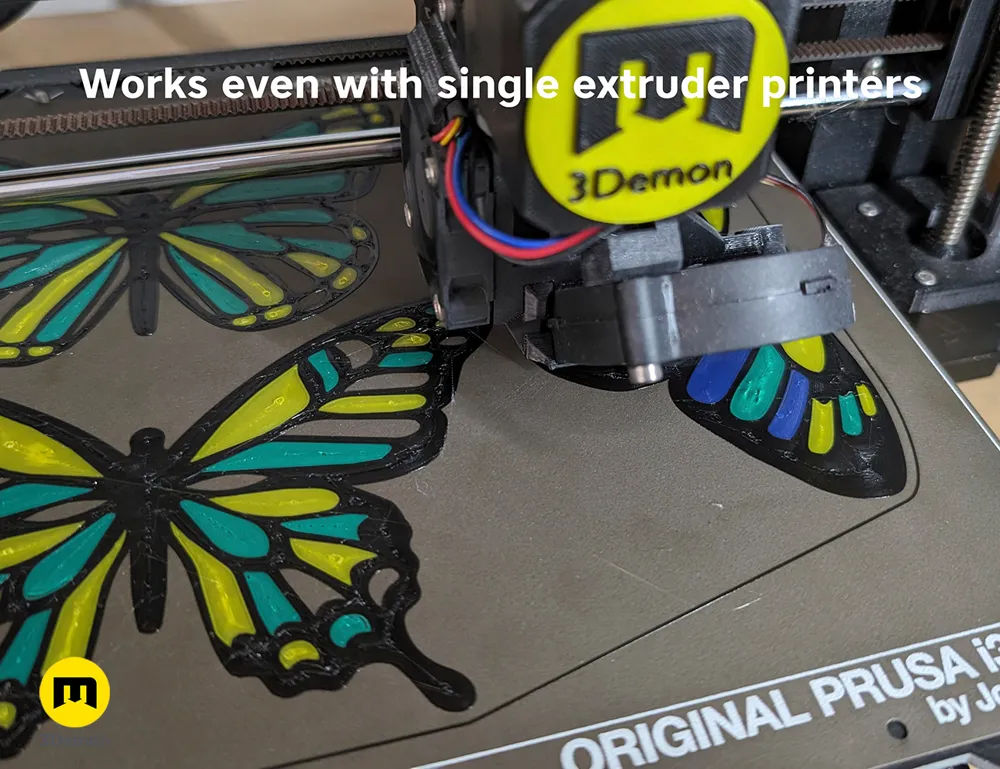
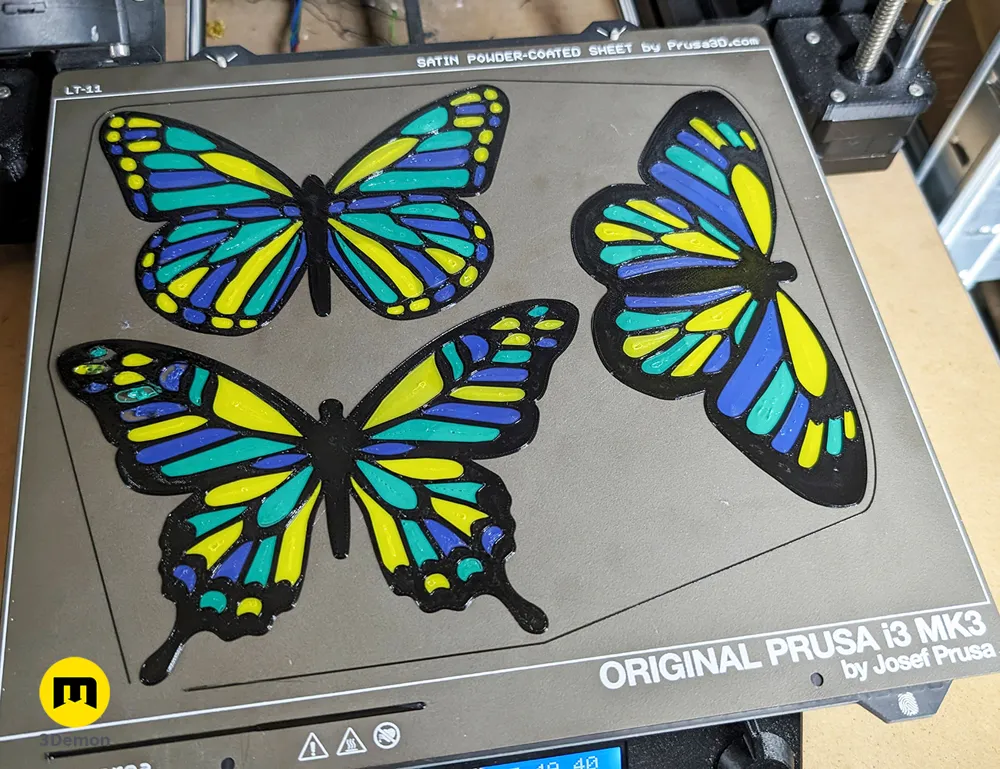
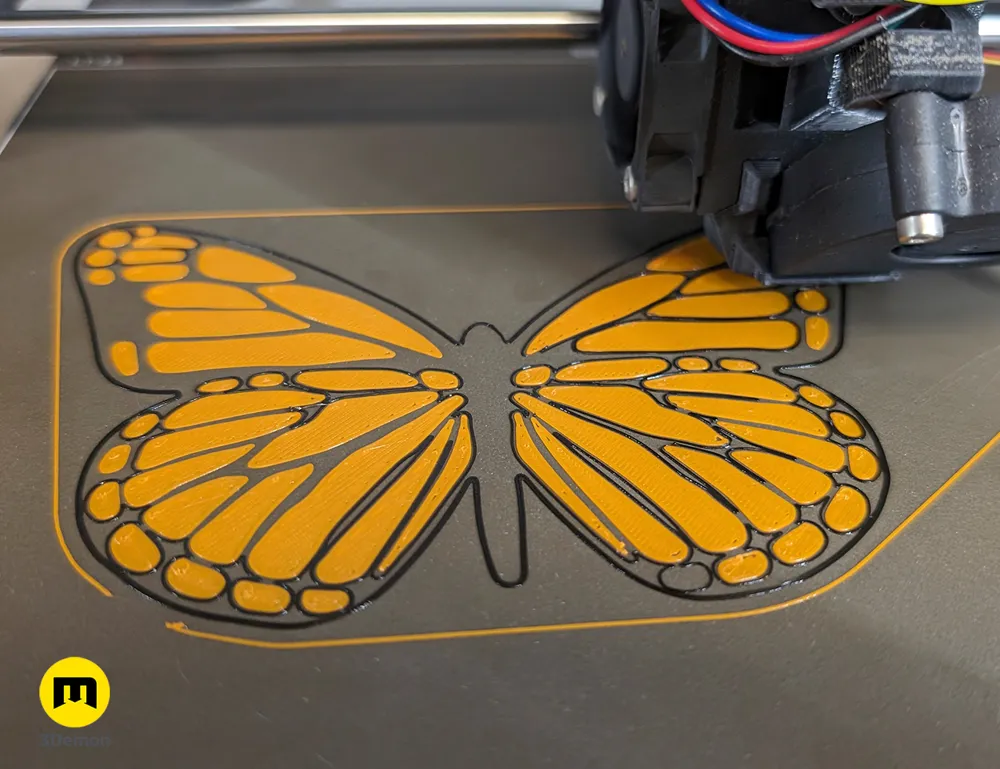
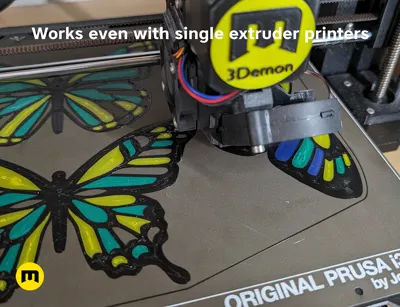
- 3MF file: Easy to print and color with multicolor printers (MMU or AMS) but also works with single extruder printers in multiple colors! 🎨 Optimized for PrusaSlicer.
- STL file: For those who want to start coloring from a blank slate or print using only a single layer color change.
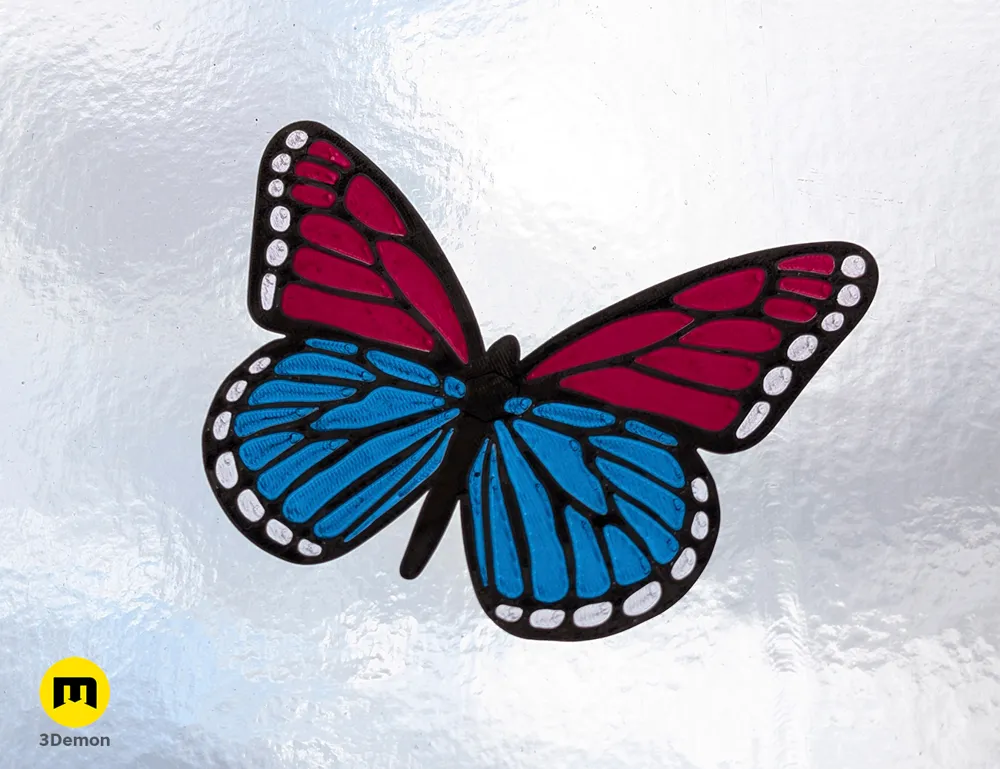
You can color each segment as you like or use the pre-set color combinations.
The designs were based on monarch, swallowtail and tiger butterflies.
Materials and Printing Tips
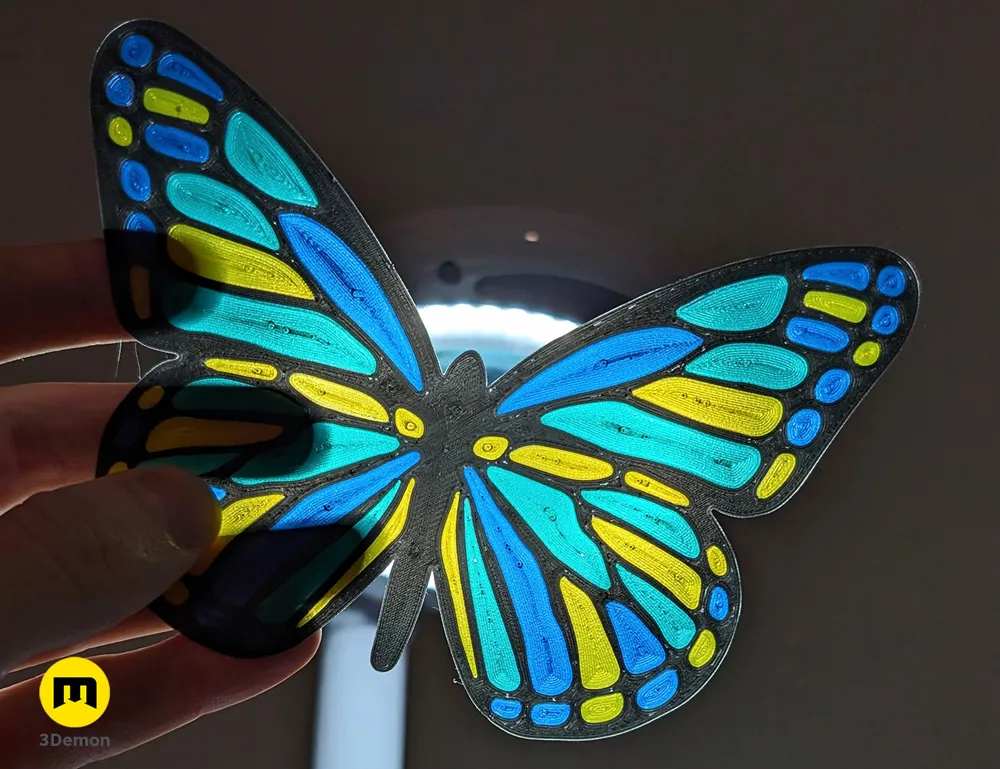
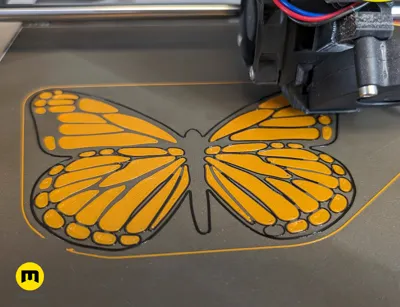
You can print the design using any colors you prefer. The “glass” parts are only 0.2 - 0.4 mm and at this thickness any filament becomes translucent. Combine regular filament and transparent filament to get even more contrast.
- Printing Time: Approximately 1 hour
- Ease of Printing: The design is straightforward to print, even for beginners
- Low waste: Great for using up leftover filament ♻️
How to Use
🎥 You can watch our video on how to print stained glass here:
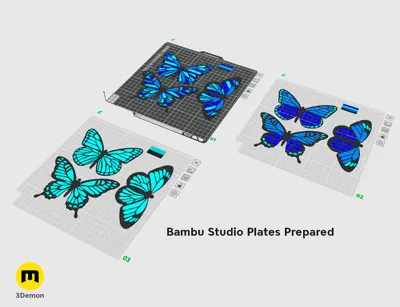
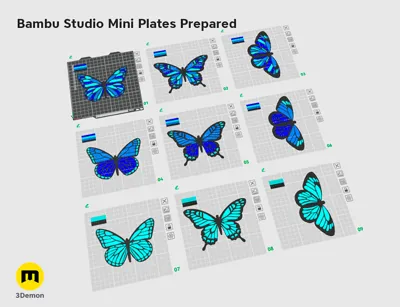
- If you have AMS or MMU you can print multicolor as usual but set the Elephant foot compensation to zero otherwise you could have gaps in the model. Use the provided 3MF file.
- If you have a Bambu Lab printer without AMS follow this guide instead of my video to insert this long g-code command into the change filament G-code field in Bambu Studio
- If you only have a single extruder printer this model takes advantage of the Single Extruder Multi Material setting in Prusaslicer. The printer will prompt you to make a filament change after each completed color.
- Open PrusaSlicer (If you have a Prusa MK3S simply load the 3MF as a project and print)
- Make sure you are in expert mode 🤓
- Switch on Single Extruder Multi Material under Printers > General > Capabilities and right above it write 4 in the field for number of extruders
- Find the blank Tool change G-code field
Printers > Custom G-code > Tool change G-code - Copy and paste this code into the tool change field:
{if layer_num >= 0}M600{endif} - Import 3MF models only (not as project)
- Select “No” on the pop-up asking to load as a single object
- Slice, Export G-code, Print 🙂
We’ve created more stained glass designs, check out our profile 🖼️
We’re 3Demon, a team of 3D modeling and printing enthusiasts from Prague. We’ve been creating printable models for over a decade, ranging from cosplay accessories to artistic designs like this one. Explore more of our work or join our community to see what we’re up to! Social media links
License

You shall not share, sub-license, sell, rent, host, transfer, or distribute in any way the digital or 3D printed versions of this object, nor any other derivative work of this object in its digital or physical format (including - but not limited to - remixes of this object, and hosting on other digital platforms). The objects may not be used without permission in any way whatsoever in which you charge money, or collect fees.


Comment & Rating (117)