Smartphone Dock for MX-5 NA Ashtray
Smartphone Dock for MX-5 NA Ashtray


Print Profile(0)
Description
Summary
First things first. Thx to @properbowen
for the initial Design, @Florent99, for his remix that caught my eye and @aconsola for the awesome remix that I finally used for my own.
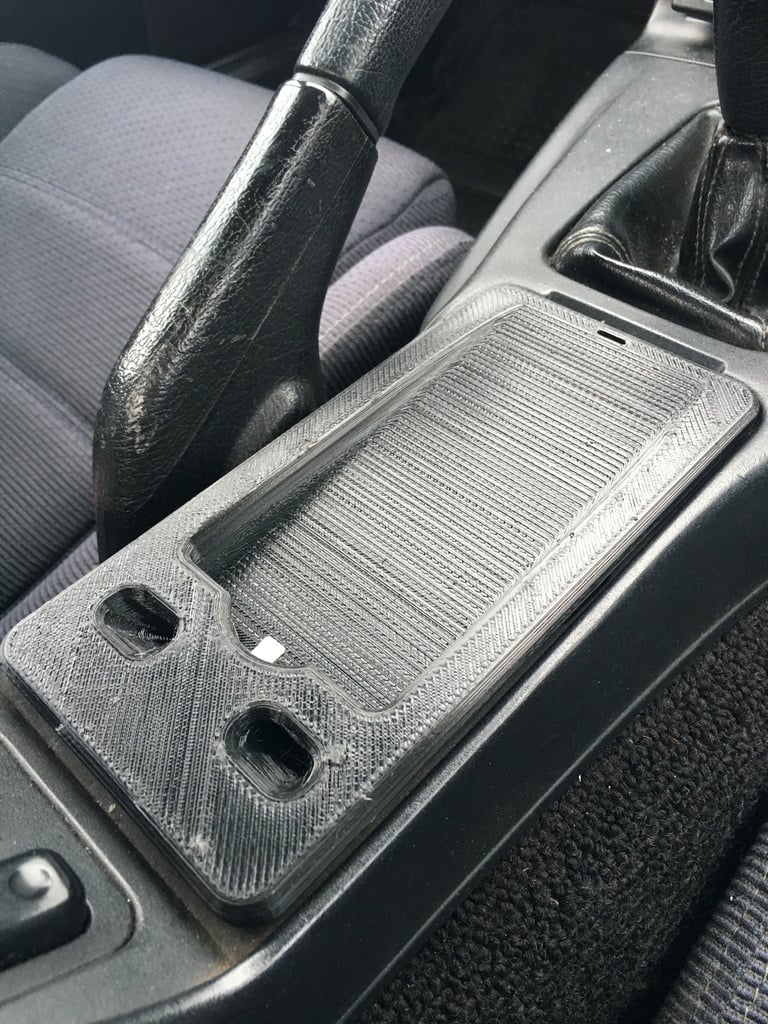
Since I have a newly acquired OnePlus 6 and also don't smoke, I used the chance to replace the silly MX5 NA ashtray in the center console.
In addition, I also integrated a fixed USB Type C 90° corner for the Charger so it will not interfere with the window switches. (https://www.amazon.de/gp/product/B079TMD8CN/ref=oh_aui_detailpage_o01_s00?ie=UTF8&psc=1)
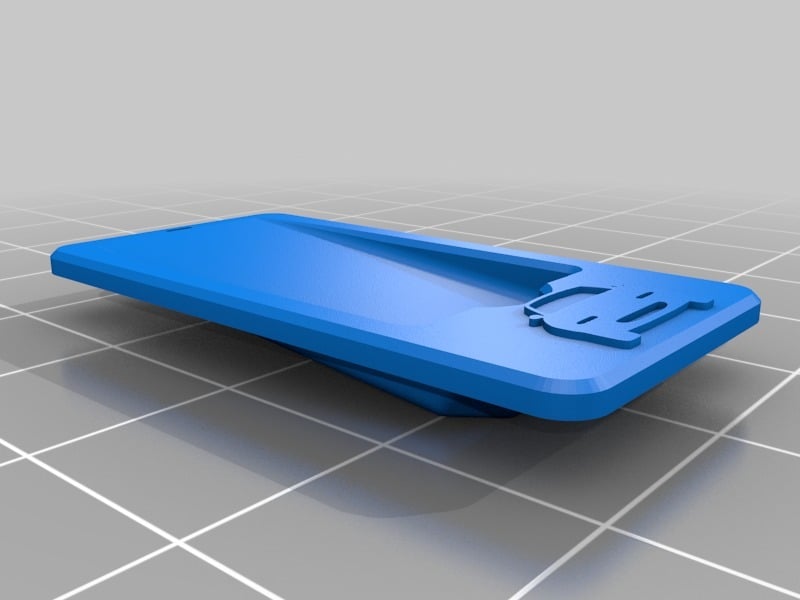
Dimensions for the Smartphone can be 8 x 16cm (3.15 x 6.30 inch)
The base has a slight slope so the Smartphone should slide right into the USB connection at the bottom. :-)
Have fun printing/ remixing and share your Makes
P.S. maybe I will find a way to embed the light from the ashtray in a future iteration.
Print Settings
Printer:
Creality Ender 3 Pro
Rafts:
Doesn't Matter
Supports:
No
Resolution:
0.10
Infill:
20%
Filament: Noname PLA Black
Notes:
PLA has been used in my test Prints sofar because I just started out 3D Printing.
However, I hear that ABS might be better if the product is under direct sunlight for an extended period of time.
I still hope my print will hold up.
Post-Printing
Please note that right under the 90° USB Type C connector is hard plastic from underneath the ashtray.
For now, there is the need to drill a little hole for the USB Connector. I added some pictures to illustrate how I did it.
I may come up with a solution that doesn't require modification on the inside of the console.

1. Take out the center console

2. Take out the window control unit

3. Mark the hole for cutting/ drilling

4. Cut/ drill the hole for the connector

5. be extra careful with the tab where the center screw of the window control unit goes in

6. test fit

7. Reassemble the console

8. Enjoy :-)
How I Designed This
I remixed aconsola's design in ThinkerCAD.
Perfekt for Prototyping in my optinion :-)