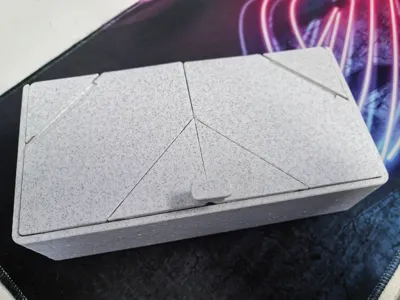
Storage Box with origami folding lids.
Storage Box with origami folding lids.


Print Profile(5)

Description
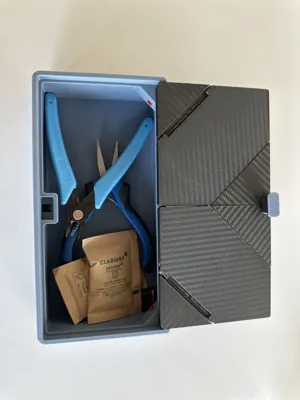
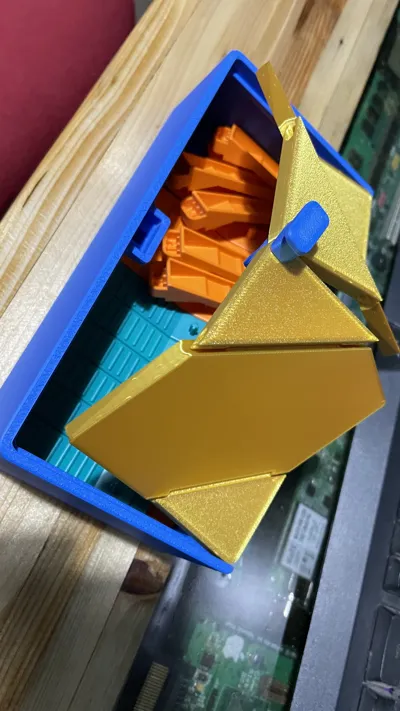
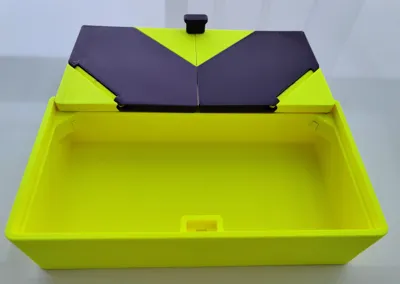
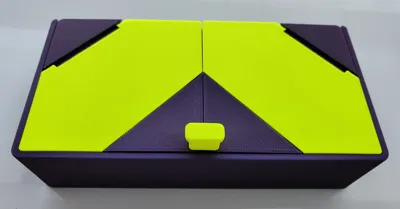
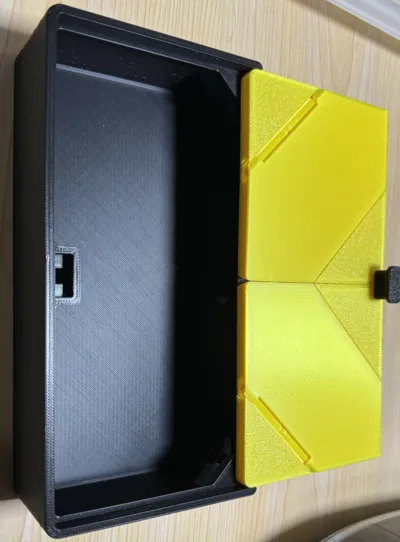
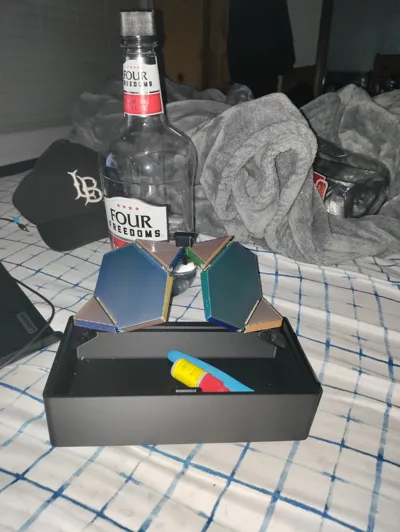
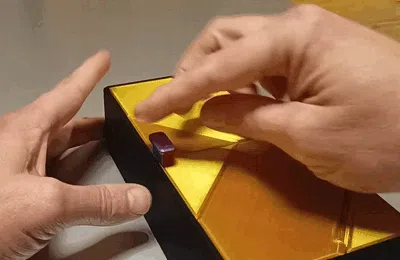
Operation of the lids.
Below is an impression of how the lids work.

Printing
The lid parts.
The lids consist of three separate parts that have to be assembled afterwards.
The two front parts (part 3L and 3R) are NOT the same! This is because the holes are slotted to achieve the mechanical locking of the lids.
Part 3L is marked "L" on the side.
Part 1 & 2 must both be printed 2x.
Printed in PLA, nozzle 0.4, layer thickness 0.2, infill 20% and support everywhere.

After printing, all support residues must be removed. Do this thoroughly. There is often some extra residue on the axles due to the use of support. If necessary, cut this off so that the shaft becomes as round as possible. Make sure that the ends of the axle are slightly chamfered so that they can be mounted easily.
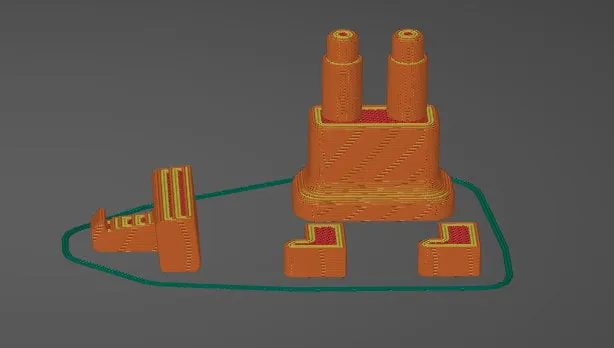
The Knob, Lock and Axle Lock
You need 1x the Knob & Lock and 2x the Axle Lock
For the different parts and the correct orientation on the bed, see the image below.
Printed in PLA, nozzle 0.4, layer thickness 0.2, infill 20% and no support.
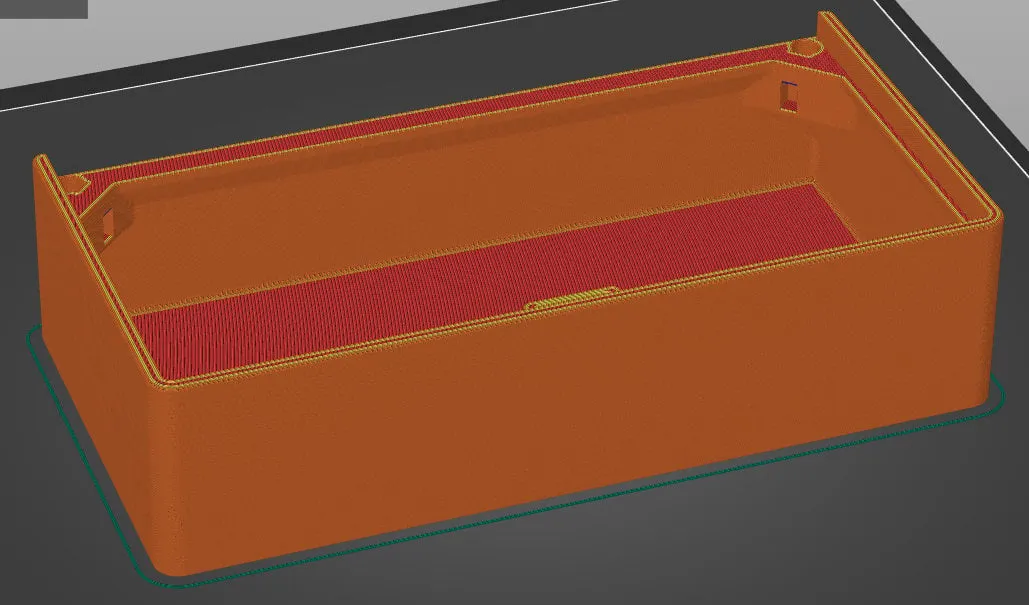
The Box
For orientation on the bed, see the image below.
Printed in PLA, nozzle 0.4, layer thickness 0.2, infill 20% and no support.
Assembly
The lids
Slide the different parts of the lid together. Pay close attention to the orientation! This is indicated in the image below. Notice that the shafts are pointing upwards!
Once pushed together, the recess in the shaft falls over the cam in the opposite part, securing the two parts against sliding apart.

Mounting the Knob and Lock
See image below. Notice that the axles are pointing downwards.
Push the knob through both holes in the lids. Then press the Lock from below over both axes of the Knob.
To obtain a firm anchoring, you can first put a drop of glue in both holes of the Lock and then press firmly.

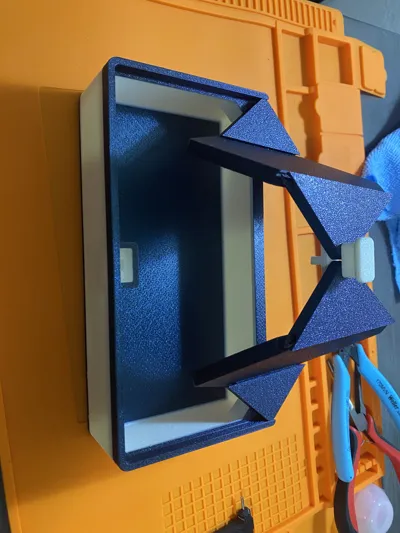
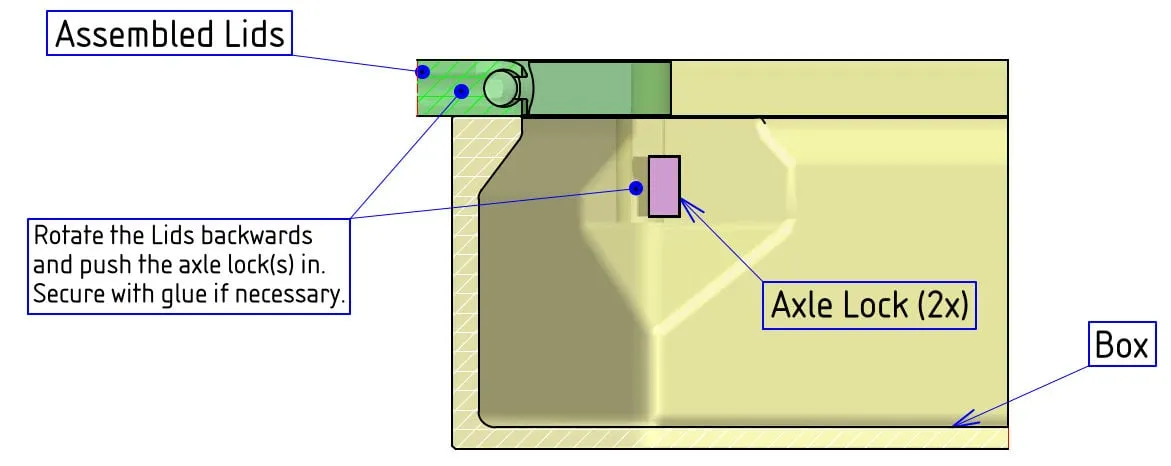
Mounting the Lids on the Box
Place both axes of the lids in the holes of the Box.
Rotate both lids to create an open Box.
Now place both Axle Locks in the holes in both corners of the Box. The round part of the Axle Lock should be facing upwards.
You can use a little glue to keep them in place. Be careful not to glue the axles!
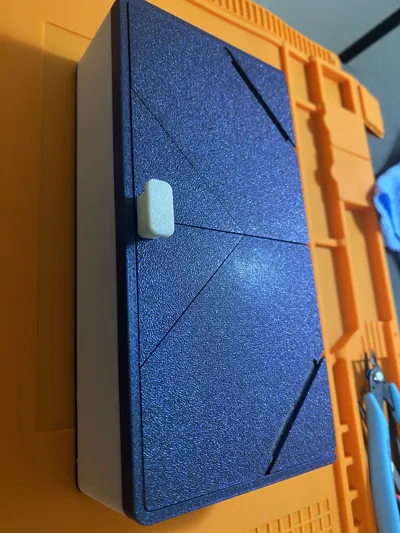
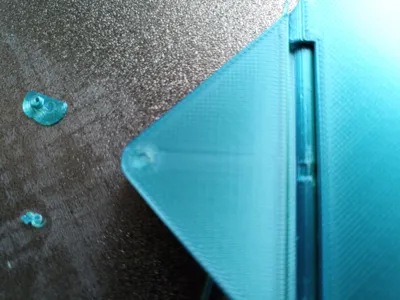
Operation of the mechanical lock.
The lock works by interlocking 2 small printed tabs.
Due to the rest position of the Knob, which is then vertical, they remain hooked together. By tilting the Knob backwards (which is possible through both slotted holes in the lids) they can unlock and you can open the lids.
When closing the lids, you must ensure that the Knob is well pressed and is vertical. To be sure, you can additional tilt the knob towards you. (see video below)
Box size and scaling
The size of the Box 200x100x50 (knob not included) was created after a number of test prints for the hinges. I managed to stay within that 200mm, so it can be printed by almost all printers.
But nevertheless the Box can be scaled. For FDM printing I would advise not to go below 80%). This already gives a very large saving on material and printing time, while the hinges still remain strong enough. It may be that the hinges are less flexible or operate less smooth due to the layer thickness of 0.2mm. By printing with a smaller layer thickness and/or nozzle, can you probably improve this.
Comment & Rating (79)